You know that scene in the movie Cast Away when Tom Hanks’ character finally manages to get a fire going?
Yeah, that’s how I’m feeling right now!
Ok, so my fire is not nearly as impressive as in the movie, but I’m proud of it.
I know. I know.
I said in yesterday’s post that I was done with testing. But I just couldn’t let it rest.
I hate stopping when I feel like there was more I could have done.
And this morning, something I had read jumped back into my head. I needed to try braiding my wicks!
Duh!
So, here we go again!
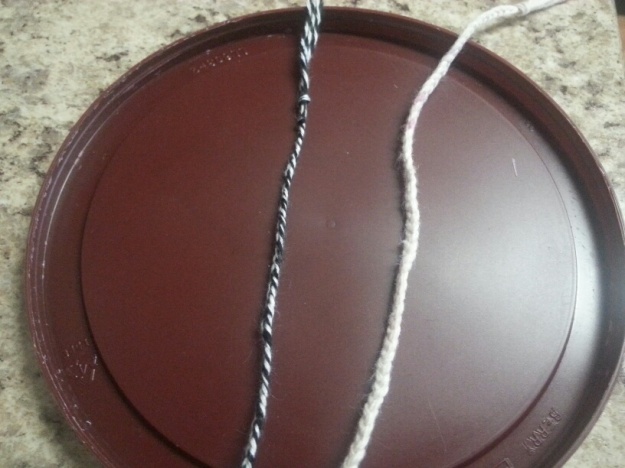
Two braided wicks, one from the thinner string (black and white cotton “bakers twine”) and one from the thicker string (white cotton string).
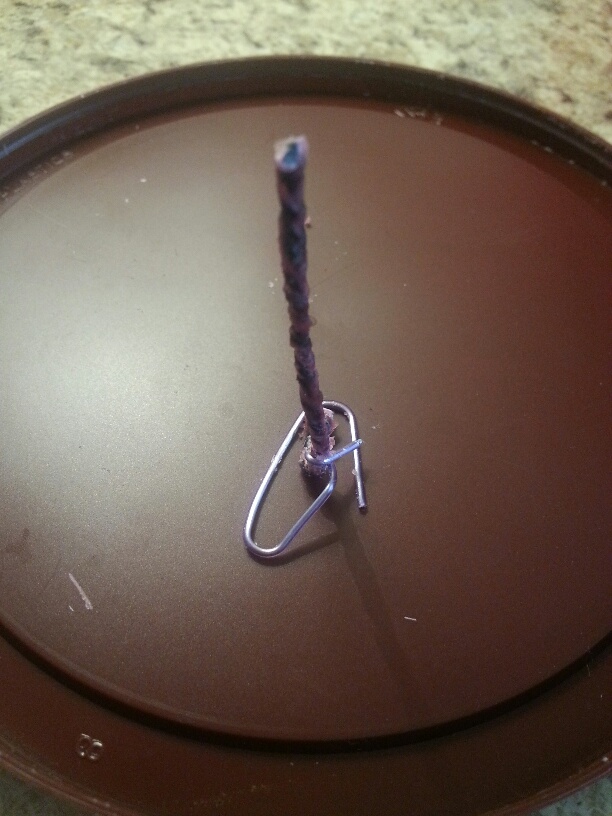
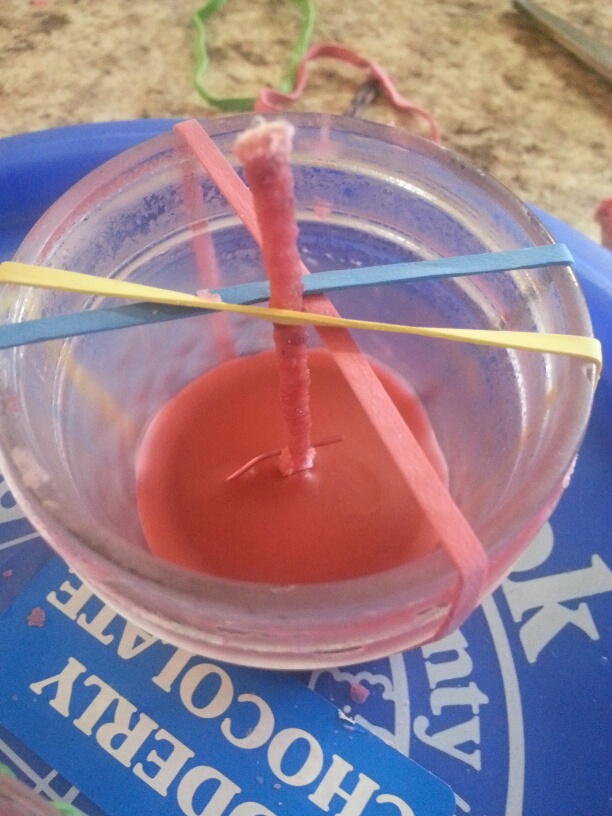
Both dipped in wax, straightened, cut to length, and put in paperclip wick stands.
Then, as I described yesterday, using some rubber bands to hold the wick in the middle of the jar, and pouring the wax in two stages, I had two more candles ready to test (after cooling off, of course.)
AND THEY WORK!!!
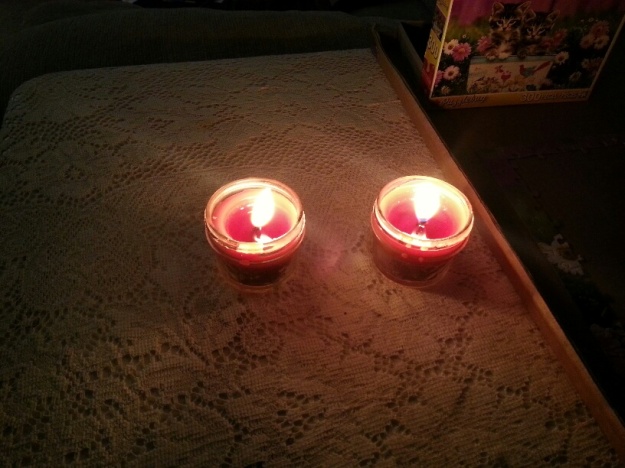
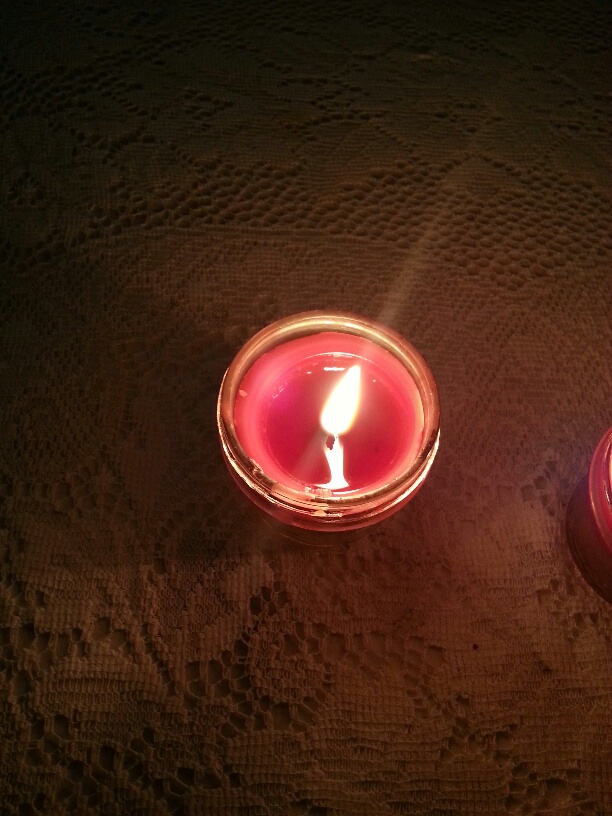
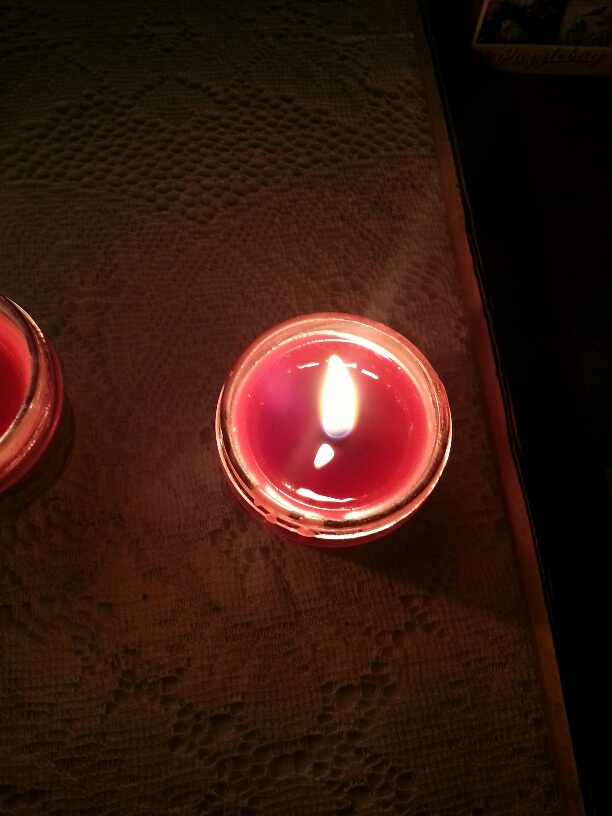
I’m sitting here with them burning beside me. They’ve been burning unassisted for three hours. No re-lighting needed. No straightening wicks needed. Nice tall flames with little to no smoke. And bright! I can definitely read a book by these if need be.
Because the wicks are two different sizes (thinner and thicker), they are burning the wax at different rates (and, yes, before anyone says anything, I do know that technically the wax itself is not burning, rather, it’s gasses given off as the wax evaporates due to the flame, or something like that. But you all know what I mean. 🙂 ).
In this picture, you can see that there is a rim of unmelted wax around the edges. This is the thinner string.
In this one, you can see that the wax is melted all the way across the jar, which means that this is actually the proper size wick for this size jar and this type of wax.
And that brings up a good point that I have not talked about. There are different kinds of waxes, with different melting points. The wax I am using is left overs from pillar candles. It is a harder wax with a higher melting temperature. This is a good thing for pillar candles since you don’t want them to melt and spill all over the place. That’s also what makes them good for taper candles. And as long as you have the right size wick for your jar, it makes an adequate jar candle, as well.
It will be interesting to see wich of these candles burn longer. The thinner wick because it’s not using up as much wax as it burns with it’s smaller flame, but is also leaving unused wax around the edges? Or the thicker wick which has a slightly larger flame, thus burning more rapidly, but also hotter to melt all the wax, thus providing more fuel?
From a survival standpoint, making candles in jars makes sense. They are easier to store since they won’t deform if they get hot, and they are harder to break.
Also, and probably more importlantly, they are safer. With tapers, you really have to be there with them at all times. If a taper candle tips a bit too much and wax starts pouring out the side, you can have issues very quickly.
So there you have it folks.
-Melt your wax in your desired method (I use a large coffee tin inside an old stockpot with some water in the pot. Kindof a double boiler effect. I also put several canning jar rings down in the bottom of the pot which the coffee can sits on. That way it’s not resting directly on the bottom of the pot which is getting direct heat from the burner. That may be overkill, but then I know I don’t have to worry about it.)
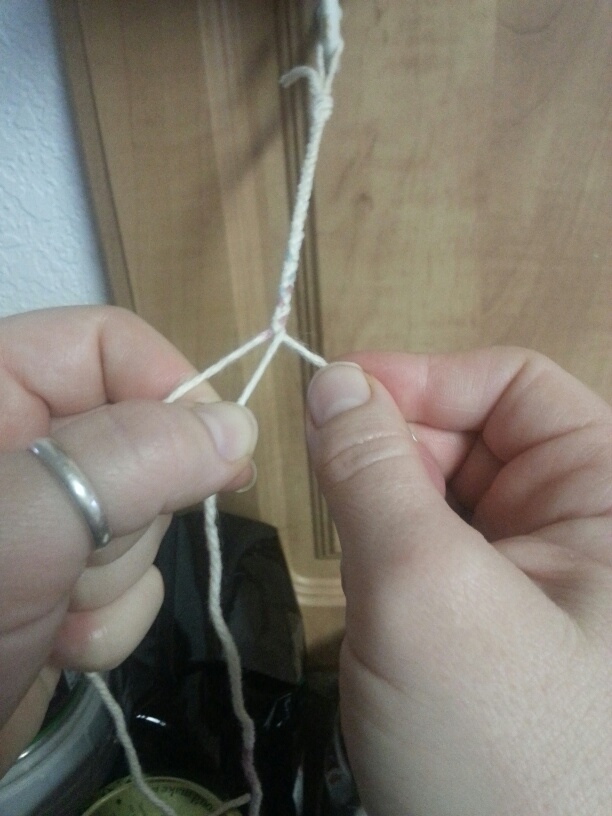
-While your wax is melting, braid your cotton twine (no special treatment necessary)
-Dip the braid in wax a couple times. Let cool and cut to size.
-Secure prepared wick in a paperclip and put it in your jar.
-Wrap three rubber bands aroud the jar (crossing the top, leaving a triangle in the middle), and place your wick in the middle of these rubber bands.
-Pour a bit of wax in to keep the wick stand from moving around.
-Once first layer of wax has solidified, fill the rest if the jar to the desired fullness.
-Let rest to cool and solidify. If desired, a bit more melted wax can be added after it has cooled completely in order to make the top flat.
That’s it. Yay! It works!
I’m so happy!
Now off yo bed!
Maridy
“I lift up my eyes to the hills, where does my help come from? My help comes from the Lord, the maker of heaven and earth.” Psalm 121


I loved this series! I can’t wait to try this with my harvested beeswax! I learned so much – thanks!
LikeLike
Oooo, I can’t wait till the days when we have bees and I have beeswax I can use! Let me know how it goes!
LikeLike