Monthly Archives: April 2015

My groupies

I went out to feed the chickens this morning and decided to let them out of their run since I finally got some bird netting around my small garden.

image

The three hens who were not busy laying quickly headed for the compost heap on the other side of the yard. I put some feed out for them in their run and made sure they had water, but I had forgotten to bring out the kitchen scraps. I brought those out and emptied them in the big tray in their run and then went to stand on the back deck admiring the wisteria.

image

Soon, however, Scaredy hopped up an the deck with me. I shooed her off. Then Pepper hopped up. I shooed her off. Then either Sugar or Salt (don’t know which is which) joined the crowd, and I think Scaredy jumped back up as well.

What are these chickens doing? They hardly ever come up on the deck, and here they were, all very insistent to join me up there. Over and over, no matter how many times I chased them off.

And then I realized something.

Just to test my theory, I walked over to the compost. My three groupies followed me. I walked across the yard and they quickly made their way over.

What did I realize?

image

That’s right, I realized I was still holding the scrap bucket!

The empty scrap bucket.

But they didn’t know it was empty. They kept waiting for me to empty out it’s bountiful goodness.

image

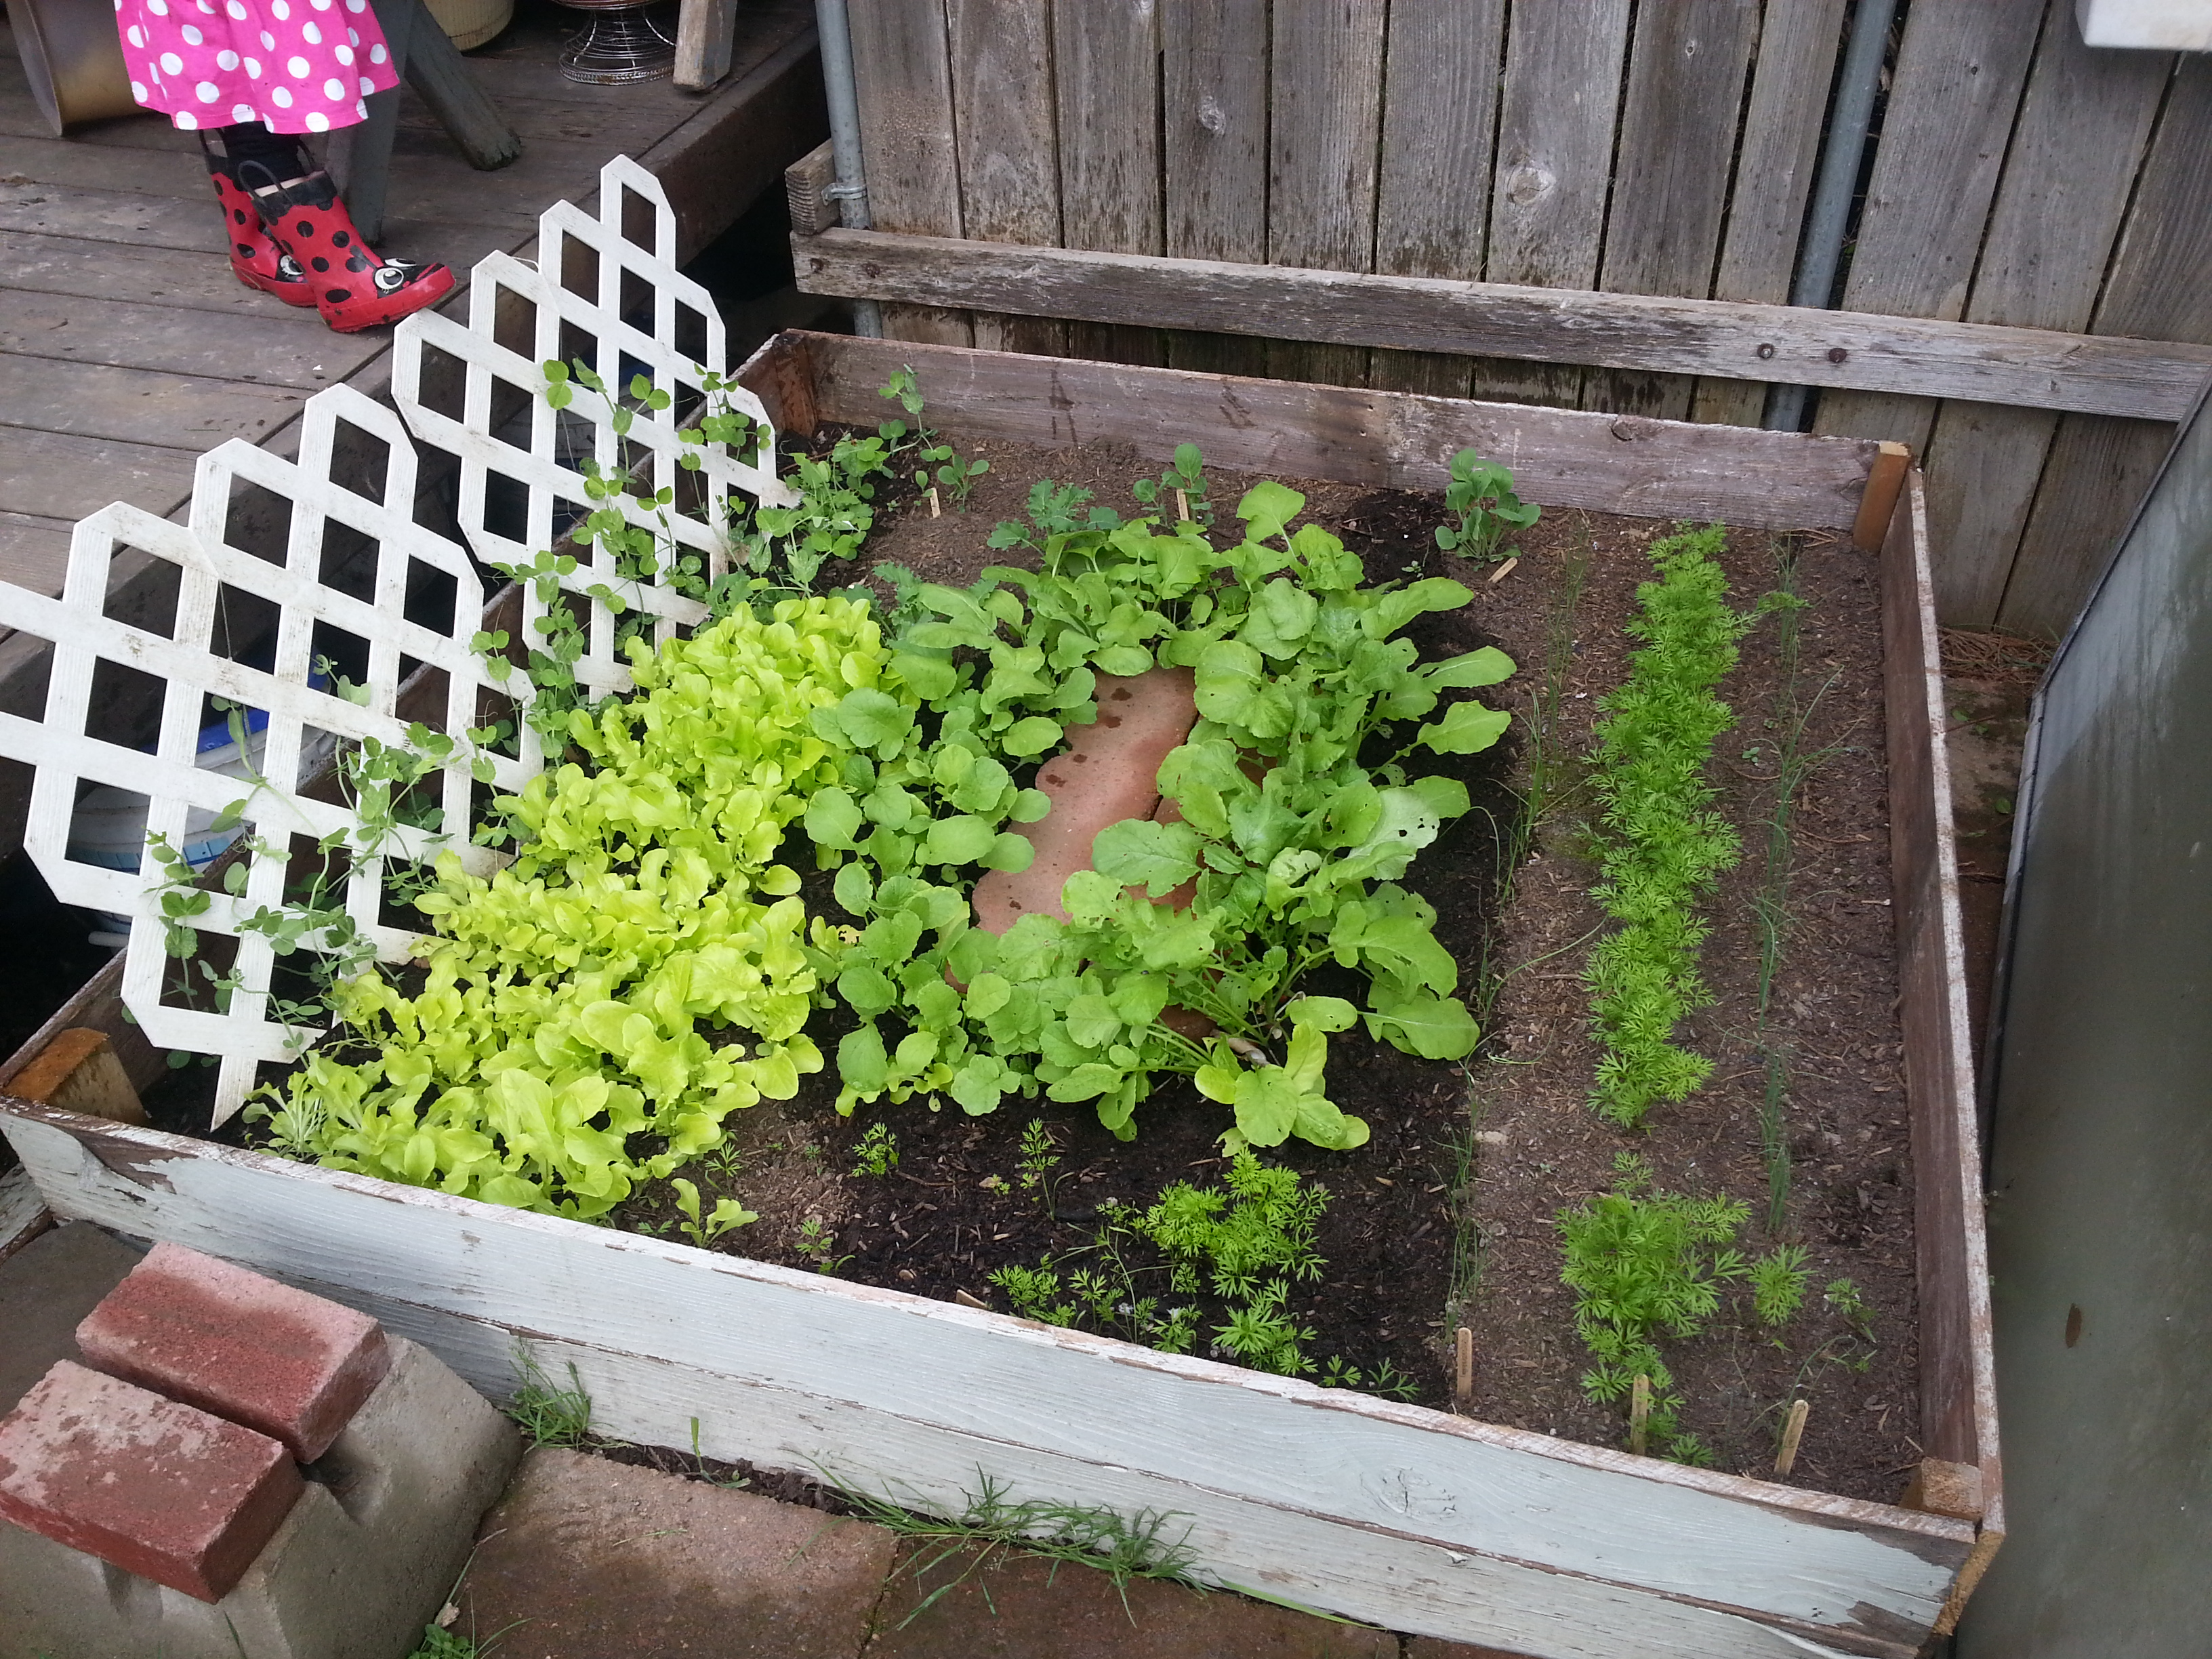
So, I walked to the chicken run where I had already dumped the contents and in no time at all, the girls were happily munching on radish and carrot tops from the garden.

As I walked away with the bucket in hand, no one followed me. They had gotten what they wanted. My groupies no longer cared about me.

And that is as it should be.

PS, I posted this on Facebook this morning. Four eggs yesterday! First time having 100% lay rate since the young ones started laying. Hopefully that will become the norm. 🙂

image

And look how dark those brown ones are. Absolutely beautiful!

Maridy

“I lift up my eyes to the hills, where does my help come from? My help comes from the Lord, the maker of heaven and earth.” Psalm 121

Reduce, reuse, recycle…repair

Several years ago, we bought an outdoor chaise lounger when we found one cheap at the end of the summer. After sitting outside for several years, it got a tear in the fabric. We were able to live with it like that for nearly an entire summer just by being careful, but the rip kept getting bigger and bigger. When we moved to Oregon, we decided it was time to do a repair. Being the seamstress that I am, I decided to sew it. But the fabric was brittle and we still had to be very careful with it (ie, SOMEHOW keep the toddler from using it as a trampoline!). The repair lasted the summer, though, so I was happy. But over the winter, the repair failed.

image

As the weather warmed up this spring, and we desired to sit out on our back deck more, we needed to do something with that chaise lounge. Replacing it was out of the question. The prices they charge at even the discount stores are astronomical. Besides that, we try not to waste things that can be recycled, reused, or repaired. And this qualified as something that could be repaired. Or at least fixed to a point that it is usable again without fear that the bottom is going to fall out on you at any moment.

image

So, I had the great idea to use twine to do the repair. Since the ripped area is at the foot of the lounger, not a lot of weight with be put on it, generally. And I wanted to do the repair as quickly and cheaply as possible. This package of 100 feet of line was less than $4. I tied it off and started wrapping around the whole bottom half of the lounger.

image

I was surprised at how far 100 feet of rope didn’t go. I had to space out the wraps more than I thought I was going to have to. But, it worked out.

image

Once I had it all wrapped, I took up any slack in the line. By doing this three times, I was able to tighten it up quite tight and gained enough length at the end to go around a couple more times.

image

I eventually got everything all tight and spaced out and I tied the end off. All that was left was to put on the cushions (yes, two!) and give it a test.

image

I’ve used it quite a few times in the last week, and I have to say that it works quite well. 

What do you think of my cheap fix?

Maridy

“I lift up my eyes to the hills, where does my help come from? My help comes from the Lord, the maker of heaven and earth.” Psalm 121

Fresh salad!

Fresh salad, straight from our garden/yard. Yum! I needed to thin out the lettuce from the small garden, I picked some of the over-wintered-but-not-doing-so-well spinach from the big garden, and I found some dandelion greens in the yard. I had a head of purchased iceburg in the fridge and add to all that some borage flowers which just started blooming and you have a gorgeous salad almost too pretty to eat. Almost, but not quite. 🙂

20150409_175350

I love that dandelions are considered a weed, yet they are edible and good for you. And the borage is a volunteer which comes back every year.

Edit: For the health of you and your family, be sure if you are harvesting any wild edibles that they come from a trusted source not treated with any harsh chemicals! We don’t use any herbicides or pesticides or even any fertilizer on our lawn, so I know the dandelions are safe to eat.

It begins!

I’m so excited. We got our first egg from one of our pullets. We received the chicks in November at about 3 weeks of age. I figured they’d start laying in April sometime. Looks like I was right!

image

I just love the deep brown color of this egg. The only brown ones we've ever gotten through the years have been light colored.

Our English Game Hen (who is about 2 years old) started laying again a couple months ago after the winter. But she only lays about 4 eggs a week, and since she is Princess Girl’s pet chicken, the eggs were reserved for Princess Girl to eat. So I’m very excited to start getting eggs from our other girls for the rest of us to eat. With only 4 hens, though, they won’t produce enough eggs for all of us on a regular basis, but they’ll offset how many we have to buy. And we buy a lot of eggs!

Dreaming of the day when we have room for a larger flock. 🙂

Maridy

“I lift up my eyes to the hills, where does my help come from? My help comes from the Lord, the maker of heaven and earth.” Psalm 121

Garden Update

So, I went away for 10 days and came back to some radishes and lettuce ready to pick, or at least thin out (and eat the thinned one’s 😉 ). And just about everything too tall for the glass cover.

20150408_101728 20150408_101735 20150408_110320 20150408_110326


Princess Girl was excited to pick some of her radishes, even though she’s not even sure if she likes them.

I’m not quite ready to leave the garden completely open to the cat, though. He likes to curl up in the warm sun, right on top of my baby onion plants. So, I’m thinking I’ll put another level of boards up around the garden and raise the glass that way. Then we can continue to let the chickens roam free too. Yeah, the chickens would decimate the garden right now. In fact, they were out and about while I was checking on the garden this morning and were VERY interested in what was in that box!

In other news, the spinach in the pots on the deck are doing much better than the boxes on the fence. I’m thinking the fence boxes might be holding too much moisture. Need to drill a few holes in the bottom and see if that helps. And I need to trim the honeysuckle already. It grows so fast, but I knew it would. Hmmmm, looks like I have some gardening work ahead of me tomorrow. Ahh, shucks! 😉


How to preserve marigolds the “easy” way

The no-work, no-fuss way to get perfectly preserved marigold blooms:

1.) Have a child

2.) Grow Marigolds or otherwise acquire them

3.) When child is around 2 – 3 years old, buy said child a clear plastic beverage bottle

4.) Leave said child, in possession of said beverage bottle, in the care of husband

5.) Find said beverage bottle in toy box two weeks later with perfectly preserved marigold blooms inside

*Disclaimer: Author does not claim that step #1 or the intervening years between #1 and #3 is easy, only the end result of having preserved flowers, without having the do the work yourself. The author does not know why you would want to preserve your marigold blooms in such a way or how long they will last, she is just offering a unique and easy way to do it. 🙂

(This article first appeared on Maridy’s personal blog in 2008.)