Category Archives: Skills

Skills and ideas for the homesteader

Garden beds

In February, we had a run of really nice weather and it got us itching for spring. Pajii in particular is really missing being able to garden. His garden up in Oregon, though small, was prolific and beautiful.

Pajii’s garden in Oregon – 2014

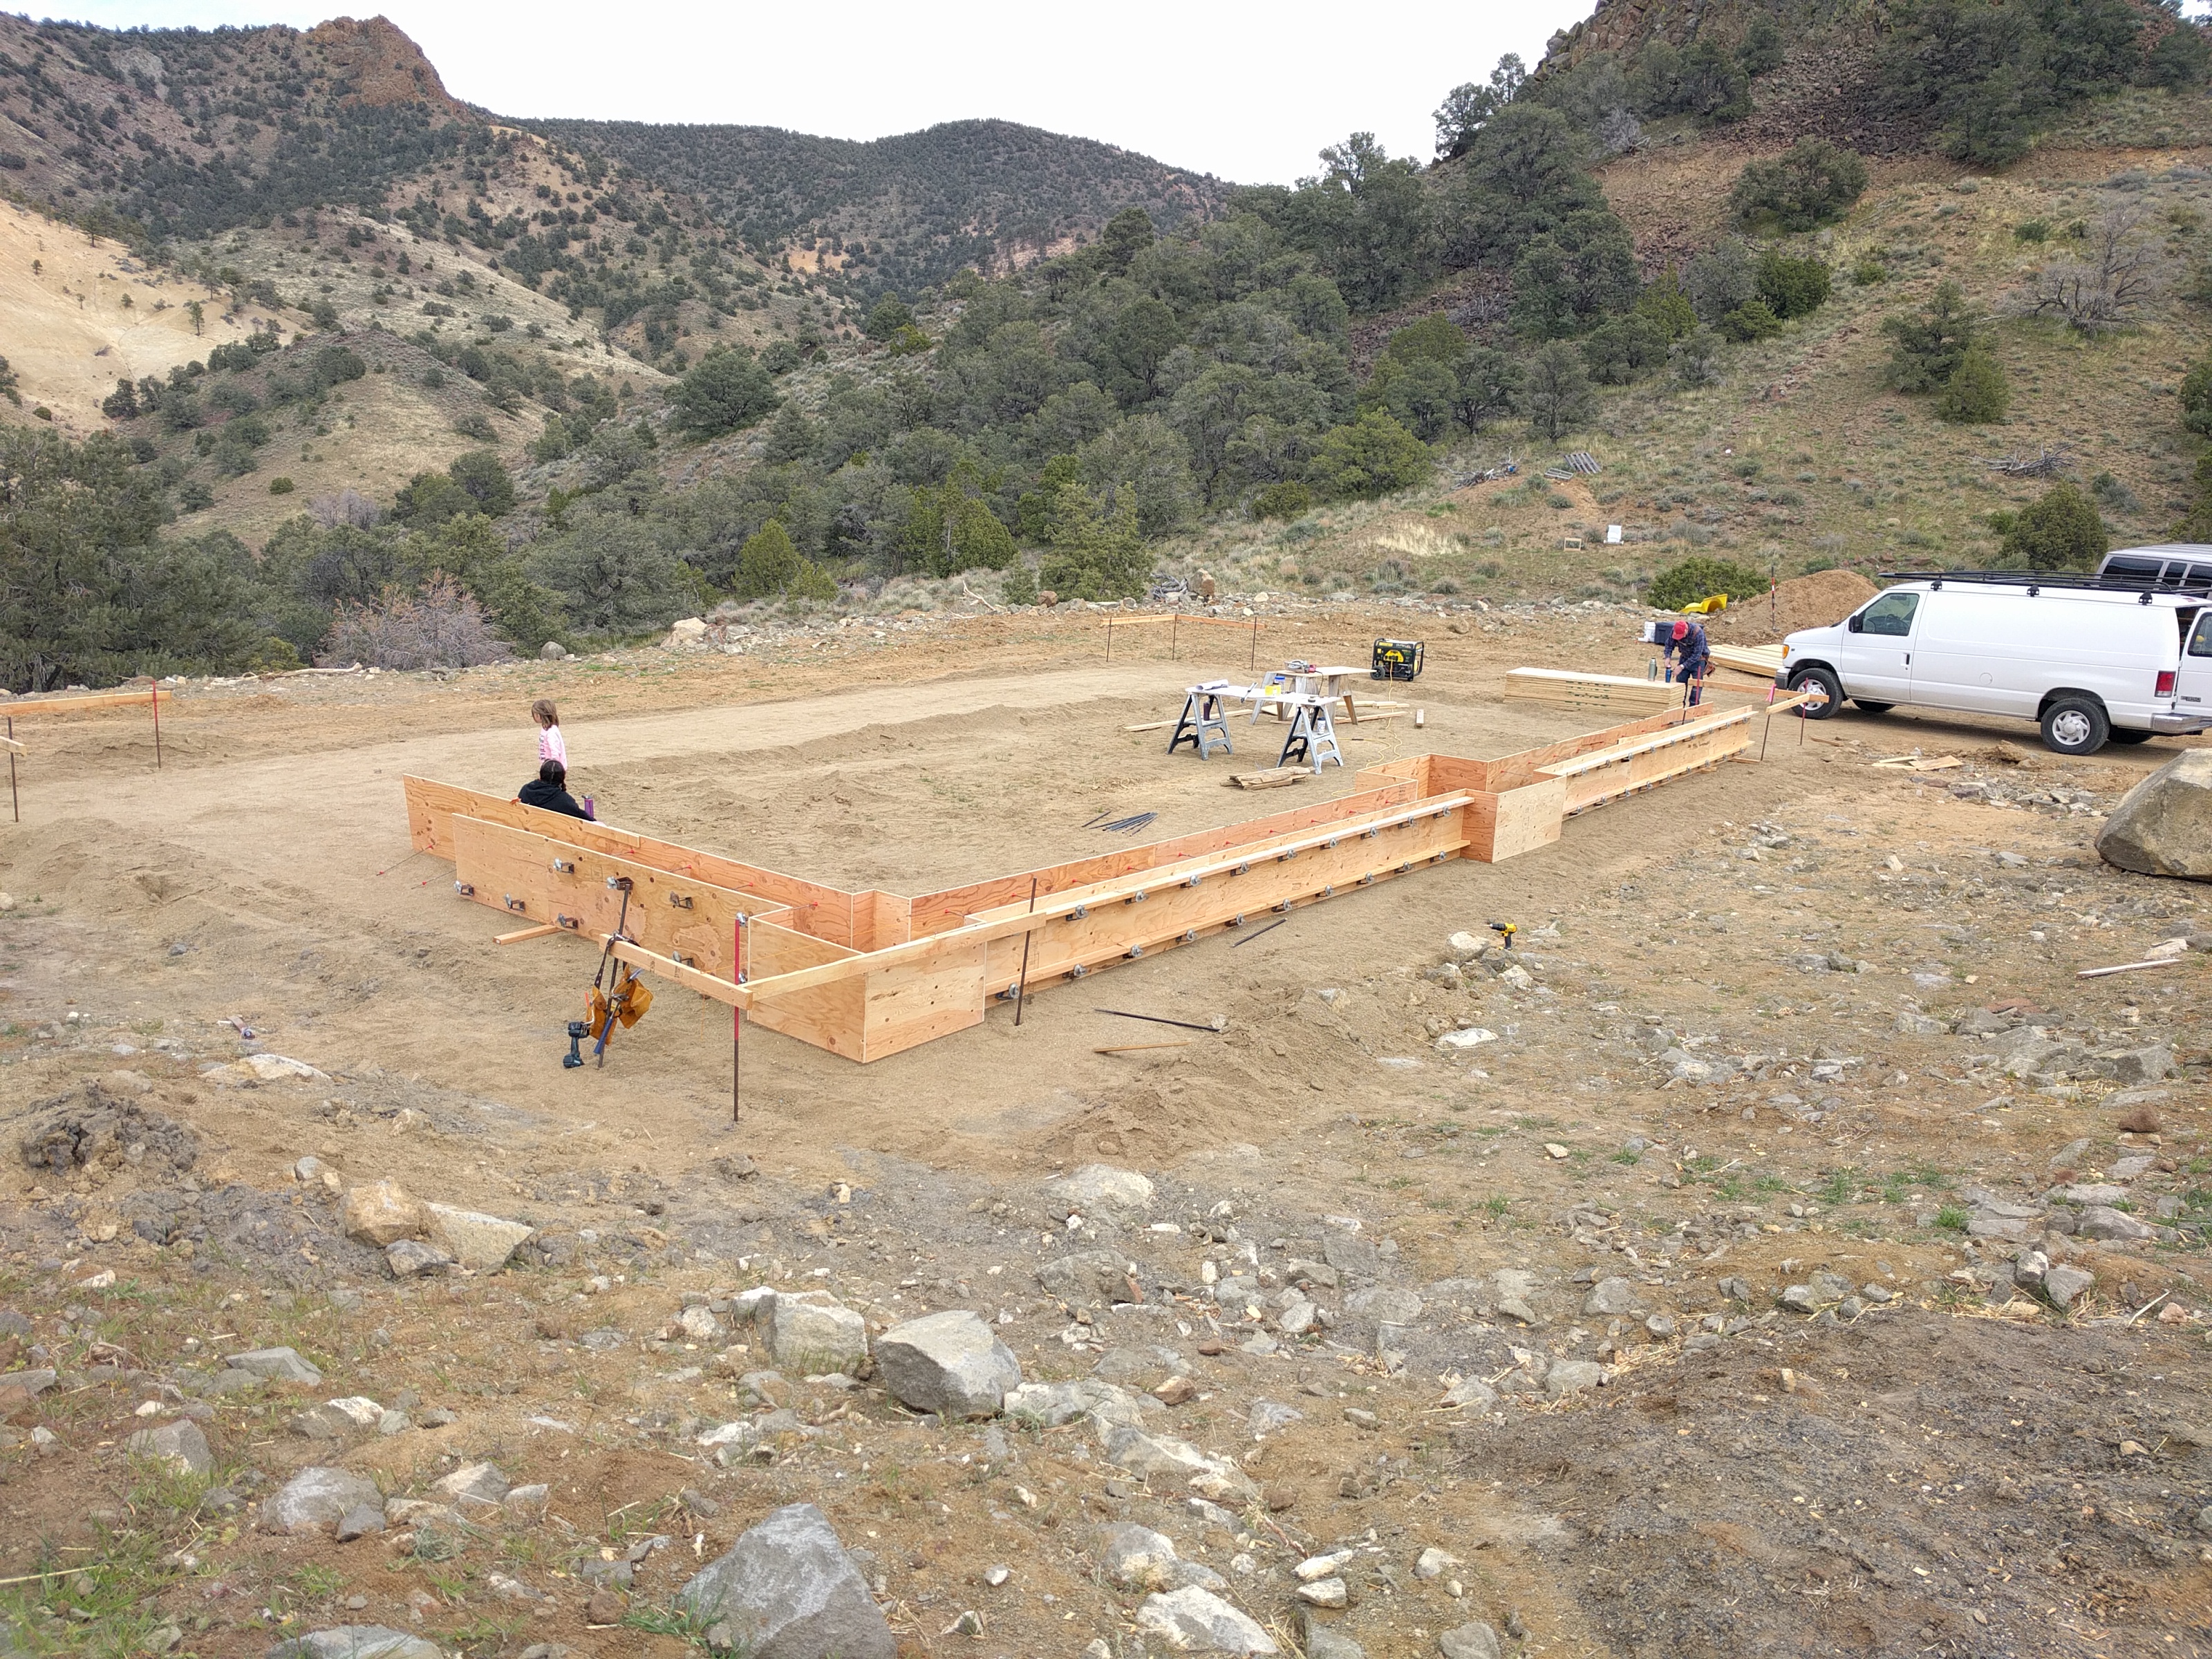
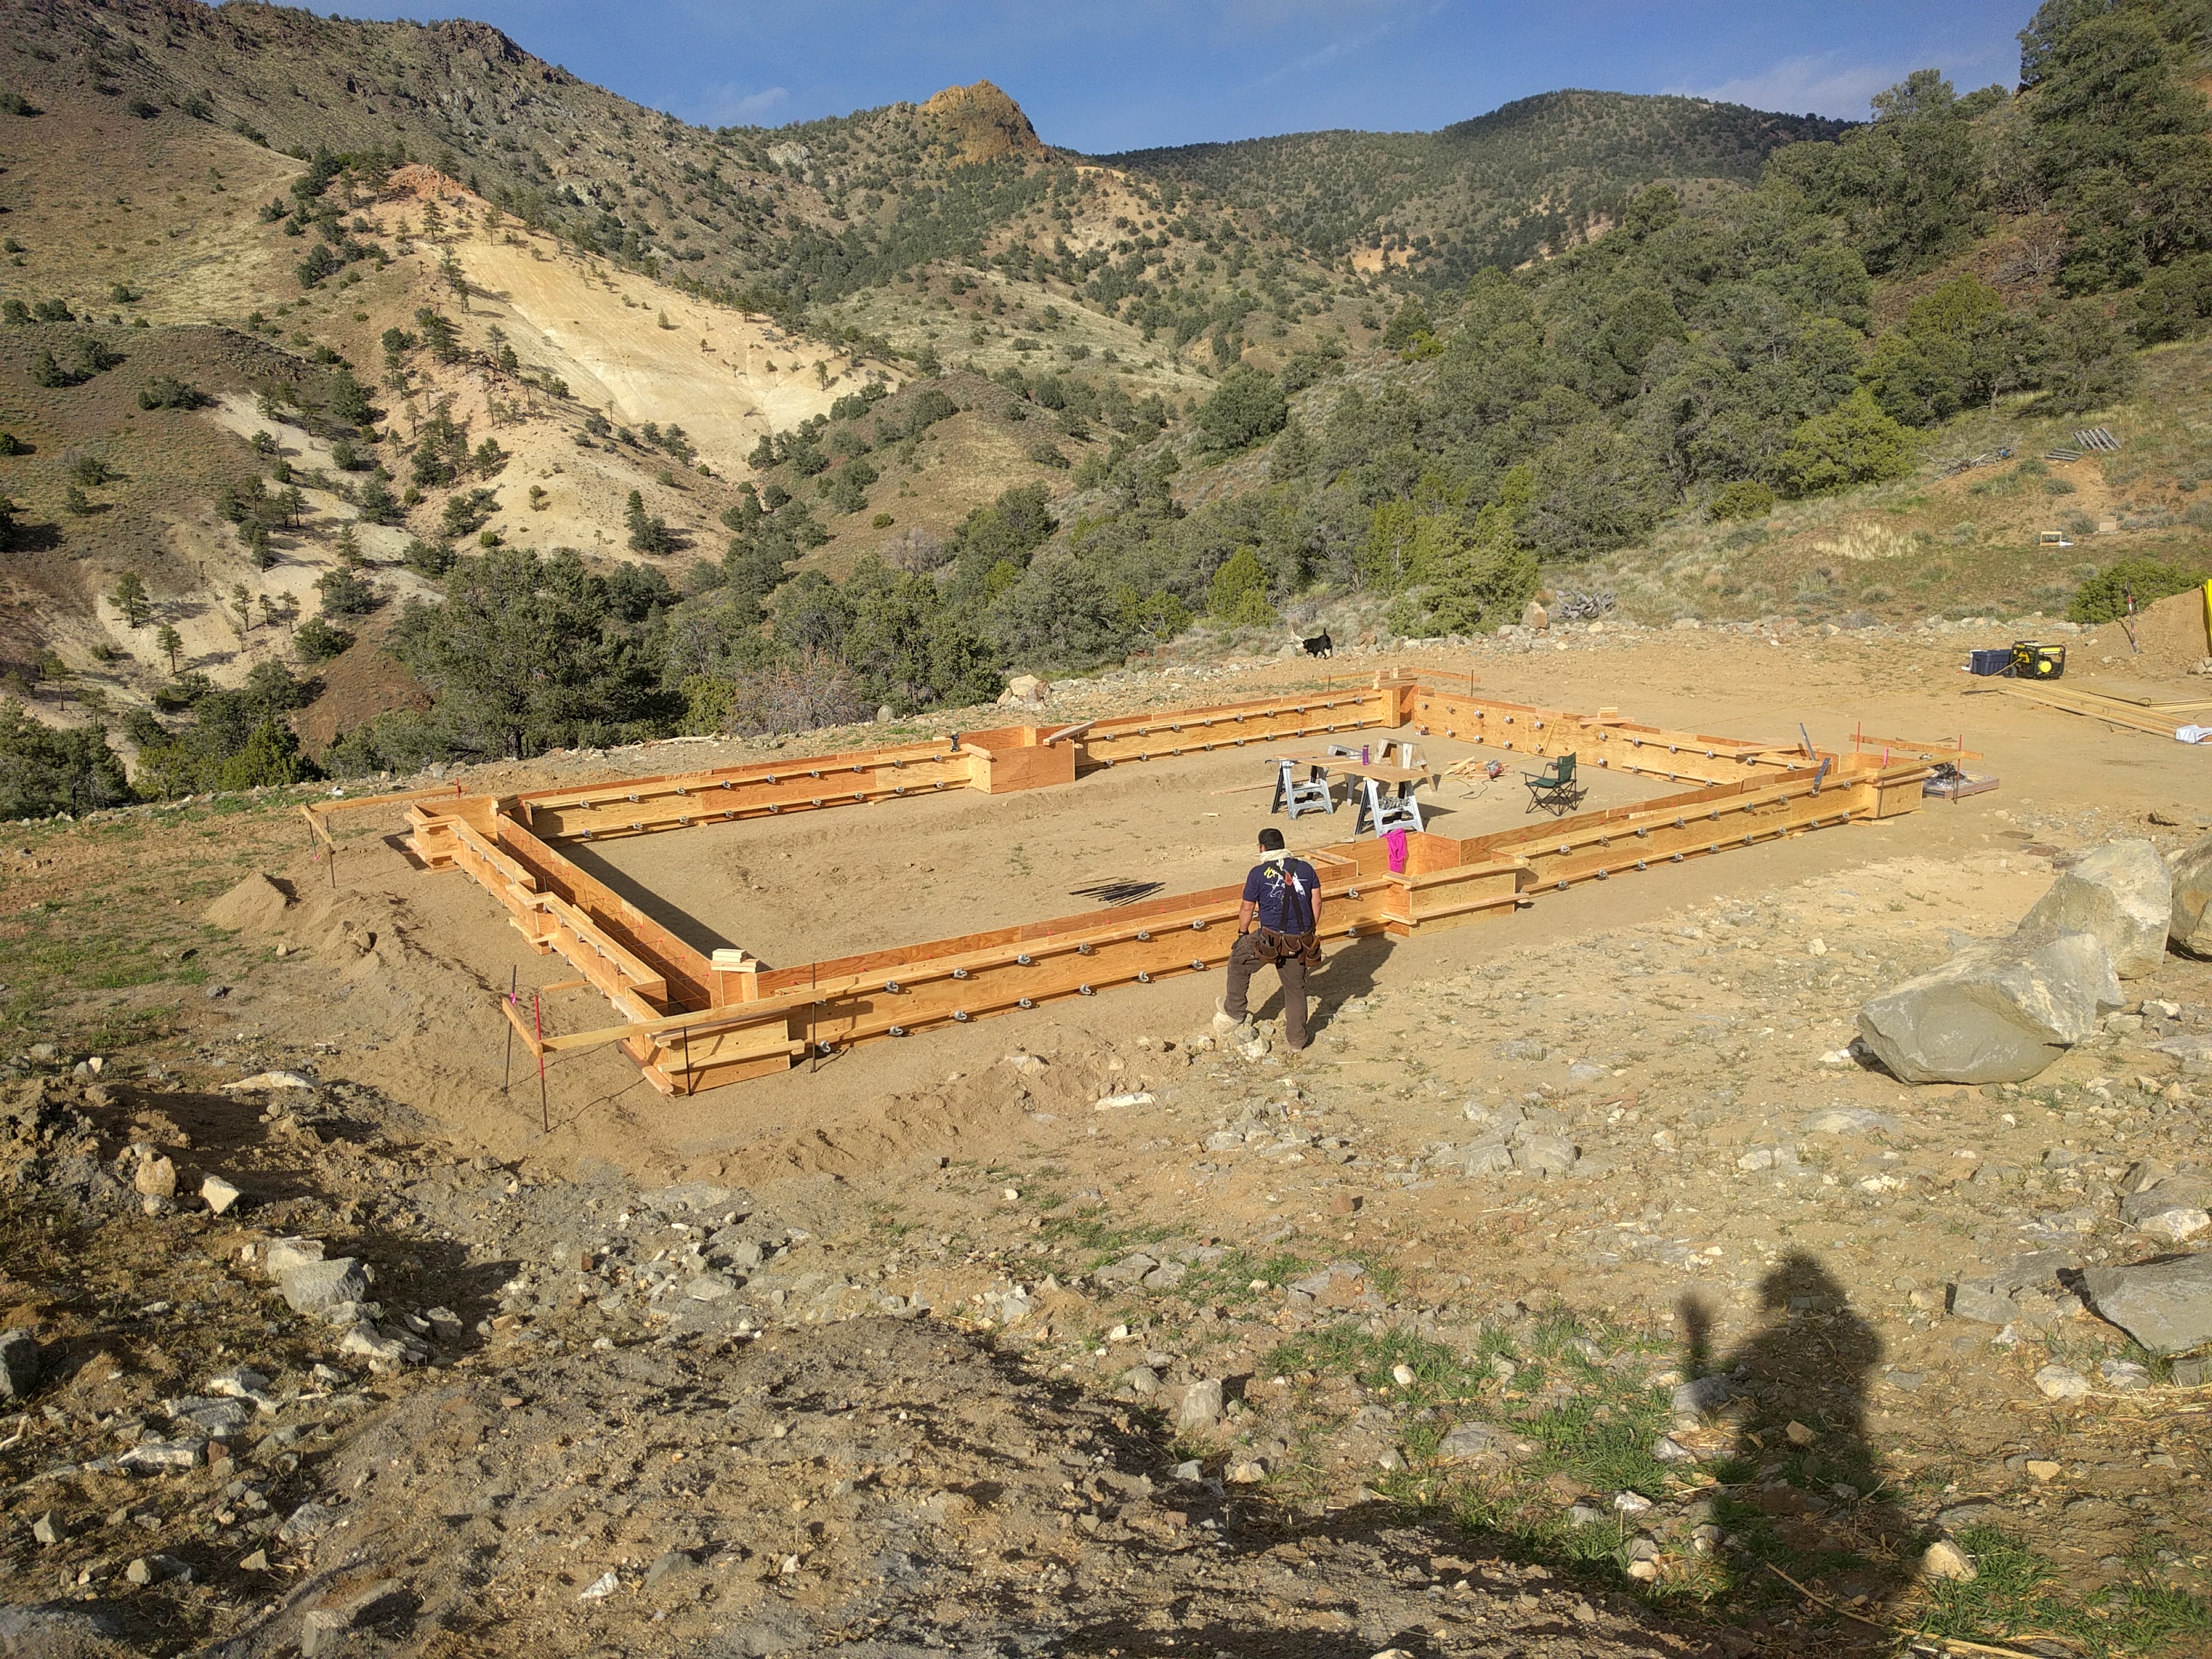
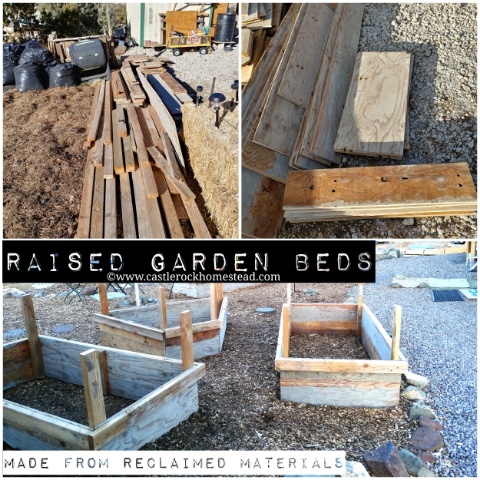
So, since we couldn’t work on the house (still waiting on our contractor to finish the walls and roof), and we had such nice weather, I decided to knock together some raised garden beds for Pajii to work in come spring.

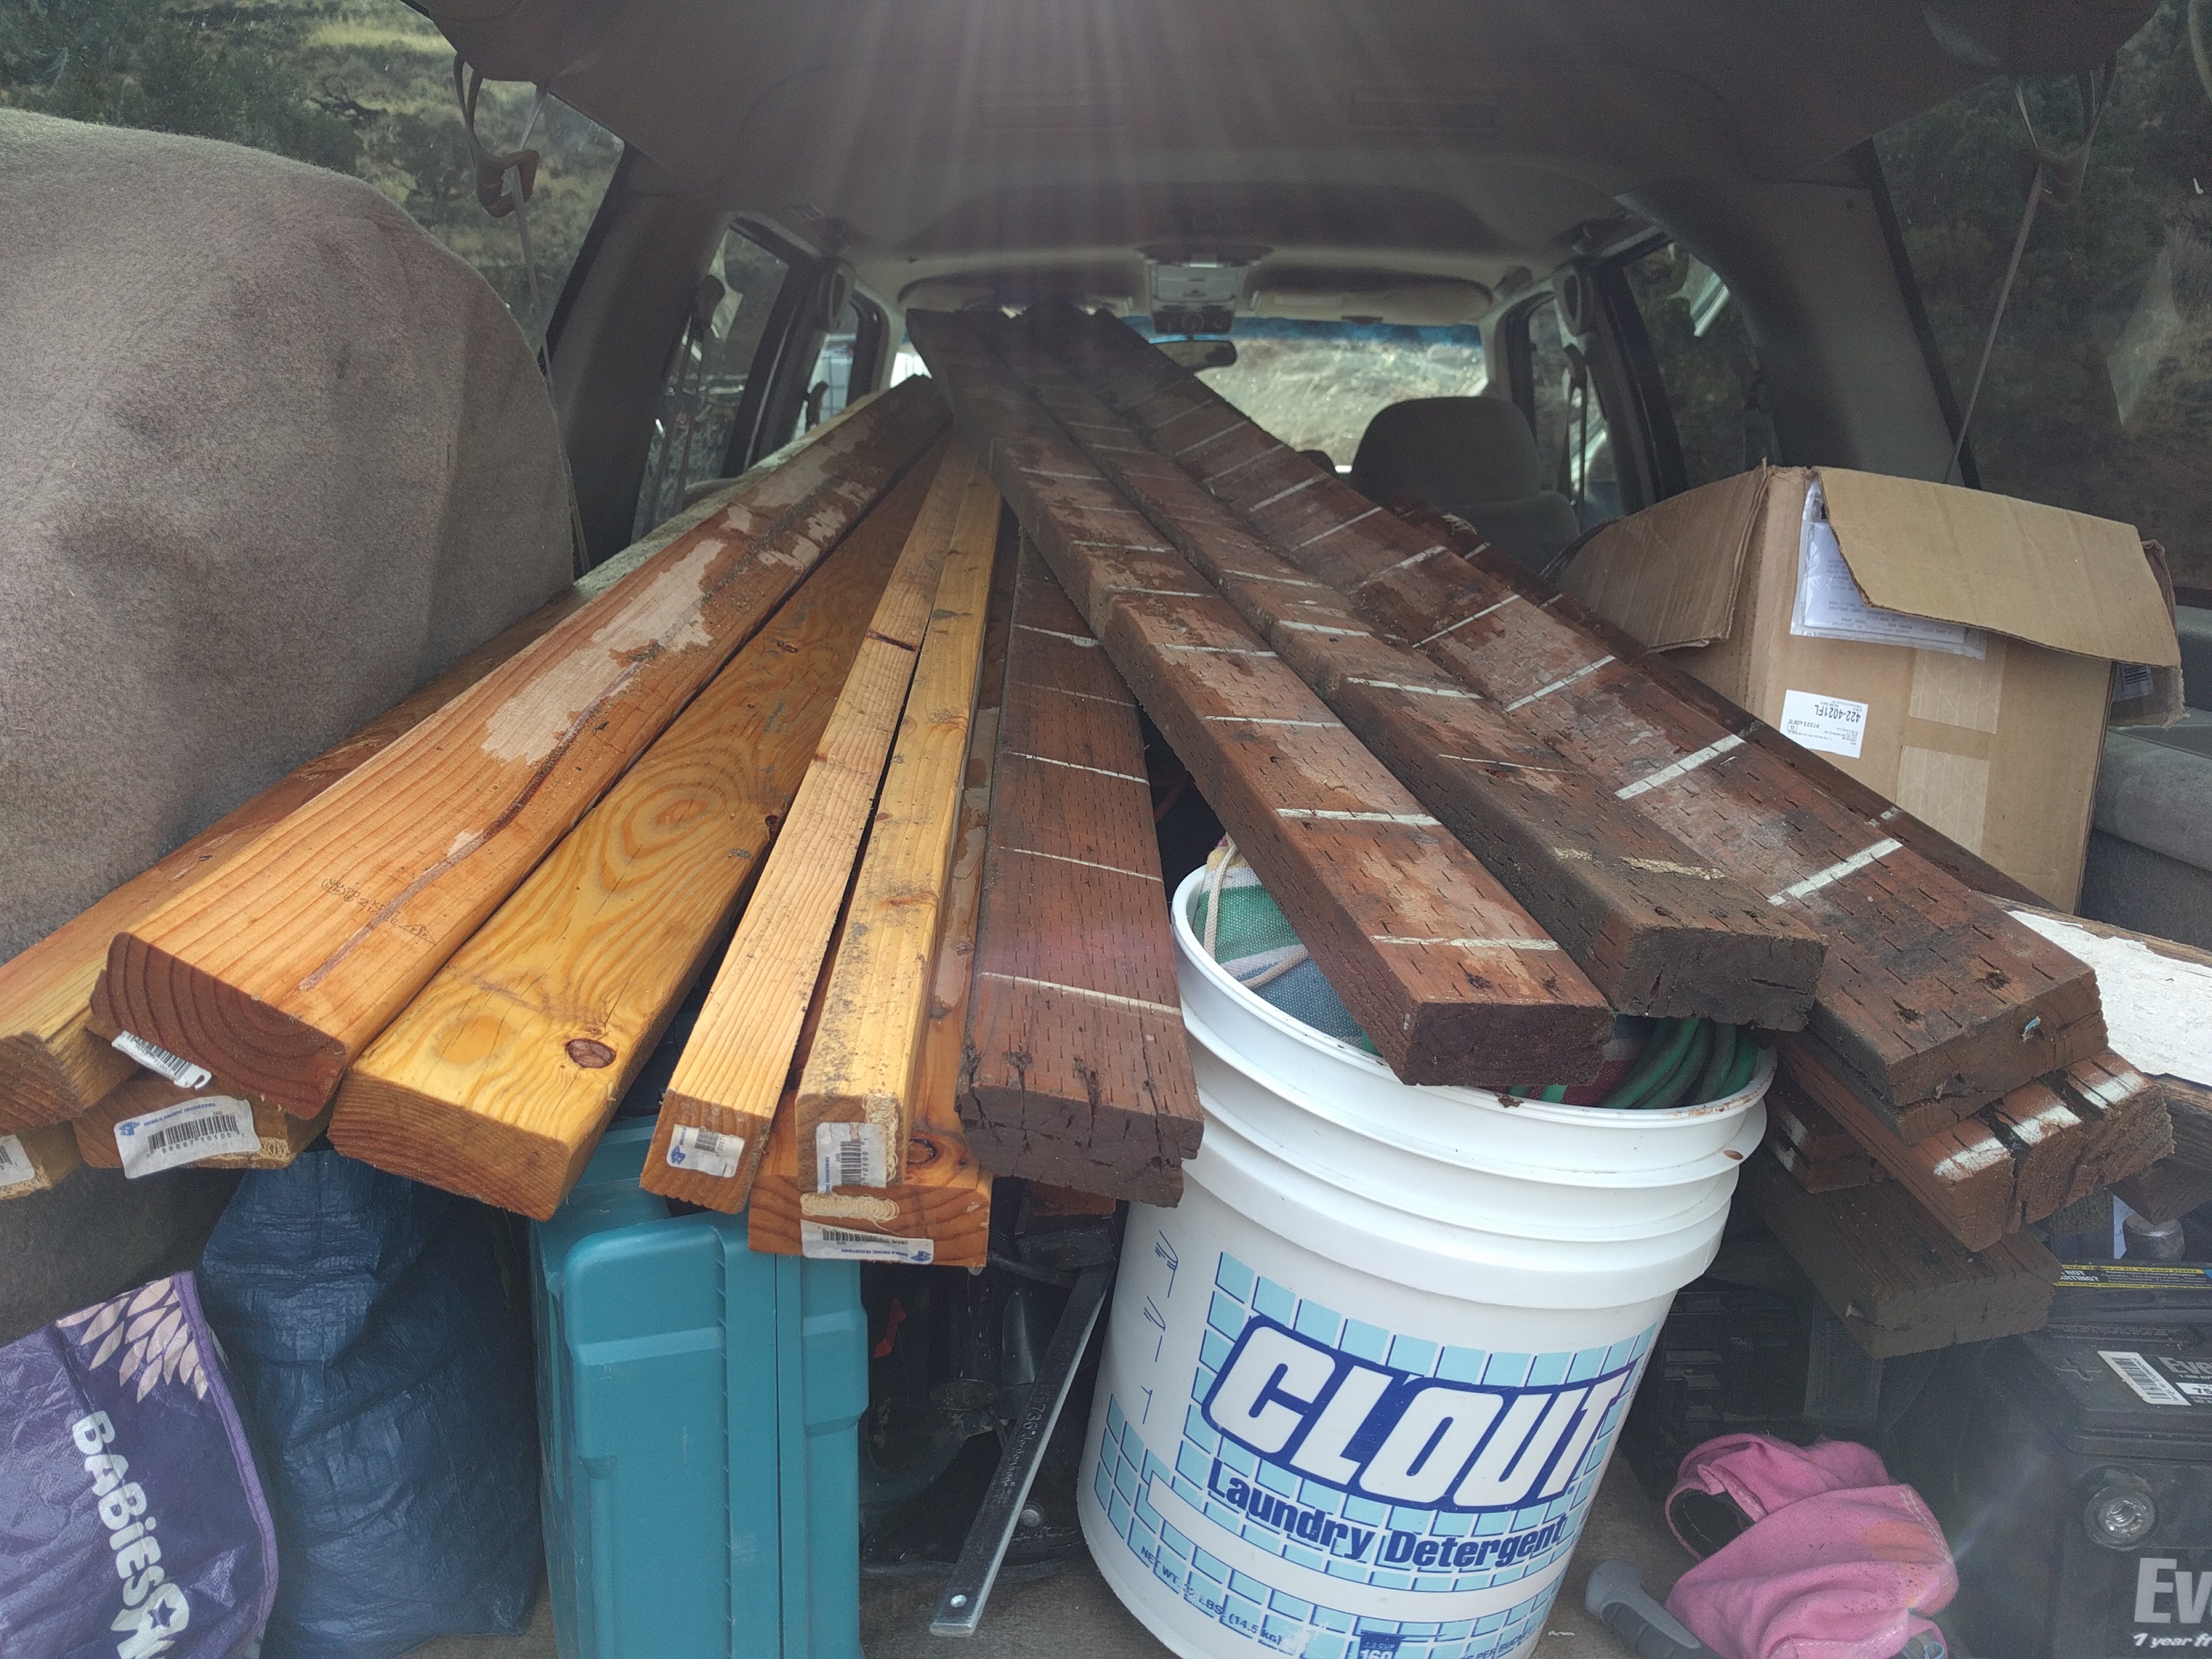
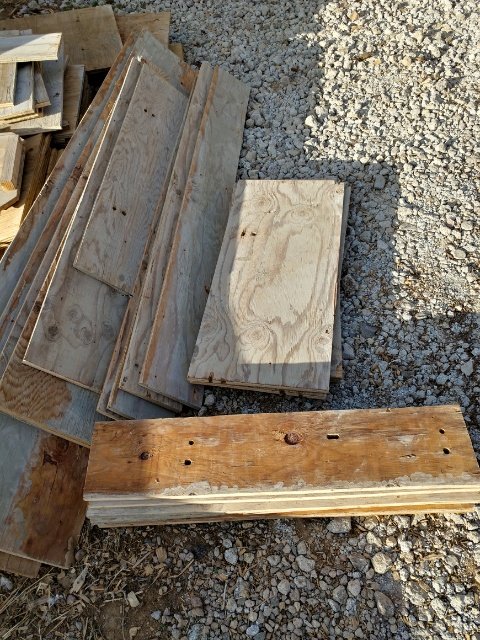
I decided to use our wood left overs from the concrete forms for the house foundation.

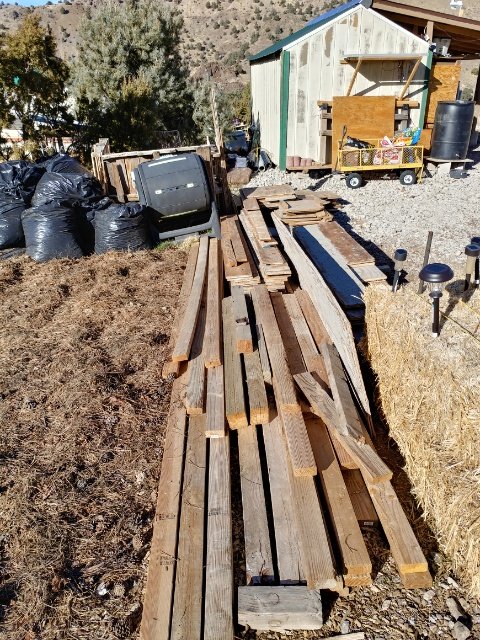
This is only some of the wood we reclaimed from our forms for the foundation.

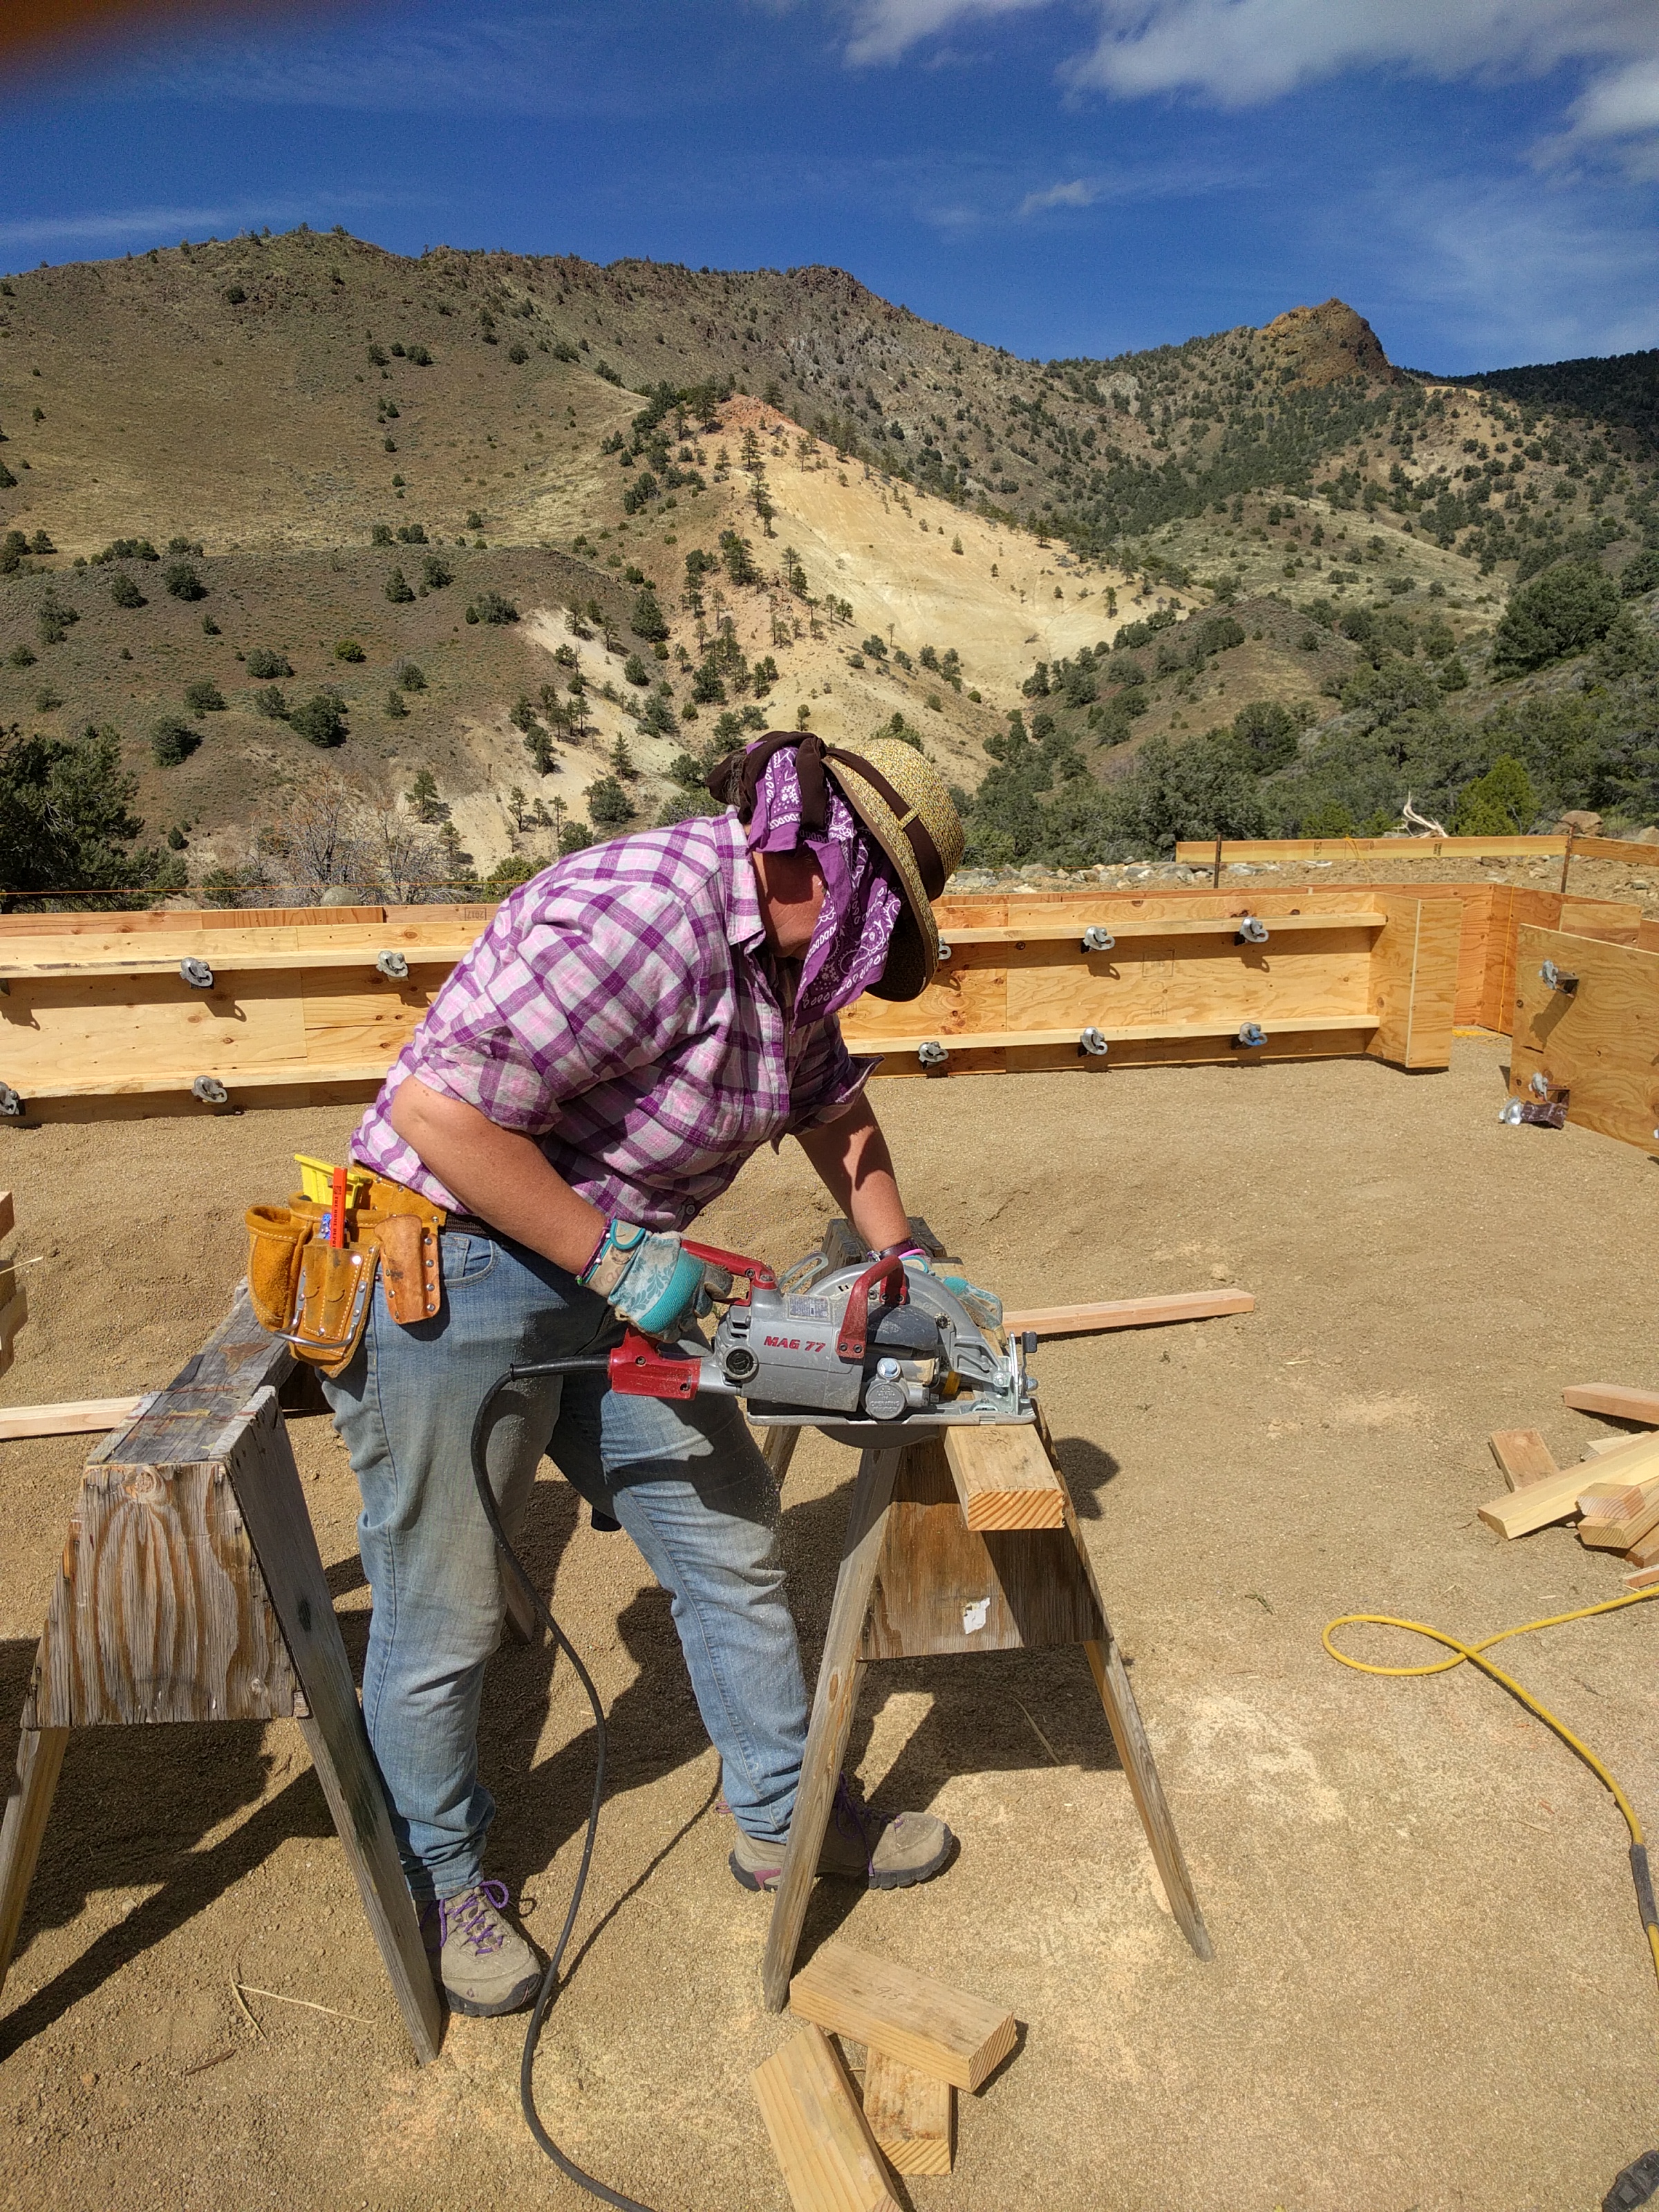
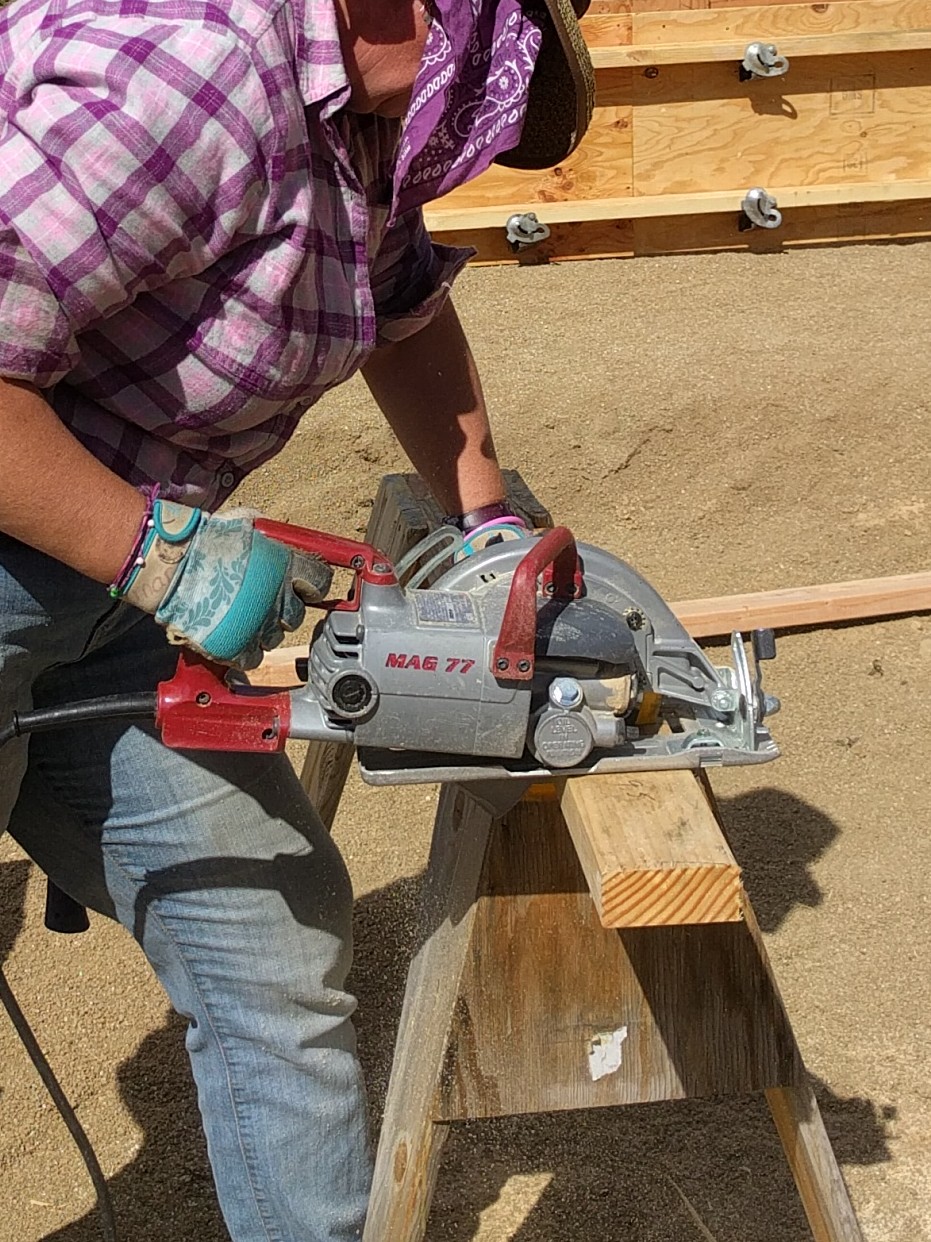
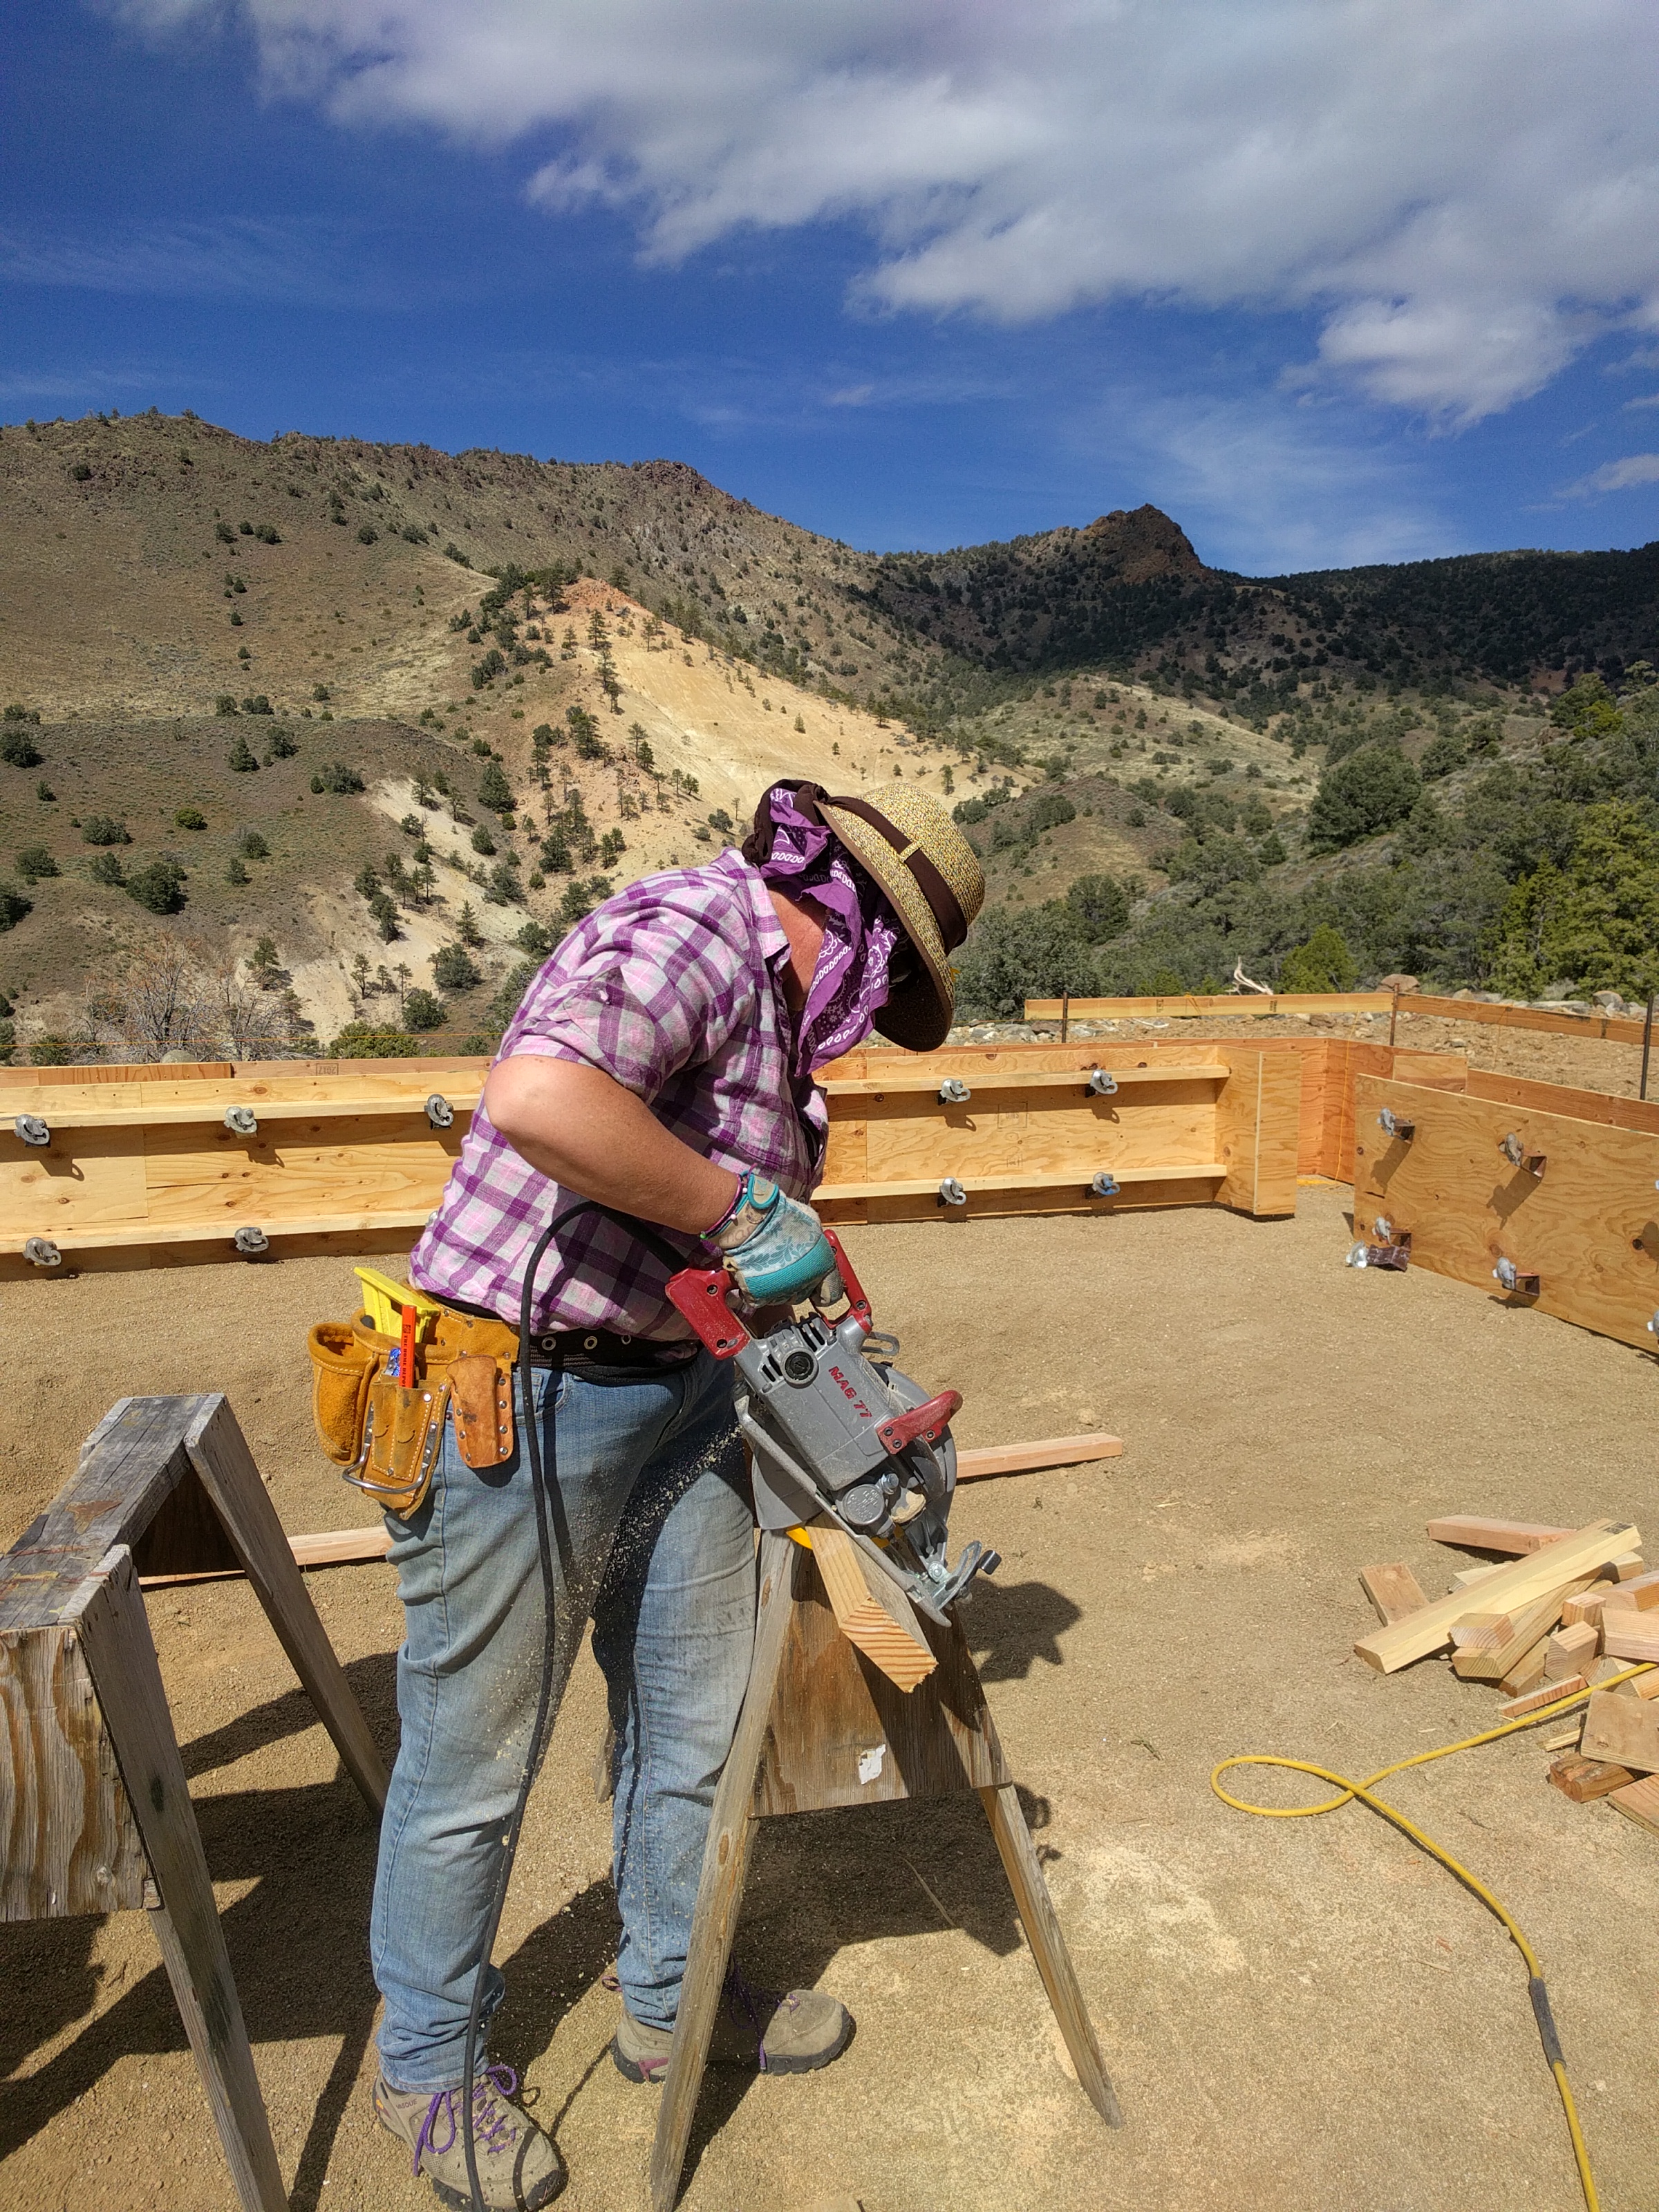
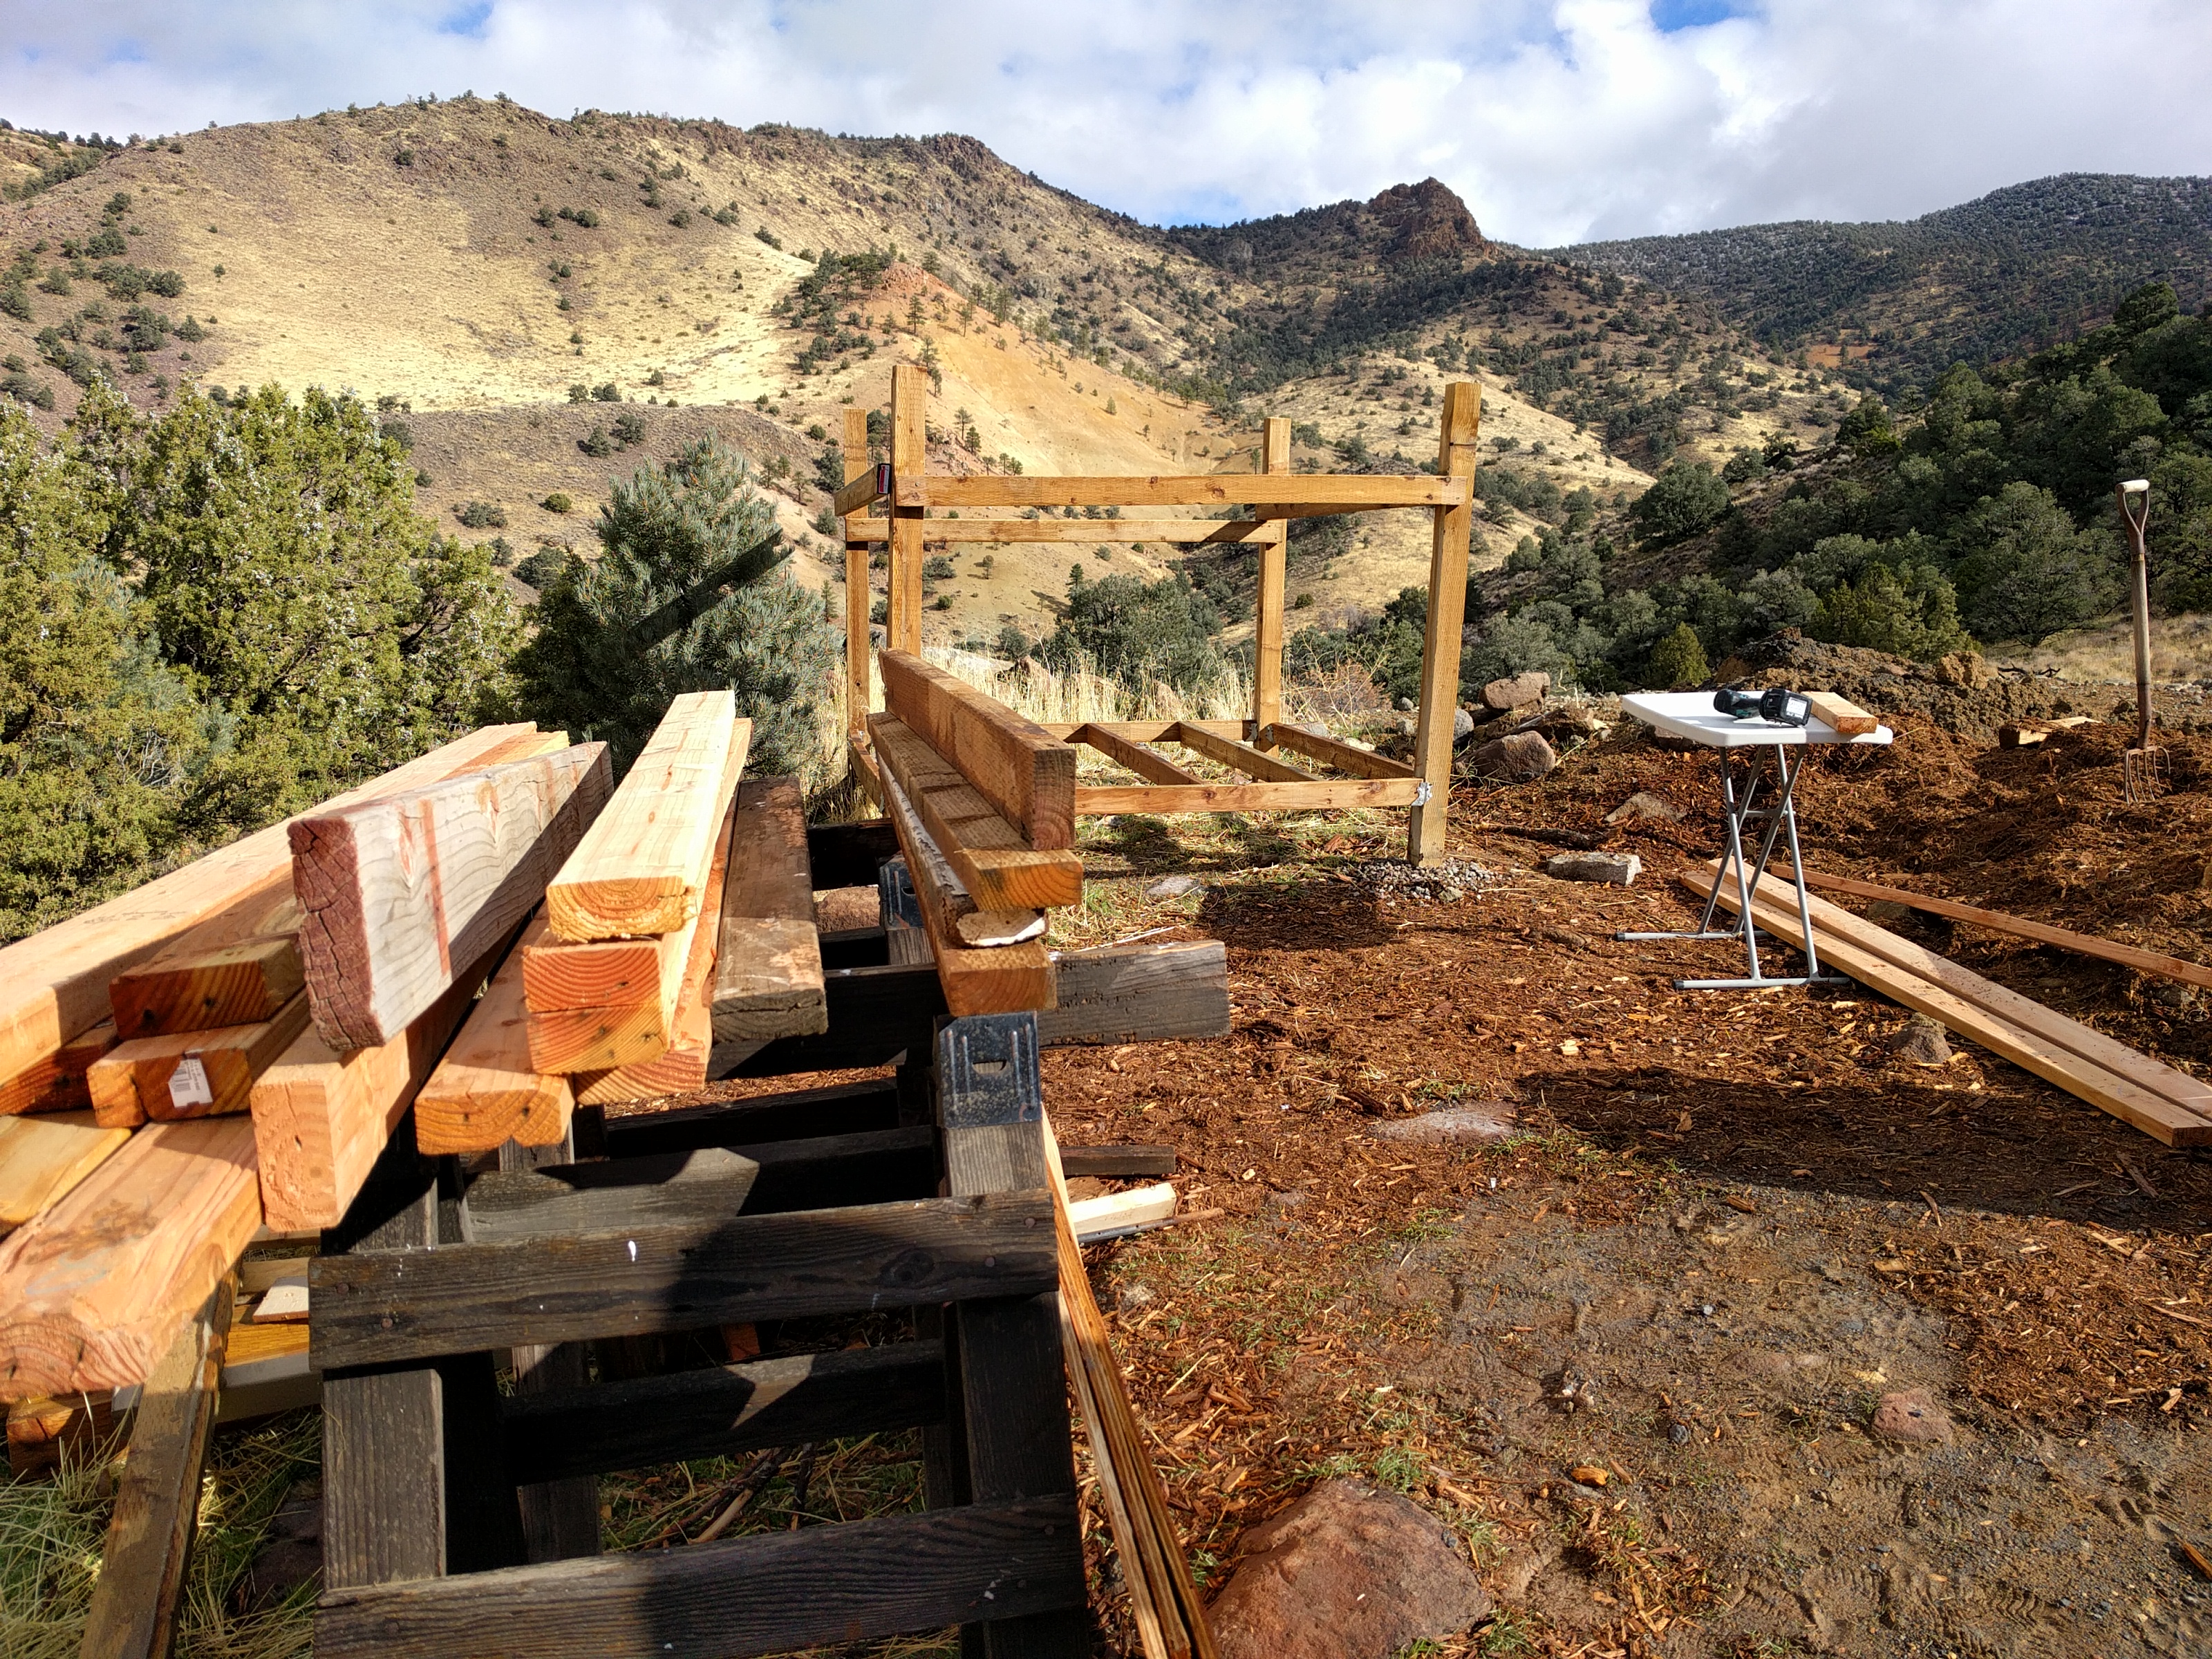
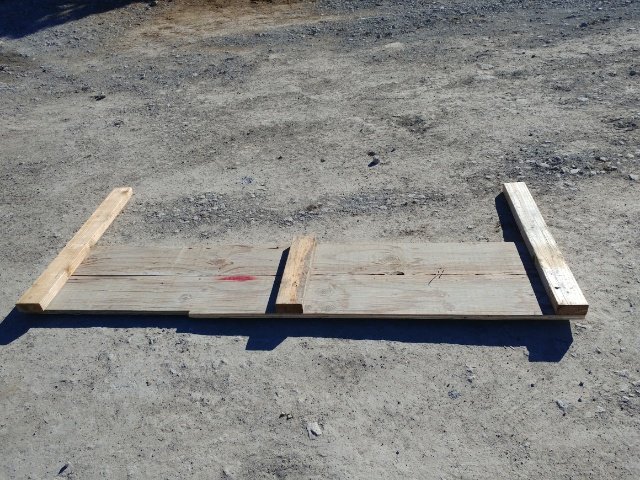
I measured and cut and organized and got all the pieces sized and ready to assemble.

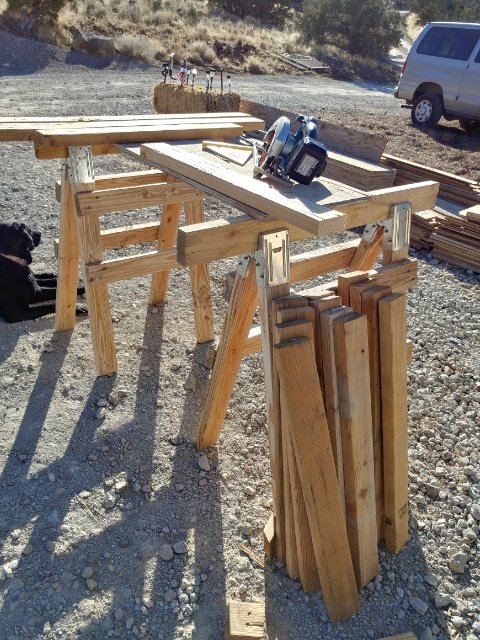
A lot of the 3/4″ scrap plywood was 8 or 16 inches wide. This made it easy to figure out how tall I wanted the beds to be.

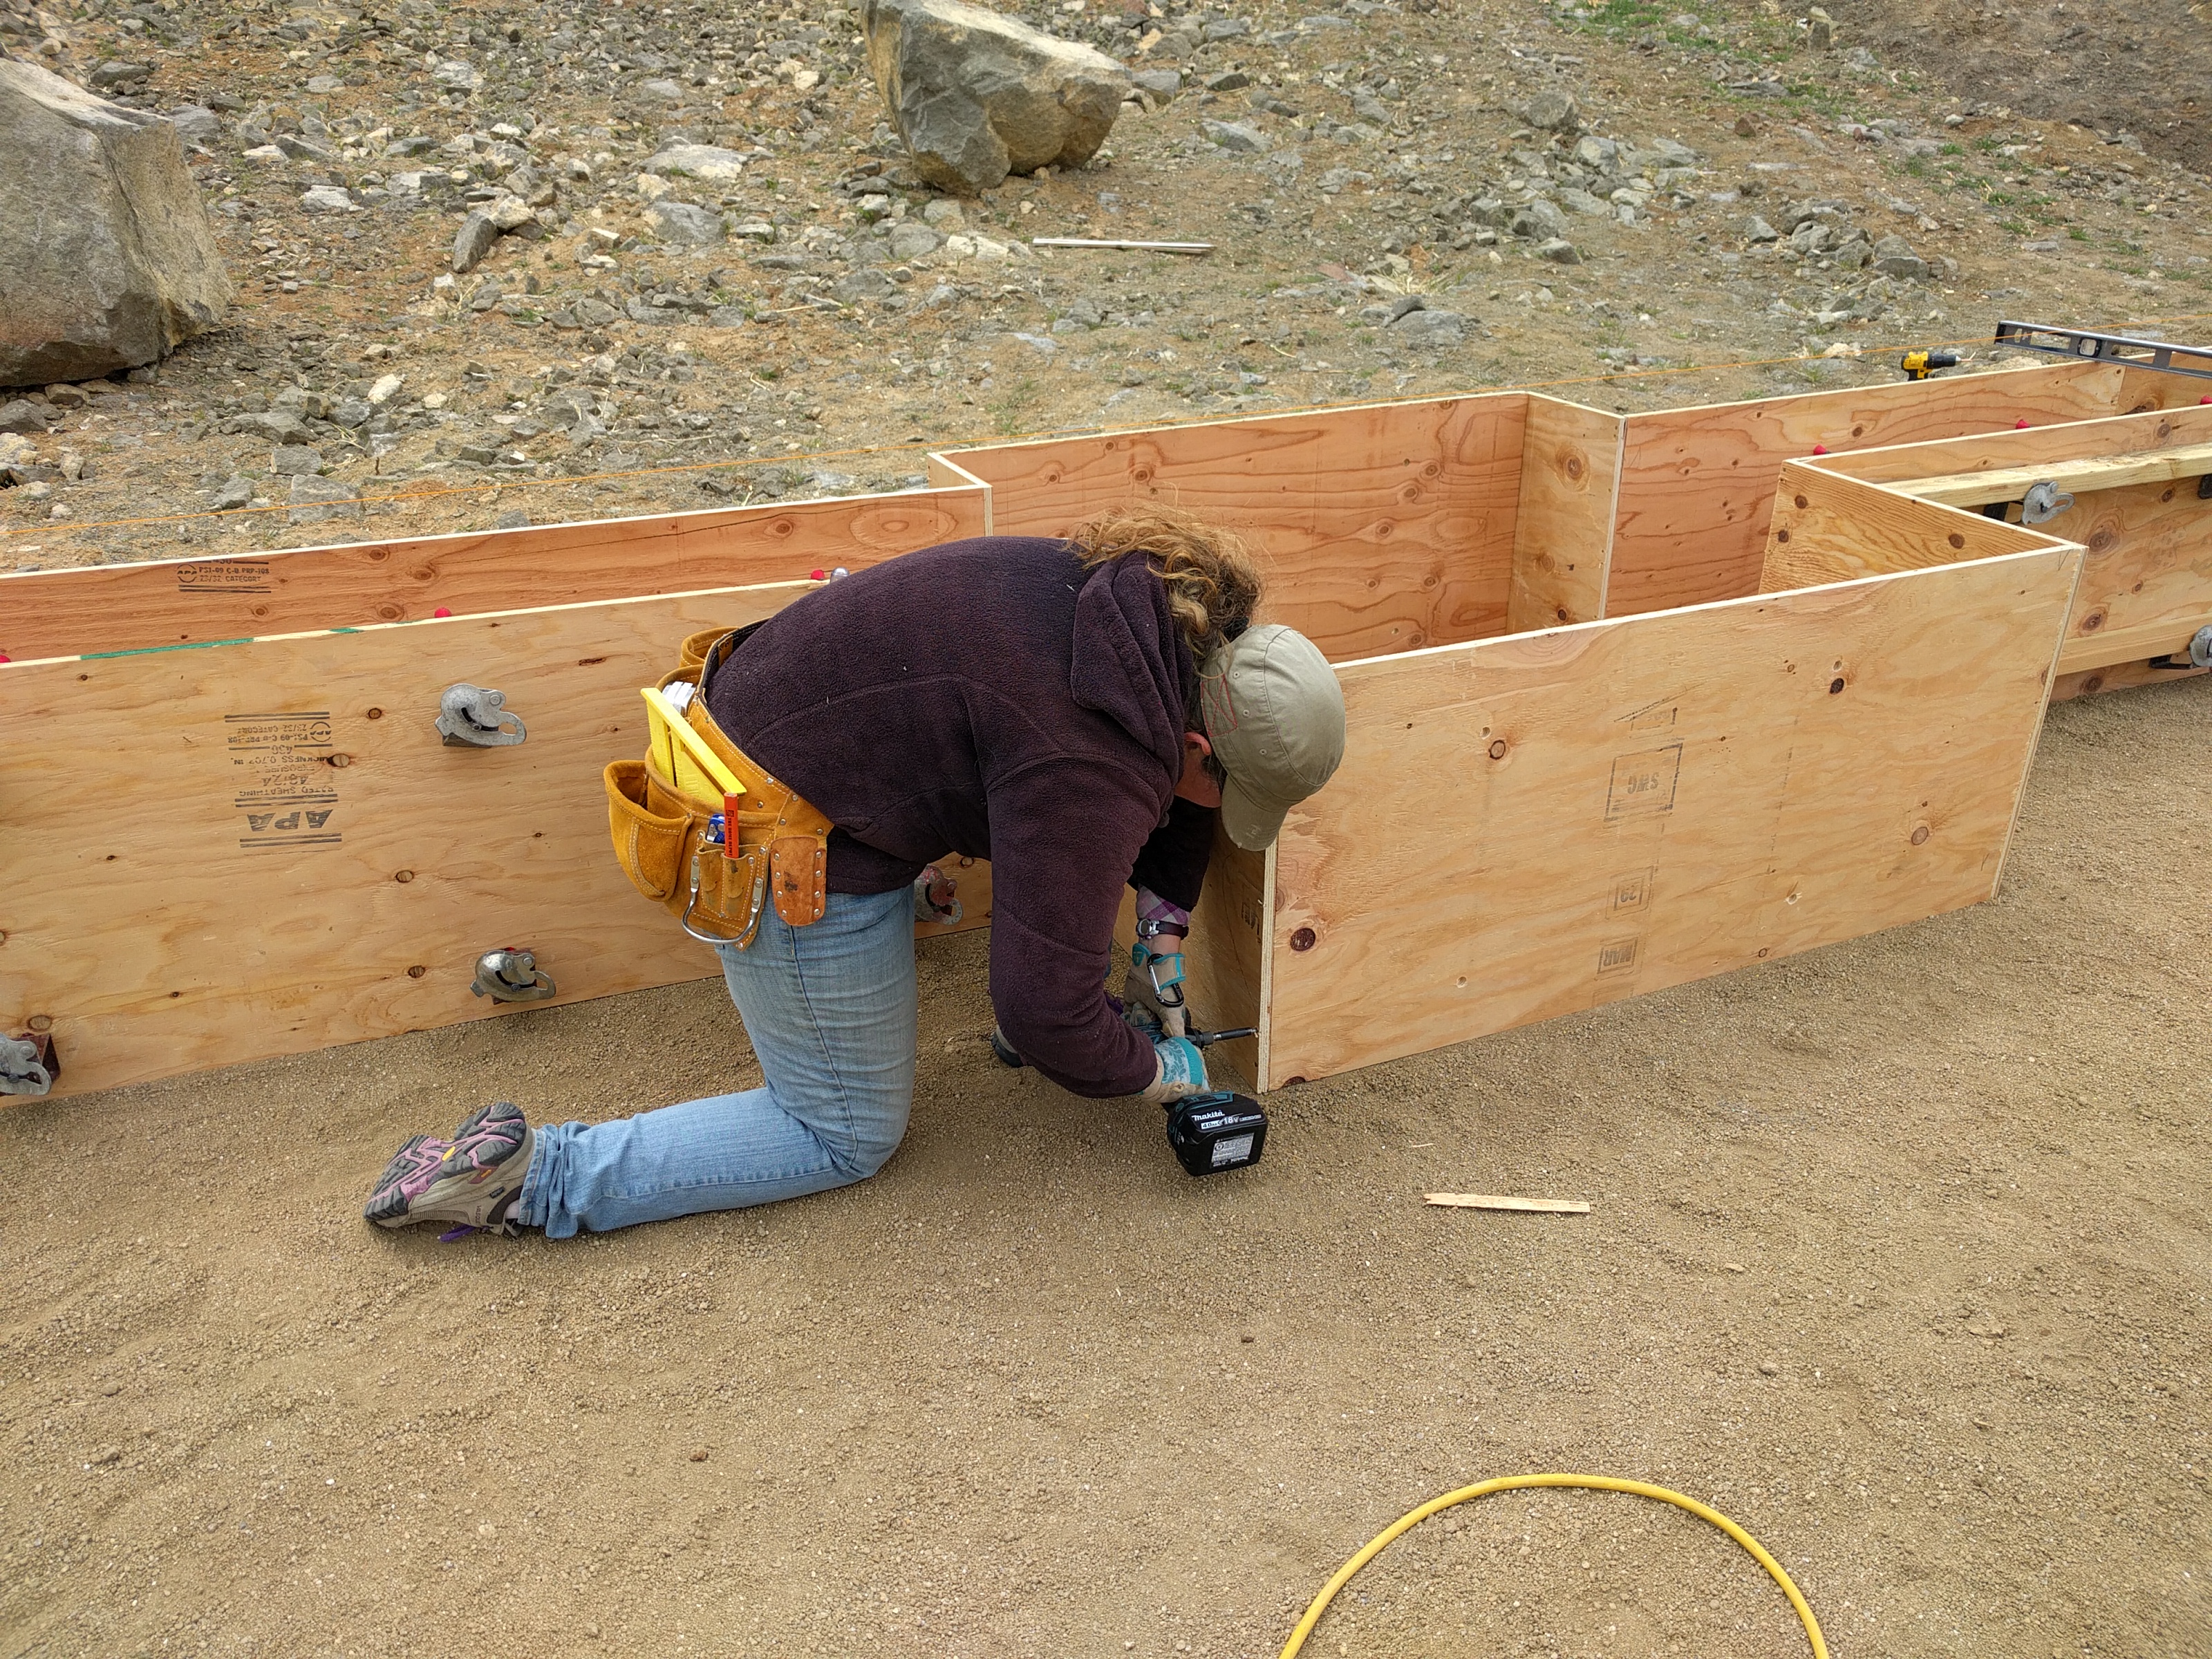
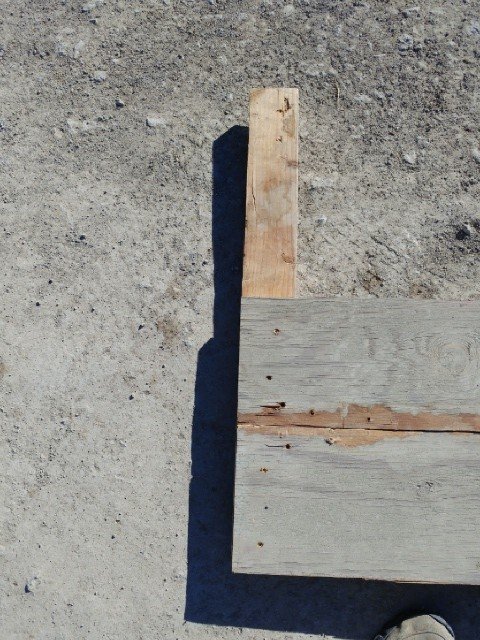
I started by attaching my side panels to the corner 2×4 posts which I cut to be twice the height of the panel. Since I wanted to use as much of the smaller wood scraps as possible and leave larger pieces for future projects, I had to make a couple 16″ panels out of two 8″ panels as you can see in the following pictures.

Attaching a panel to the corner post

I used 1⅝” deck screws to attach the 3/4” plywood to the 2×4 posts.

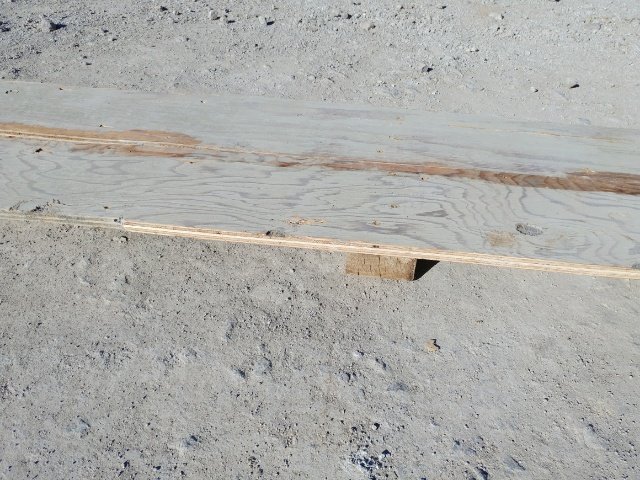
Joining two 8″ panels together to make a 16″ panel.

One side ready for assembly

Once I had all four sides ready for assembly, I started screwing them together.

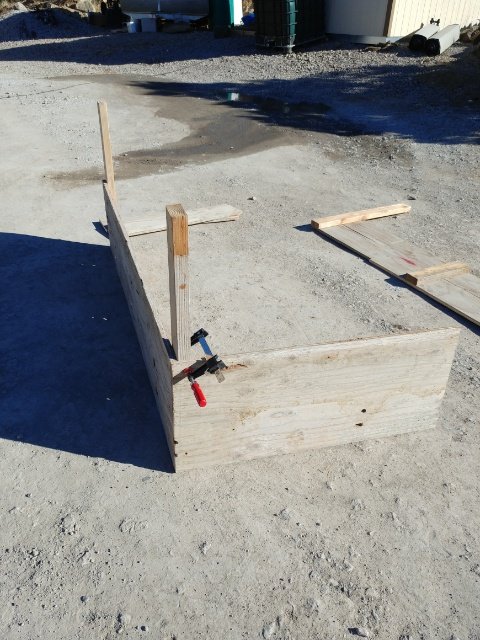
Clamps are your friend when working solo.

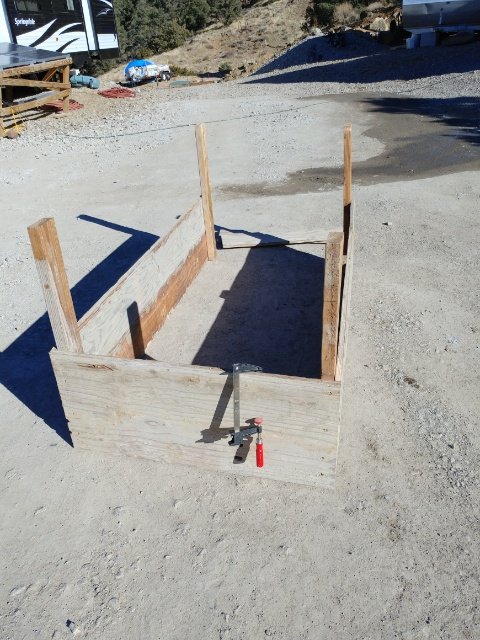
One box almost finished.

This box is almost finished. Just needs some strengthening 2×4’s around the top edge.

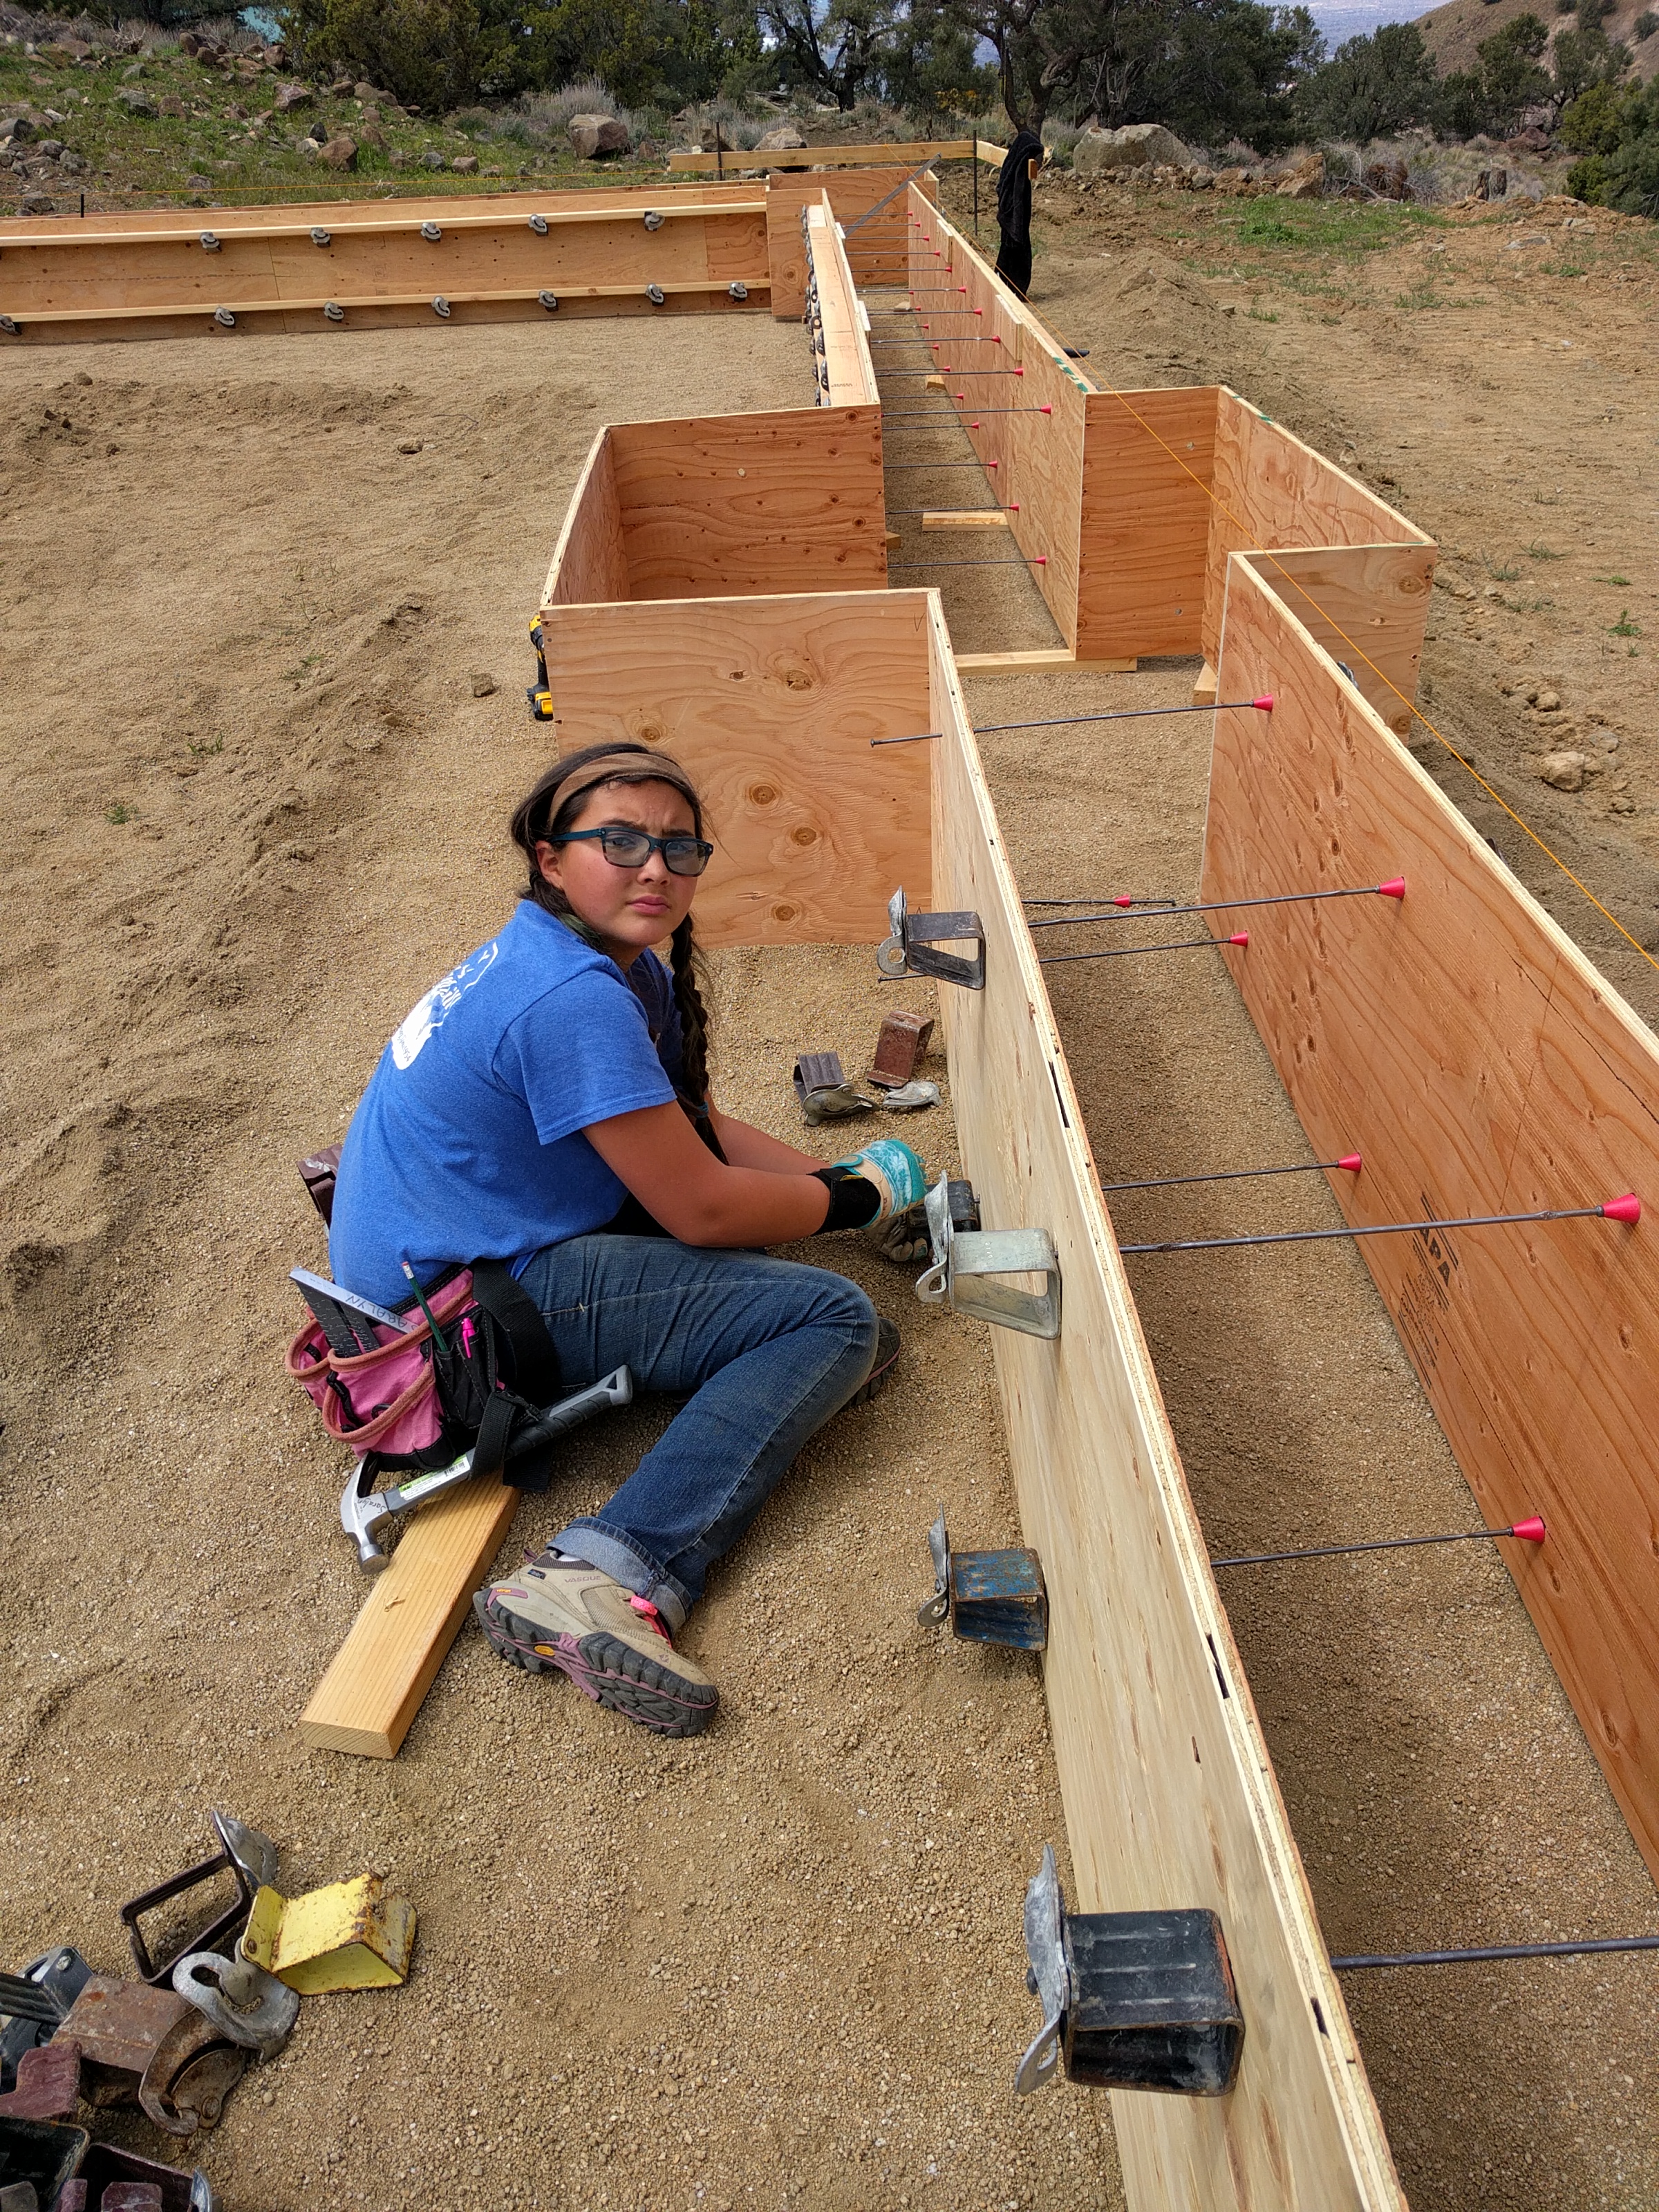
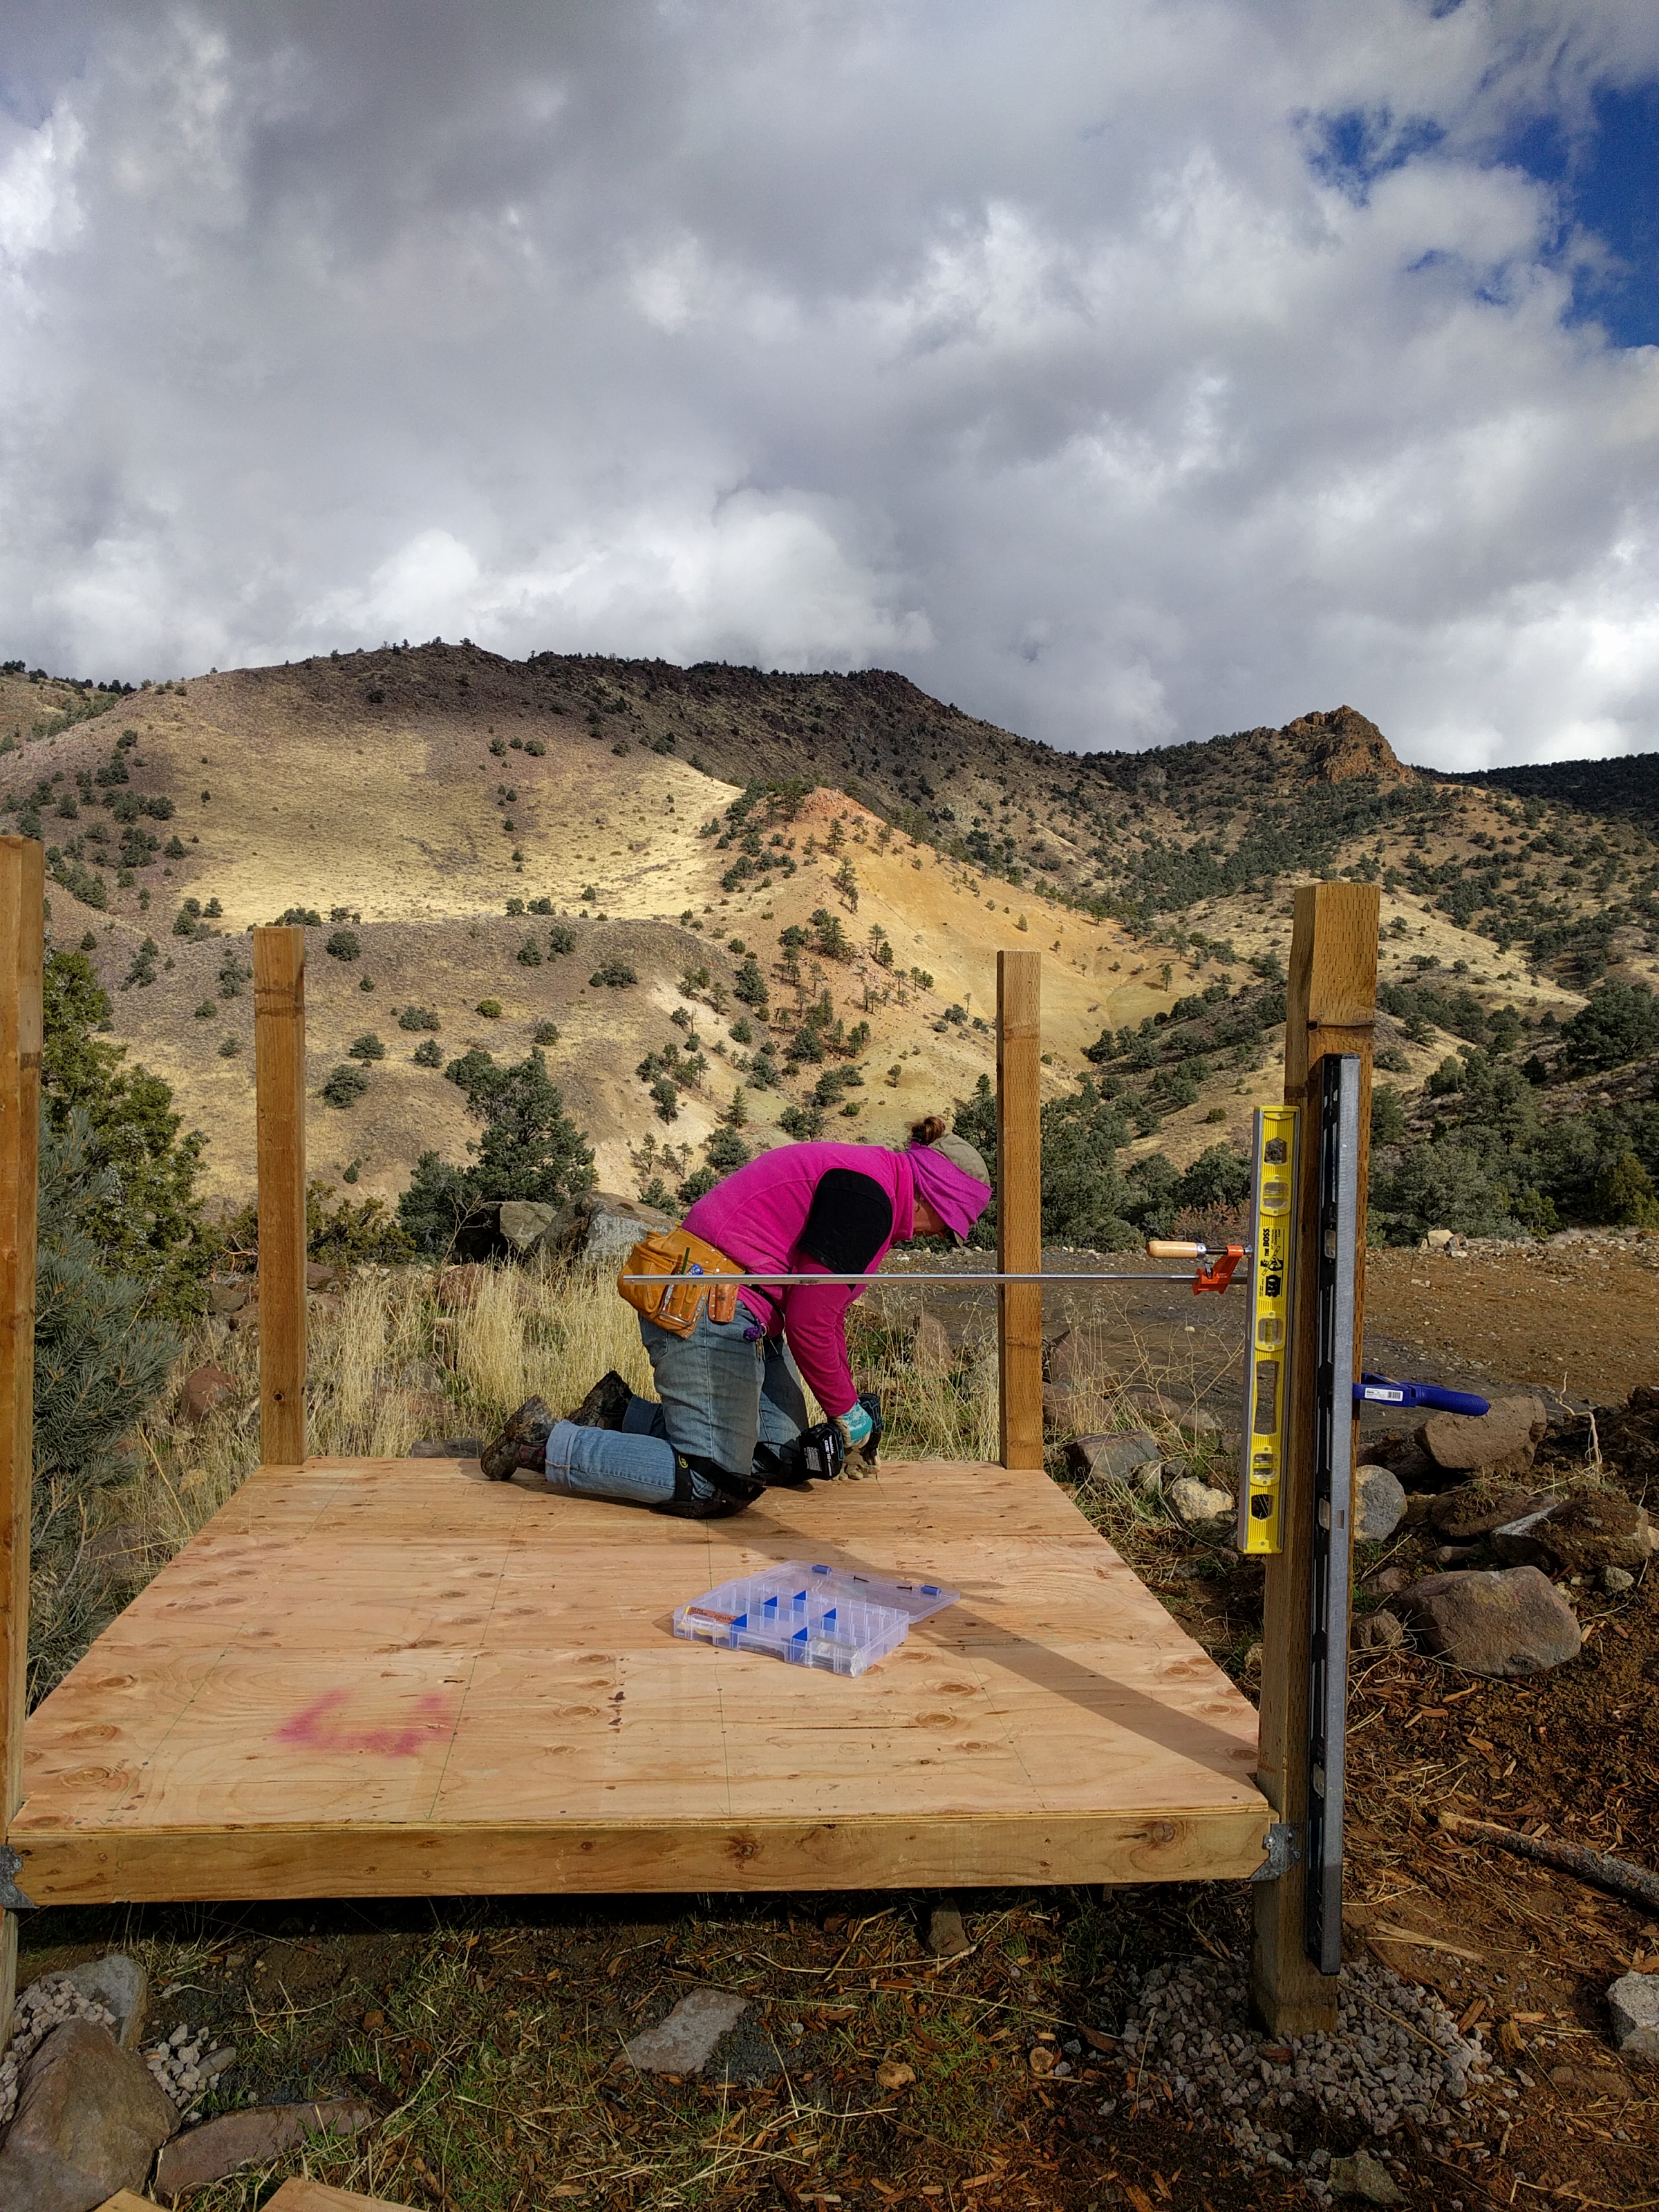
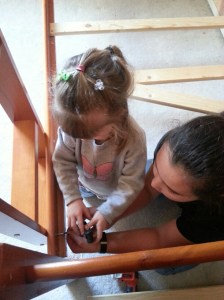
One of the boxes we made a trapezoid (an isosceles trapezoid to be precise 😉) to work in with the shape of the garden a bit better. You can see in the pic below where Princess Girl is helping me put on the strengthening rim boards around the top of the box. I used 3″ deck screws too attach these boards to the corner posts.

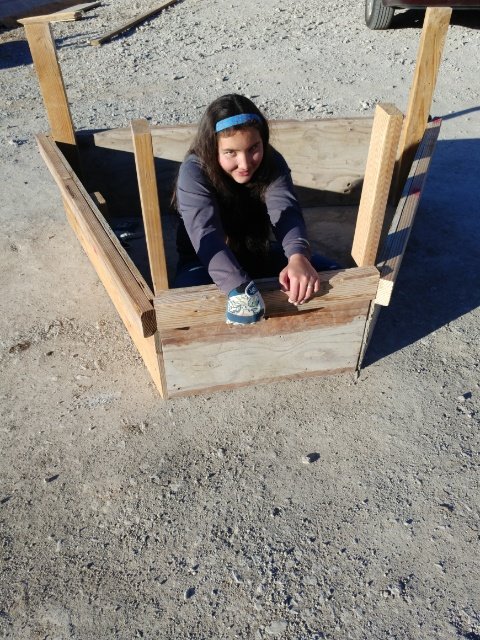
Finally got some human help. 😁

We also attached the plywood to the rim boards with 1⅝” deck screws.

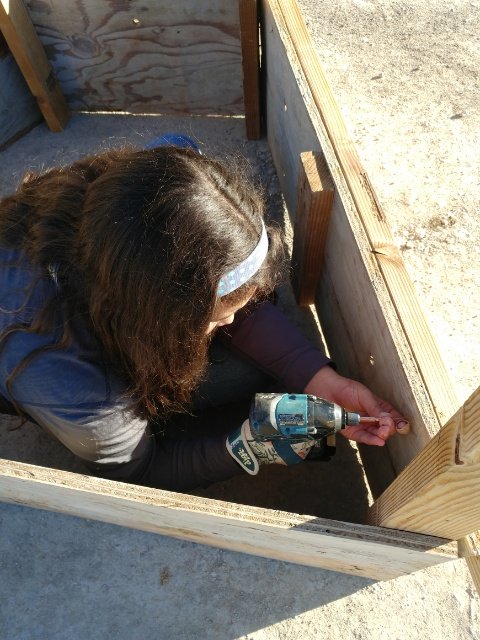
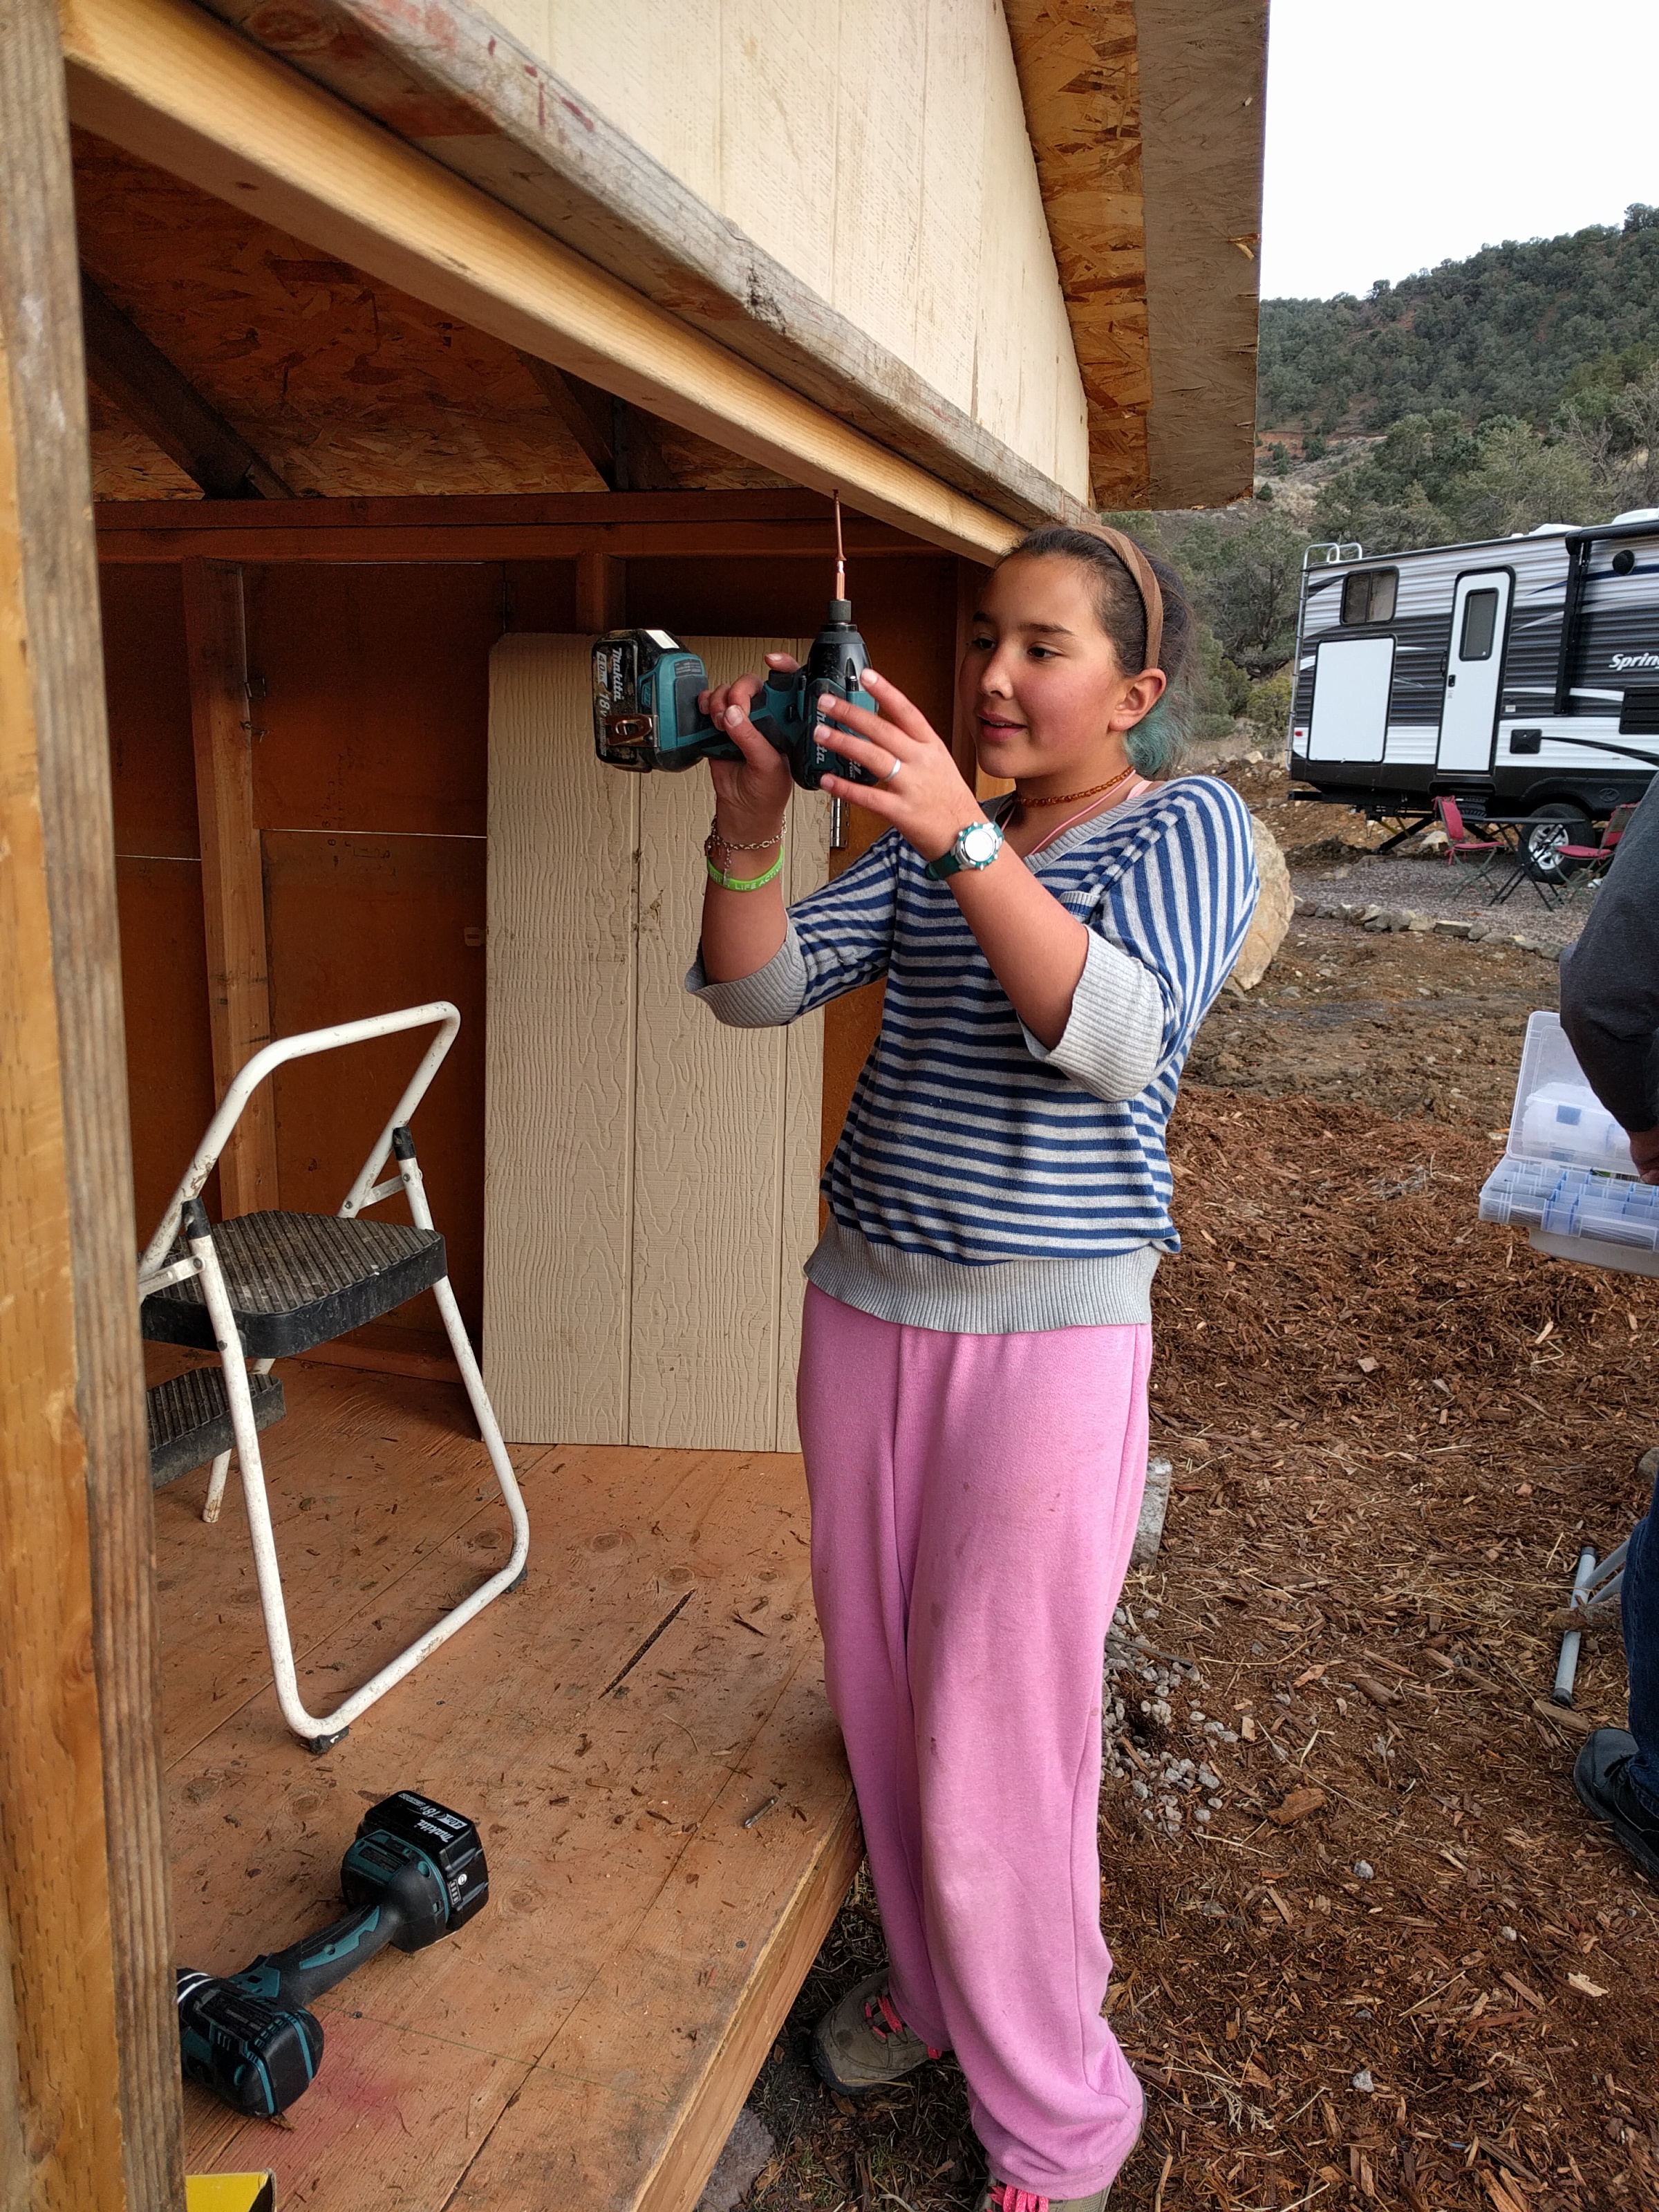
Princess Girl gets some more screw gun practice.

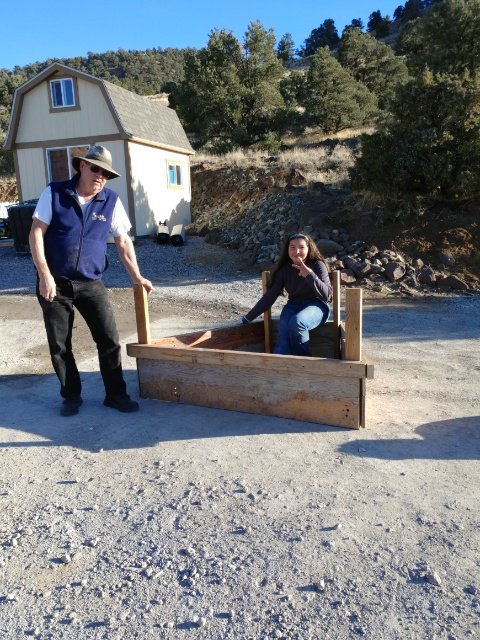
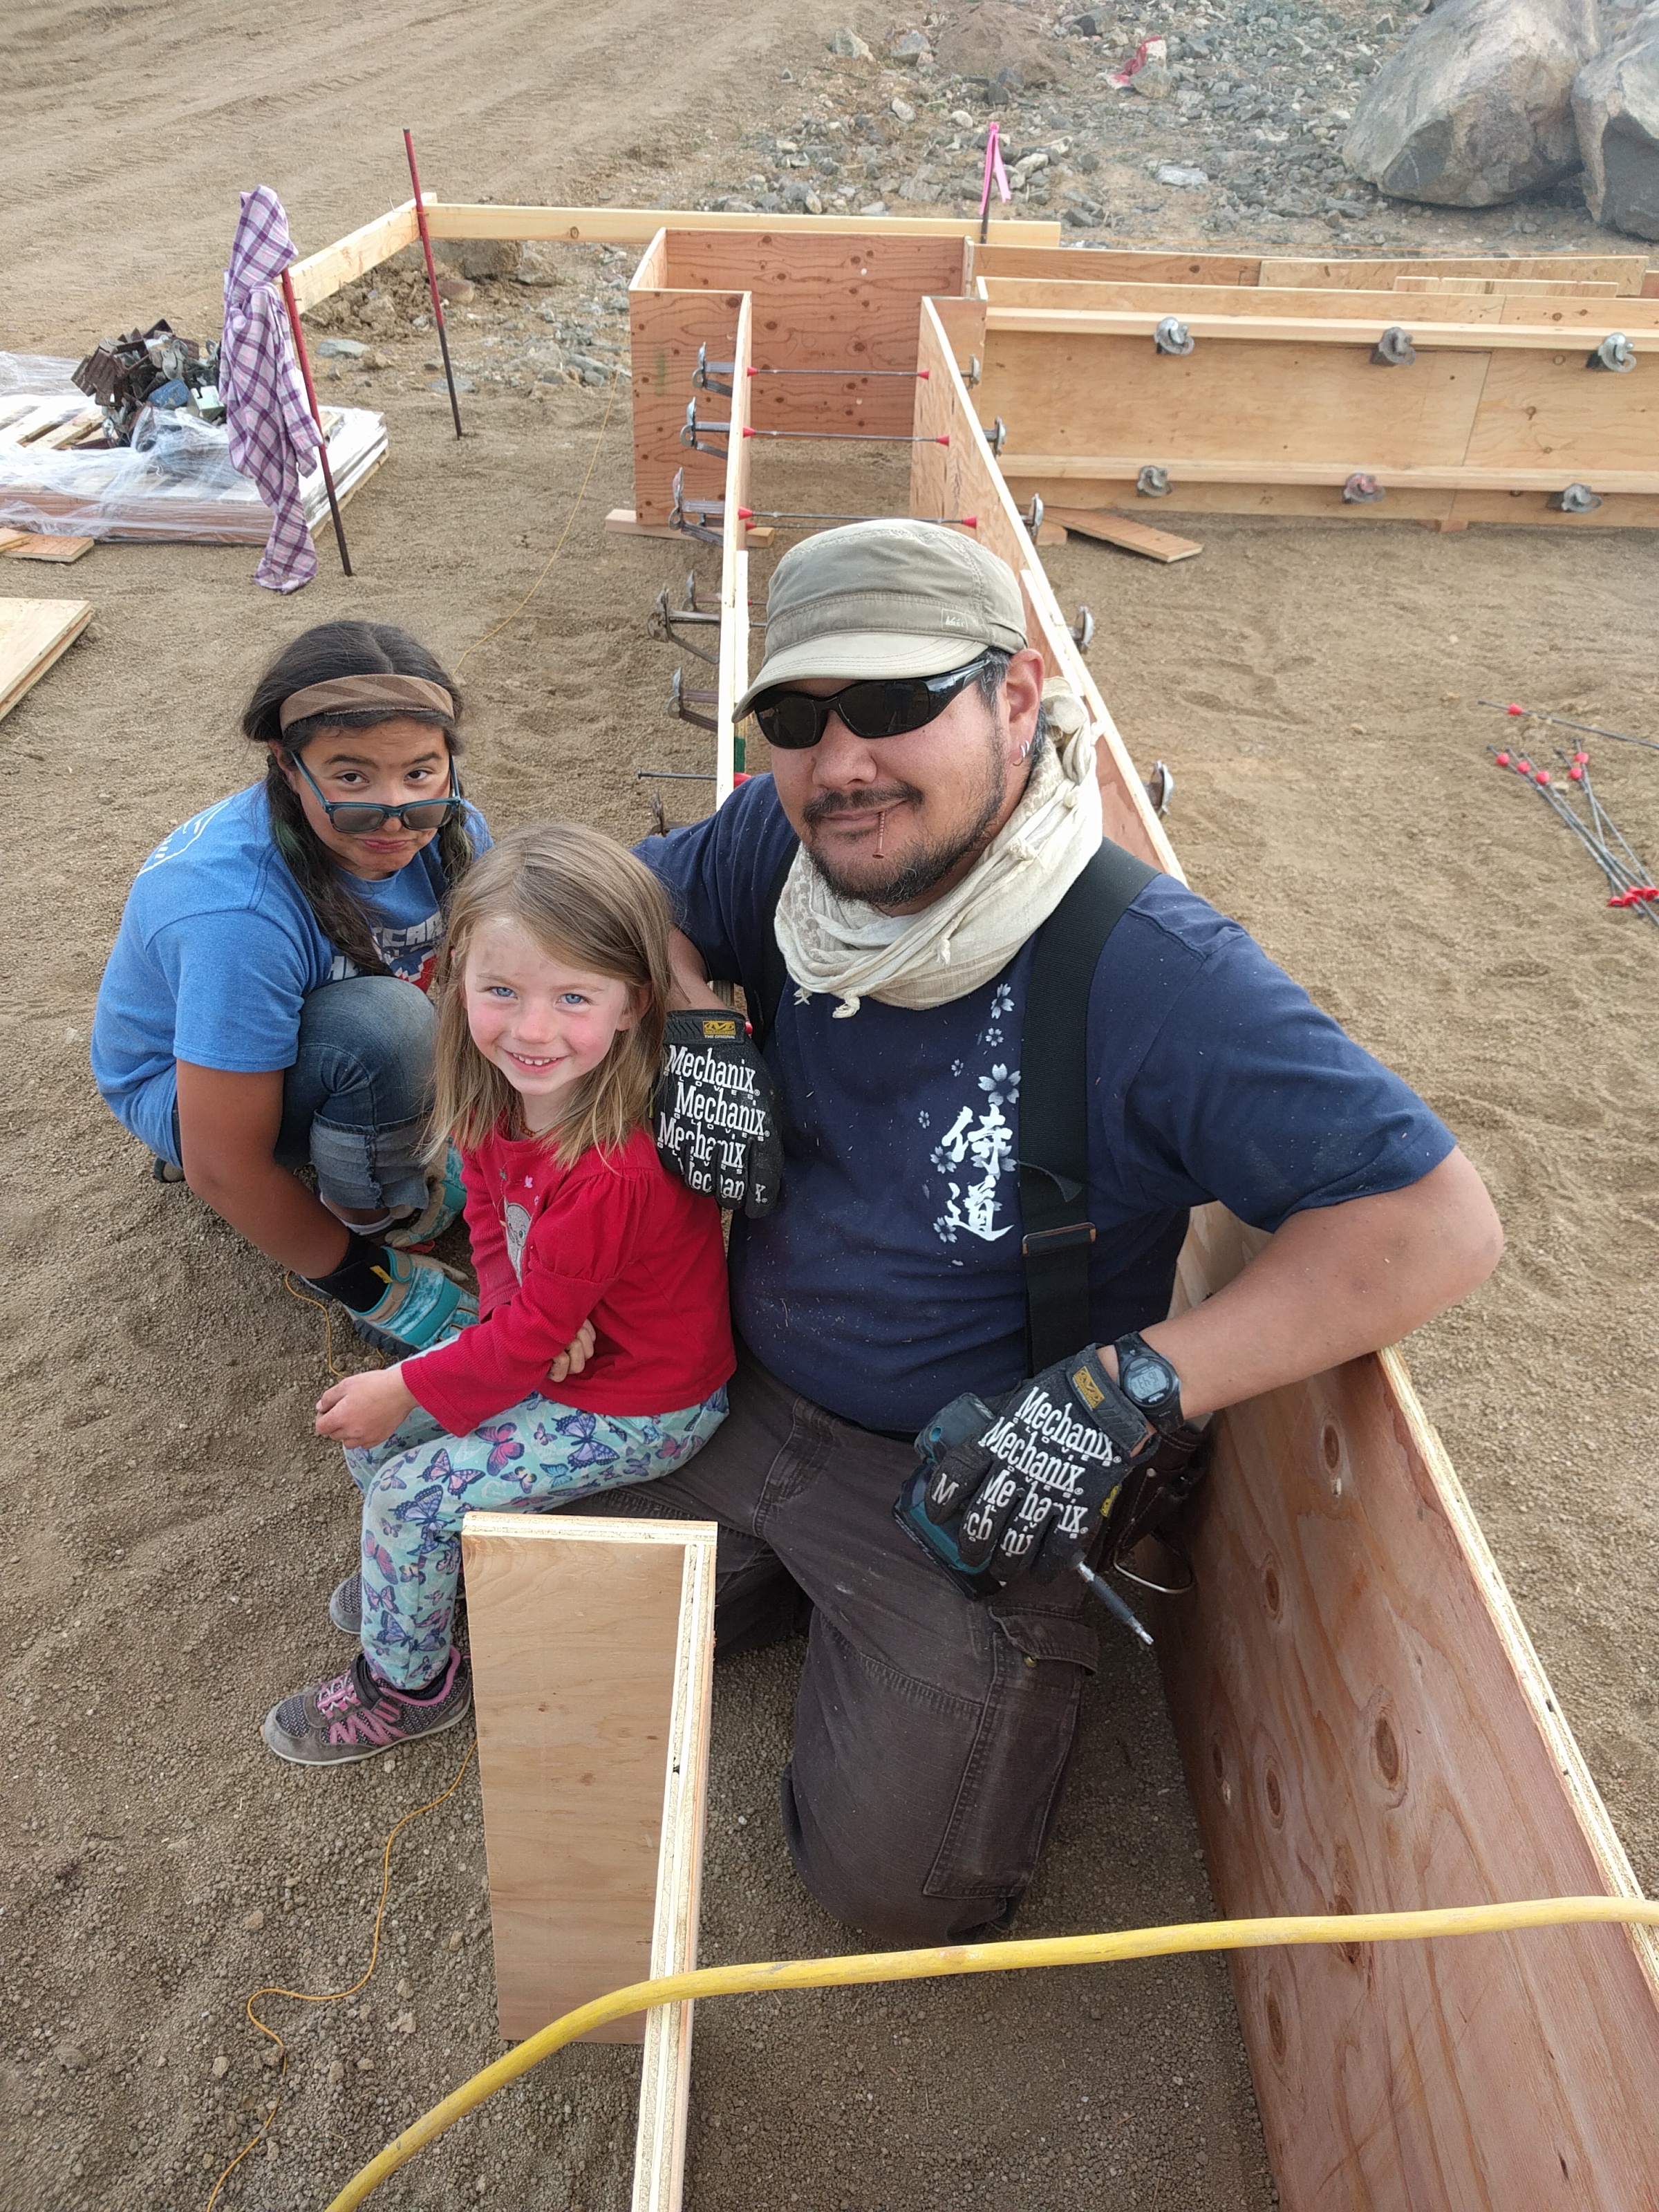
Pajii and the Princess with a finished box.
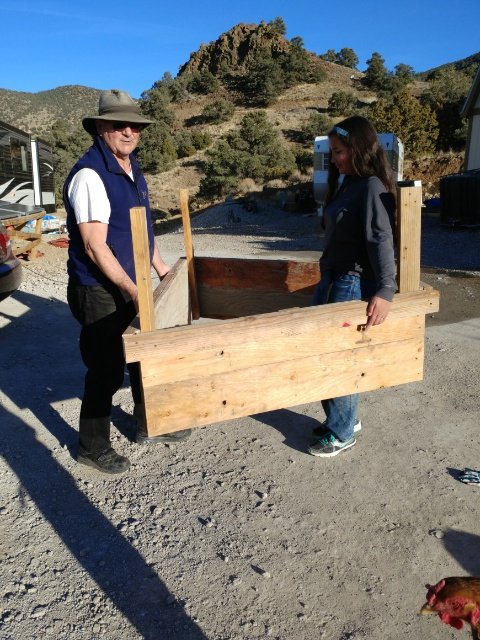
Time to move.

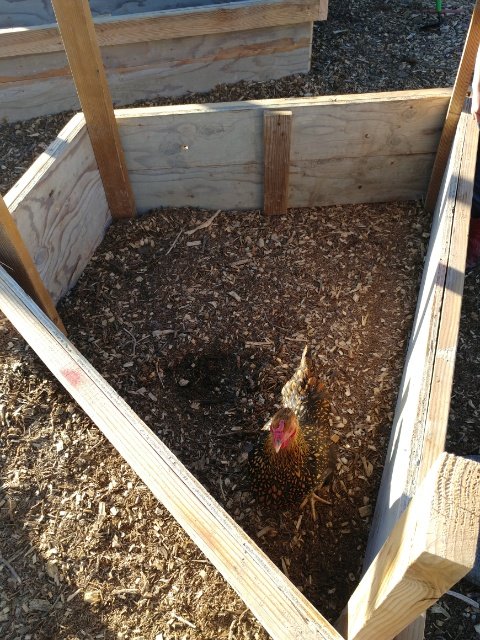
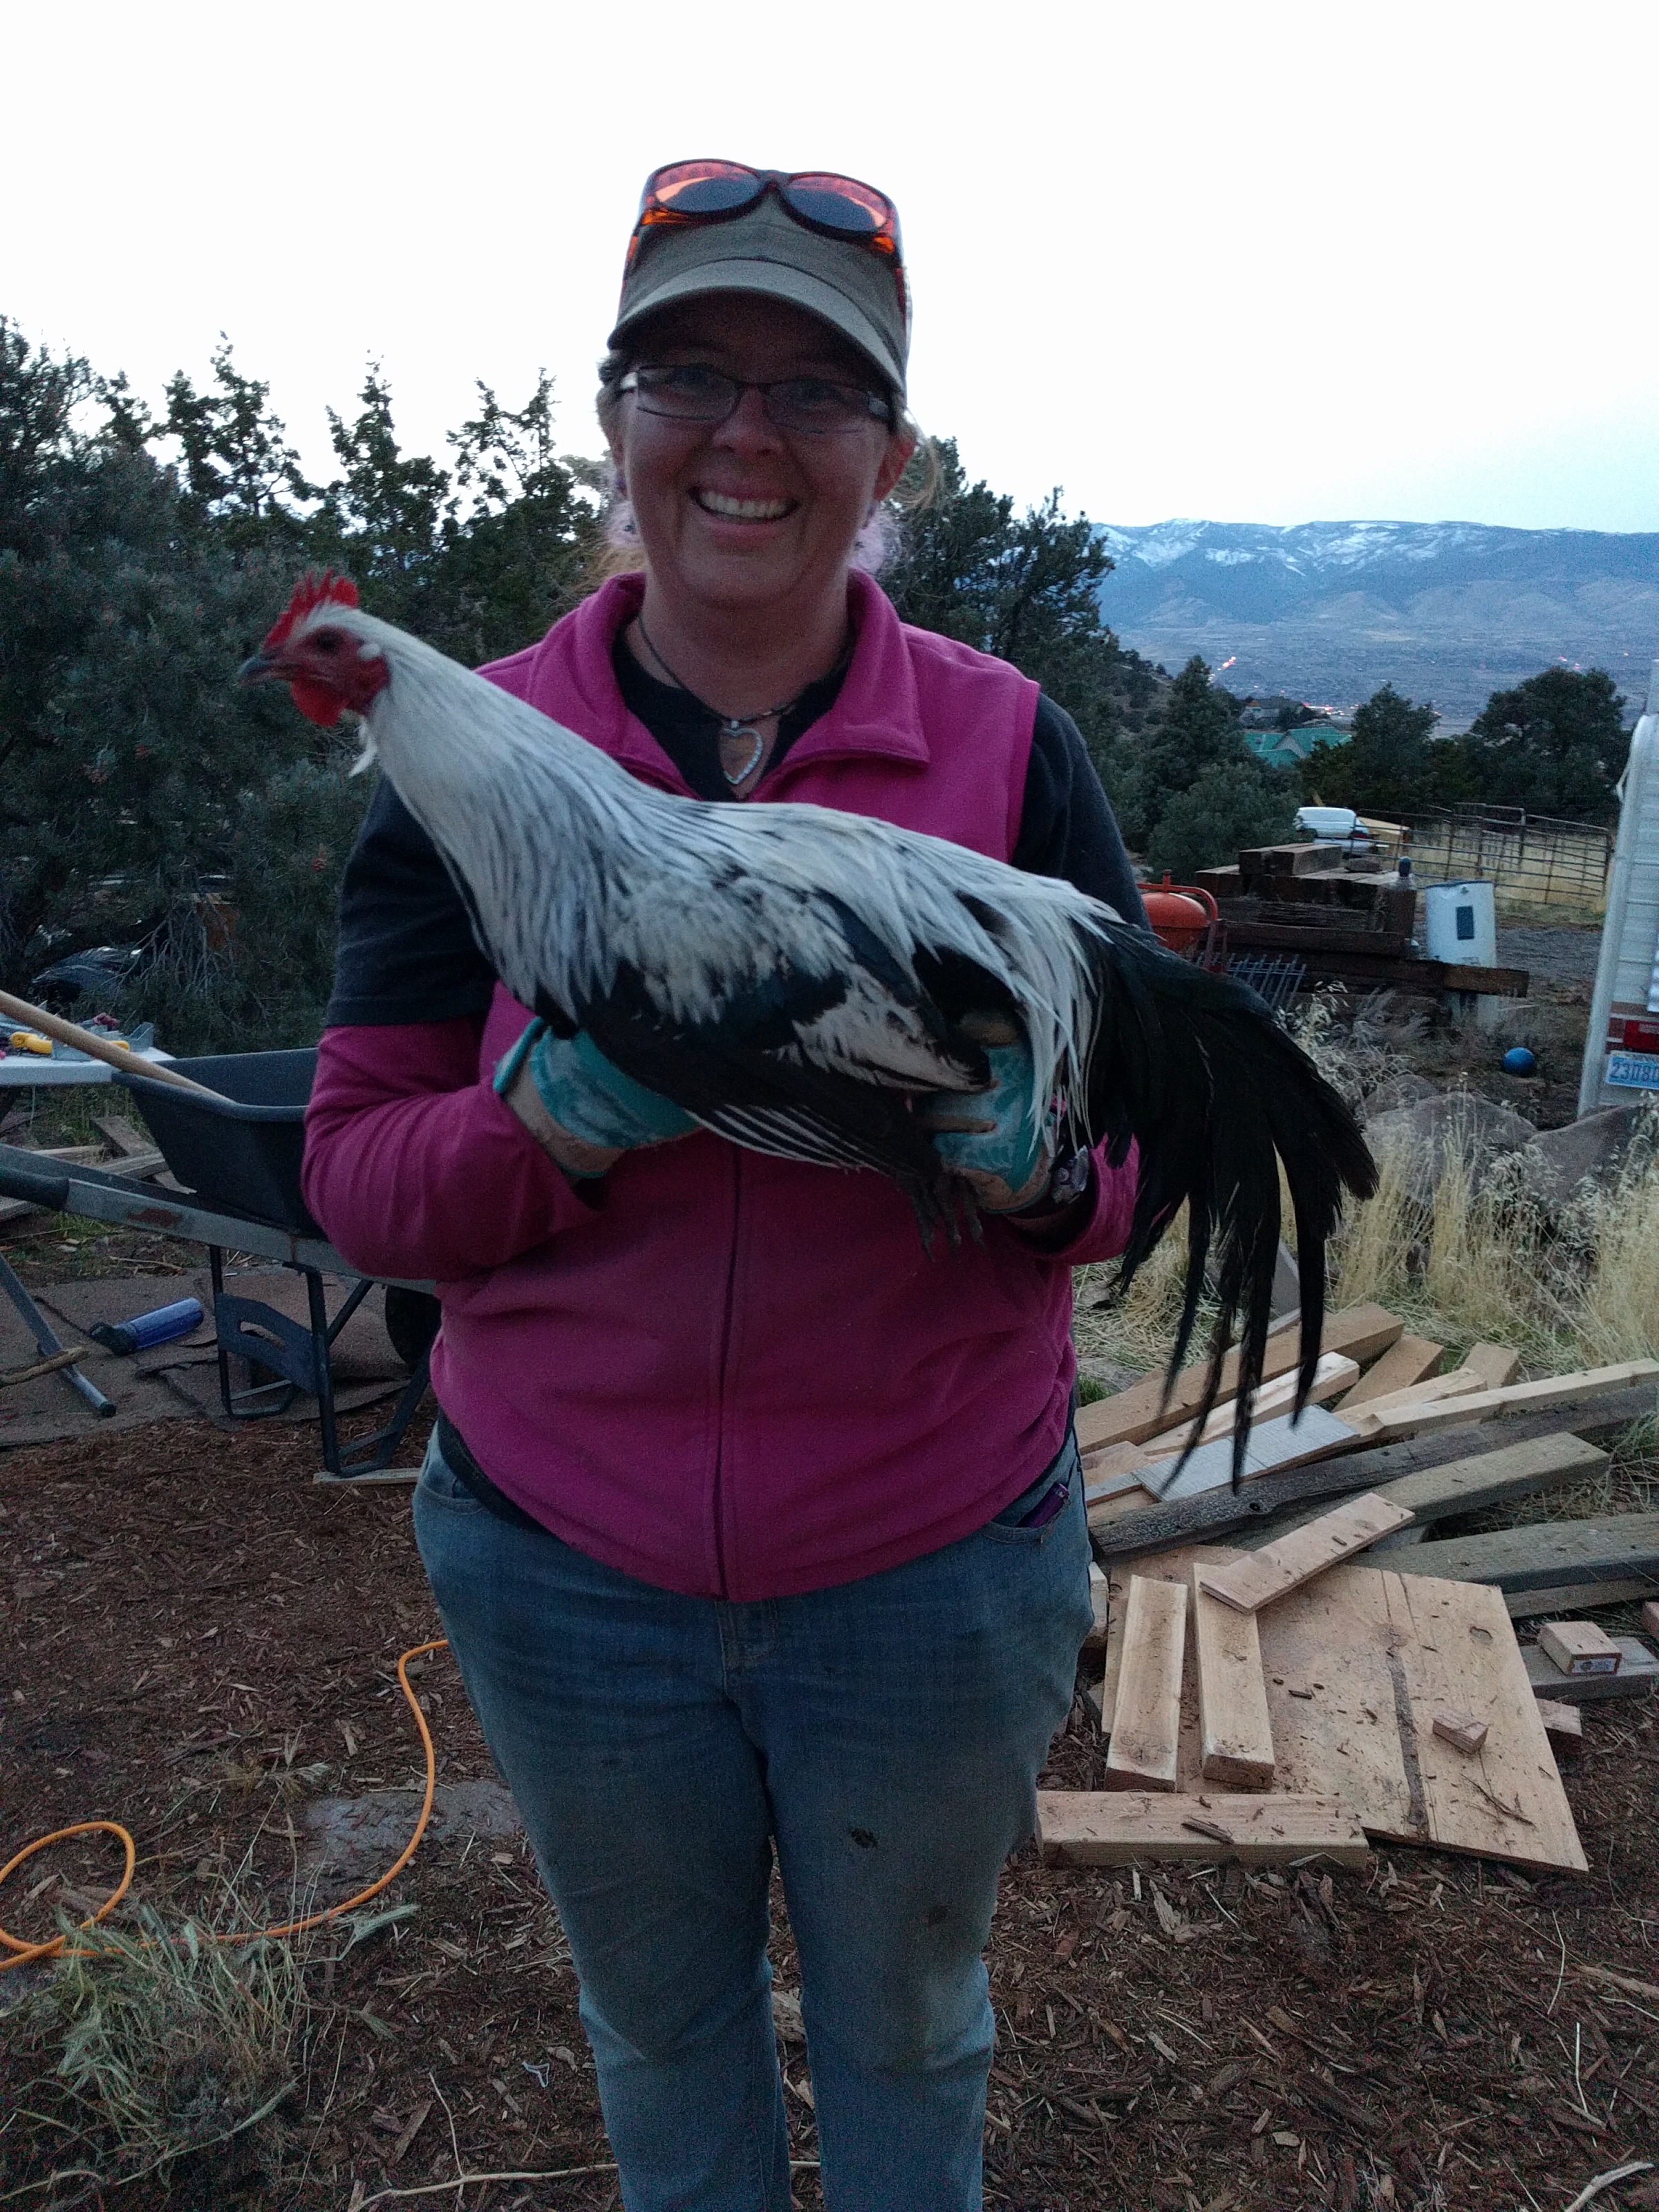
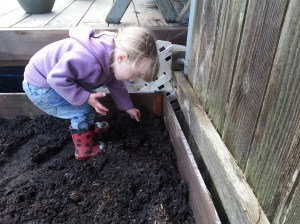
Once we got the boxes put into place, Flower Girl’s chicken, Leilani, had to come check them out.

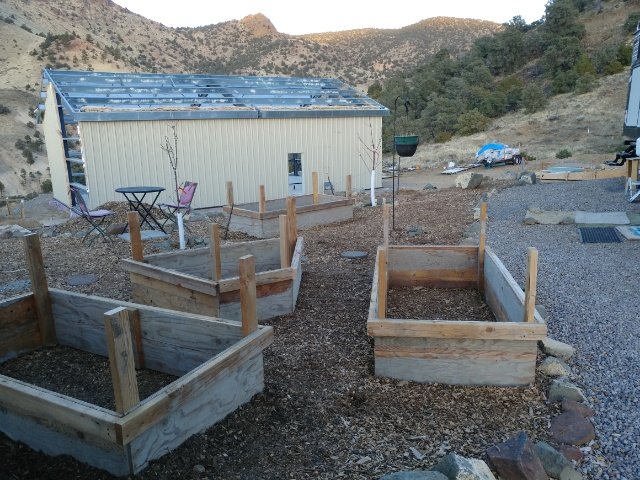
All 4 boxes in position.

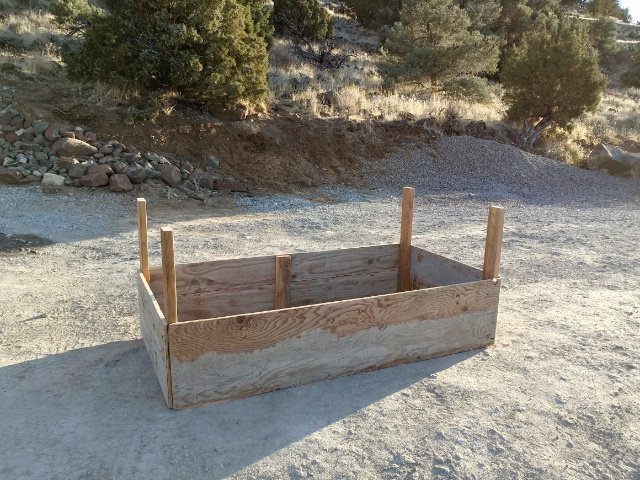
We made 4 boxes total. Three of them are 3ft by 6ft and the fourth one is a trapezoid that is 5ft x 3ft x 2ft, if that makes sense. All of the boxes are 16 inches tall with 32 inch corner posts. The corner posts are taller in order to easily attach clear plastic to make a cold frame in early spring, or more likely, netting to keep the squirrels and other pests out.

I really like how these boxes turned out. I love that everything used to make them, including the screws, is reclaimed materials that were used to make the foundation of our house.

We have not filled them with soil yet since winter returned just a couple of days after we finished them. Soon, though, we’ll go get some soil and not too long after that, Pajii will be able to keep busy growing us some fresh veggies. I can’t wait!

Odd jobs

You know what?

Bronchitis sucks.

There, I said it. Now let’s move on.

And I’m so glad I can. Move on, that is. I think I’m finally over it. In fact, I felt good enough, I spent several hours working on the hillside behind the well shed.

The rocks stacked up against this hillside is a form of erosion control called riprap. When you have as many rocks as we do on our property, it only makes sense to use them when and where you can.

So riprapping a hillside is pretty easy. It’s kinda like a jigsaw puzzle putting all those rocks on there, only a lot easier because the rocks don’t have to fit together exactly. They just need to be placed in such a way that they are stable enough to walk on them. This usually just means finding the position that they lay on the ground and against the other rocks the best. It’s an easy but back straining job.

This is not a one afternoon type job. Or even a two or three afternoon job. We’ve already spent countless hours just getting it to this point. It’s not a sprint, it’s more of a marathon. This is one of those types of jobs that can seem overwhelming in the shear amount of time it will take. So, when I’m faced with a job like that, I just do a little bit each day and it eventually gets done.

And it is important to do it. If we don’t, this hillside will eventually spread itself all over our driveway through erosion. And since I can’t work on the house right now, I’m going to be keeping busy checking off smaller odd jobs from the to-do list while I can.

This is the reality of building a homestead on a piece of land from the ground up. Many, if not most, of the jobs are not glamorous or fun, but they have to get done. Just like cleaning out the chicken coop.

Which reminds me, that’s another job that needs to get done. *Sigh*

What simple but important jobs are on your to-do list?

Do yo own thang

Weird title for me, I know, but I’ve really been thinking about this subject lately.

Do what works best for you.

You see, I posted this picture on my Instagram recently.

I was nearly instantly criticised (*ahem* Mom) for not hanging my clothes properly.

“Your grandmother would have made you rehang all those clothes properly.”

(To be fair to my mom, she was only joking. Not that grandma wouldn’t have had me change it. She would have. Oh, she most certainly would have. But my mom doesn’t actually care how I hang my clothes.)

But the conversation with my mom got me thinking.

I know how to properly hang clothes on the line. But I don’t for several very good reasons.

First of all, we don’t have space on our clothes line for each article of clothing to be spread out single file. In that picture above, every clothespin is holding two articles of clothing and they are hung in such a way that they take up as little space as possible. You see, I am not very good horrible at doing a load of laundry every couple of days to stay on top of it. And that’s when we’re not busy building a house. So before I know it, the laundry basket is piling up and I’ve got 4 loads of laundry to do.

And while clothesline drying is the only sensible option living off-grid as we do, we don’t have a good place for a long enough line to accommodate 4 loads of laundry. I know, I know, we live on 40 acres. How can we not have space?

Well, partly it’s because we don’t have good trees to tie a line to. The space we have our 25′ long line at is the only space between two suitable trees that was within a feasible distance from the space we are living. And now that the washroom is in our well shed (pictures to come soon!), the clothes line is actually kinda far away from where the clothes are being washed.

And partly, we just haven’t gotten around to putting up a new/additional one near the well shed because, you know, building a house.

And partly because we don’t want to put a lot of time and effort into something that’s temporary. Once the house is built, we will put up a (larger) clothes line near it. So for now, I am stuck with the one line I have.

Another reason that I don’t hang clothes “properly” is that living here in the windy, arid high desert, clothes dry a lot faster than they would have in my grandmother’s home of humid Ohio. Especially on a hot summer day, but even on a mild fall day like today, I am constantly amazed at how fast those clothes dry.

And the last reason I don’t hang clothes the way my grandmother would have is because I don’t have to worry about ironing like she did. I mean, seriously, I don’t think I own more than three articles of clothing that need to be ironed. And those are dresses that don’t get worn or dirtied very often. And when I do wash them, you can bet that they get hung on the line “correctly” so they don’t get so wrinkled.

So what’s the point of all of this? This post isn’t really about doing laundry. It’s about the fact that I do laundry the way that works for us in our current situation.

And that’s the great thing about homesteading. There is no single “right” way to do it. We all have the freedom to do this homesteading thing in such a way that it fits our family. And as our situations change, we can do things differently. If we want to, that is.

I’m reminded once again of a quote that is usually attributed to Theodore Roosevelt,

“Do what you can, with what you’ve got, where you are.” -Bill Widener. Source)

While I do believe there is a set of moral rules we Christians should follow, when it comes to homesteading, you are free to do yo own thang. Even if it’s not how others would do it.

And that is a beautiful thing.

Just like my jumbled up clothes drying on the line.

Building update – and a great wood cutting tip!

For those of you who do not follow us on Facebook or Instagram, you probably don’t know that we actually started building our house! 

Finally!

After months and months of permit delays. And more and more months of weather delays, we finally “broke ground” on Easter weekend.

Bringing in “DG” (decomposed granite) to level out the house pad.

The perimeter of the house outlined in compacted and leveled DG

Once the pad was leveled, it was time to build the footing forms. We decided to build the forms up and backfill rather than try to dig down into our very bouldery ground. 

Yes. “Bouldery.” See all those huge boulders in the above pictures? That’s what lies just below the surface up here!

The first day’s progress.

Yup, that’s me, putting one of the pier footing forms together.

We have a family friend who is a licensed contractor who is helping us get all this right (that’s him in the red plaid shirt). We couldn’t do it nearly so well or as easily without his help. As with many things in life, it’s not what you know, it’s who you know. And we are so very glad to know him (and that he is so generous with his time) ’cause we don’t know much!

Princess Girl, “Mom, I need ‘more cowbell’!” So proud of my girl. Not only was she a huge help putting all those “cowbells” on the forms, but she also quoted a Saturday Night Live skit. Yep, we’re raising her right! 😃

Building: a family affair

The perimeter of the house footings – almost completely built. Now to do all the leveling and put in rebar, etc.

It’s so wonderful to see the progress after waiting for so long. 

And today I learned something new. Something that makes me say, “No way!” A new way to use a skill saw!

I’ve used a skill saw for 20+ years and just today learned something new. I’ve seen the pros (building contractors, etc) use a skill saw in a certain way but never knew why. Today, I tried it and was blown away with the results!

The old way: you lay the 2×4 flat on the sawhorse(s) and hold it with one hand while pushing the saw across the wood. All the while, the force of the saw pushes against the board and it is hard to hold it still. 

The old way.

Close up – old way

In order to hold the wood still, you can use a clamp, but that takes a while to put in place and remove, and when you’re making a bunch of cuts as I was today, they are too cumbersome to use.

I’m not sure what made me think to try something new, but I figured, what could it hurt?

The new way: So, I turned the 2×4 up on it’s long edge at about a 45 degree angle and the saw cut through so easily, I was shocked. I had no trouble keeping the saw on the cutting line, and the weight of the saw pushed it’s own way though the wood. 

The new way: turn that wood up on it’s edge!

Close up – the new way

The wood rests on the sawhorse and the force of the saw is pushing downward rather than across, so the board doesn’t move around.
So easy!

This technique will make the thousands of cuts I’ll be making over the coming months that much easier. 

Just goes to prove that it’s never too late to learn something new.

This awesome hack will save your pant cuffs!

OK, I know the title of this post sounds like click bait, but it’s really true. Today I did one of those simple little things that had me saying, “No way! Why didn’t I think of that sooner?”

You see, all this winter as I’ve been bundled up working outside, I have been frustrated with the cuffs on my insulated pants. The legs are too long and the edges would get nasty in the mud and dirt.

Too long pants

In fact, the cuffs are even starting to fray. And that’s just really annoying.
Often I would just roll then up, which looks silly, but whatever. 

This works if  there’s not a ton of mud or it’s not actively raining, both of which I was dealing with today. The mud gets on the inside of the pants if they are rolled up like that while working in mud, and the water gets trapped in the cuffs if it’s raining.

What’s a girl to do?

Then I had an epiphany!

Elastic cuffs! It’s kinda hard to see in the pic since my elastic is the same color as my pants, but I found some wide elastic and wrapped it around the outside of my pant cuffs.

I didn’t even sew them. Just used a big safety pin on each one.

External elastic pant cuff

So simple. Just a couple items and my pant legs didn’t bother me all day!

I’m thinking this same idea would work with Velcro, or string, or even a thick rubber band. 

I’m just wondering why it took me all winter to think of it! 🤣

Light on the Homestead

This is my Hubby’s first post on the website! Thanks, Babe!
—————
Being off grid and out in the country means having to provide for many needs that would traditionally be met by urbanized infrastructure. One of the things that all of the adults keep in pocket every day and night, is a good flashlight. The lights we carry are not super bright, but they balance intensity and portability well. Turn to Amazon, eBay, or any one of the many outdoor gear websites and you’ll run across the crop of lights that are not your dad’s 1990’s maglite.
LED technology and lithium (sometimes rechargeable) batteries have made today’s flashlights light, compact, bright, and long lasting. The lights that I bought for the Mrs, and Princess Girl is the Olight i3. It is a AAA powered flashlight blasting out 120 lumens and barely larger than the battery itself, making it easy to have on you at all times either on a keychain, a necklace, or in a jean 5th pocket.

The Wife was initially skeptical of carrying a flashlight around the homestead, but

late-night-egg-check-barely-see-the-flashlight-in-right-hand

Late night egg check. You can barely make out the super small Olight i3 in her right hand.

she has grown to find it an indispensable tool for everyday use. From finding her way to the trailer from the car at night, to peering into the cabinets to find a pan for lunchtime. The small size makes it easy to grip in her lips for both hands free, and the pocket clip allows for it to be clipped to the brim of a cap to act as a headlamp. I made sure to power it off of an Energizer Lithium AAA battery. This gives it better temperature resistance, longer runtime and slightly lighter weight.

There are certainly many types of lights to choose from, my recommendation for a basic light would be a single AAA or AA type, with a light output around the 100 lumen mark. Olight, 4Sevens, Thrunight, Nitecore, Surefire, Fenix, Streamlight are all companies putting out great lights.

maglite-2aa-led-hf-cheapie-3aaa-led-olight-s20r-energizer-headlamp1

Maglite 2AA LED, HarborFreight cheapie 3AAA LED, Olight S20R, Energizer headlamp

Maglite has stepped up their game as well with a line of LED bulb lights. Even the “giveaway” type LED flashlights (like from HarborFreight) that run off of a trio of AAA batteries have their place: small, light, bright, and so cheap to the point of  being nearly disposable.

My rechargeable light (Olight S20R) is larger and more expensive than the i3, but it has features that make the greater size and weight worth it. Its rechargeable 18650 battery can be juiced up at my desk while I’m at work, on a snazzy magnetic charging base no less. It can put out enough light to illuminate the hillside, or little enough to peer under the theater seat without disturbing other patrons. It can get a bit tiring in a mouth grip or heavy attached to a hat brim, but its versatility makes up for these factors.
easy-to-find-the-dark-red-olight-i3-connected-to-victorinox-cadet-nd-maglite-solitaire-led

Olight i3 in red makes finding in the dark a little easier, small size pairs easily with a Victorinox Cadet to round out a front pocket light/blade EDC combo. The blue Maglite Solitaire LED also runs on a single AAA, and is easily found at just about any kind of store.

For working tasks I highly recommend having a headlamp in addition to a pocket flashlight. A light specifically made to wear on the head is much more comfortable, and one designed to provide a flood of light rather than a spot beam makes working with your hands easier.
While we have many flashlights hanging out around the homestead, nothing beats having one in your pockets, right at your fingertips ready at a moment’s notice.

A time for everything

A friend of ours was looking to re-home his chickens and rabbits.

So, who did he call to see if we wanted to take them? Why, us, of course! And it just so happened that THIS week is the week we needed to take them.

Despite the fact that we did not have a chicken coop. At. All.

And our rabbit hutch is in disrepair.

But did we let that deter us? Not a chance!

If you follow us on Facebook, you’ve probably seen the progress we made on a chicken coop.

First we gathered materials.

img_20161121_101448

We’re pretty excited that so far, we have not had to buy a single thing to put together our chicken coop. Most of the wood is reclaimed wood from a friend’s old play house and some shelves we demolished which we found on freecycle. A few 2×4’s are “new”, as in, never been used, but we’ve had them hanging around for a while. We’ll eventually need to put a bit of money into it for roofing and paint, but it won’t cost us very much. We feel so blessed.

Over the course of a few days, I worked to get a coop up enough that the chickens would at least have a place to sleep.

img_20161121_104357

My “office” for a few days. How blessed am I?!

img_20161121_120114_1

Making sure things are level and plumb.

img_20161121_121935

Putting on the floor.

img_20161121_123649

My co-workers for the day. Lot of help they are!

img_20161122_070514

Getting closer. This is what the coop looked like when we brought the chickens home on Tuesday at 2pm.

img_20161122_151235

Nailing on the roof.

img_20161122_155058

It took everyone to work to finish the coop before sundown.

img_20161122_164824

It’s not finished, but it will work for a few days to get us through till we have time to work some more on it.

img_20161122_165308

Time to bring in the chickens.

img_20161122_165609

Flower girl wanted to help, of course.

img_20161123_070849

Happy in their new home.

img_20161123_071046

Happy in their new home.

img_20161123_134402

They’ll free-range till we can get a run built for them.

img_20161123_135637

And the rabbits are living in a little box trailer we have till we can get their hutch repaired.

img_20161123_135705

This is April. She actually belonged to us several years ago till we gave her to our friend, who gave her back to us. She is the most docile of the group. The other 4 are her offspring, several generations removed. She is no longer a breeder since she’s so old, but she’s so sweet we’re not sure if we want to cull her or not.

img_20161123_140726

Sharing their meal.

And that’s our new adventure. I’ve had fun over the last couple of days trying to figure out what breeds of chickens we have. Eventually we want to get into breeding them, and doing so selectively. But for now, it’s enough that we have chickens again.

And the rabbits. Yes. That is three females and two males all running around in a box trailer together. Yes, that means babies in about a month. But the deed was done before we got home. They had all gotten out of their cages and were running around in the trailer with the chickens. Figured that since the deed was already done, it wouldn’t hurt for them to live in colony until we can get their hutch repaired. That’s our project for this weekend. And in just a month, we’re gonna have babies. Lots of cute, cuddly, fluffy baby bunnies. Just in time for Christmas.

Hope you all had a great Thanksgiving!

How do we…wash clothes

After a busy day of taking the portable septic tank to be dumped, filling up 4 barrels of water, and doing 4 loads of laundry, I got to thinking that you all might be interested in how we do some basic things here on the homestead. Such as wash laundry. And take showers. And use the toilet.

We live in a camping trailer, yes, but that trailer doesn’t have running water and is not hooked up to septic. In fact, it no longer even has a bathroom. 

The former bathroom

And even when it did, we never used it. Would you if you had to move the entire outdoor living area just to take your trailer out to dump the septic tank and take on fresh water every week or so?

Yeah, us neither. 

So, we have an outhouse of sorts, an enclosed outdoor shower, and we even have laundry capabilities, right here on the homestead. 

Over the next several days, I’m going to be doing some posts on how we do these mundane, yet necessary tasks.

And since today has mostly been about doing laundry, we’ll start with that.

So, how do we wash laundry? Well, I suppose we could take our laundry to the laundromat. Probably most people would do that and most people probably think that’s what we do. But we’re not most people. I don’t want to spend several hours each week sitting in a laundromat (the nearest of which is all the way in town). 

Ain’t nobody got time for that!

Disclaimer: Pagee takes his laundry to said laundromat. So obviosly he has time for that. 😉

Not too long ago, we acquired a washing machine for free. It now sits beside our shed, with two 55 gallon barrels of water next to it. 

The first time I used it, I had to manually fill it with 5 gallon totes. That thing uses upwards of 15 gallons of water for the wash and rinse cycles – each! That’s 25-30 gallons of water per load! And it’s not that old of a washer. No wonder everyone is going to HE washers!

Anyway, we have to run the generator to run the washer, so it’s a noisy process. But I don’t have to leave the homestead to do laundry. Which means other stuff gets done while the laundry is washing. And that’s a big deal, folks!

So here’s what our set up looks like. 

(The tent in the background belongs to some friends who are visiting. 🙂 )

We use the generator (sitting behind the water barrels) to run the washer. The water pump we took out of our trailer is hooked up to a battery. 

This type of pump is nice because when there is full pressure in the line, it stops pumping. When the pressure drops (ie when you open a faucet, or the washing machine opens it’s valve) the pump automatically kicks on. Pretty sweet.

Anyway, when we get ready to wash, we make sure the barrel has enough water, hook up the pump to the battery, turn on the genny, plug in the washer, and then use as normal. 

As shown above, the wash water is diverted by a hose and goes to a couple trees. It looks redneck, but it works. 

Note: if your drain pipe is lower than the water outlet on the machine, like if the hose is just laying on the ground, all that water you’re pumping into the washer will just drain right out of the hose. Don’t ask me how I know this. :-\ 

When we’re not washing, we put the hose and table away. So far, we haven’t had any real rain this summer, so we haven’t had to worry about the washer being out in the wet. We’ll cross that bridge when we come to it, I guess.

And, of course, our dryer is completely solar powered. 😀

And that’s how we do laundry here on the homestead.

The Next Generation

What do you believe?

What do you think is best?

Chances are, if you truly believe it and think it’s best, whatever it is, you want your children to follow in your footsteps.

But what are you doing about it?

Learning kitchen skills

I was reading in the Bible this morning how in just a couple generations, the Jews had completely turned away from God.

Judges 2:10 says, “After that whole generation had been gathered to their fathers, another generation grew up, who knew neither the LORD, nor what he had done for Israel.” (NIV)

Now, no matter what your religious leanings are, there’s a lesson there for us all. In just a couple generations, the nation of Israel had fallen away from their beliefs.

Helping build the chicken coop.

I got to thinking about what our own country was like just a few generations ago. When my grandparents were young. Their values and morals. And just how different things are now. A LOT can change in just a few generations.

Whether you believe it’s a good change or not, the fact is, there’s been a drastic change in the last 80 years. And there will probably be more as we go forward.

More cooking skills

So, how can we pass on our knowledge, our beliefs, our values, to the next generation? How can we ensure that our children have the best chance of believing as we do?


Bible study

The answer to that also can be found in the Bible.

Deuteronomy 6:7 says, “Impress them on your children. Talk about them when you sit at home and when you walk along the road, when you lie down and when you get up.” (NIV)

Packing lunches for the homeless.

Of course, this verse is talking about God’s laws, but the principle is the same for every value we hold dear.
We have to talk to our children. We have to teach our children.

It’s not enough to just show them. Yes, our example is very important. We need to live out what we believe. But to expect our children to follow in our footsteps just by observing us is walking a dangerous road.

Helping preserve the harvest.

They’re never too young to teach the why

Why do you believe what you believe?

Why do you do what you do?

Why do you live the way you live?

Homegrown cherries and the fun and hard work of harvesting them.

Sure, when they are young, they won’t understand. They will follow you because they love you and because they know no other way.

That’s why we have to talk to them. To teach them about our way of life. About your values and beliefs.

Planting the garden

Because one day they are going to grow up. One day they are going to look around and see that the rest of the world doesn’t live like your family.  And if you haven’t prepared them for that, they will have a much harder time holding onto the values that you hold so dear.


Planting the garden

Now, this is a homesteading blog, so I don’t want to get too preachy, but in the long run, do I really care if my children follow in our homesteading footsteps? Well, I hope they do. I believe this type of life is a very good one. But I know that there’s something in life so much more important than organic veggies and sustainable living. I believe that following God is the most important thing.

Observing and helping (and getting to stand on the roof of the trailer 😉 )

And I want my children to believe the same thing.
I am reminded of the first episode of season 2 of the TV show Alone. It is a survival show where the contestants are up against nature and their own psyches completely alone in the wilderness. They can tap out at any time. The last man standing wins half a million dollars.

In episode 1, they showed a man who bragged about how good he was going to do. He had the skills, he said. He wasn’t afraid, he said. He bragged about how if he met a bear, someone would have to come to the bear’s rescue.

What happened when he got to the wilderness and encountered actual bears (or rather the evidence that they were close by)? You guessed it, he bailed. As much as he bragged about it, he wasn’t actually prepared for there to be bears out there.

Learning to use tools (and learning to be a teacher)

I see passing on our values much the same way. It’s easy for people to say they believe something, but as soon as they come up to a difficulty or hardship, they bail because it was harder than they really expected.

If we truly want our children (or anyone we are mentoring) to follow in our footsteps, we need to teach them not only that there are bears in the world, but how to handle them.

Talk to your children, folks. Teach them. It’s a big job, a hard job, yes.

But one with some awesome rewards!


Maridy

Taking Home a Piece of the Northwest

A tree blew down out at the camp our Church uses. The iconic tree stood right next to the lodge and cabins. Thank goodness no one was hurt! When Hubby was out at camp a few weekends ago, he learned that they are having a hard time getting rid of the pieces of the tree. Where do you put a 100′ tree?

So, we decided to bring home part of it.

The girls and I drove out to camp today and after some back breaking work and a bunch of help from one of the camp workers, we got two large “rounds” loaded into our trailer.

“The Big Tree” as it was known around camp looks so sad lying on the field. 😦20160322_145414_resized

20160322_145520_resized

A field of stumps.

20160322_145529_resizedThe stump at the bottom of the picture is the one we chose.

Rollin’, rollin’, rollin’, get them stumpies rollin’! 20160322_150718_resized

Trying to figure out how to get it into the trailer.20160322_152327_resized

Success!20160322_153602_resized

The second stump is about half the size of this big one.

So, what are we planning to do with these guys?

Well, Hubby wants to make a table like this one:

Only tall enough to actually sit around it.

I thought it would be cool to make some chairs like the following:

Or maybe a planter:

Or bench supports:

Or maybe just to play on:

If we could have, I would have brought some of the large logs home. But they are way too big and heavy. If I had a log, I’d do something like the following:

If nothing else, I think we might just have to carve our initials. 🙂Initials

Source

Can we get logs and stumps in Nevada? Sure we can. But whatever we make out of these stumps is going to have quite a lot of emotional significance behind them. We are bringing a piece of Camp, a piece of the Pacific Northwest, back to Nevada with us.

And that makes the aching back all worth it!