Tag Archives: Re-purpose

Landscaping

(Edit: 8/28/18 I wrote this post over three months ago. Today, while looking at my writing app, I see the little word “draft”. I had never published it! Silly me! So without further ado…)

Imagine your house (either the one you currently live in or one you have lived in at some point). Now imagine if all the land surrounding that house was bare ground. Now throw in a bagillion rocks, and a few weeds here and there for good measure. Not a pretty thought, is it? Kinda depressing?

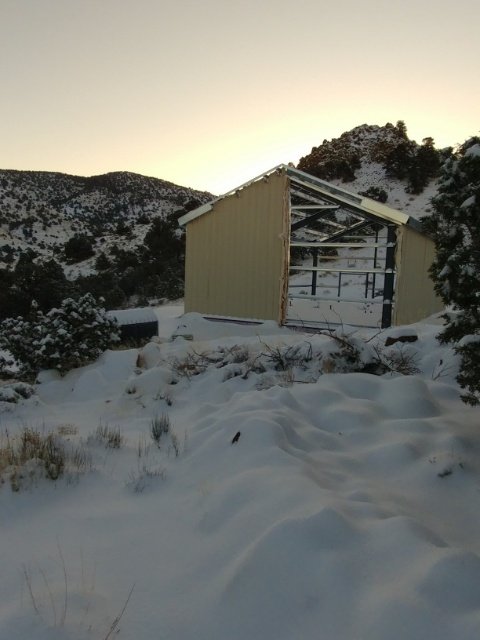
That’s how I feel about the land immediately surrounding our house. Yes, it’s understandable since it is a construction zone. But that doesn’t make me any happier when I look at it.

So, while I was delayed on working on the actual house, I decided to do something about the landscaping.

When the house pad was cut, it left behind a fairly steep hill of barren, rocky soil. But in my mind’s eye, I see beautiful terraces, filled with edible and decorative plants that provide beauty and habitat all year long.

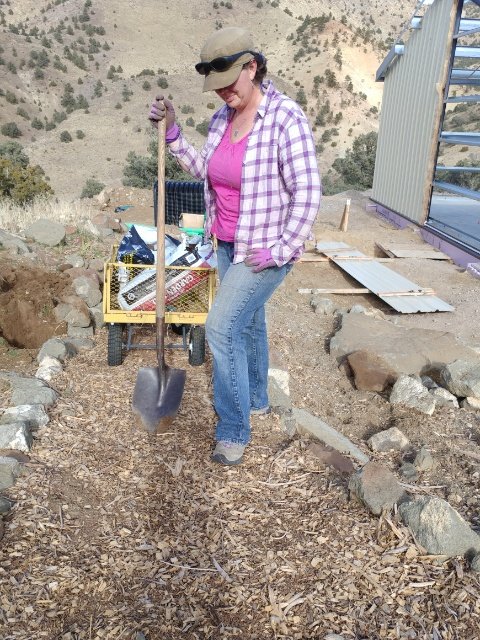
When we had the backhoe last fall, I did the rough (and I do mean rough) cut of the terraces. This spring I have slowly been building the terrace walls.

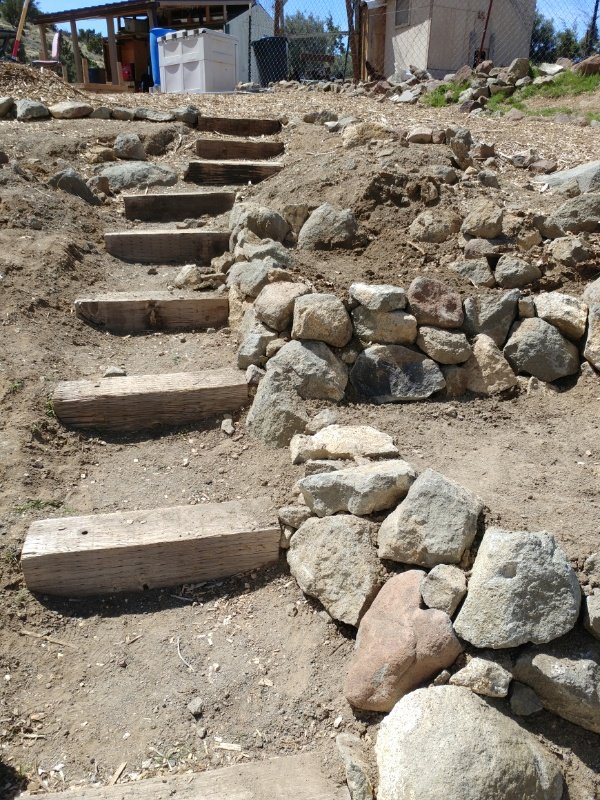
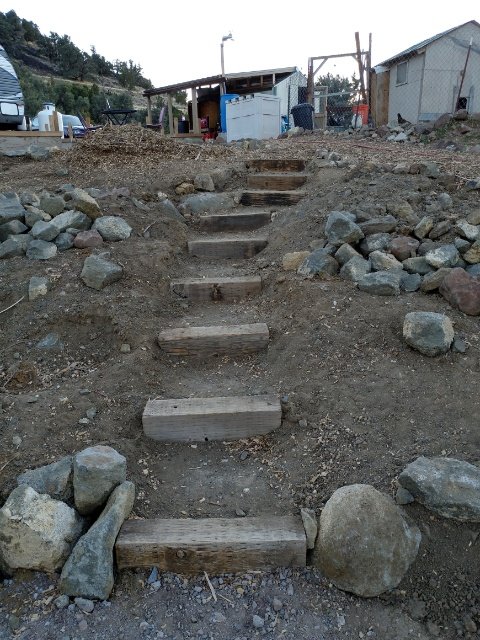
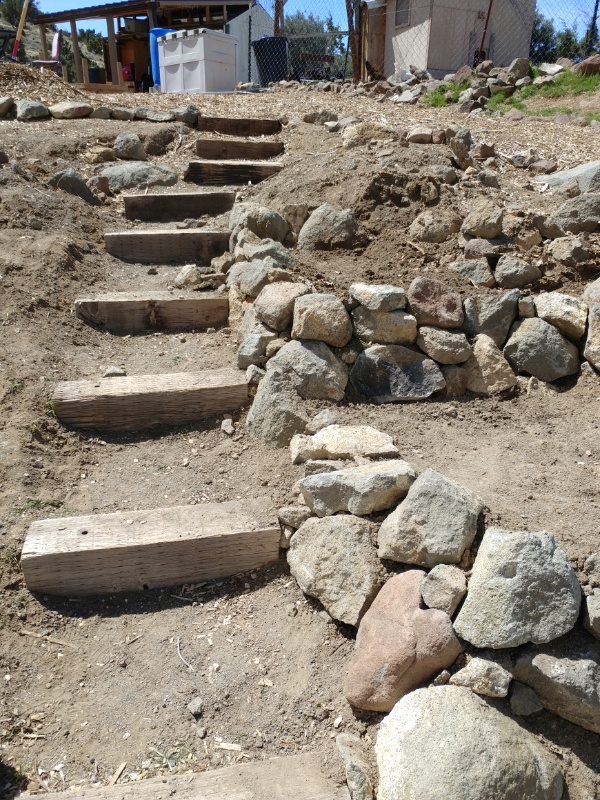
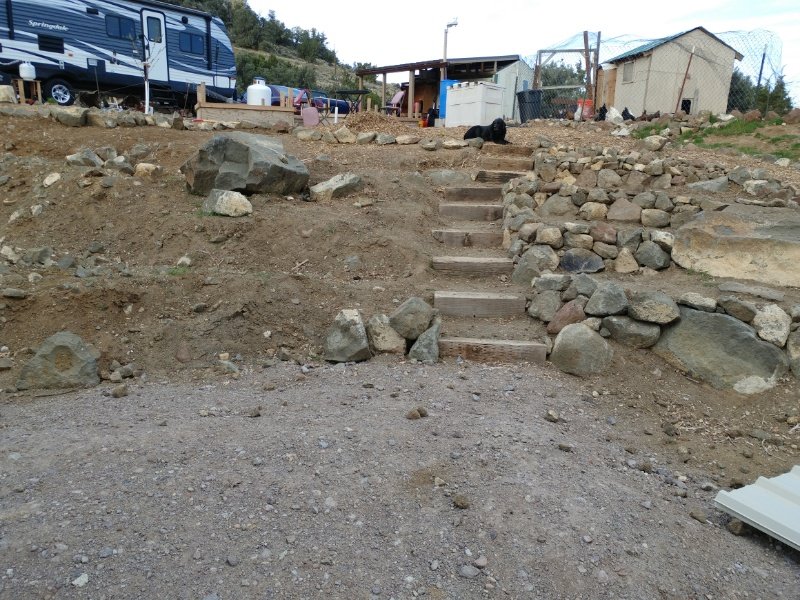
The stairs were built out of railroad timbers we had on the property. The rocks are all native to within 50 feet of right there!

I completed this triangular section first because that is going to be Pajii’s area and I wanted him to feel like he could plant if he wanted to. Besides, it was the easier section to do!

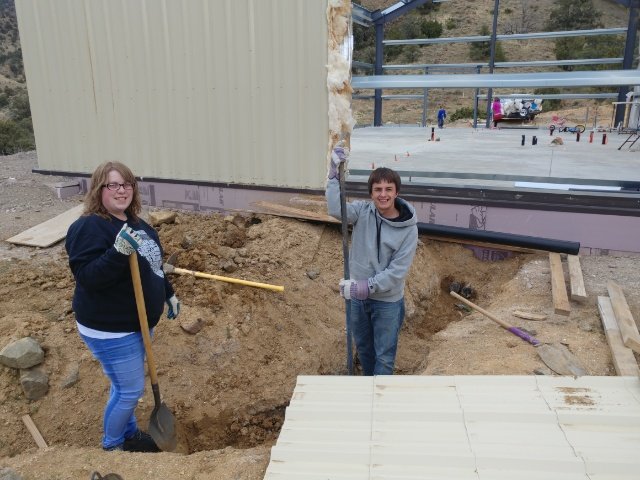
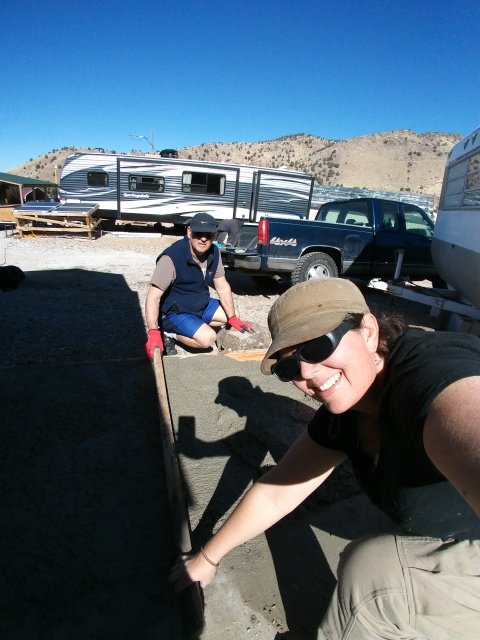
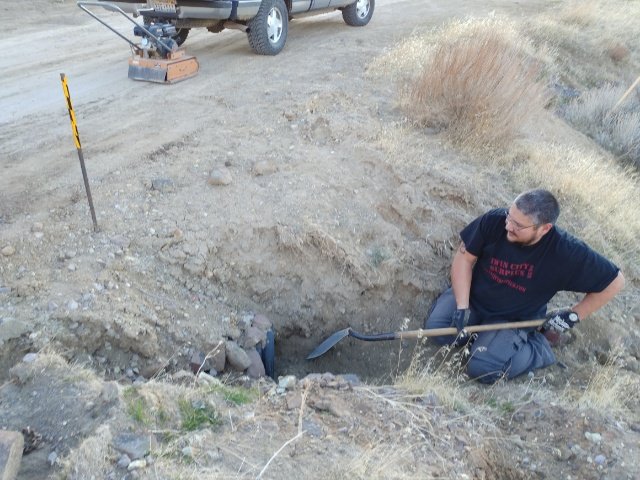
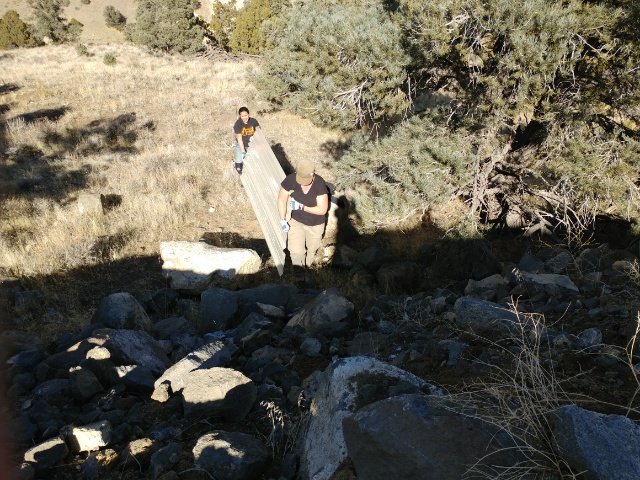
A friend of ours came by one afternoon to help out with stacking rocks.

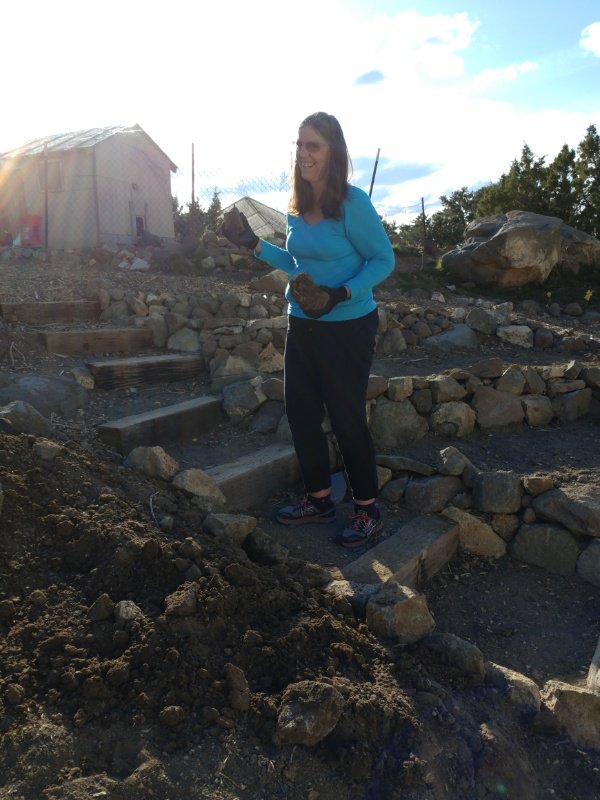
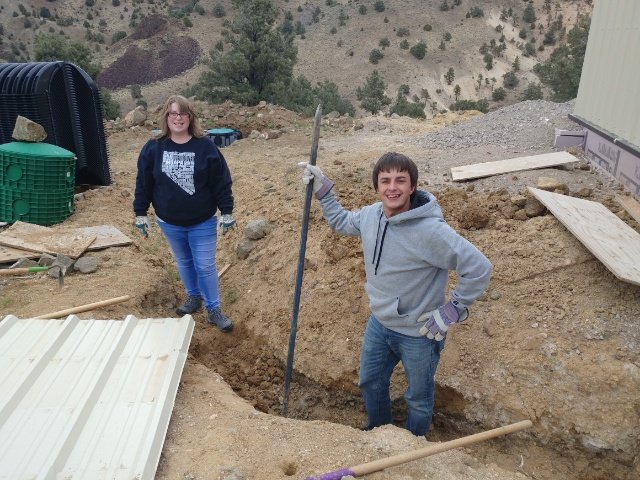
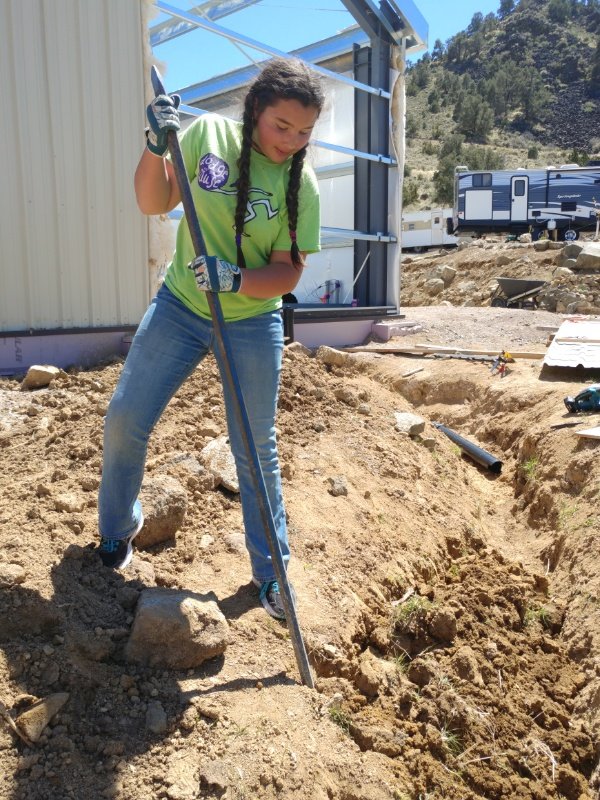
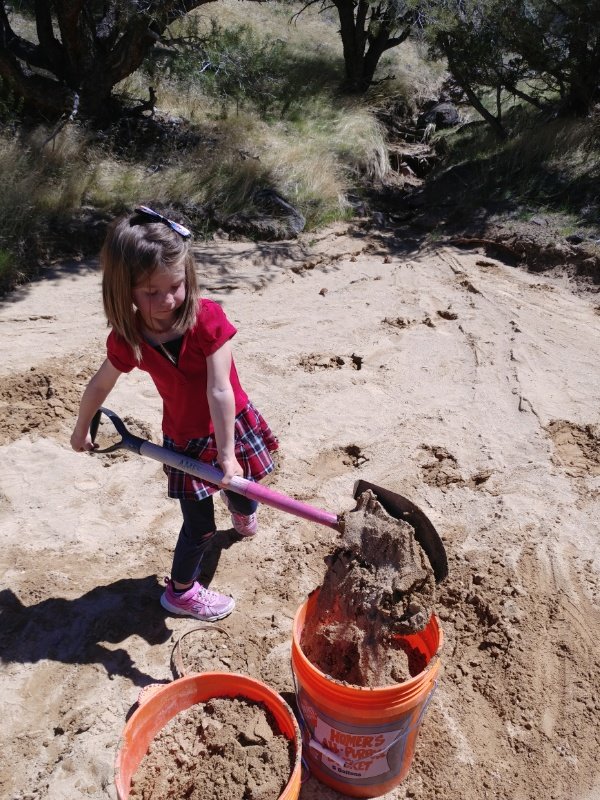
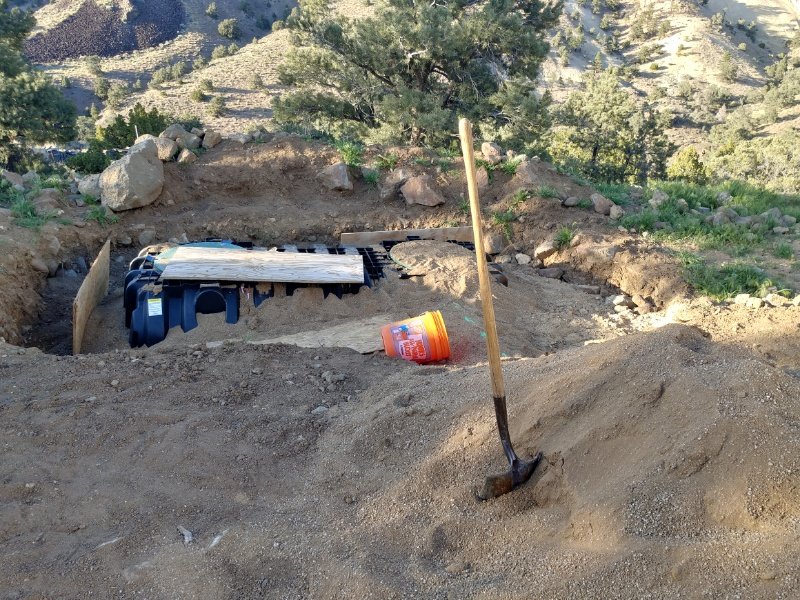
The circled rock in the picture below was just one of several 100lb boulders I needed to dig out and move.

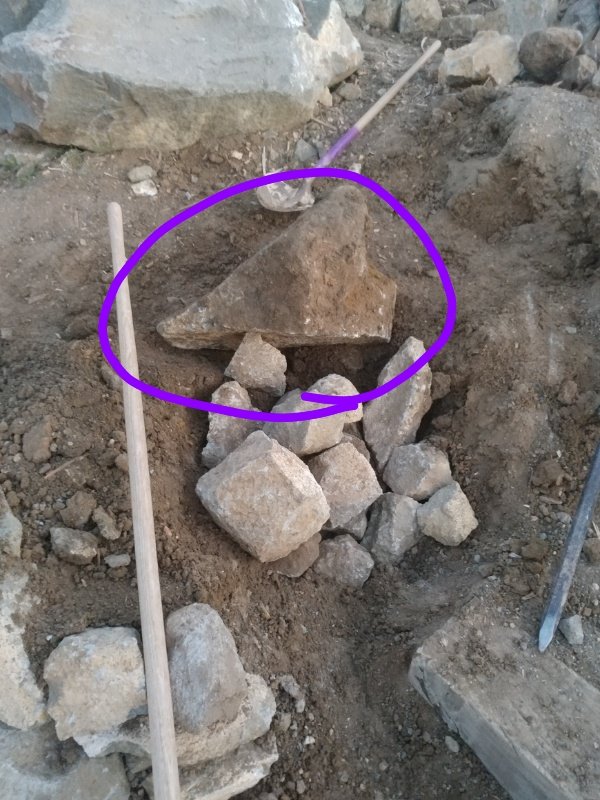
All of the whiteish rocks below it are the rocks I piled under it when I levered it up, until I could roll it out of the hole.

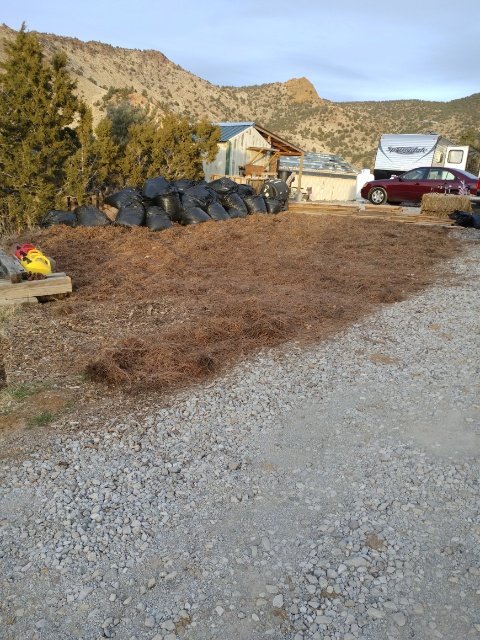
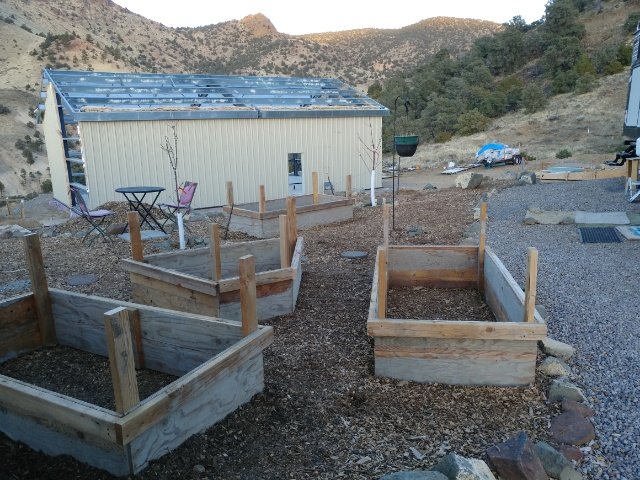
In the picture below you can see the completed terraces on the right of the steps, and the not-yet-started hillside to the left. The huge boulders were dug out of the hillside where our well is now. They were placed in such a way as to become part of the landscaping. There are several more that you can’t even see just to the left, and many more that got used as a retaining wall over by where our garage will go.

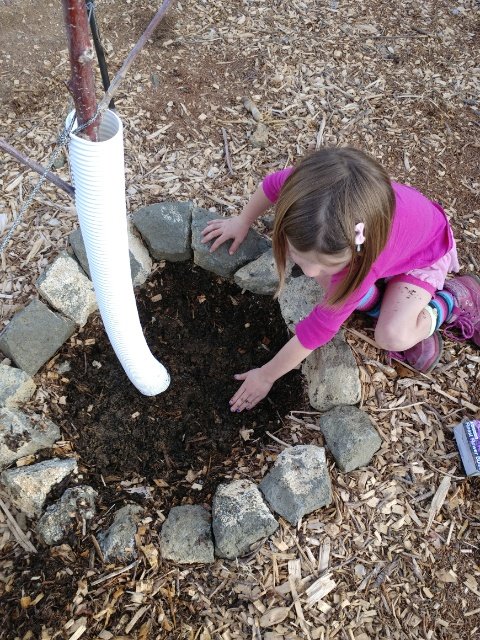
So I got a bit of the terraces done on the left side of the stairs, and while at the hardware store, succumbed to an impulse buy of a dianthus bush. I just loved the color of the flowers and the fact that they are supposed to bloom from spring all the way till fall!

So, I had to find a place to plant them.

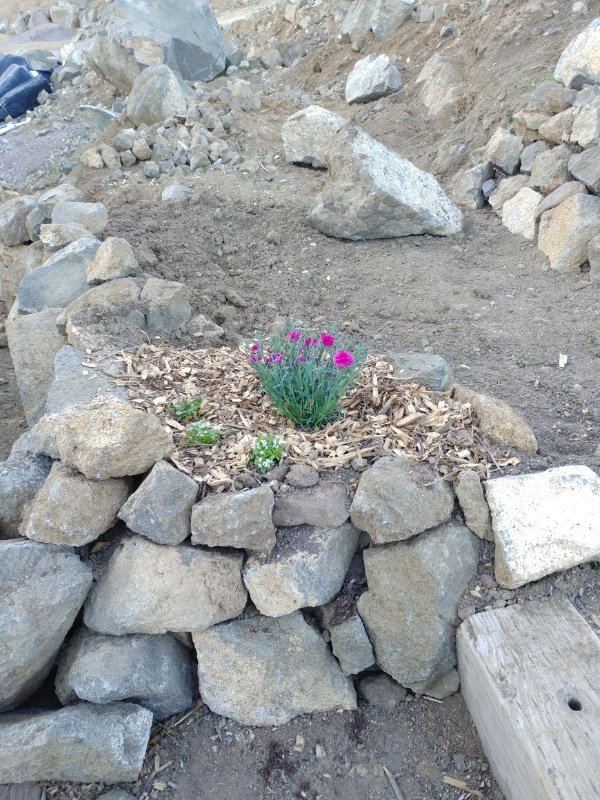
The very first plantings in the terraces. 😄

I also decided to pick up a few more landscaping plants that I know I want. And as the saying goes, the best time to plant a tree was 40 years ago. But seeing as how I’m not (quite) even 40 years old yet, I figure the best time to plant is now.
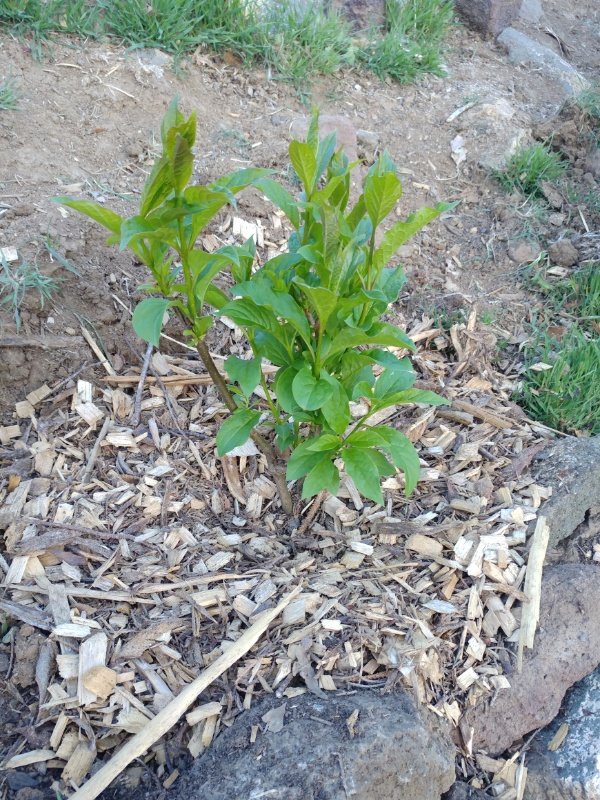
Lilac

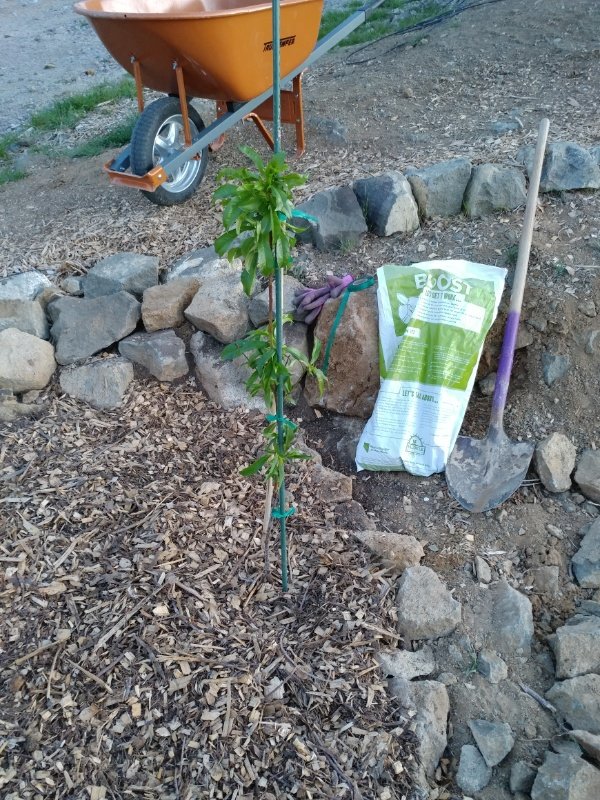
Red Haven peach tree

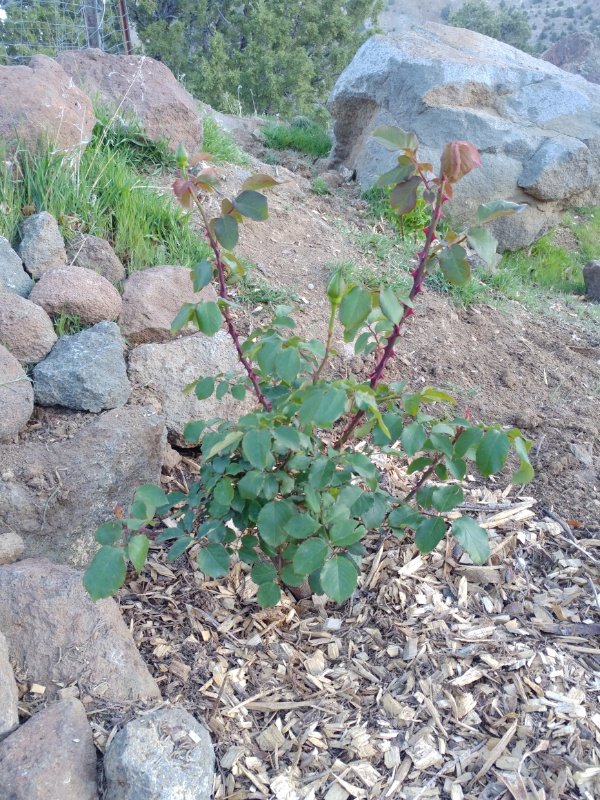
Double Delight tea rose 🌹

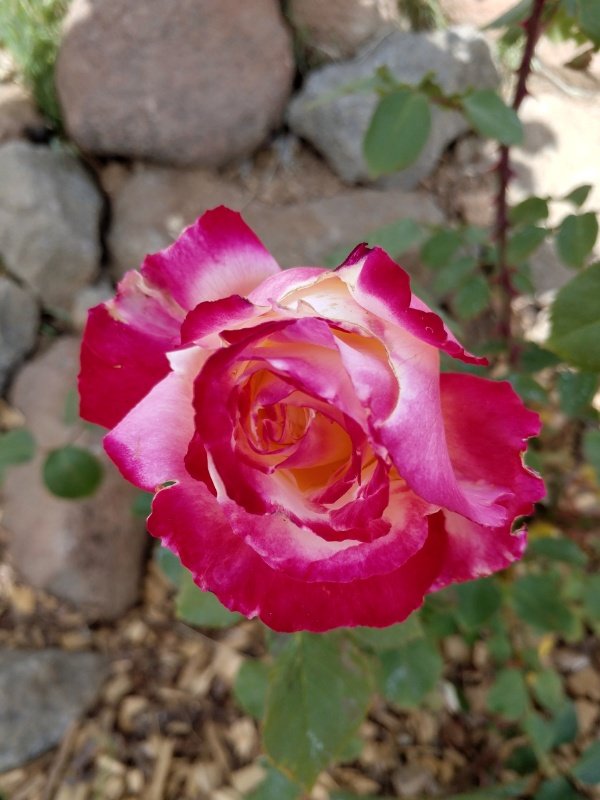
The first bloom on the rose bush

I also bought some annuals to plant in pots around our trailer to pretty things up a bit.

Our fruit trees that we planted last year are doing well. The cherry trees blossomed out in late April and I thought for sure they’d be killed by a frost.

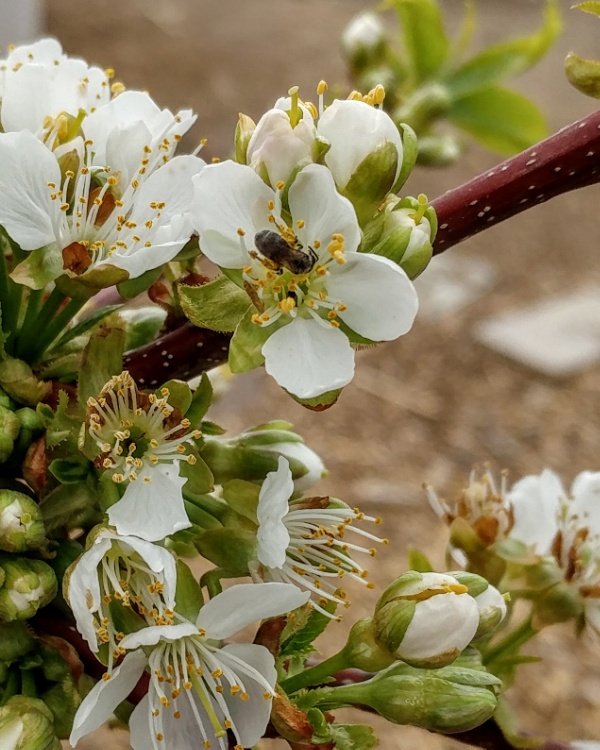
Cherry blossoms with Mason bee 🐝 busy pollinating

And they almost were! We were surprised by a light frost at the very end of April. Not that it’s unusual to freeze that late, but all of the forecasts said we were going to stay above freezing that whole week. But everything seemed to be ok despite the freeze. The next night was supposed to get nearly as cold, so we decided to play it safe.

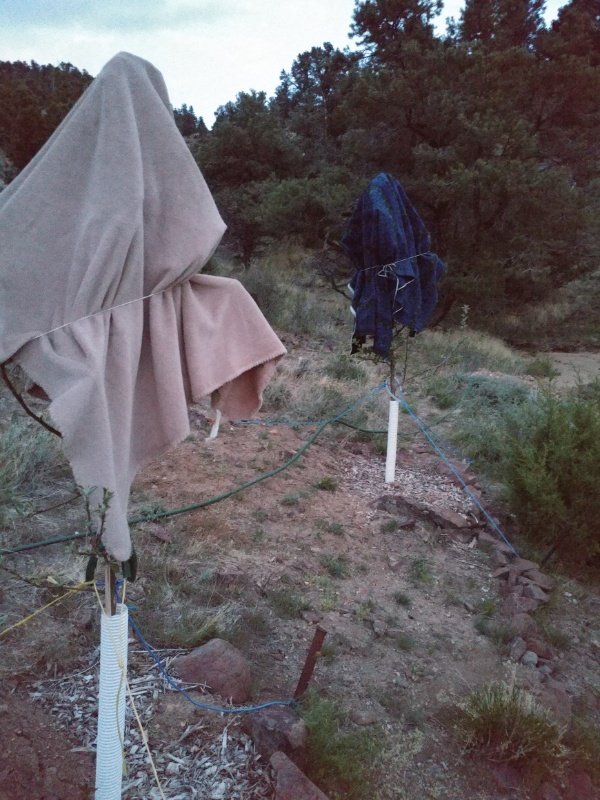
The apple trees wrapped against the cold look like weird lollipops.
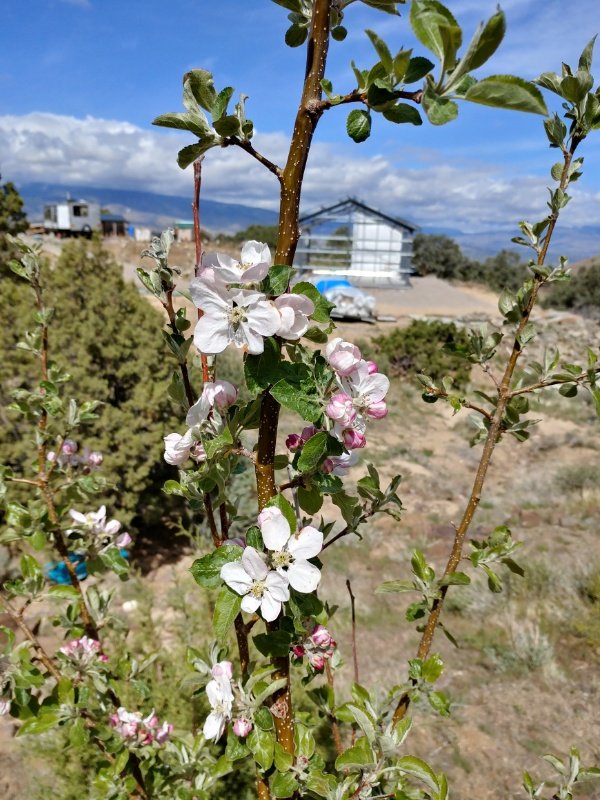
Apple blossoms

Yesterday, I checked on the cherry trees, and lo and behold, they’re loaded!

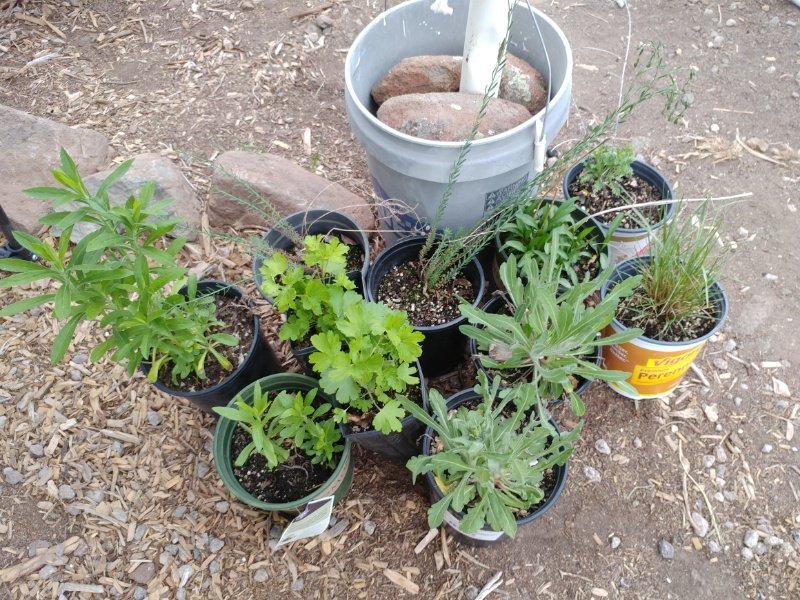
And last but not least, we bought some native/locally adapted plants from the state nursery and will find places for them to go once the terraces are completed.

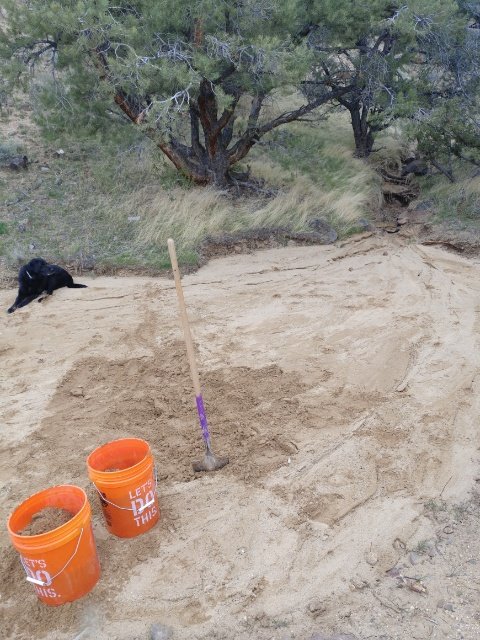
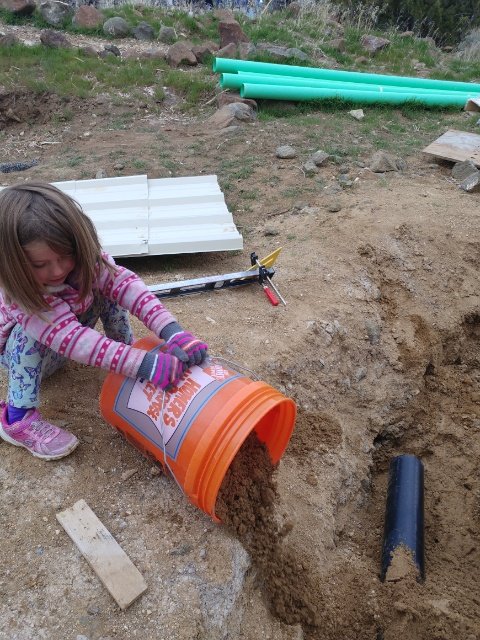
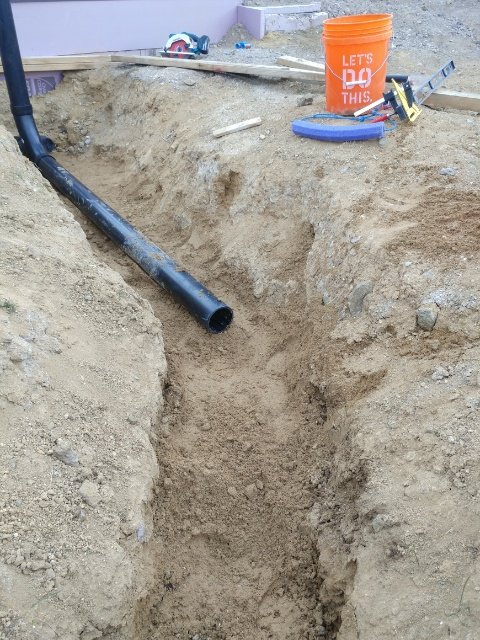
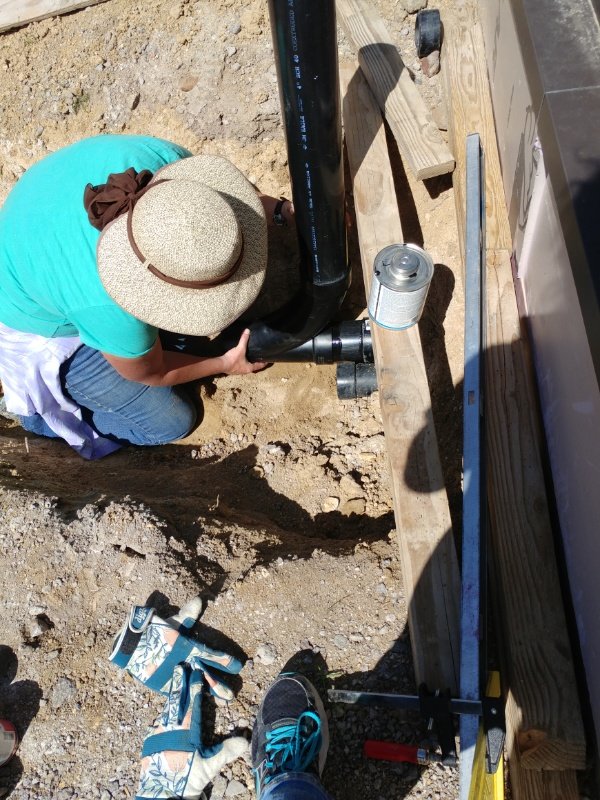
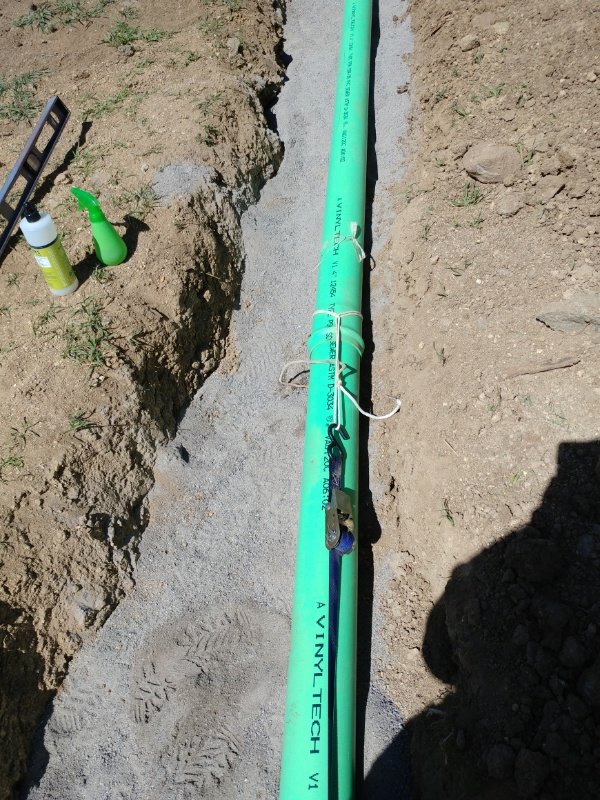
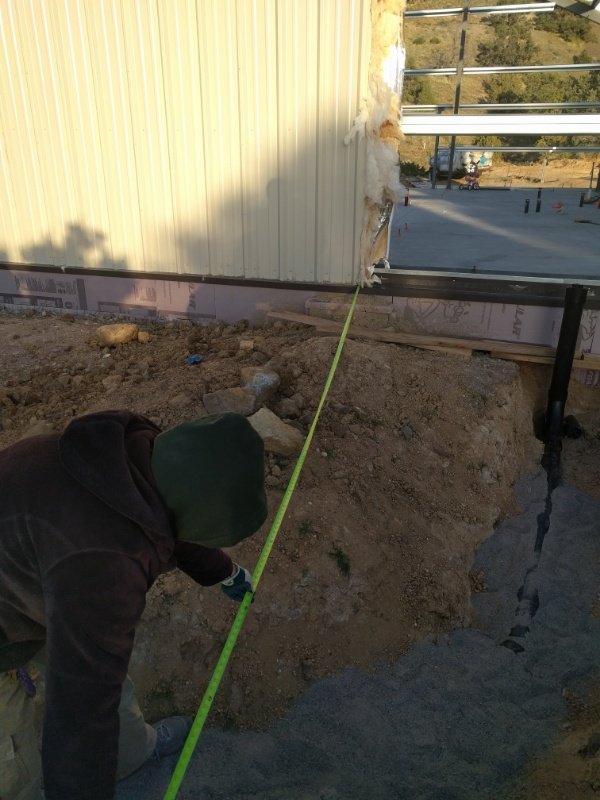
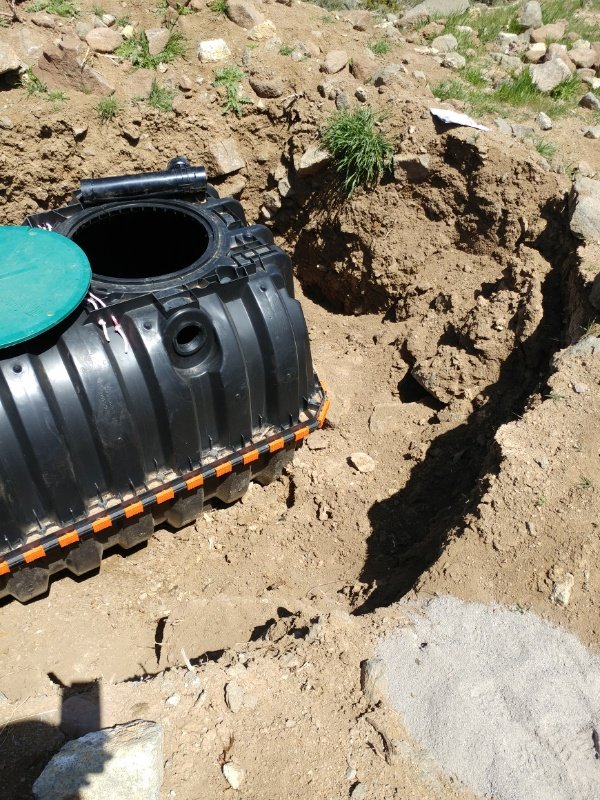
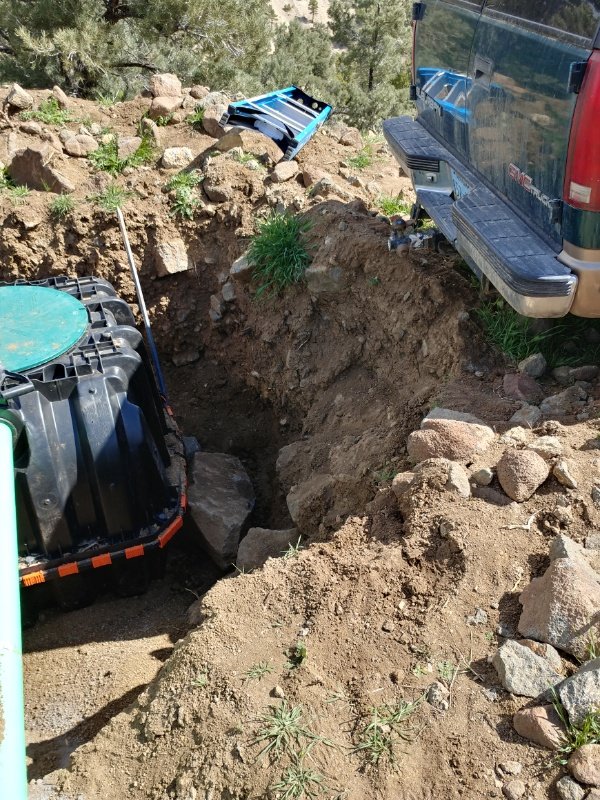
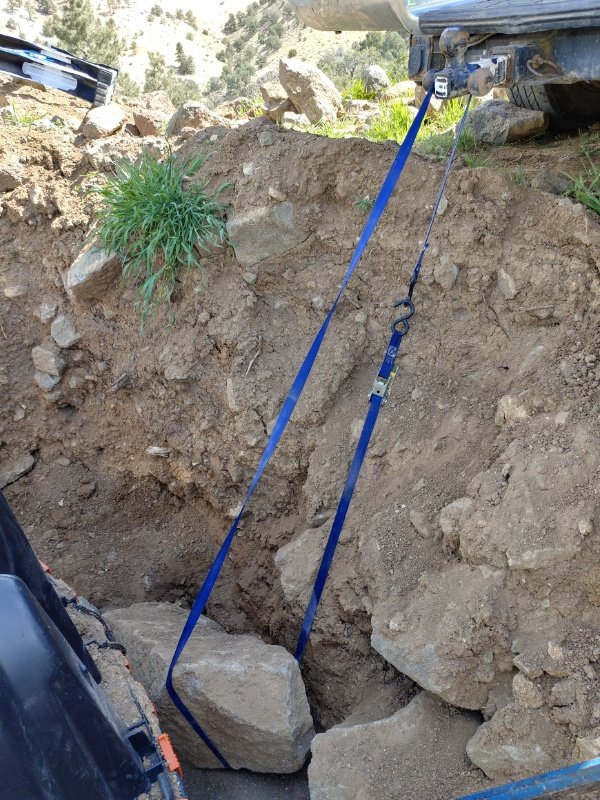
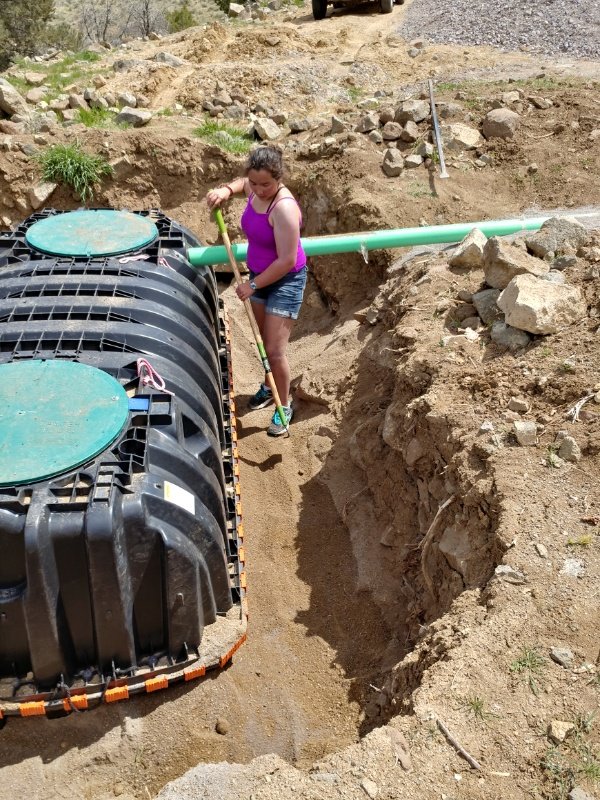
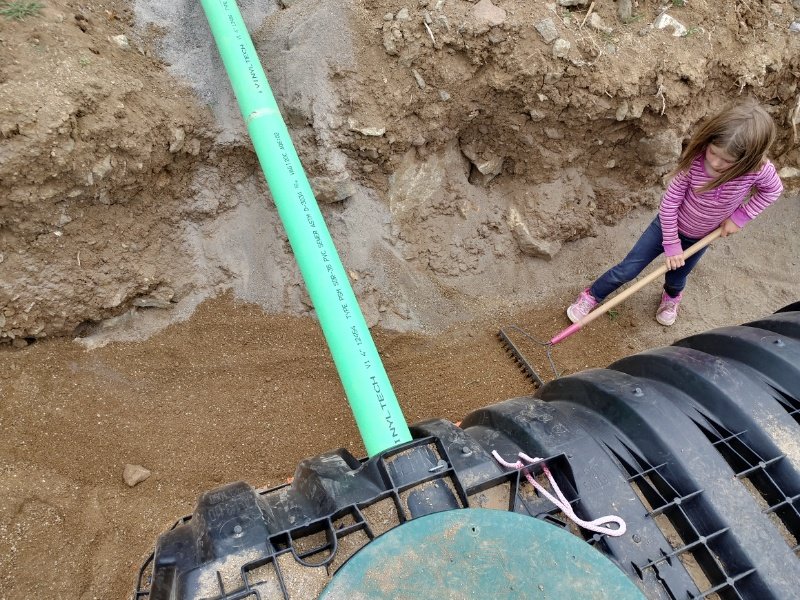
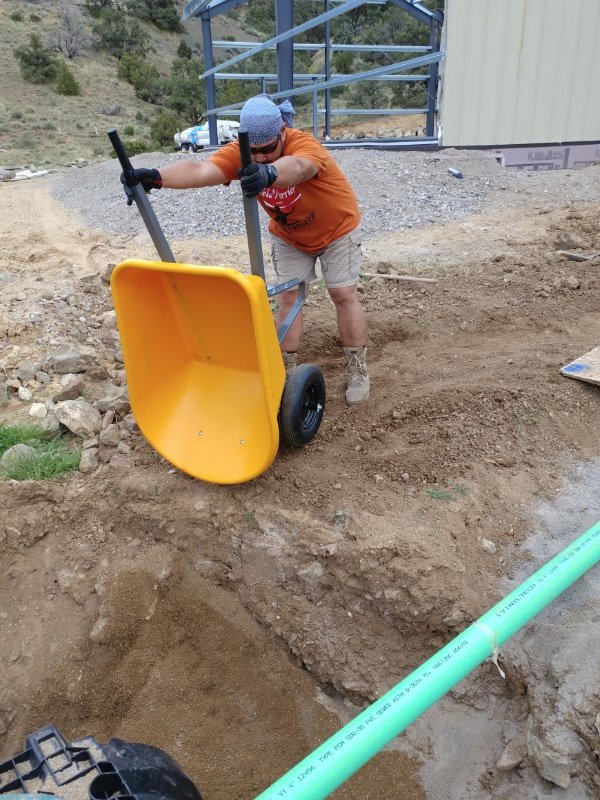
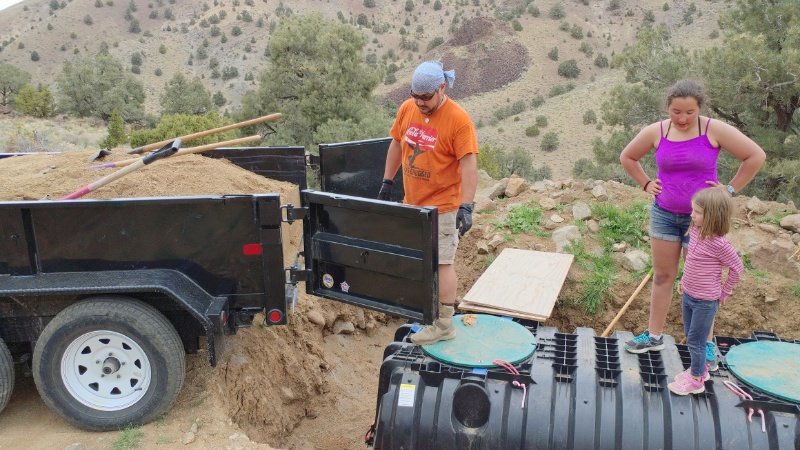
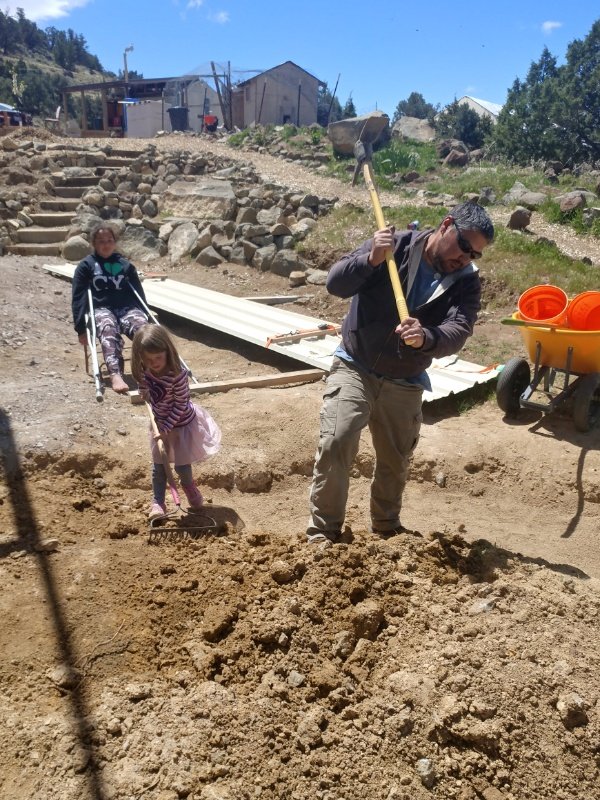
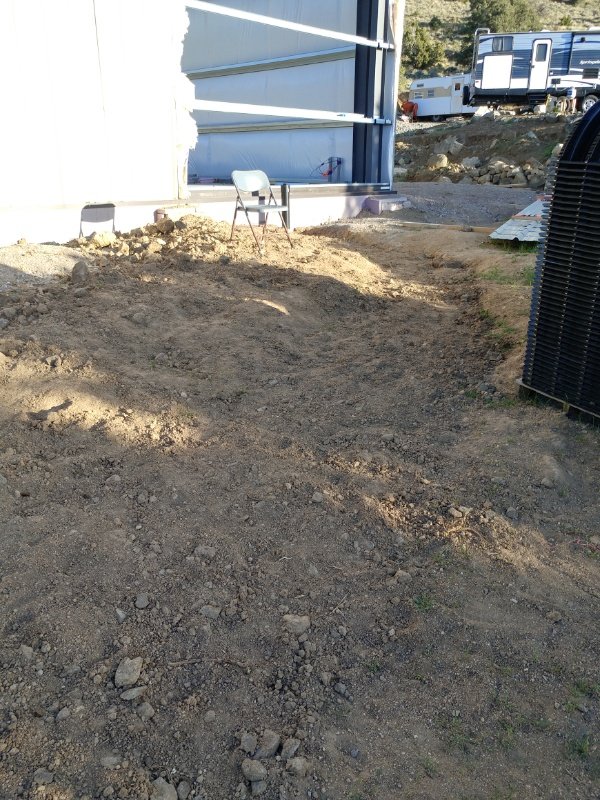
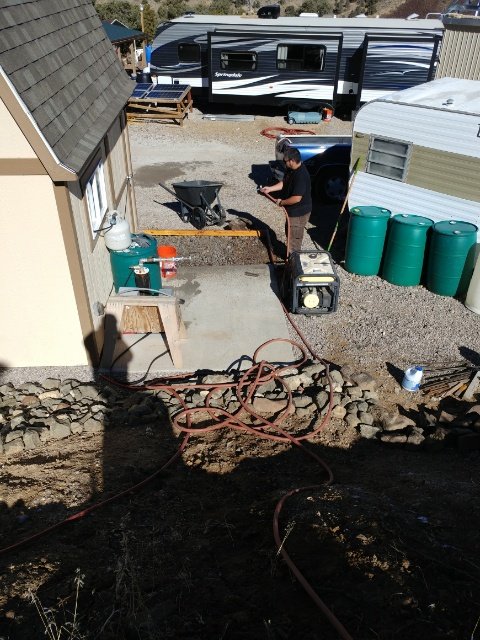
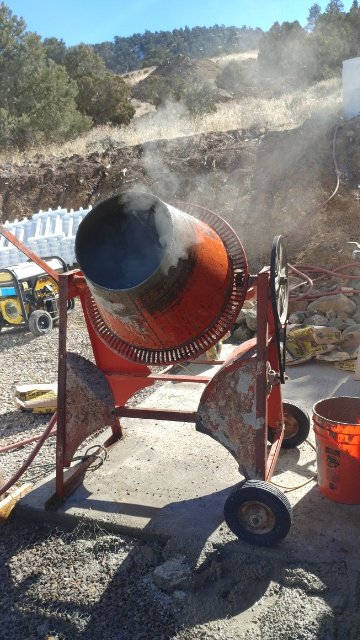
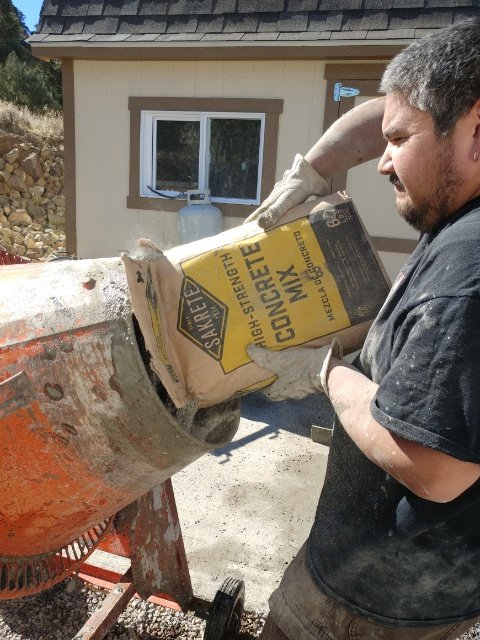
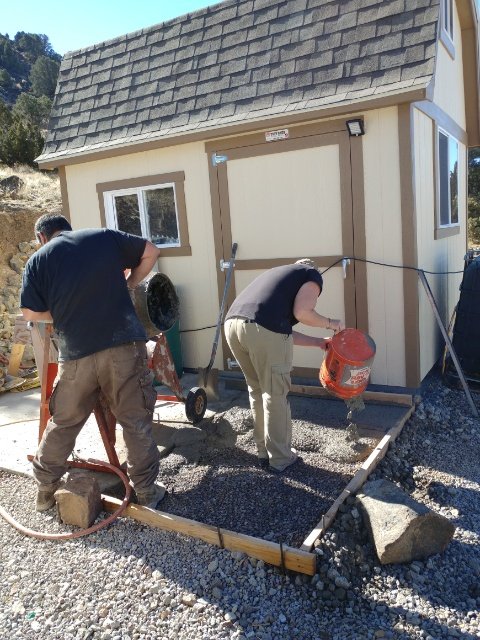
For now, we have been busy trying to finish up the septic system. But we’re almost done with that, then I again won’t have anything to do, so I will go back to the terraces.

Now, remember that house you thought about at the beginning of this post? Think of all the bushes and trees and flowers that actually do surround it. Are there any that you’ve ever thought, “If I had been in charge, I would not have planted that”?

Well, guess what. We are in charge of everything that gets planted here on our land. It’s actually rather exciting to be building our land from the ground up. While it is a lot (a lot) of hard work, it’s awesome to be able to make it how we want it and only have to deal with what nature handed us, not what other people thought was a good idea. And so far, with the exception of the dianthus, I’ve put quite a bit of thought into the plants I’ve chosen.

One day, it’s going to be beautiful!

House update: septic system, phase 1

We are STILL waiting on the contractor to come and finish siding and roofing the house. So in the meantime, we’ve been working on the septic system. I posted last time about how I was trying to find the strength and willpower to get started on that project. Well, I am happy to report that phase 1 is just about finished!

Phase 1 = hooking up the sewer system from the house to the septic tank.

Phase 2 = the sewer system from the septic tank to the leach field. We haven’t even started this phase yet. It requires renting an excavator, etc.

But we are feeling accomplished at the progress we have made. Especially since we’ve been doing all the backfill, etc by hand. No machines. It takes a while, but it doesn’t cost money.

Ok, well, technically we’ve had to buy DG (decomposed granite, which is a type of sand) to surround the septic tank, but other than that, it’s been free. In fact, we got some other fill dirt for just the price of gas to go get it.

We did get some help on the septic trench. My nephew and his wife came to town and we put them to work!

Actually, they wanted to help. And now whenever we get to use our toilet, we’ll be able to thank them for helping. 😁

We have a sand pit on the property that we were initially mining sand from to bed the septic pipe in.

And it was working just fine, but it was a very slow process as we could only get small amounts of sand at a time. But it allowed us to start the process. And as we all know, starting is half the battle.

My helper

Test fitting

Raising strong a woman

.

More sand, and another strong woman in the making

Not too long after the above pictures were taken, we decided we needed to move along a bit (or a lot) faster, so we decided to purchase sand to bed the pipe and surround the tank in.

Love, love, love Pajii’s dump trailer!

Gluing the pipe! It’s always an exciting time when you get to play- uh, I mean work, with glue!

I’d never worked with this particular type of sewer pipe before. It has a rubber gasket instead of using glue. It makes getting the pipes together a bit tricky. But ingenuity wins every time.

Once we got the pipe laid and inspected, and just before we started covering it, we took some measurements. This is very important if we ever have to dig that thing back up for any reason.

We passed the inspection with flying colors, and it was time for backfill!

But first…we had to clean out all the rocks and debris that had fallen in the pit over the winter. Oh, actually, we did that before the inspection. Forgot. Anyway, here we are cleaning up the pit.

Including this big rock. Waaay too big to get it out by hand.

Again, ingenuity to the rescue. We were able to use this system to get enough sand under it that we could roll it away from the tank and bury it.

Then it was sand, sand, sand.

And finally regular dirt on top.

And yes, that’s Princess Girl on crutches. She sprained her ankle. 😞

Filled in trench, which will eventually get another 1-2 feet of fill when we bring in dirt to raise the ground level up to slab level.

And an almost covered septic tank. We actually did even more after this picture was taken. It is now almost even with the top all the way around.

Right now as I write this post, I am down in town waiting for the trailer to be loaded with free fill dirt. I met a guy through Craiglist. He had good quality fill dirt he needed hauled away, and we have need of dirt we don’t have to pay for. Win-win.

We decided that we wanted to pay for only what we have to (because despite the saying, dirt ain’t cheap!), so we devised a system where we put the purchased DG sand in the first foot or so up against the tank, then outside of that, we put either our native soil, or this other fill dirt that is not as high a quality.

I’d say by the end of the week, the septic tank will be completely covered. Yay! That means we can finally bring in the needed dirt to raise the ground level all around the house up to what it’s supposed to be.

And that is just one step closer to done.

Homestead Update: still waiting, but being productive

I didn’t realize it had been so long since I last did an update on the house progress until I posted about Pajii’s new garden beds and saw the half-sided house in the background.

So yeah, this picture was taken on January 26th. We haven’t seen our contractor since that day. Our house sits there, half sided, getting snowed on. We finally gave up on being able to get ahold of him and have found a new contactor to finish the job. They will start as soon as they can fit us into their schedule.

In the mean time, we’ve been keeping pretty busy around the homestead with other projects that needed doing.

We were blessed with unseasonably warm and dry weather for most of January and February.

Picnic lunch in the February sunshine

School outside in February?

We decided to take a Saturday and finish the concrete patio outside our completed well shed (I’m putting together a post on that, I promise). The existing concrete was leftovers from when we poured our house footers. We were hoping we’d have enough left over from the house slab pour, but the calculations on that were perfect. Not short, but no leftovers either. So we had to go buy bags of concrete to finish the well shed slab job.

Prepping the 4’x7′ section

IT’S ALIVE!!! This concrete mixer was my dad’s and has been sitting on this piece of land, completely unprotected, for at least 12 years. And it still worked!

Concrete work is dirty work.

We mixed 3 bags of concrete at a time in the mixer, then poured it into a bucket to schlep it into place.

It was actually really easy to move the concrete around such a small area with the bucket.

You can see the chicken wire we put down as an added strengthener. Every so often, we’d reach down and pull the wire up so it was floating in the slab rather than pressed down to the ground.

While Hubs mixed up another batch of concrete in the mixer, Pajii and I would scree the freshly poured stuff so it stayed level with our existing slab and the forms we built out of 2×4’s.

The finished slab. It makes getting into the well shed so much easier!

Another project we worked on was some driveway maintenance. We had put in a culvert last fall and it needed a bit of upkeep.

Adding and compacting more dirt over top of the culvert.

Hubby cleaning out some collected sediment inside the culvert.

There were a few gardening type things to do as well. Since I don’t plan to start a garden this year for myself, it was great to get some dirt under my fingernails, so to speak.

Spreading pine needles collected from our church’s landscaping. This area will eventually be our fenced in garden with raised beds, but right now it is a parking area. We thought it best to use decomposable material rather than gravel to combat the mud in this area. Besides, the pine needles were free and we were saving our church some money since they didn’t have to haul it all to the dump.

I had some flower bulbs I needed to get in the ground. So I made a couple new areas for flowers along the pathway going from the upper level down to the house pad.

This area eventually became a perennial flower bed. Once the spring bulbs come up, we’ll plant some more summer type perennials in this bed, too.

And, since I had gone a little crazy buying flower bulbs last fall, we had plenty left over to plant in other places as well, such as around our cherry trees.

Oh, and we finally finished the stairway that leads from the upper level down to the house pad.

These stairs are made from railroad ties that have been sitting on this property for over a decade.

And, if you’ll remember the panels that blew off the side of the hill?

We finally got them back up to the pad. All 29 of them.

Even Flower Girl was able to help once the panels were at the top of the hill. The panels are heavy for a 5 year old, but she’s strong and has a will to help.

This girl, even with a gimpy knee, was amazing in getting all those panels back to the top.

So even though we haven’t been able to work on the house, we have not been idle this winter. January and February we’re filled with a lot of time outside.

And then March blew in and winter finally settled in.

So, we’re back to being stuck inside and working on other projects.

But Spring is just around the corner. And our new contractor said it shouldn’t take much more than a week to finish the siding and roofing once they get started. Rest assured we’ll be shouting from the mountainside when that blessed event finally happens.

In the meantime, keep warm and busy friends.

Garden beds

In February, we had a run of really nice weather and it got us itching for spring. Pajii in particular is really missing being able to garden. His garden up in Oregon, though small, was prolific and beautiful.

Pajii’s garden in Oregon – 2014

So, since we couldn’t work on the house (still waiting on our contractor to finish the walls and roof), and we had such nice weather, I decided to knock together some raised garden beds for Pajii to work in come spring.

I decided to use our wood left overs from the concrete forms for the house foundation.

This is only some of the wood we reclaimed from our forms for the foundation.

I measured and cut and organized and got all the pieces sized and ready to assemble.

A lot of the 3/4″ scrap plywood was 8 or 16 inches wide. This made it easy to figure out how tall I wanted the beds to be.

I started by attaching my side panels to the corner 2×4 posts which I cut to be twice the height of the panel. Since I wanted to use as much of the smaller wood scraps as possible and leave larger pieces for future projects, I had to make a couple 16″ panels out of two 8″ panels as you can see in the following pictures.

Attaching a panel to the corner post

I used 1⅝” deck screws to attach the 3/4” plywood to the 2×4 posts.

Joining two 8″ panels together to make a 16″ panel.

One side ready for assembly

Once I had all four sides ready for assembly, I started screwing them together.

Clamps are your friend when working solo.

One box almost finished.

This box is almost finished. Just needs some strengthening 2×4’s around the top edge.

One of the boxes we made a trapezoid (an isosceles trapezoid to be precise 😉) to work in with the shape of the garden a bit better. You can see in the pic below where Princess Girl is helping me put on the strengthening rim boards around the top of the box. I used 3″ deck screws too attach these boards to the corner posts.

Finally got some human help. 😁

We also attached the plywood to the rim boards with 1⅝” deck screws.

Princess Girl gets some more screw gun practice.

Pajii and the Princess with a finished box.

Time to move.

Once we got the boxes put into place, Flower Girl’s chicken, Leilani, had to come check them out.

All 4 boxes in position.

We made 4 boxes total. Three of them are 3ft by 6ft and the fourth one is a trapezoid that is 5ft x 3ft x 2ft, if that makes sense. All of the boxes are 16 inches tall with 32 inch corner posts. The corner posts are taller in order to easily attach clear plastic to make a cold frame in early spring, or more likely, netting to keep the squirrels and other pests out.

I really like how these boxes turned out. I love that everything used to make them, including the screws, is reclaimed materials that were used to make the foundation of our house.

We have not filled them with soil yet since winter returned just a couple of days after we finished them. Soon, though, we’ll go get some soil and not too long after that, Pajii will be able to keep busy growing us some fresh veggies. I can’t wait!

Re-purposed garden boots/clogs

So, when we were in Nevada a couple weeks ago, we spent some nights in the trailer, and it became very evident that I needed to find myself some slip-on shoes of some sort. Putting on real shoes in the middle of the night to visit the outhouse is not fun.

They needed to be waterproof for the rain and mud we occasionally get there. But also because waterproof also means dirt proof, which is more my concern seeing as how our homestead is in Nevada, afterall. I hate tromping out to the outhouse and having to empty the sand and pebbles out of my shoes before coming back in the trailer.

So I started searching in various stores as I was in them. Not a concerted effort, mind you, just seeing what they had since I was there.

And then my wonderful hubby reminded me I had some old rain boots which could work. You see, the rain boots had developed a hole in the sole of one which, when worn in heavy water, leaked. General mud and dirt and dampness, however, stayed out. So they still worked just fine as muck boots, so long as I wasn’t standing in actual water.

But seeing as how I won’t be needing muck boots in the near future, and I DO need some slip on shoes, I made the change.

20160502_095630_resizedBefore

20160502_095639_resizedAfter

It was very simple. I just took a sturdy pair of kitchen sheers and cut the tops off.

20160502_095717_resizedBefore

20160502_095750_resizedAfter

Now I have a pair of clogs that I can slip on and off easily for use while living in our trailer. I didn’t have to spend any money, and I am re-purposing something which was “broken”.

20160502_095602_resized

Recycling/re-purposing/re-using for the win!