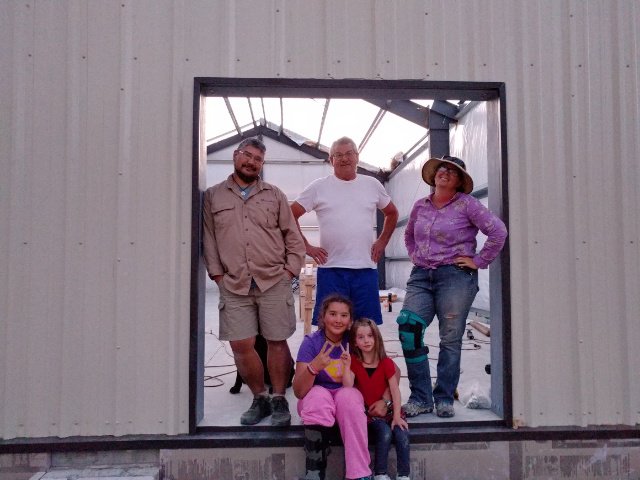
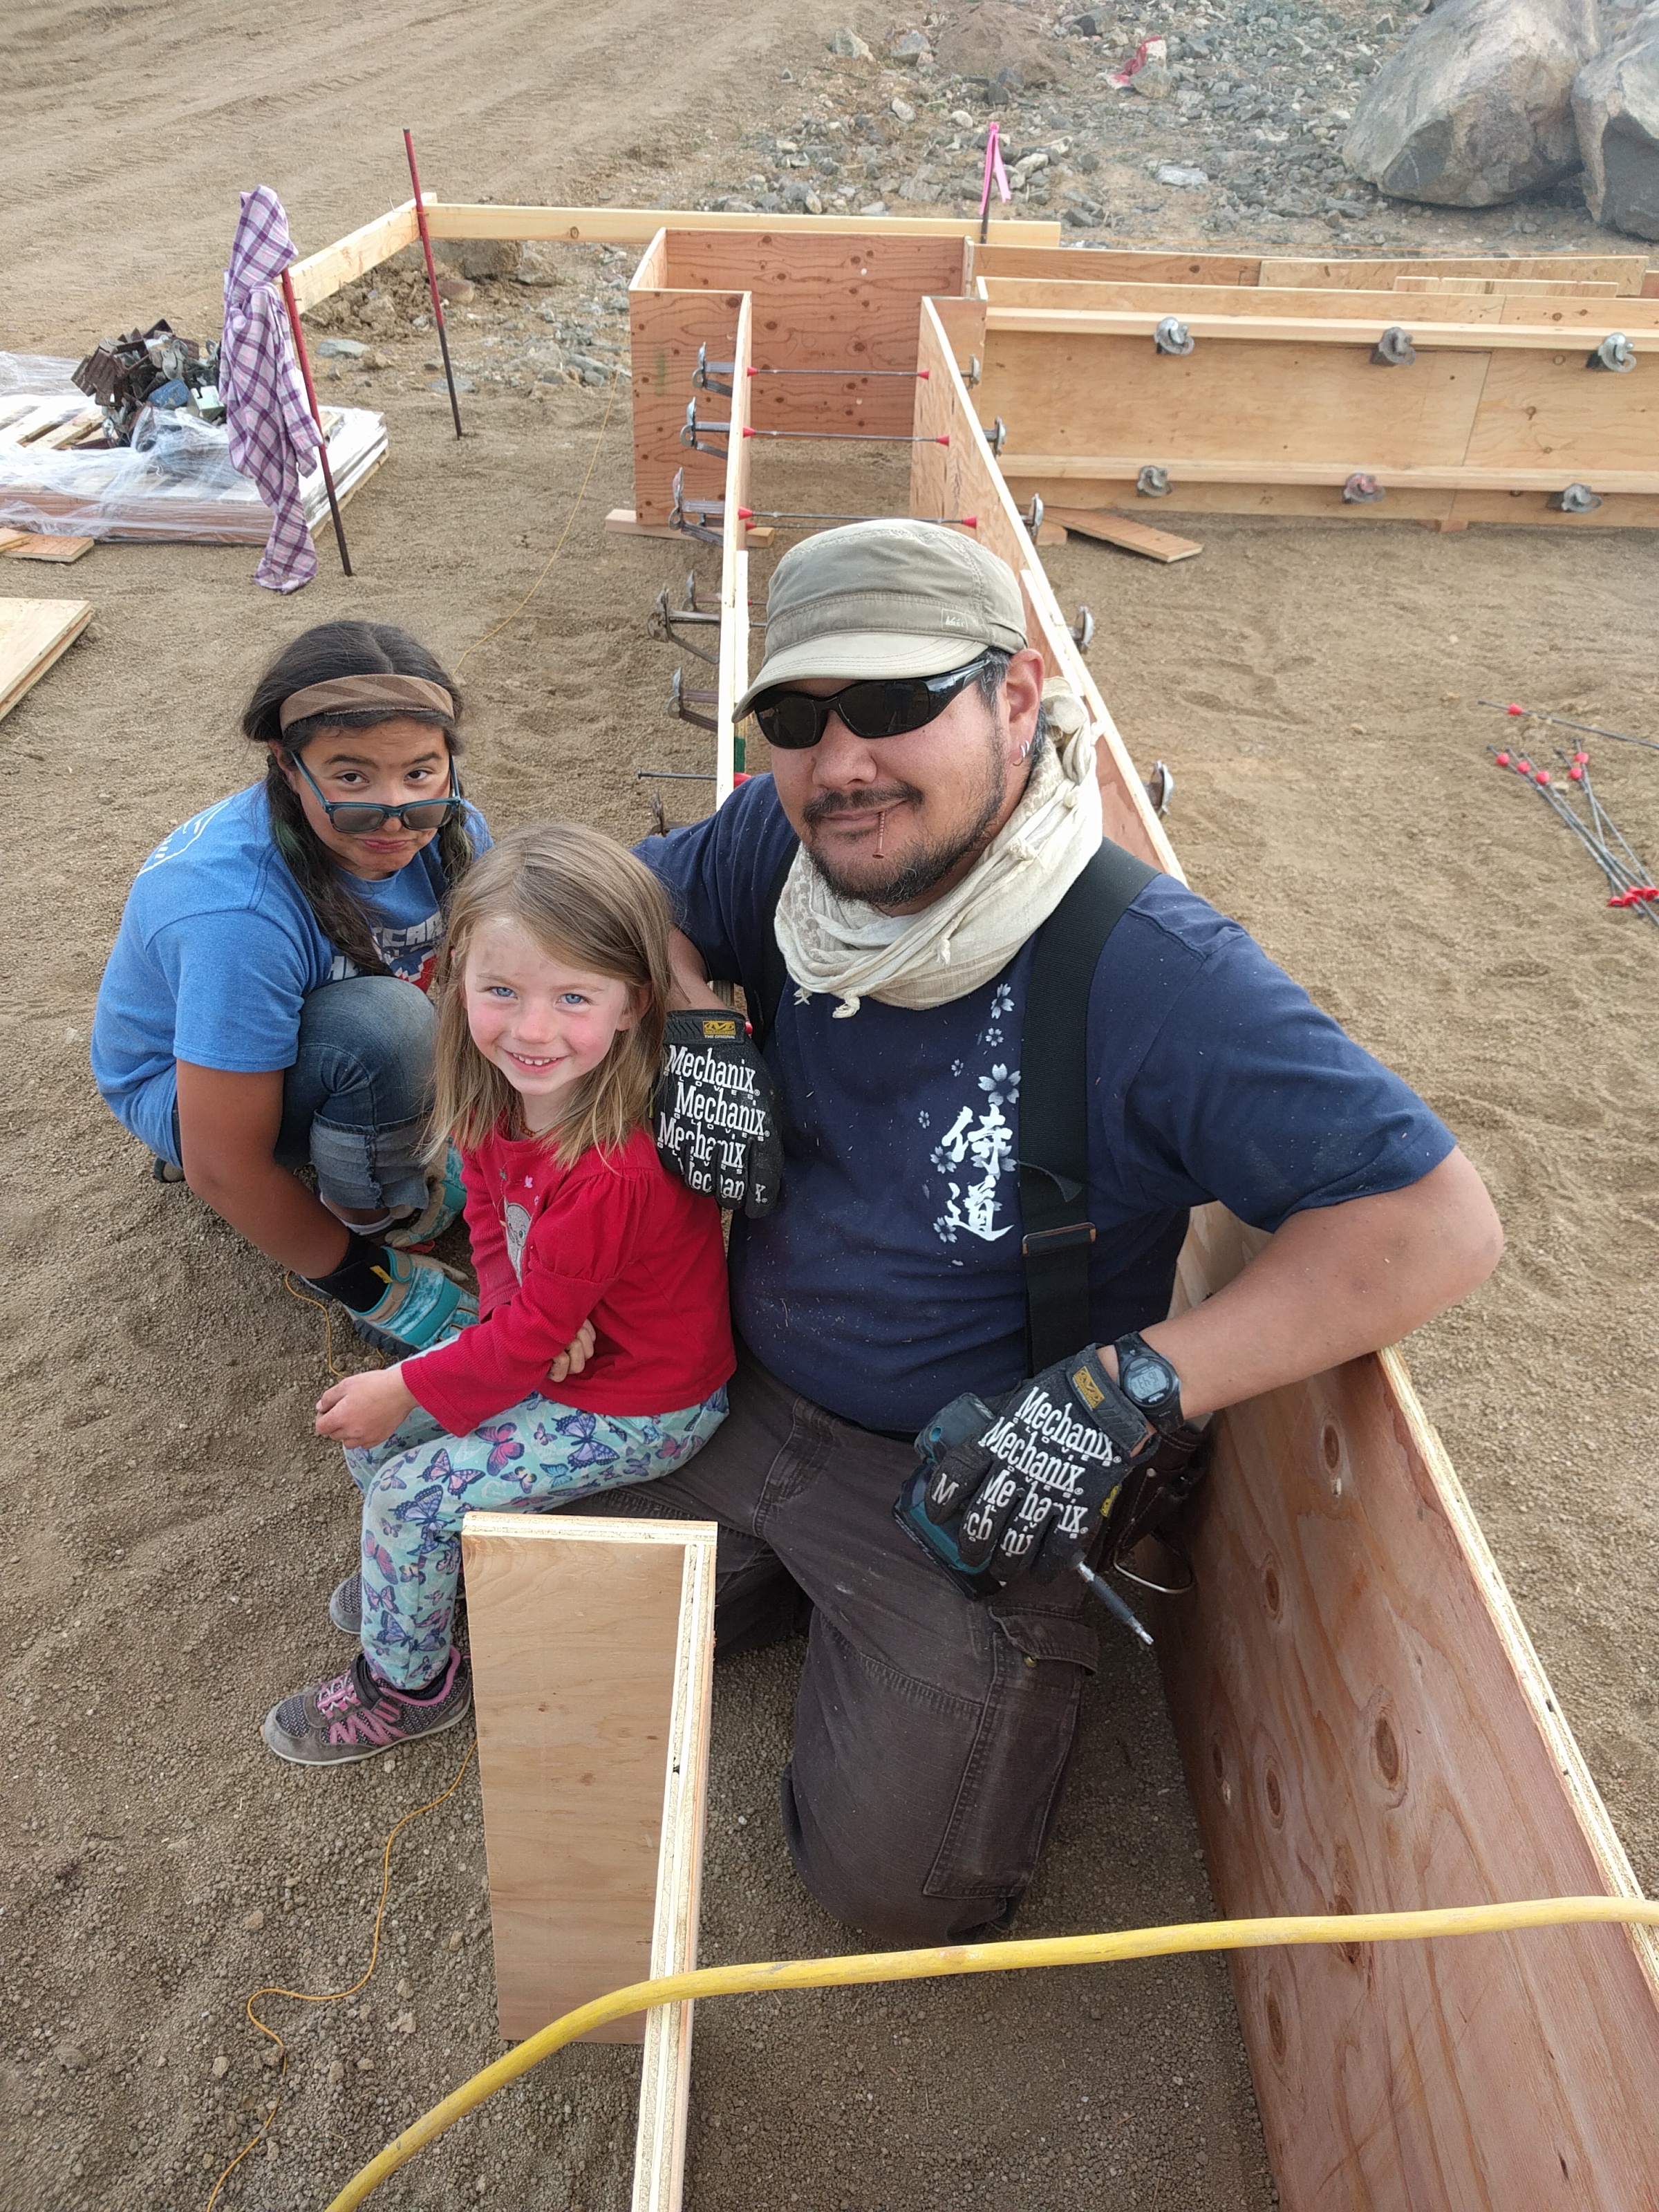
When we first started this journey of building our house (actually started construction), our girls were 11 and 4 years old. We wanted them to be involved as much as they could be in the actual building process.
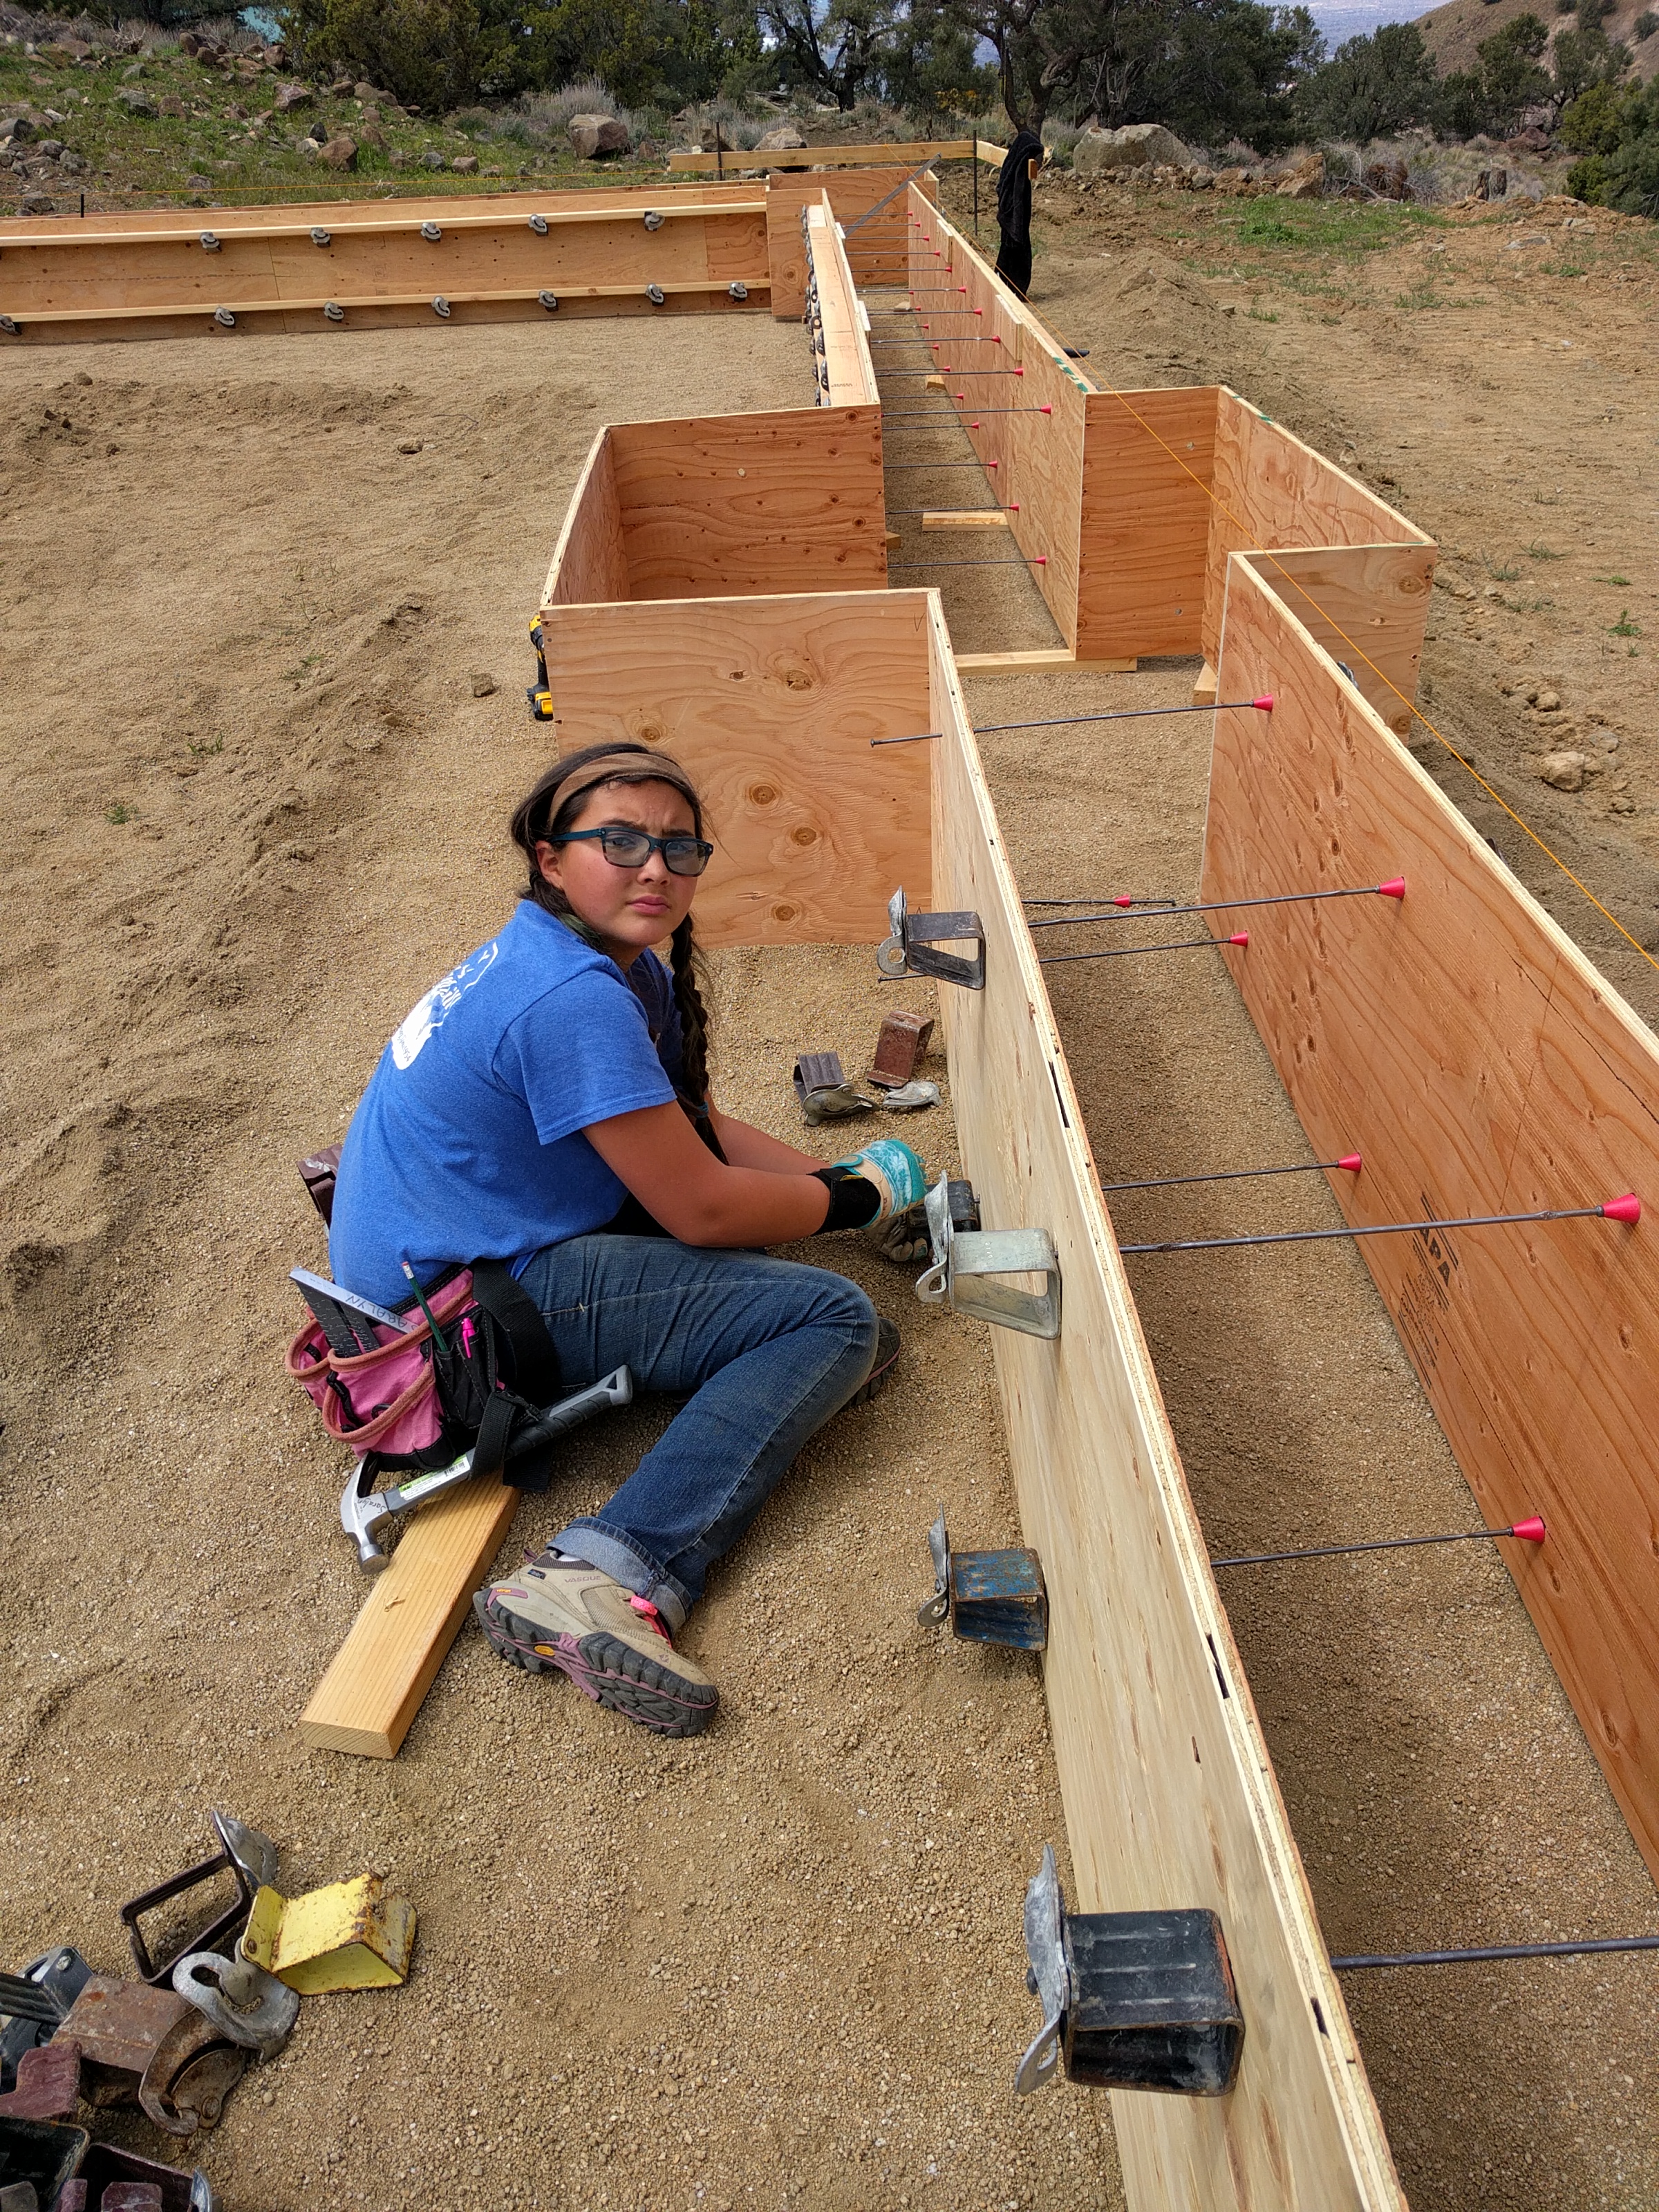
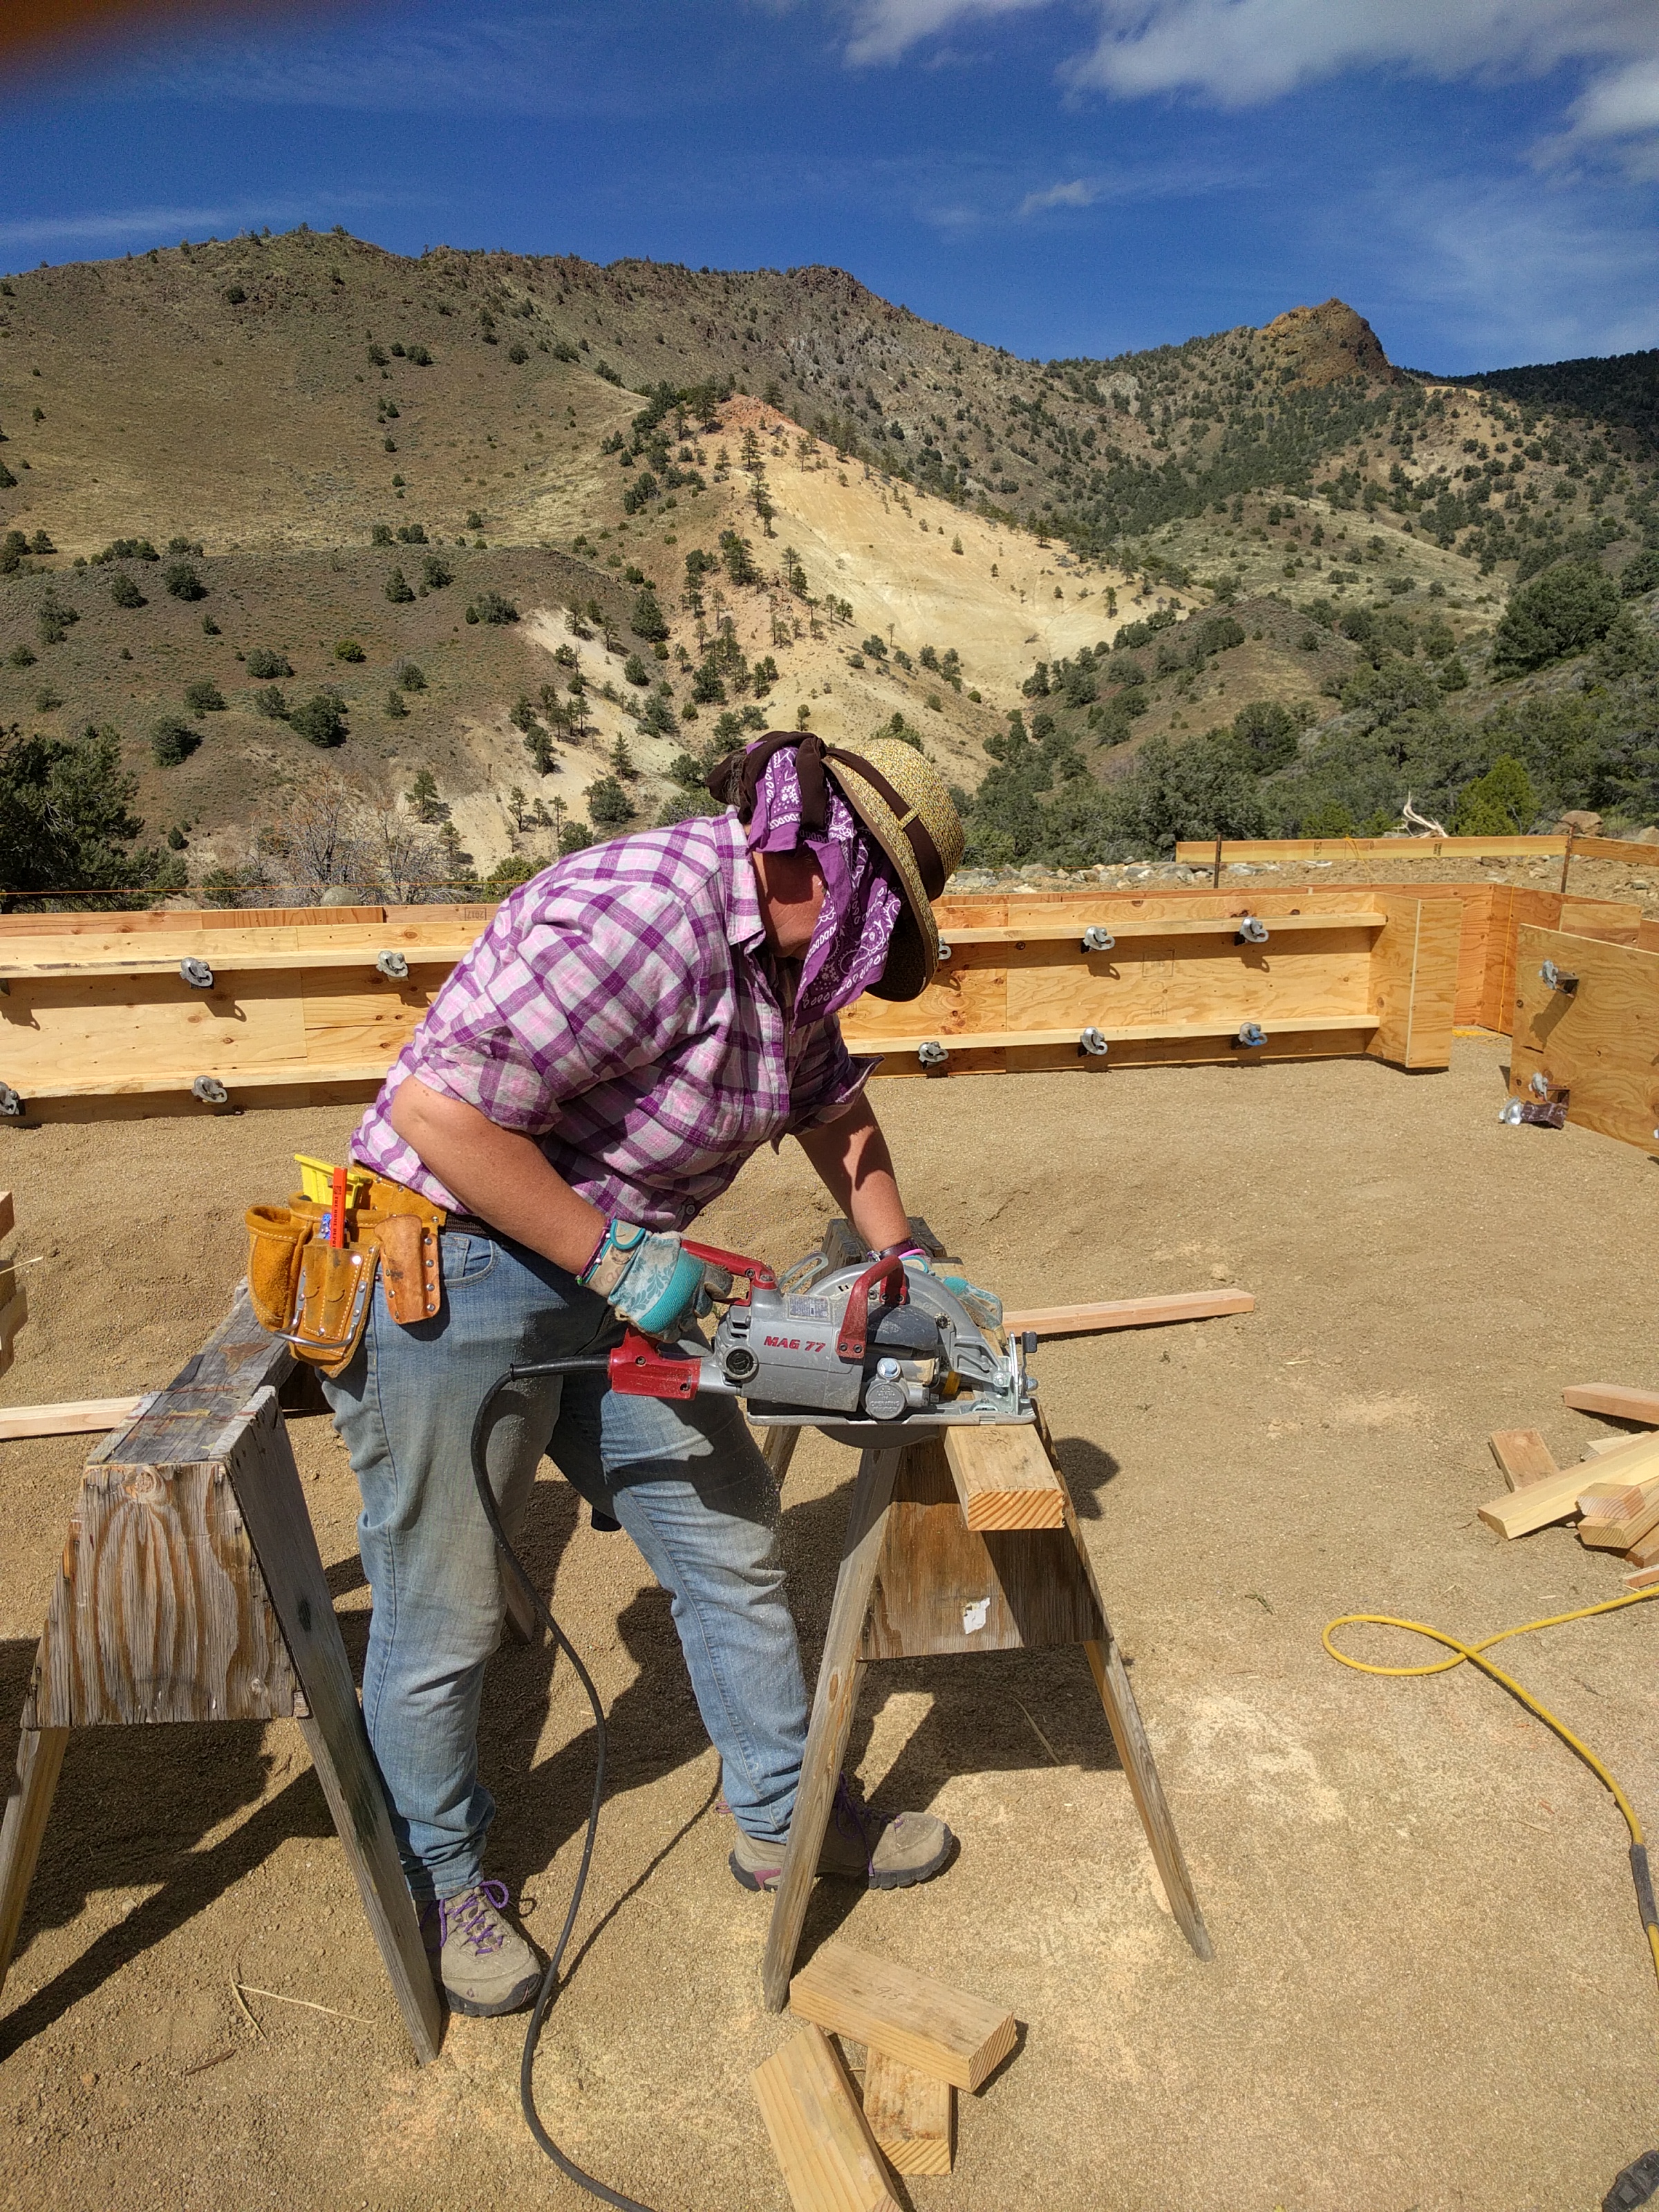
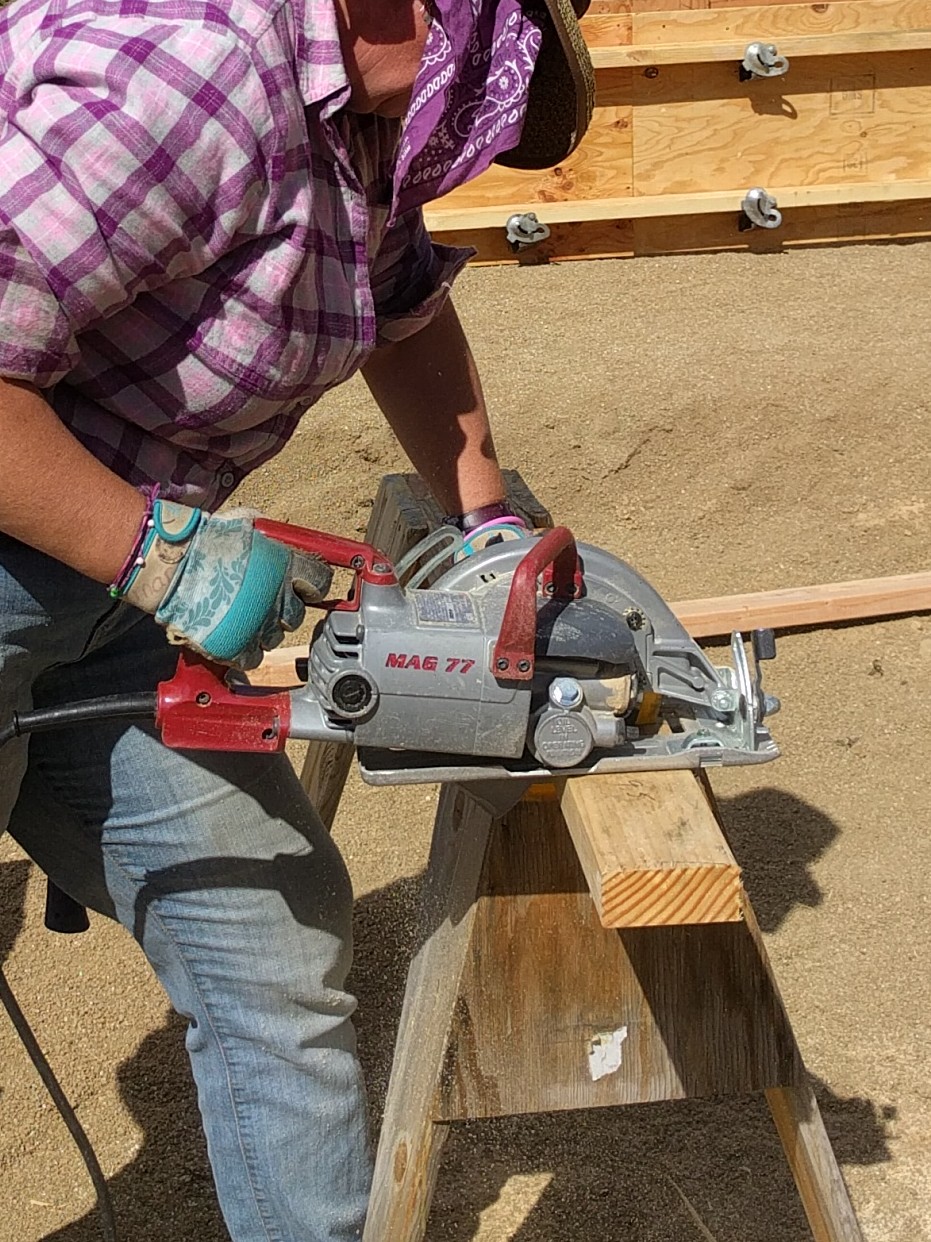
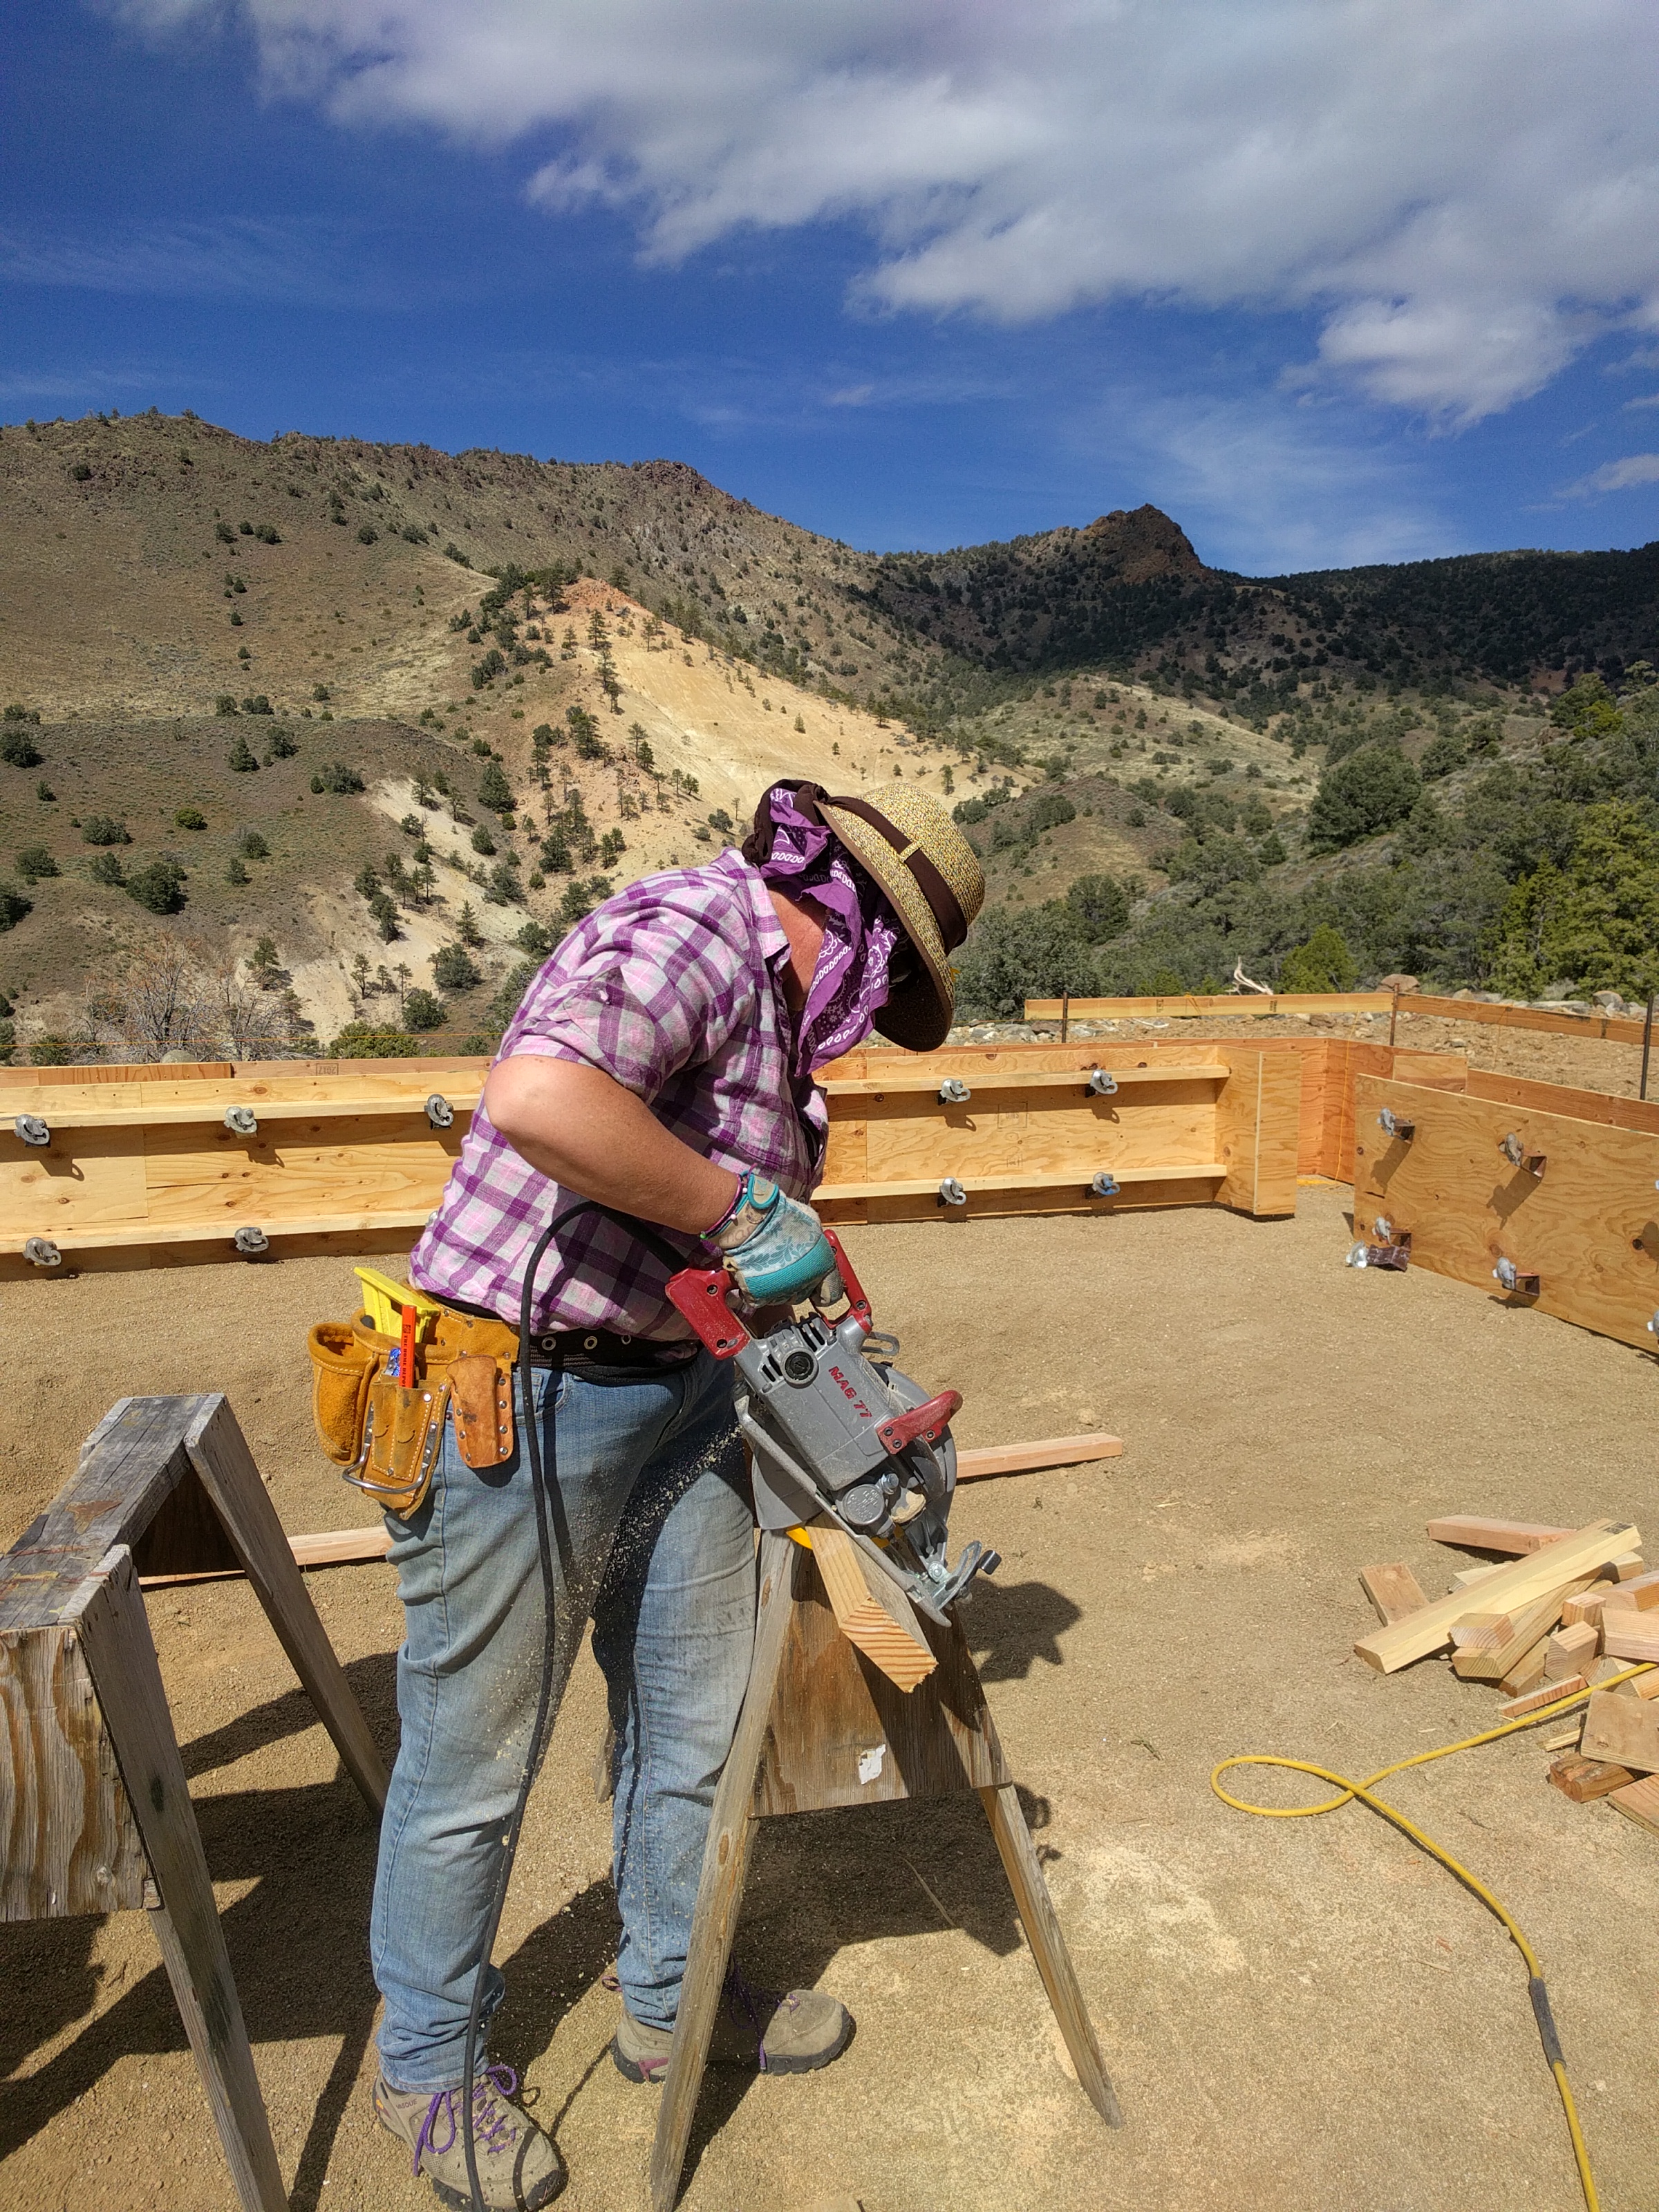
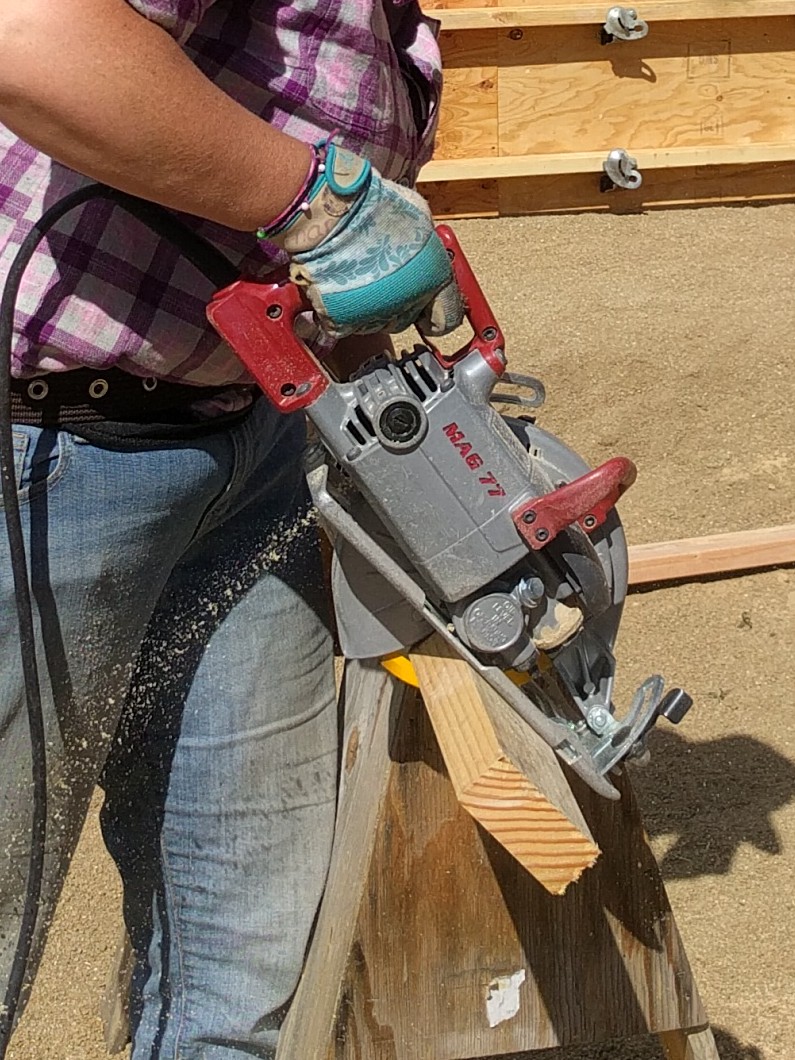
Princess Girl (being older) quickly showed that she could be a good helper with many of the tasks that abound while building. She was an extra set of hands for many projects. And now that she has 2 years of experience under her belt, she can do most of the jobs her daddy and I can.

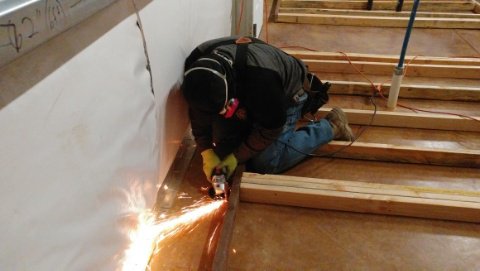
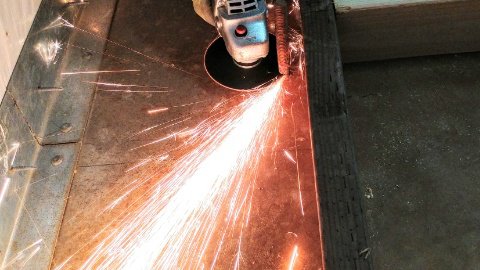
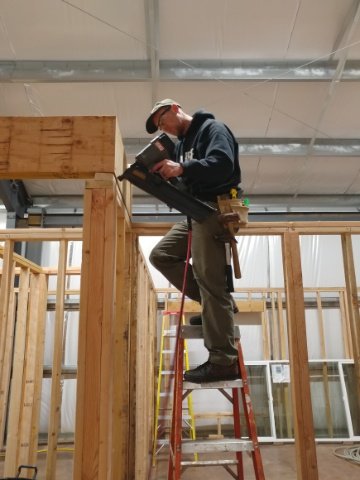
Princess Girl using the chop saw to cut metal.
But not only that, she often gets the homemaking jobs of cleaning the trailer, washing dishes, and doing laundry that keep our family running while Mom (ie me) is busy schooling Flower Girl (who is now in Kindergarten), and building our house. She truly is a huge help and a blessing.
But what do you do with a 4 or 5 or 6, or even a 7 or 8 year old?
Well, first of all, have them around. Don’t ship them off to the babysitters. Let them play nearby. Let them see you working and let them be familiar with the goings-on at a construction site – providing they can do so in a safe manner, of course.
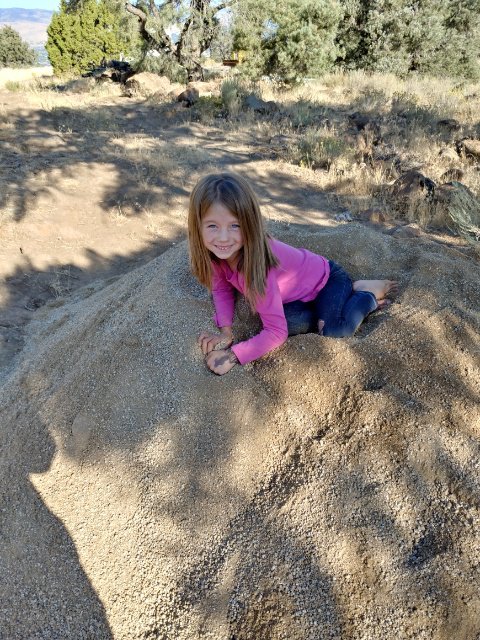
Many an hour spent playing in piles of dirt while we worked nearby
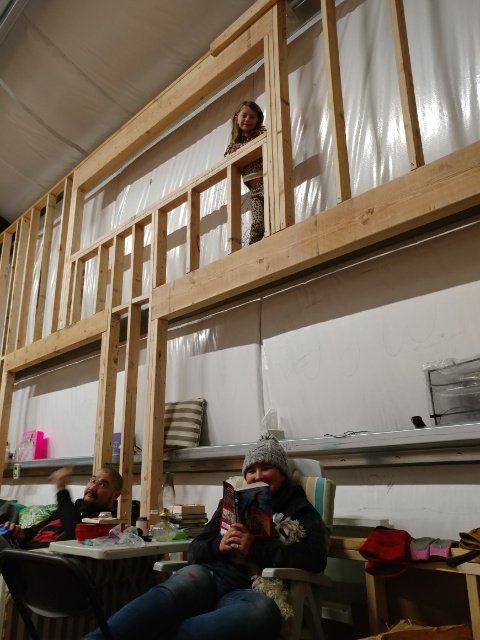
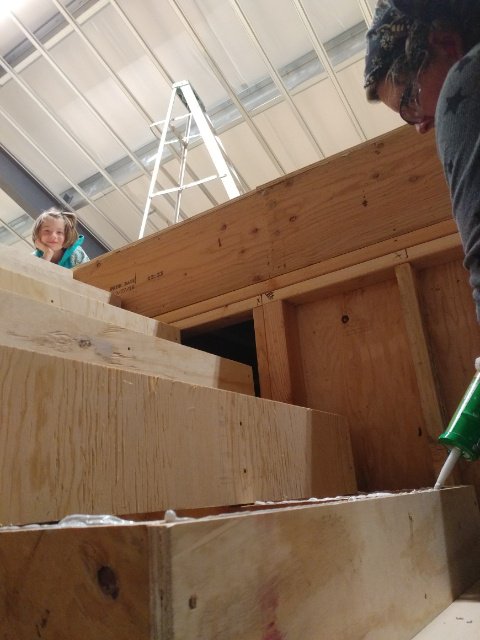
One of her favorite things is to climb around inside the walls.
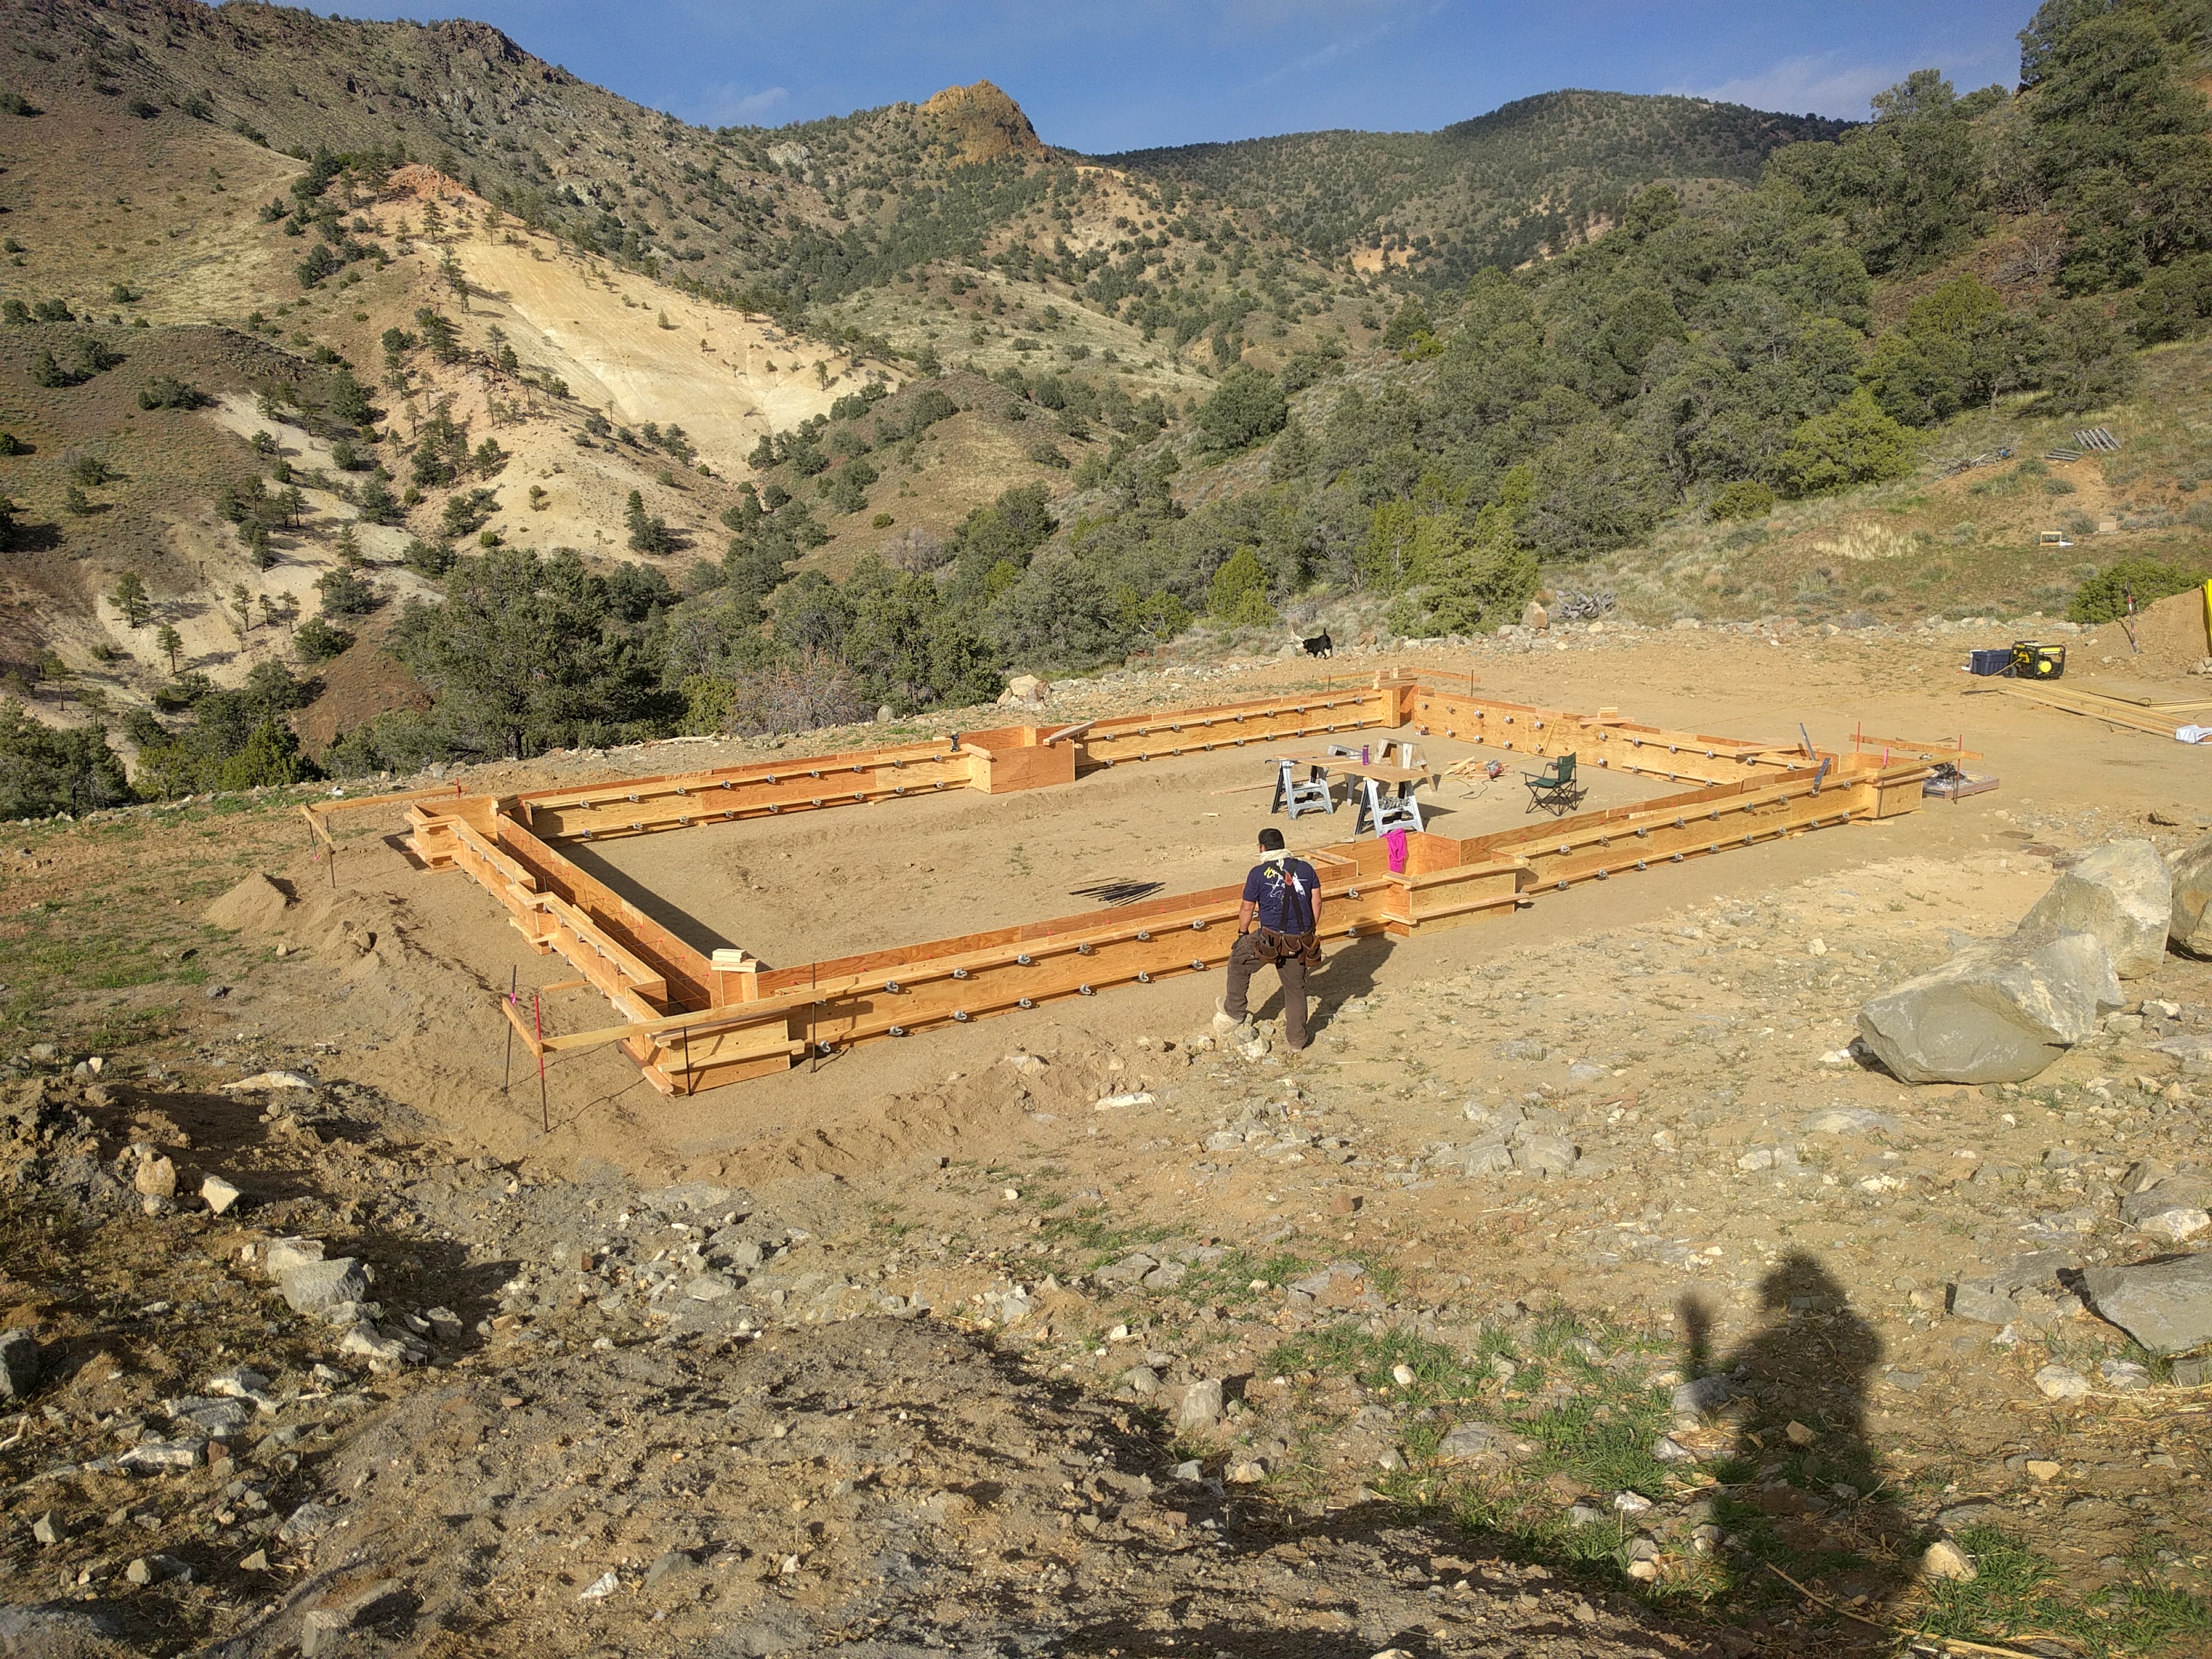
Most owner-builders work at a slower pace with fewer people than a professional construction crew, making it safer for kiddos to be around. Even then though, safety rules need to be in place and strictly enforced. Even the smallest infraction must be caught and dealt with. And of course, there are times when it is just best if the kids are not around. But we have found those instances to be few and far between.
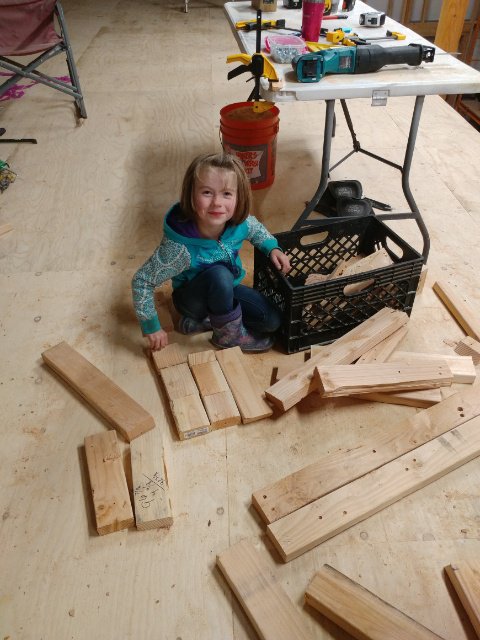
Playing with “blocks”
Watching us finish the stairs
But how do you get them actually involved with the family project of building your own home?
The answer in a word: patience
It takes a lot of patience.
Little people are slower. They make lots of mistakes. They don’t understand. But it is so worth it to see the joy on their faces when they “helped”.
It mainly means slowing down enough to find jobs that they can do.

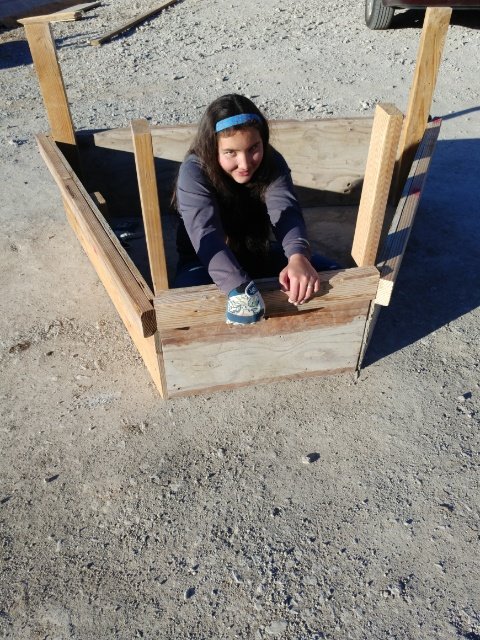
Flower Girl – barely 5 years old
Age 4
And it means taking the time to help them along the way.
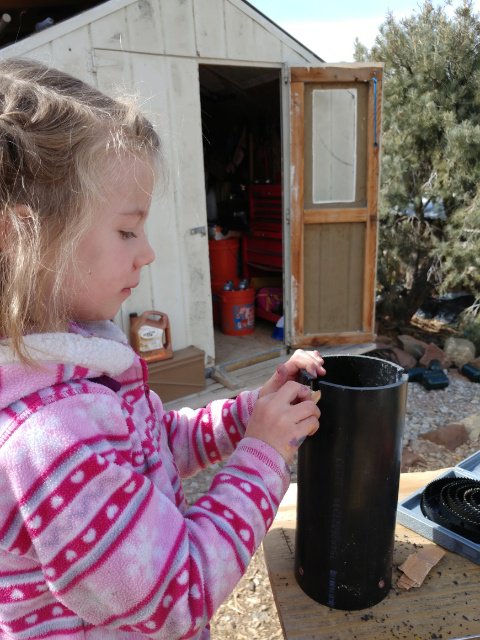
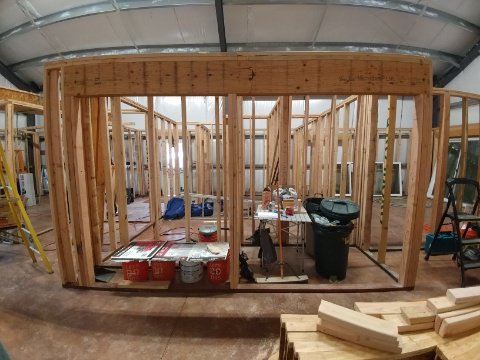
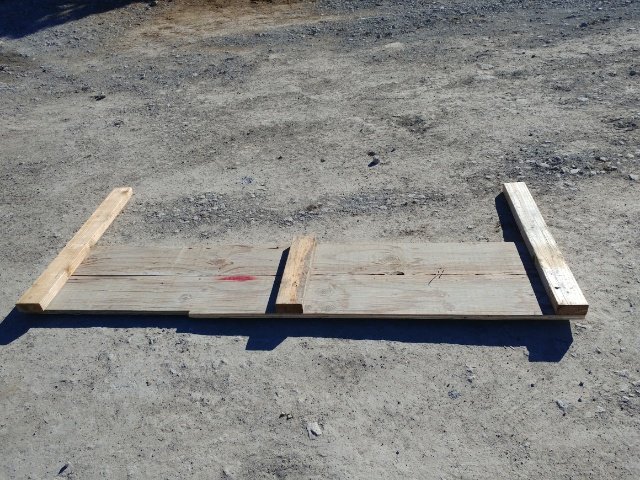
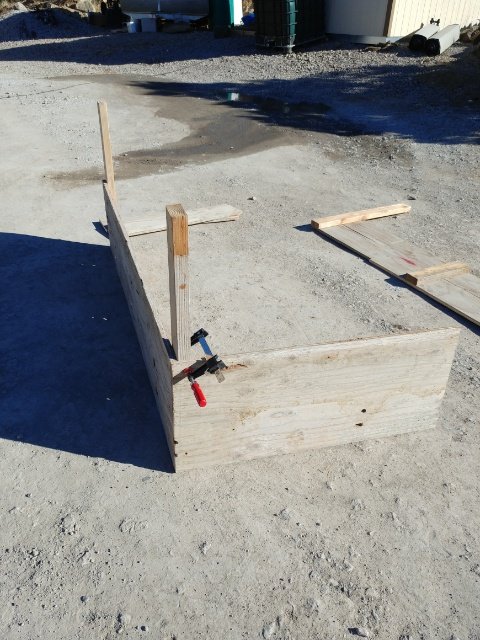
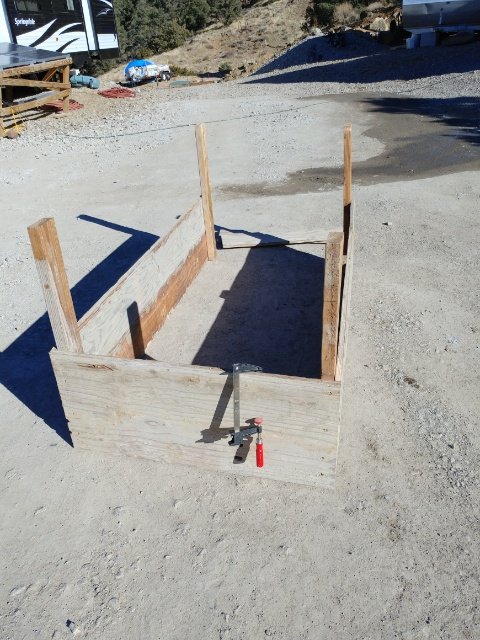
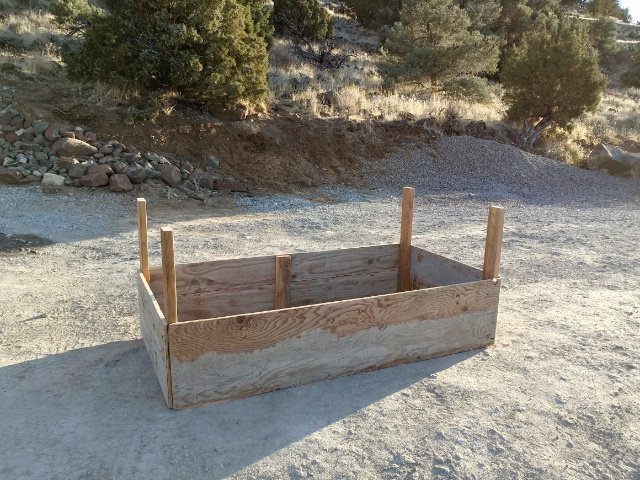
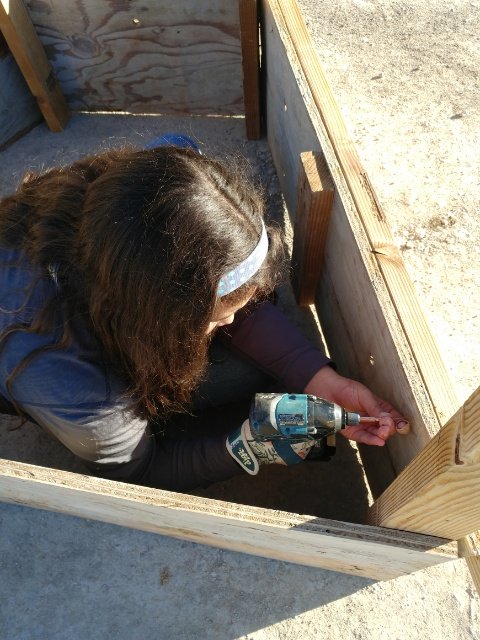
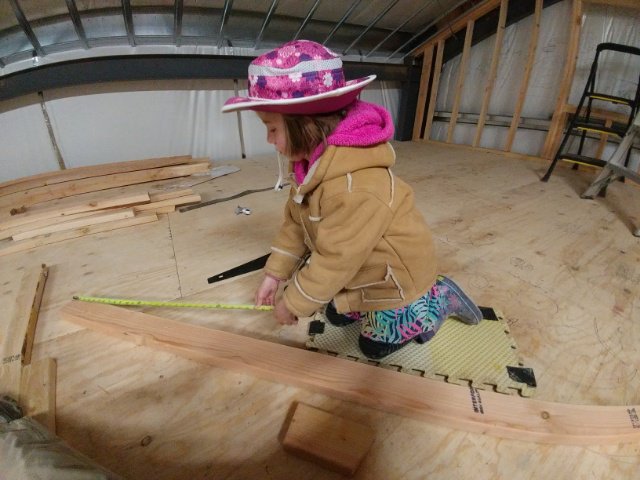
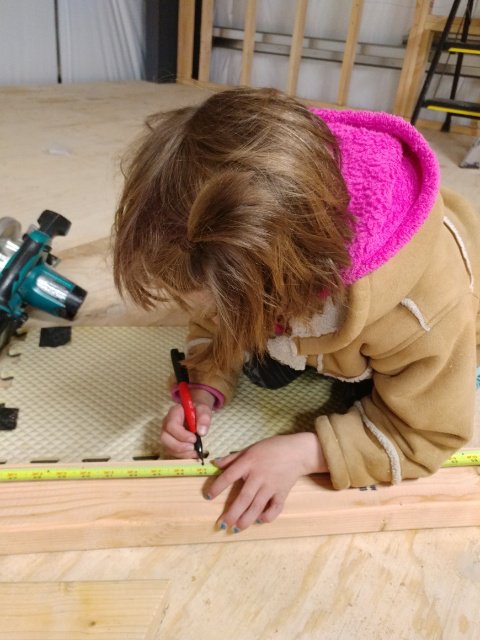
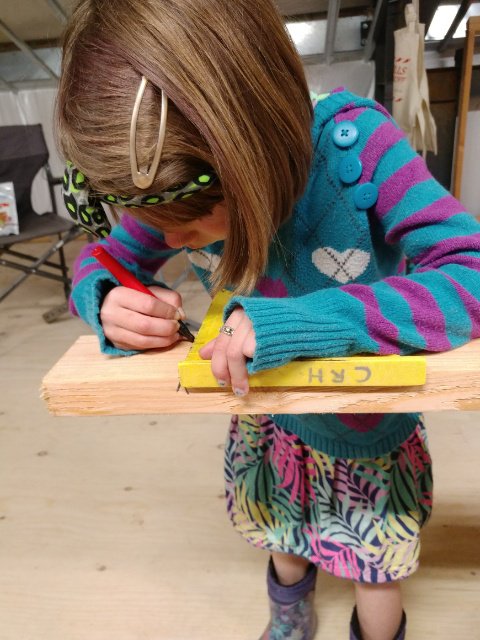
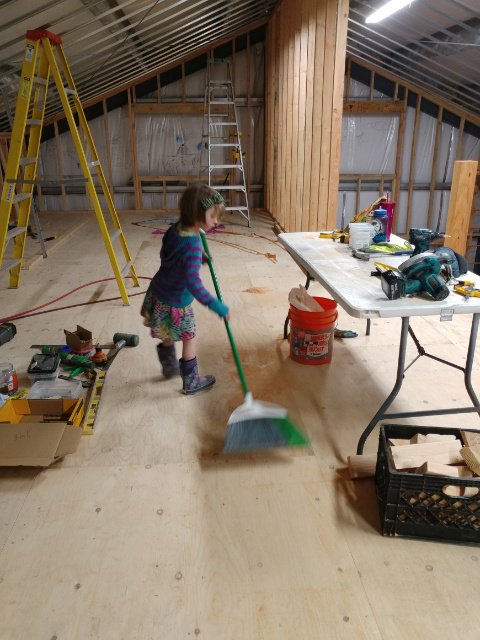
Recently, Flower Girl and I took on the task of building a wall in the house.
Just her and I.
But what was a six year old really capable of?
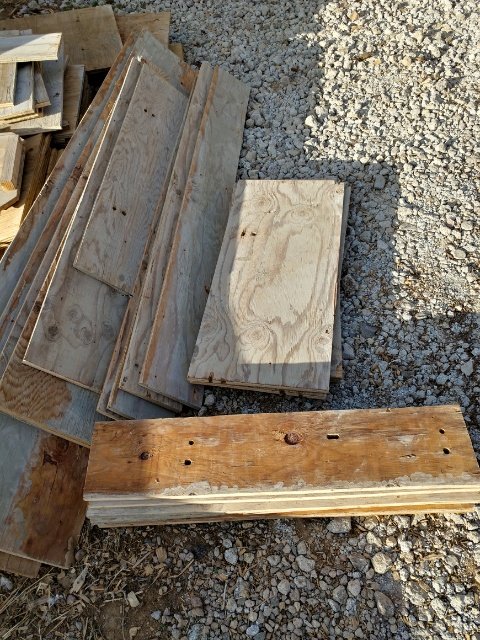
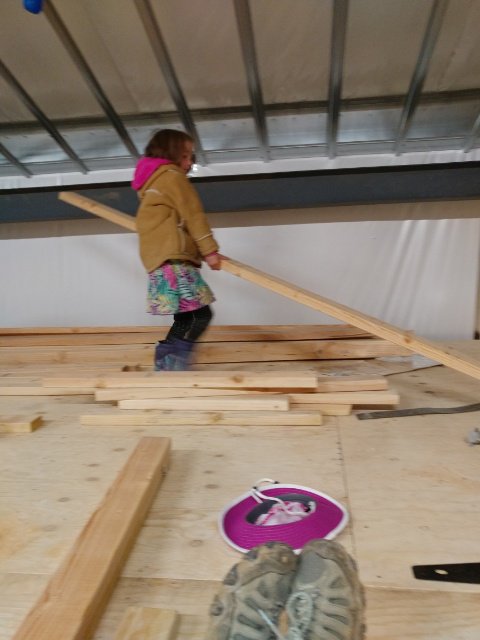
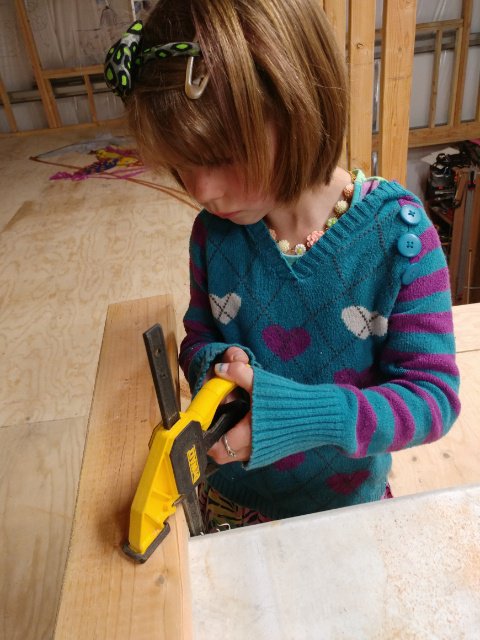
Well, she moved the lumber around.
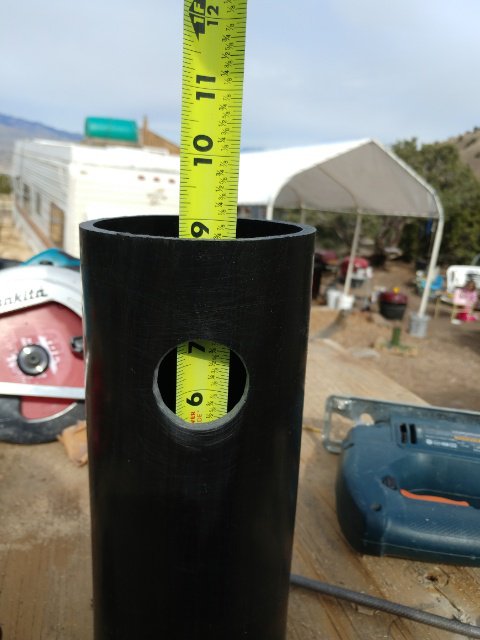
She measured and marked the studs.
She swept up the sawdust after I did the cutting (and if we’d had the chop saw set up, she would have helped with the cutting, too.)
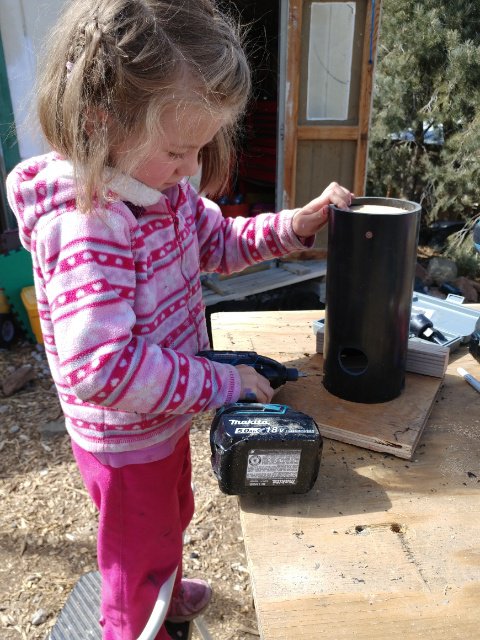
She clamped things together when needed (and sometimes when not needed 🙄)
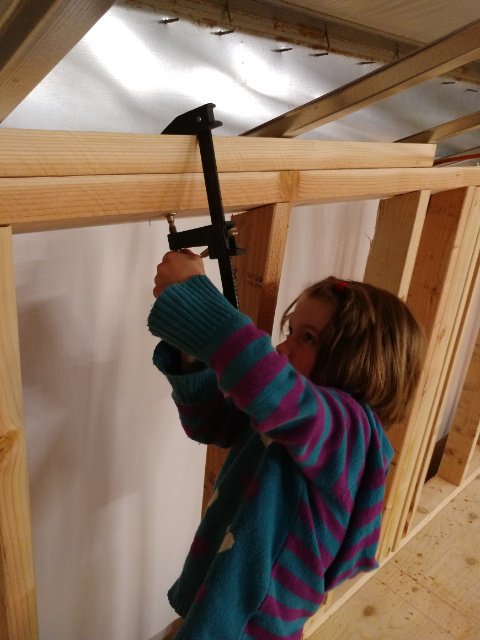
She put screws in and backed them out as needed.

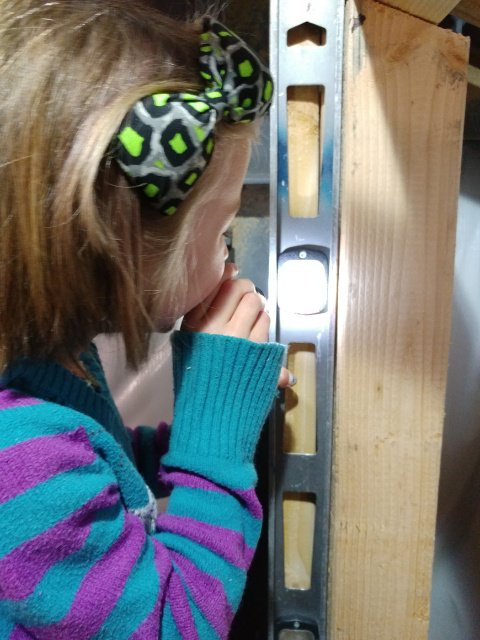
And she helped tell me when boards were level/plumb.
Overall, how did it go?
Did she slow me down?
Of course she did.
Was it harder building that wall with her “help”?
You betcha.
Was it worth taking the time to do it with her?
ABSOLUTELY!
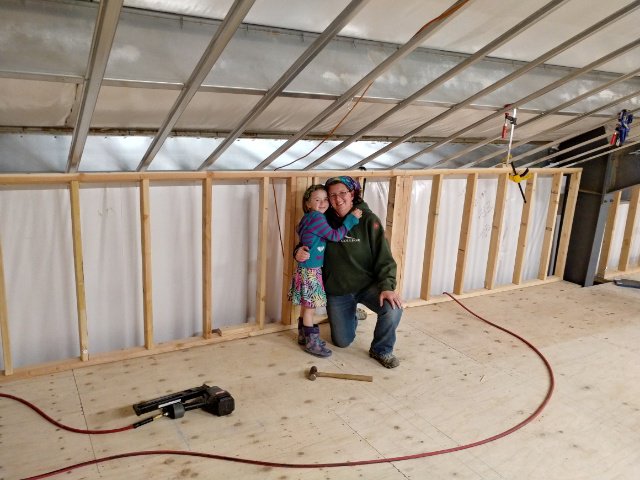
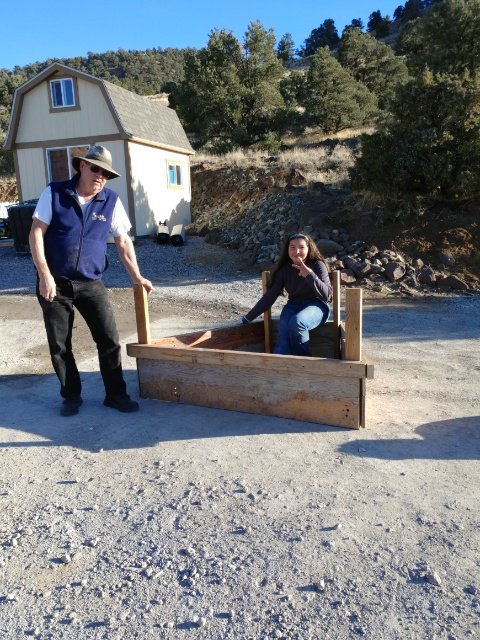
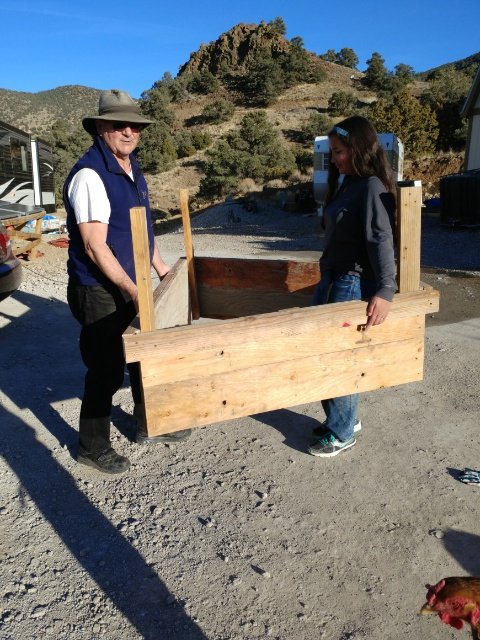
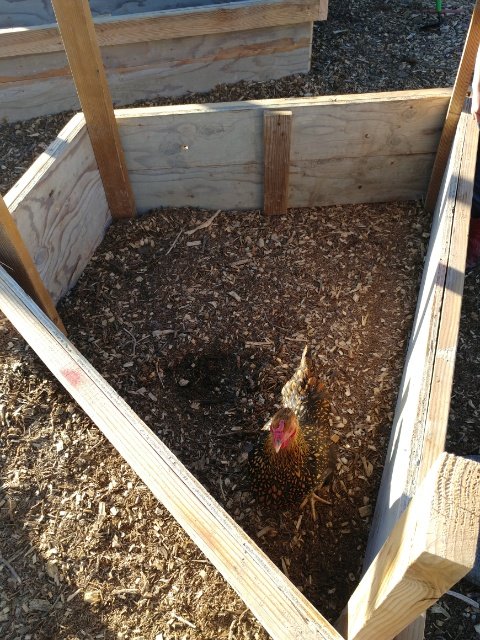
OUR wall
We believe that by involving our children in all aspects of our lives on the homestead, and especially the building of our house, we are giving them something important. They are learning many important skills that they just wouldn’t anywhere else. And it’s important to us that when they look back on this time of their lives that they can say “we built a house”, not “my parents built a house”.
It takes a lot of patience and effort to get the little ones involvef. But it is so worth it!
We are building this house!