You know when you have that big project on the horizon that you need/want to start working on, but for whatever reason you can’t yet but there’s a long list of projects to do so you gotta get them taken care of and when you finally do them you realize it actually feels good to be able to cross something off the list and you wonder why you procrastinated so long because, I mean, you’re not working on the “big project” right now anyway?
*Takes a deep breath after that extremely long run-on sentence.* 😉
Yeah, we’ve crossed quite a few need-to-do little projects off the list in the last couple of months since getting the septic finished. Some of them so small, I didn’t even bother to take pictures. But some of them were significant enough that they have made our life so much easier.
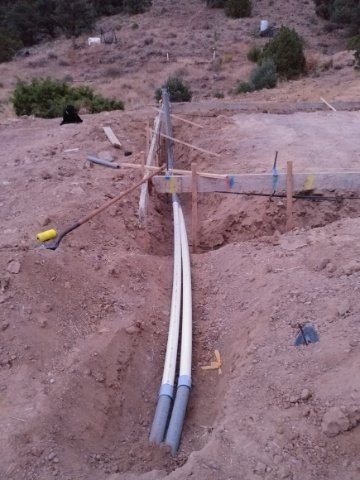
Like our garden hose hydrant. We dug a trench (more trenching!) from where our water line crosses the driveway over to where we wanted the hose faucet next to the landscaping rocks.
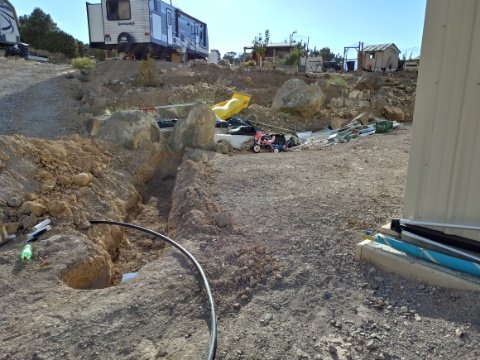
The trench.
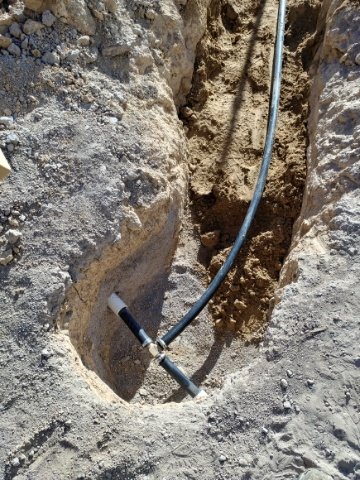
Tee into the water main
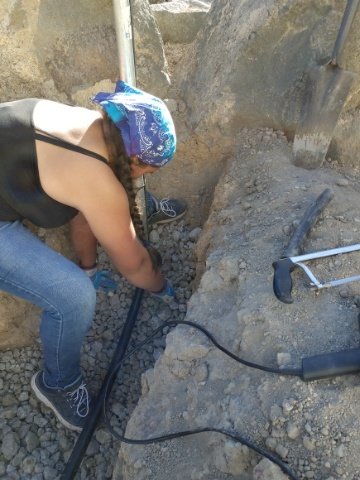
Princess Girl got in on the action
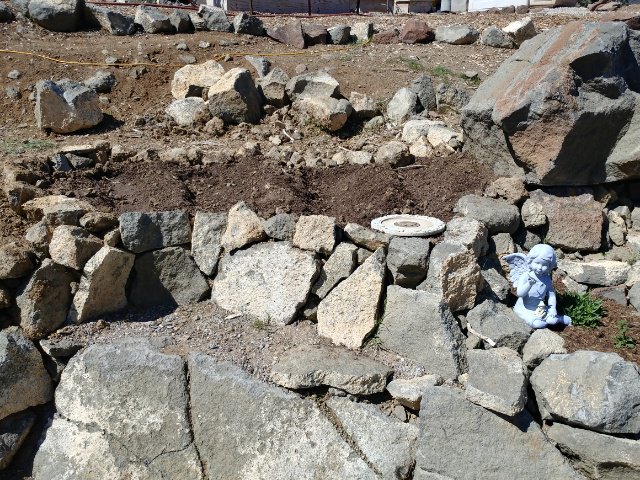
The gravel in the bottom of the pit is to aid in drainage since this is a frost-free hydrant. That means that every time the water is shut off, the water that is in the top of the pipe drains out of a small hole at the bottom of the trench so there is no water up in the pipe or faucet to freeze in the winter. We did put in a shut-off valve just in case we ever need to shut the water off to the faucet for any reason, but theoretically, we shouldn’t ever have to use it.
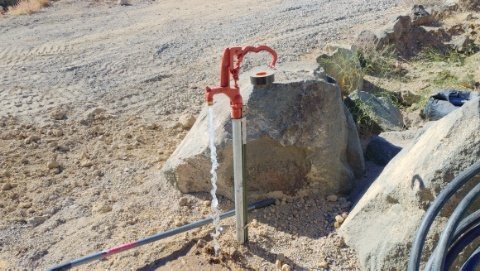
We have water!
And it works like a charm! And made our water situation around here so much easier! Watering the gardens were a breeze with 1700 gallons on tap. Yep, that’s how big our cistern is. We fill it up from the well as needed (every couple of weeks at the end of summer) and it supplies all our outdoor and animal watering needs. Right now it is mid-November and we haven’t gotten any moisture all season long. Great for working outside, not so great for our fruit trees and perennial plants. So we’re still having to water the trees and gardens every once in a while. This hydrant also makes it super easy to re-fill our rain barrels (because, you know, no rain). We use the water in the rain barrels for the animals. Before having the hydrant, we would have to turn on the big generator and well in order to fill barrels, etc. Now, with 1700 gallons of water at our disposal, we only need to fire up the genny and well pump every…actually, we don’t know how long it will take us to go through that much water this time of year. Suffice to say, it will take a while. And since it’s all under ground, it won’t freeze during the winter. Yay!
Another project we were able to check off the list was to move the electrical conduit for the garage. We hired out having the garage built, and we ended up needed to scoot the whole building back a few feet, which means the place where we originally had the conduit coming up was no longer in the correct spot.
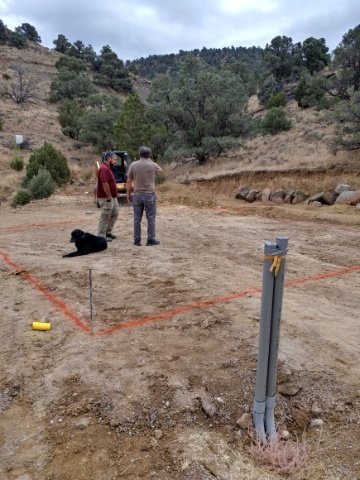
New perimeter lines drawn
You can see in the pic above that the conduit was now several feet away from the wall of the garage. So, once the construction crew dug the footers, we came in and extended the conduit so it comes up inside the garage near the wall where our solar power system will be installed.
Electrical conduit extended
Again, not a huge job, but it HAD to get done.
Another small job that made our life so much easier was installing shop lights in the house.
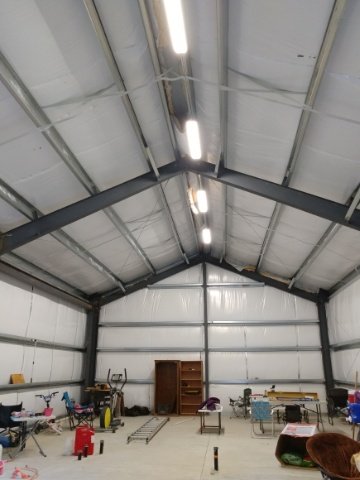
Let there be light!
Now that the days are shorter, we needed light in the house so we can keep on working after the sun goes down.
And speaking of the days being shorter, and therefore colder, we finally got our laundry room door ordered and then installed.
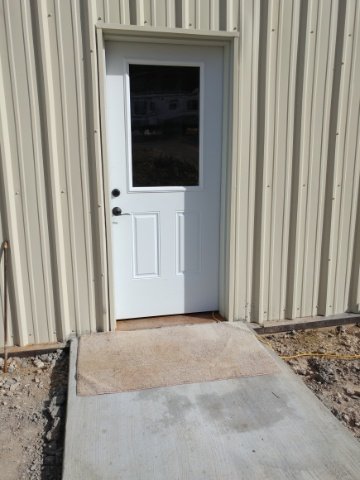
A real door!
We could have had this door in place since January since it’s frame is part of the steel building, not the interior wood frame like all the other doors will be. But last winter and spring we were on hold with the house and the house only had this one wall anyway. And over the summer it wasn’t needed because of the weather. It was only when it got cold enough that we needed to stop the breeze from blowing through the house that we got our butts in gear and got it done.
And yet another small job we got done recently was replacing the rain gutter on our mud room. We had scabbed together something when we first built it, but after two winters it needed to be replaced. So we got a real gutter system. And now we’re set for this winter. And hopefully we’ll get a lot of rain and snow this year. We need it!
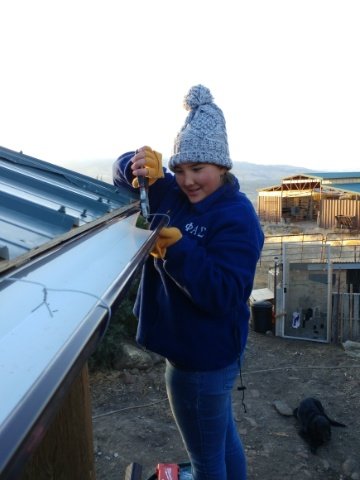
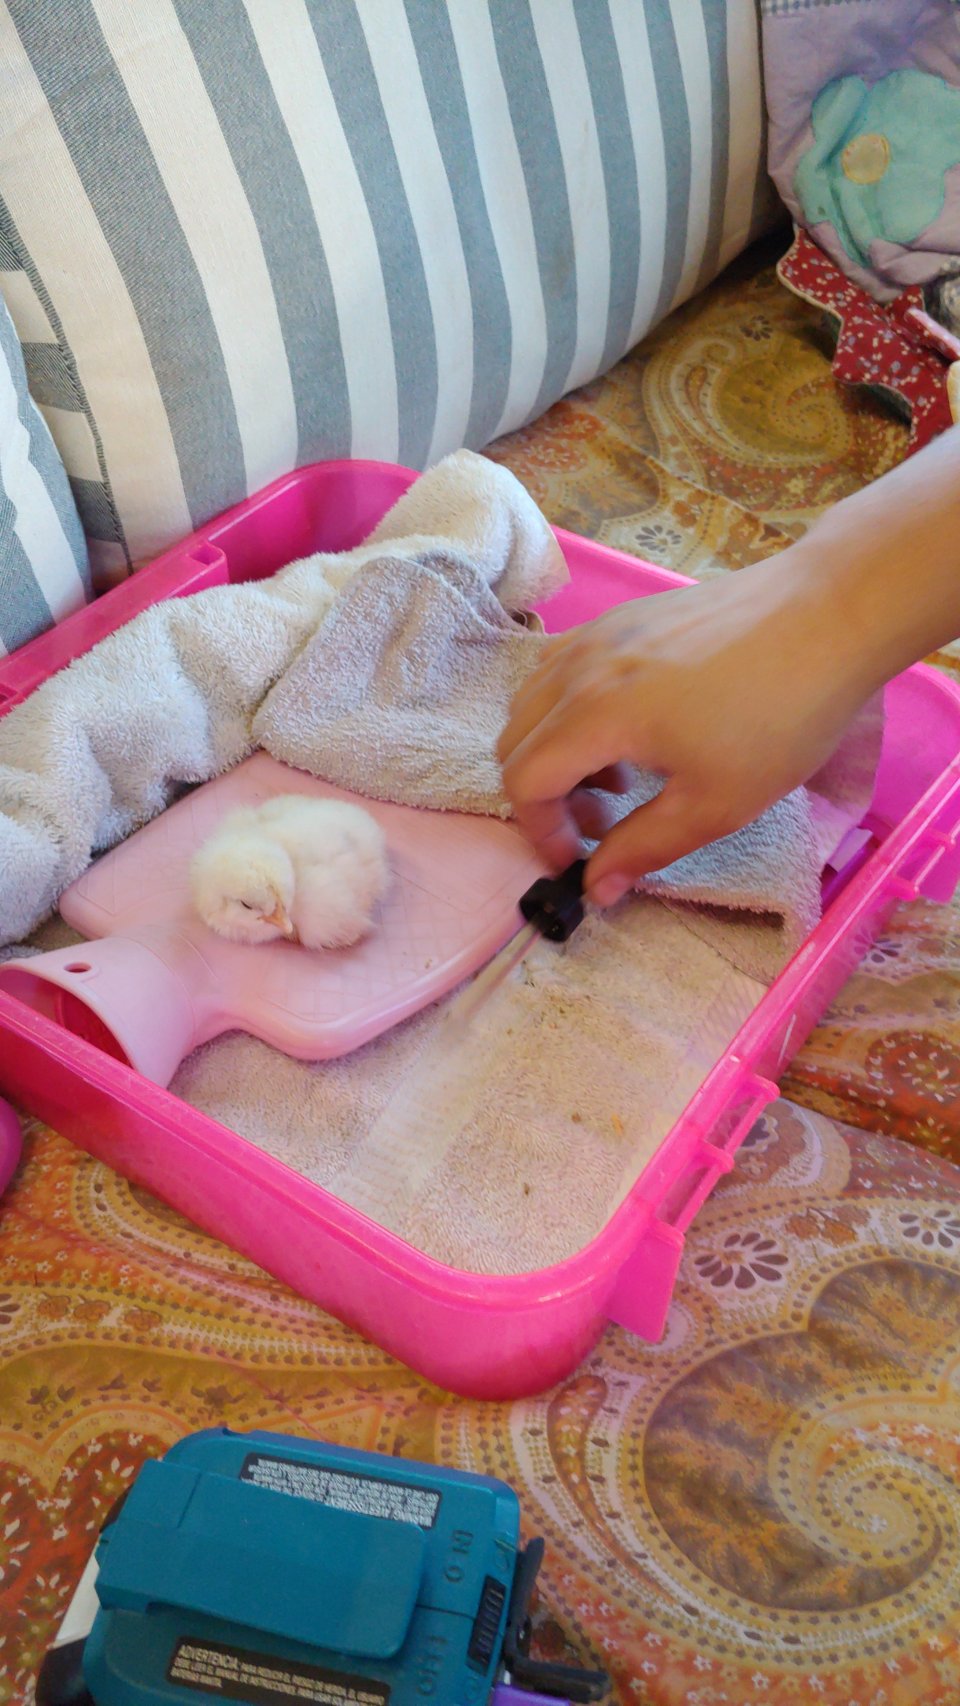
Princess Girl is learning all sorts of skills living here on the homestead.
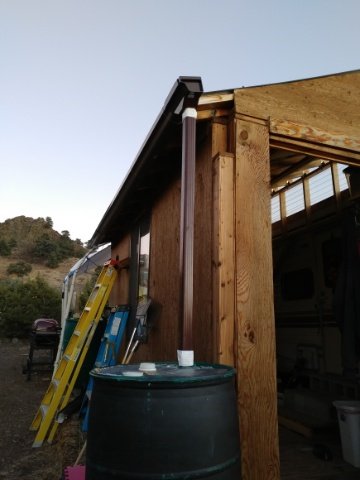
So much nicer than the old system.
And that’s about it for now. As I said, there were plenty of other odd jobs done that I just didn’t document. And in the middle of all that, there was one major project that we worked on over the course of a couple weeks…
The floors!
But that’s a post all on its own. For now I am going to sign off.
I gots things to do!
Show some love and share:


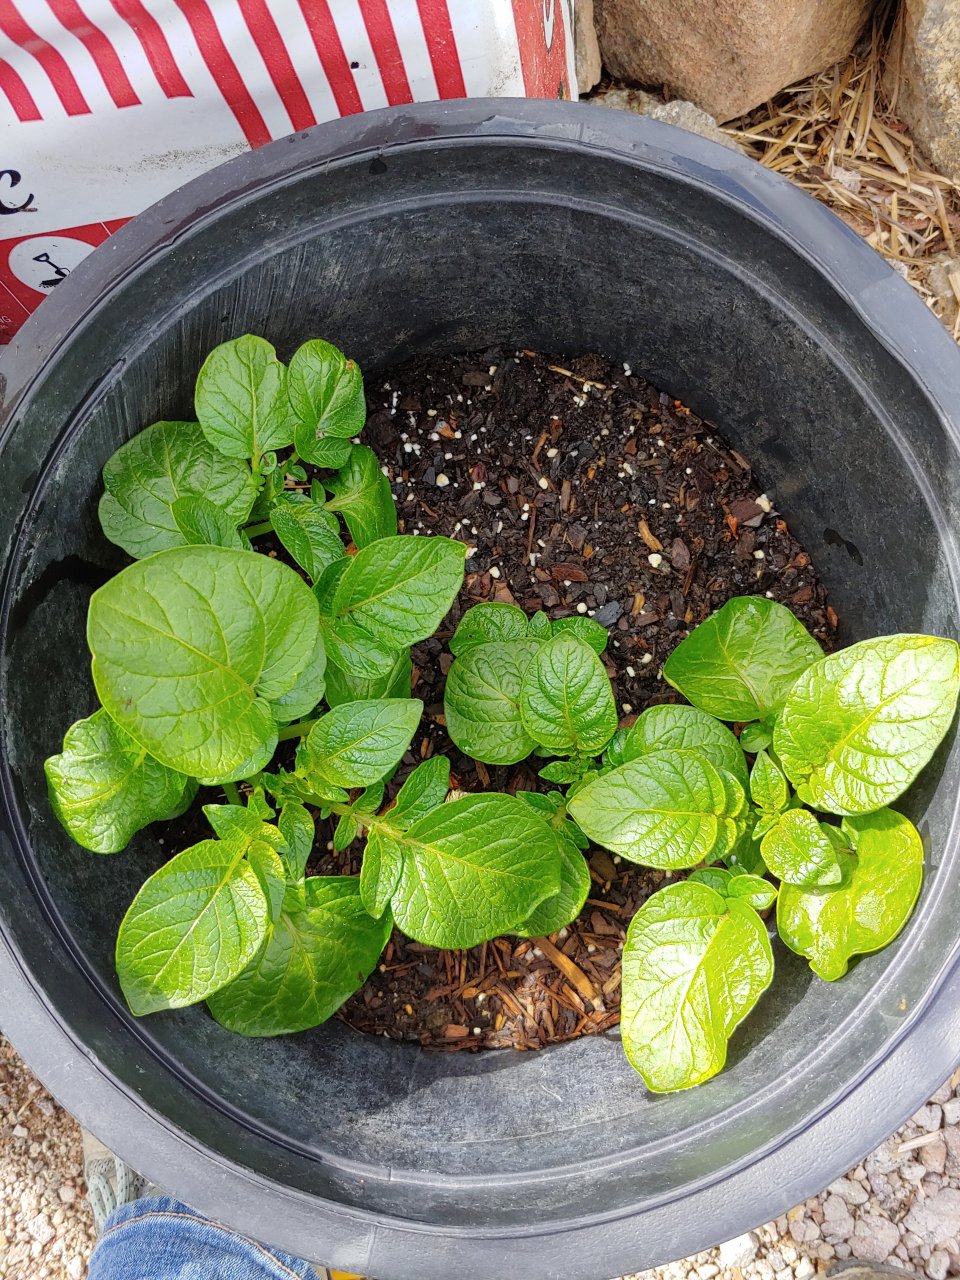
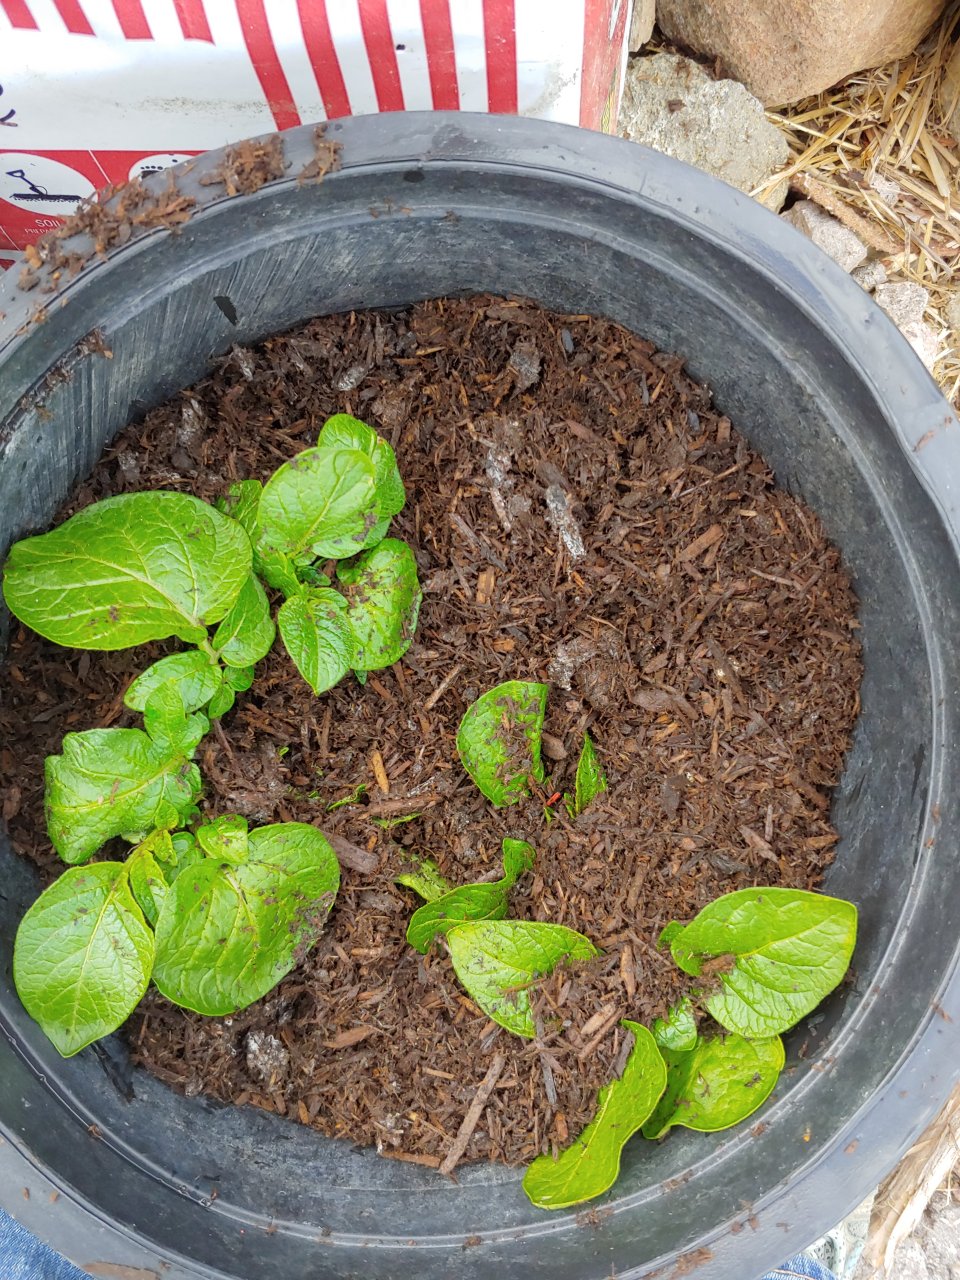
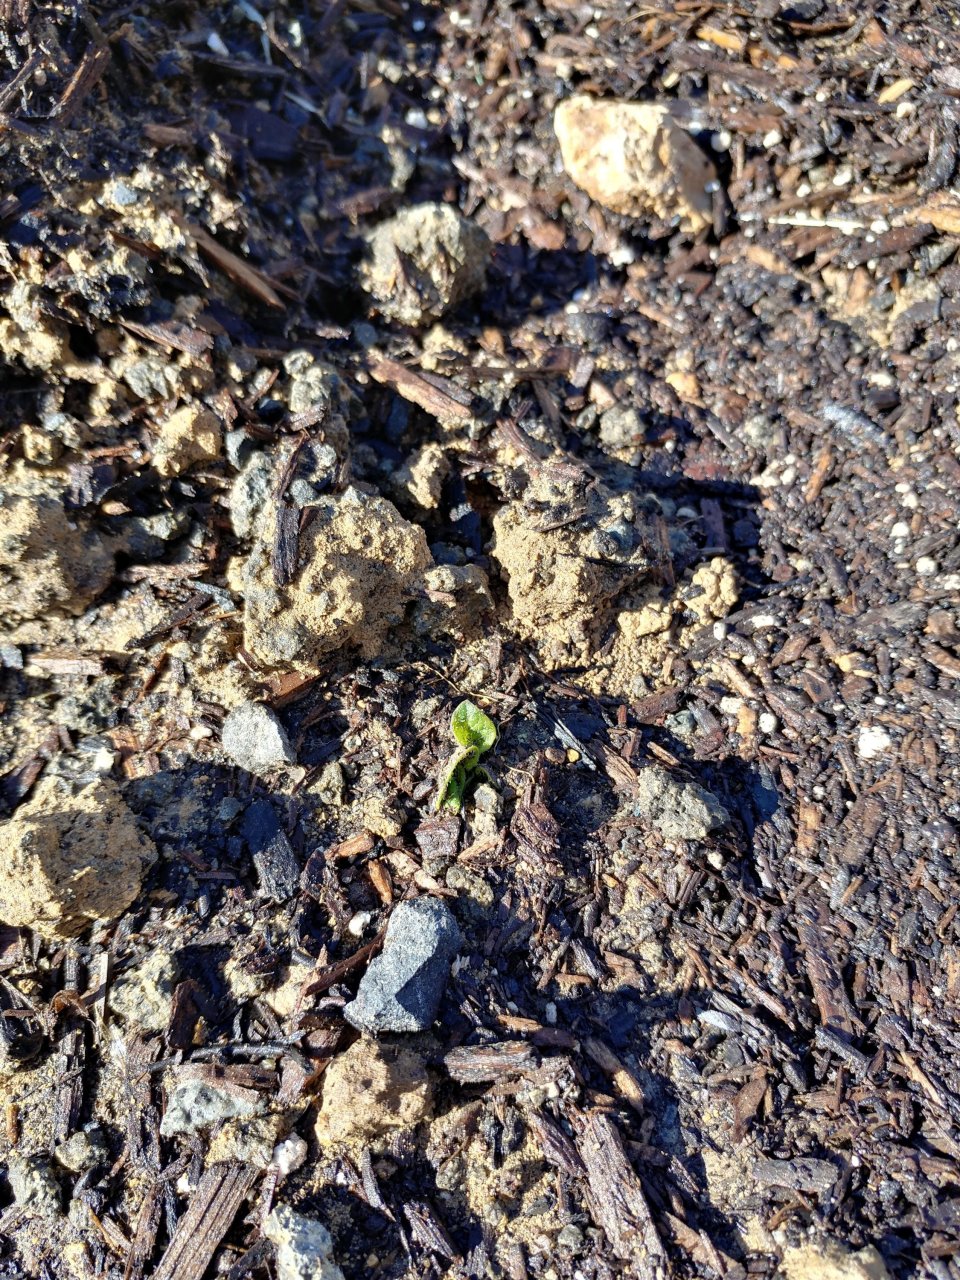
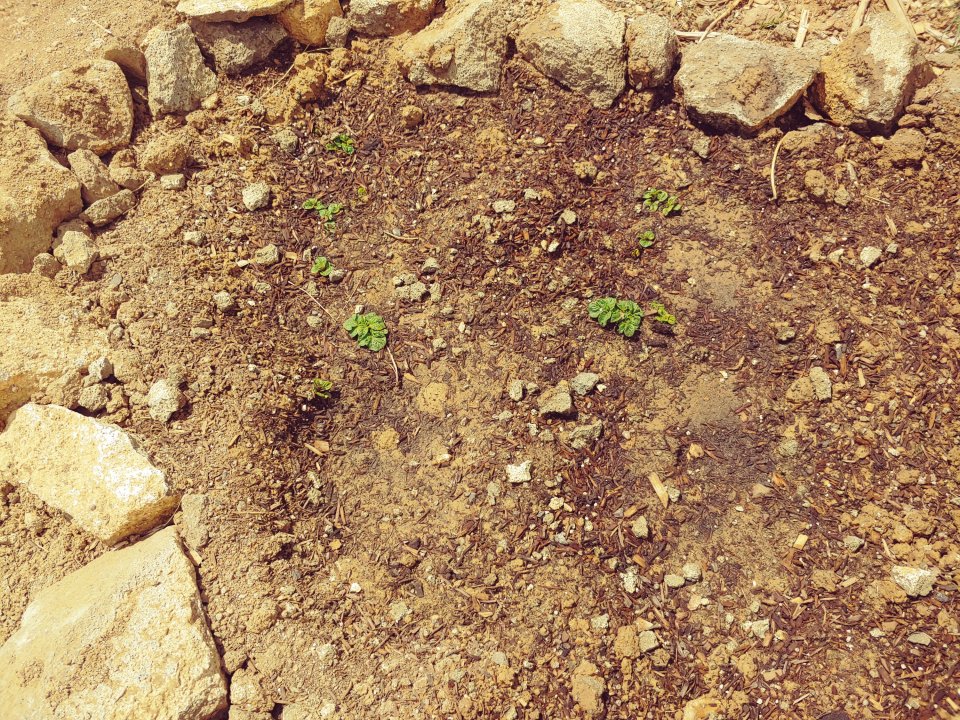
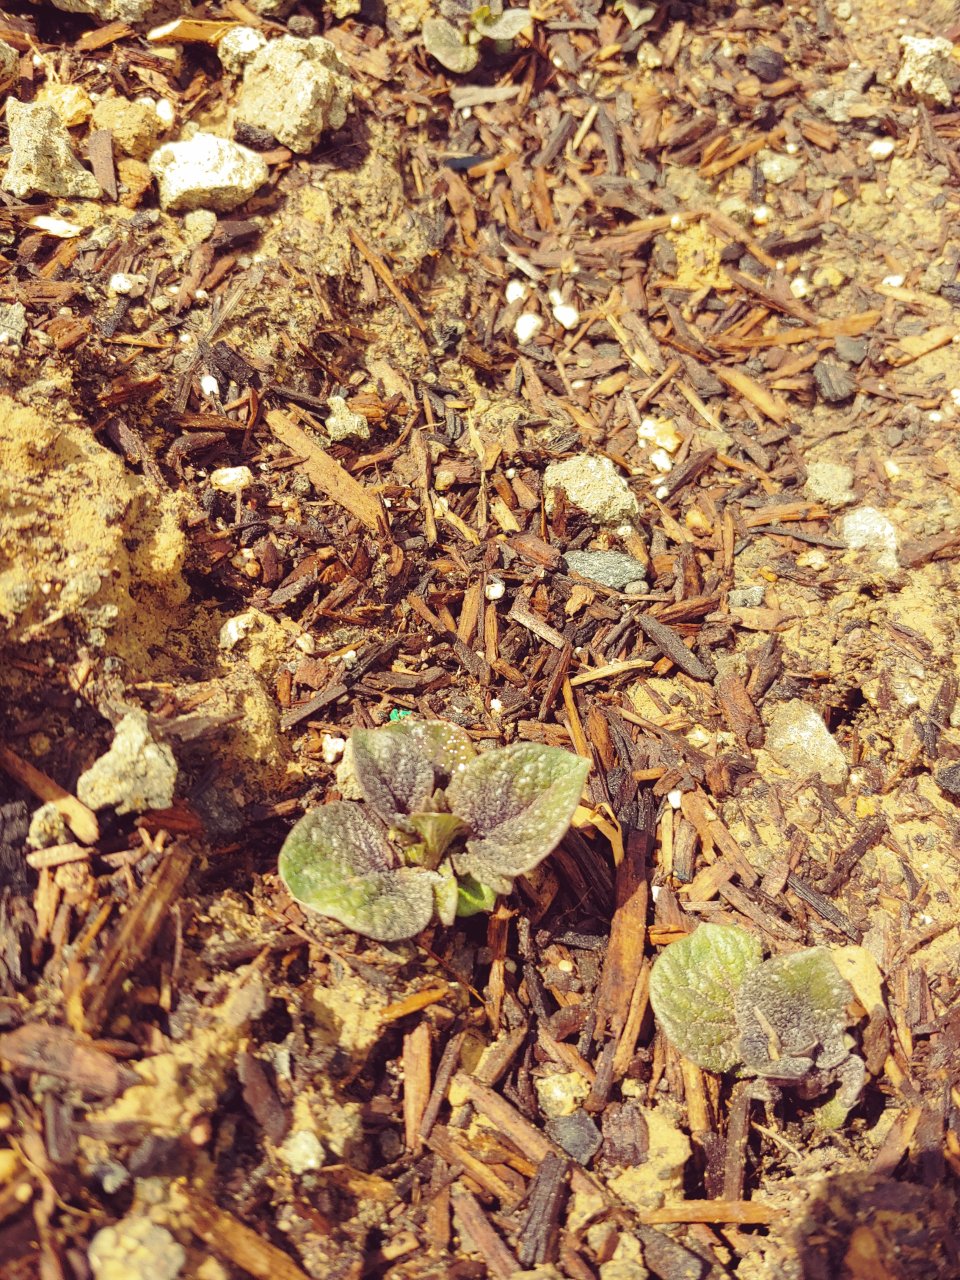
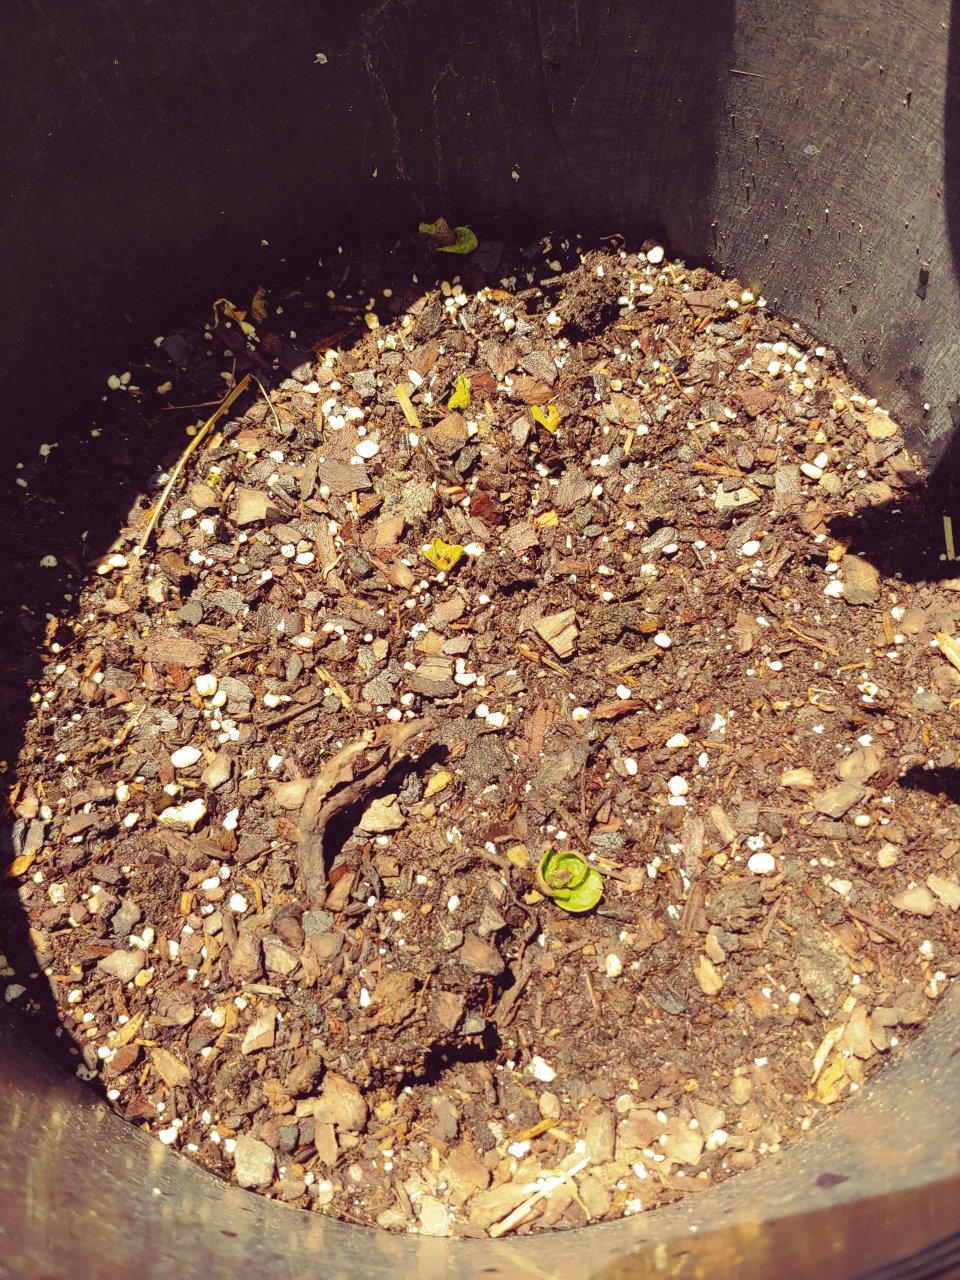
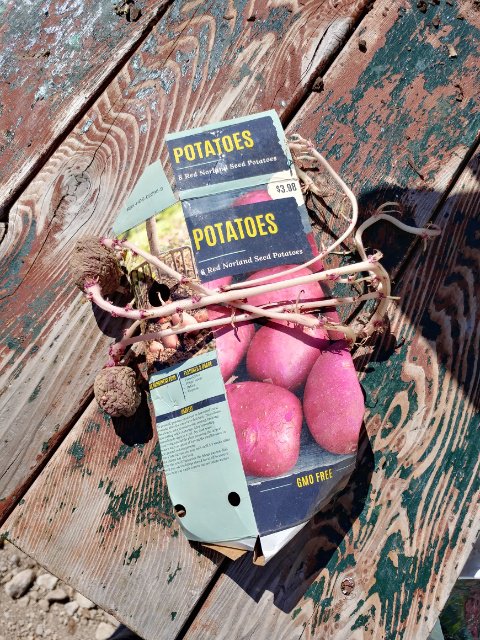
 Method: dig 3 foot long trenches 8 inches deep. Lay 3 potatoes with sprouts end-to-end in the trenches. Cover with several inches of soil. As (if?) they grow, when they get to be about 6 inches tall, I’ll cover the bottom 3 inches with soil. I’ll continue doing that until…ummmm, I’m actually not sure when they are ready to harvest. More research is needed, obviously. But for now, at least they are in the ground!