Tag Archives: Construction

Whoa, it’s been a while!

2 years! I can’t believe it’s been 2 years since I’ve updated this blog! How did the time go by so fast? That’s crazy!!!

Soooo, the big news is that we are living in the house! It is just about complete, we’ve gotten all the inspections passed, etc, and we have been legally allowed to live in the house since the end of September 2021! Hubs and I and the girls had moved in from the trailers when the wildfire smoke got so bad in August (about 6 weeks before our final inspection – but the inspector didn’t care). And then we moved my brother in just a week after passing our final inspection. He is a paraplegic who needs full-time care and it was always our plan to have him come live with us when the house was finished. Pajii moved in a couple weeks later after we completely finished his room and bathroom. My dad and step-mom still split their time between here and Utah and live in their RV (their “tiny house”) while they are with us.

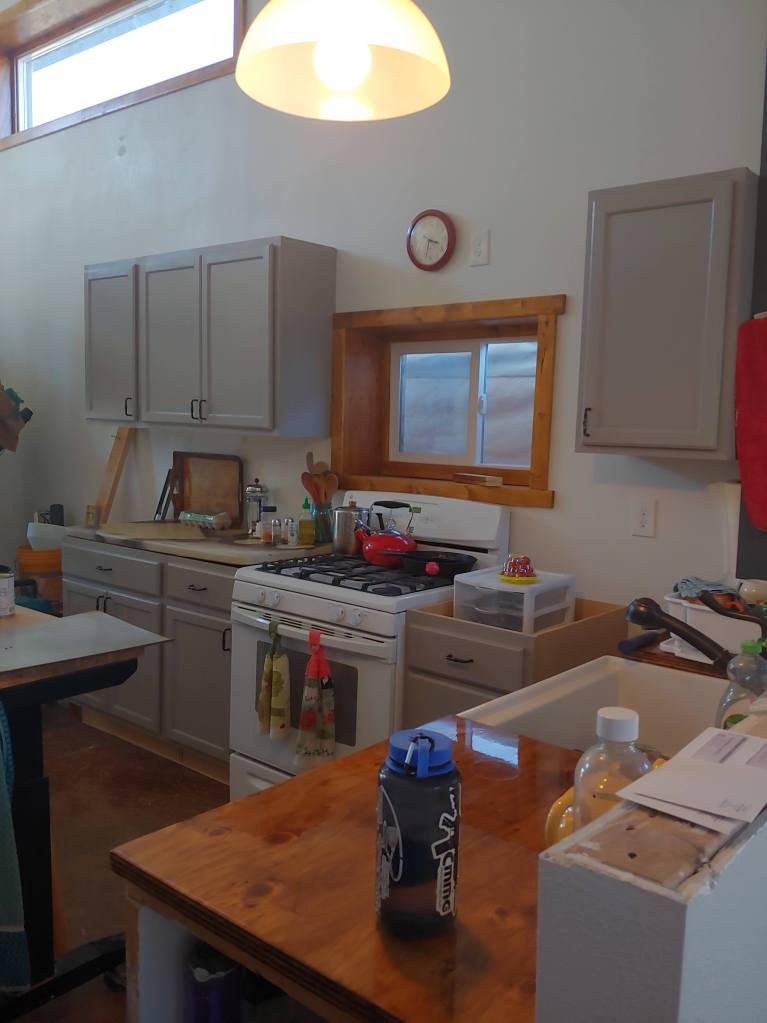
However, we are not completely done with our house just quite yet. As anyone who has built a house will tell you, there’s livable, and then there’s finished. Right now, we are at the “livable” stage. The floors are not finished, baseboard is only down in a few of the rooms, and most of the doors are still lacking trim. But we are IN the house, and that has been amazing this winter, so far! No more trudging up and down the hill to the trailer in the snow. And a fully functioning, large kitchen! It was glorious during all the holiday baking!

The counters were not finished in this photo, but it’s a good one to show cabinets

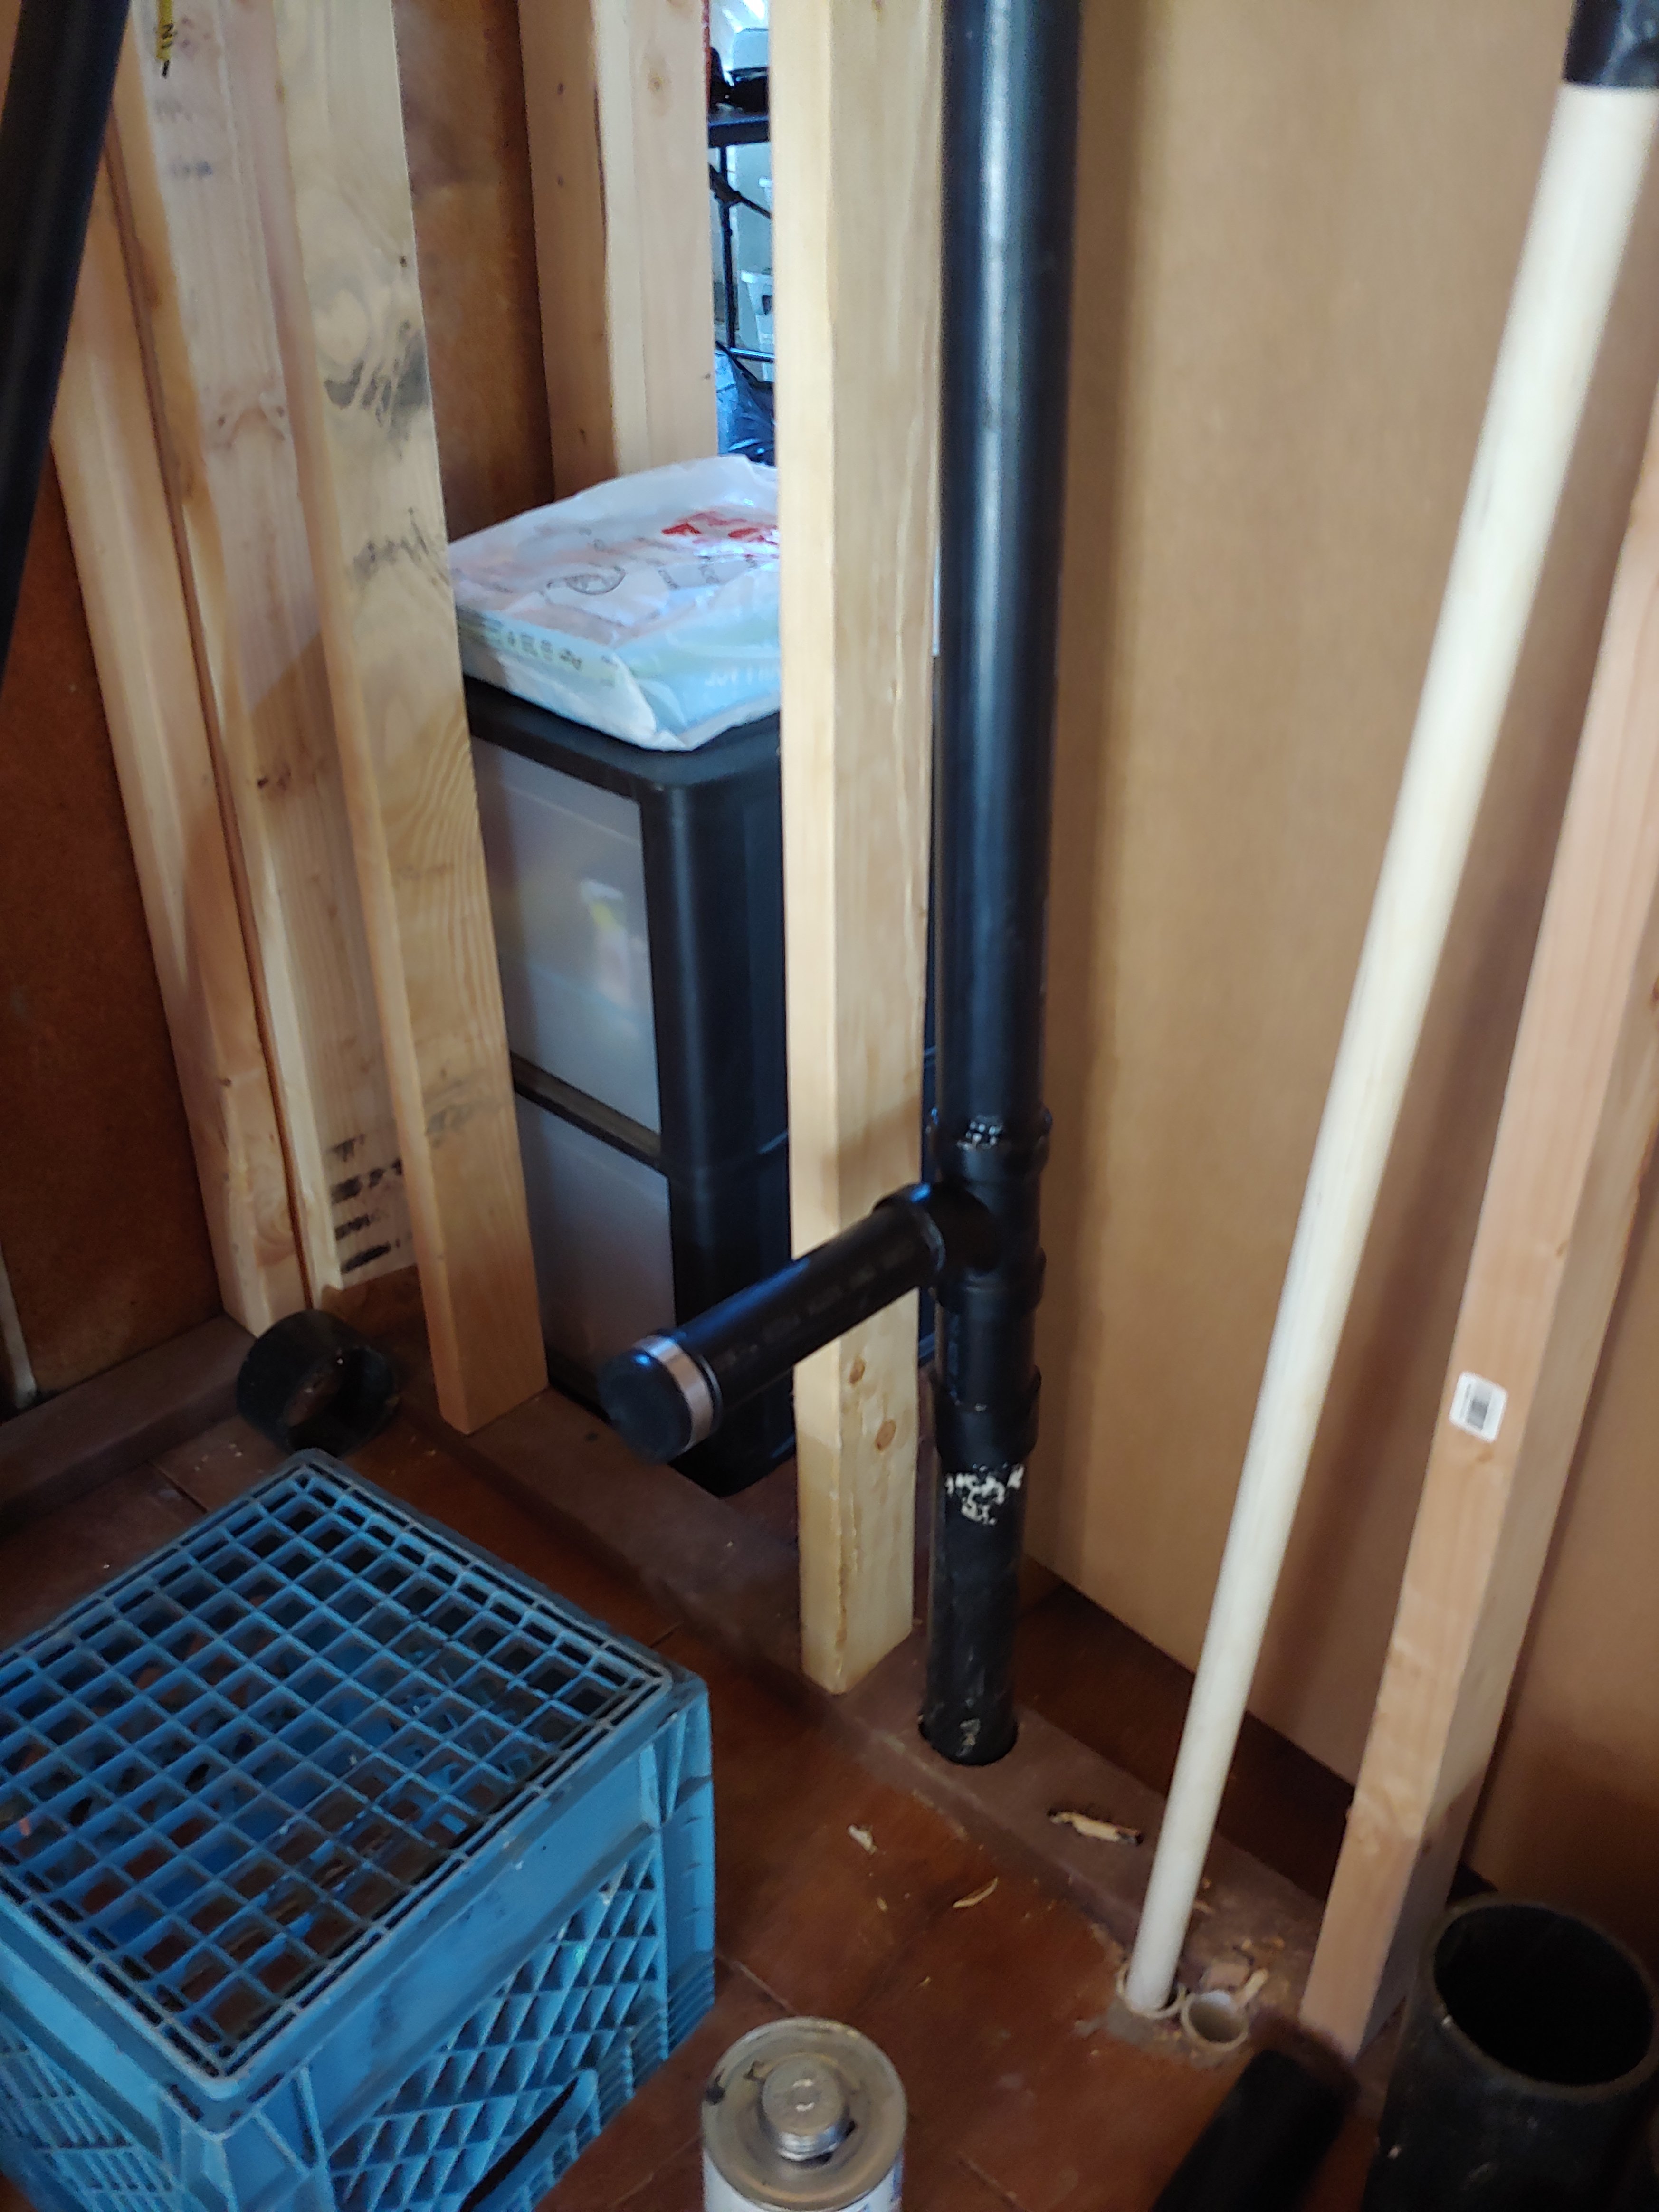
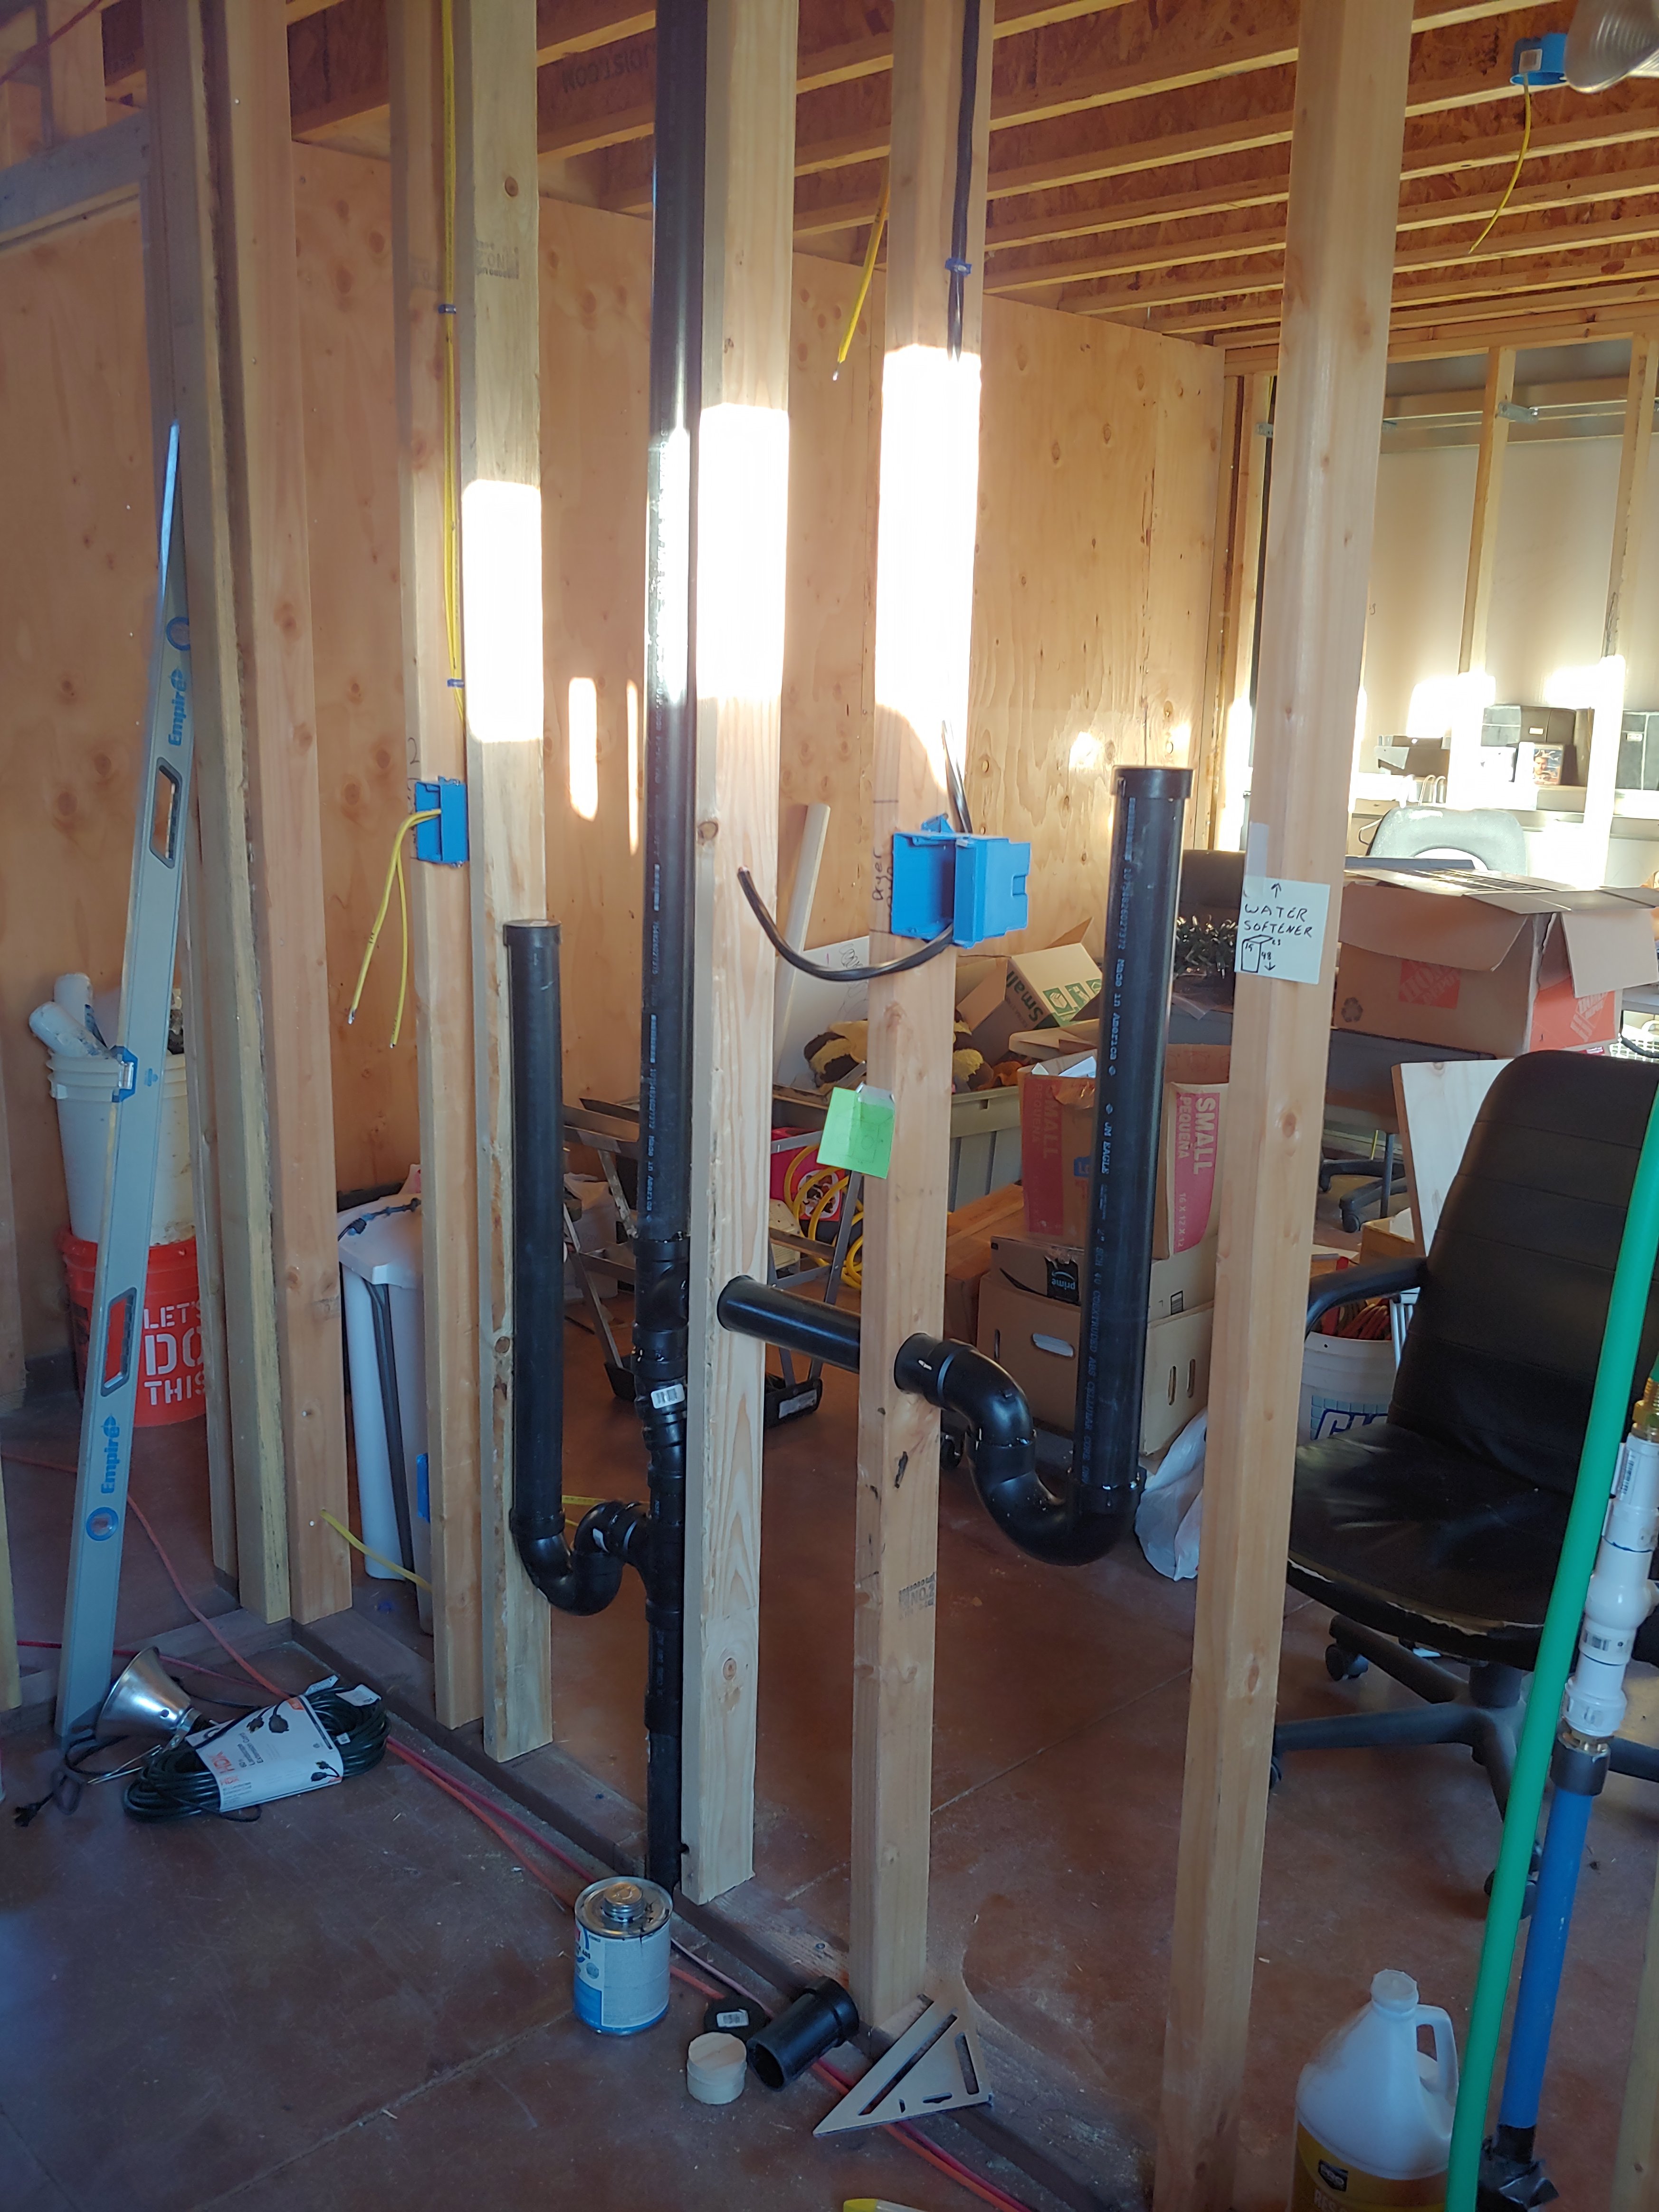
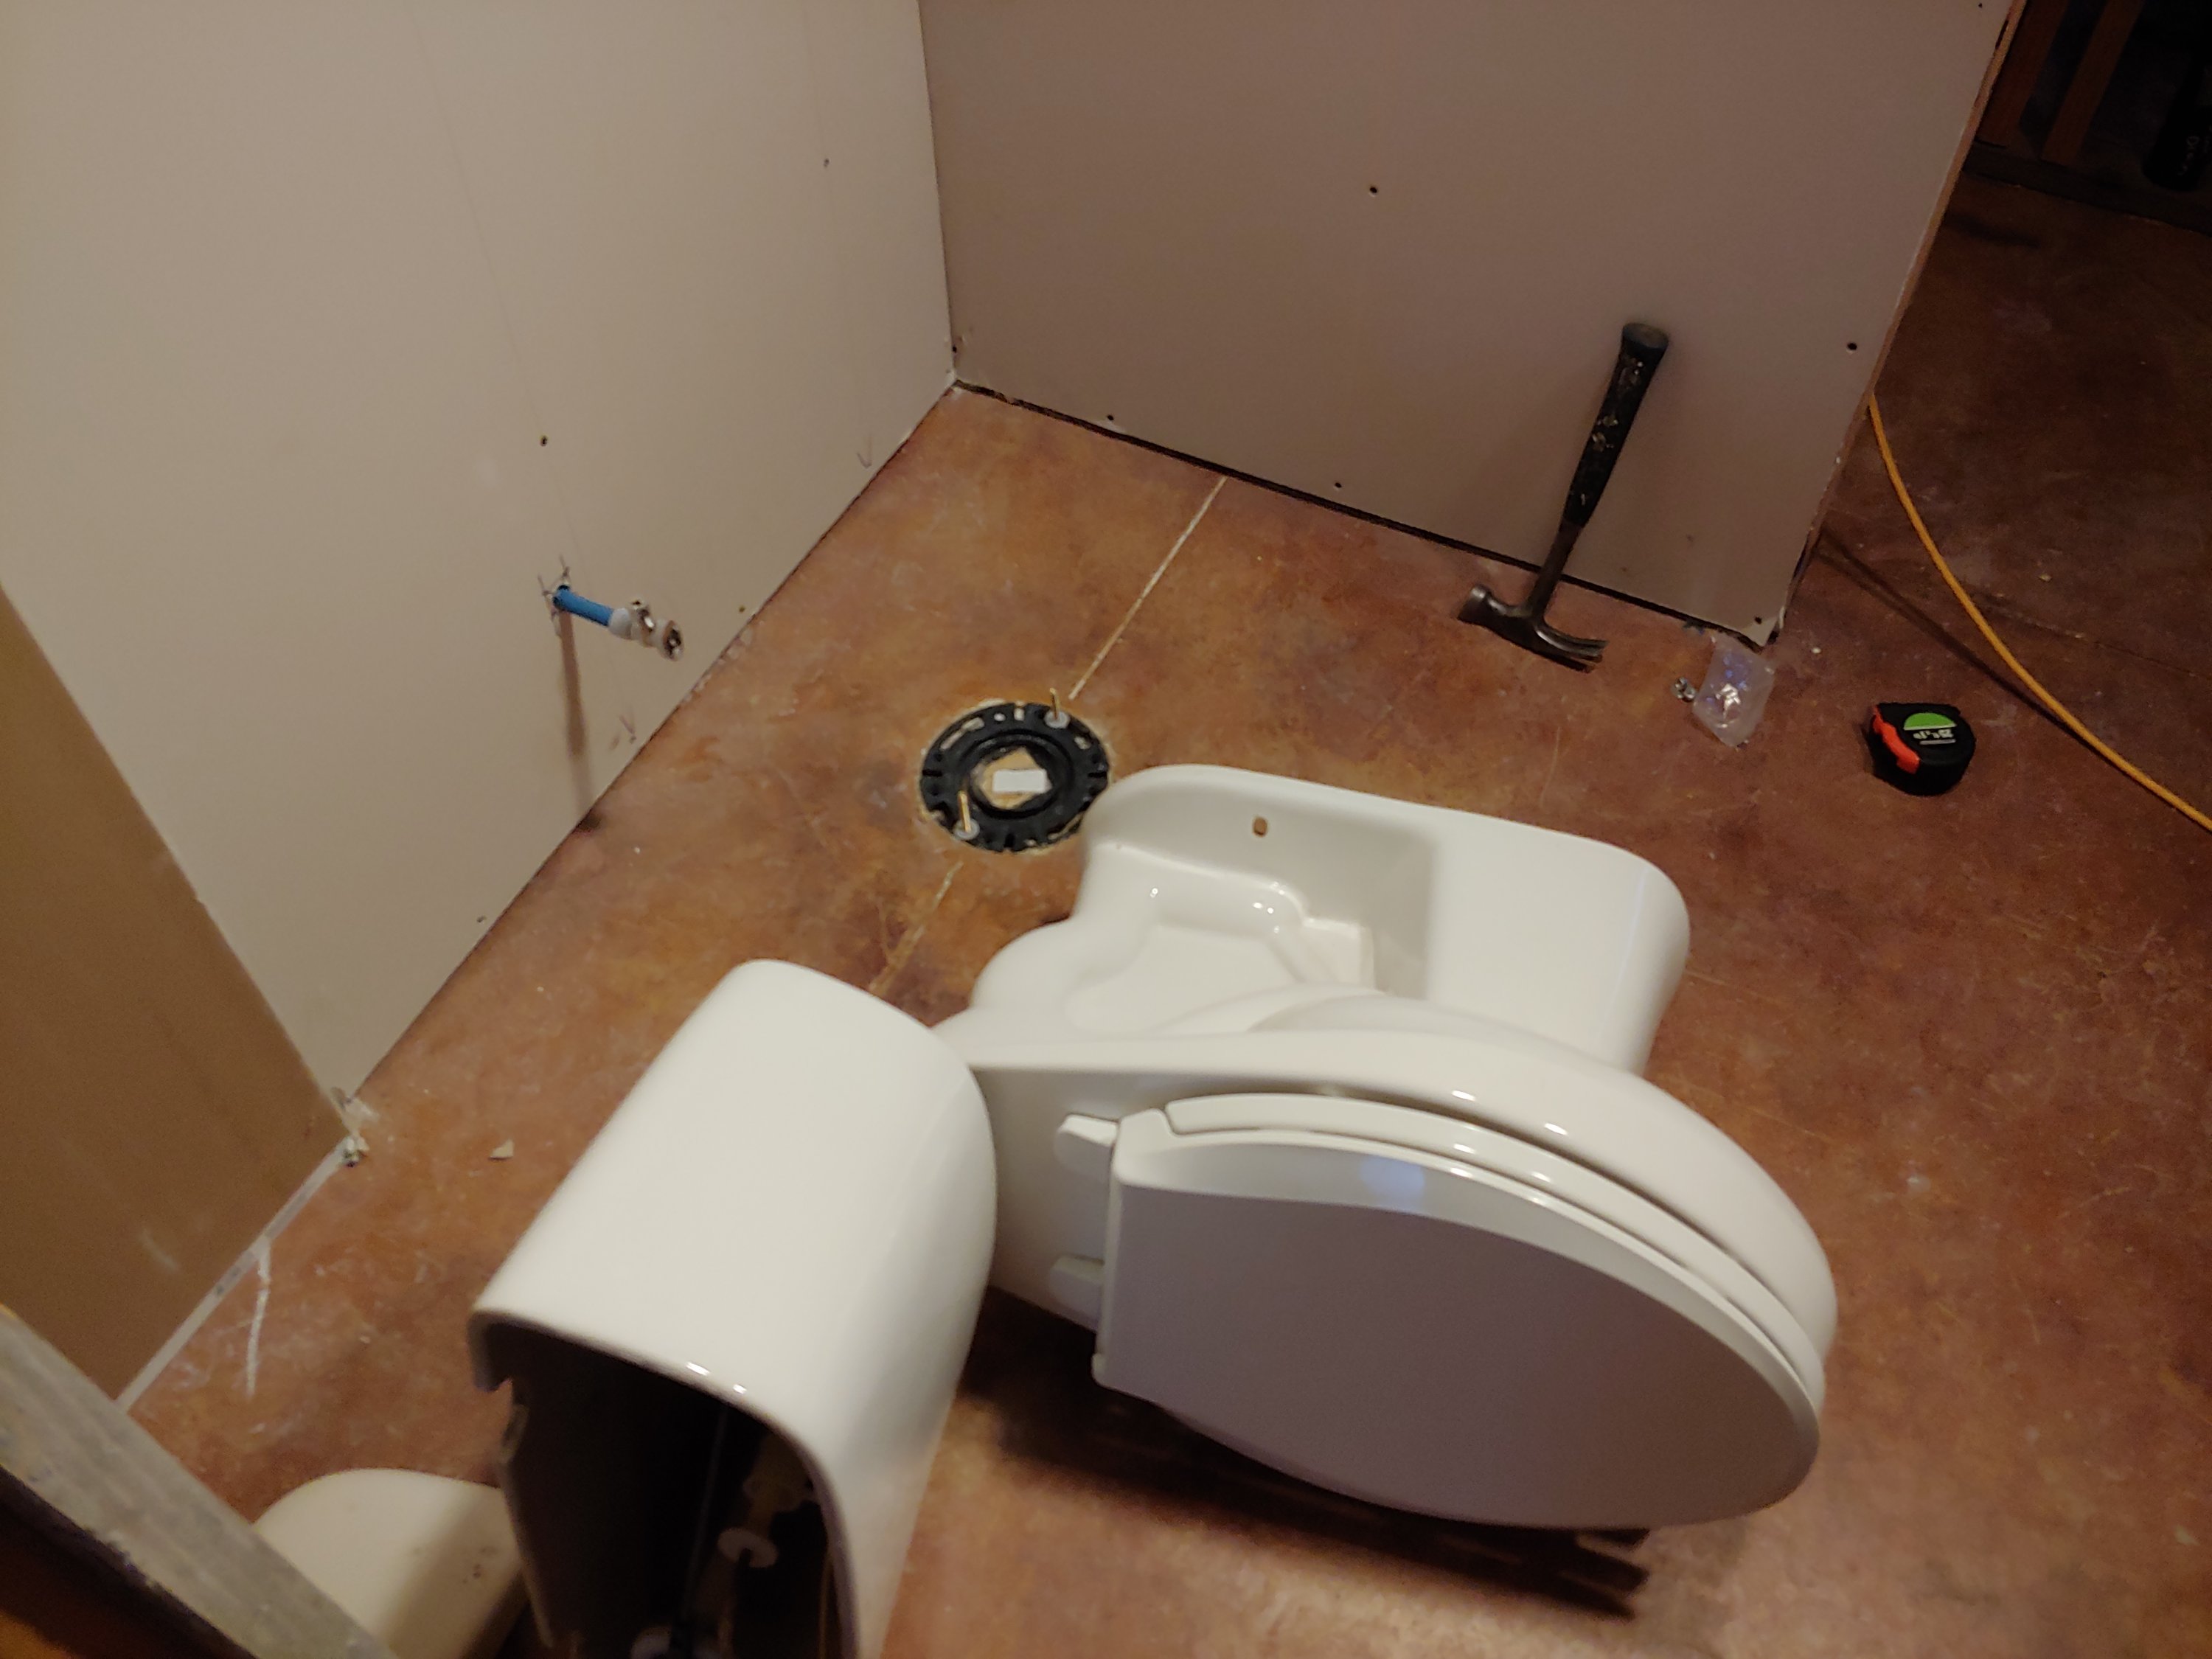
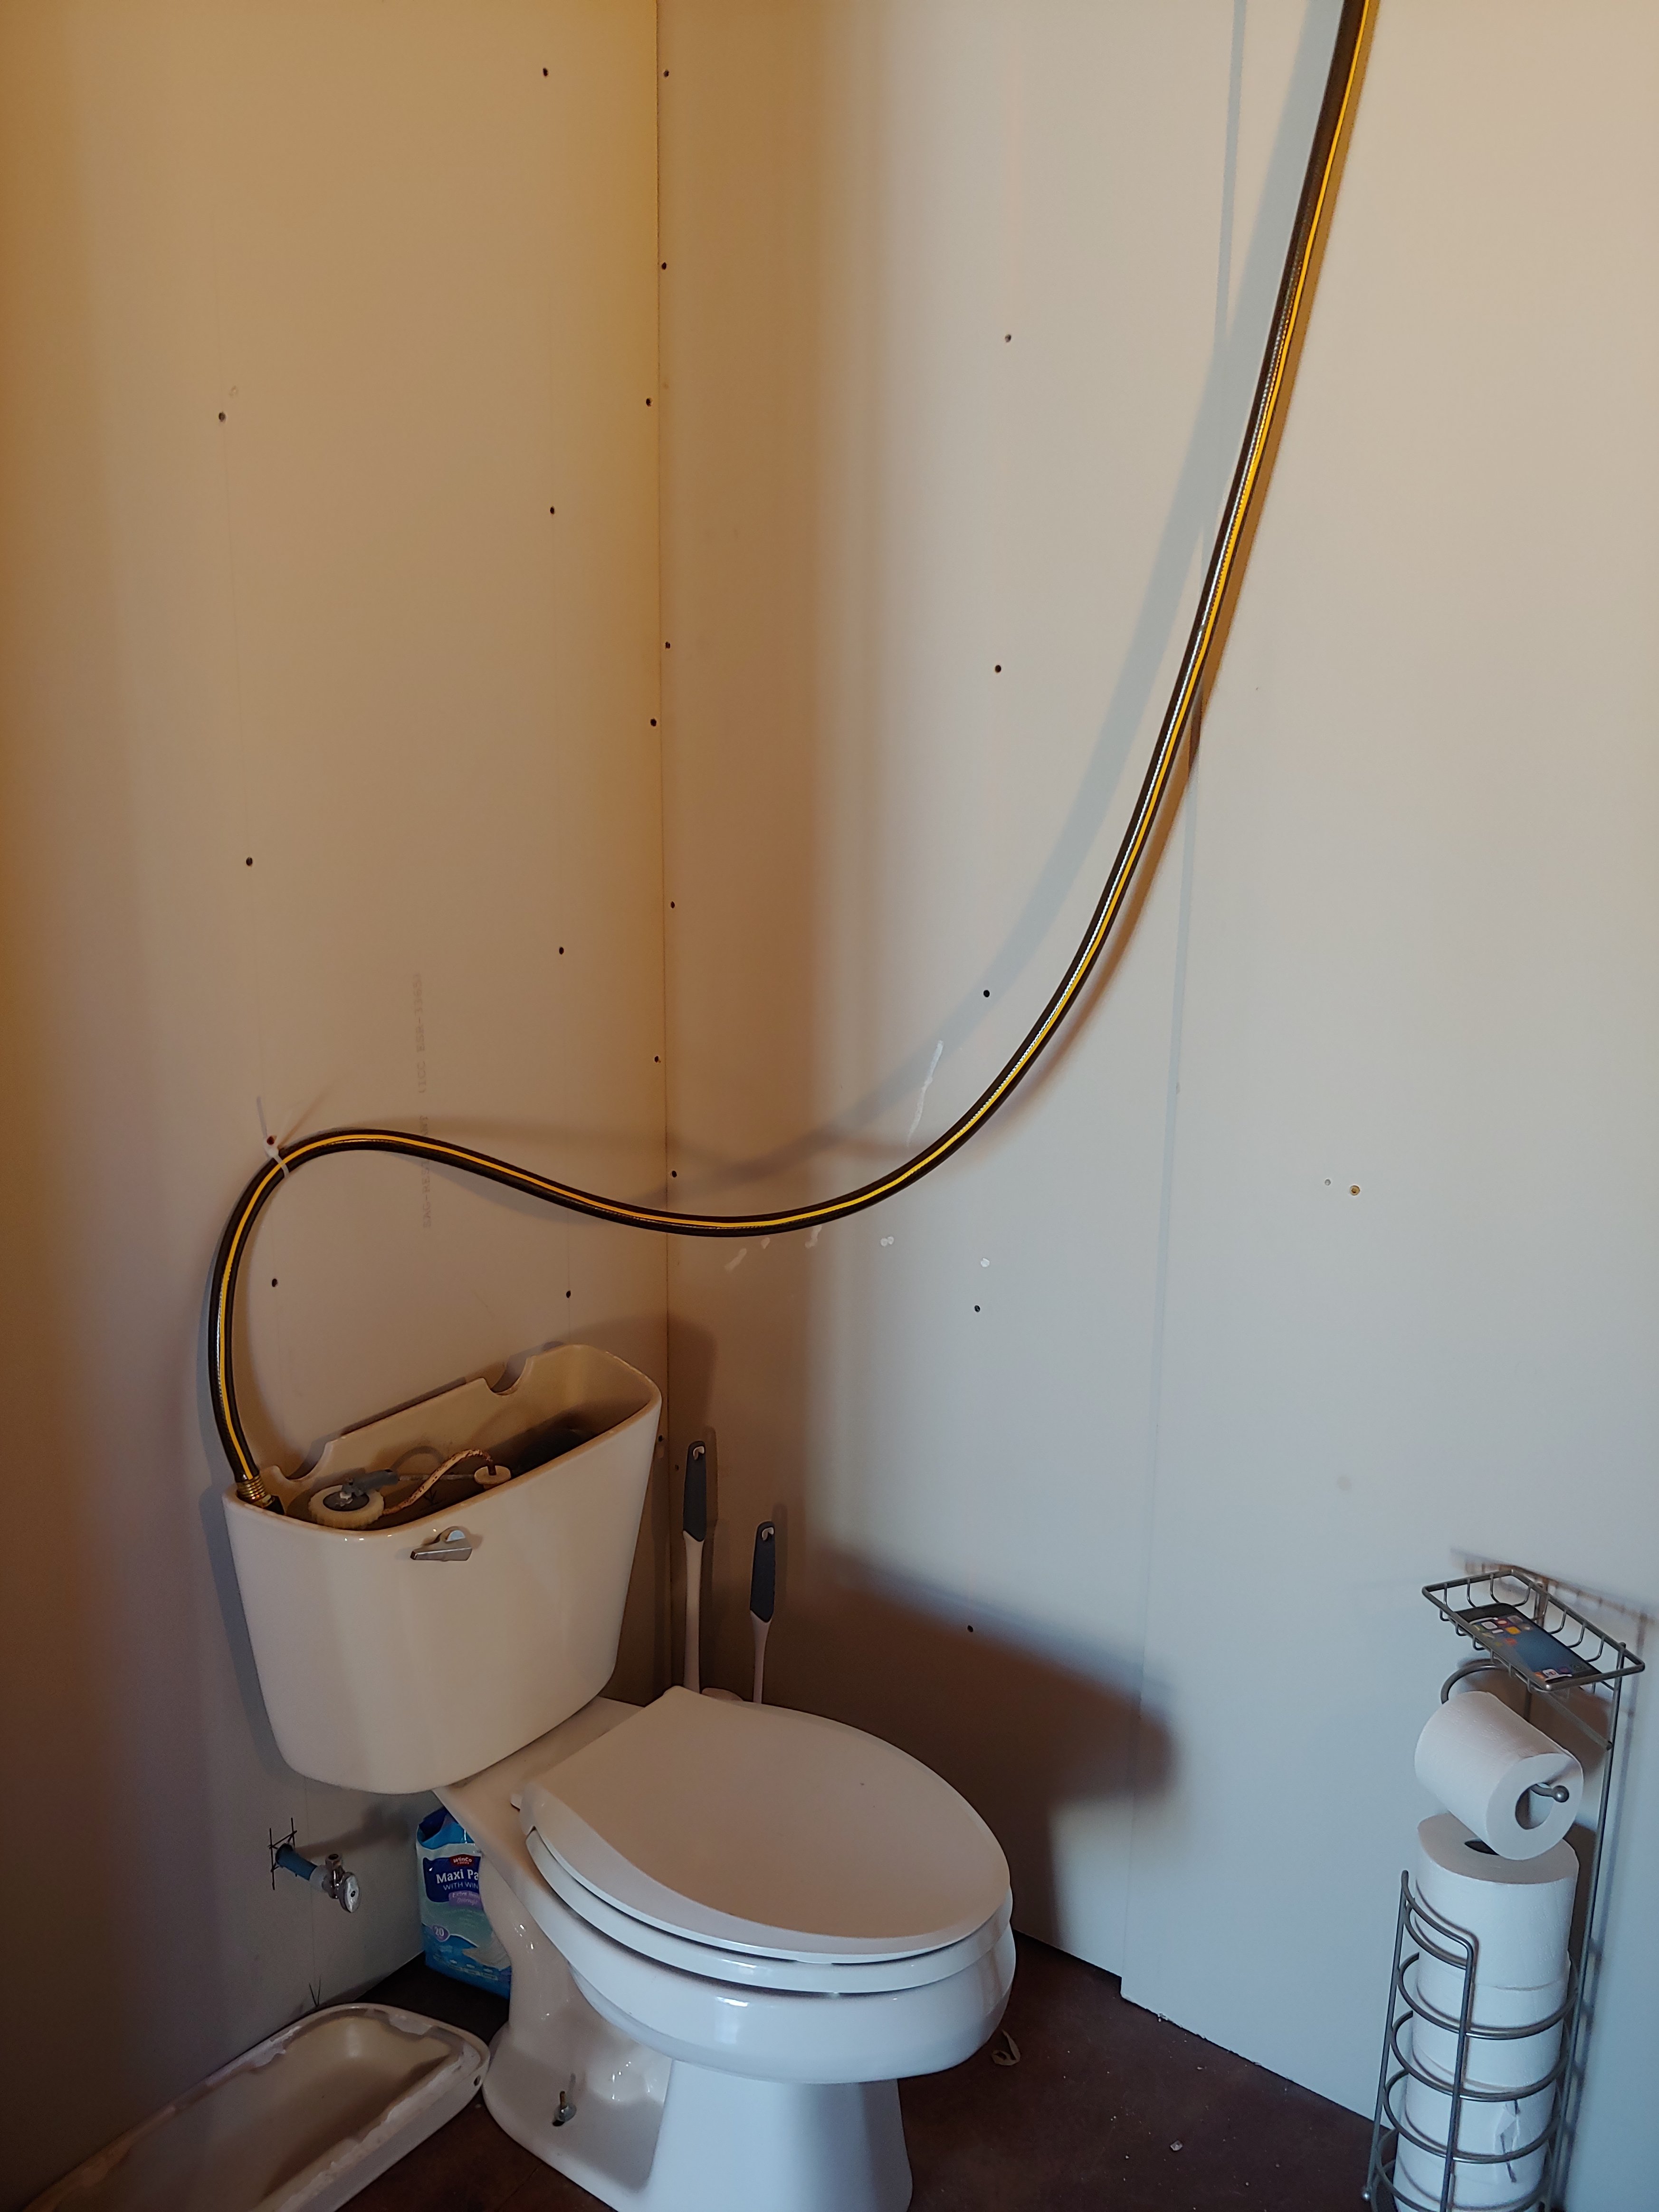
And a fully functioning INDOOR bathroom, complete with hot water for the shower! Indoor plumbing; what a concept!

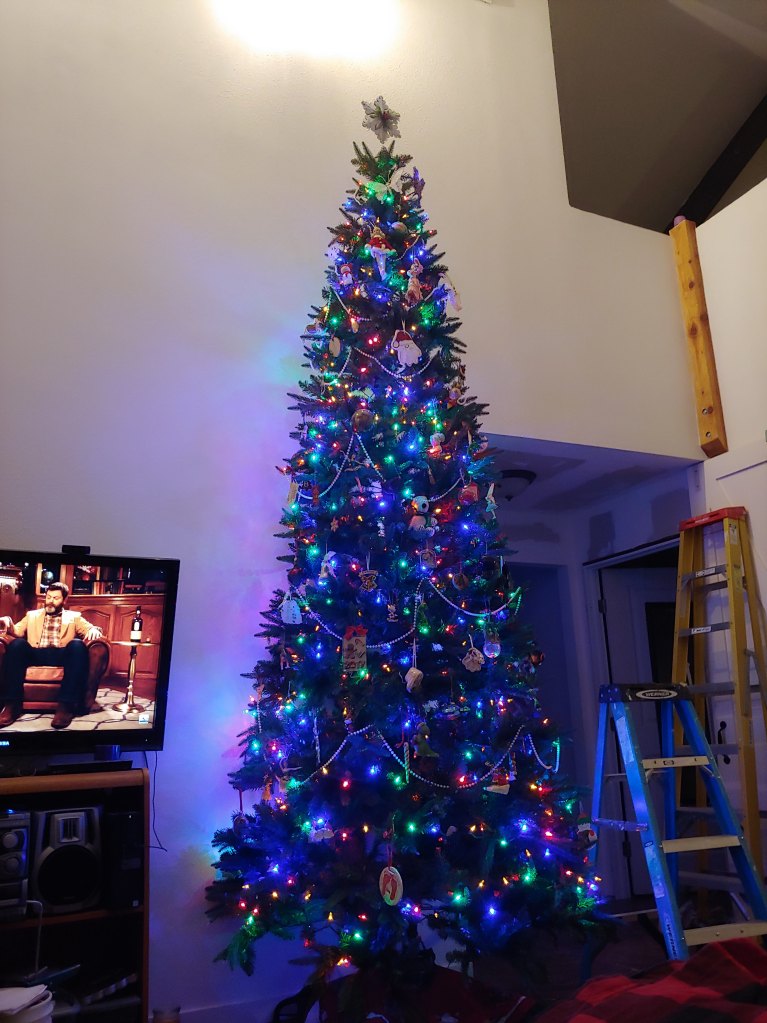
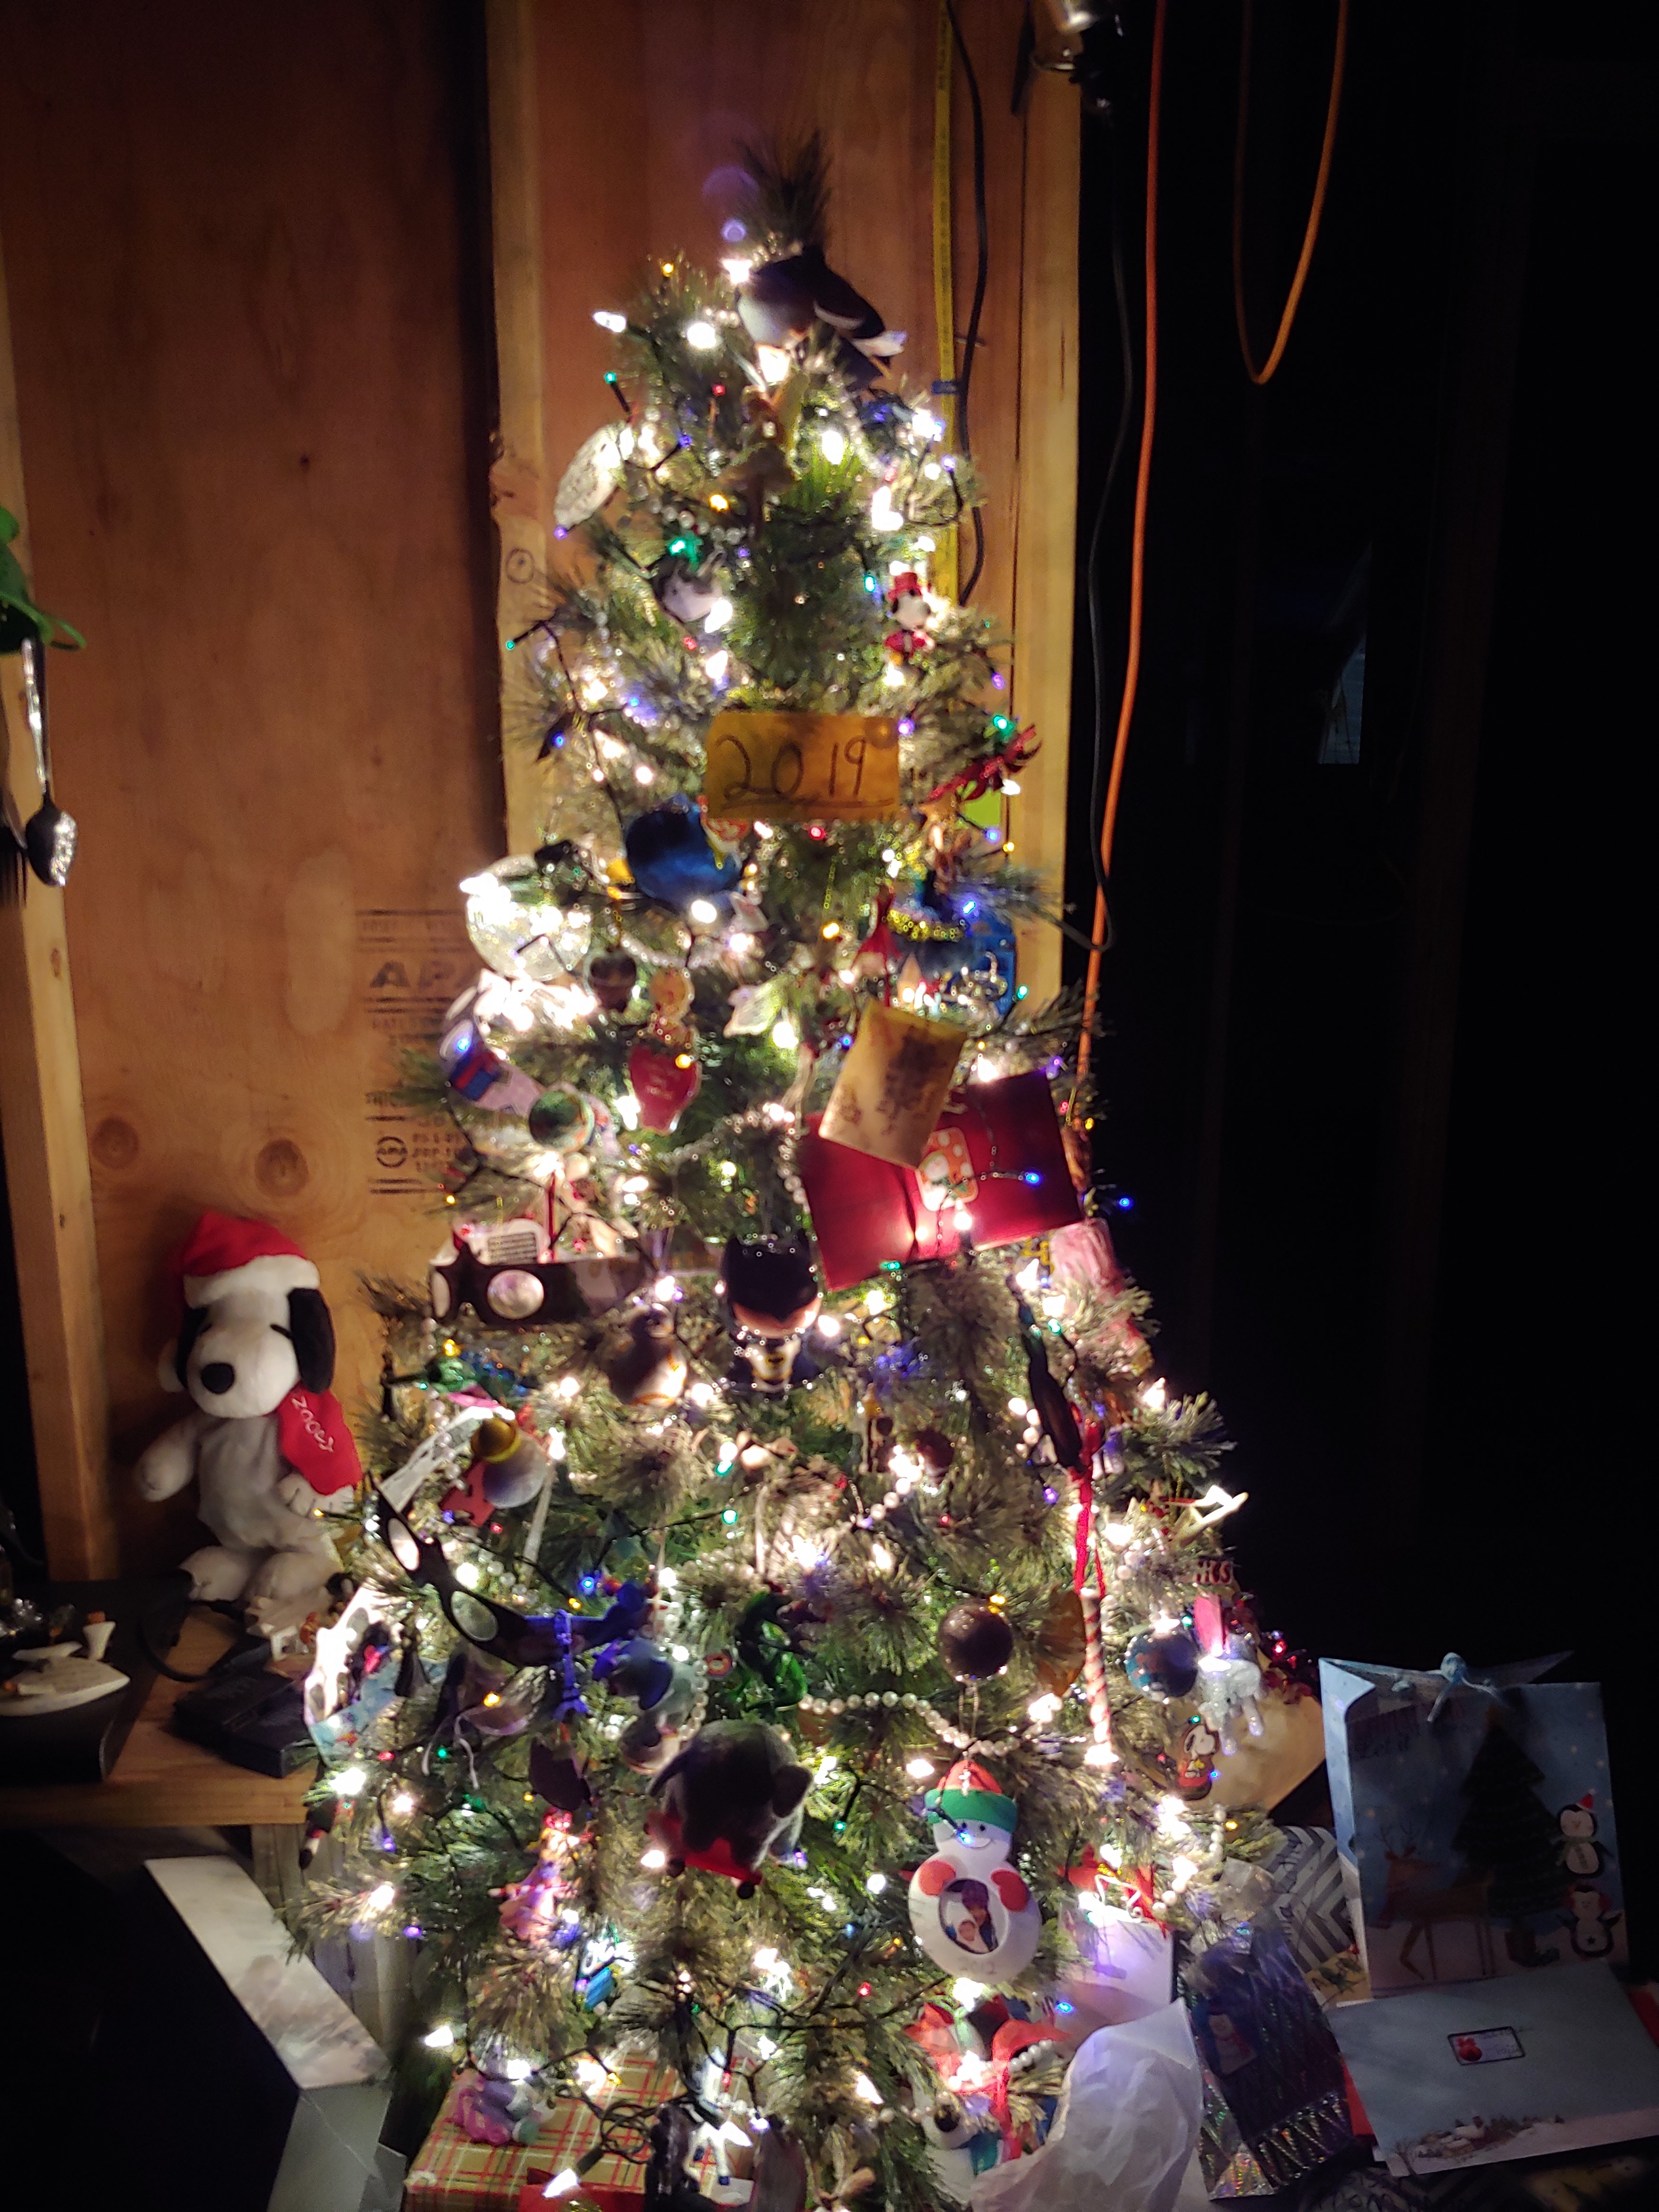
And the living room! We had a TWELVE FOOT tall Christmas tree in our living room, and it didn’t seem all that huge! It was so very cool and something we’ve been looking forward to for years!

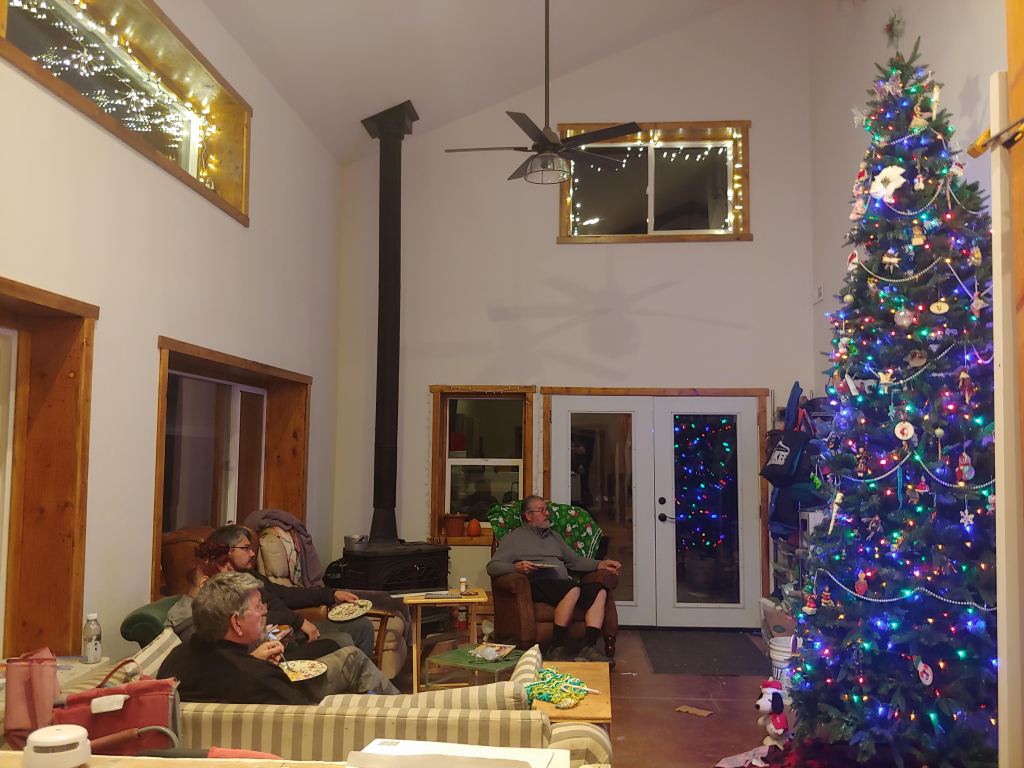
We still haven’t unpacked the storage units with what little bit of “real” furniture we have in there, so for now, we are still running with our hand-me-down/thrifted/roadside furniture in the living room. And we still have all of our built-in storage shelves, etc to be built, so things still look a little strange and temporary in places – such as the wire shelves beside the front door.

But we have been moving in select pieces of furniture to make our lives easier, such as a hutch that goes in the dining room.

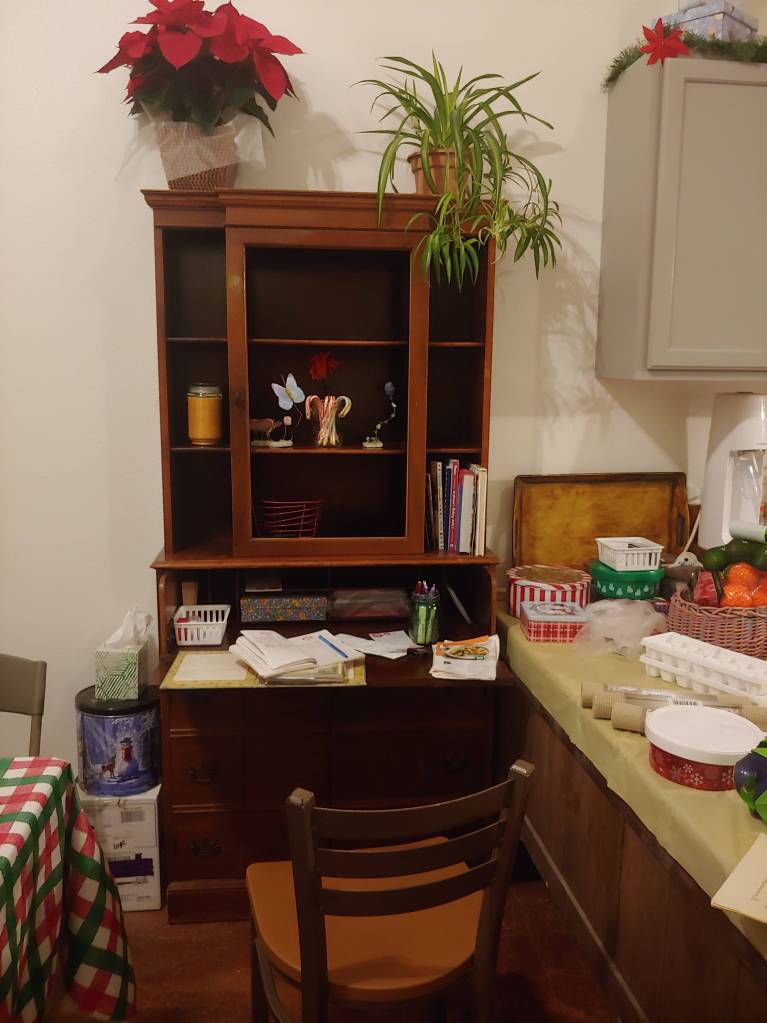
I really needed a place to keep cookbooks and organize a few things since I am now back in charge of cooking dinners. For the past several years, Pajii has been the one cooking dinners so that I could focus on the house. But now that we are past the push to get in the house, I can do the menu planning and cooking once again. It is something I really enjoy, but boy, am I out of practice!

In other Homestead news, we lost two of our pets this past summer. Our old dog, Sid, got to the end of his life and it was time to say goodbye. It was expected, but sad, as these things normally are. What was not expected was that one of our kittens that we had just gotten at the beginning of the year would also need to be put down due to cancer. Little Onyx was only 8 months old and was our youngest daughter’s special pet. That was hard.

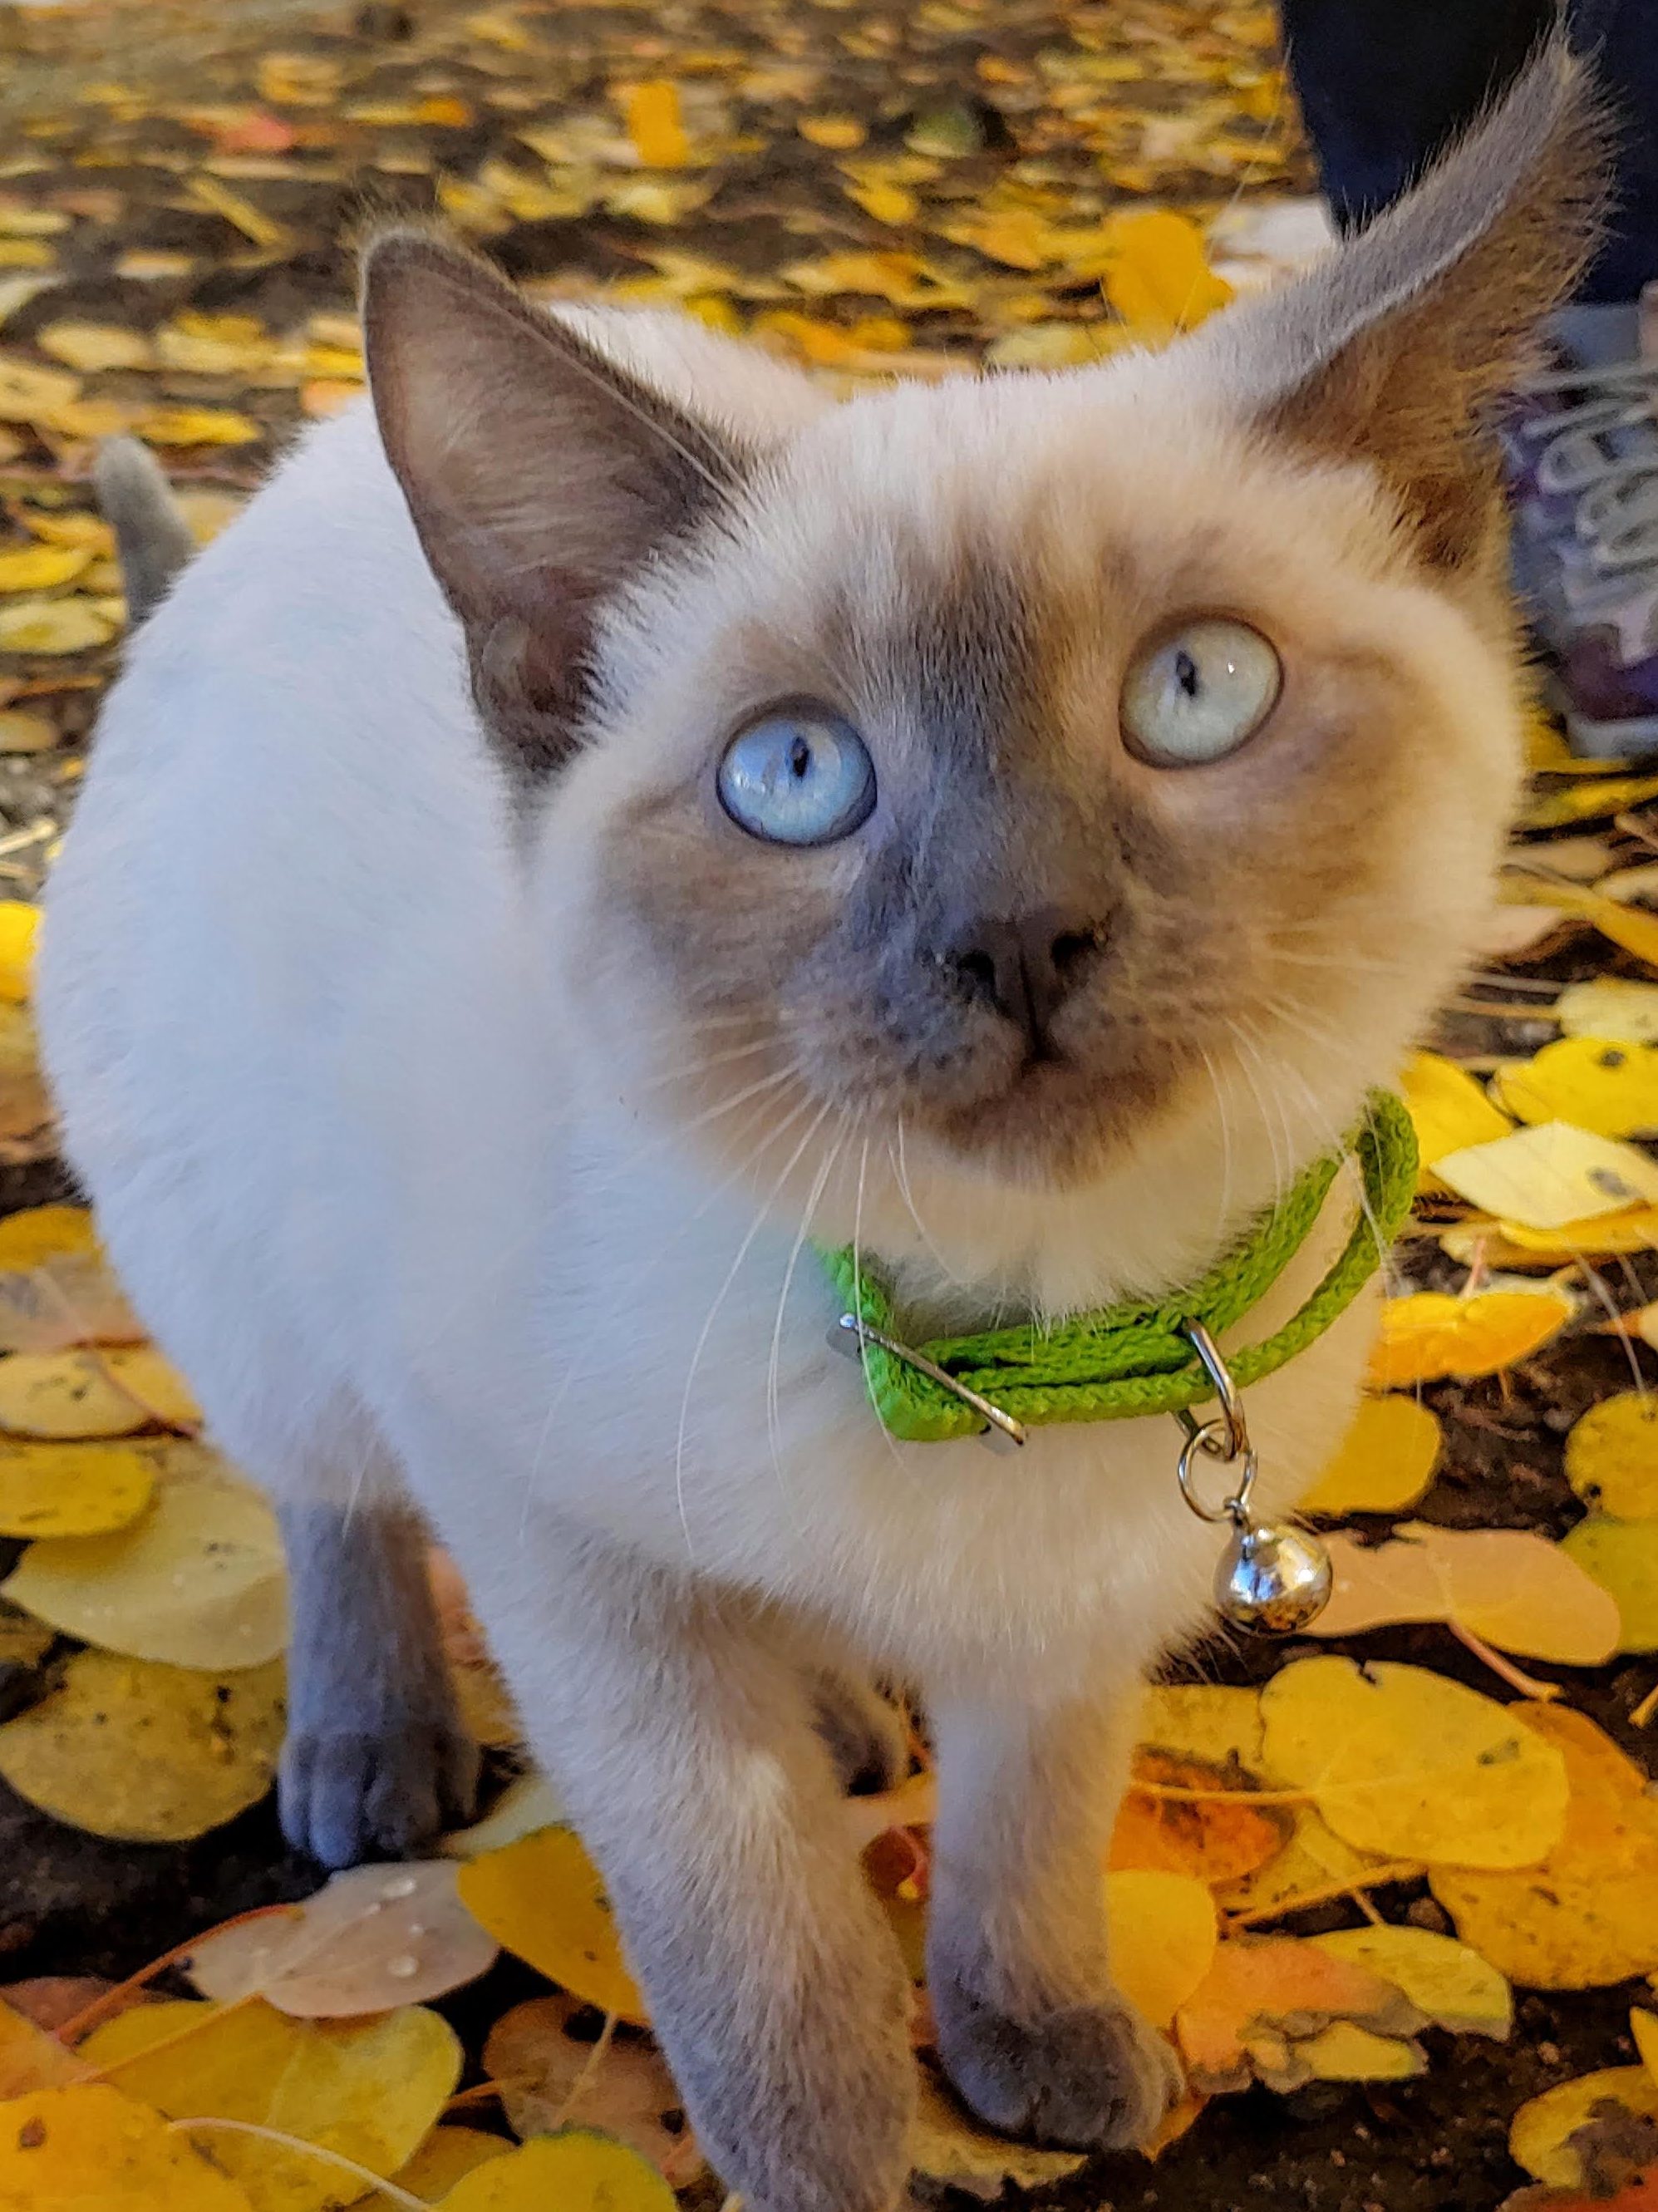
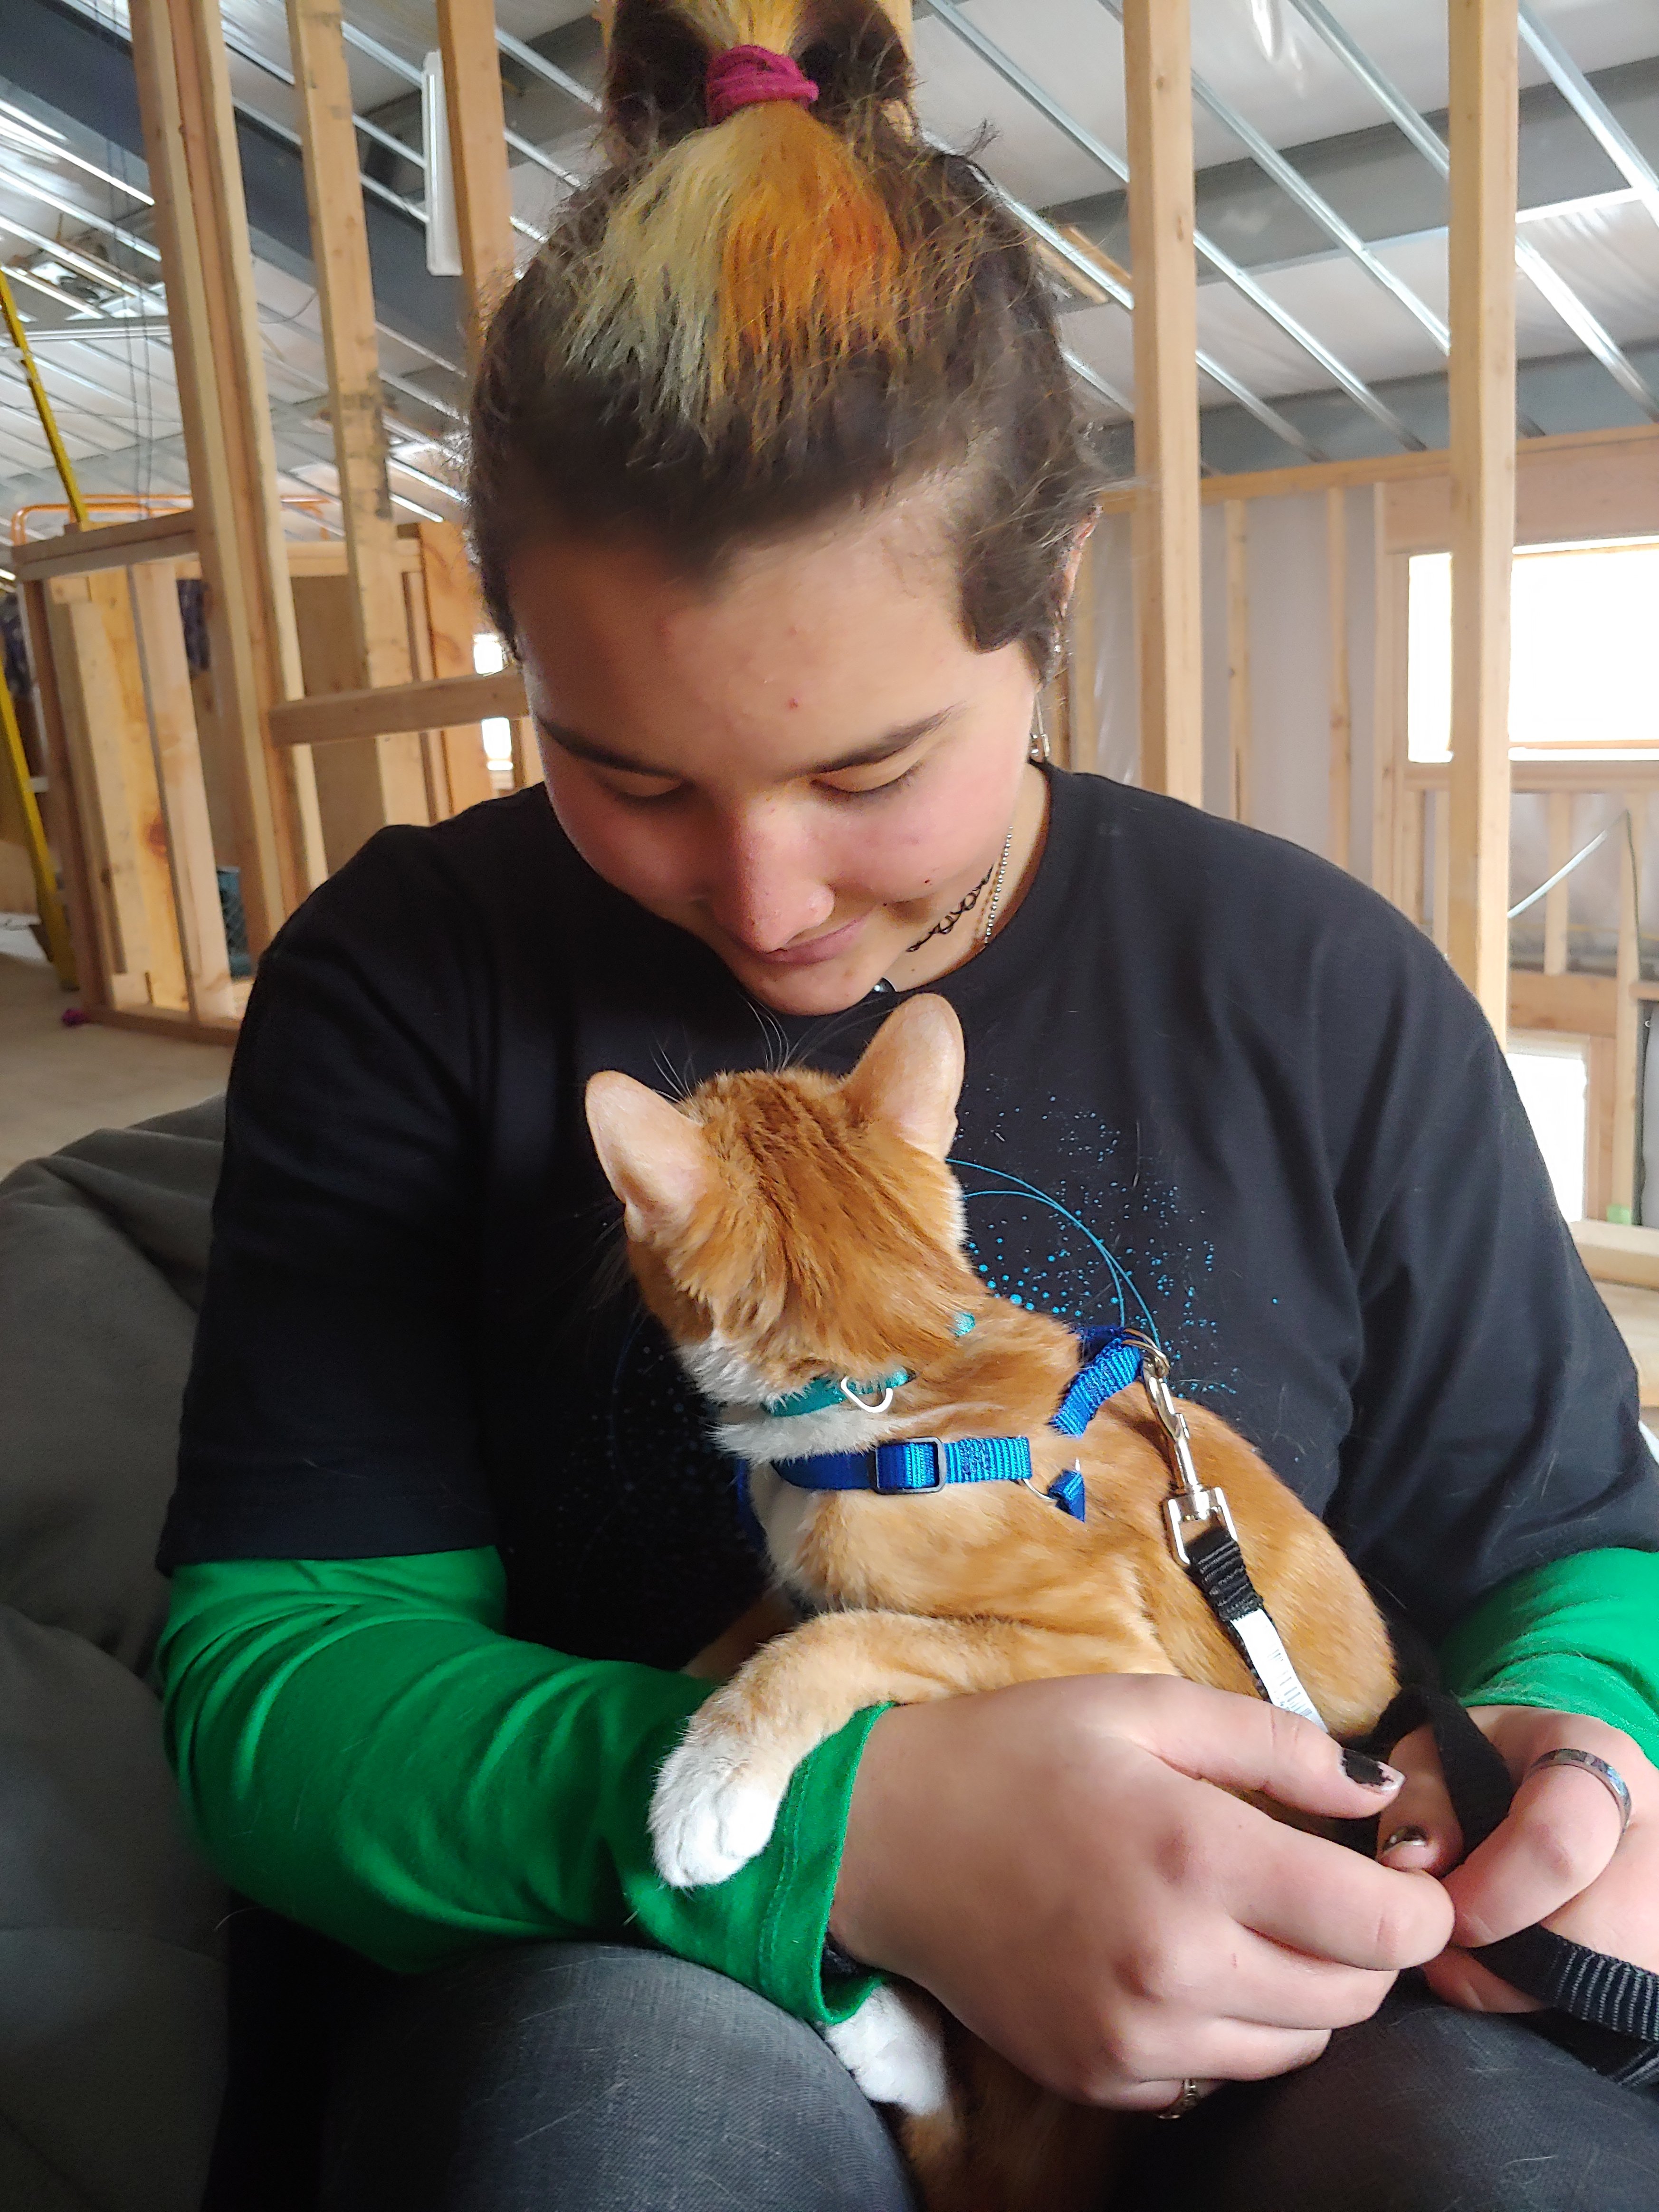
But in the way that things usually do, time moved on, and we got a new cat for our daughter for her birthday in October. Jupiter is a siamese kitten who was 5 months old when we got her. She’s one of the prettiest cats I have ever seen.

And then, for MY birthday in December, I got a puppy! Asher is a Border Collie and was 12 weeks old when I got him. He is learning so fast and growing like a weed.

So now we have 3 cats, 2 dogs, 2 fish, and a lizard that live in the main part of the house, plus Pajii’s 2 cats that stay in his room. And about 25 or so chickens outdoors. One of these days we’ll probably add some more farm animals to the mix. and our plan for this spring is to build the first portion of our gardens.

Right now, we are in full on Winter mode here on the homestead. Now that the holidays are over, we are back into school and trying to find our rhythm again. The cold weather brings extra challenges with taking care of the animals and such. But we also enjoy playing in the snow.

Hubs is taking some time off from work in a week or so to do a big push on finishing up all the projects here around the house. We won’t complete them all, but hopefully we’ll cross a bunch off the to-do list. Particularly the small leak in the water system which has presented itself in the last couple months

Life has been particularly good this fall and winter so far. We are still figuring out our permanent off-grid systems, what is possible, what needs to change, and what works for us. But just being in the house full time has been such a blessing.

We are really looking forward to being able to work on outdoor projects this coming year, without feeling like we have this huge thing (the house construction) hanging over our heads. As a friend recently told me, it’s time to re-train my brain to not be in constant construction-survival mode. But, oh yeah, we still have a bagillion finishing projects to do. *sigh* One of these days we’ll be finished. Right?

Right?

Anyway, one of the reasons I haven’t updated this blog in the past 2 years is that I find it so much easier to post to my Instagram account (which also posts to my CRH Facebook page. You don’t need a Facebook account to see my page there). I have a lot of updates on there over the past several years, so go check it out so see all the pretty pictures

Click here for my Instagram
Click here for my Facebook

Until next time, hopefully not too long in the future, have a blessed day!

Maridy

House Update: electrical and plumbing

Oy! It’s been so long! And we don’t have much to show for it. Yes, we’ve been making forward progress on the house, but very slow.

My last house update was about the windows and doors.

Since then, we got all the special fire blocking installed, all the electrical lines run, and all the drain/waste/vent pipes installed. Here’s a few pictures to show you. Unfortunately, these systems are hard to see in pictures, so I really don’t have a lot.

Working on the fire blocking. It is 5/8″ sheetrock that creates draft stops every 10′ horizontally. It has to go floor to ceiling. It was a jigsaw puzzle to get it between walls, etc.

Installing the electrical wires. This took so much longer and a ton more thought than we expected! We’ve worked with small circuits before. Wiring a whole house was something else entirely!

Flower girl was sad when I put up the fire blocking. It blocked off her “playground” in the walls.

Always the monkey!

My little niece found a chew toy! Good thing it’s not “hot” yet!

Our first drain. This is for the main bathroom sink.

The laundry drain system. It has a stand pipe for the washing machine, and one for the water softener.

Hubby starting the to cut the hole in the roof for the drain vent pipe.

Now it’s REALLY starting to look like a house with the vents sticking up!

Sparky, sparky. Putting a 2¼” round hole in a metal building is a challenge to be sure.

Starting the process of putting on the flashings on the pipes.

Safety first – that roof is slick!

It ain’t pretty, but it keeps the rain out.

Another of the projects that we got done had to do with the electrical system. We mounted the breaker box. But first we had to find the underground pipes that will bring the power lines from the eventual solar system on the garage over to the house. We did this because we decided to move the panel location from what was originally planned.

Dug down to find the pipes and cut into one and add elbows and risers for the new electrical panel position.

Mounting the box

Having the breaker box there was a small but significant upgrade, especially for winter time. It means we can now run the electrical cords from our generators and our small temporary solar power system in through the box rather than under the laundry room door. Which means that we could finally install the threshold under the laundry room door. Which means we no longer have a 1½ inch gap there for cold air, rain, and dirt to blow through. As I said, small but significant.

In looking forward to the holidays and knowing that we weren’t going to be getting much work on the house done, but also that we’d have a lot of people around, and already having gone through a couple winter storms where we had to trek up the hill to use the outhouse, we decided it was high time to get our toilet scabbed in.

To “scab in” something means to do it in a manner than is just temporary. We will have to take the toilet back out and maybe even some of the sheetrock off the walls in order to get our next inspection, but we thought it was more than worth it to be able to use a toilet in the house.

Flower girl doing her language book work while I take measurements for the next piece of sheetrock.

Prepping the toilet and the drain hole. This toilet was free to us. Yet another free item that still works perfectly good, and we will get plenty of use out of. Sure, it’s not exactly what we would have chosen for ourselves, but free is the perfect style and color. 😊

It works! 😆😆😆

Because this is just temporary and we don’t actually have our water supply pipes done yet, we ran a garden hose from the laundry room (where the water comes into the house), over the wall into the bathroom and that’s how we fill the toilet tank.

The end of the hose has a shut-off valve on it.

Here’s a little video tour of the bathroom (plus a look at our very messy after-Christmas living room 😆).

And that’s it. That’s all we’ve gotten done since June. Part of it is just busyness of our normal lives. Soon after my last post, we started school and since Flower Girl is now 7, I figured it was high time she actually learn to read. So we’ve been spending a more concentrated effort on schooling, which takes time away from building.

Another thing that is taking some time away from the house is that I resumed my hiking training for a couple backpacking trips I’m going on in 2020. So I’ve been going on more hikes, which is good, but it does take up time. [Want to follow along with my journey? I post sporadically on my Blog I’m doing for that, I also have a YouTube channel and Instagram.]

Also, the end of October is the beginning of the holiday season for us starting with one of the girls’ birthdays, followed just two weeks later with the other, then Thanksgiving a couple weeks after, and then Hubs birthday in the beginning of December, mine in mid December, plus all the normal holiday activities, and wrapping up with Christmas and New Years. It’s an exciting and exhausting time of year for our family.

But once the holidays are over, we’ll pick back up on construction. For now, we are enjoying the rest of the year by playing with new toys and pets, catching up on some reading and blogging (obviously), and me getting over a cold I came down with on Christmas Eve. Until next time, Happy Holidays!

One of Flower Girl’s favorite gifts – a volcano experiment set with dinosaurs from a different gift.

Princess Girl’s favorite gift – her new cat 🐈

House update: Let There Be {Natural} Light!

I remember posting on my Instagram account a picture of a little rolly cart we have in the house.
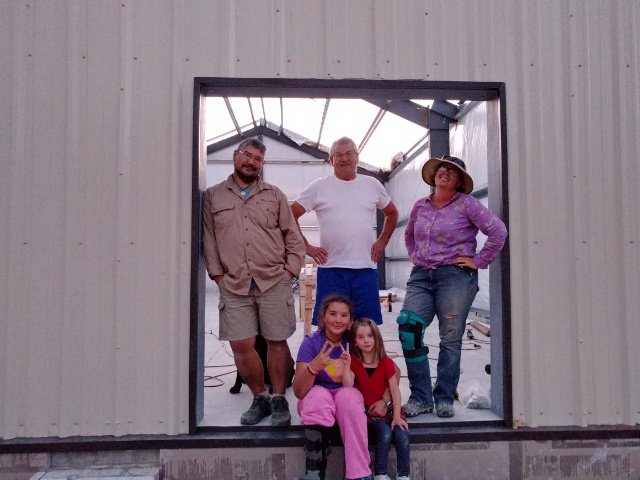
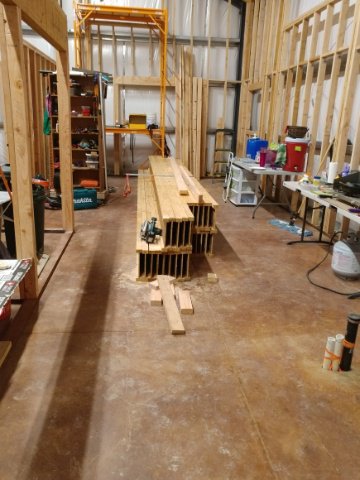
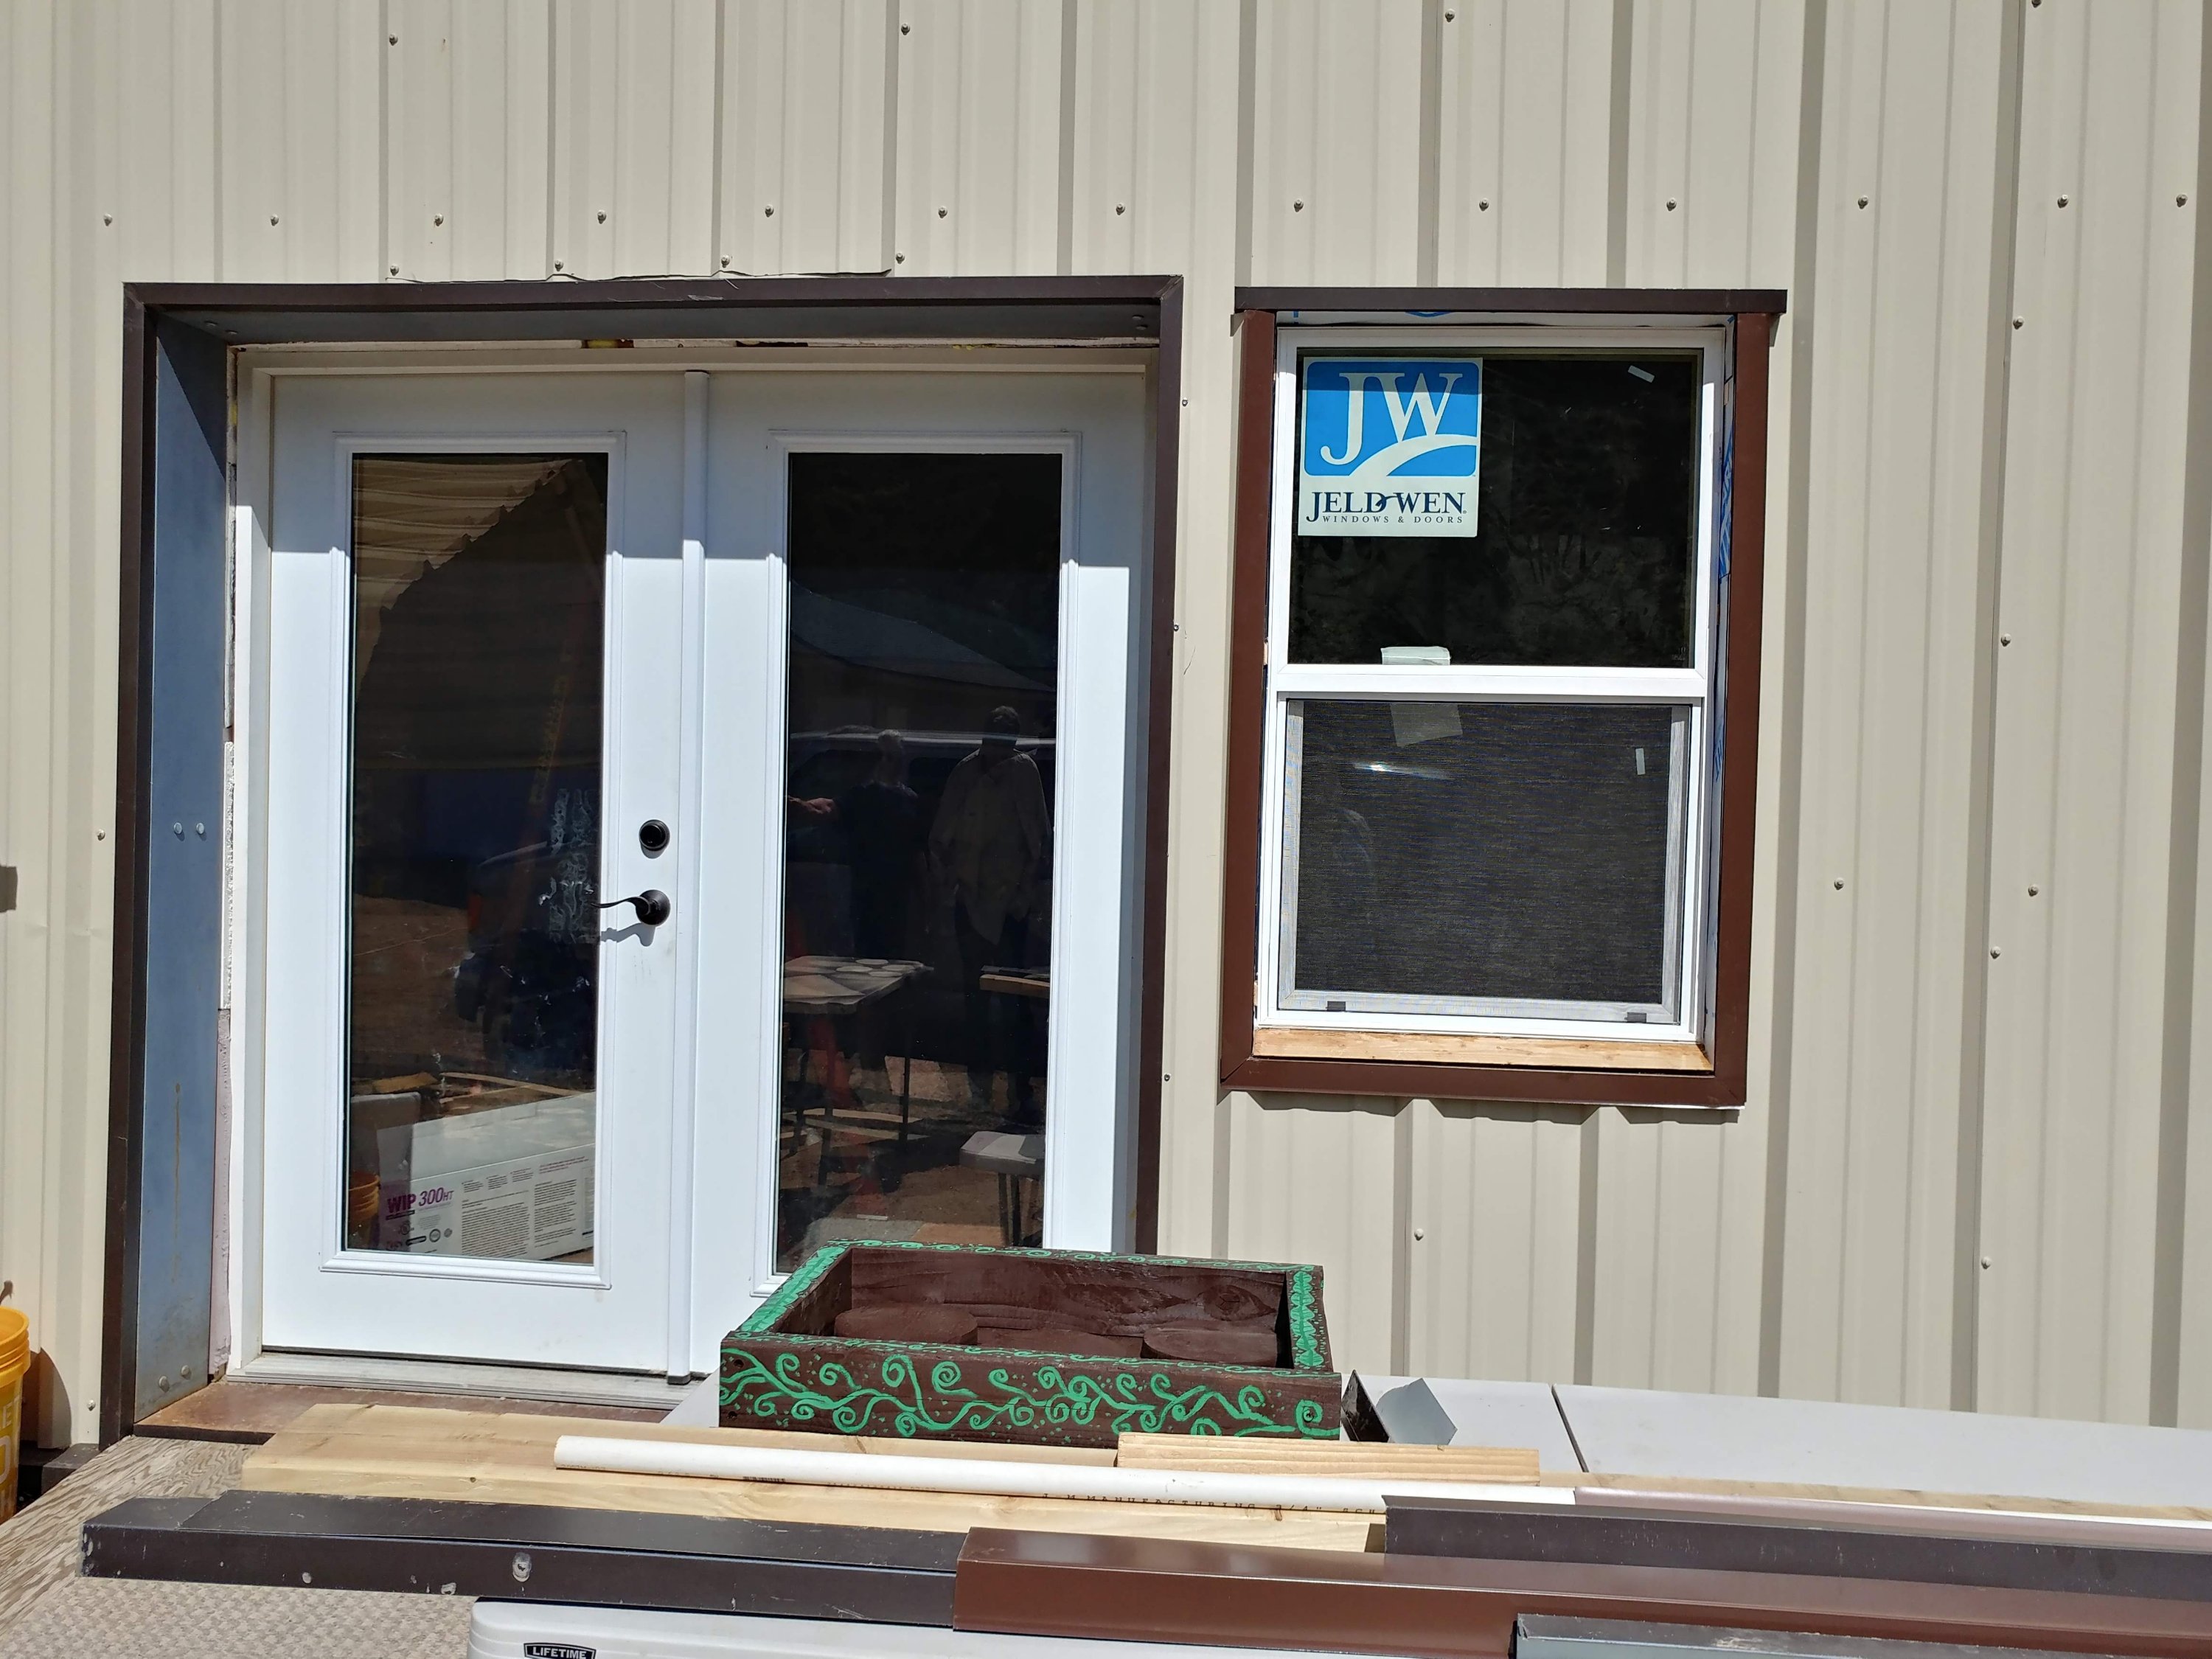
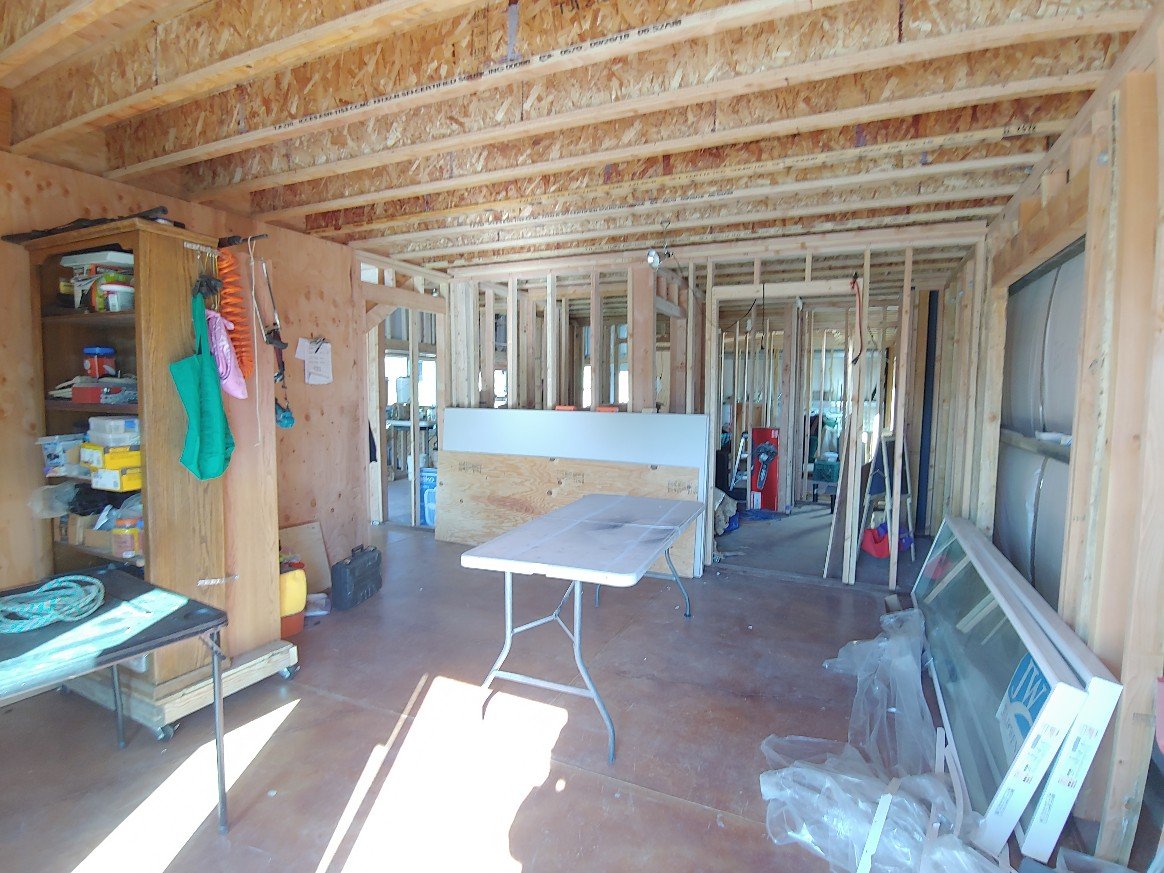
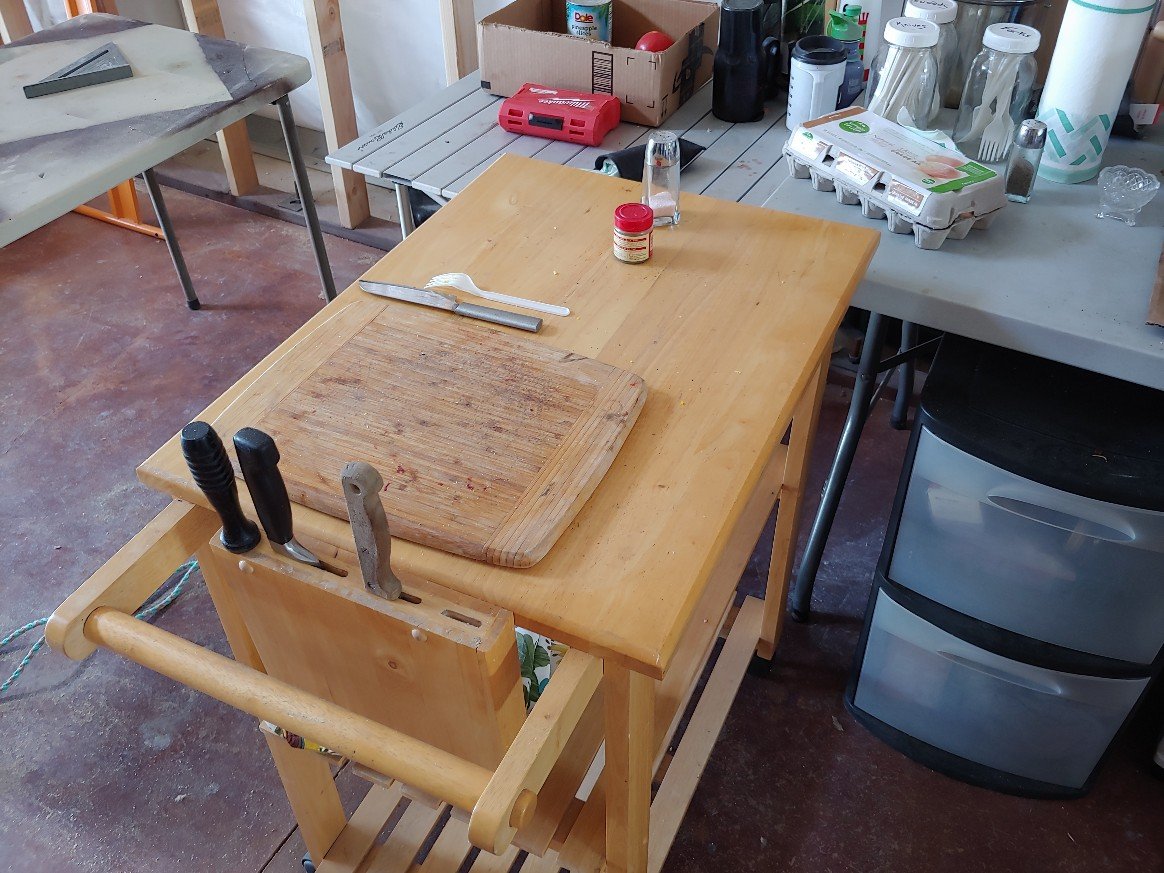
Nothing special about this freebie cart. What’s special is the amount of natural light shining on it.Obviously, this was after we had gotten some of the doors and windows cut in.But let me back up a bit.Normal houses are built with the window and door openings already there, so you just gotta put in the actual windows into the openings, and you’re done.
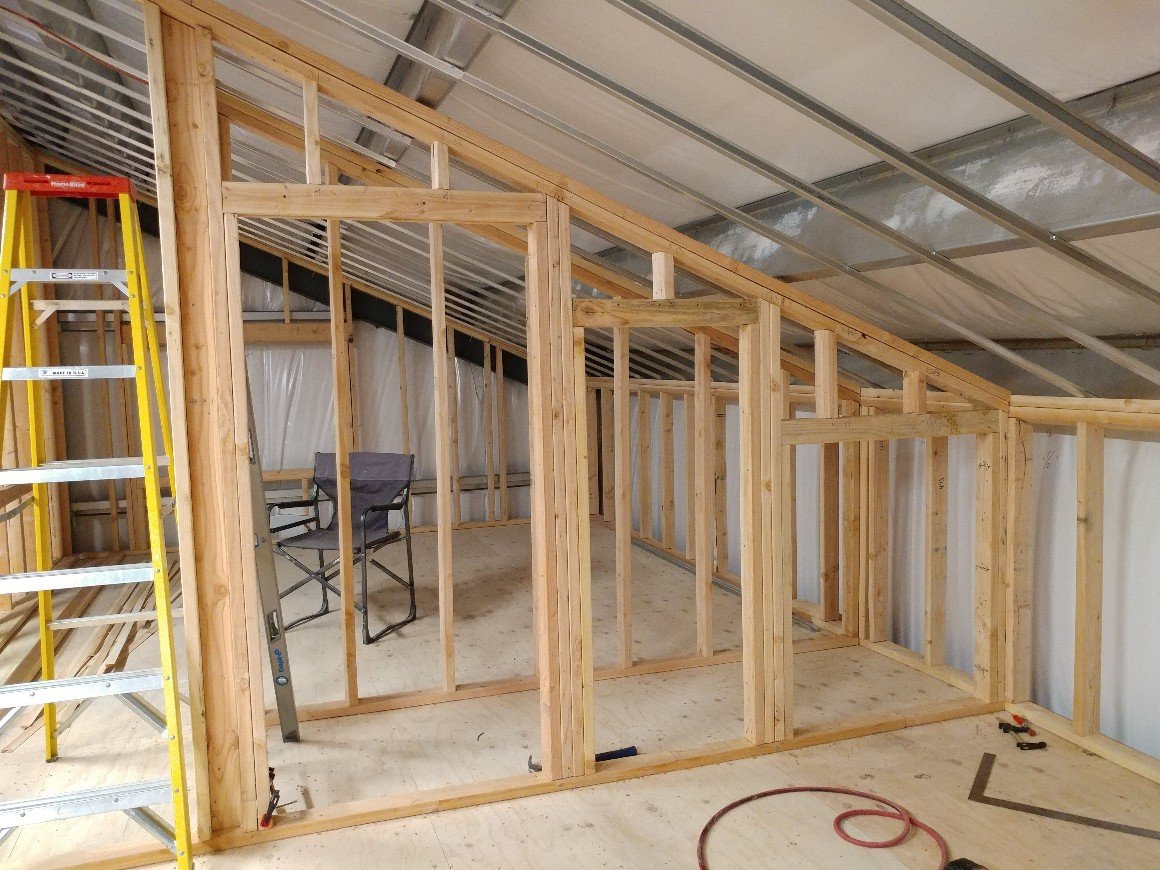
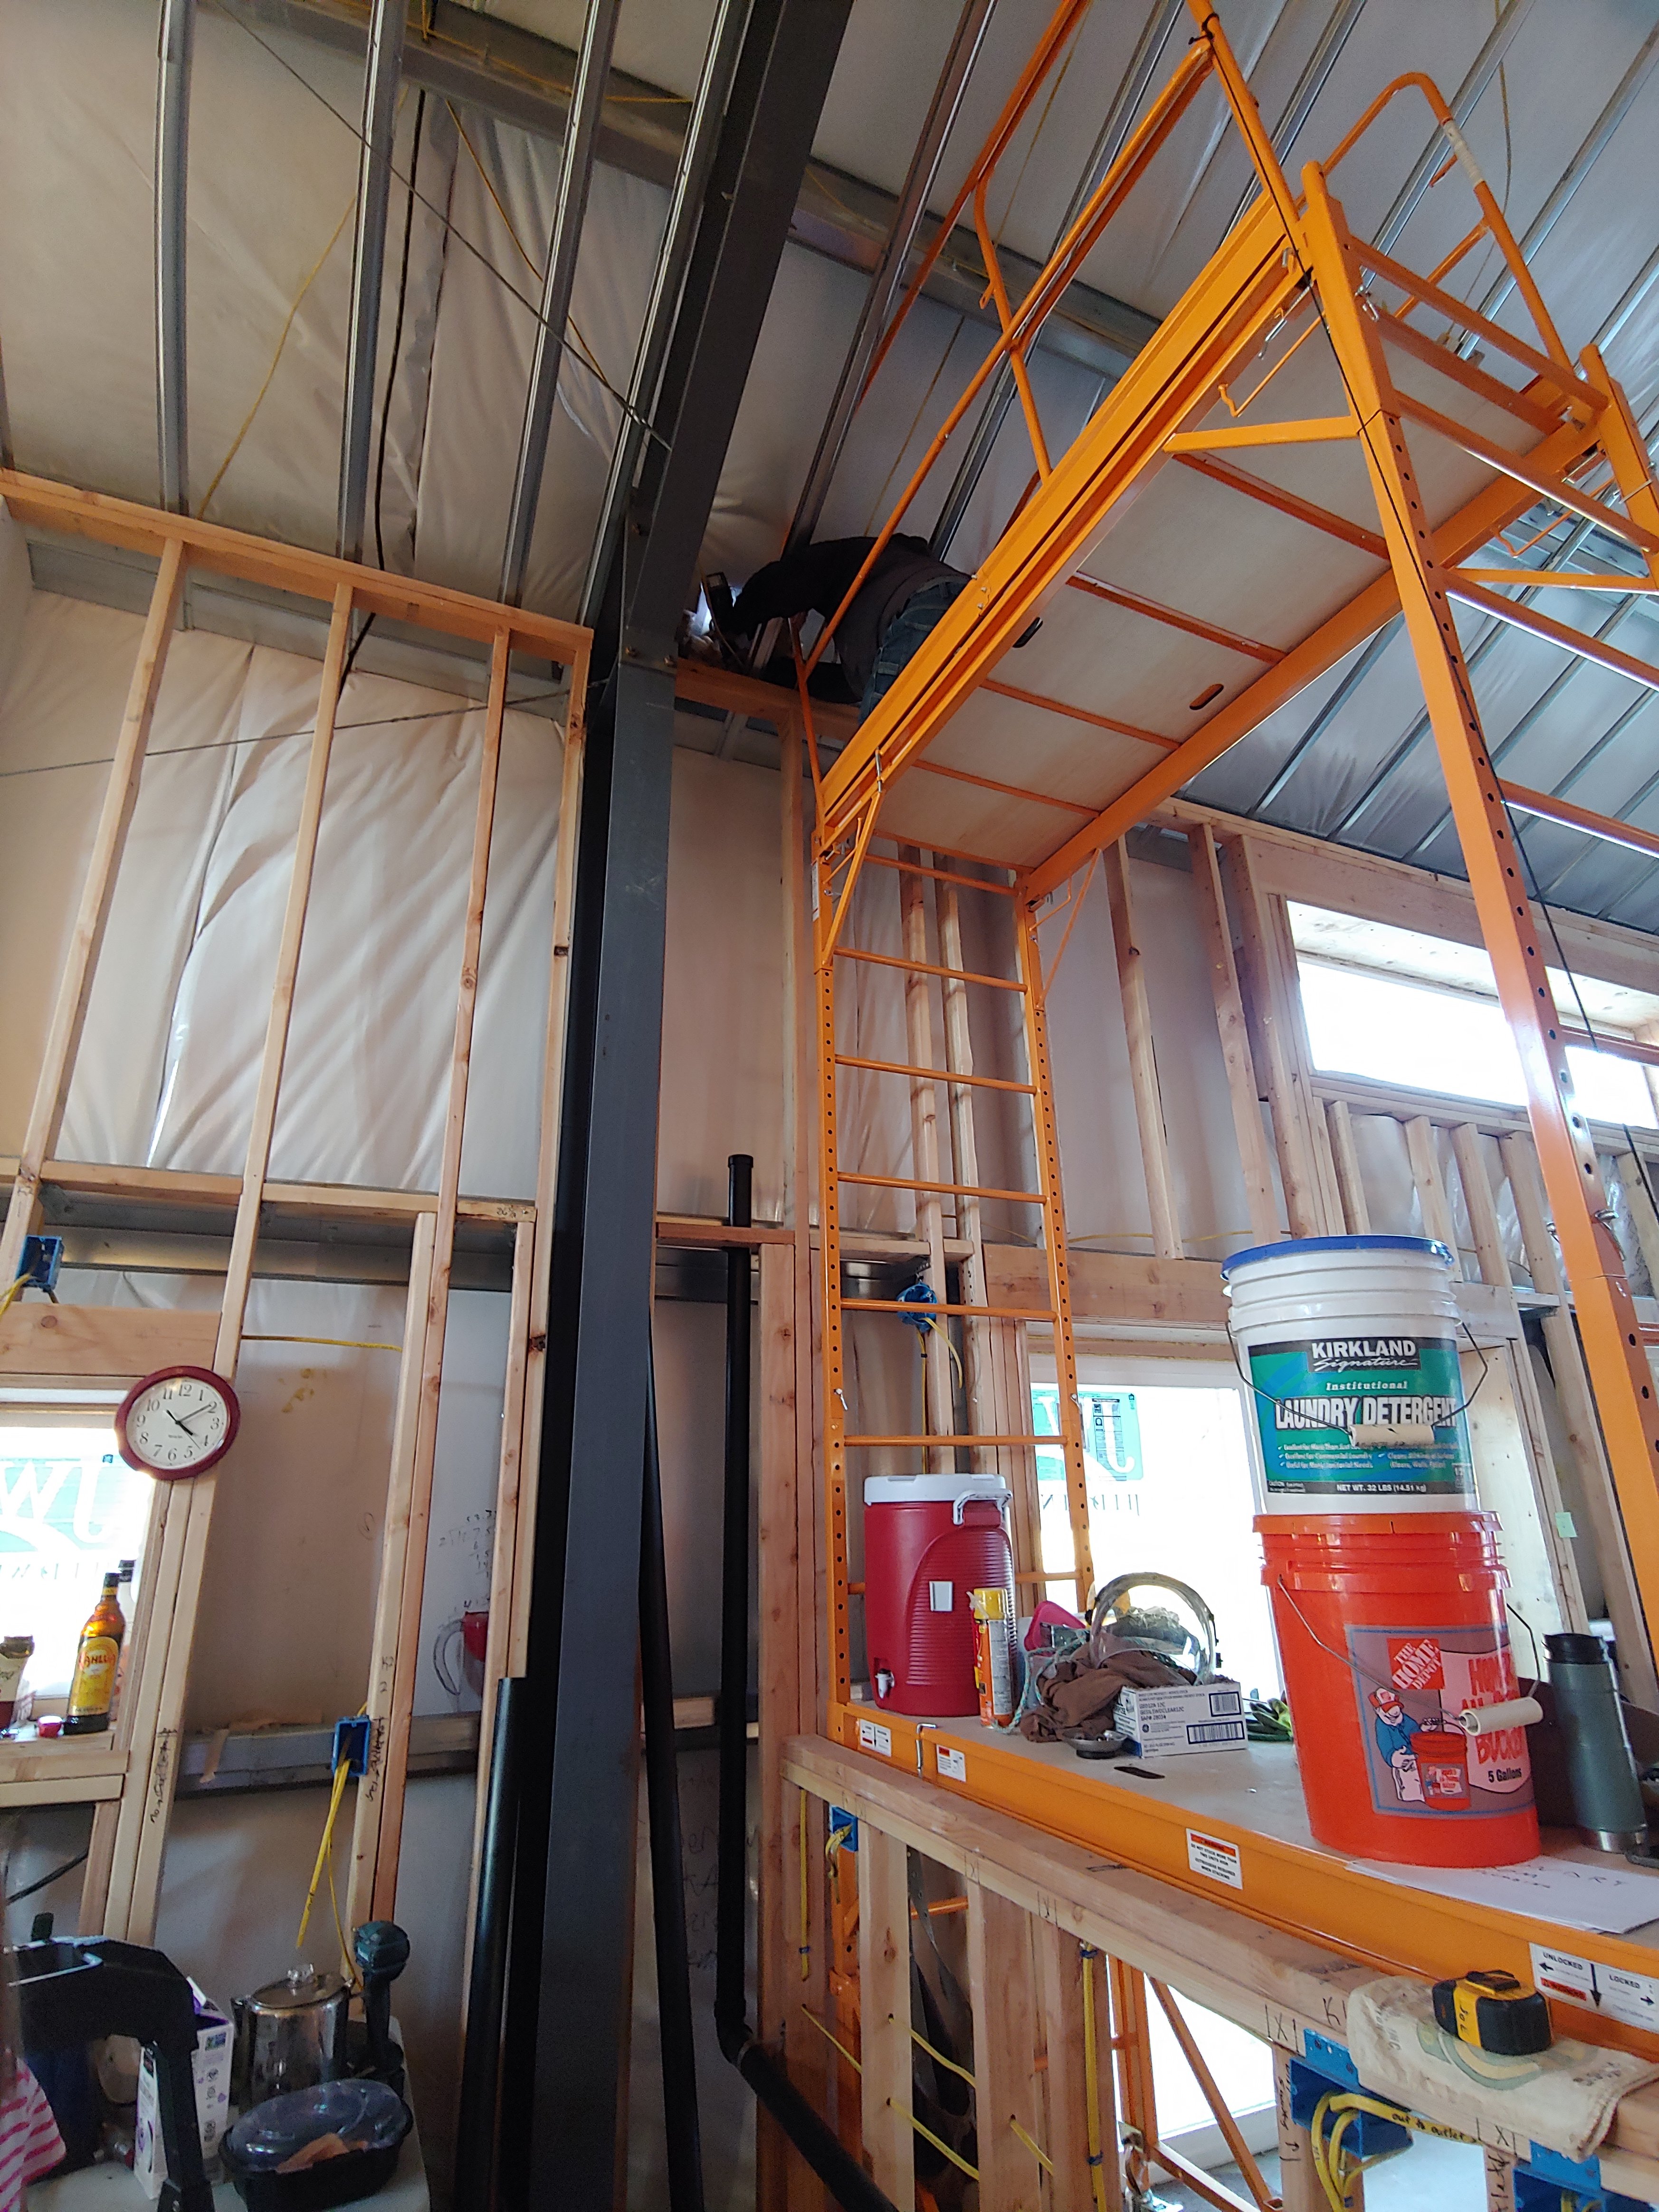
Source: Google imagesBut, as we all know, our house is not a normal house.We basically have a house inside of a house. The shell is the metal building, and there is a 2×4 stick-built house inside.
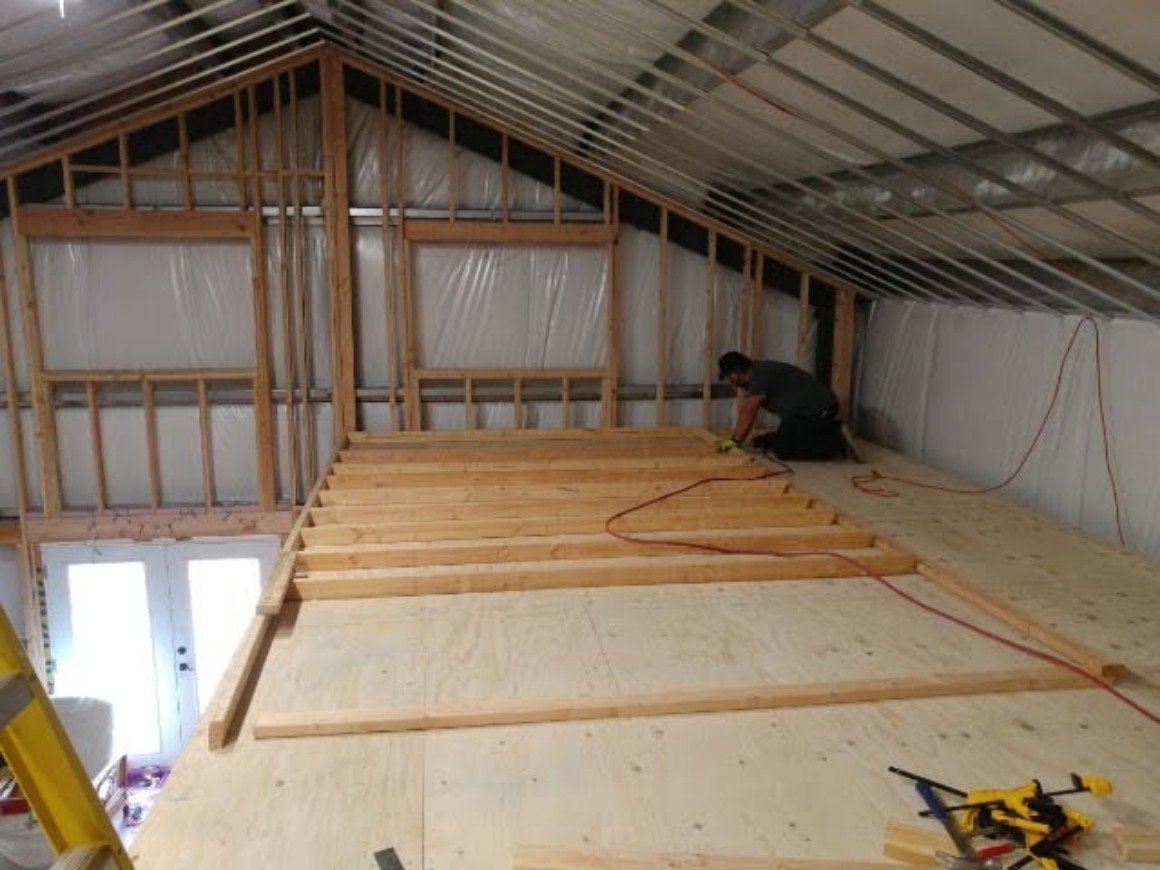
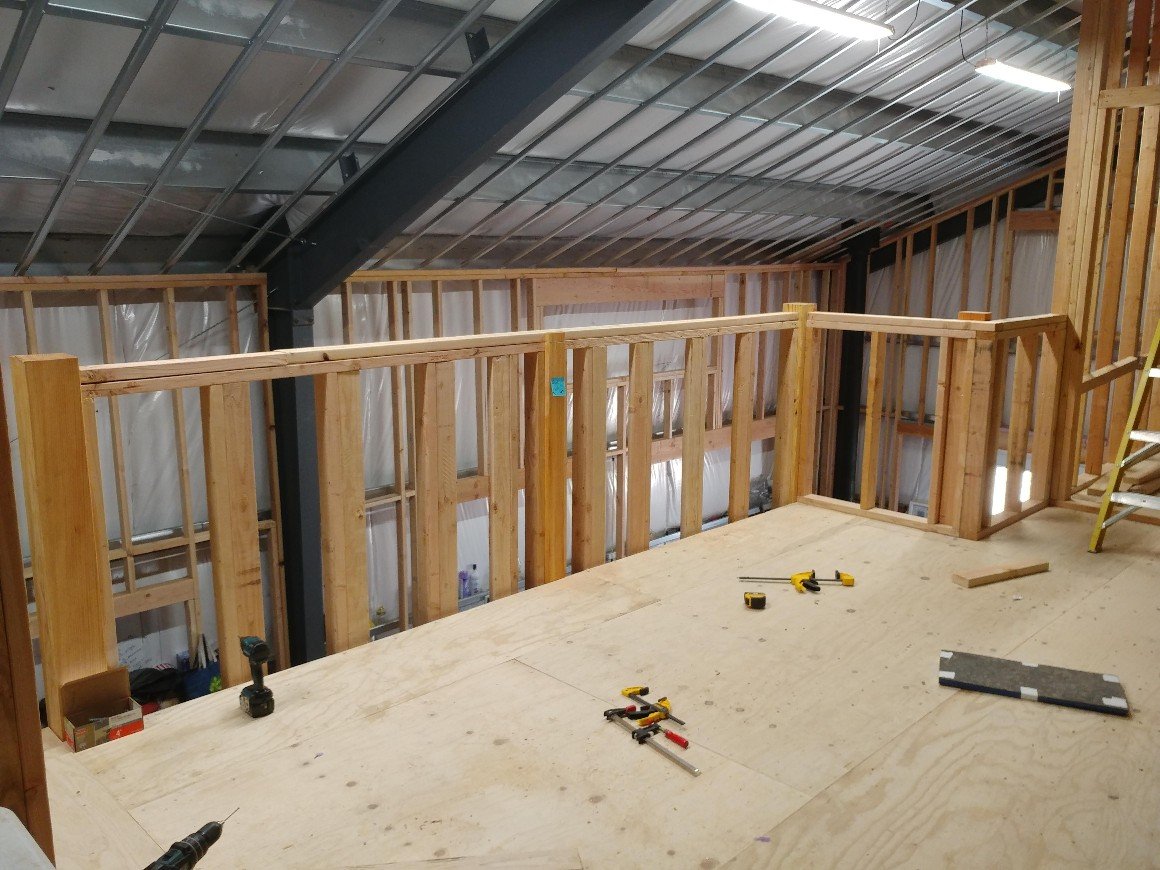
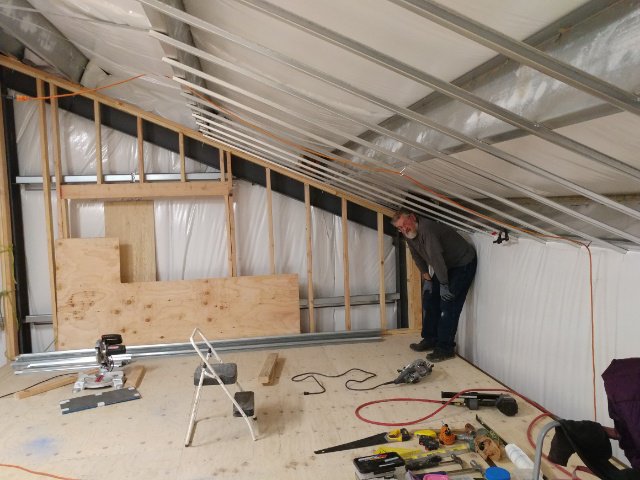
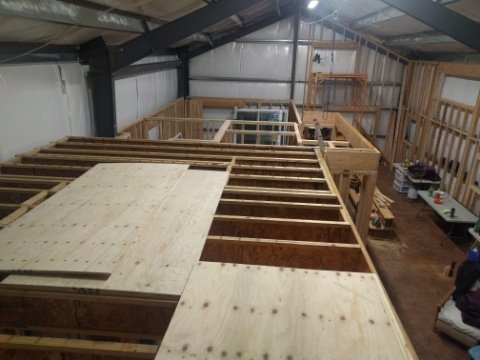
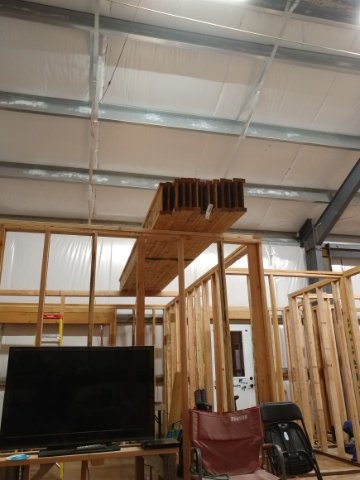
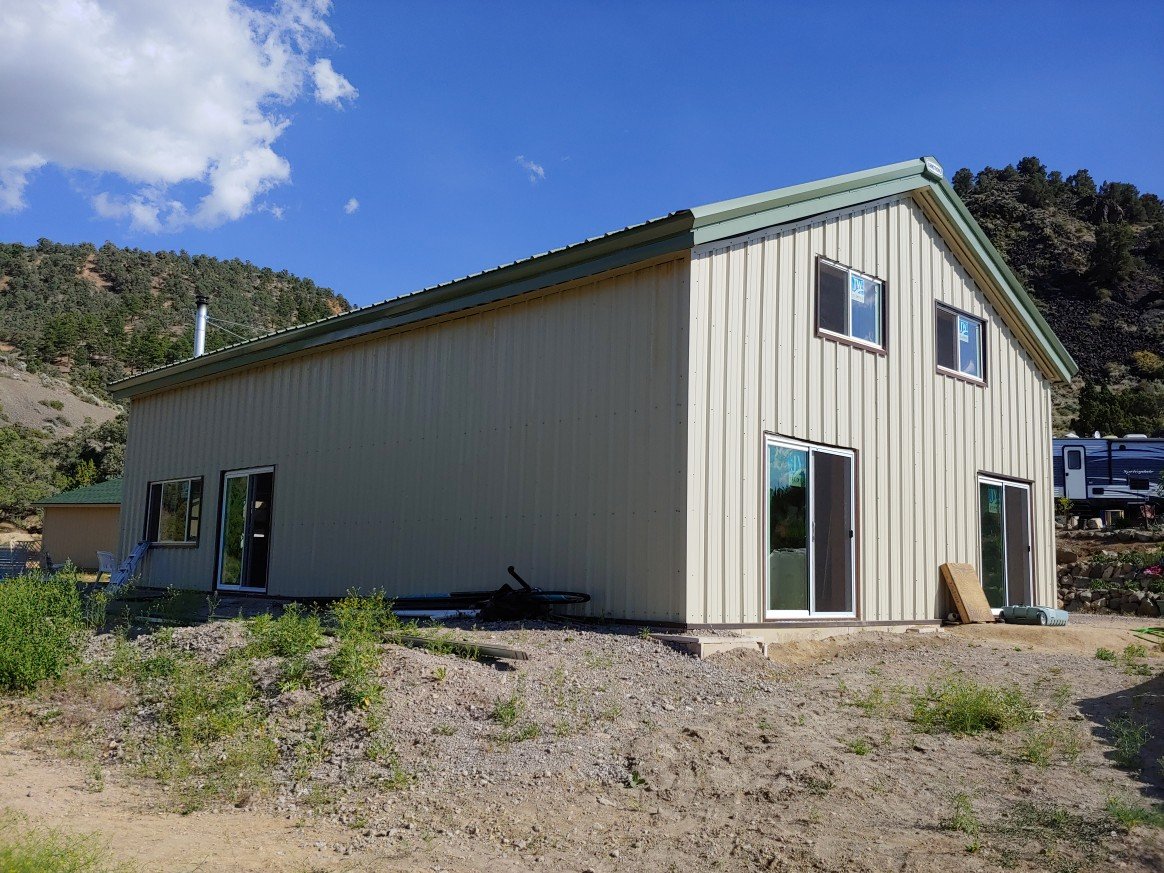
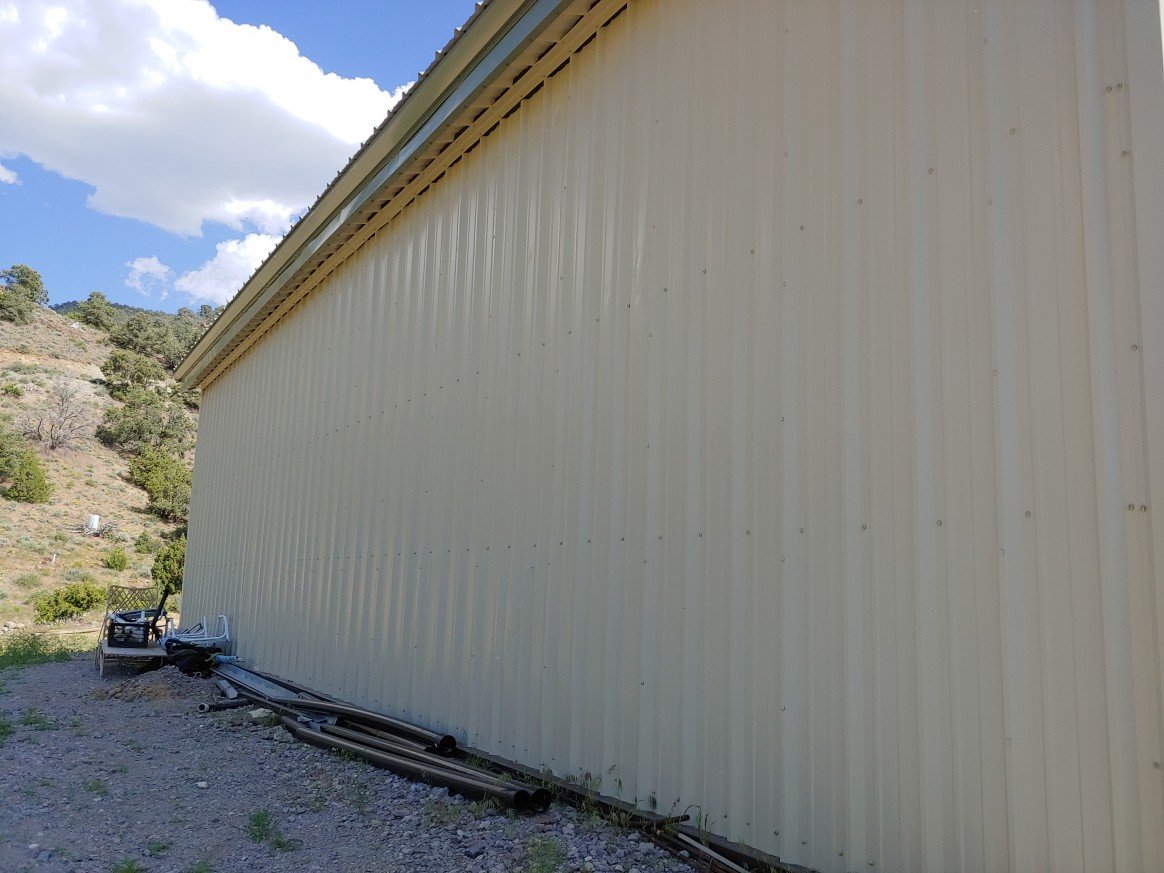
Exterior – pre windows and doors
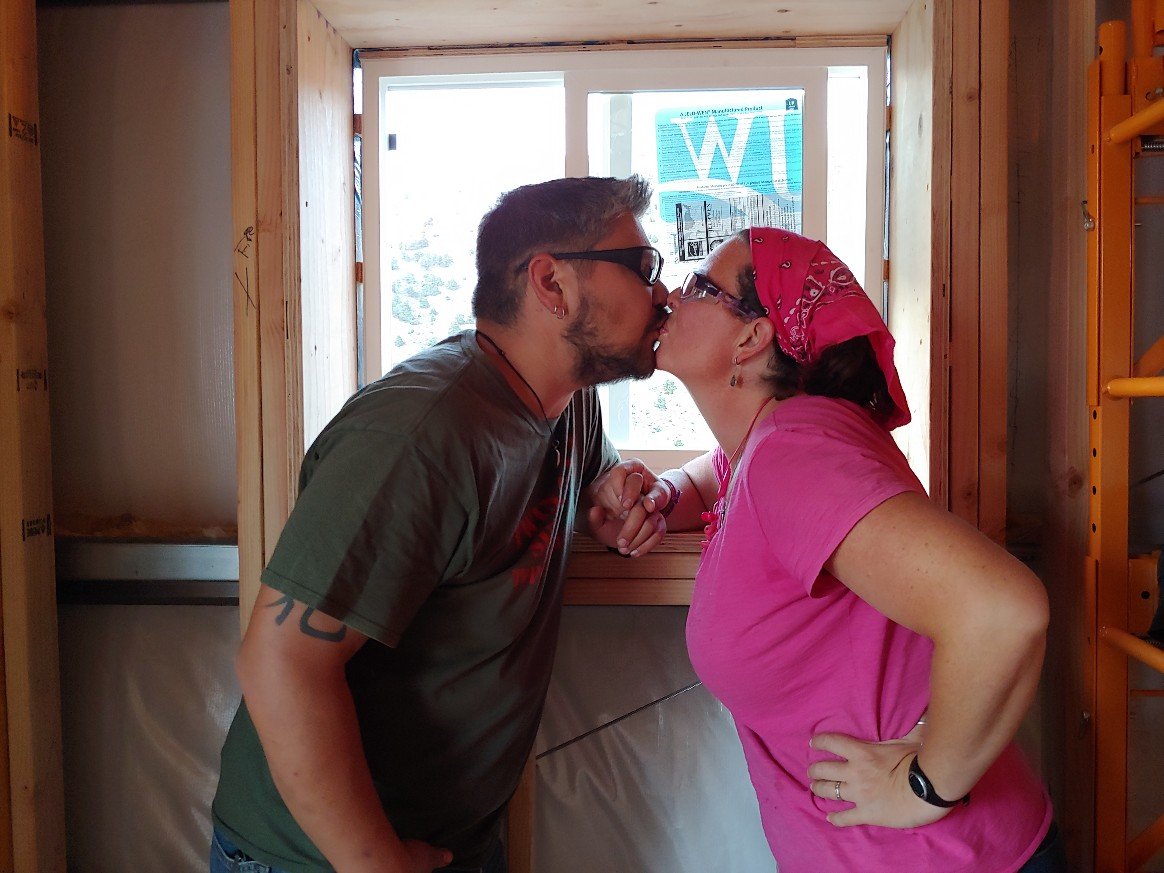
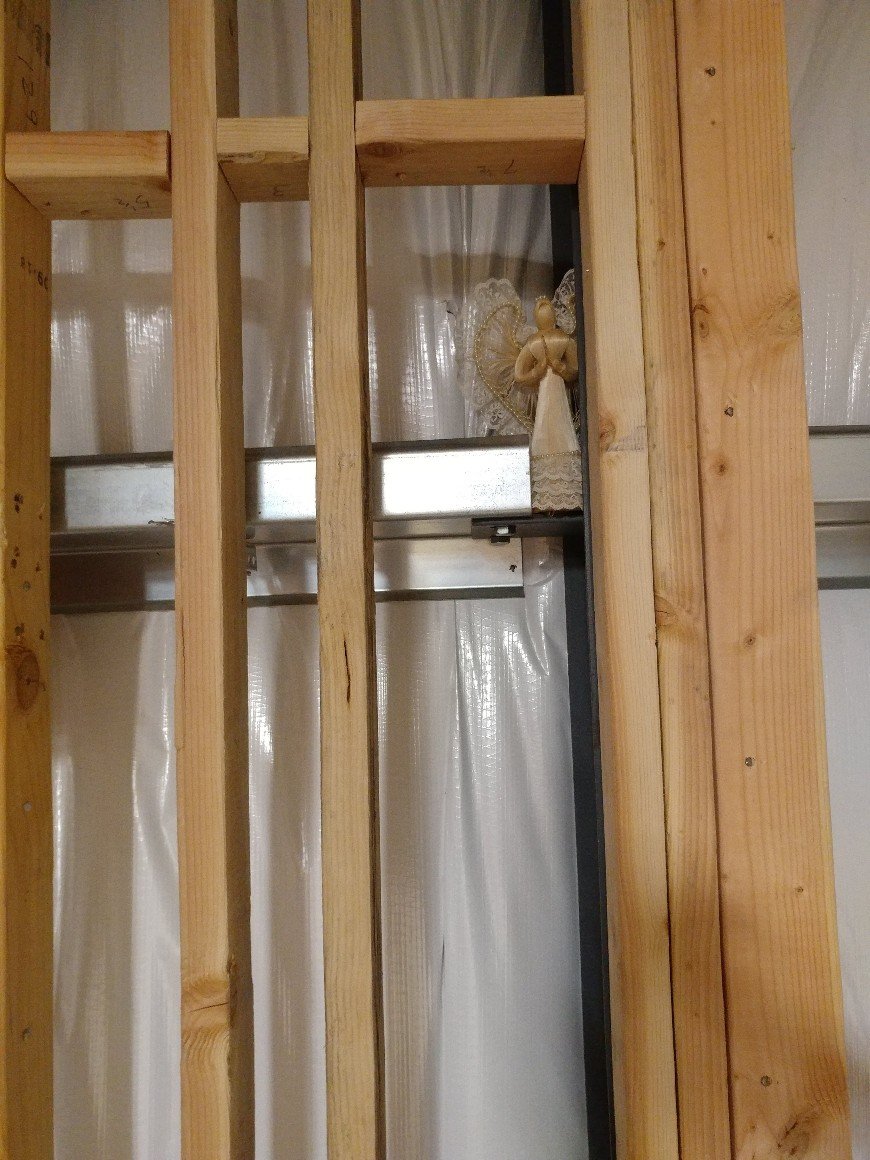
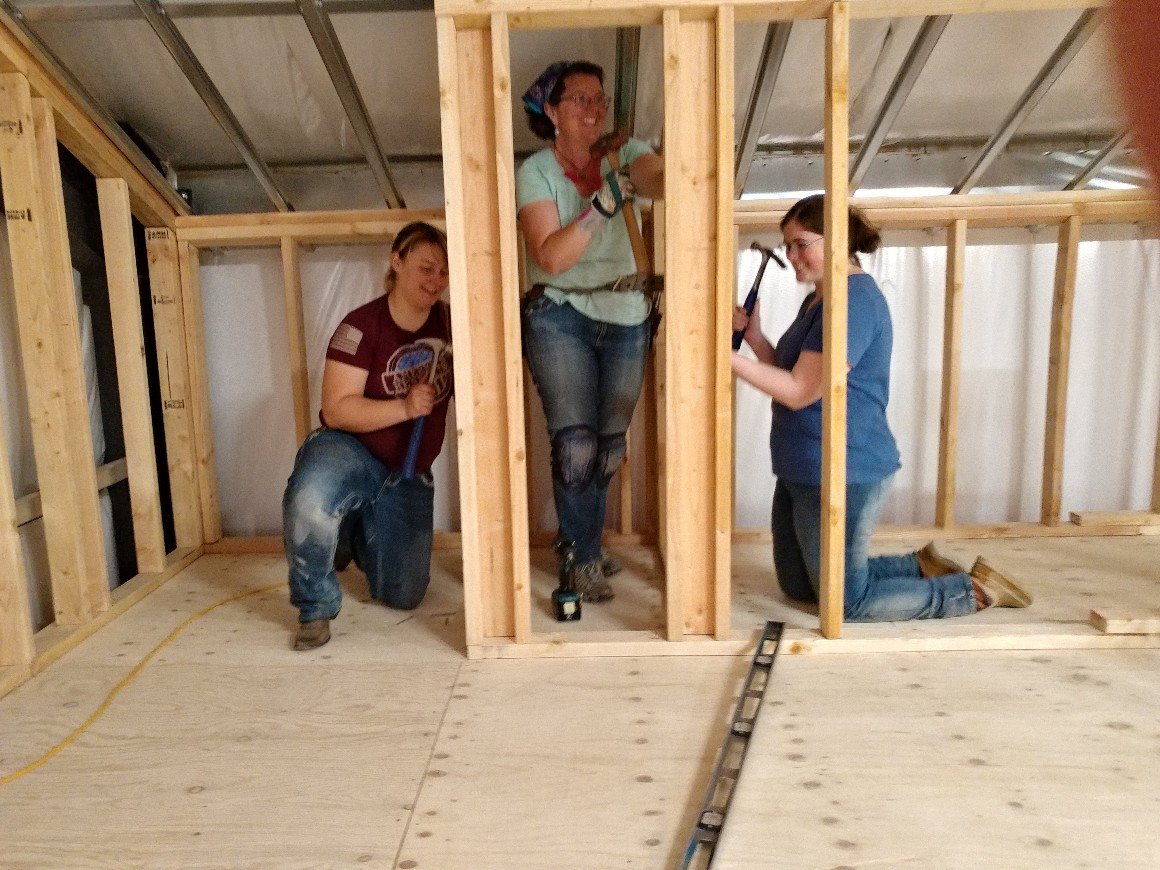
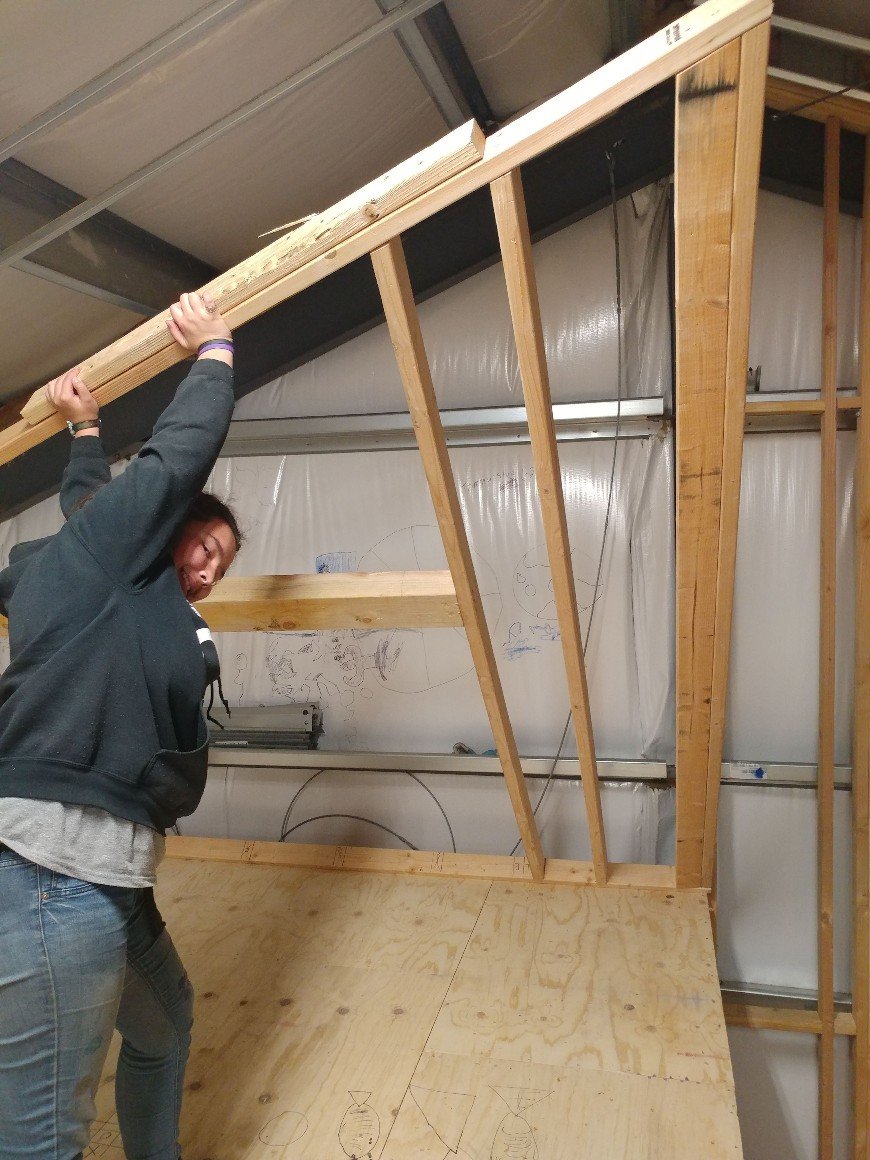
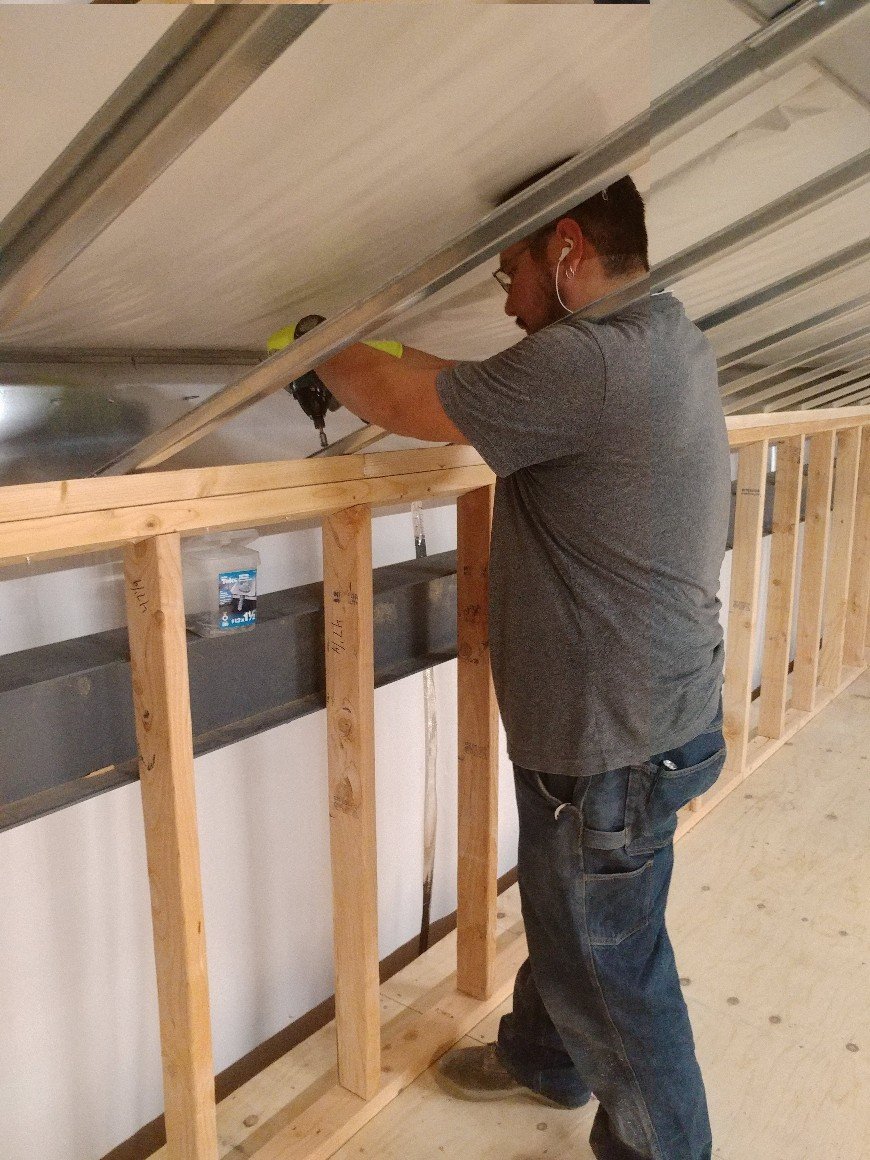
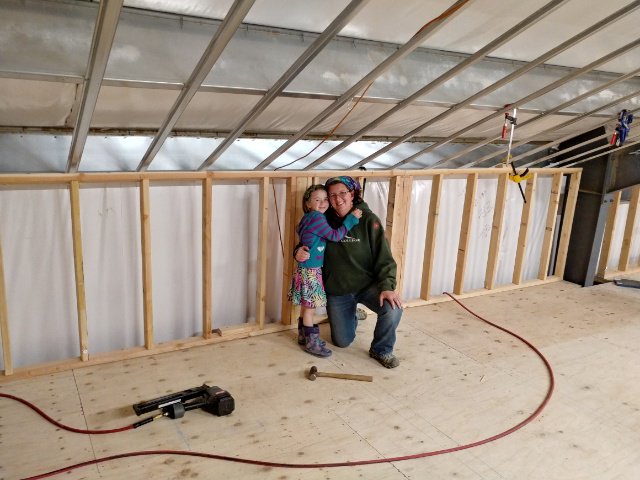
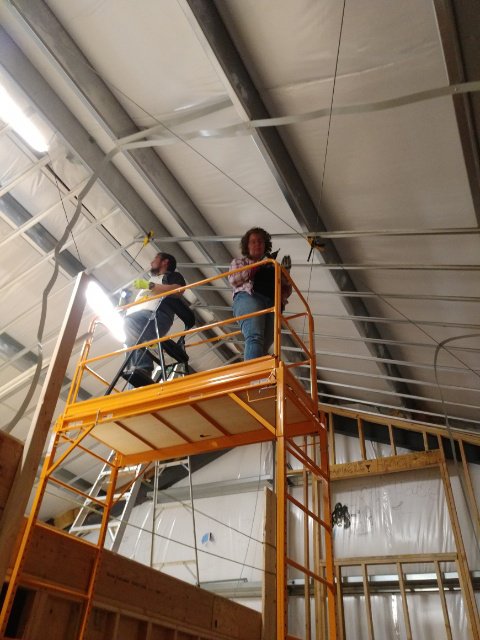
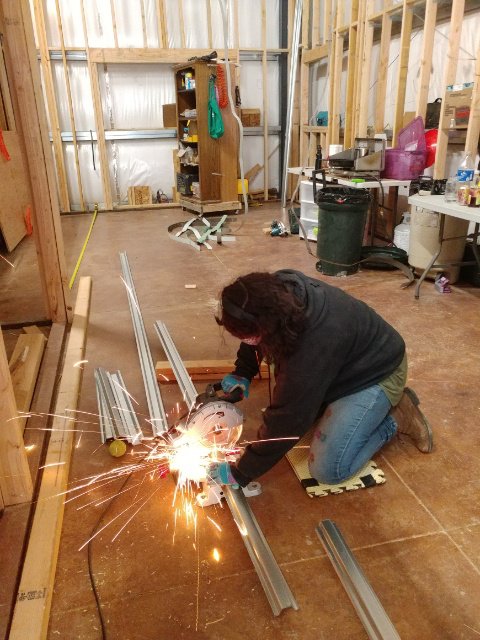
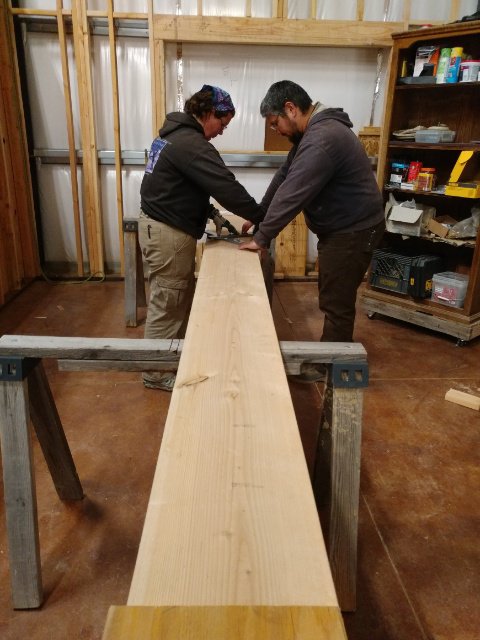
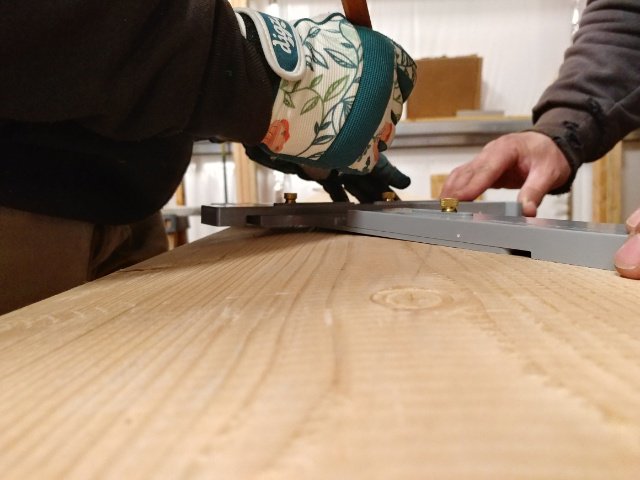
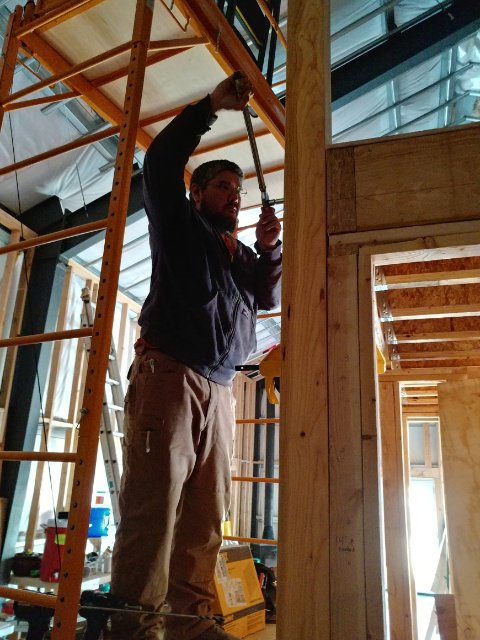
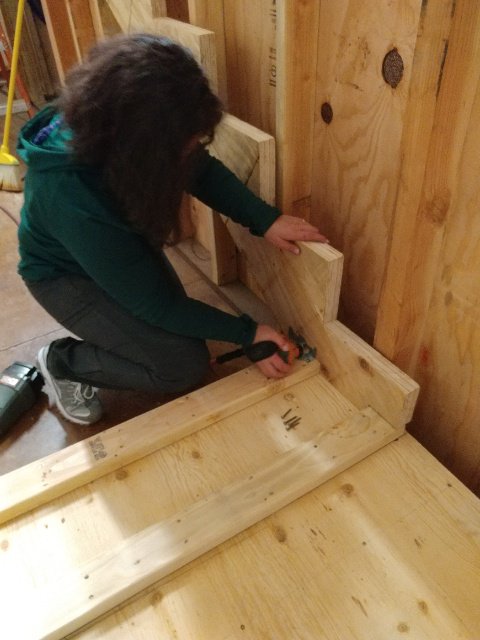
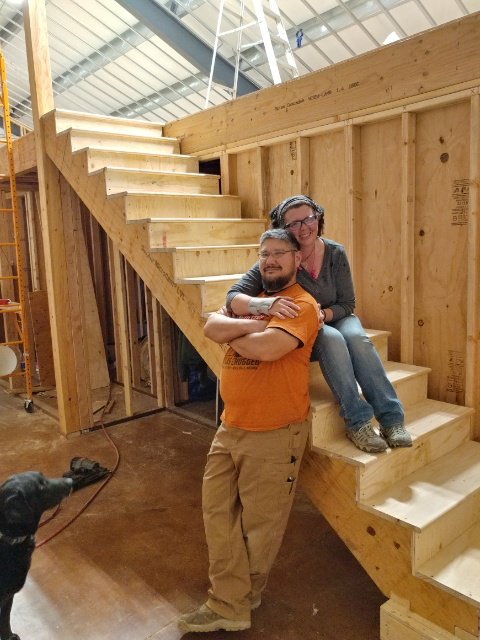
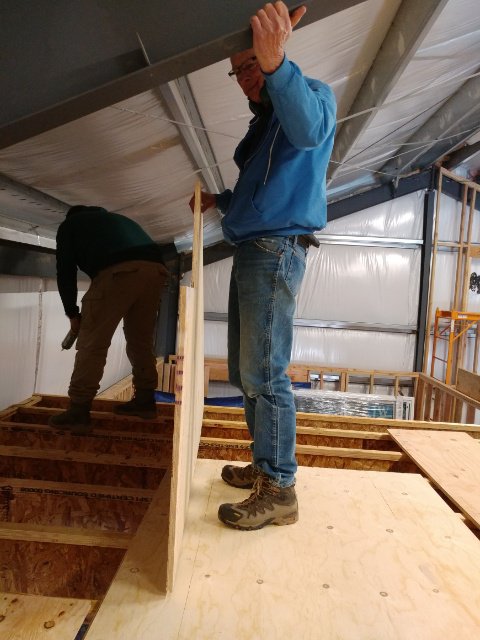
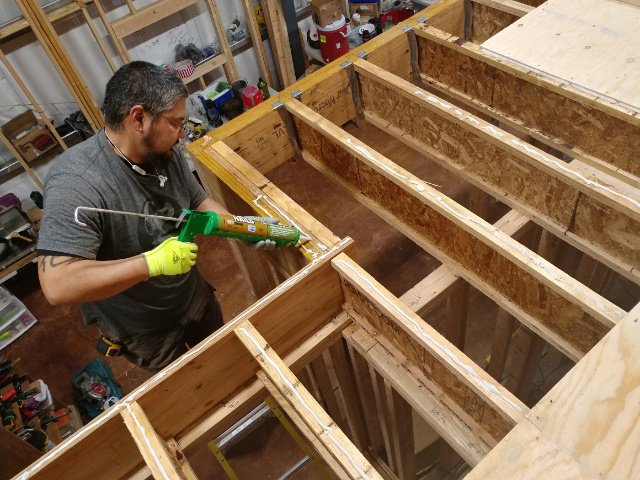
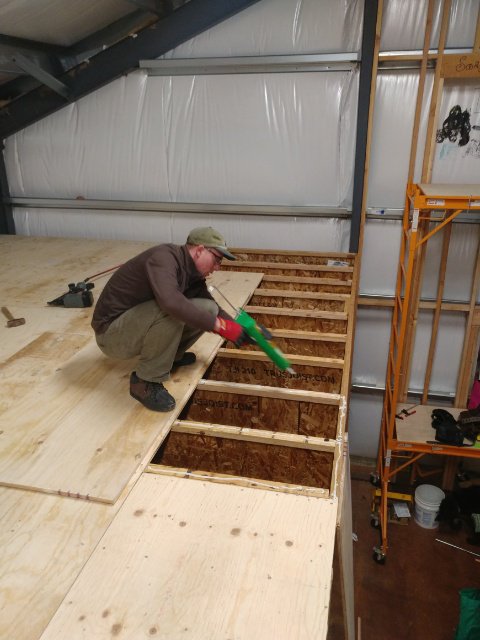
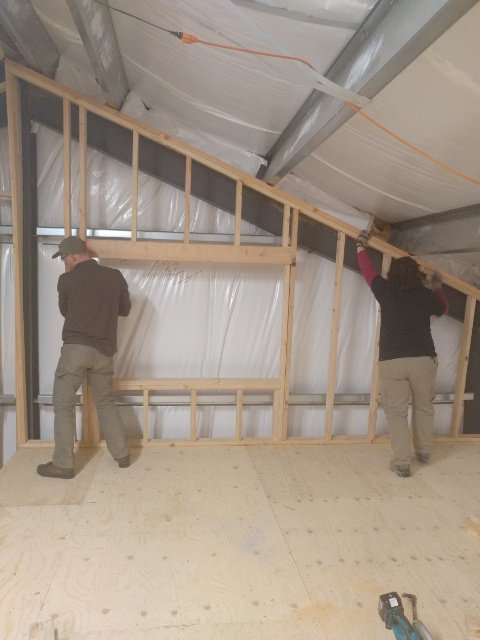
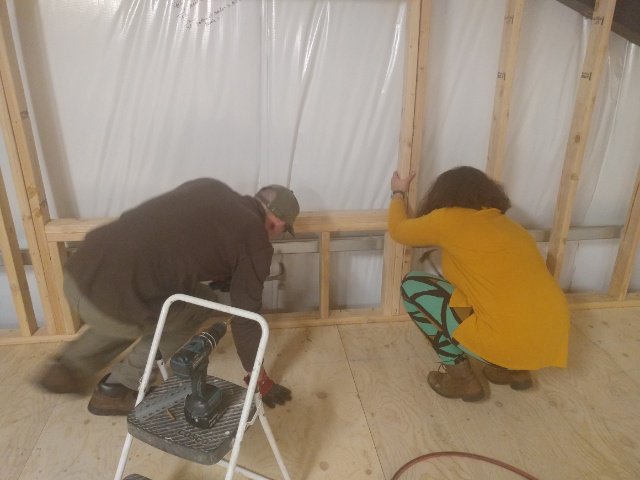
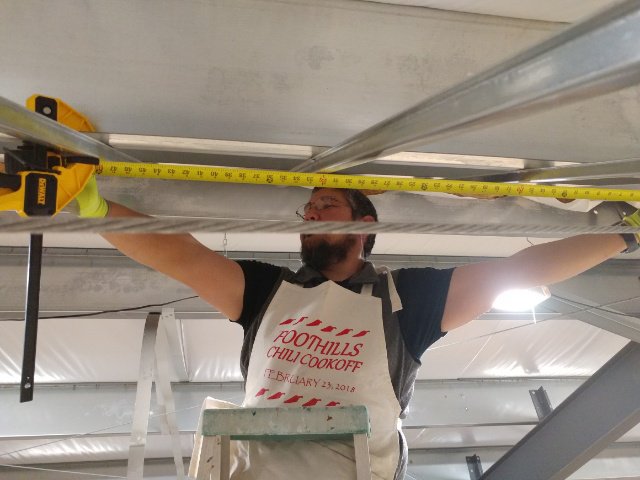
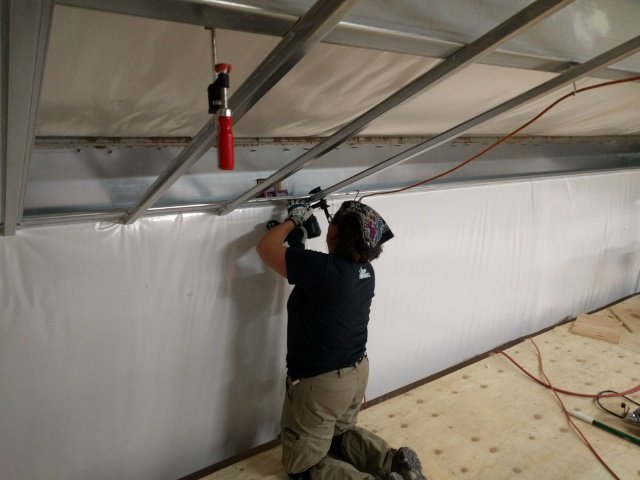
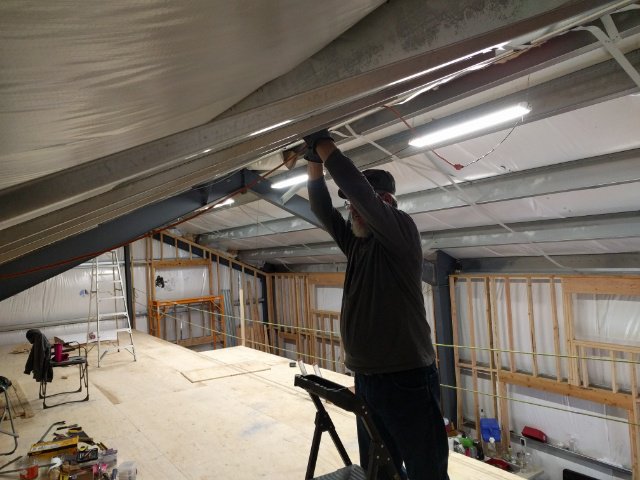
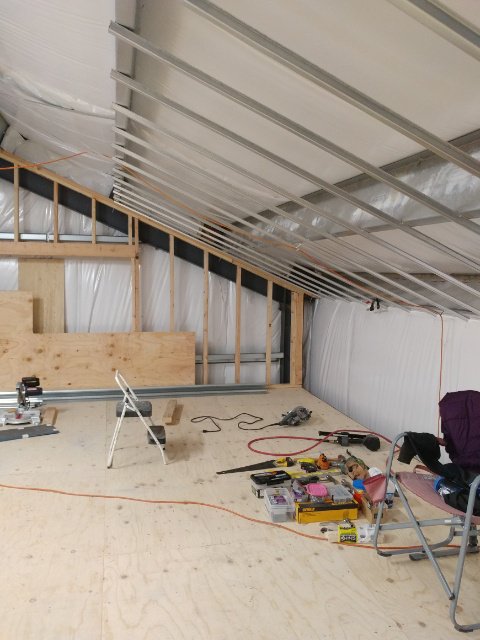
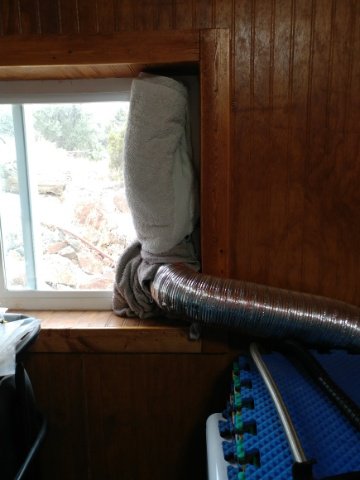
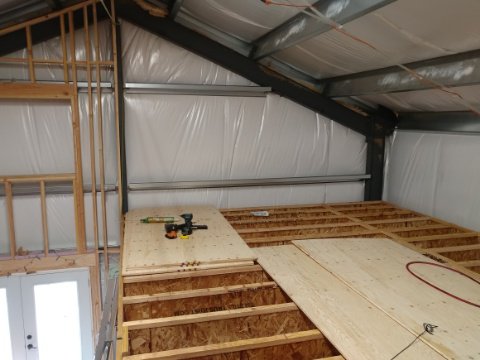
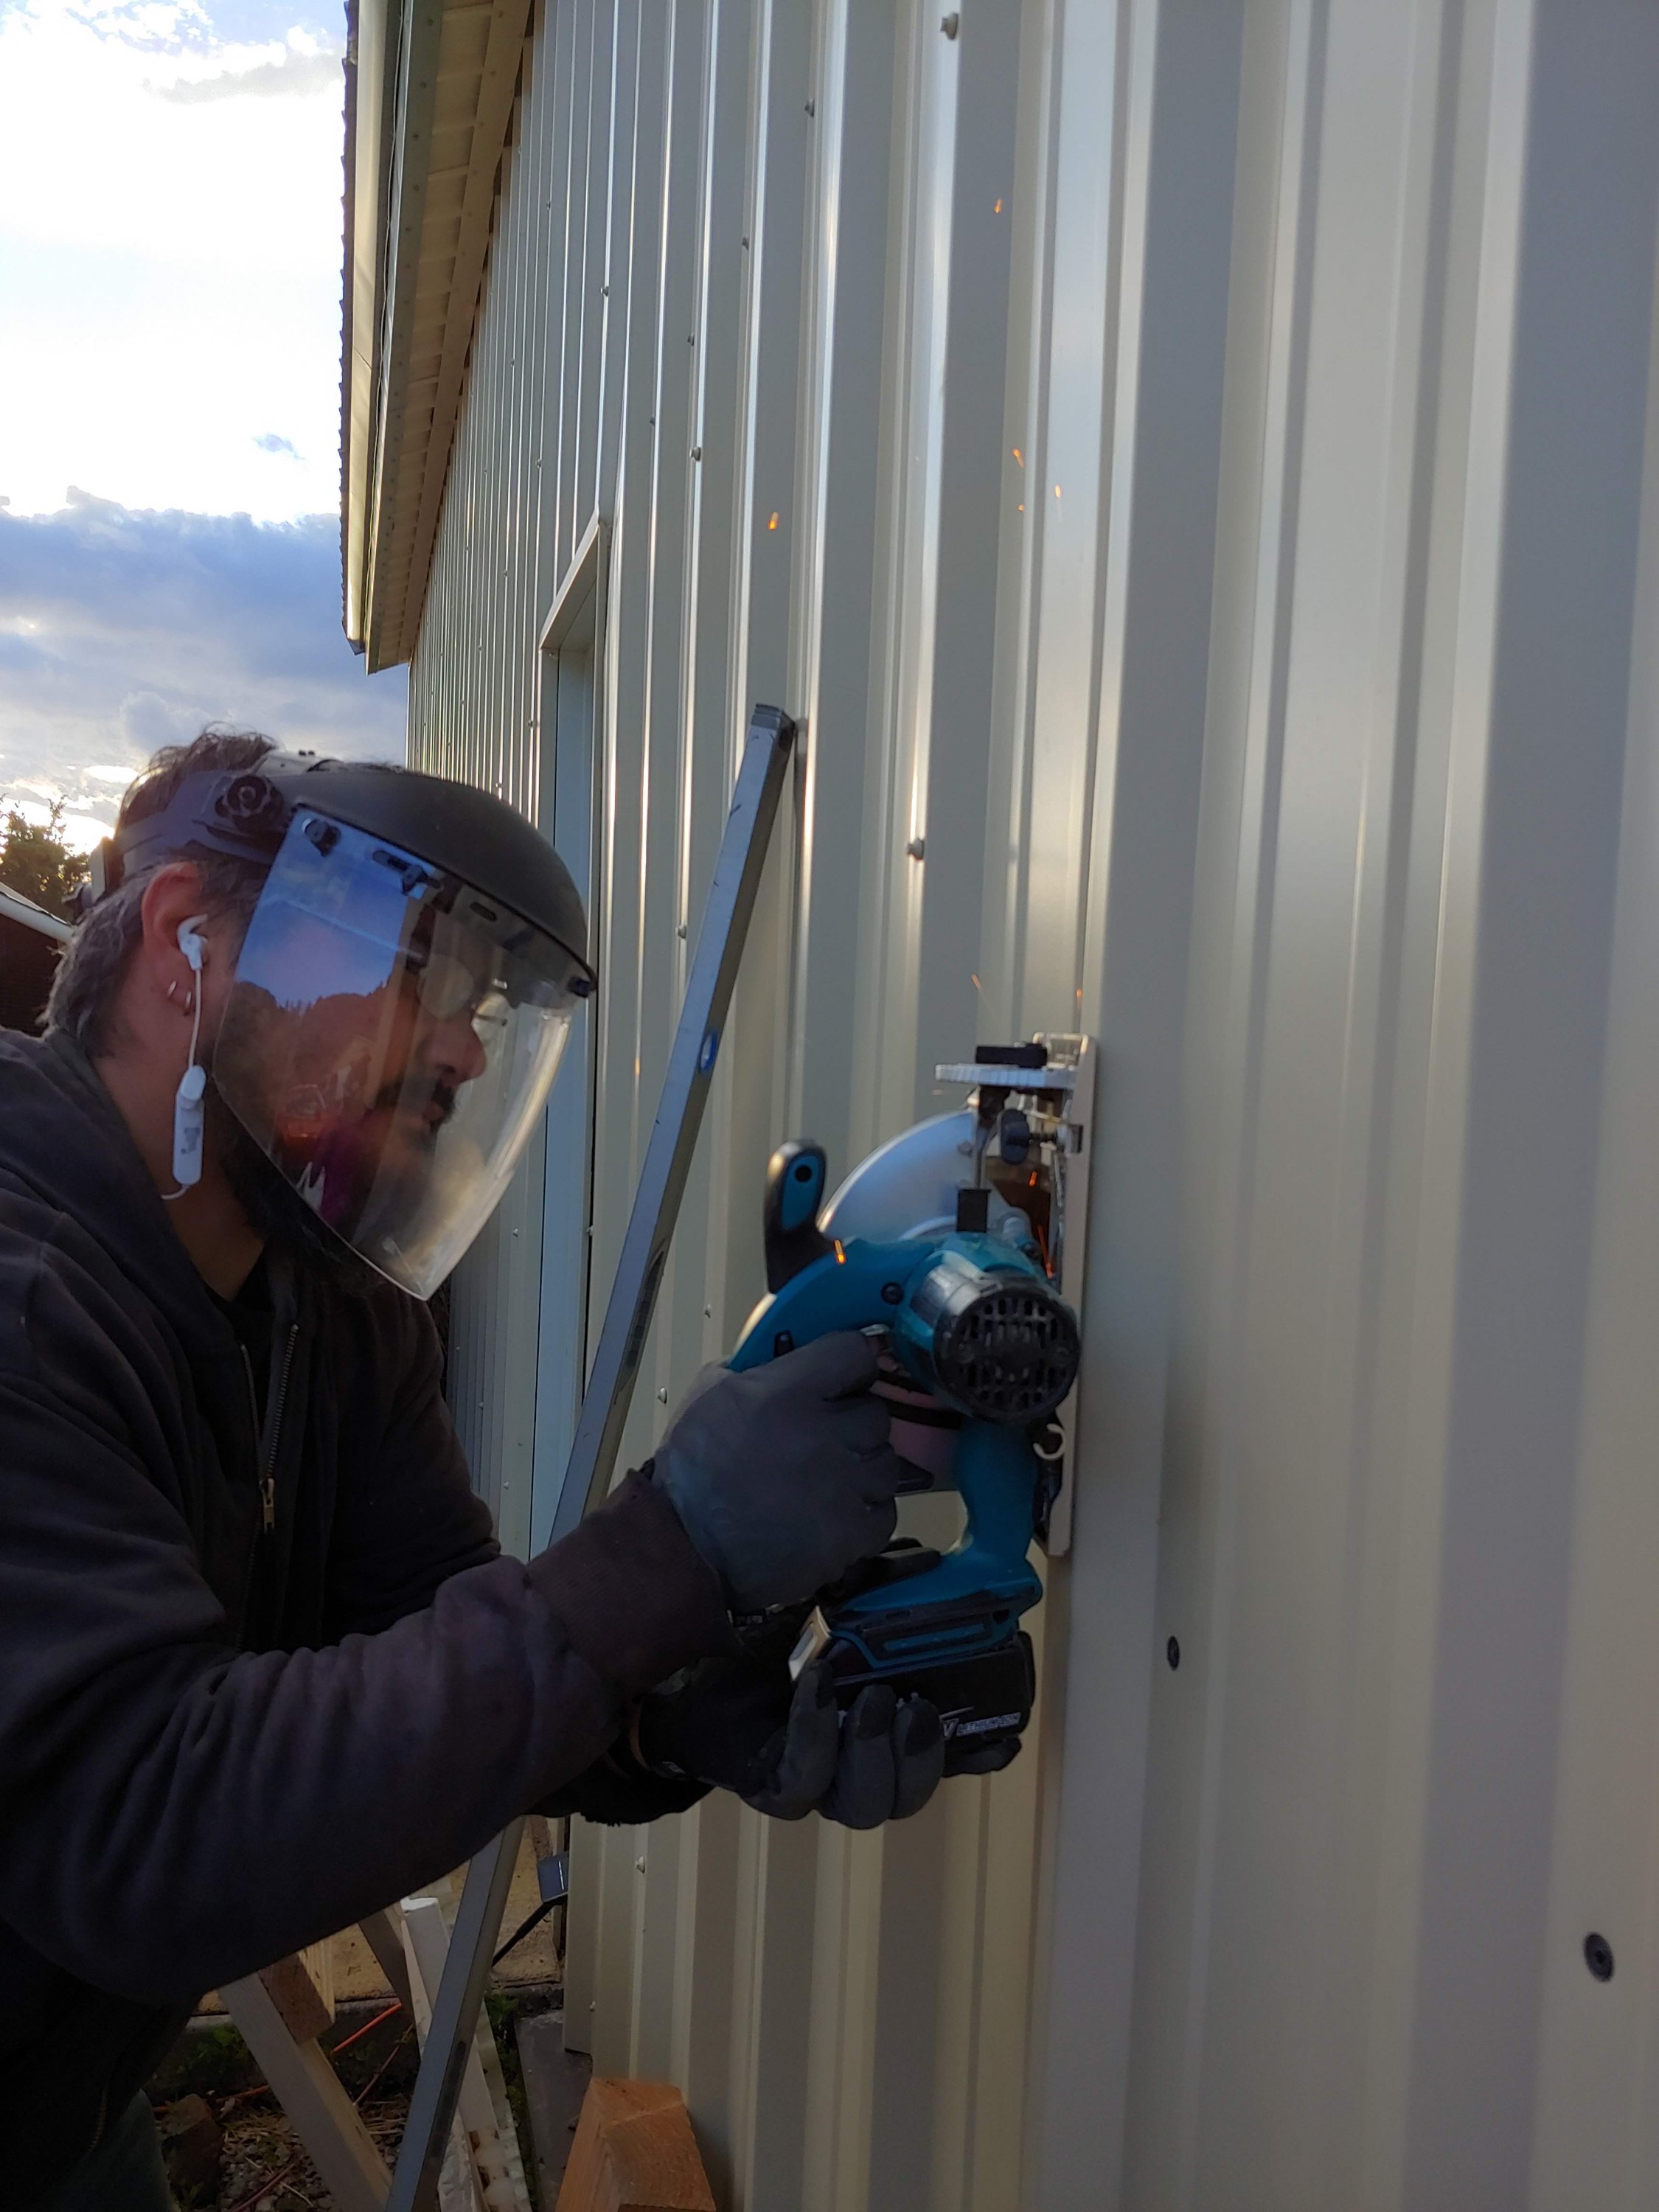
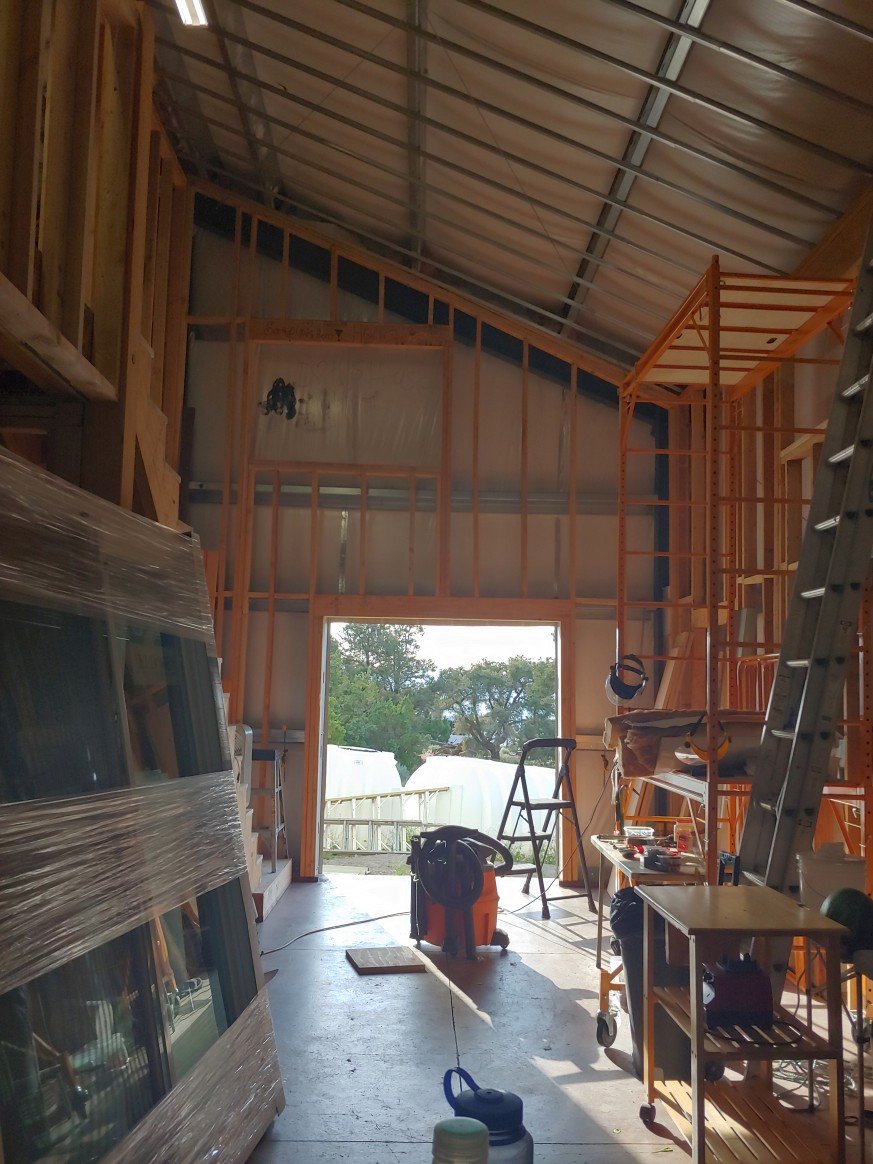
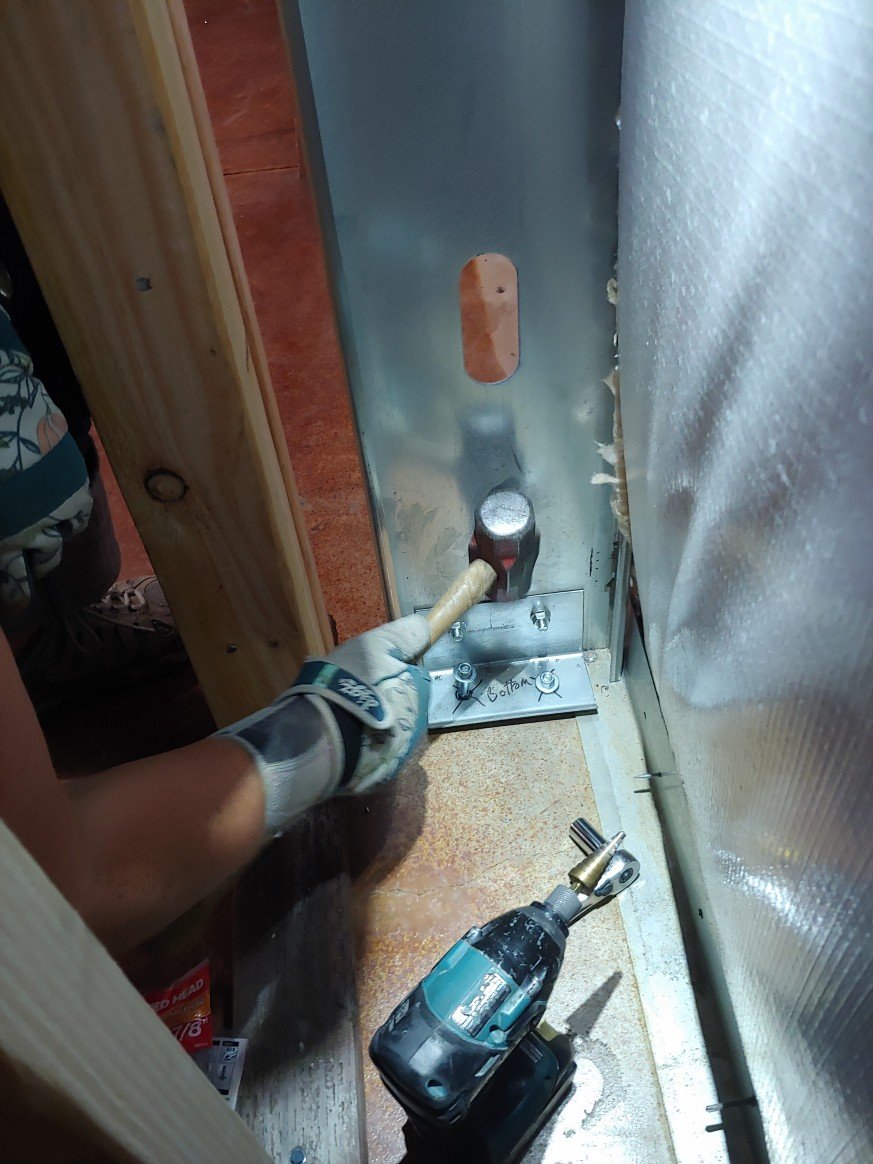
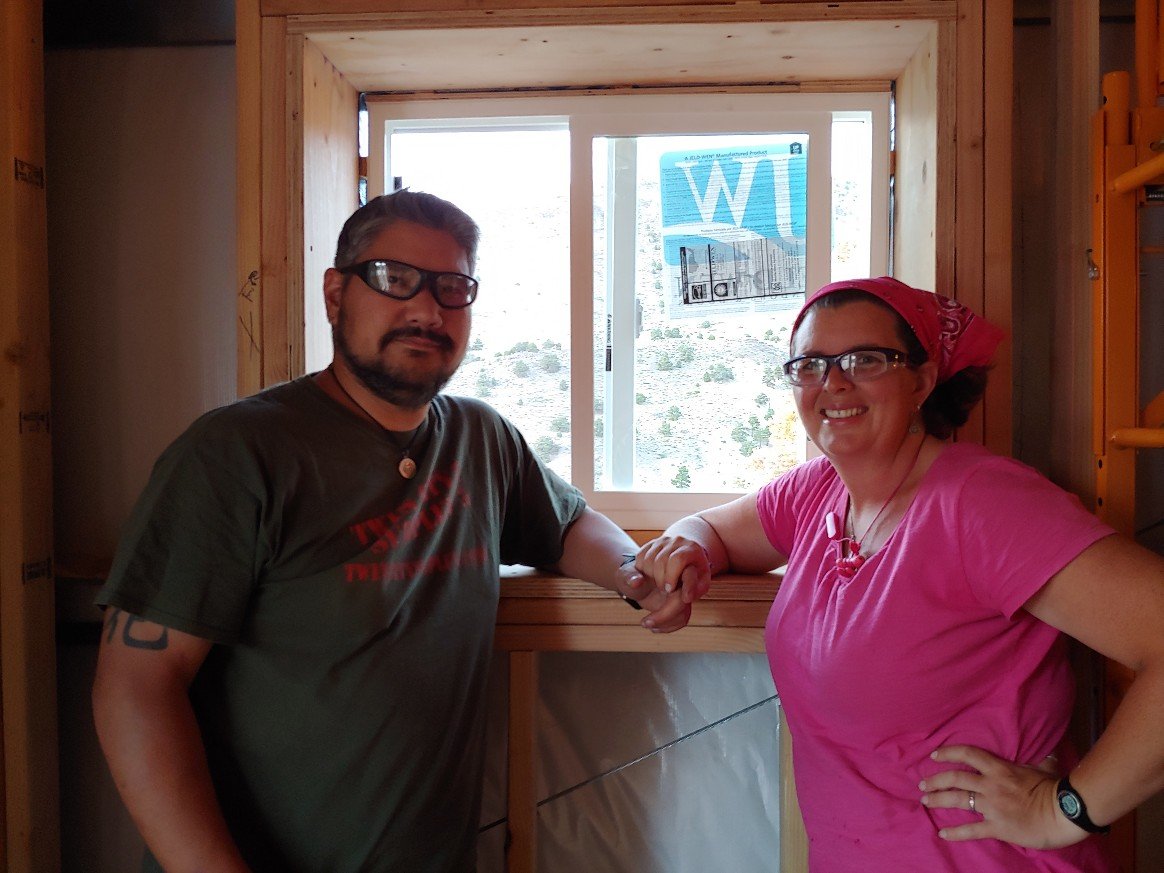
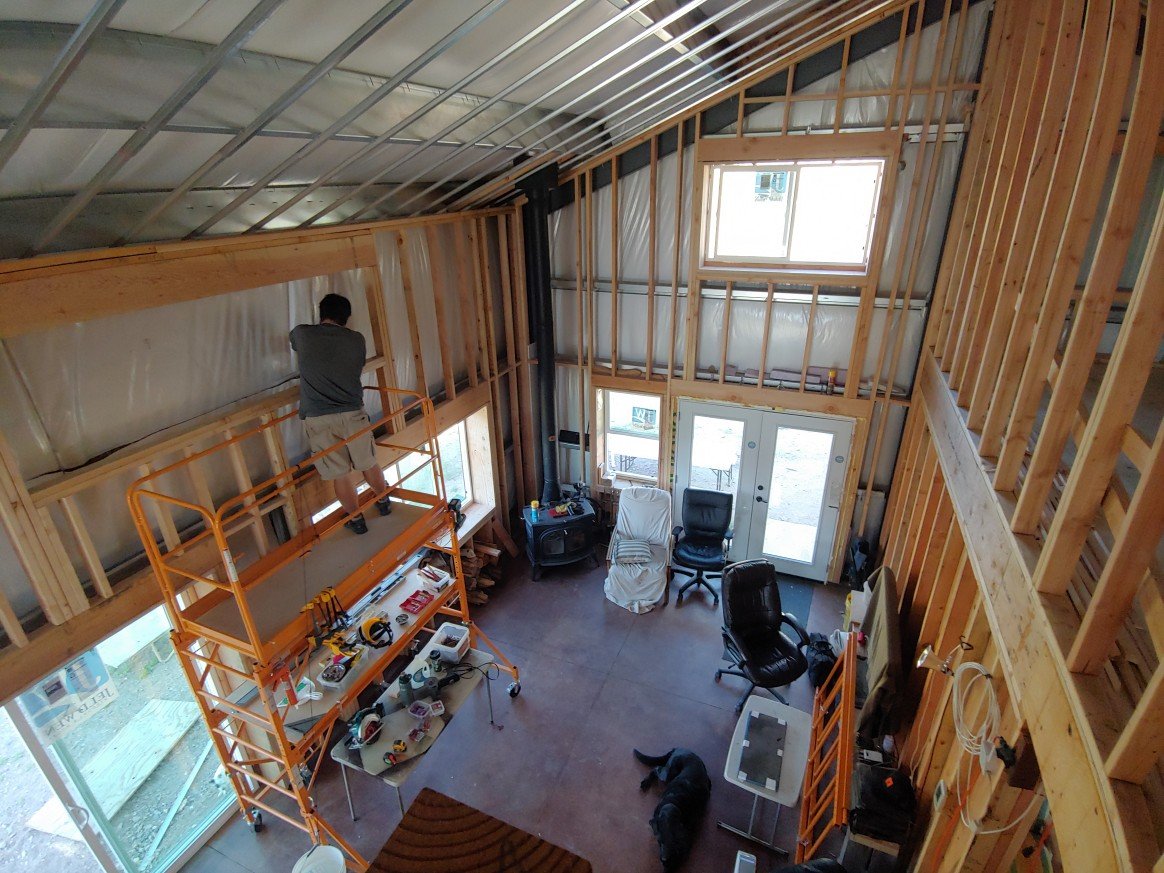
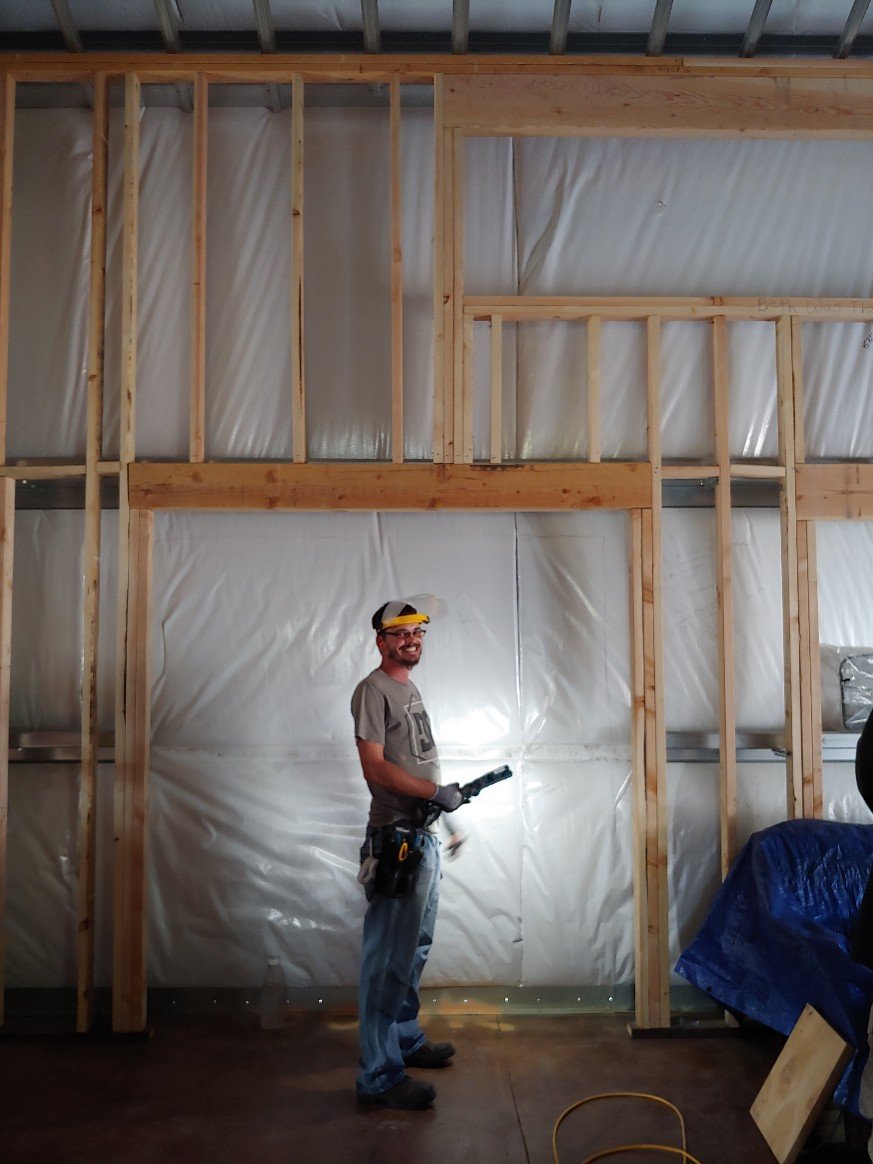
Same wall as the previous pic – Interior – before door and window openings are cutWe chose to not have the metal building designed with all the window and door openings because we knew we’d be building these interior walls during the winter time. Because of how we needed to attach the interior walls to the exterior walls at the openings, we could not put the windows in until the interior walls were built.Which means, if we had already had the openings in the metal building, we would not have been able to heat the house and keep working in it over the winter (which was when we were building those walls). We would have lost all that working time.And would have been even further behind than we are now.But we finally got all the interior framing done, so it was time to tackle the windows and doors!We are planning on making a blog post and even a video about the actual technical method to put in the windows and doors, but for now, here’s the less detailed and less tedious (I hope) version.The first window we put in was next to the front door.
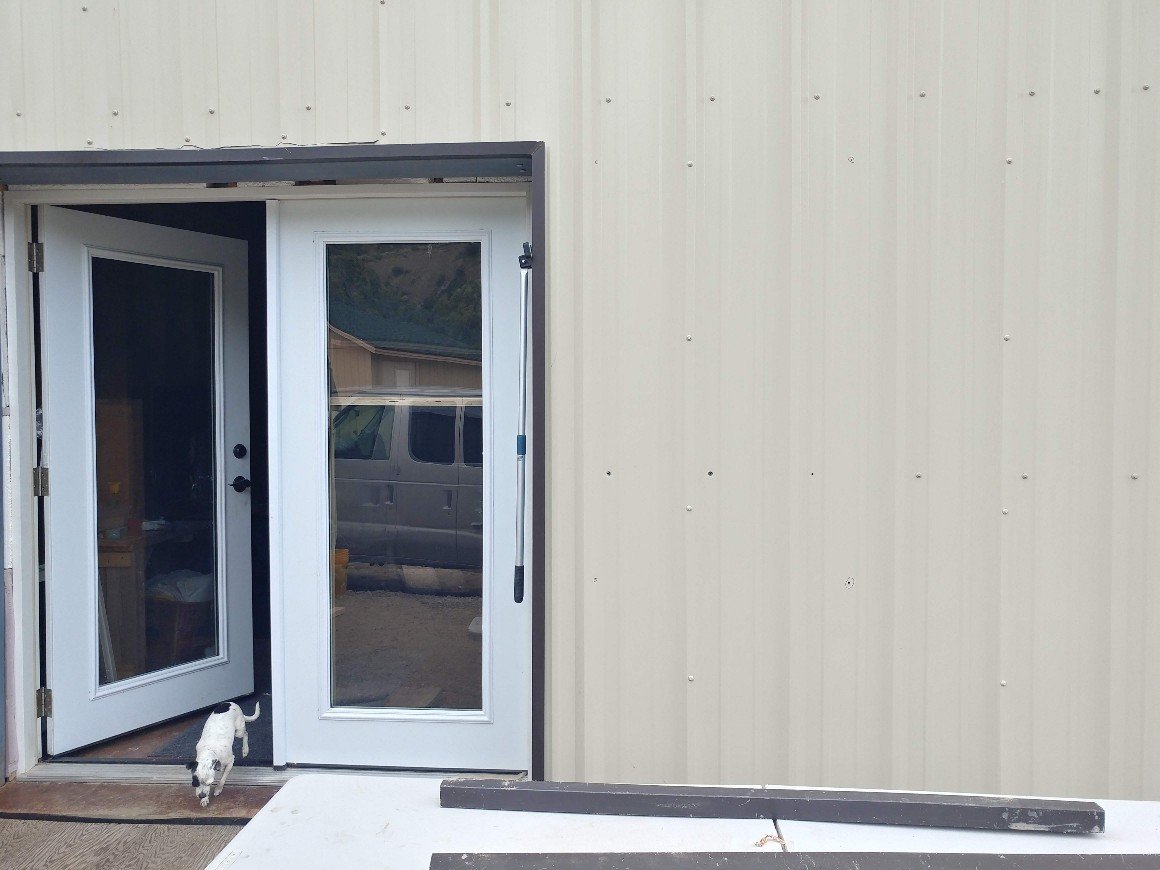
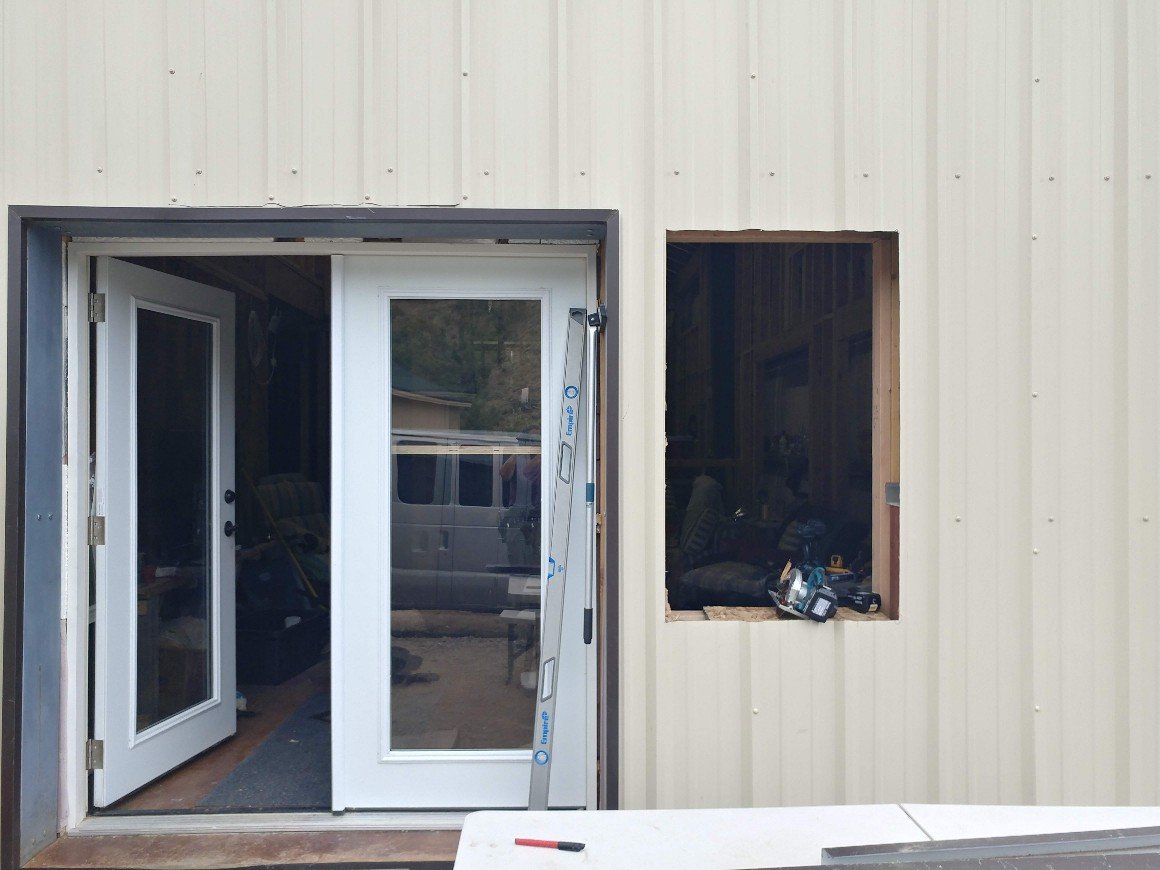
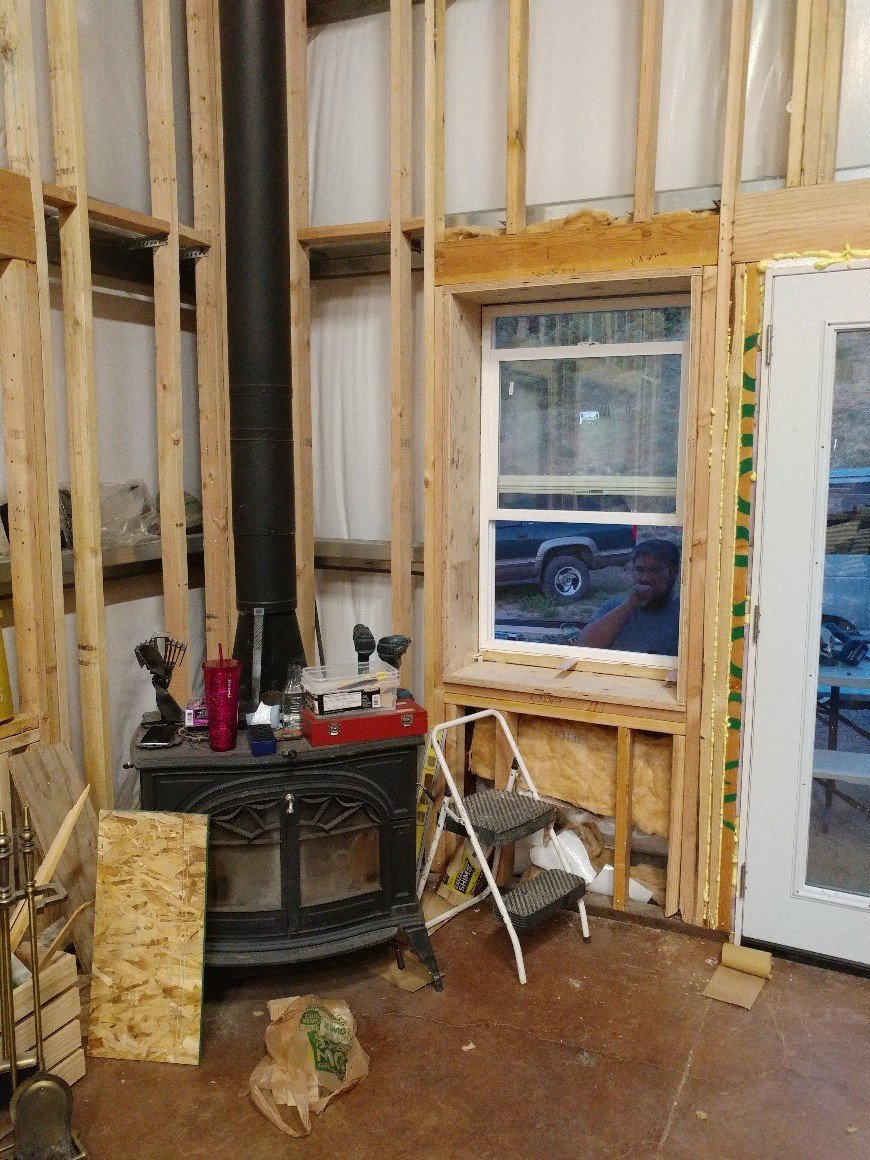
Since it was right next to a door with a lot of glass in it, I felt like this one window didn’t make a major difference in the look of the living room or the light that was coming in. I mean, it was cool to be able to see a slightly different view, but it wasn’t a huge change.The next opening we did was the sliding glass door in one of the downstairs rooms.This one took a full week of us working on it several hours a day to figure out how to do it.
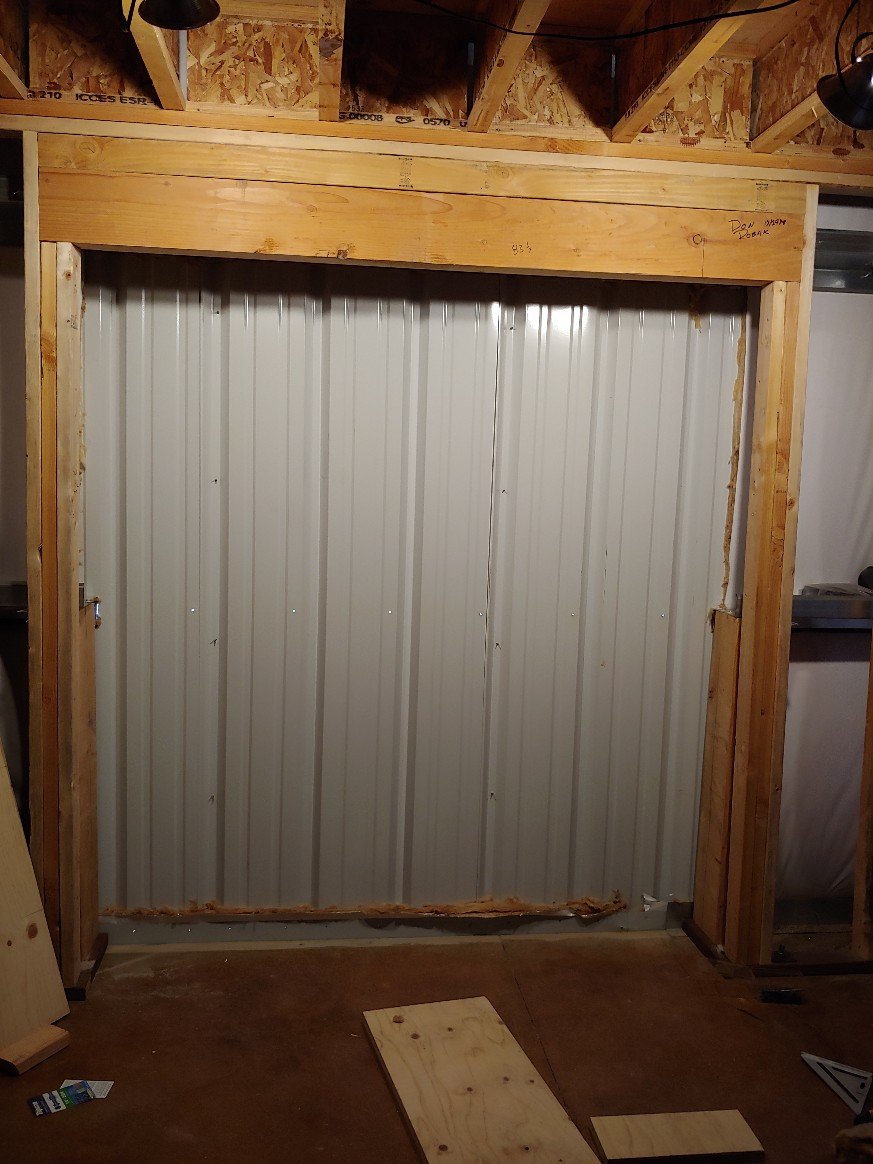
While we were figuring it all out and working on it bit by bit, the weather decided to not play nice.
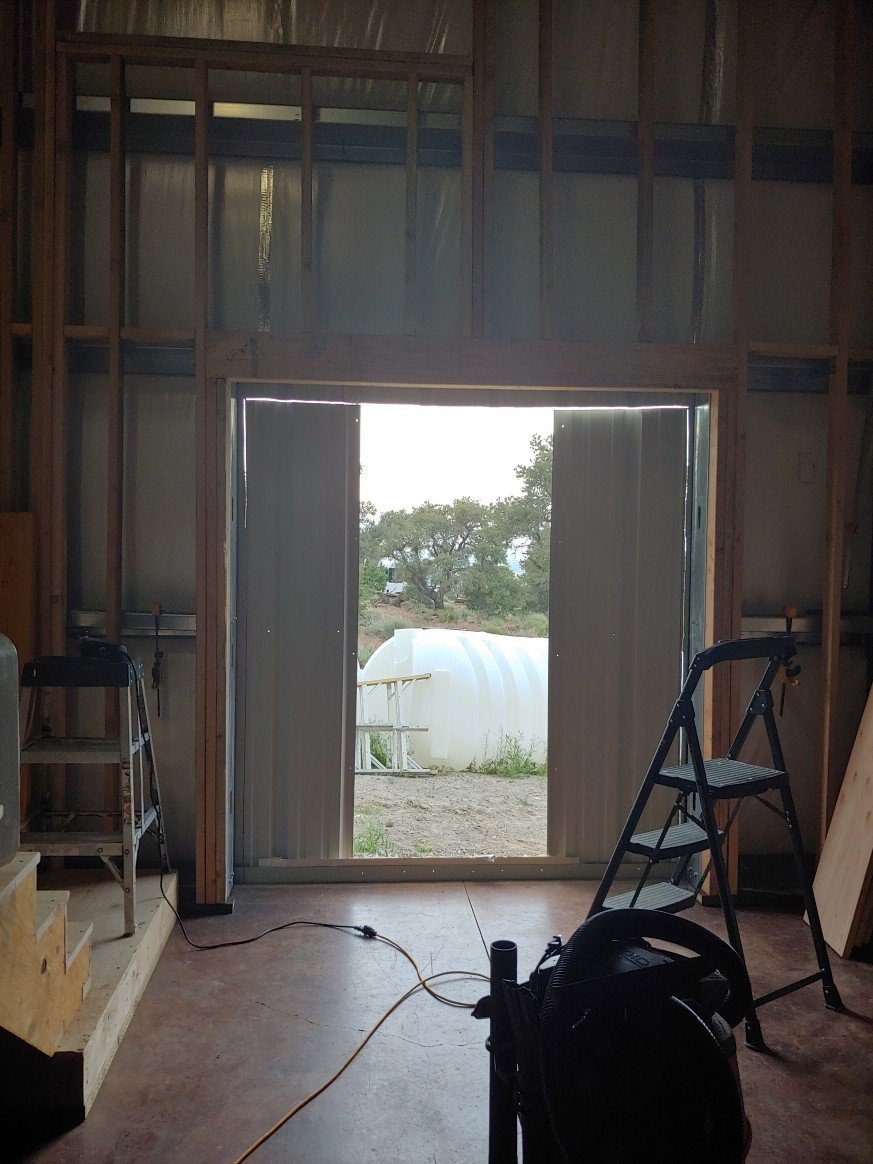
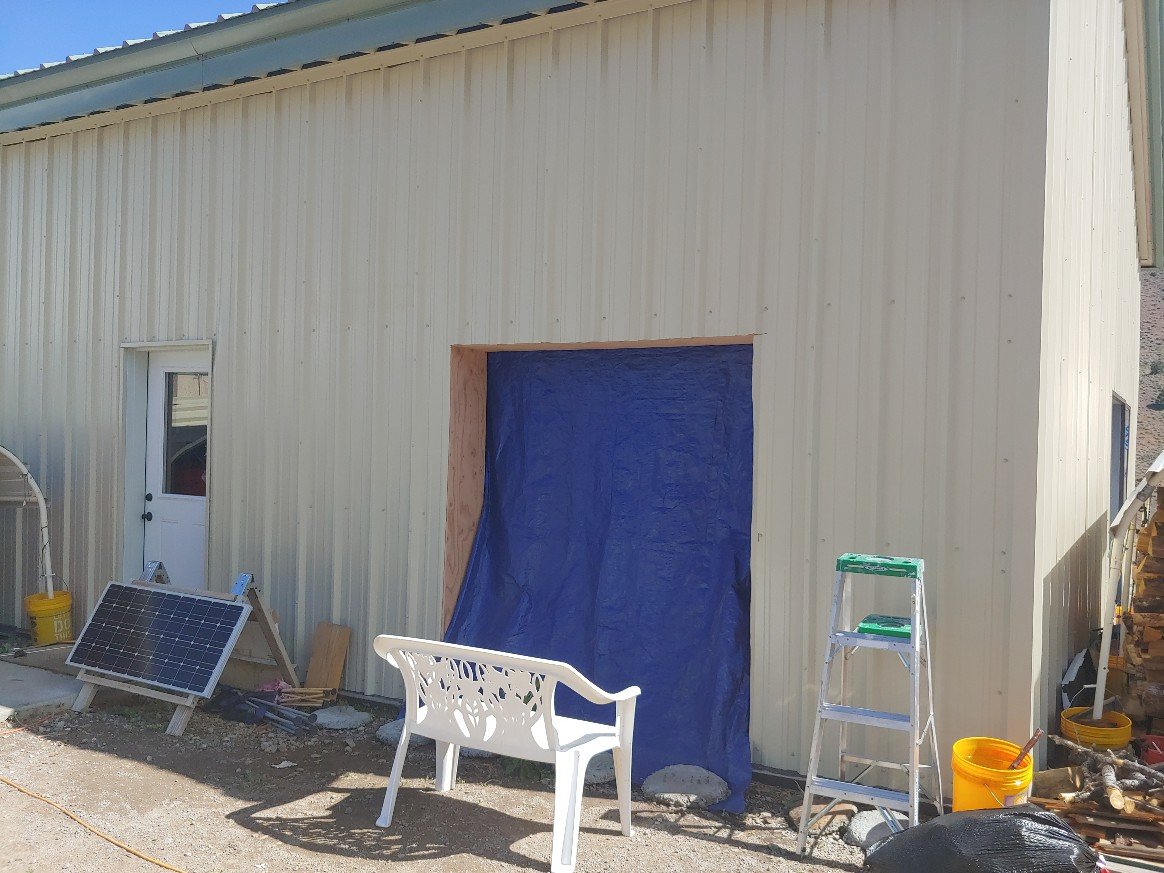
But eventually we were able to get the door installed.
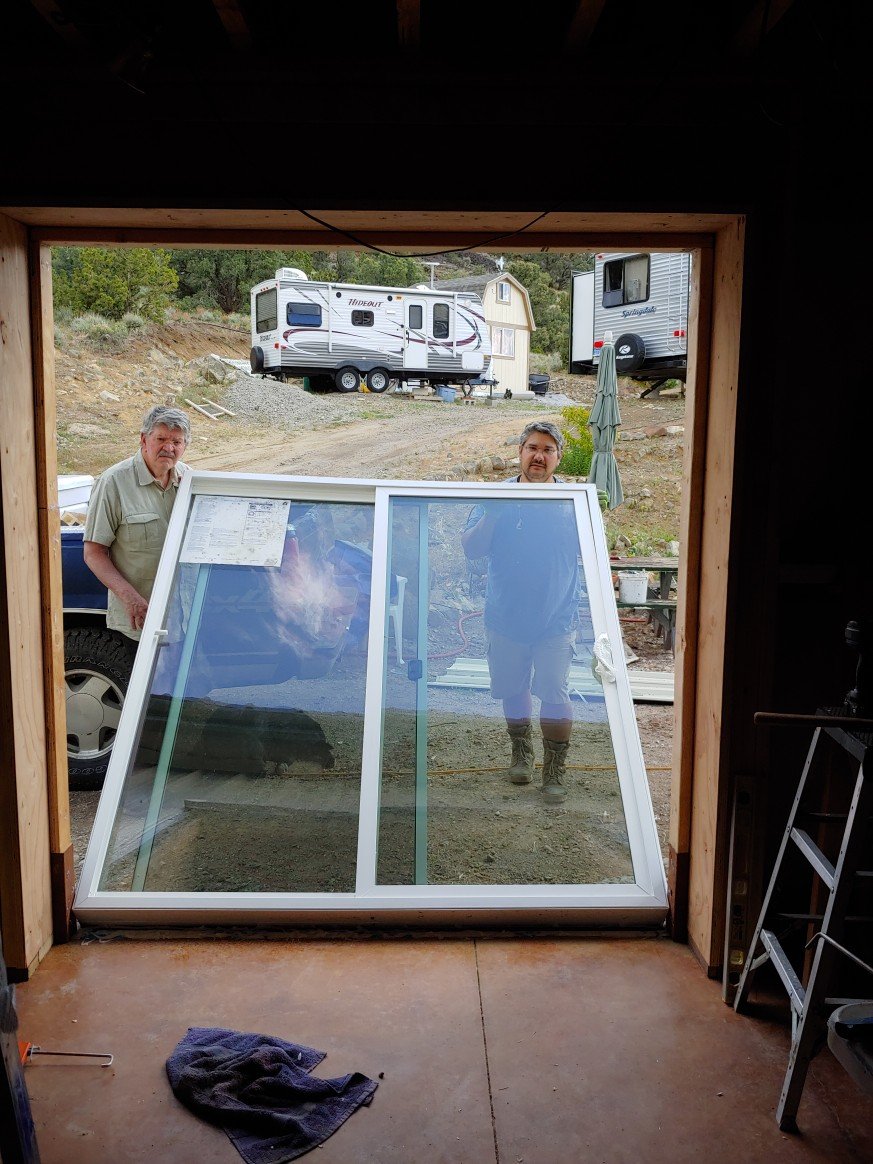
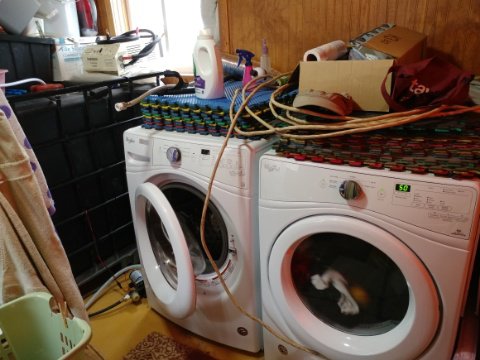
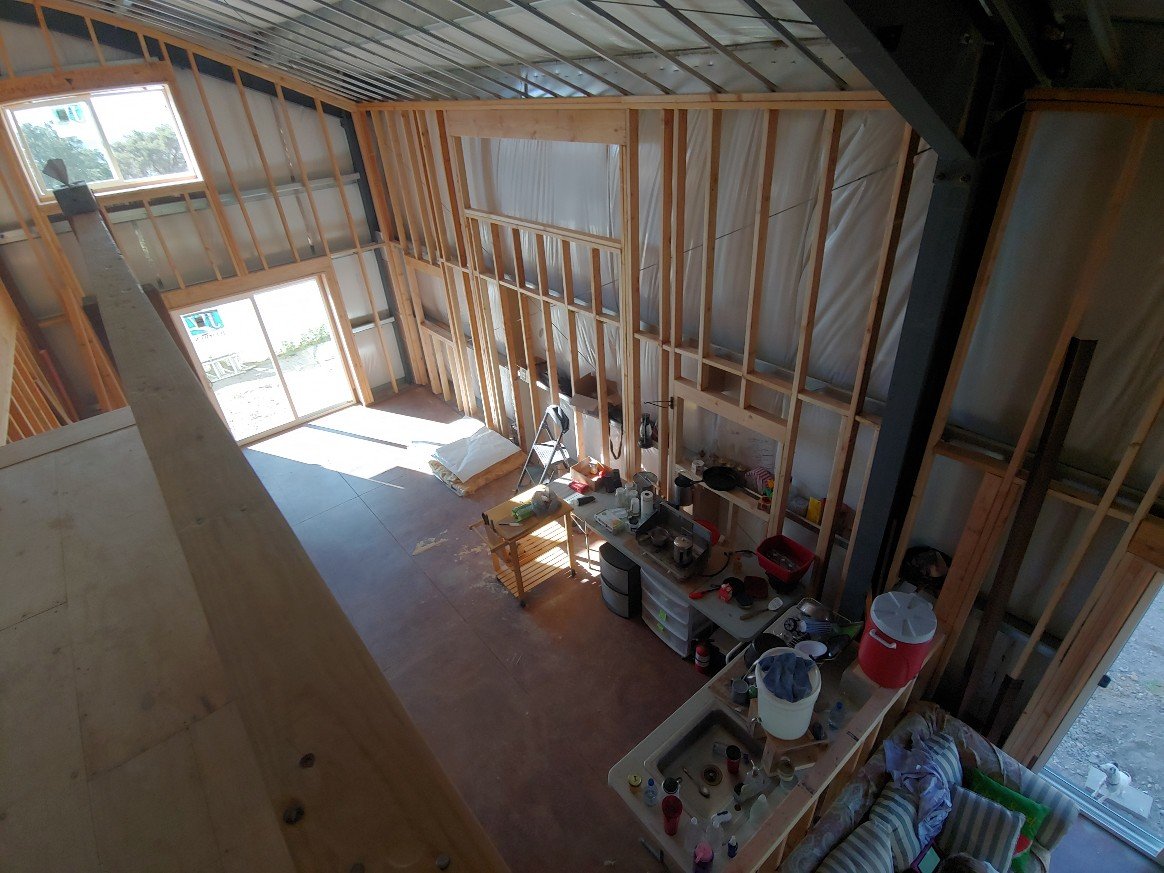
And let me tell you, this door made a difference!The main door we used up to this point was the laundry room door (to the left of the slider in the above pic.)Since the interior walls are all still just open studs, the light from this door not only lights up that room, but spills out into the other adjoining rooms.
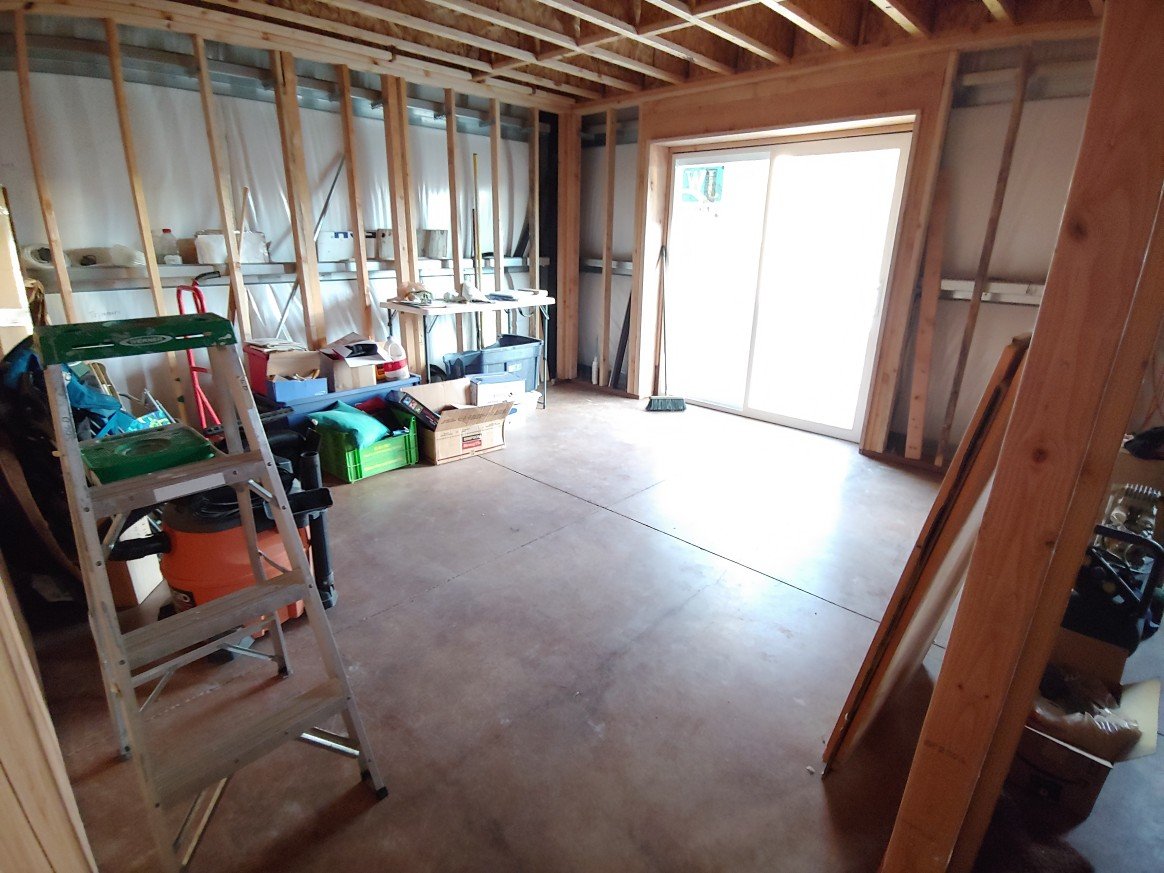
It was definitely something to open that laundry room door and walk in like we’d done hundreds of times before, and be greeted with light!Next was Pajii’s bedroom sliding glass door. It did not take us nearly as long this time to get it in as the first one. And I don’t get hardly any pictures. But I think he likes it!
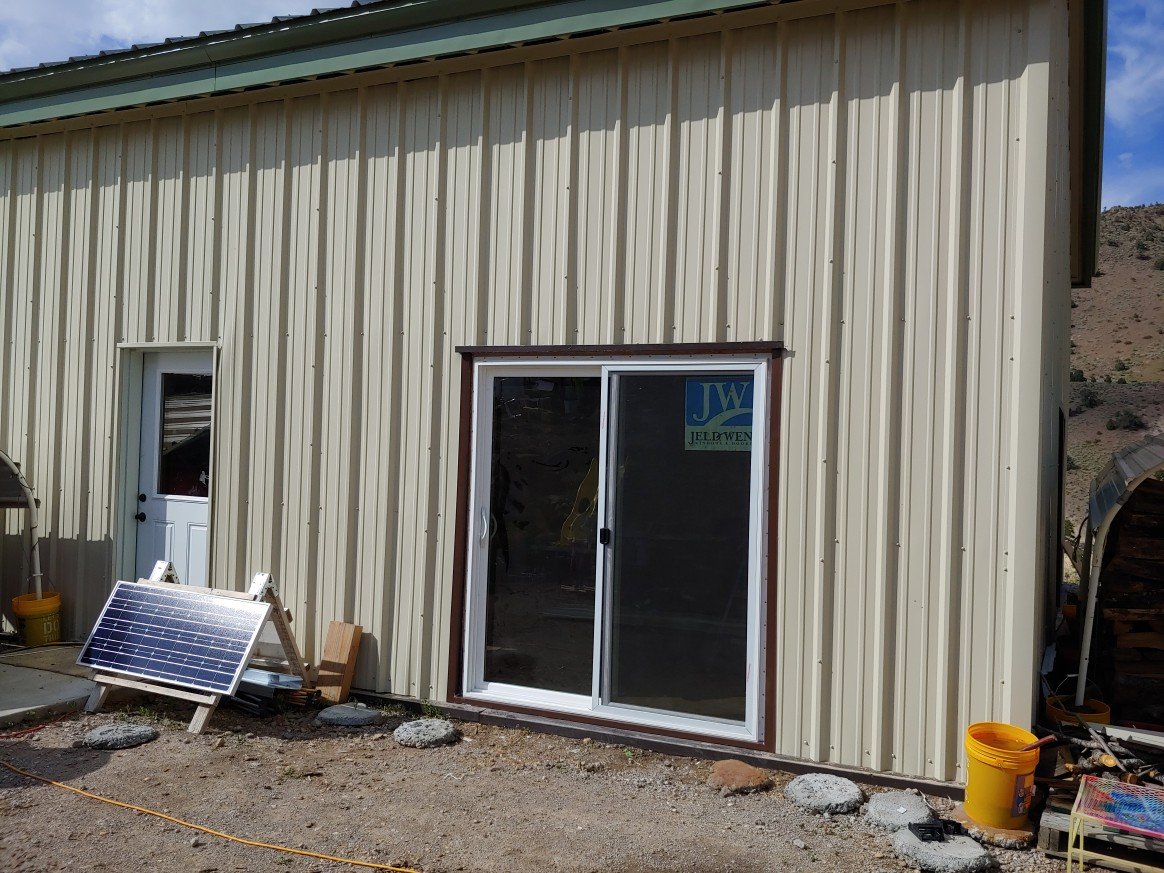
After that was one of the doors I was most excited for, the dining room slider.This is the door opposite the front door, and was sure to let in lots of natural light to an end of the house that was perpetually dark.
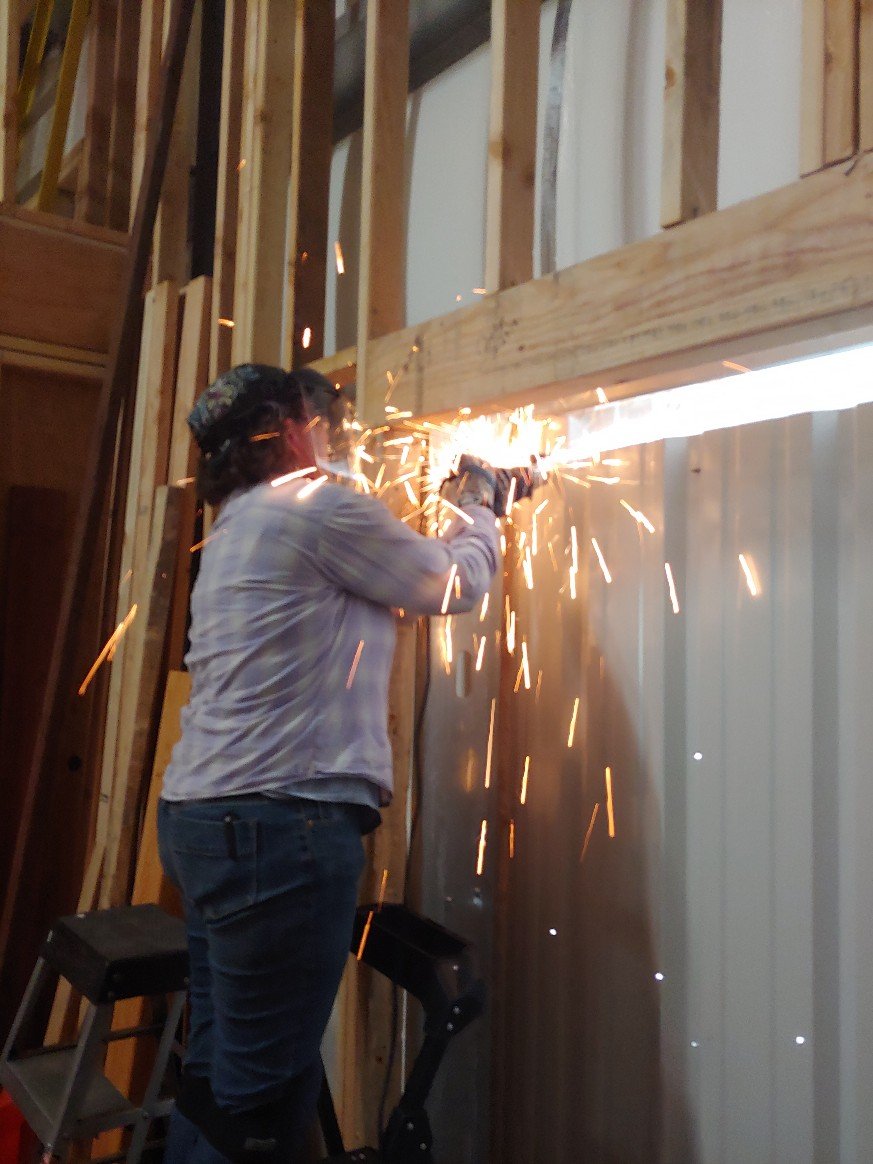
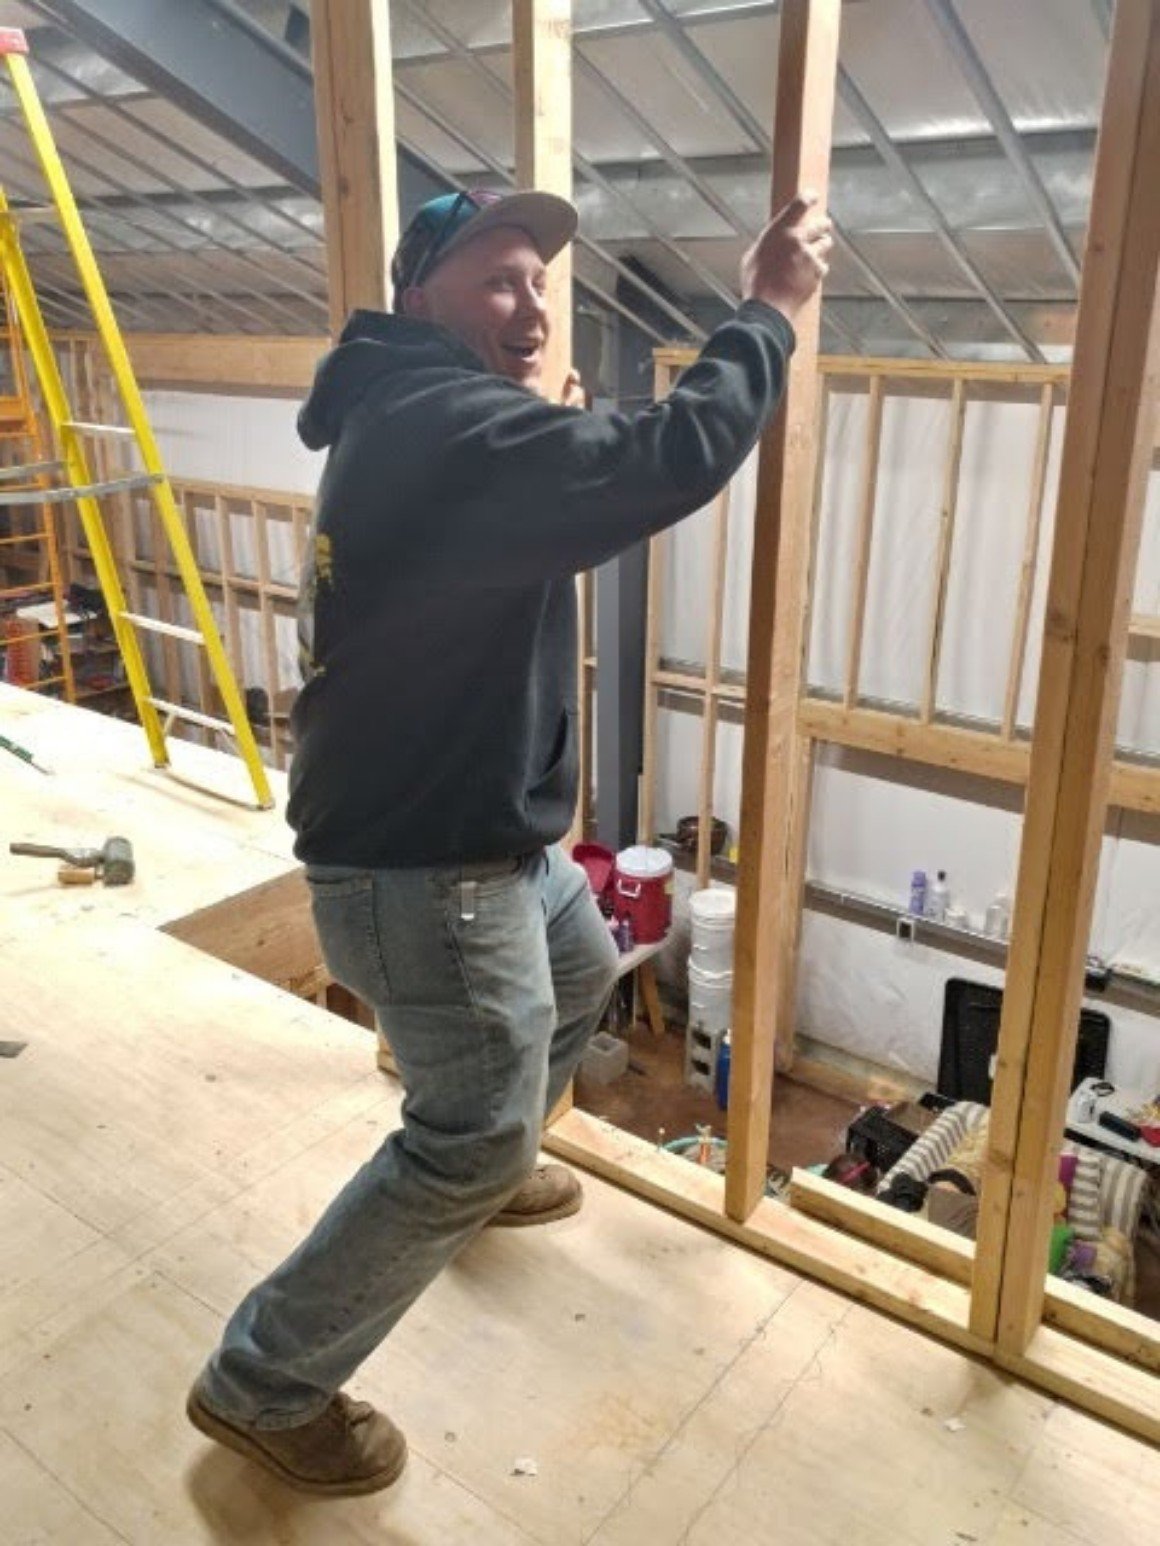
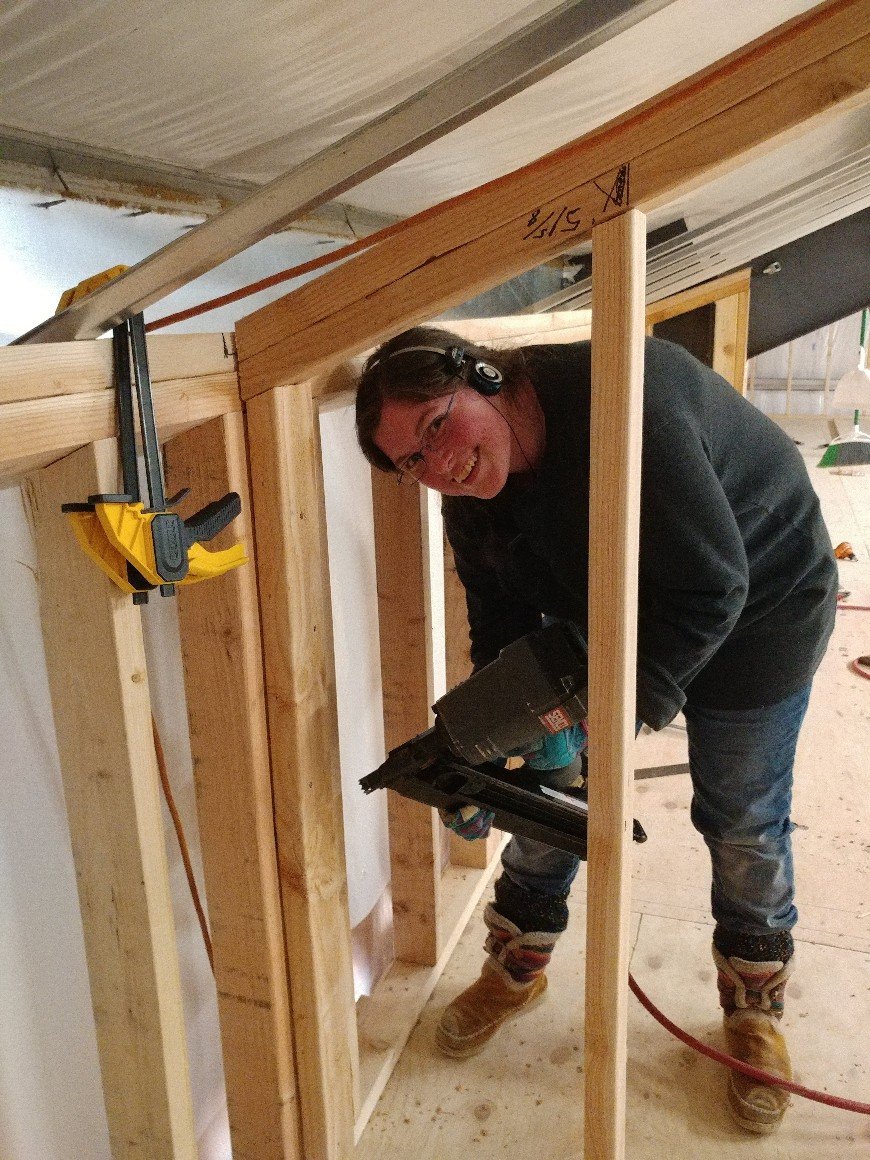
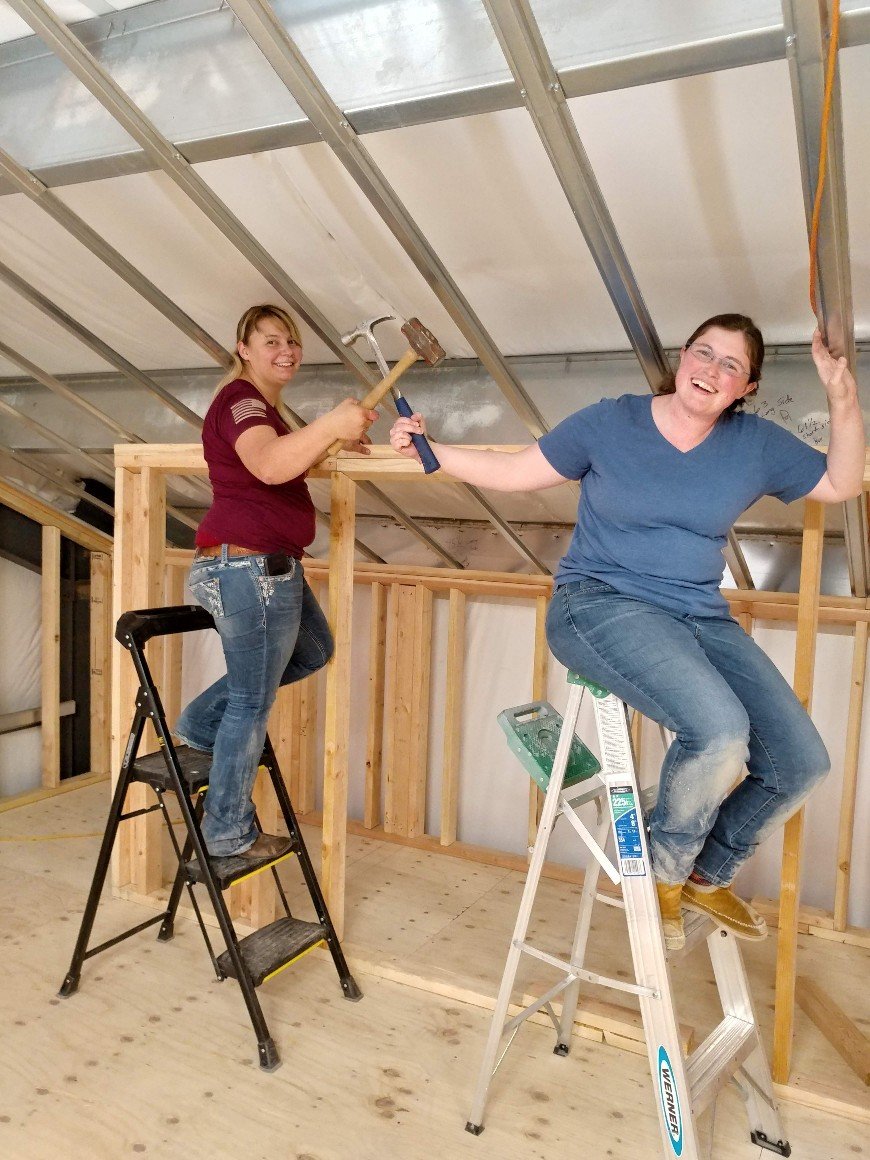
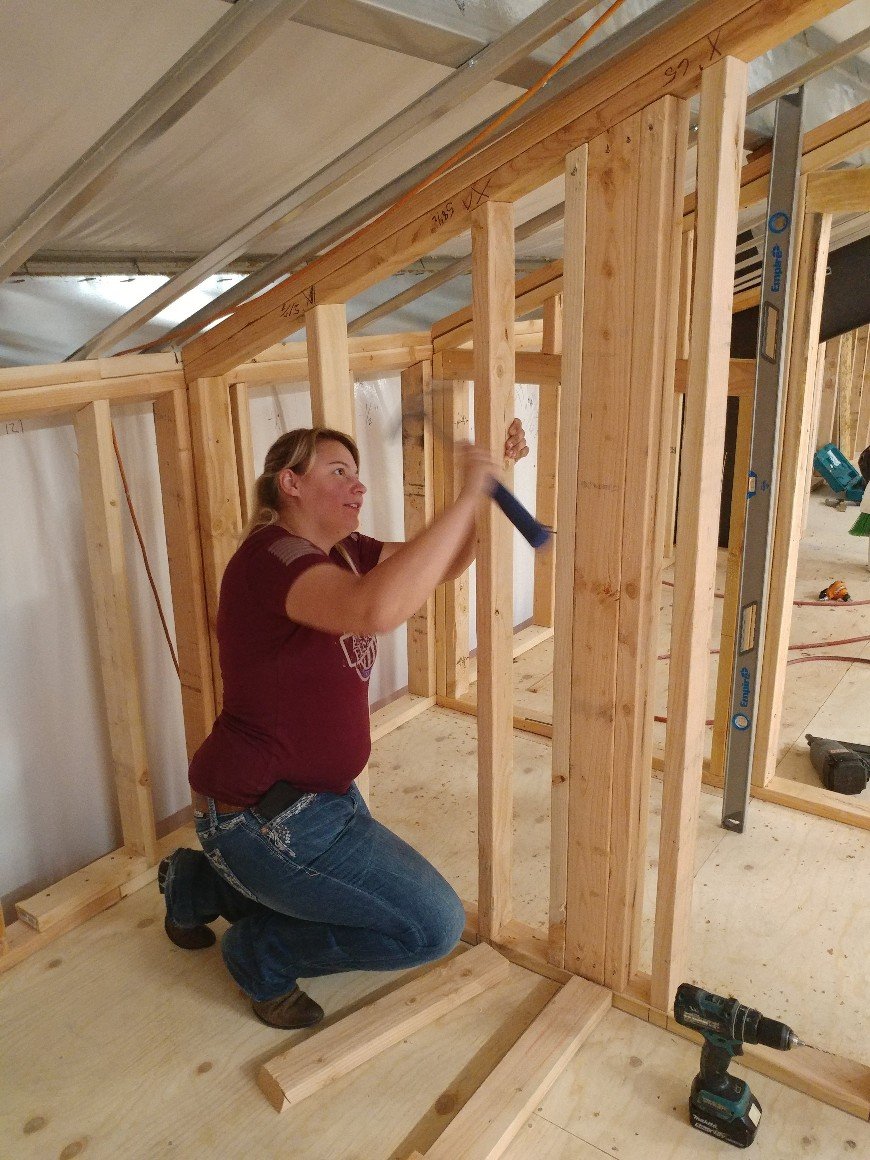
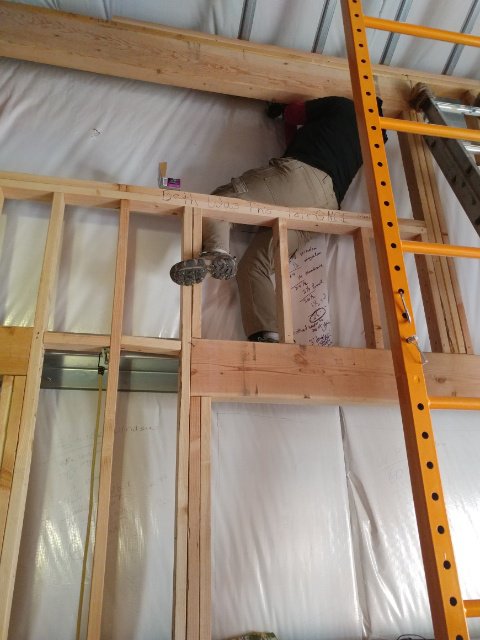
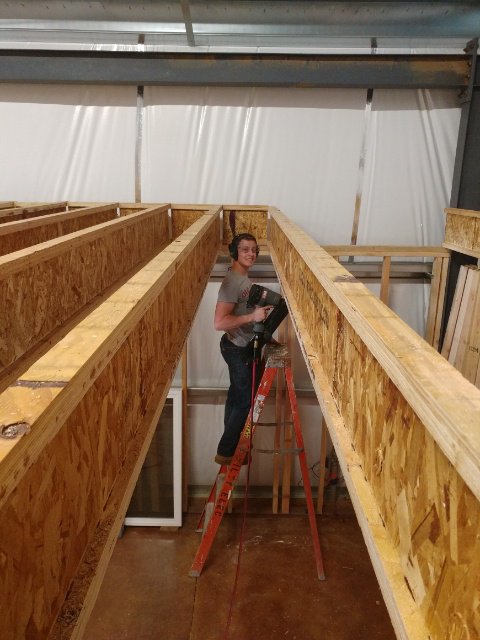
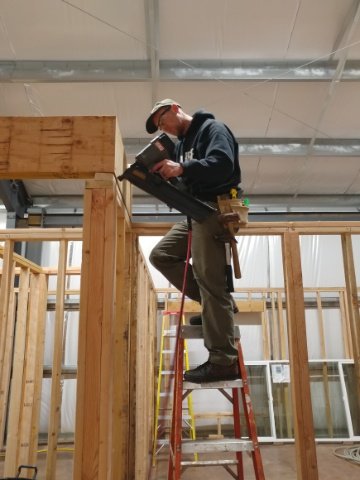
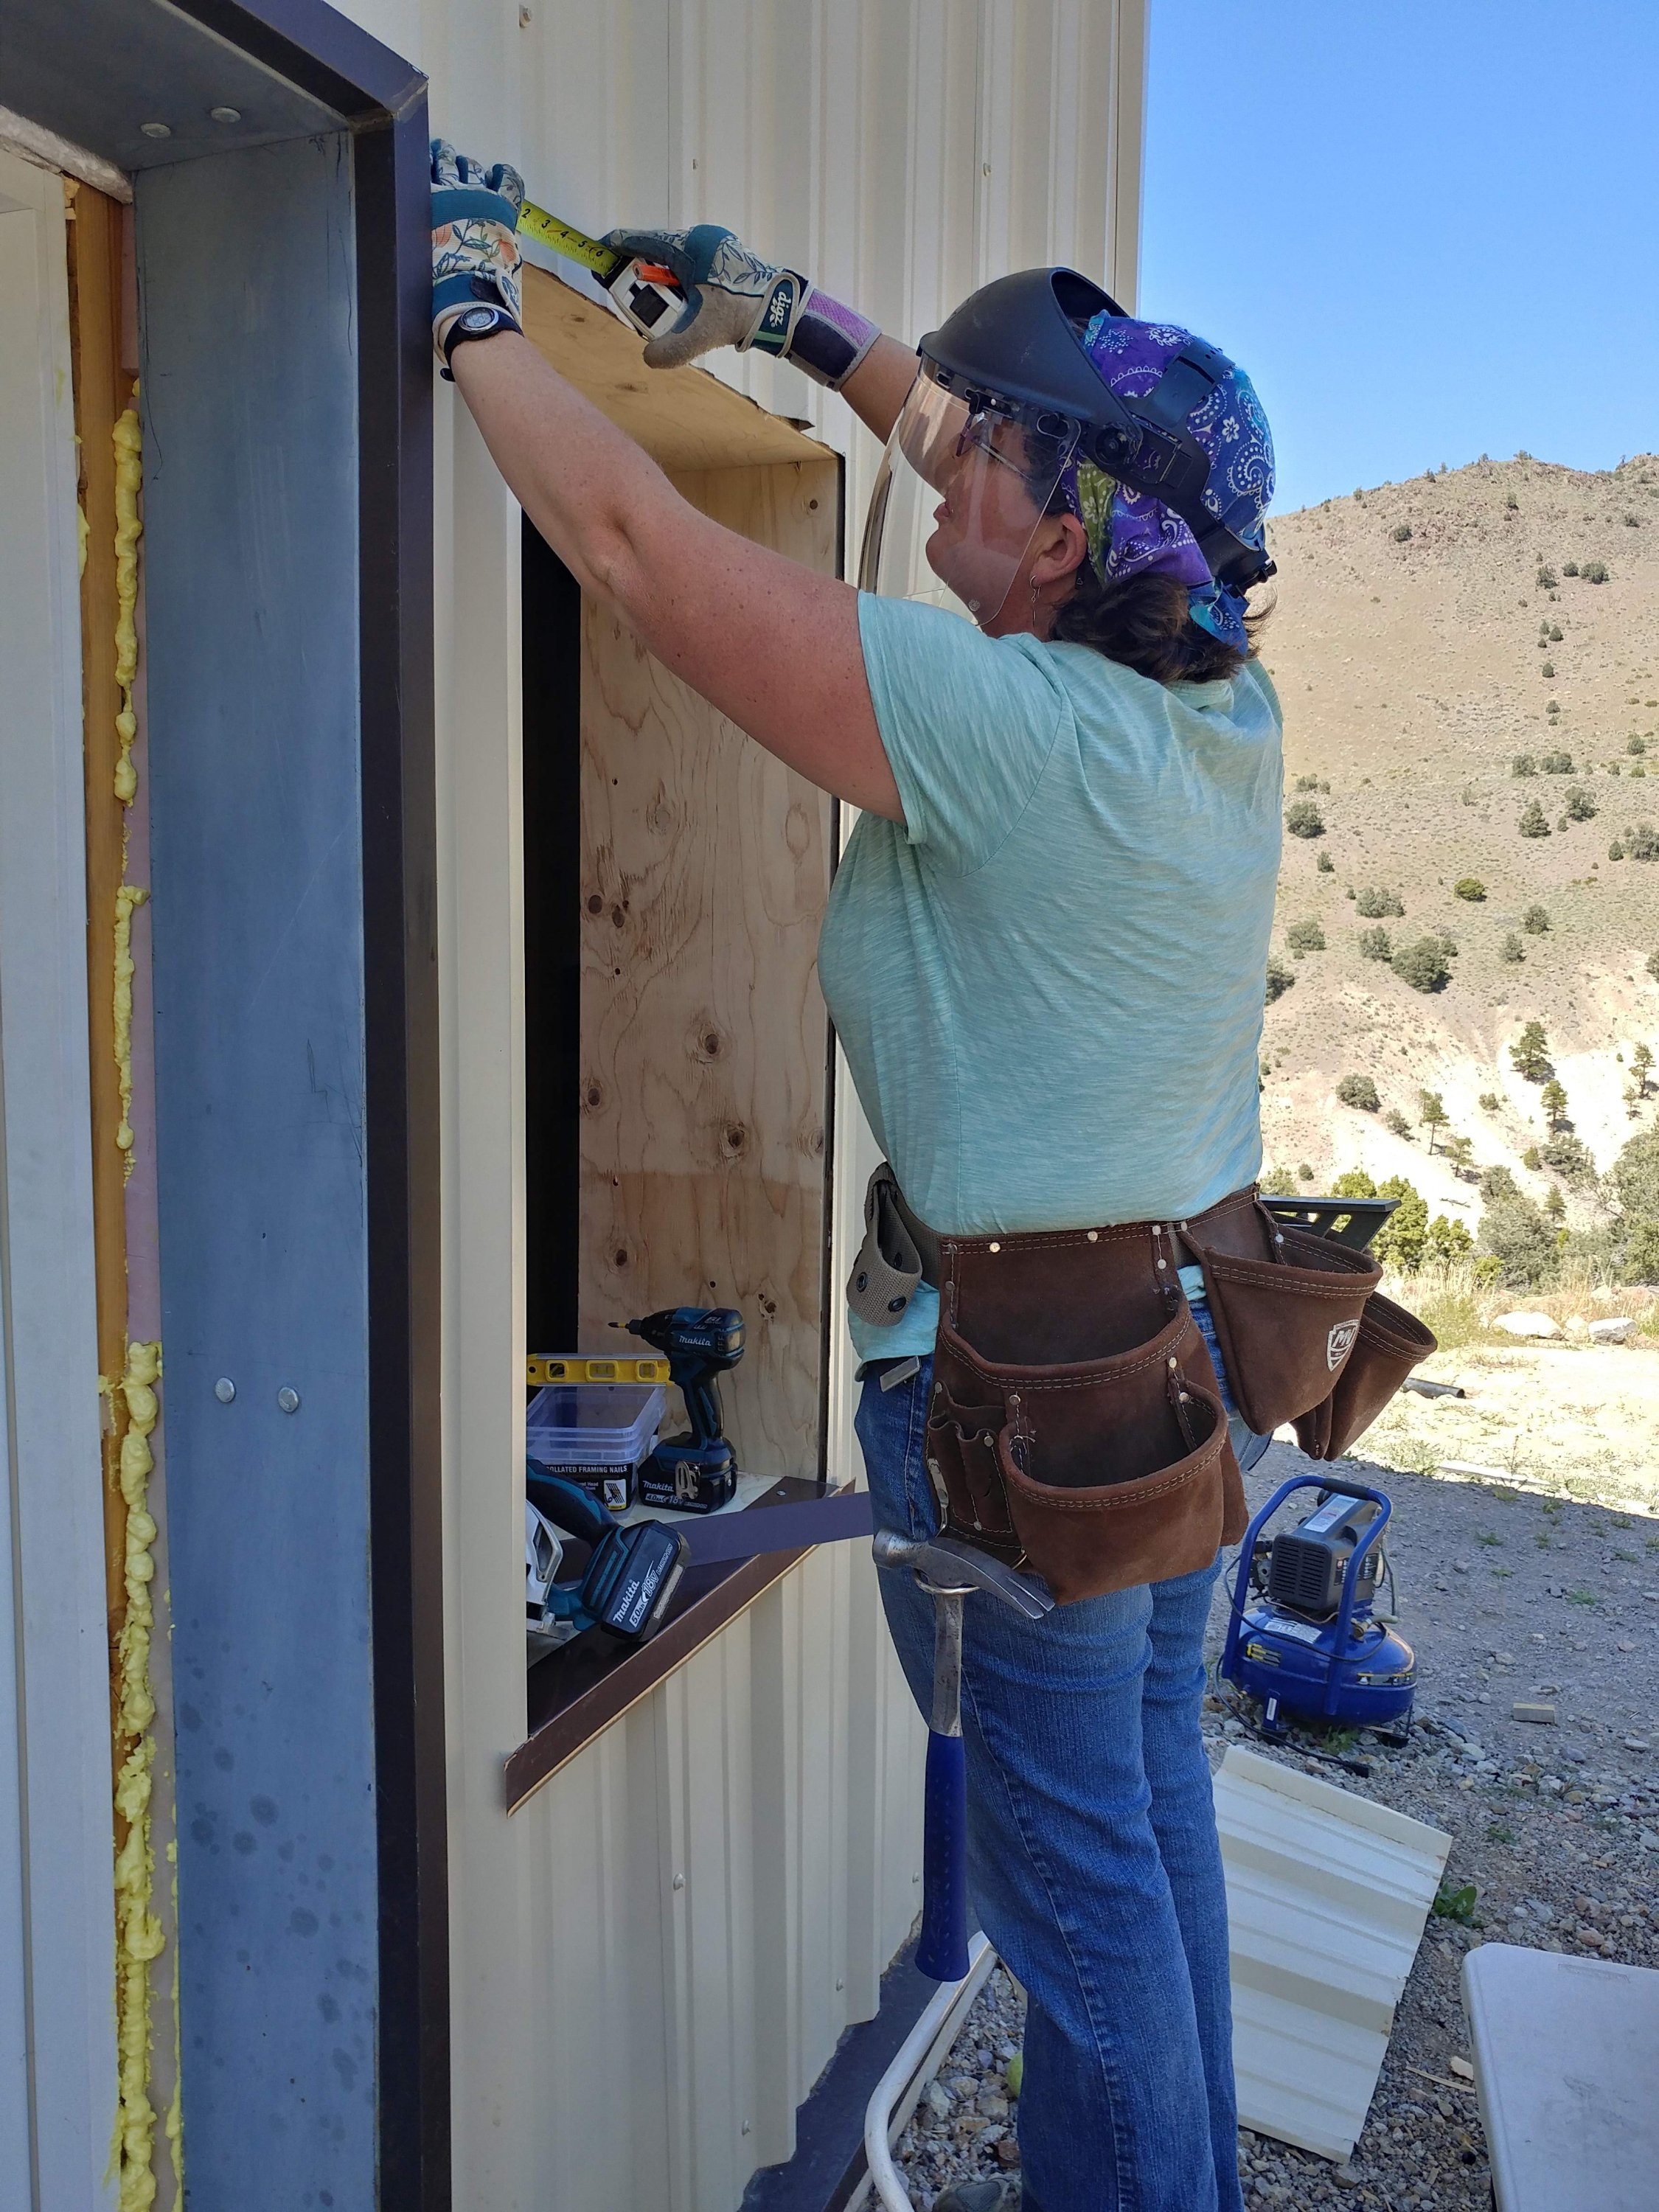
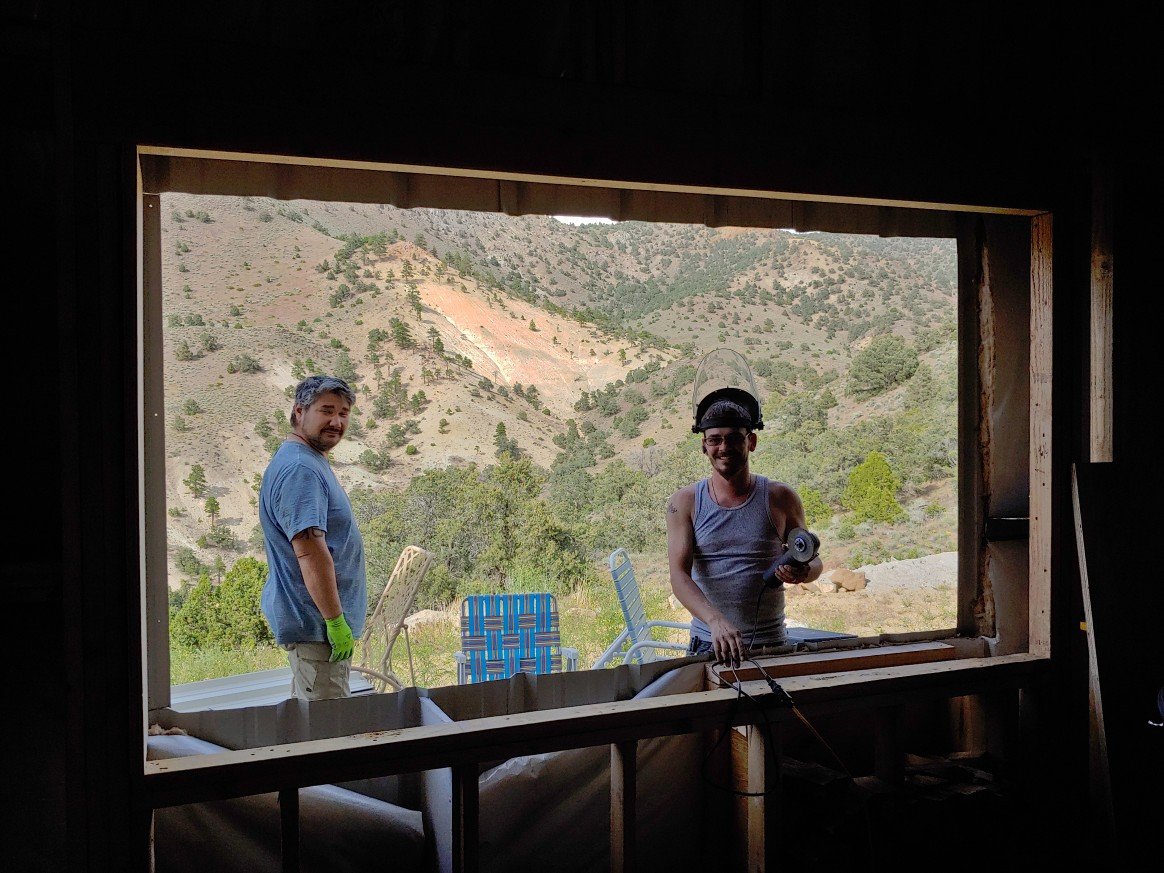
Just a peak!My nephew came over a couple evenings and weekend or two and helped put in doors and windows.
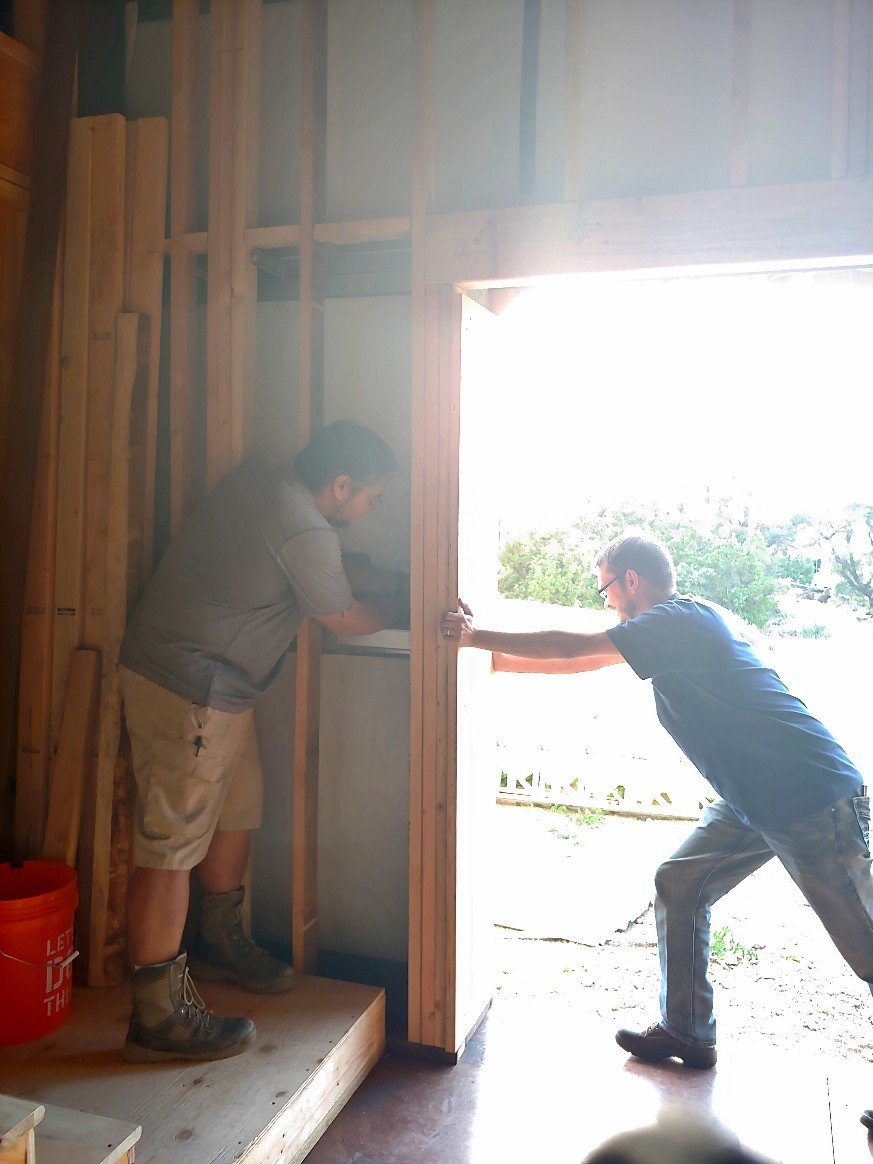
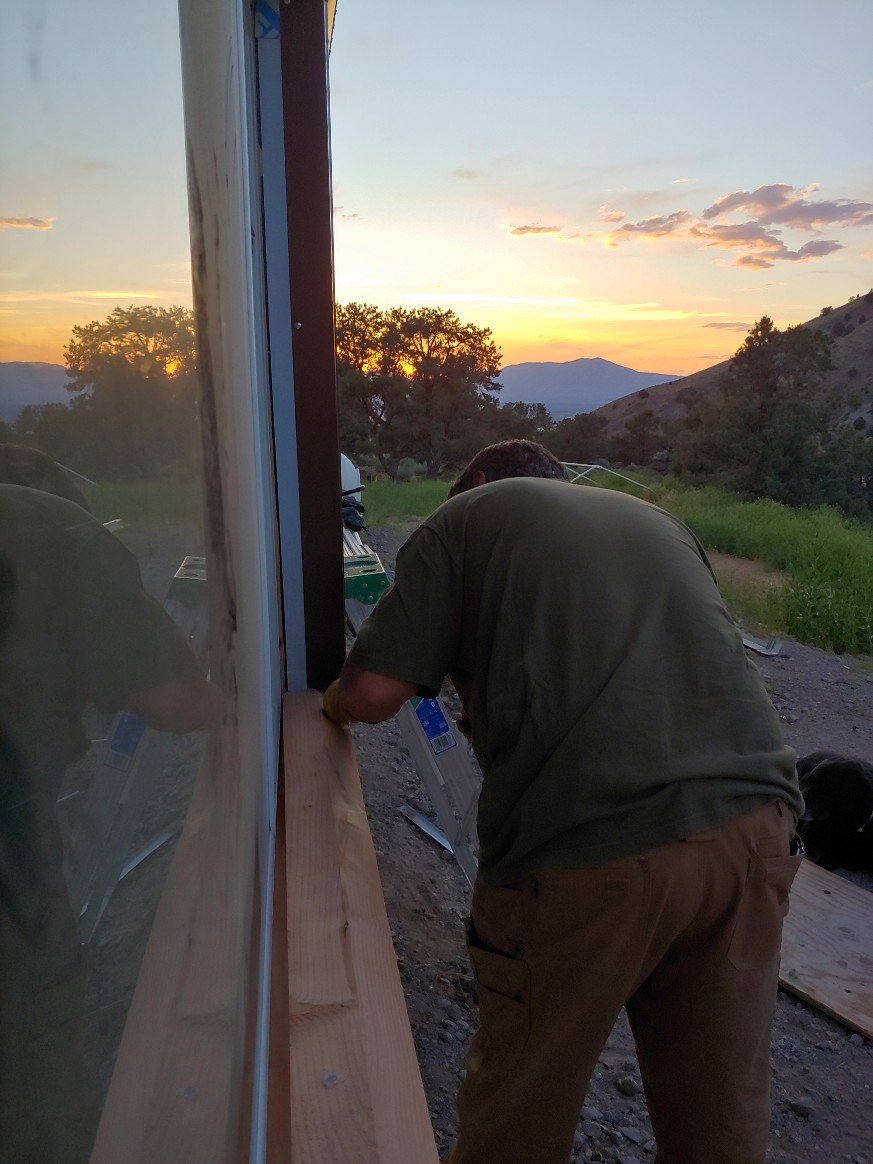
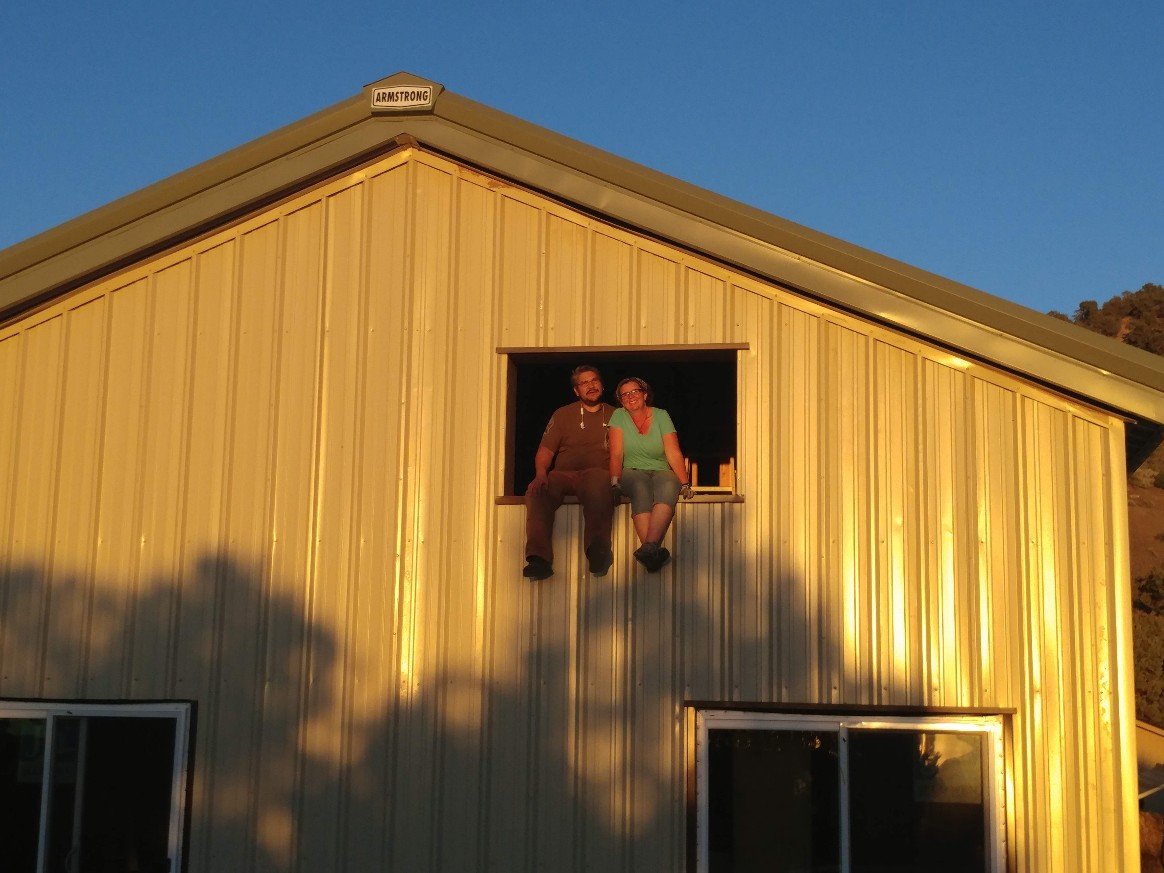
We worked until after dark on one of the longest days of the (less than 10 days before the solstice) to get that door in!
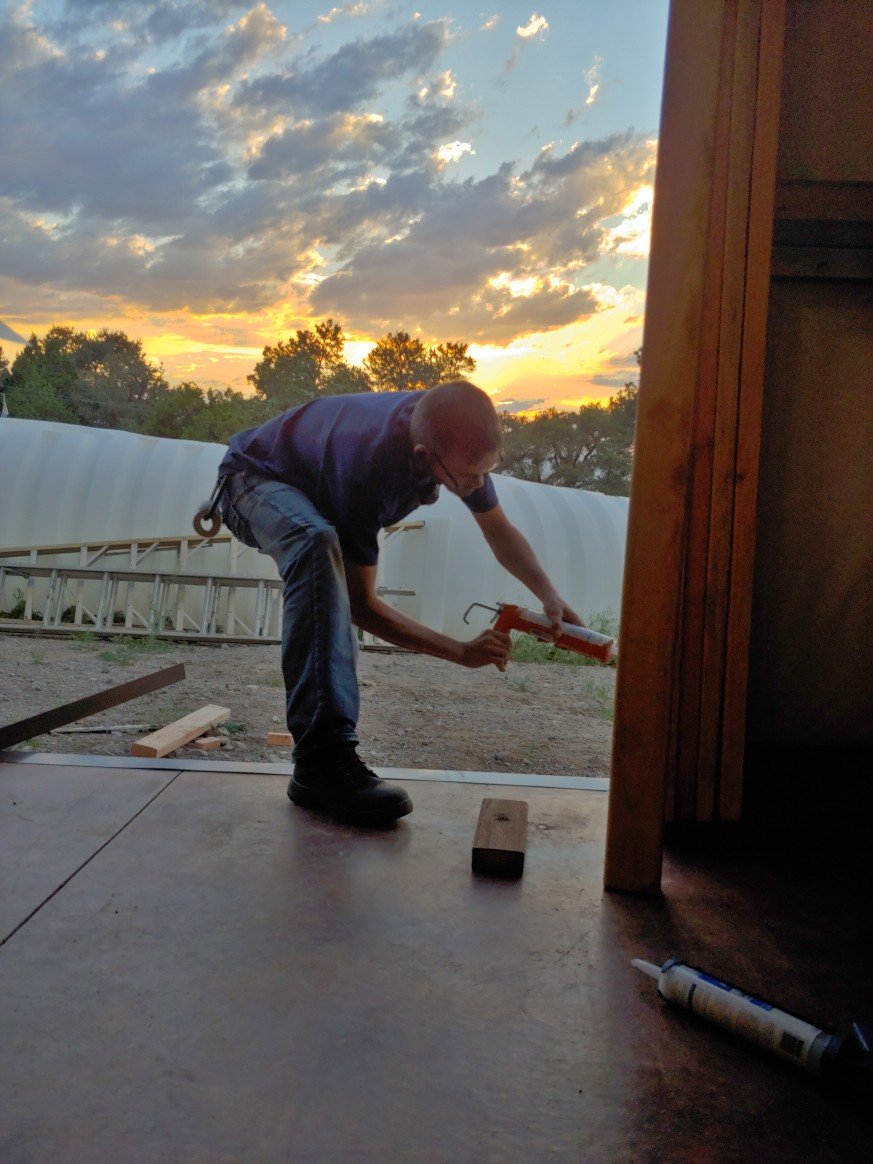
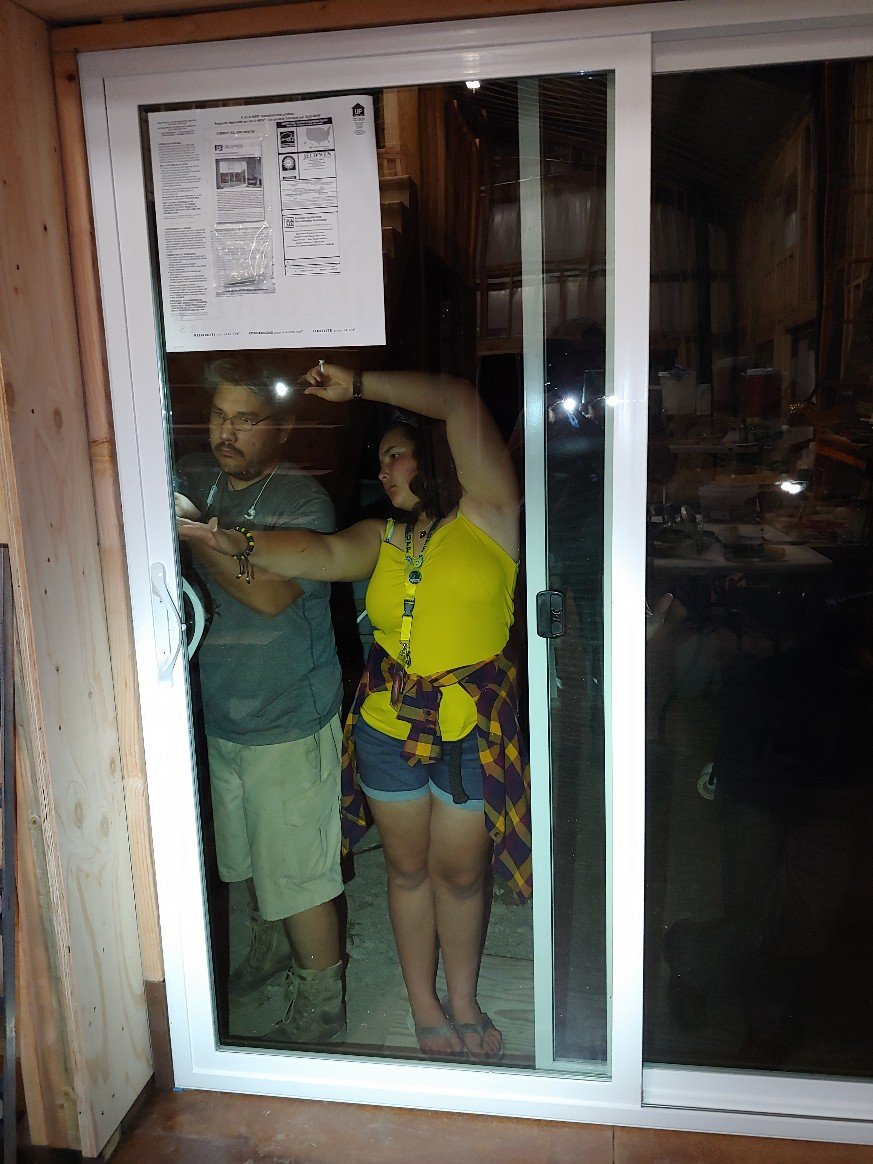
Had to finish by flashlight, but finish we did!After that things went a lot smoother and faster. We knew what we were doing by that point.

Cutting the 1⅛” plywood that we used for the frames.

Anchoring one of the metal side supports to the concrete floor.

And then came the part I had been dreaming about since we first sketched up the design for this house.The Big. Picture. Window.If you follow me on Instagram, you might remember that back in March I posted a poorly photoshopped picture of what the view out our picture window might look like. For those that did not see it or don’t remember, here it is.
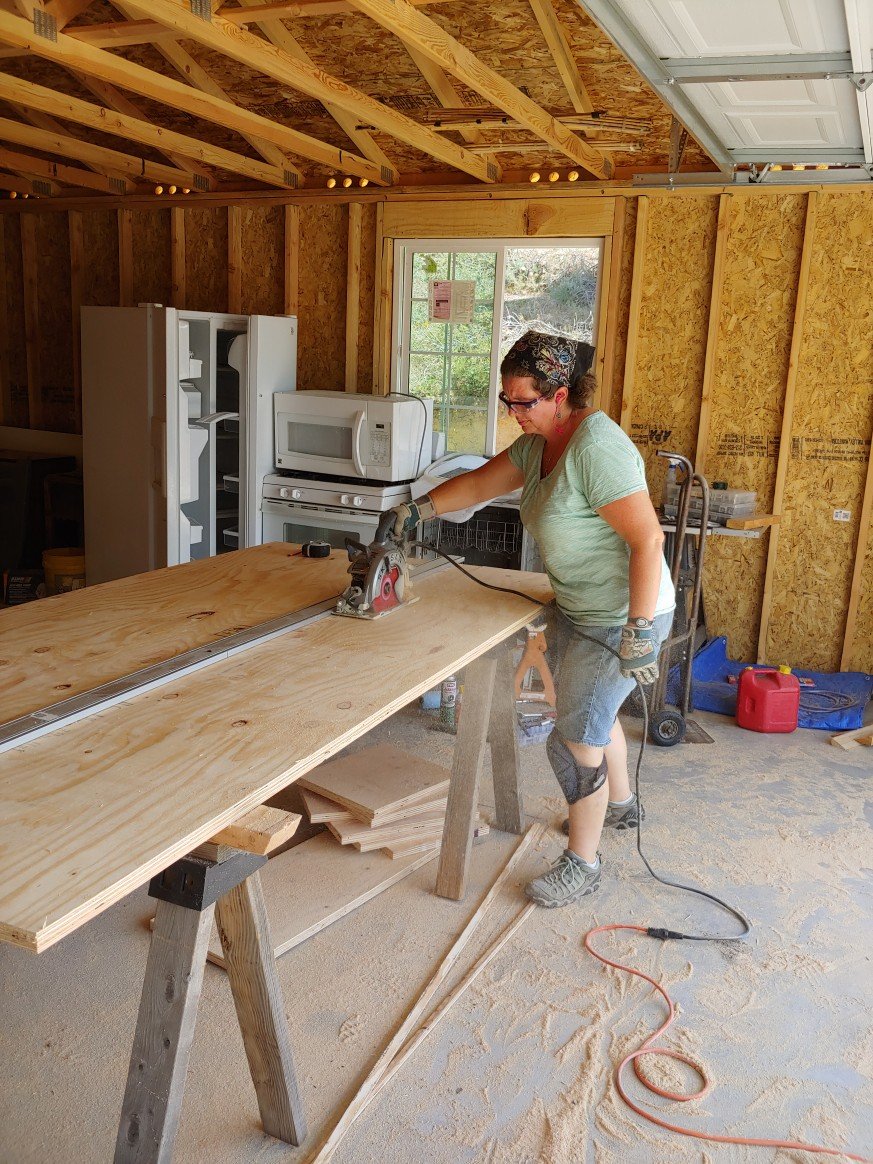
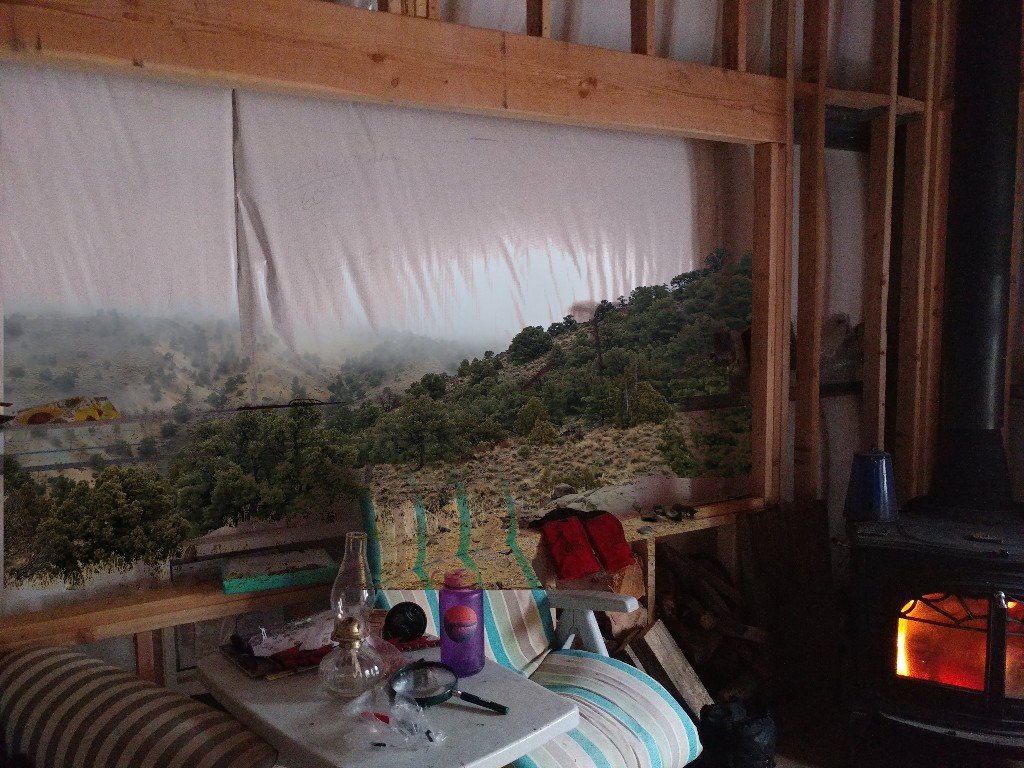
I was just dreaming of the day I could look out that window to view up our canyon. I mean, seriously, I’ve been dreaming of that literally for years!And it was finally happening!

Another late night finishing up the job

And…voila!
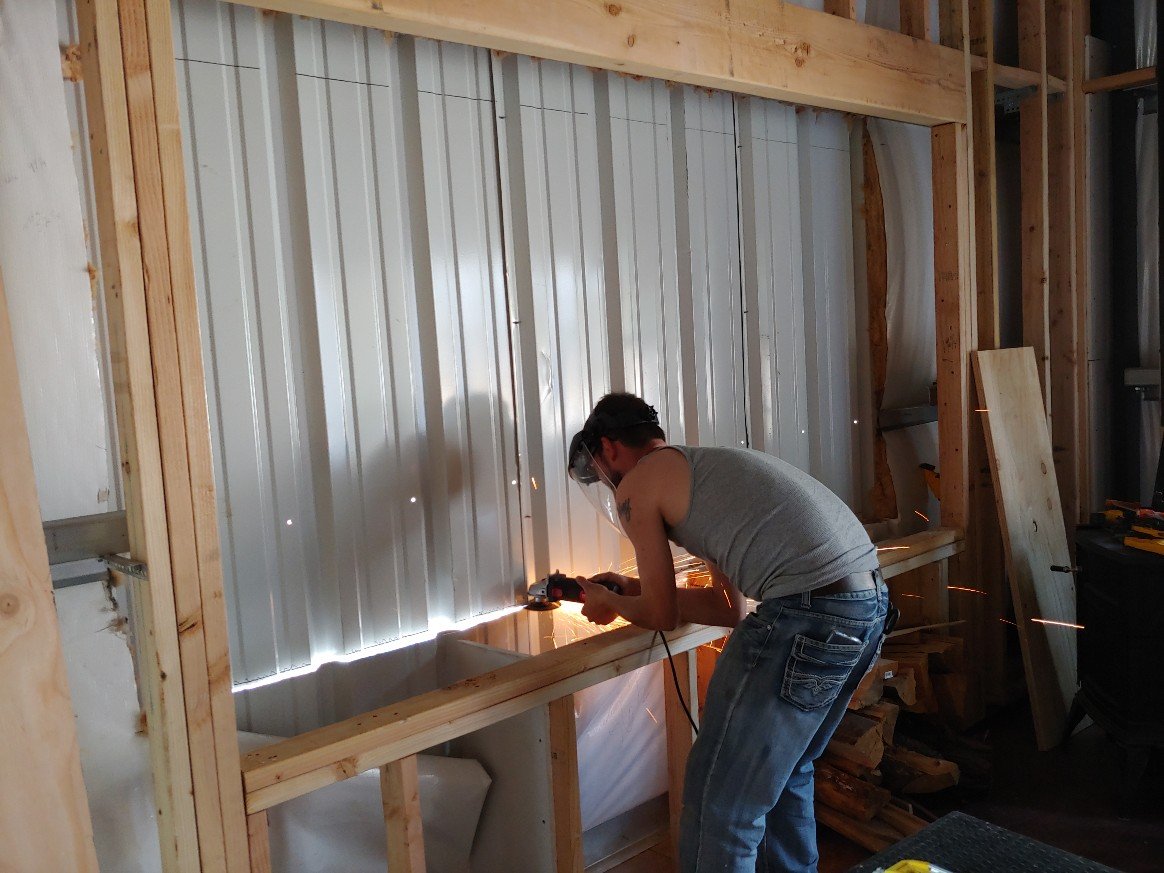
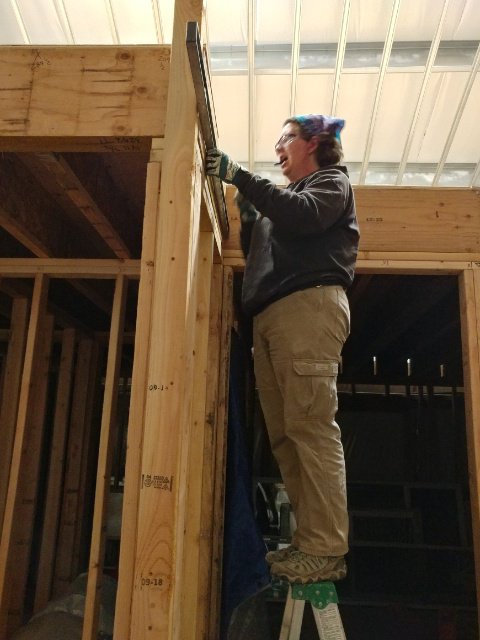
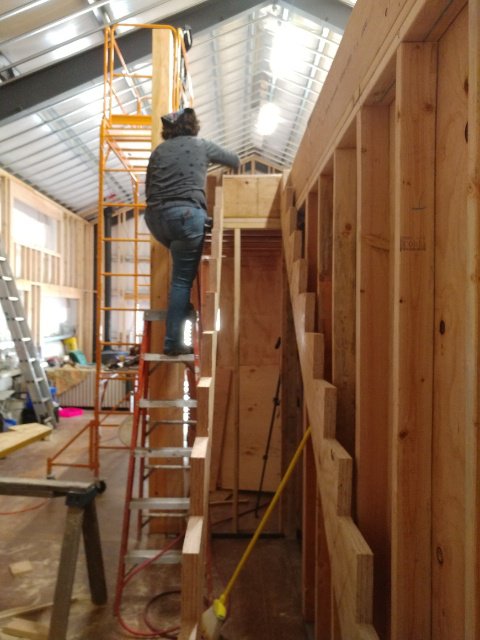
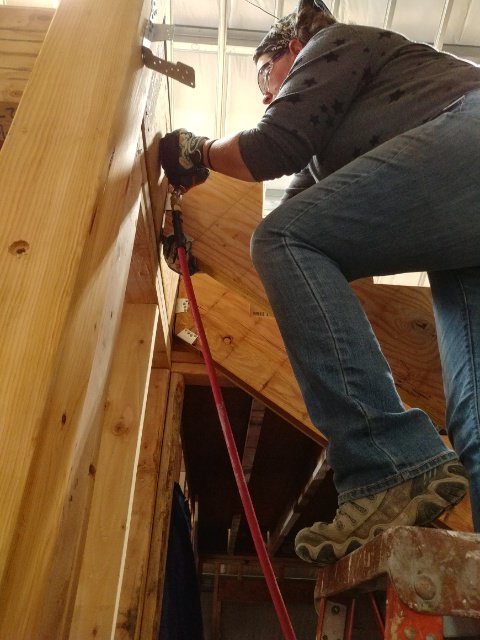
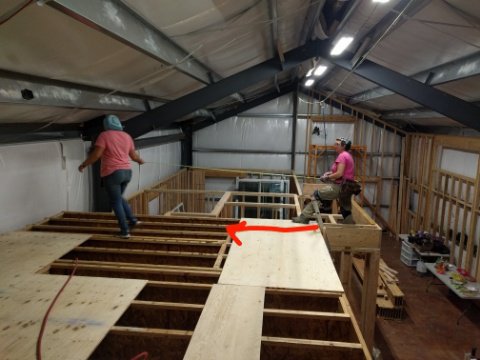
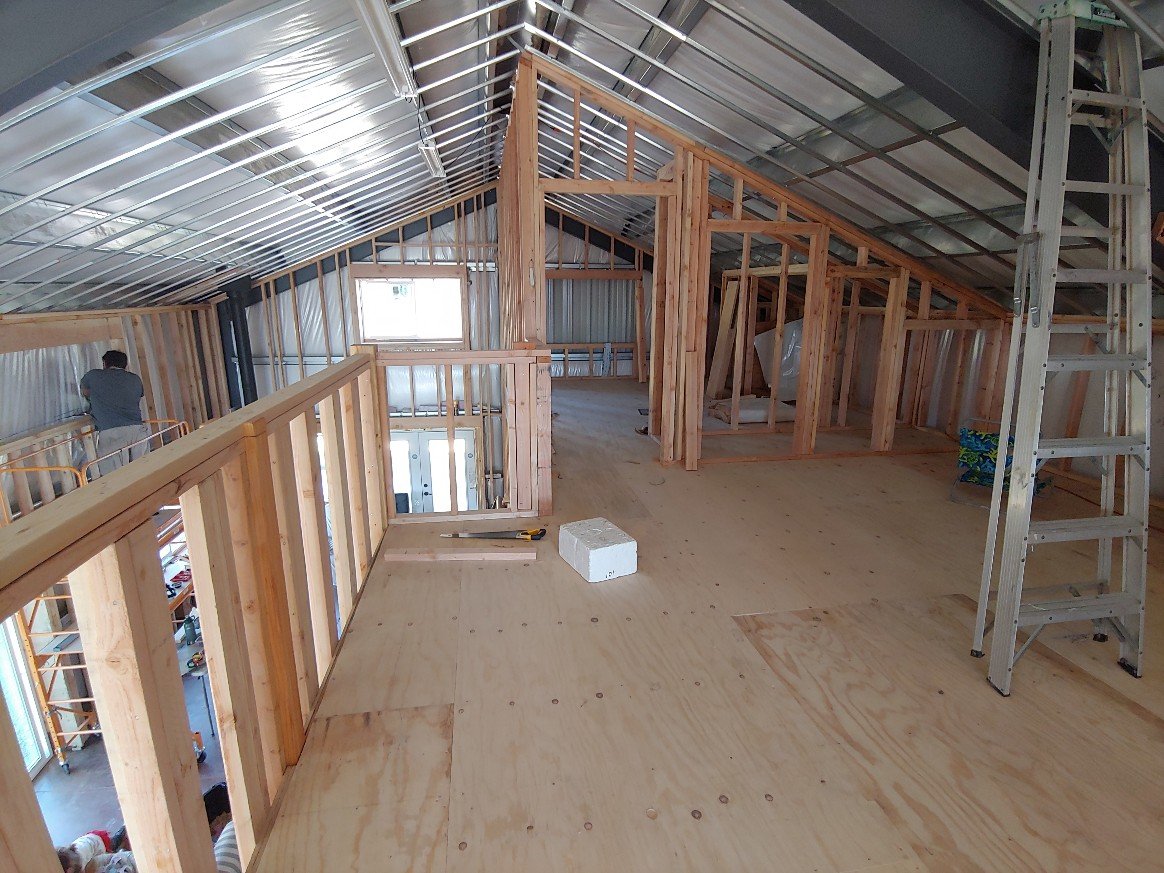
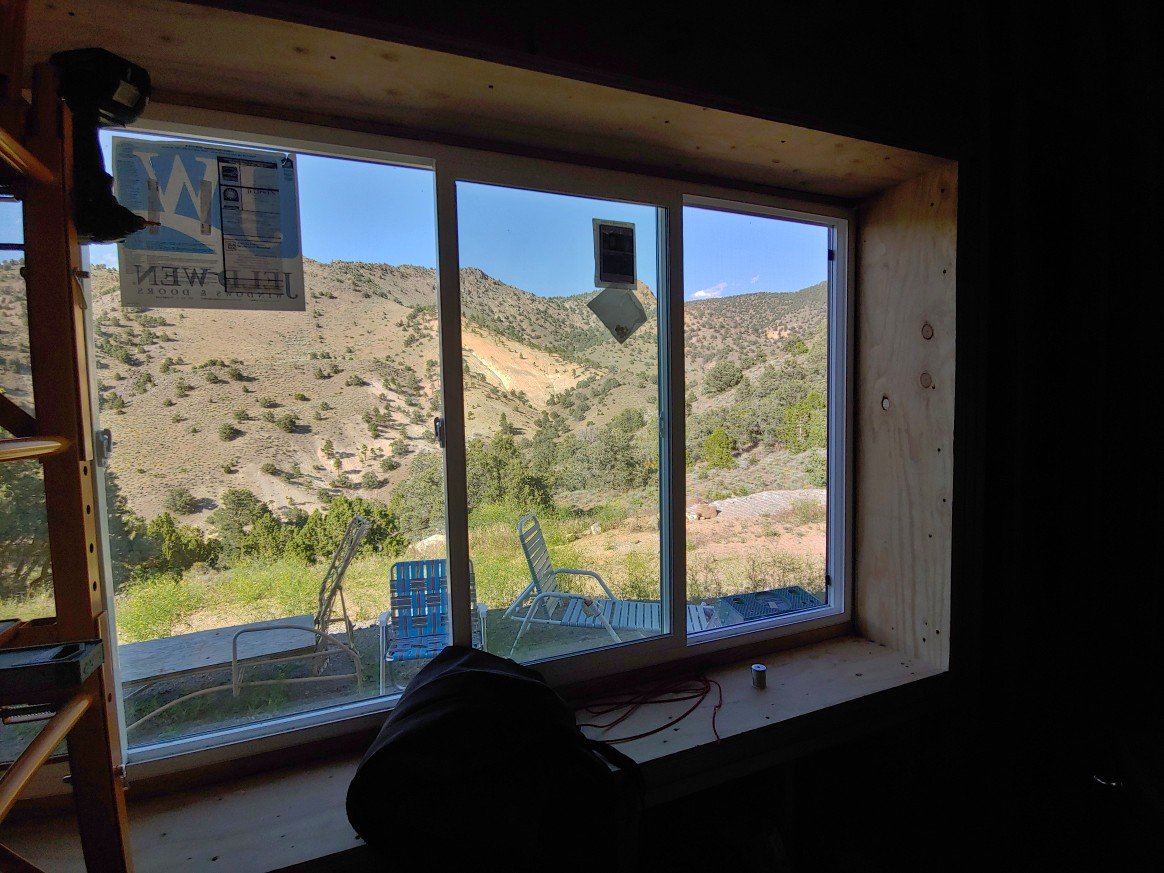
I love my big window!After that, it was time to move upstairs to the second story windows.

Flower Girl and her cousins wanted to watch the “fireworks”

We can actually see all the way down into the valley from our bedroom window!

Working on the second floor windows presented some extra challenges, especially on the one window we could not access from the outside for various reasons. So we had to get creative.

Putting my climbing skills and gear to good use

We watched some friends’ kids one day and I put their 11 year old son to work. 😁

And suddenly it was starting to look like a regular house, not a warehouse!

The side in the shade is still missing four – yes 4 – windows in this pic!

It there were several windows we had to special order because they were odd sizes, so those took a little while to arrive.But eventually, we put in the very last window.
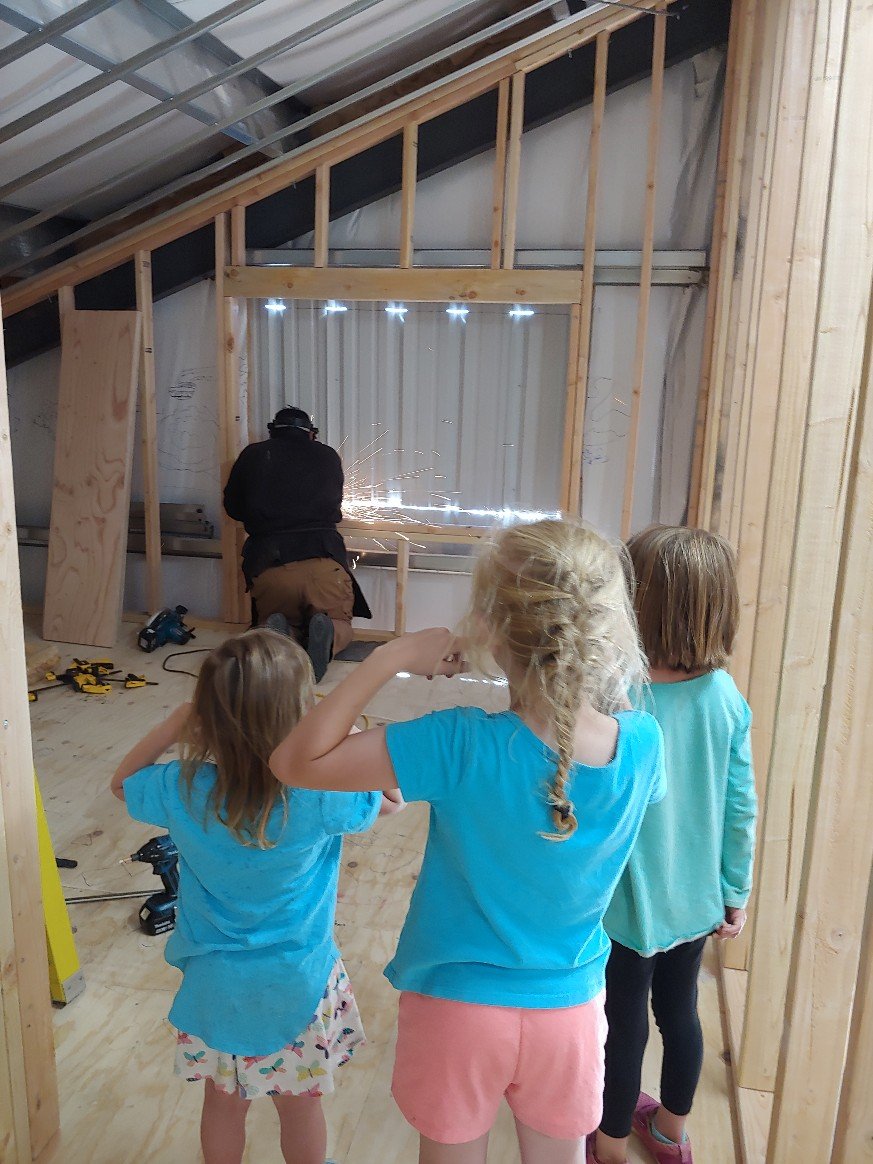
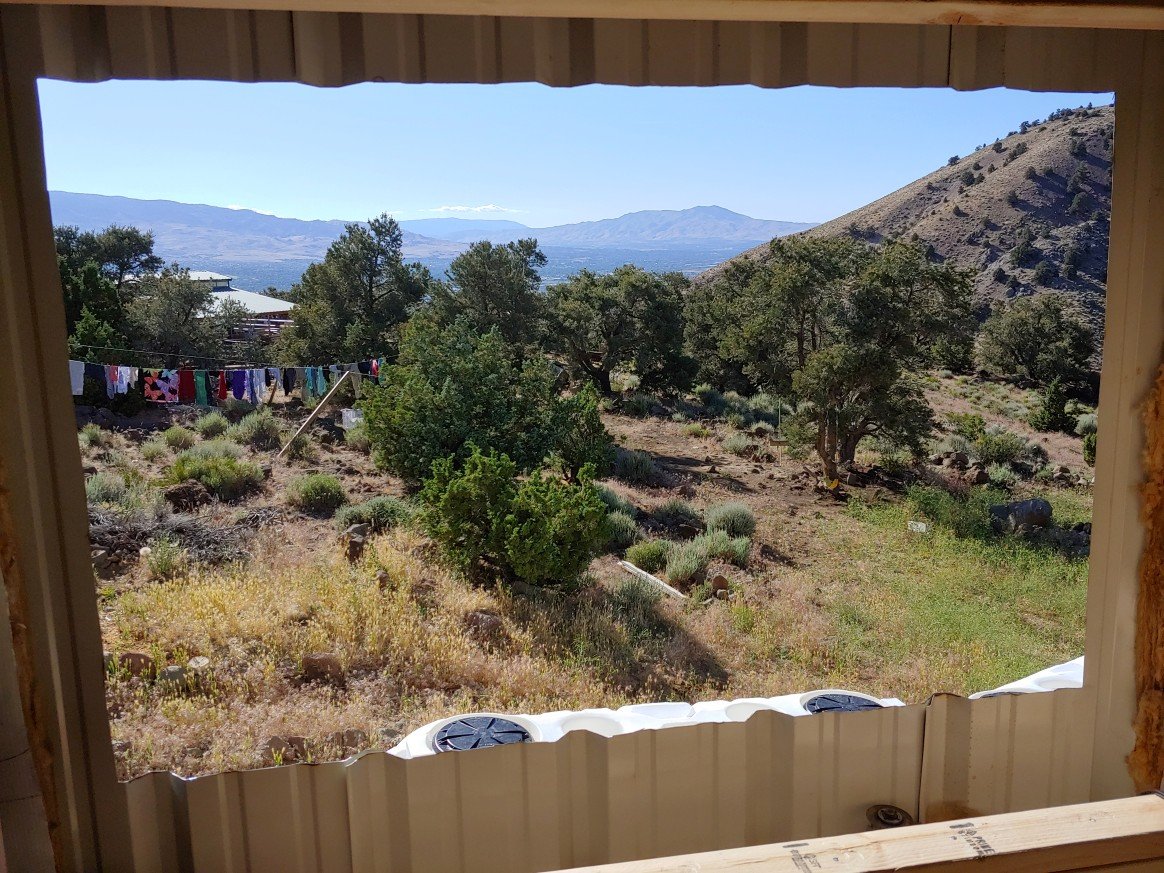
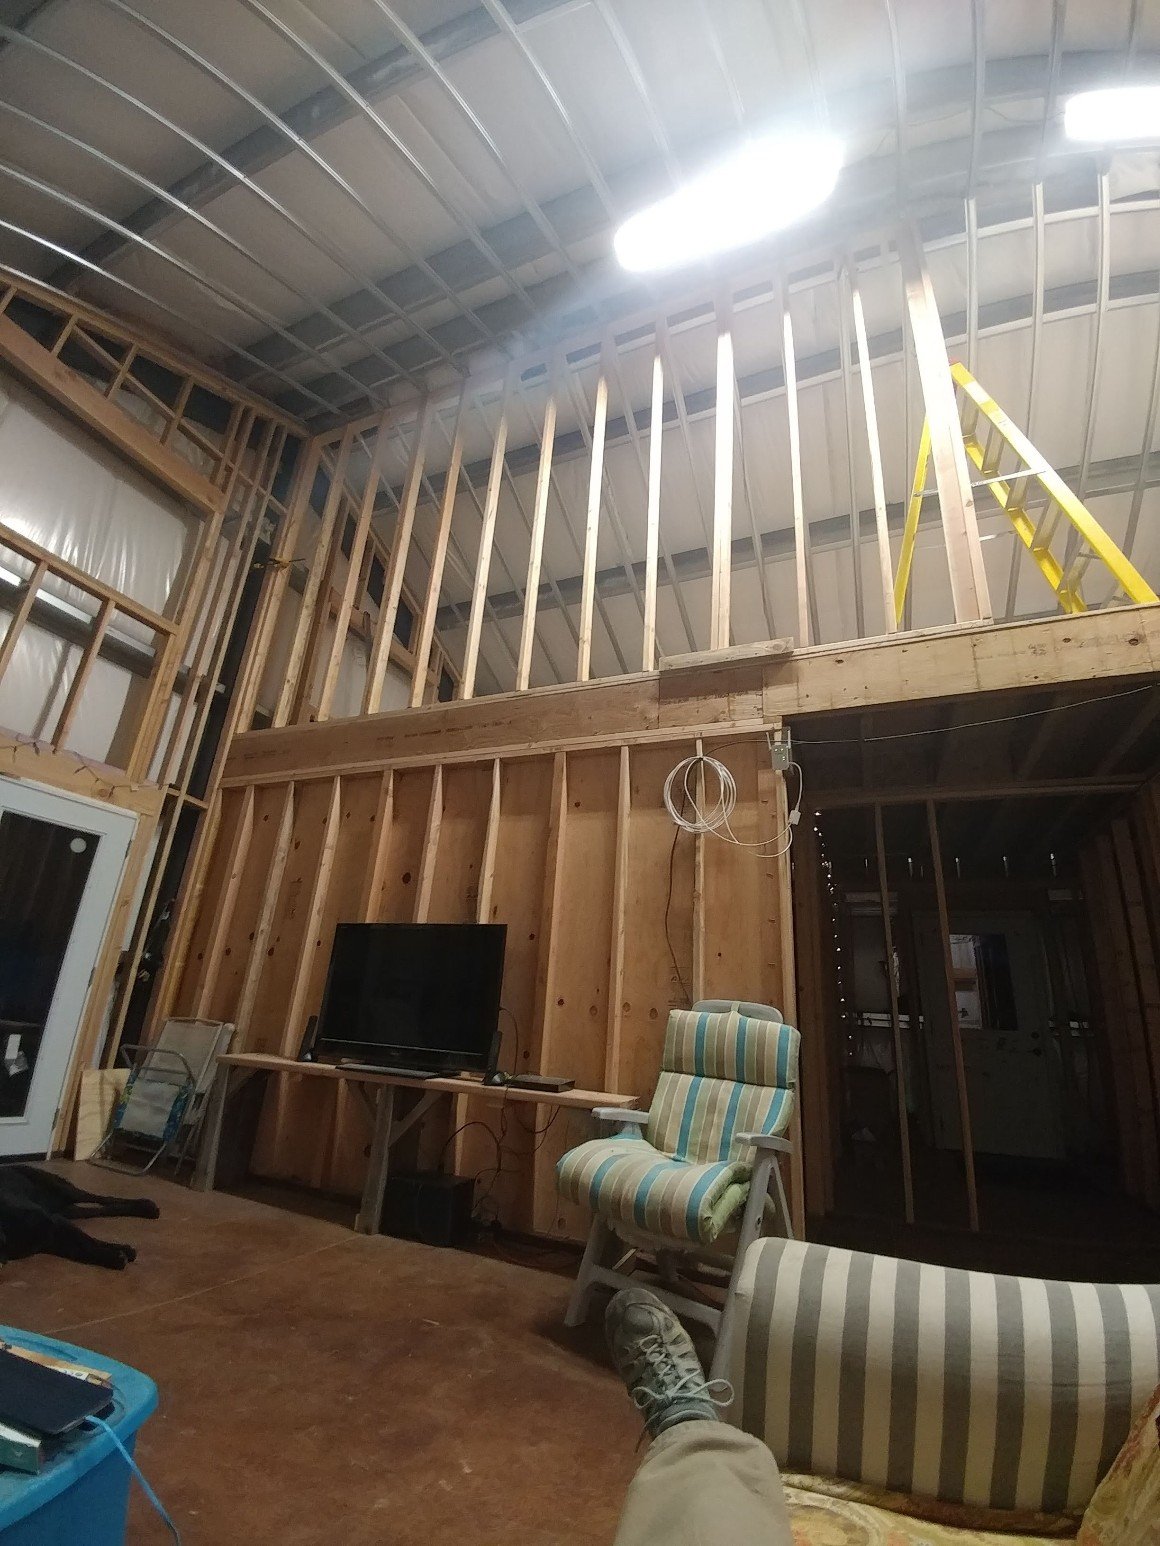
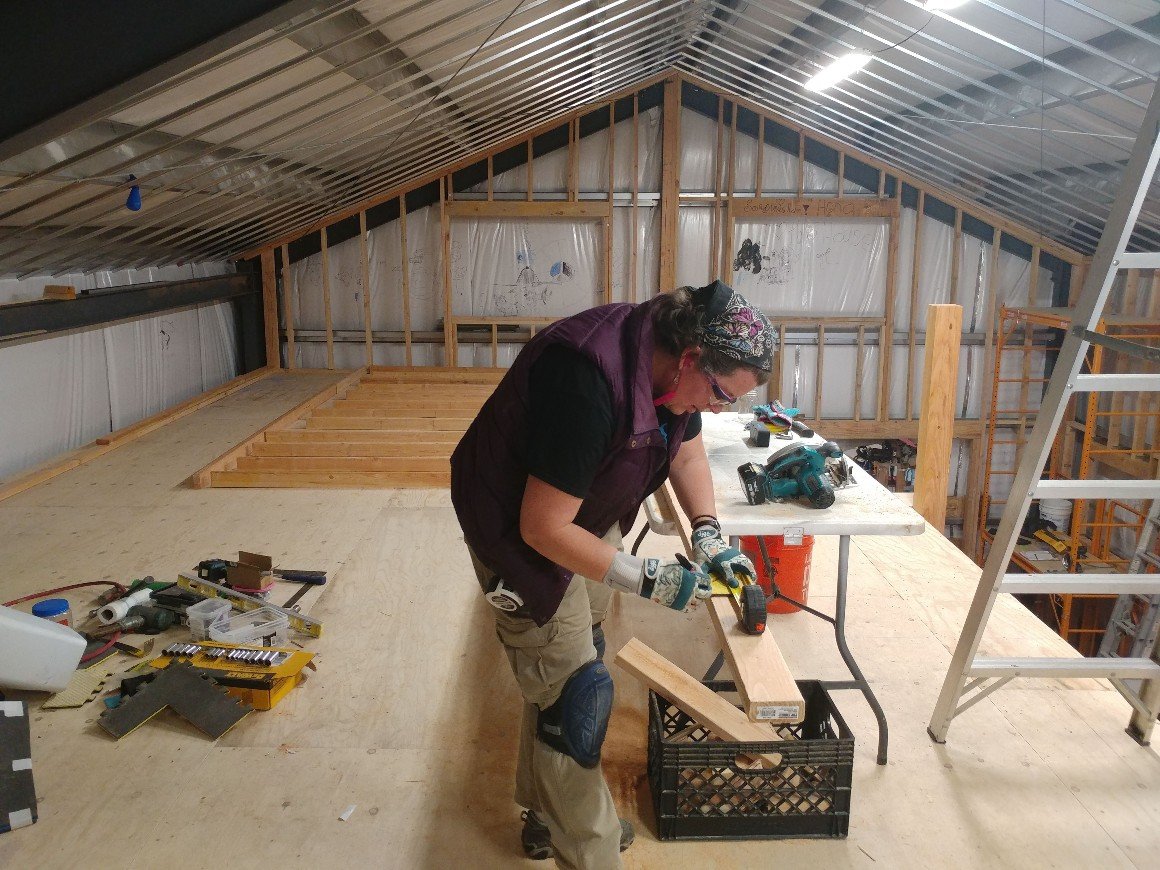
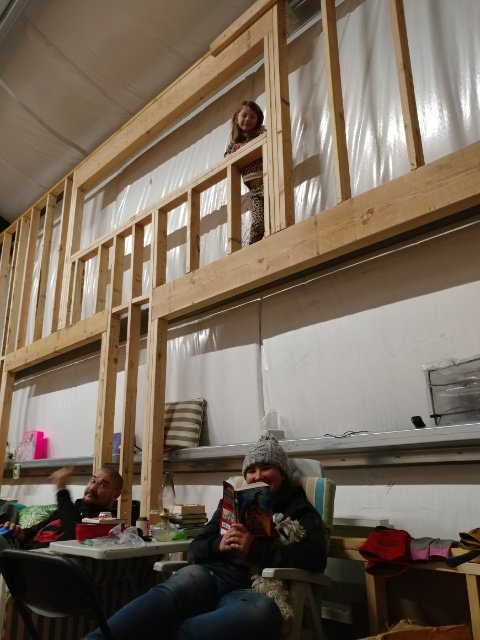
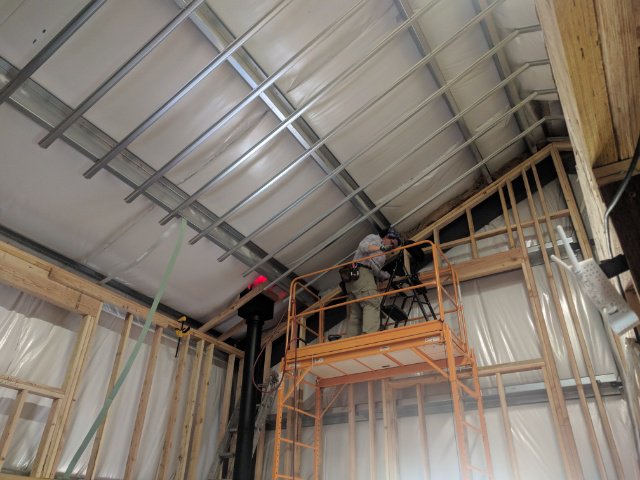
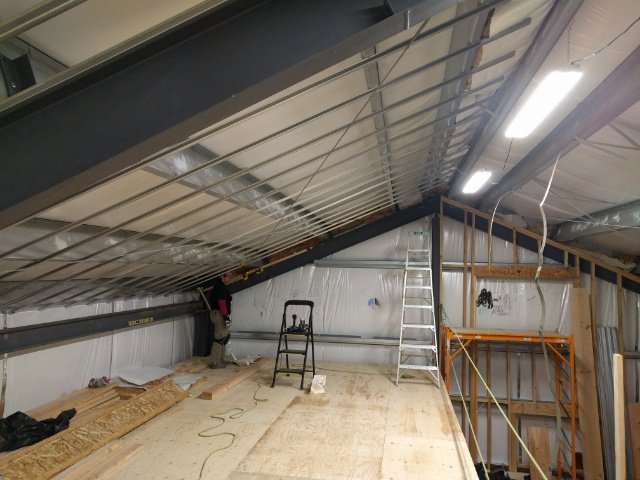
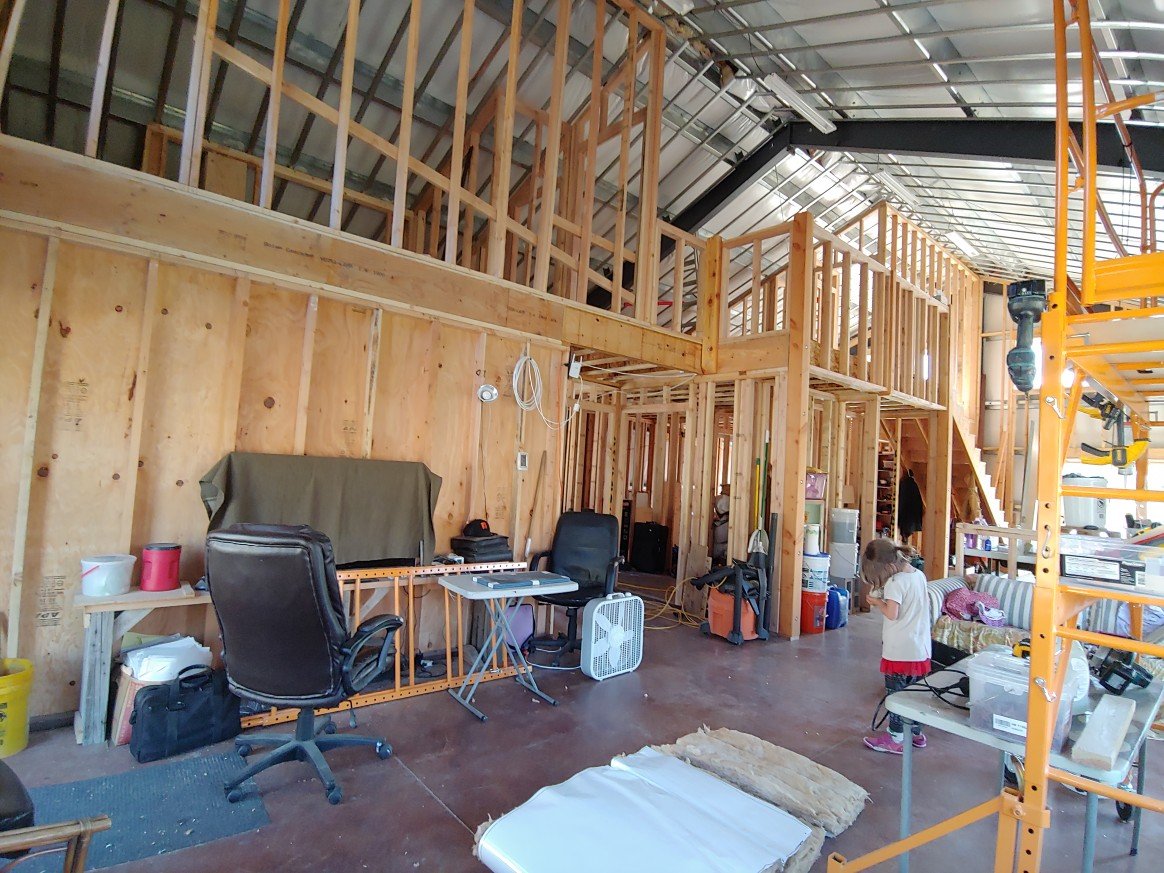
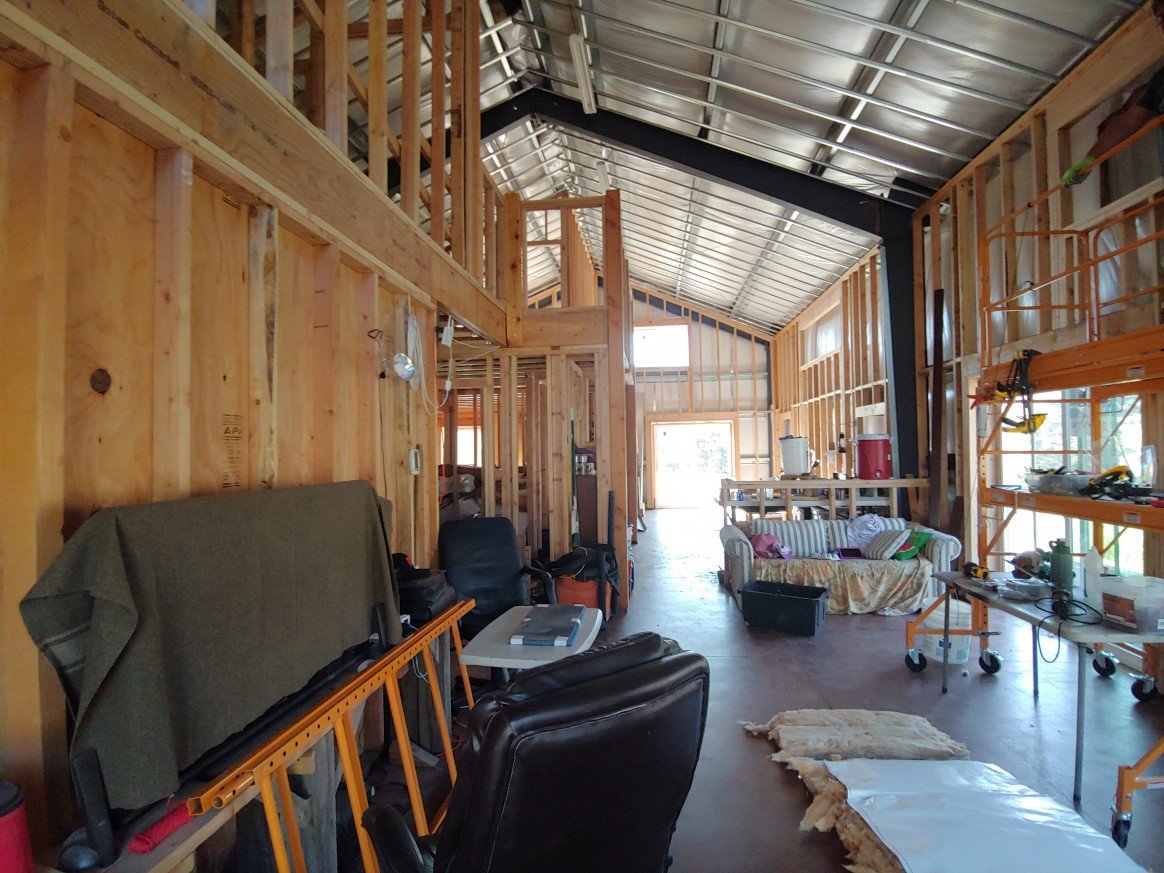
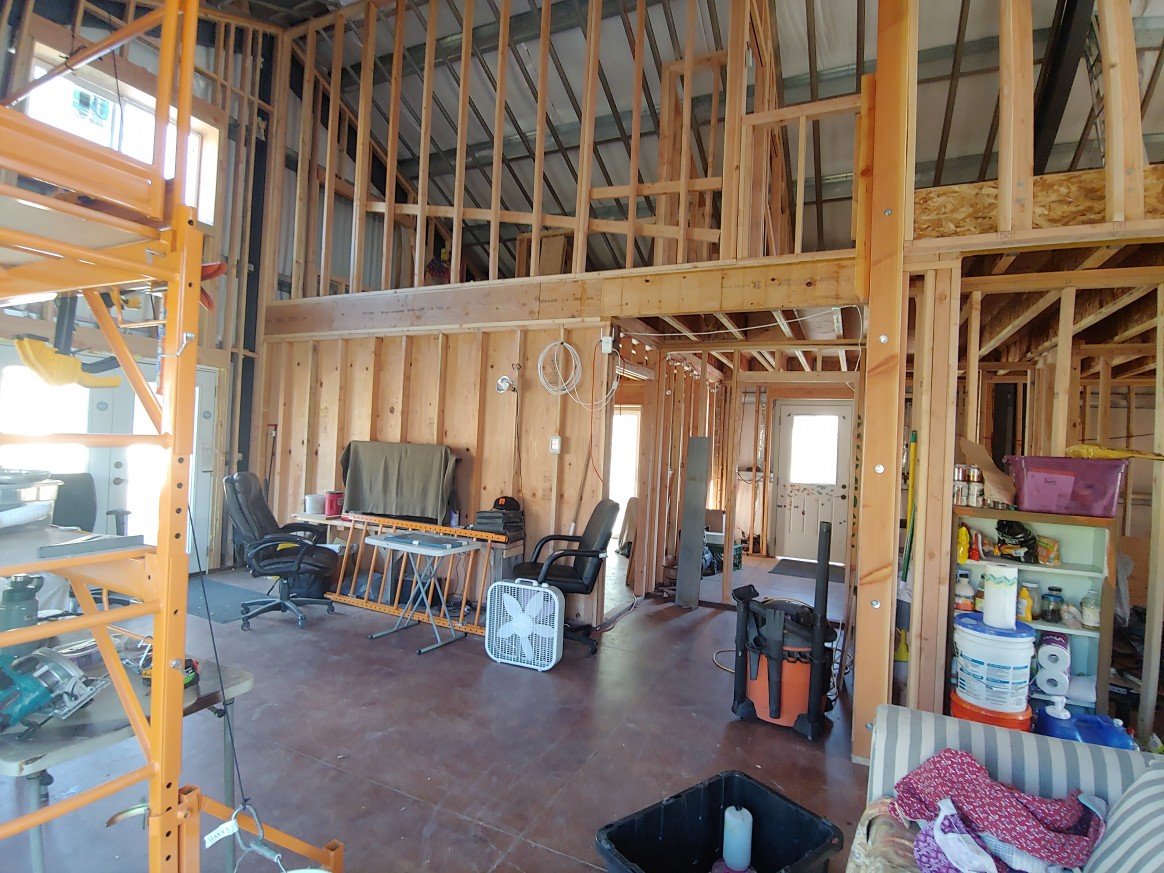
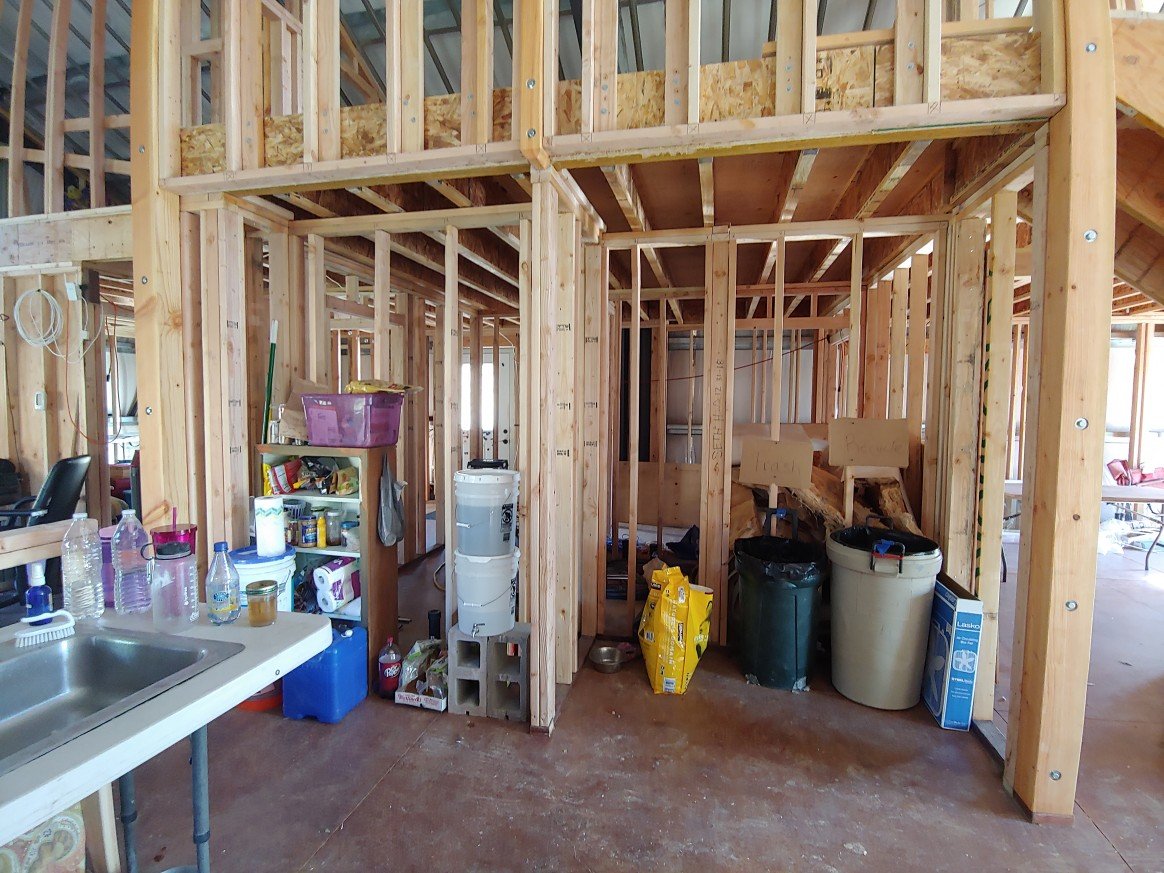
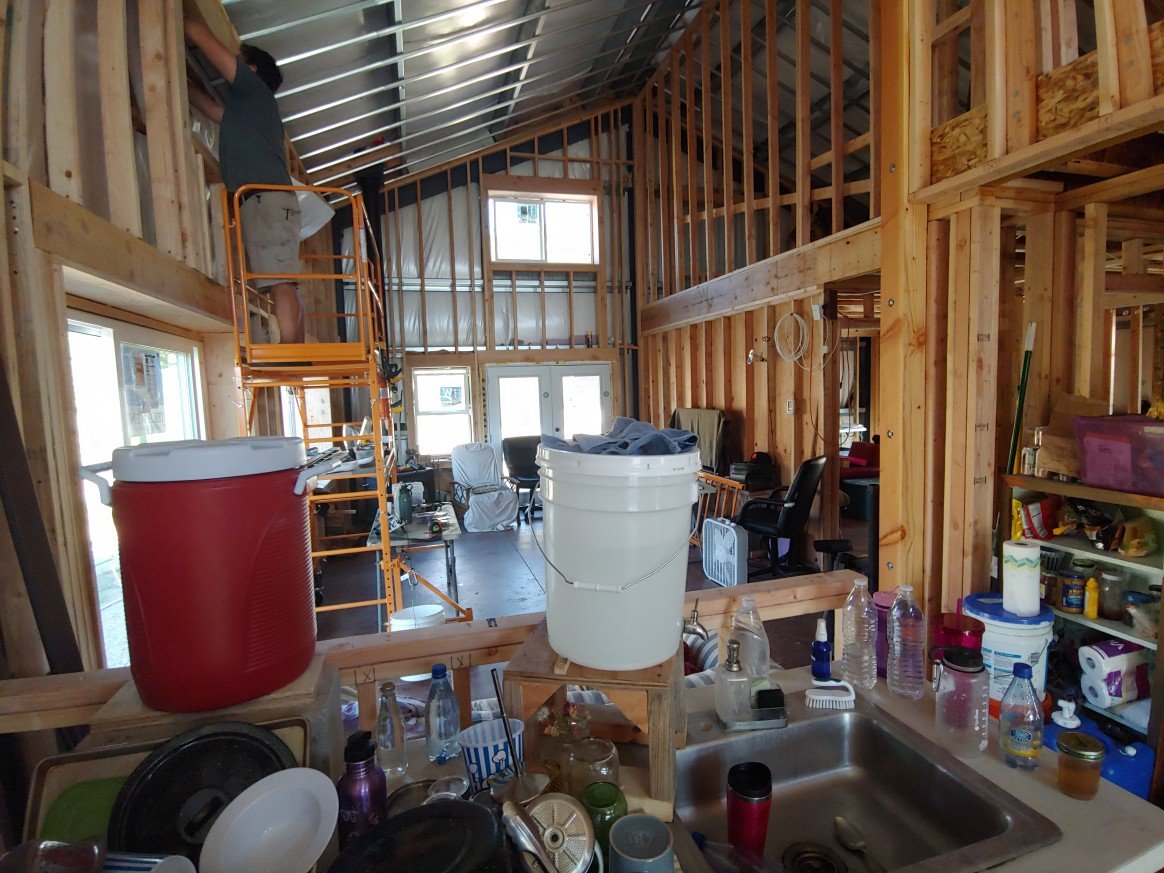
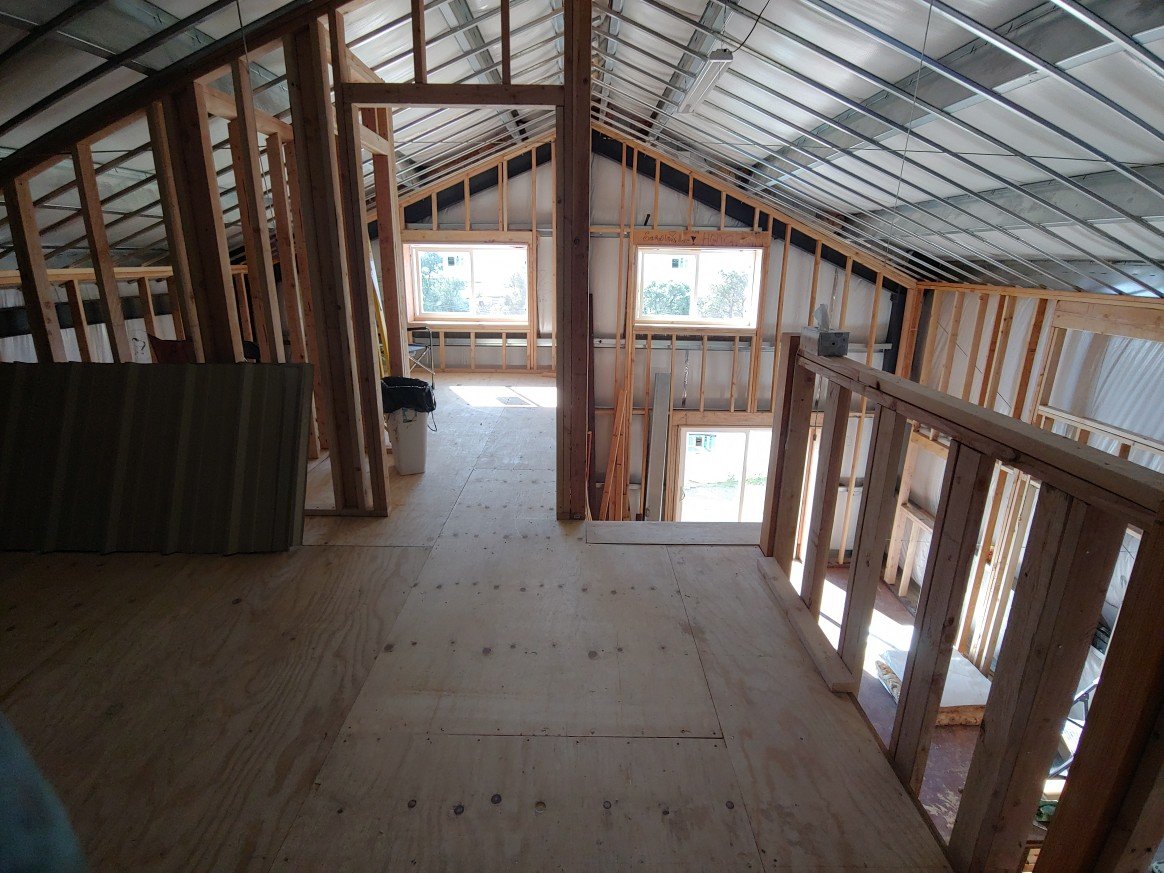
And now some pictures of the interior with no artificial lighting turned on. All the light in the following pics is natural.And in some of them, not every single window opening is actually cut yet! We love all the natural light in our house!

Window in Pajii’s room still uncut (on the right). That is a south facing window, so it now let’s in a ton of light.

One of the upper great room windows waiting to be cut

You can see Hubs on the scaffold just starting to work on one of the upper great room windows.

Window in the girls’ room still not cut either

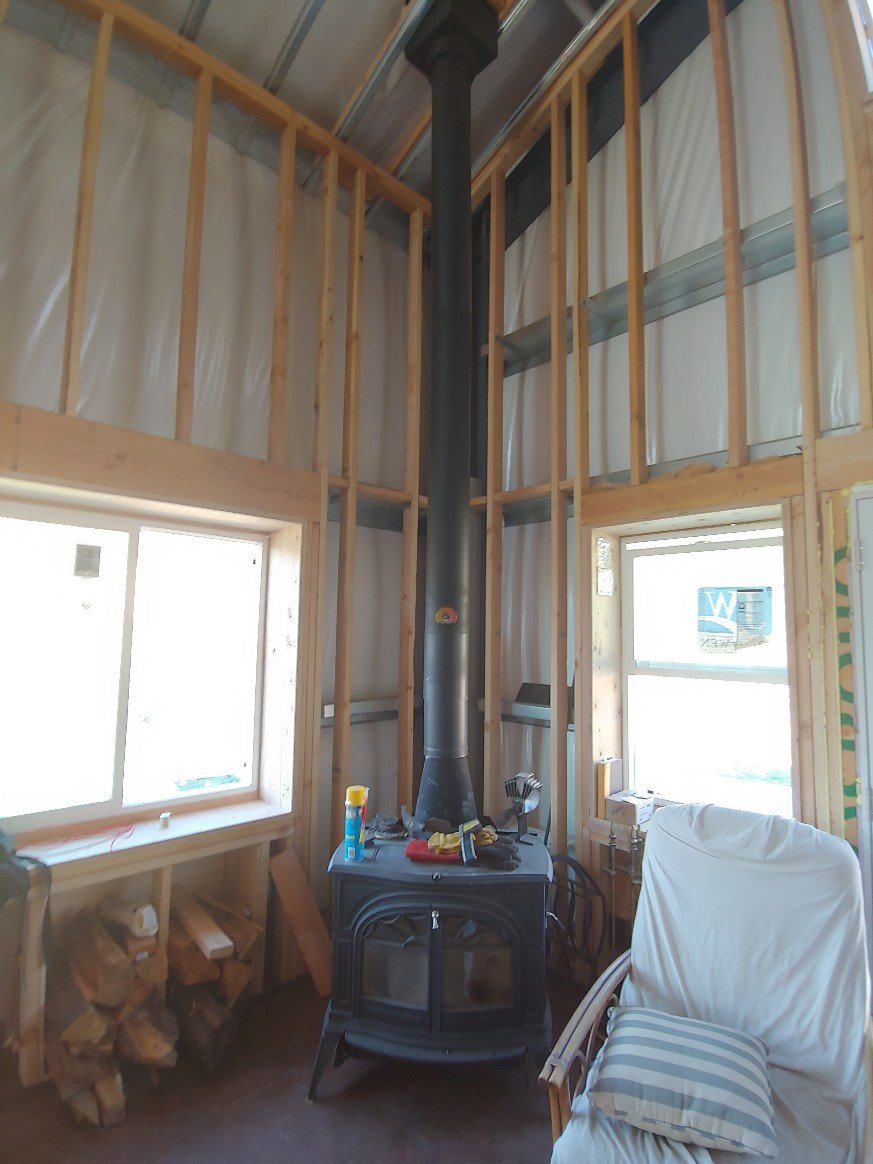
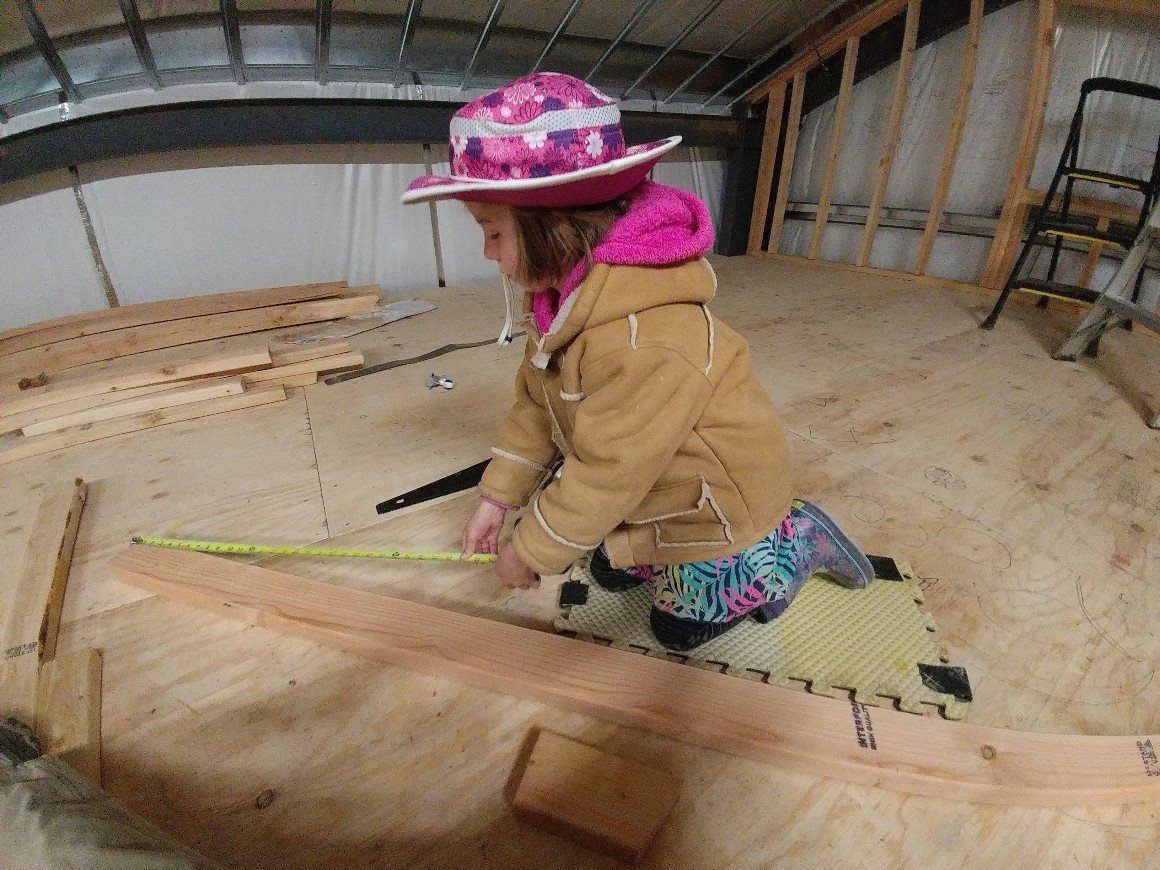
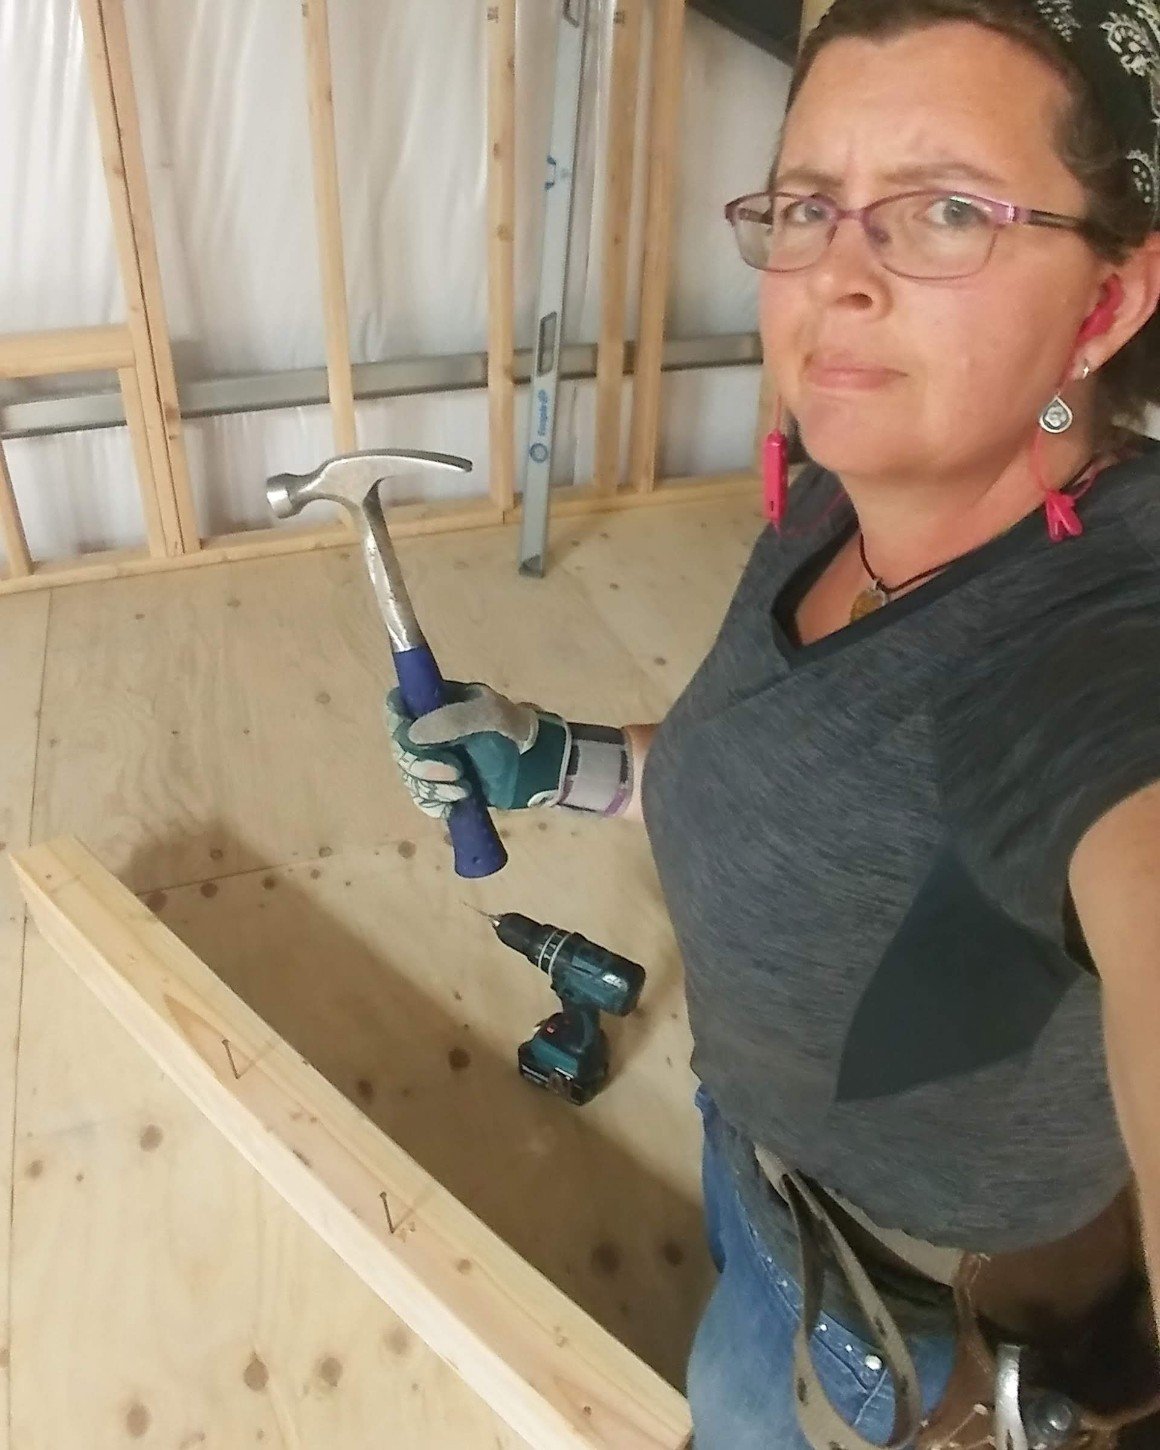
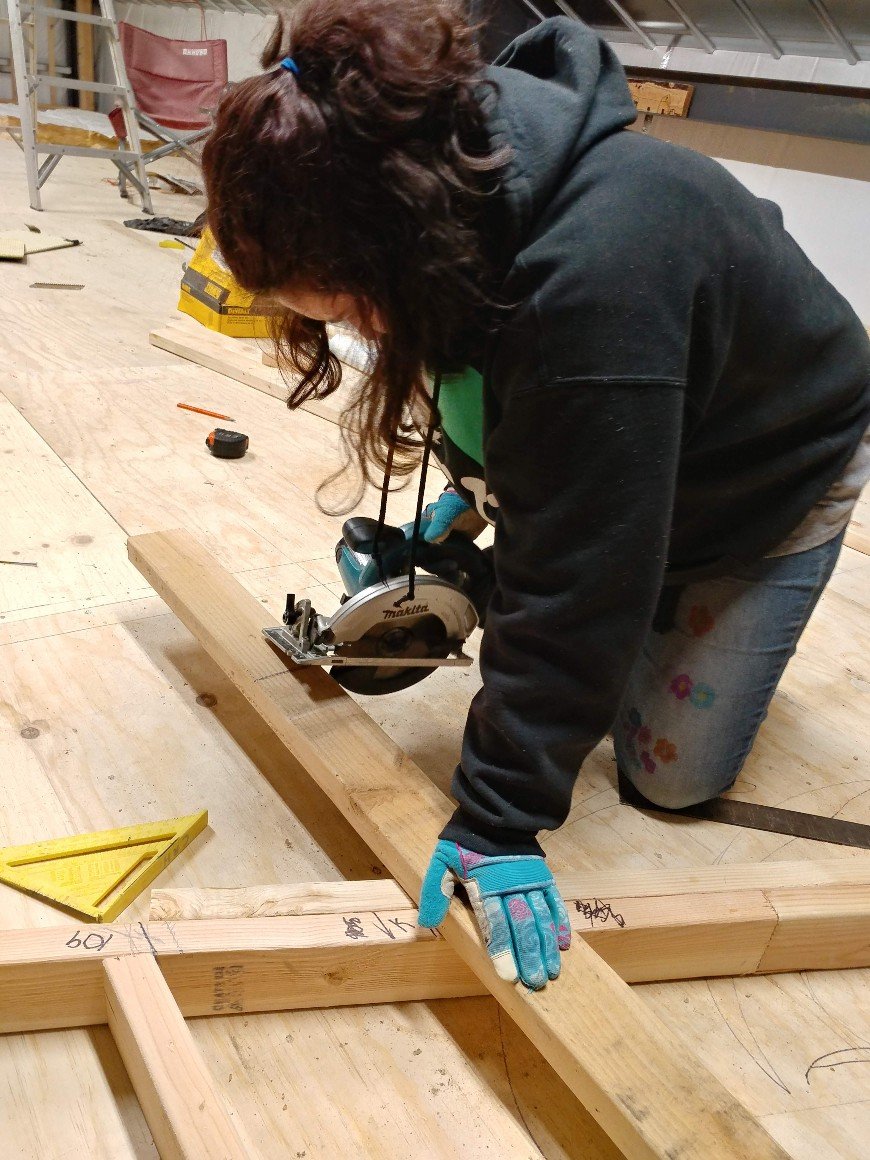
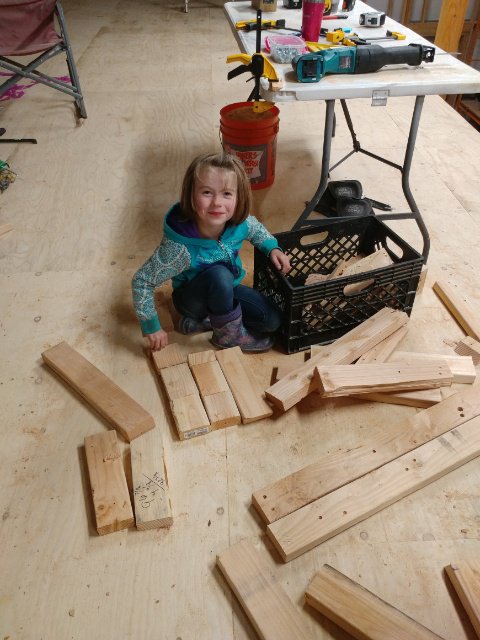
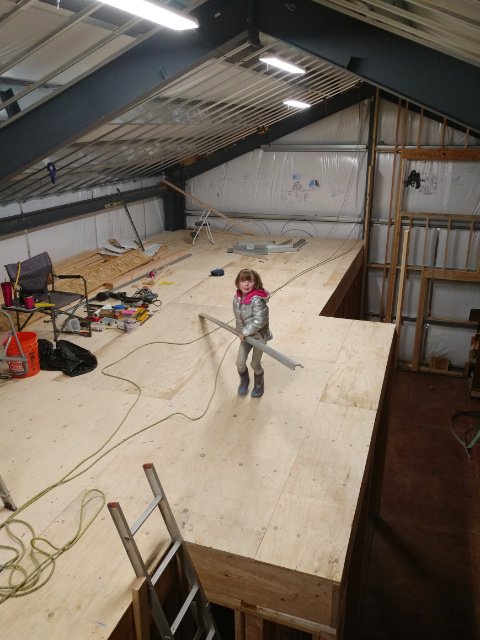
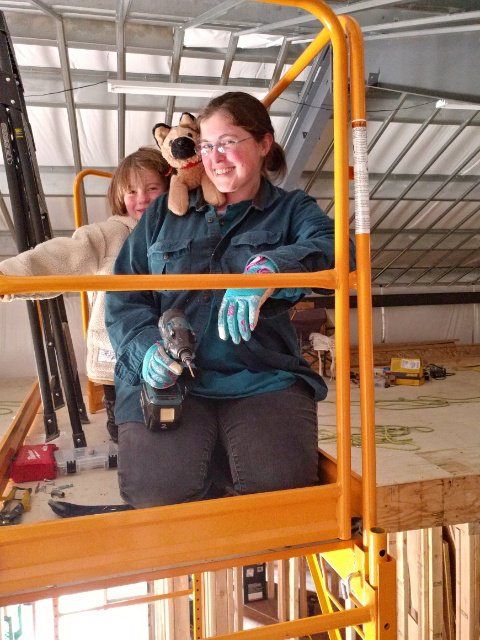
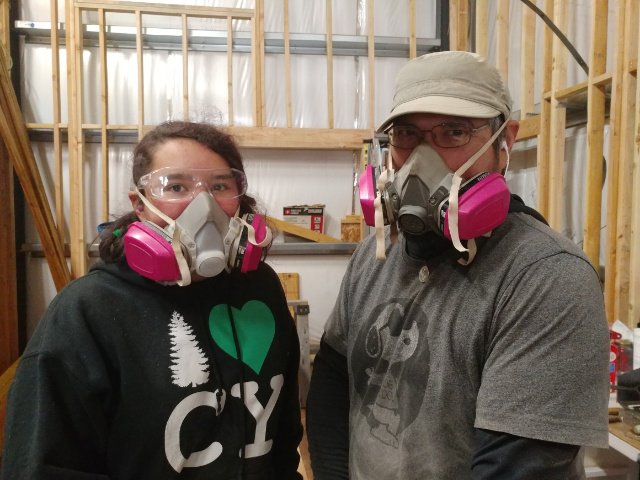
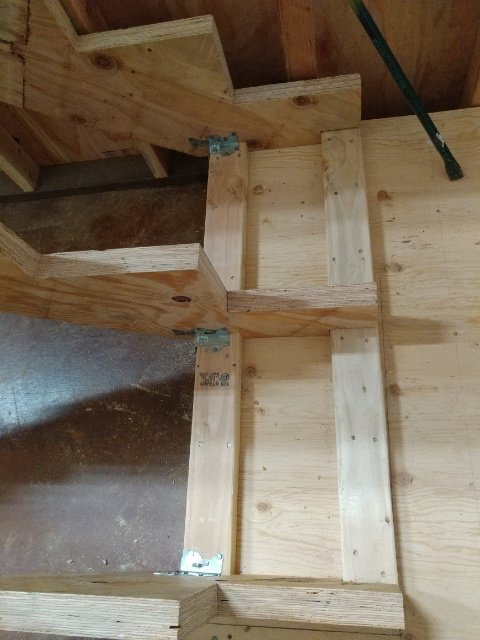
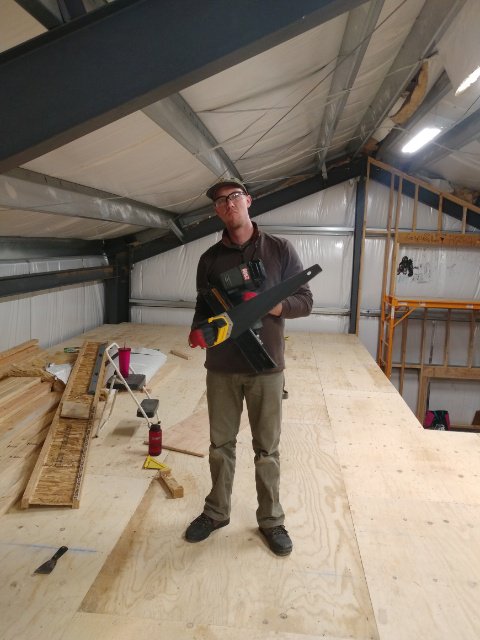
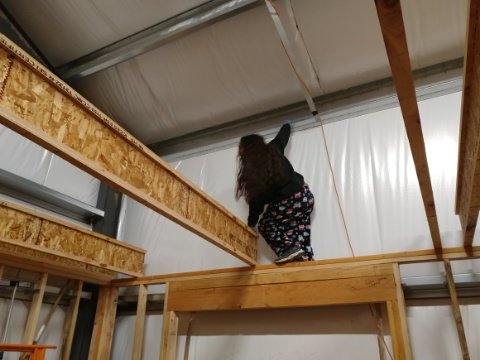
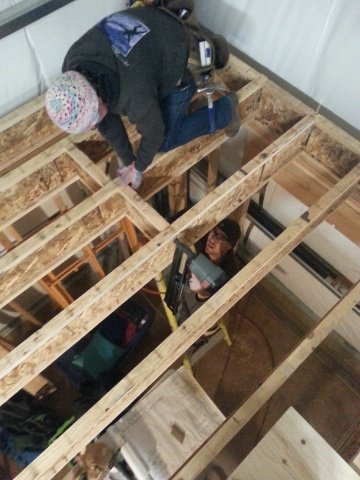
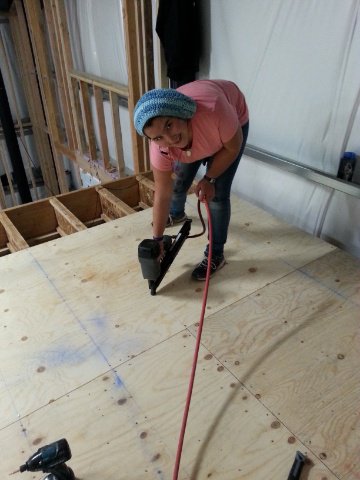
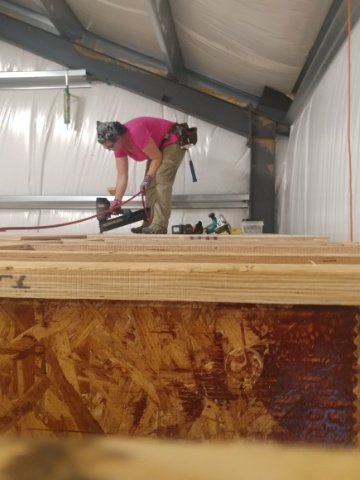
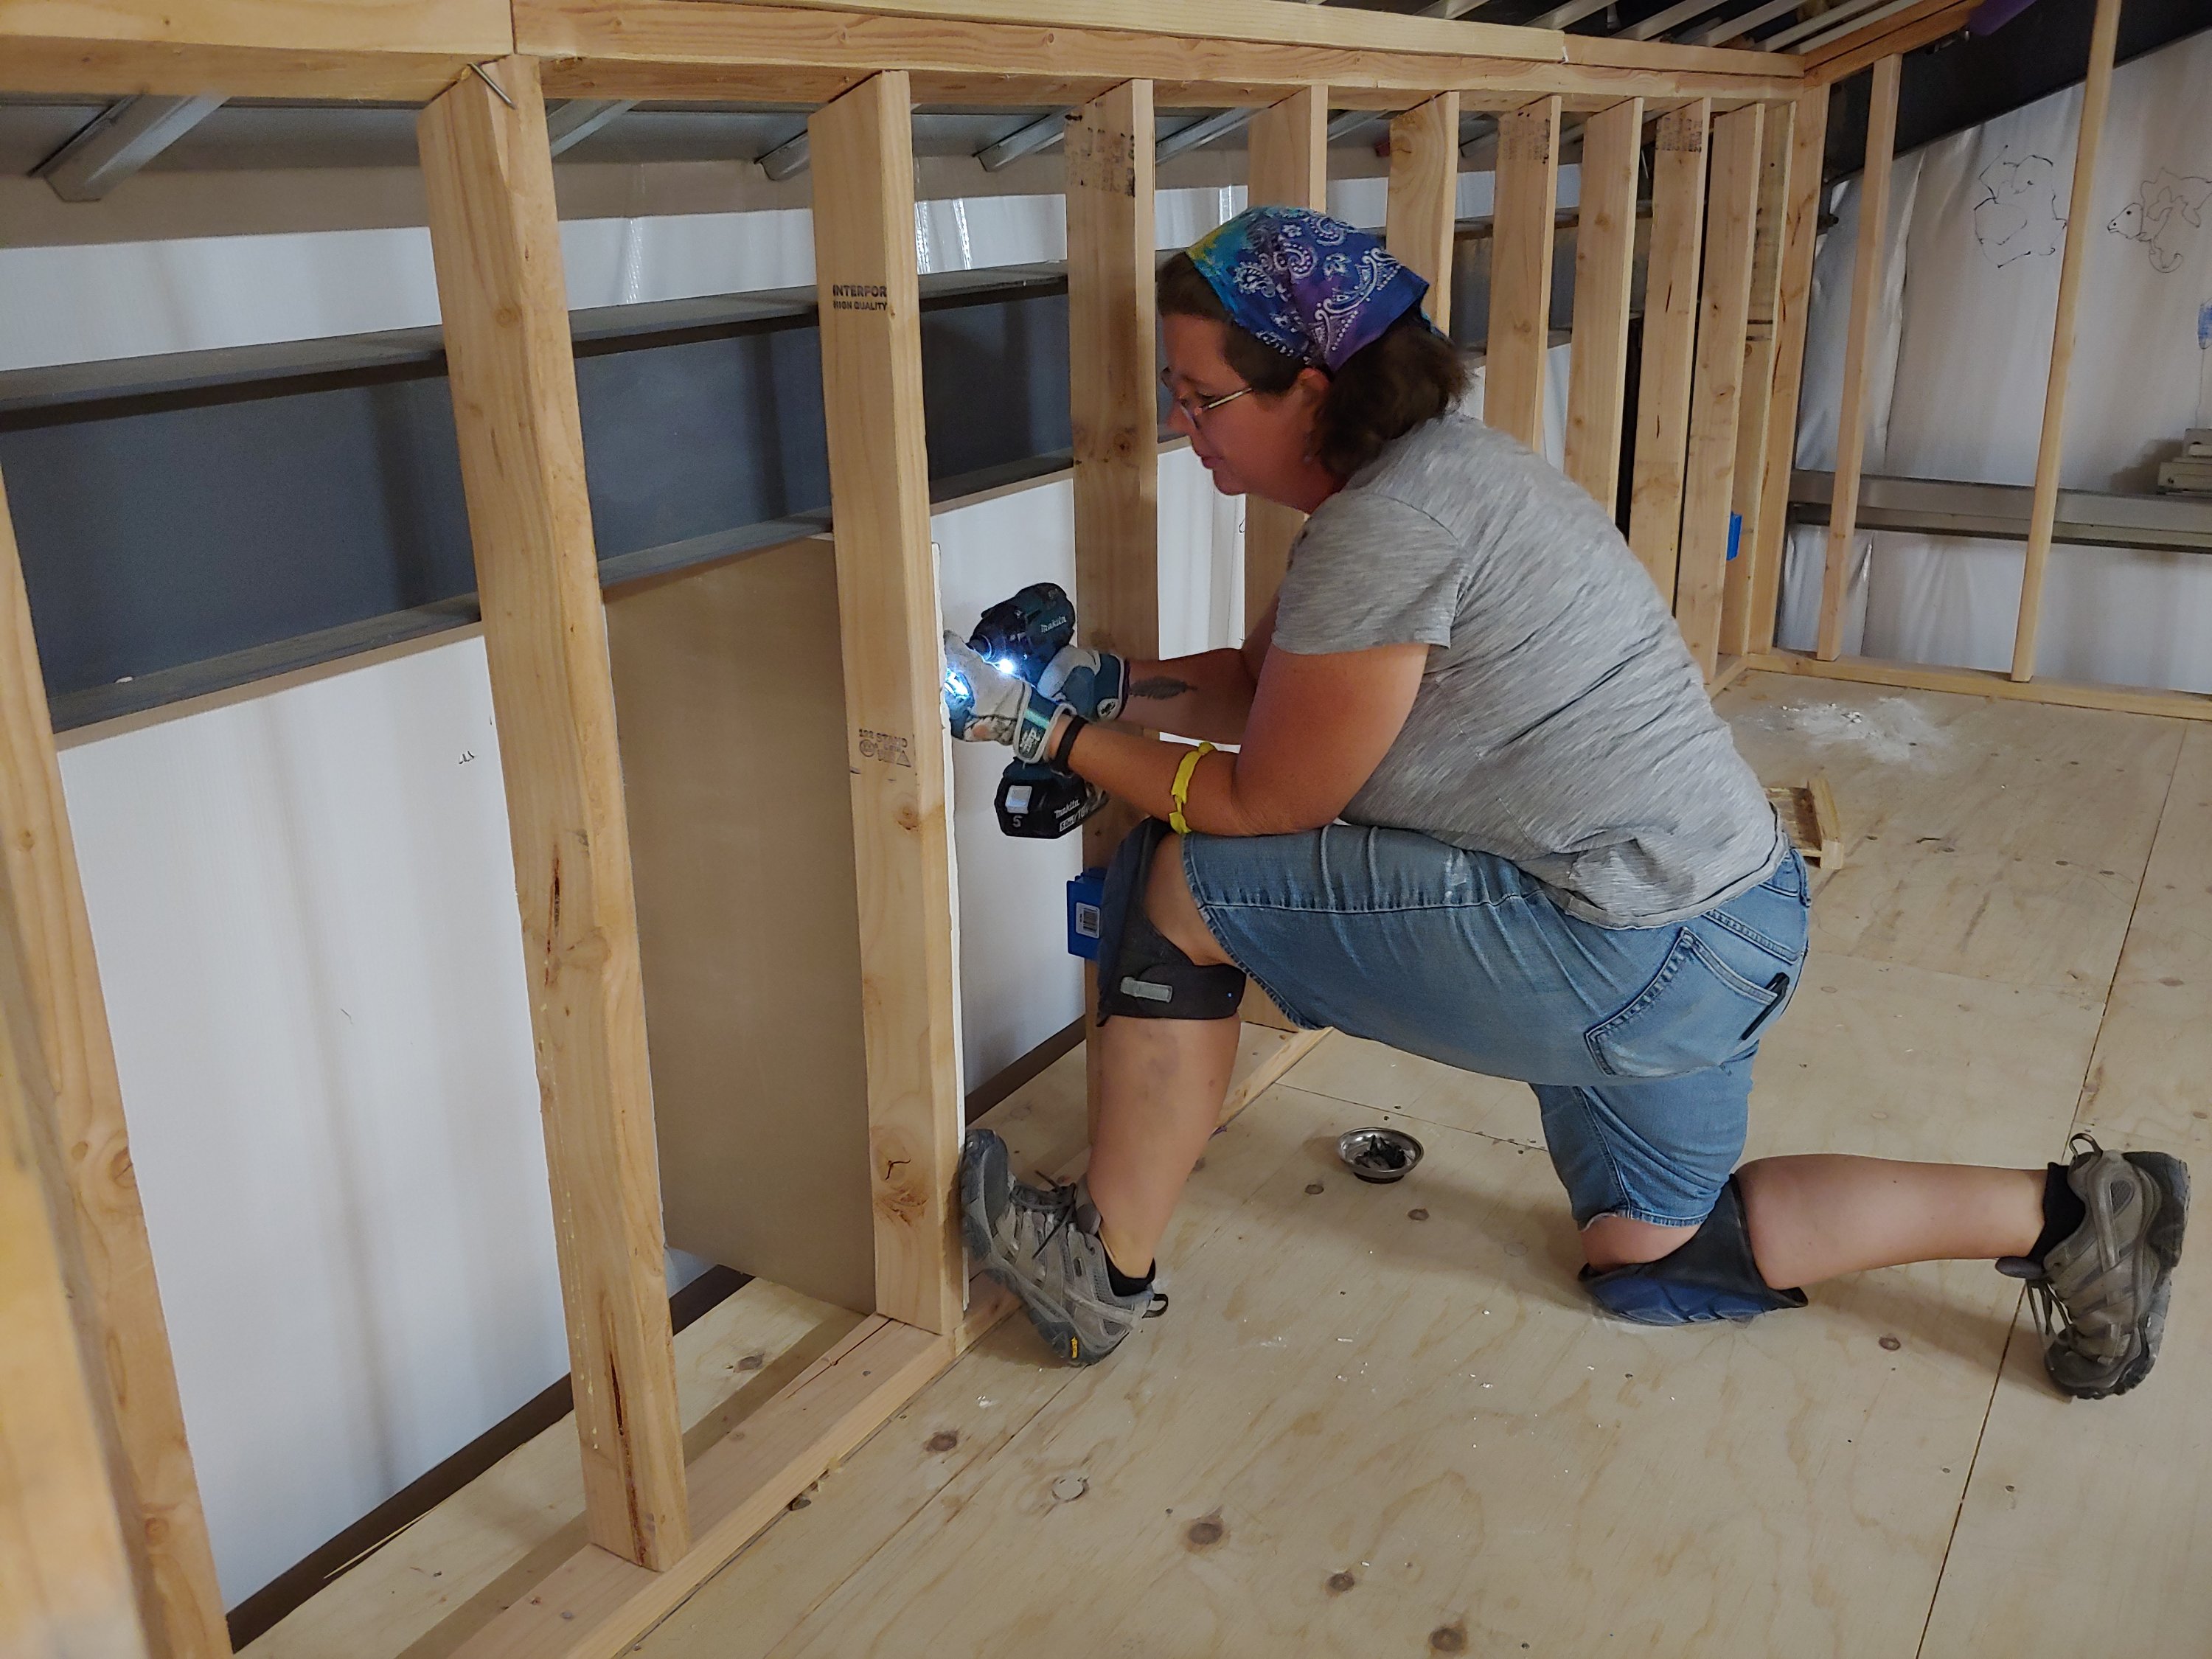
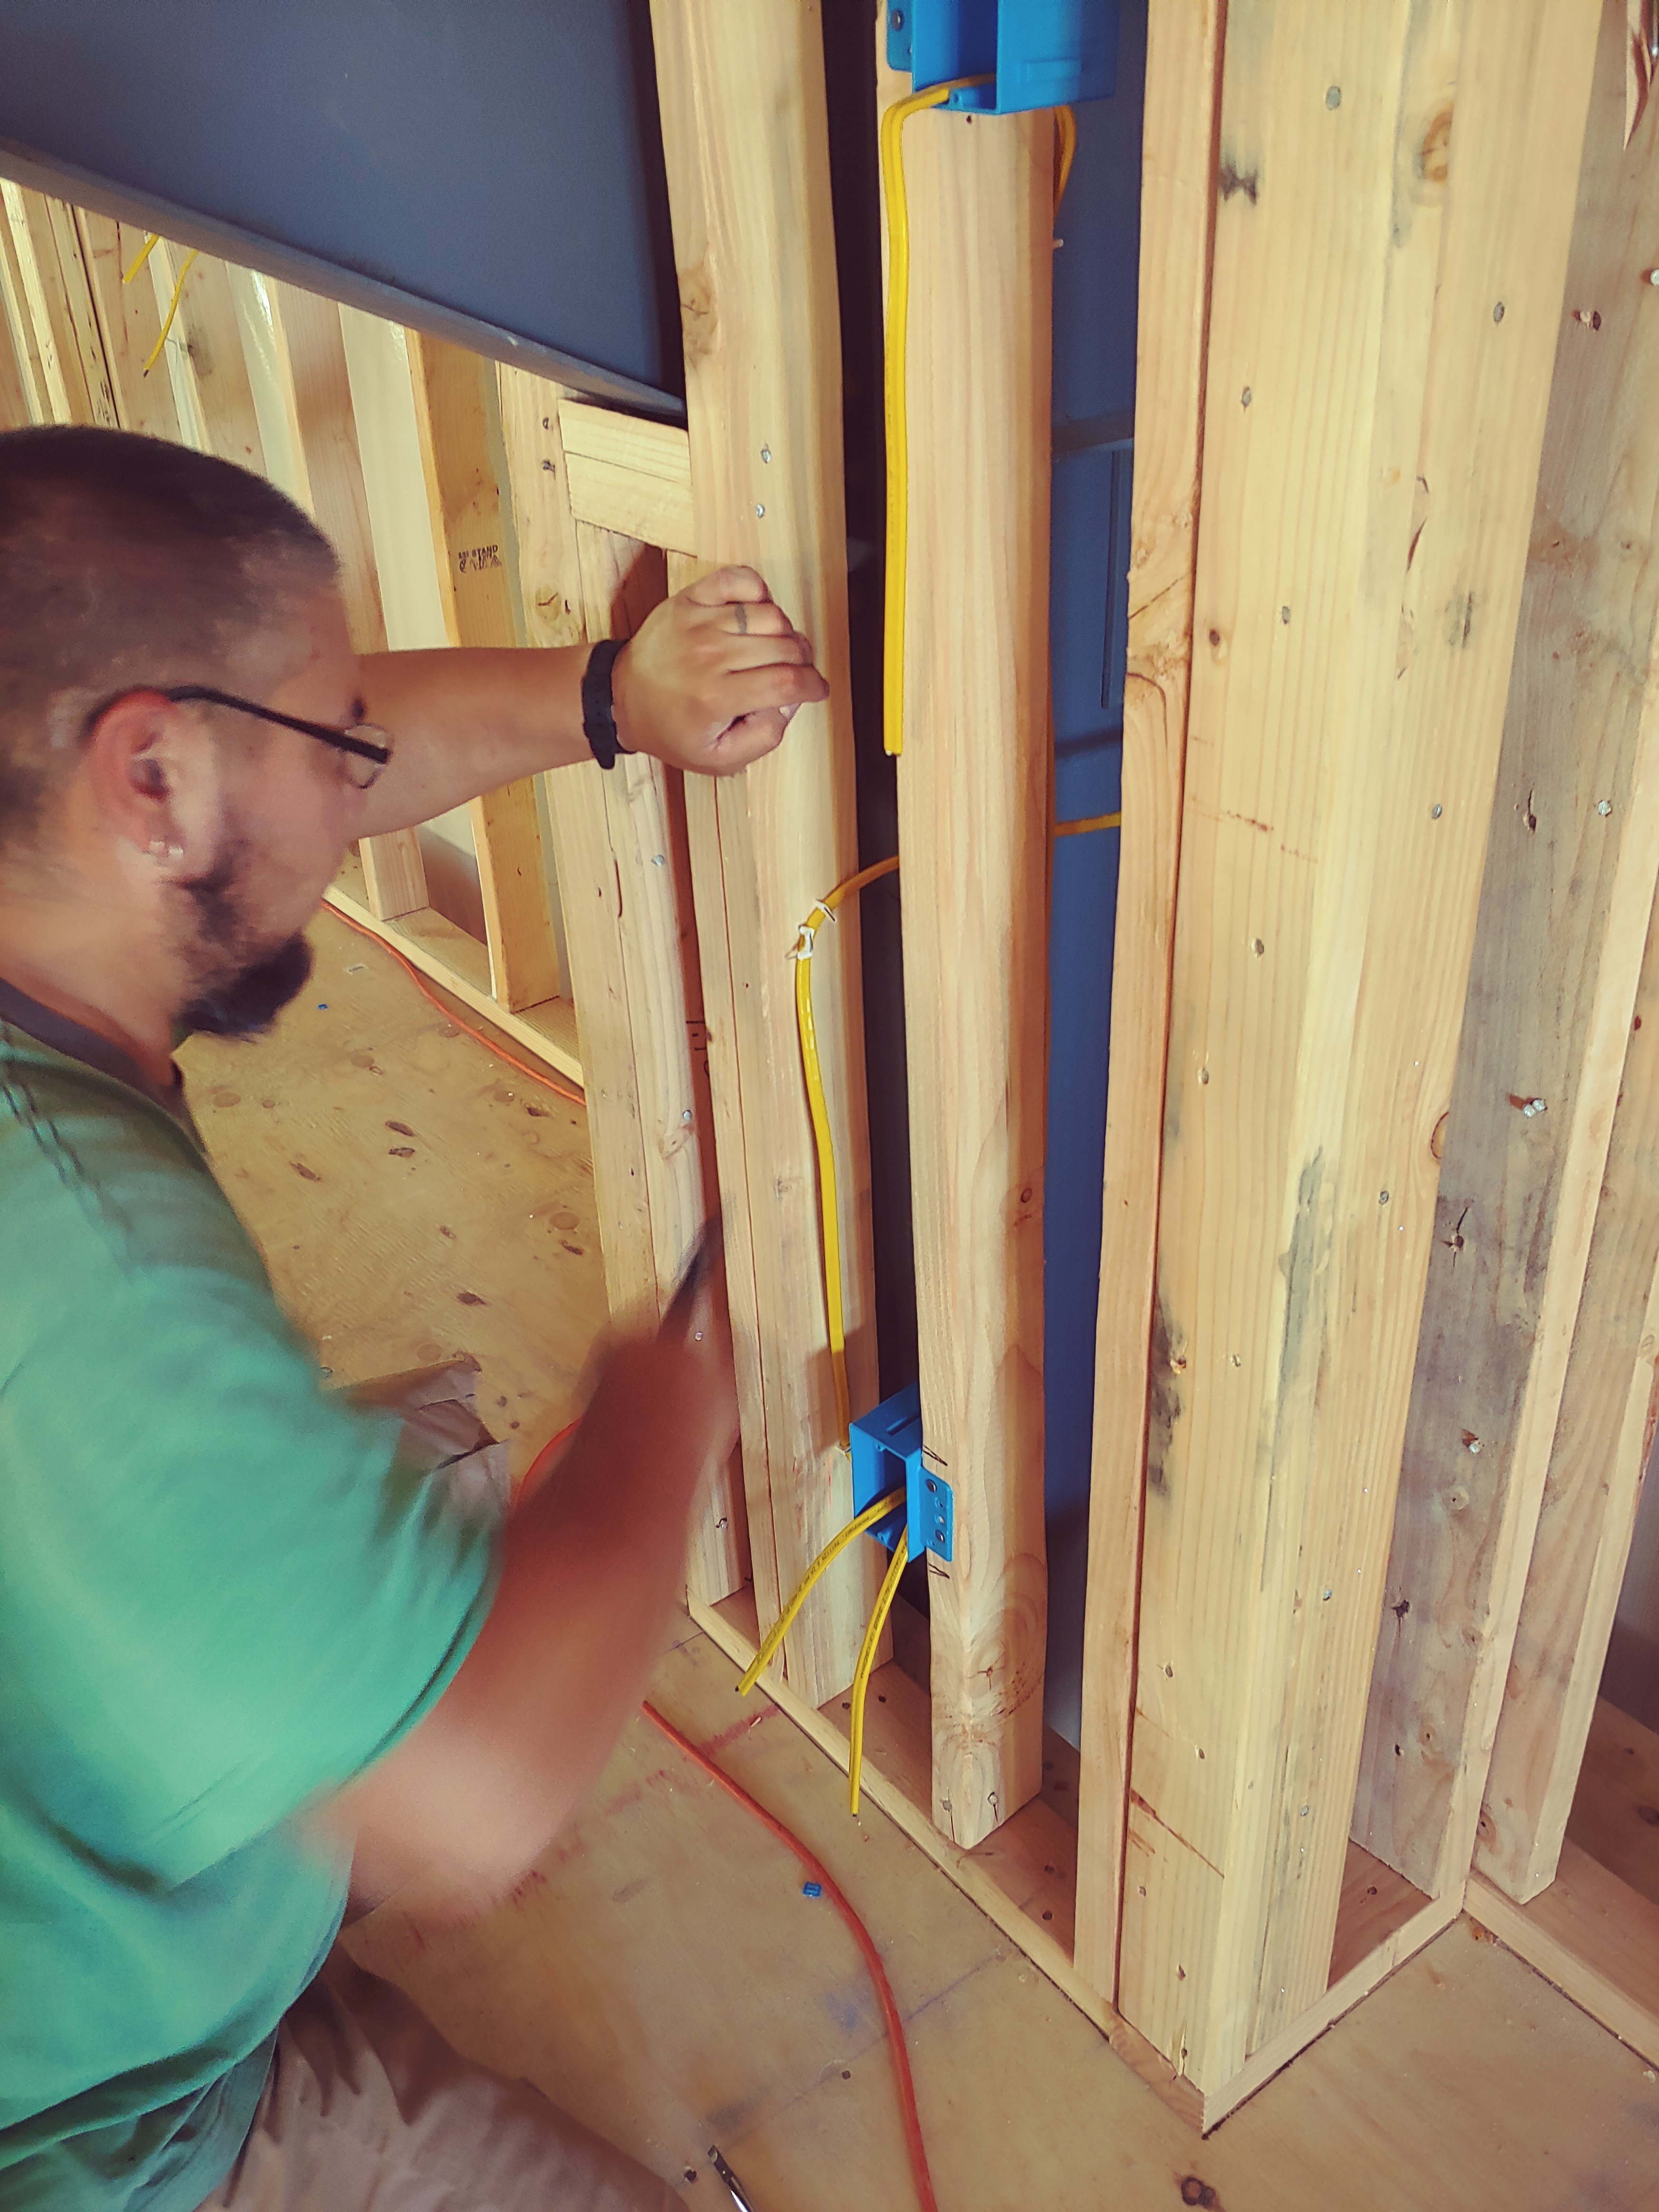
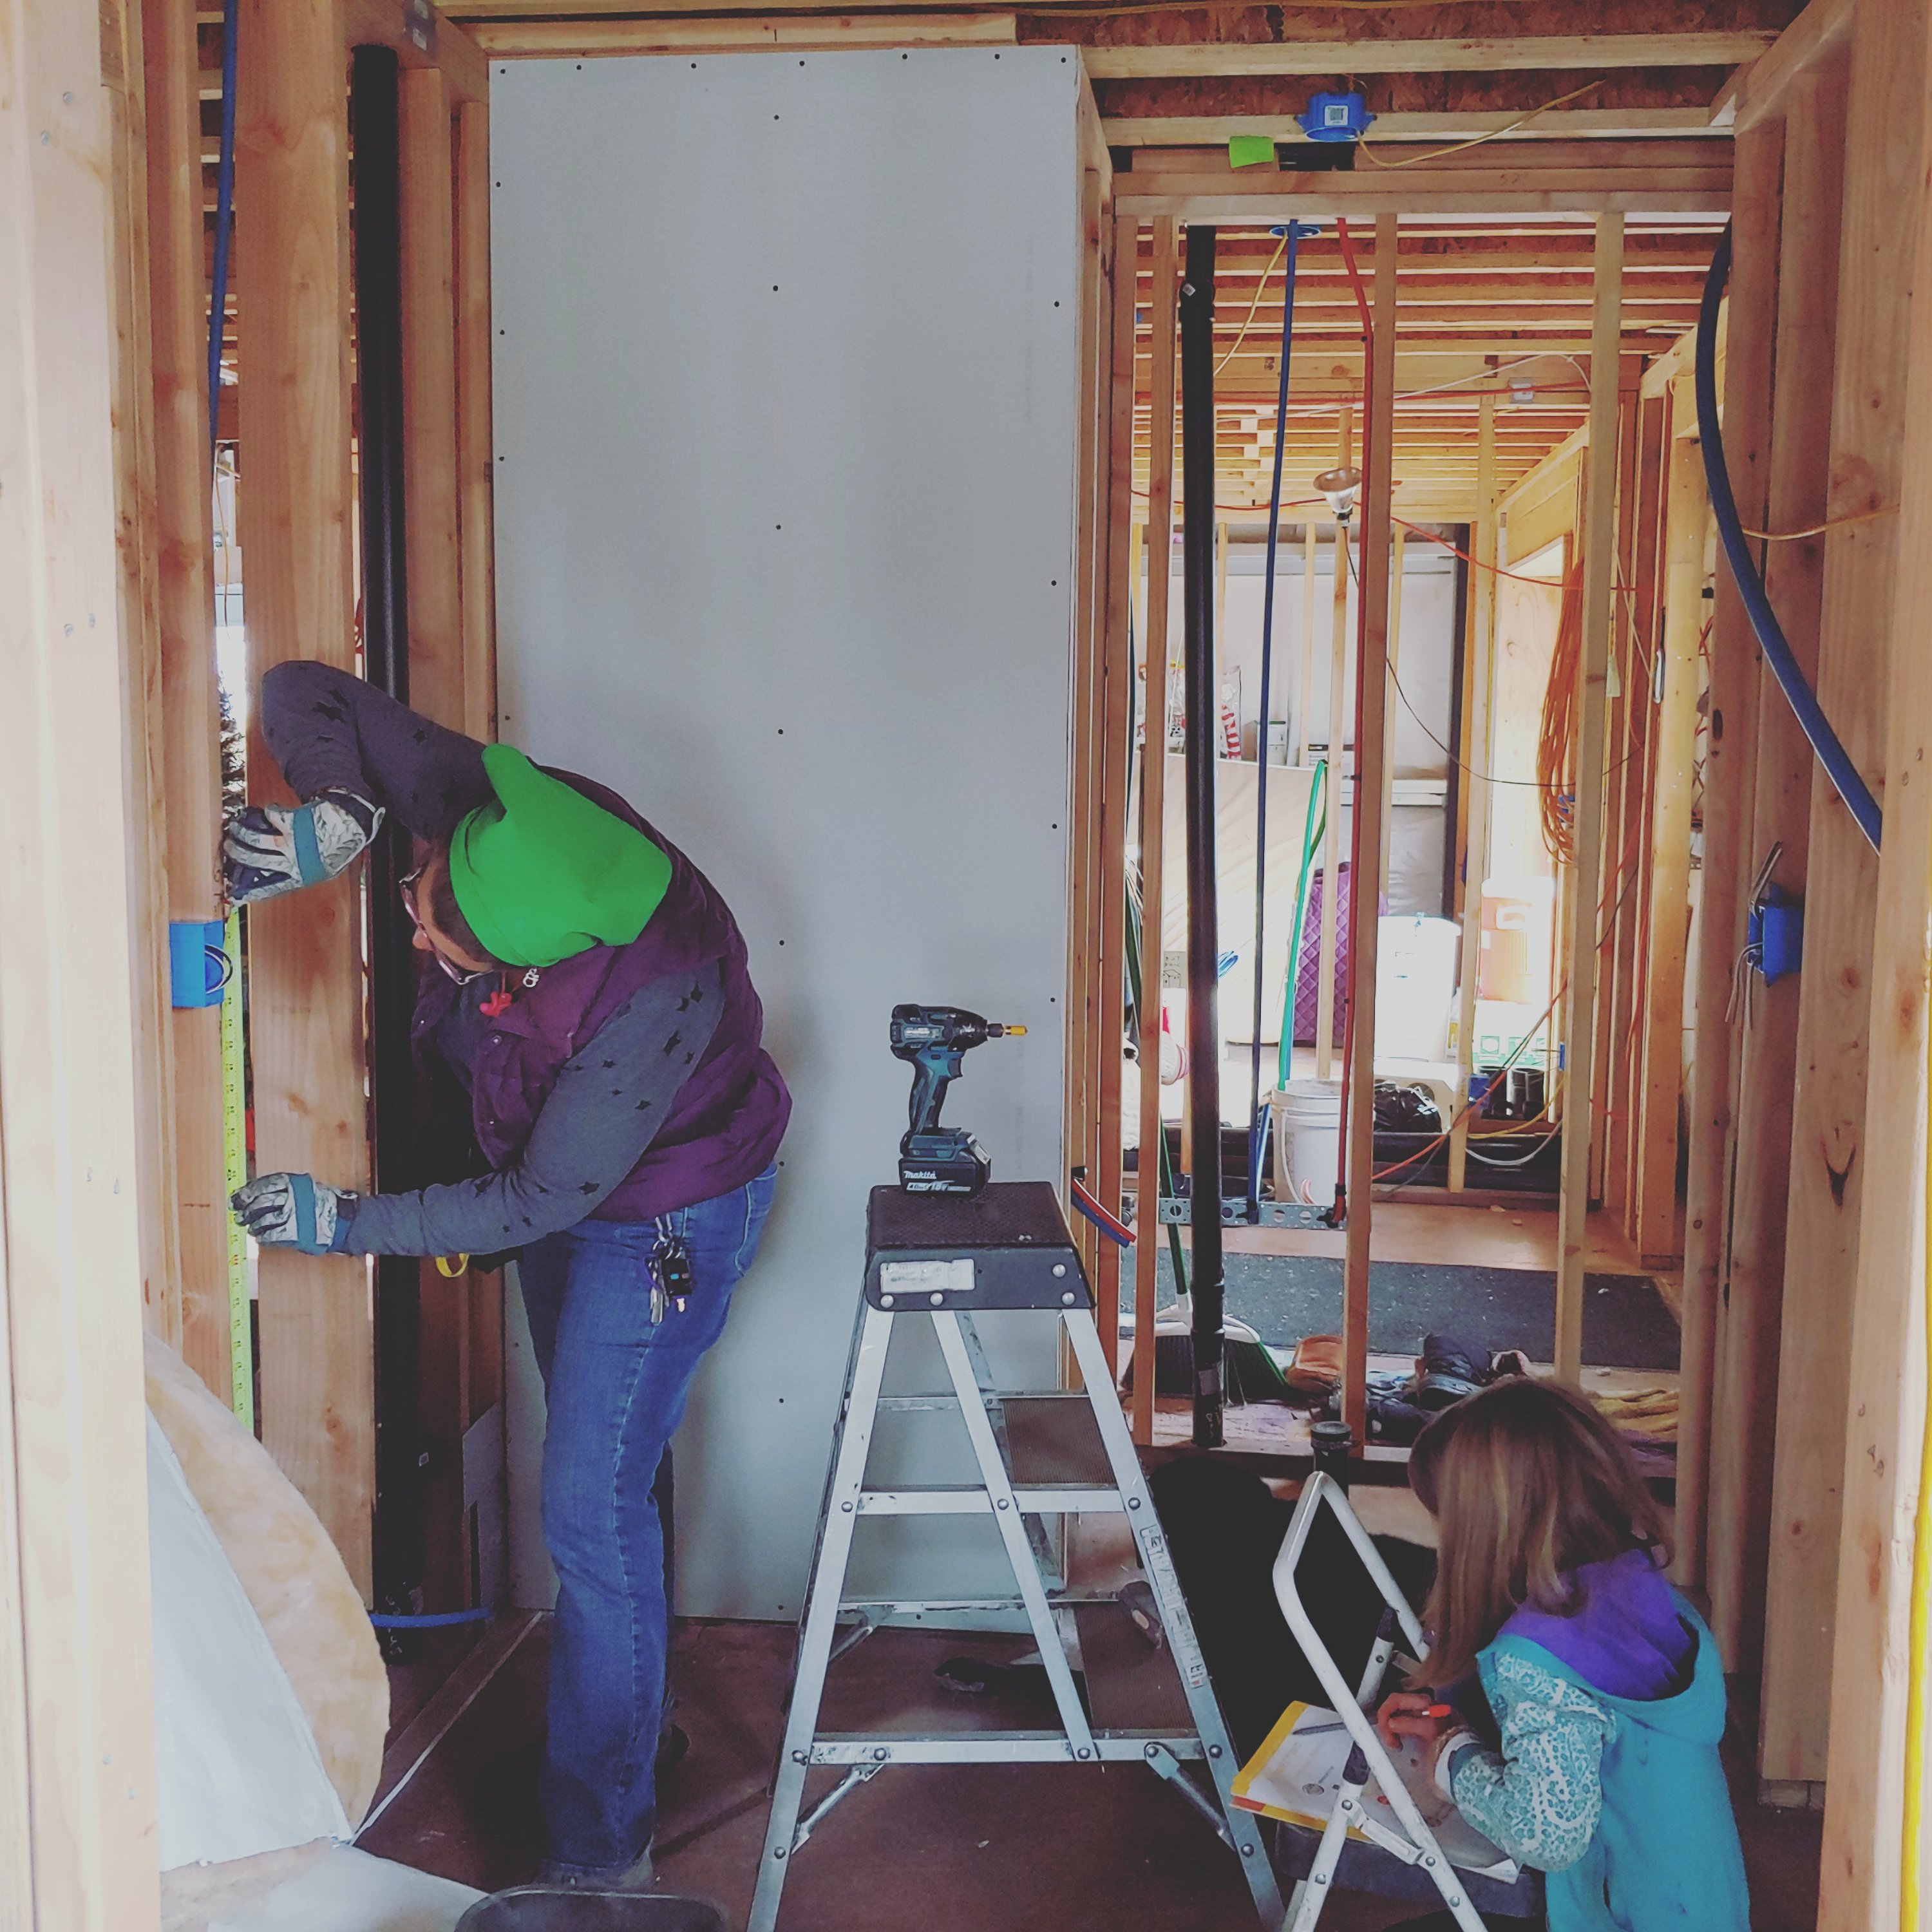
And that brings us pretty much up to date on the actual house!As I said in my last post, windows and doors pretty much ate up June. July was taken up with a family vacation. And August has been just little things here and there.Though we did figure out where all our outlets and light fixtures are gonna go!Princess Girl and I installed all the boxes.
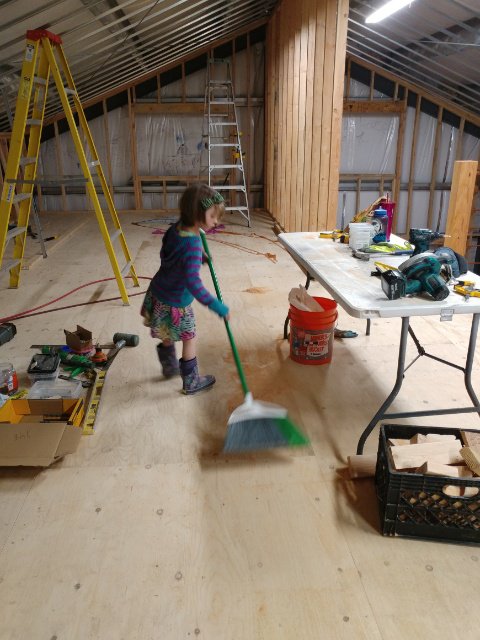
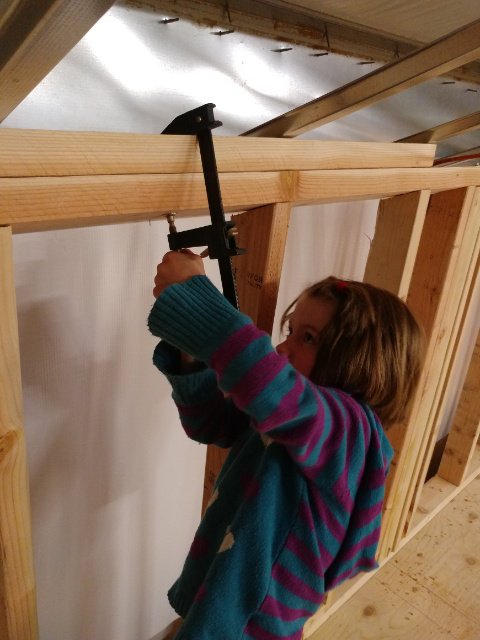
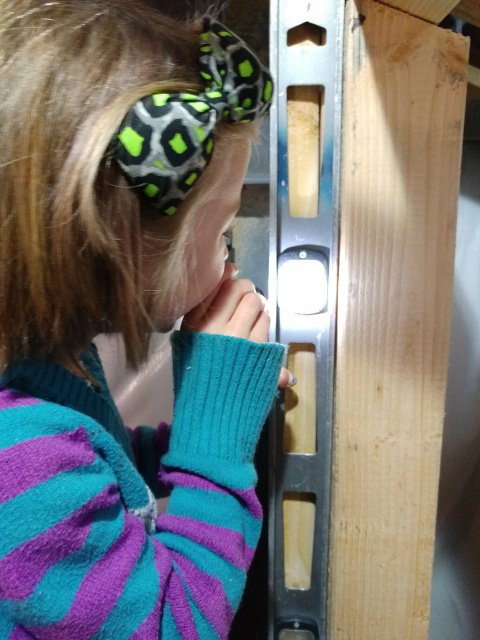
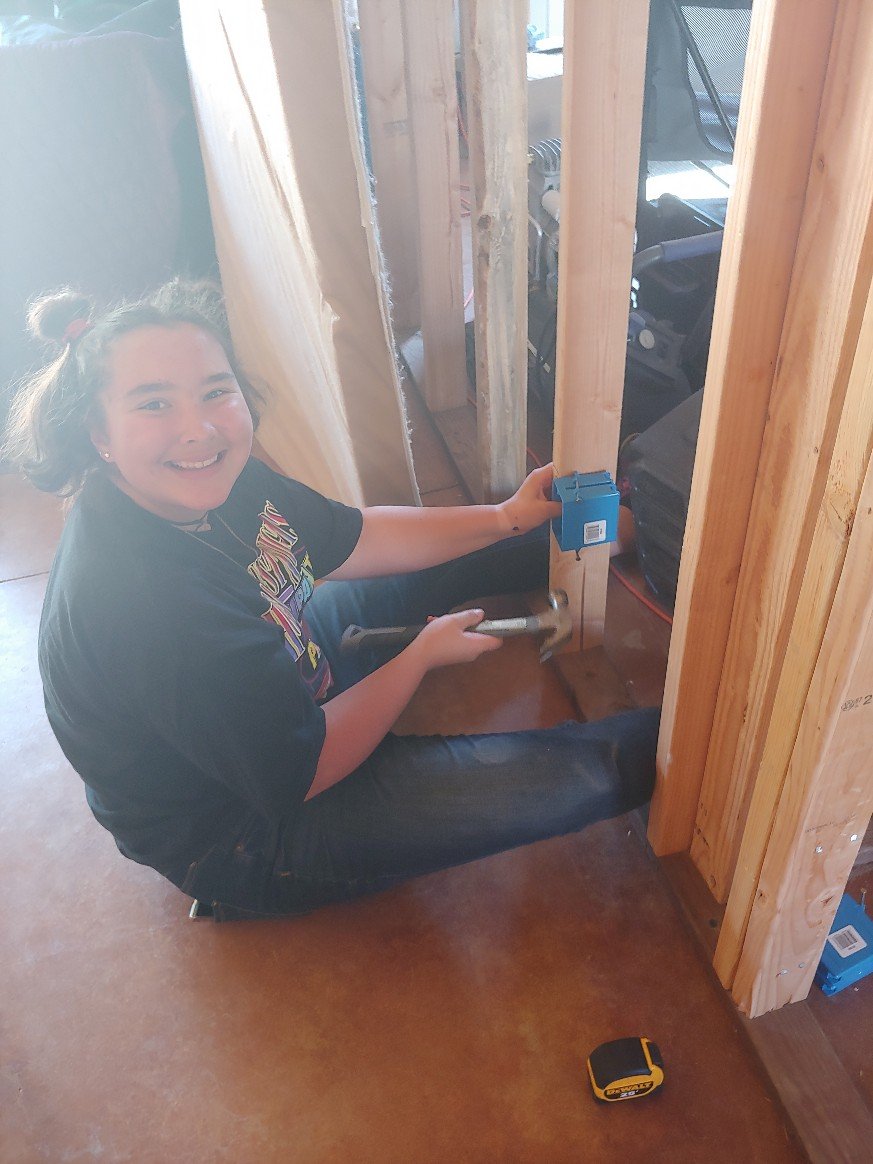
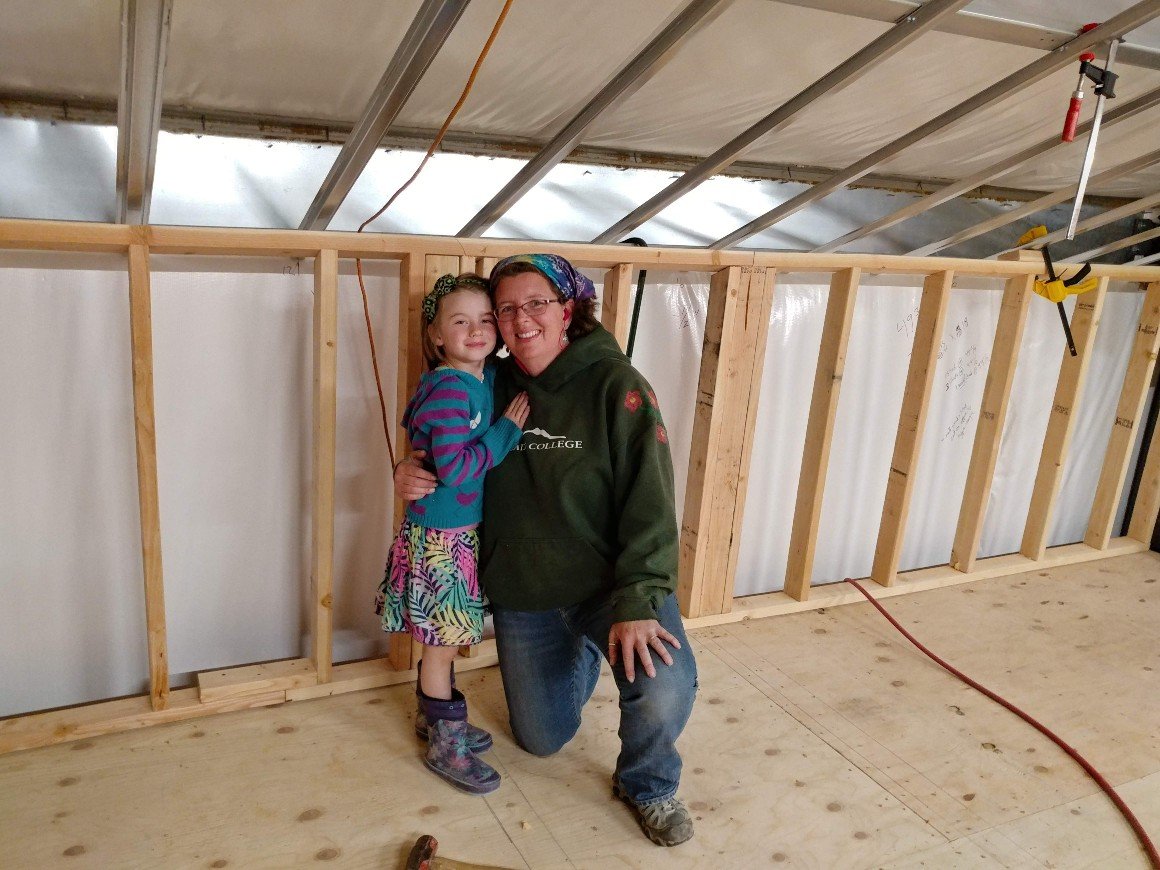
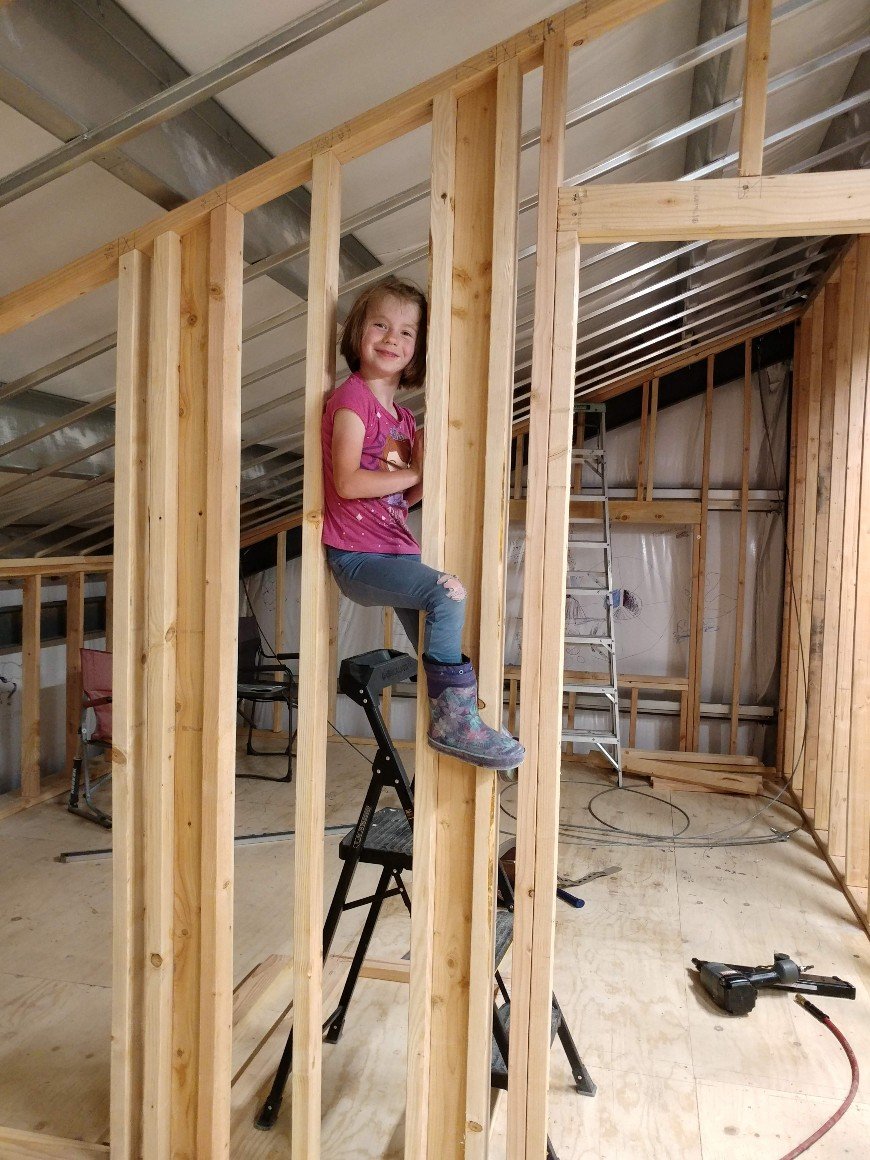
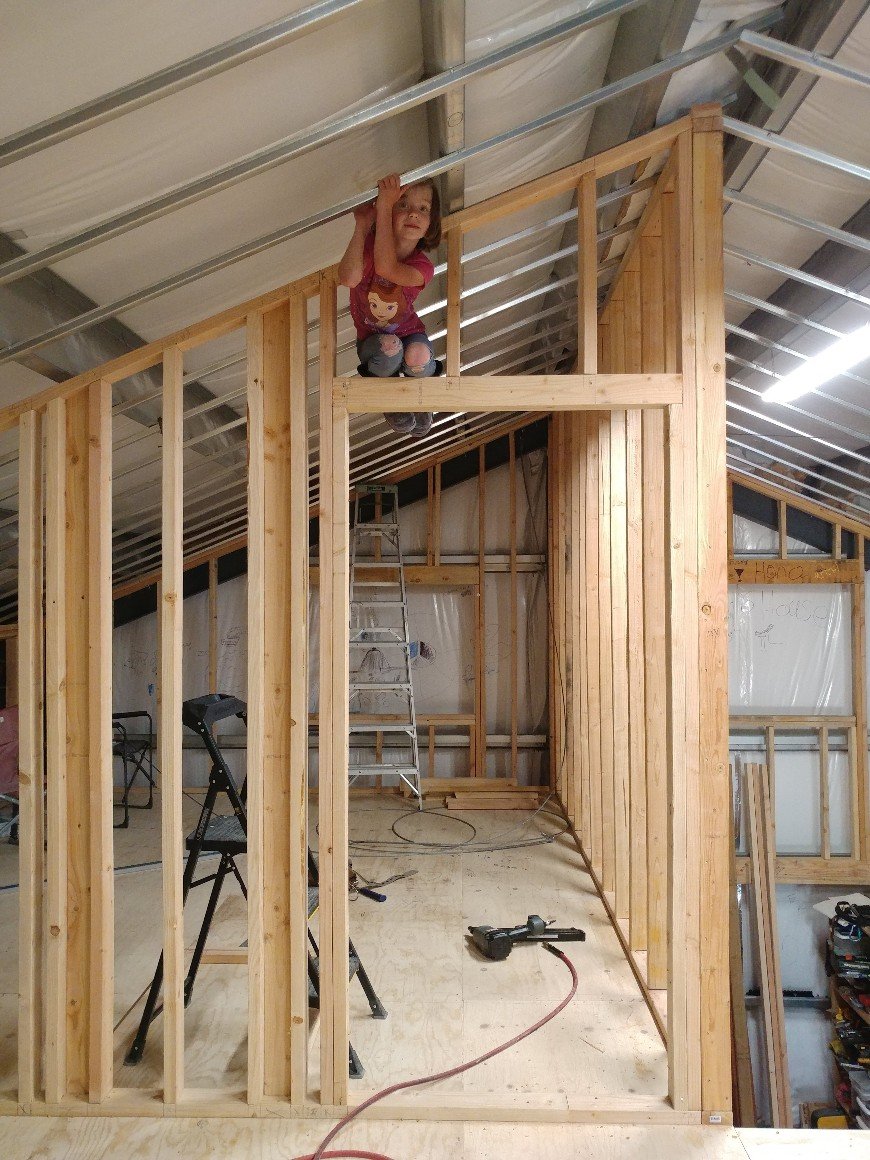
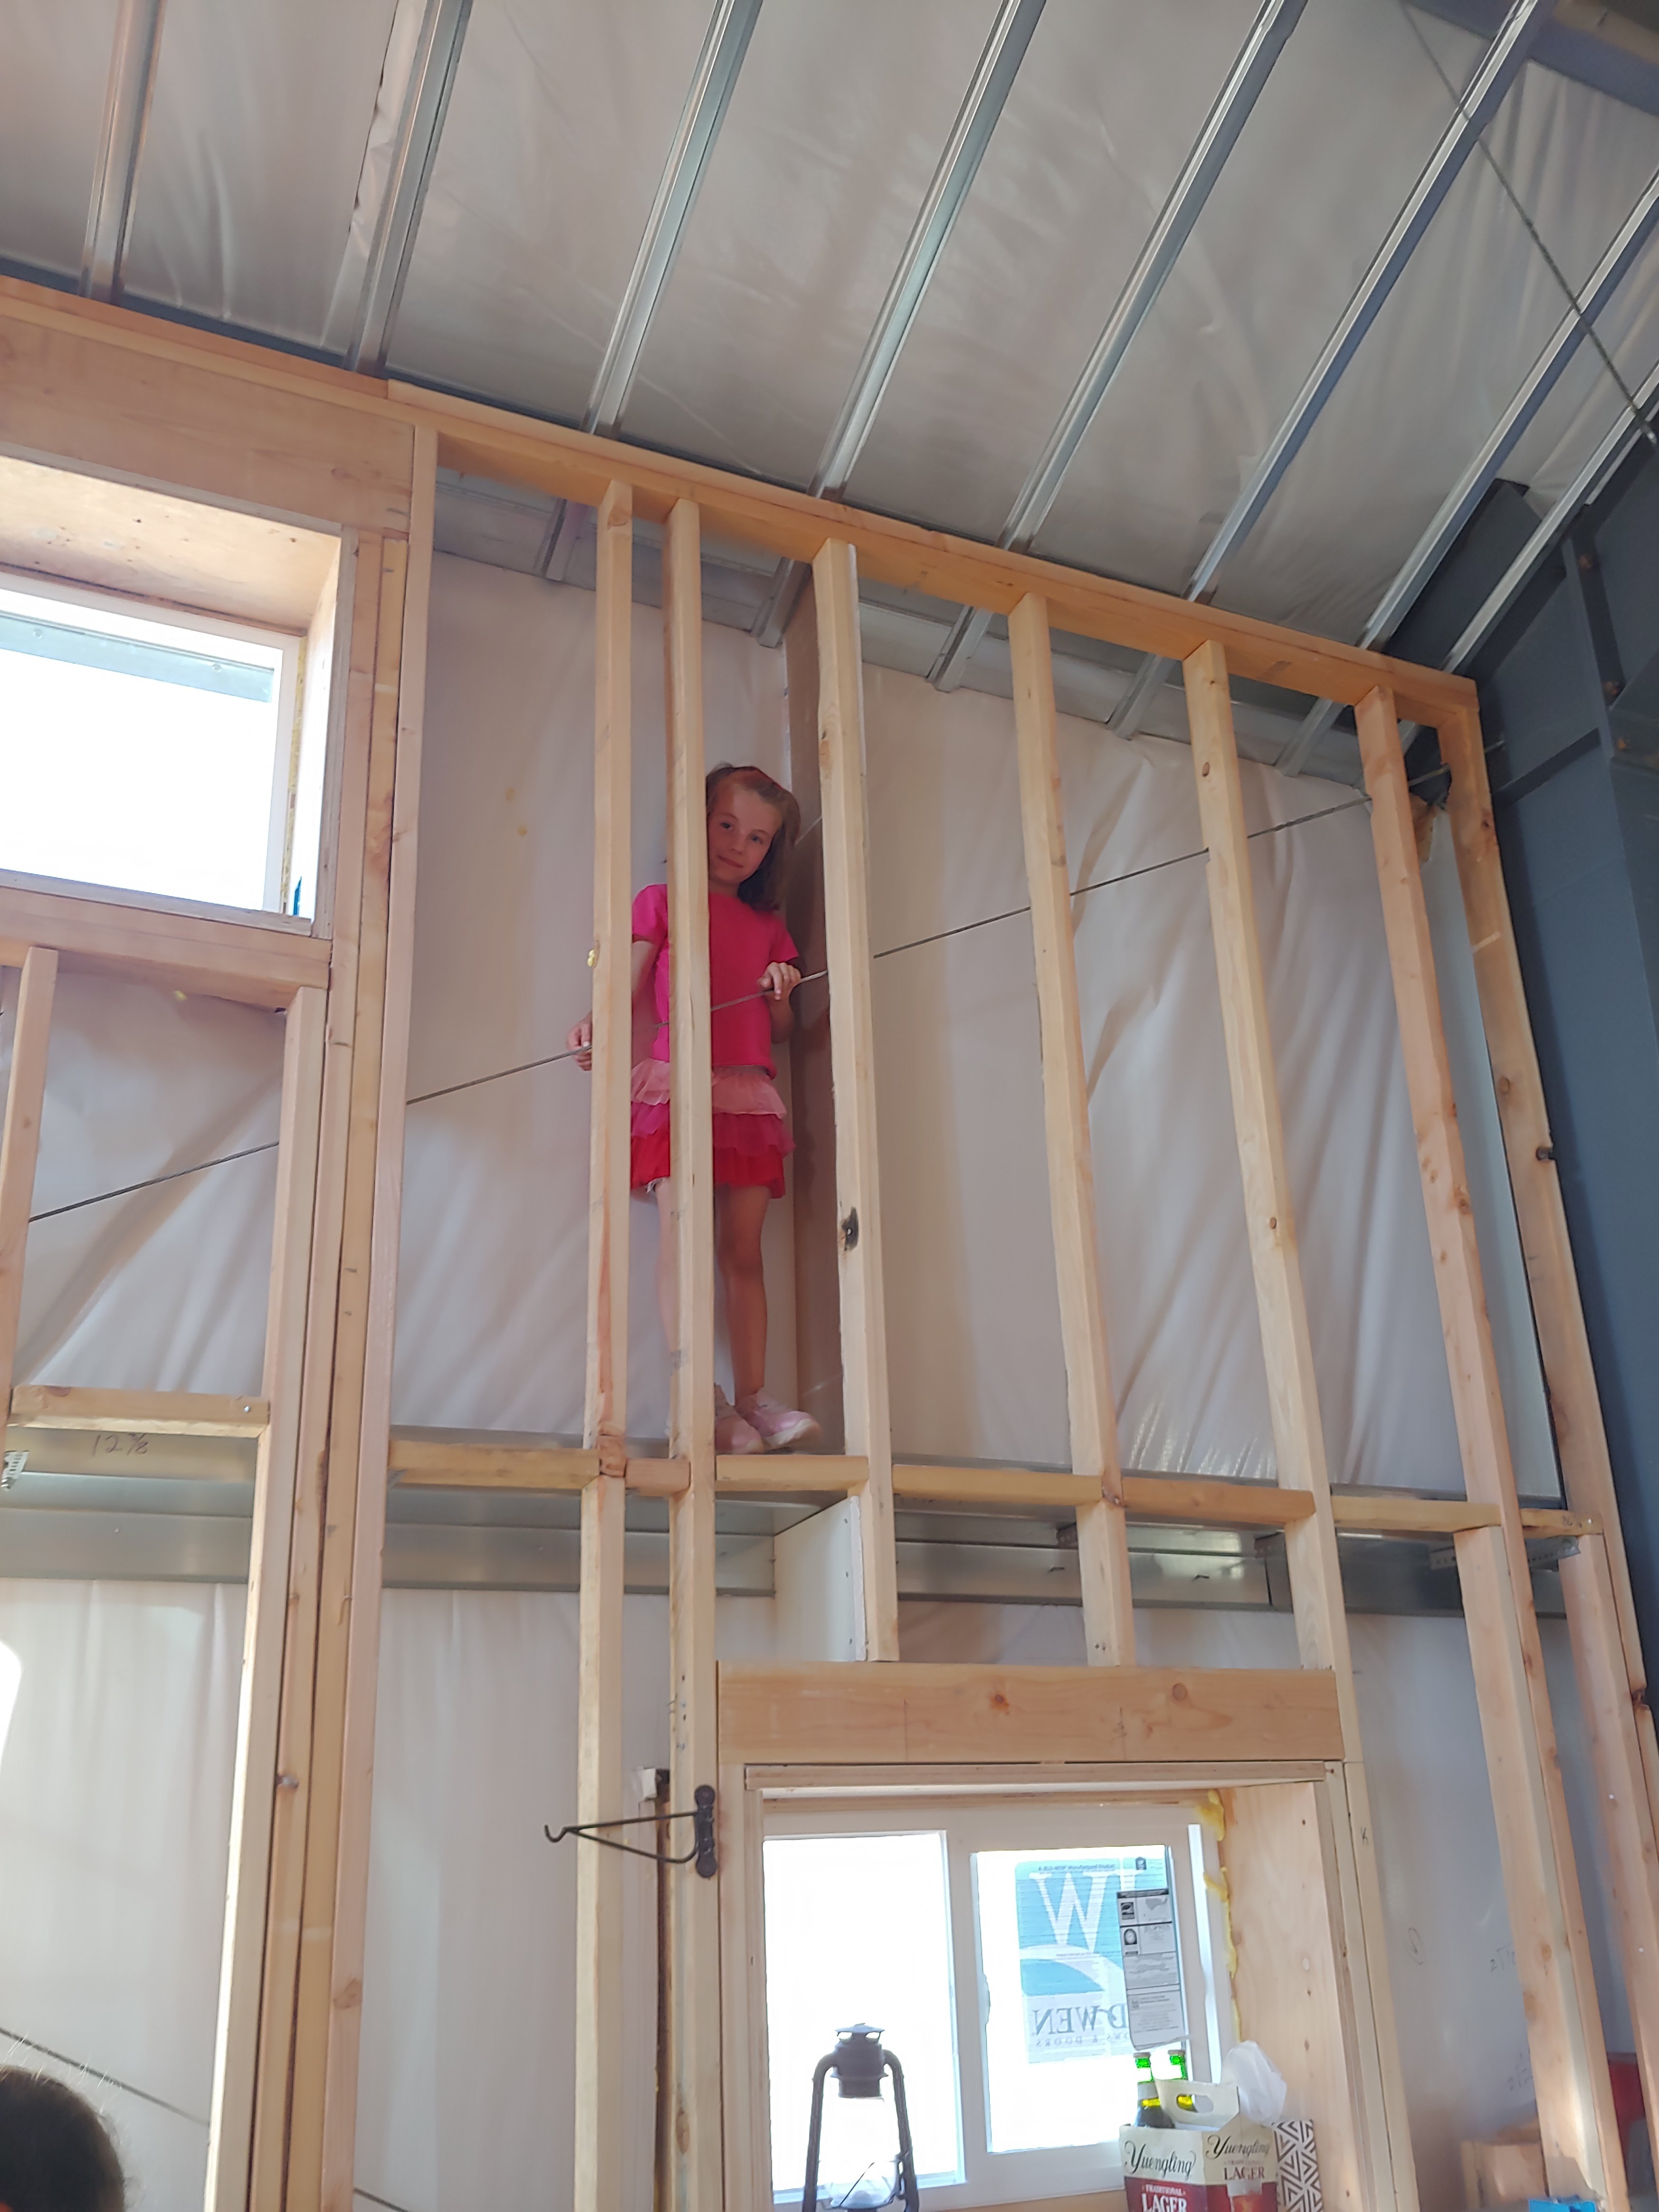
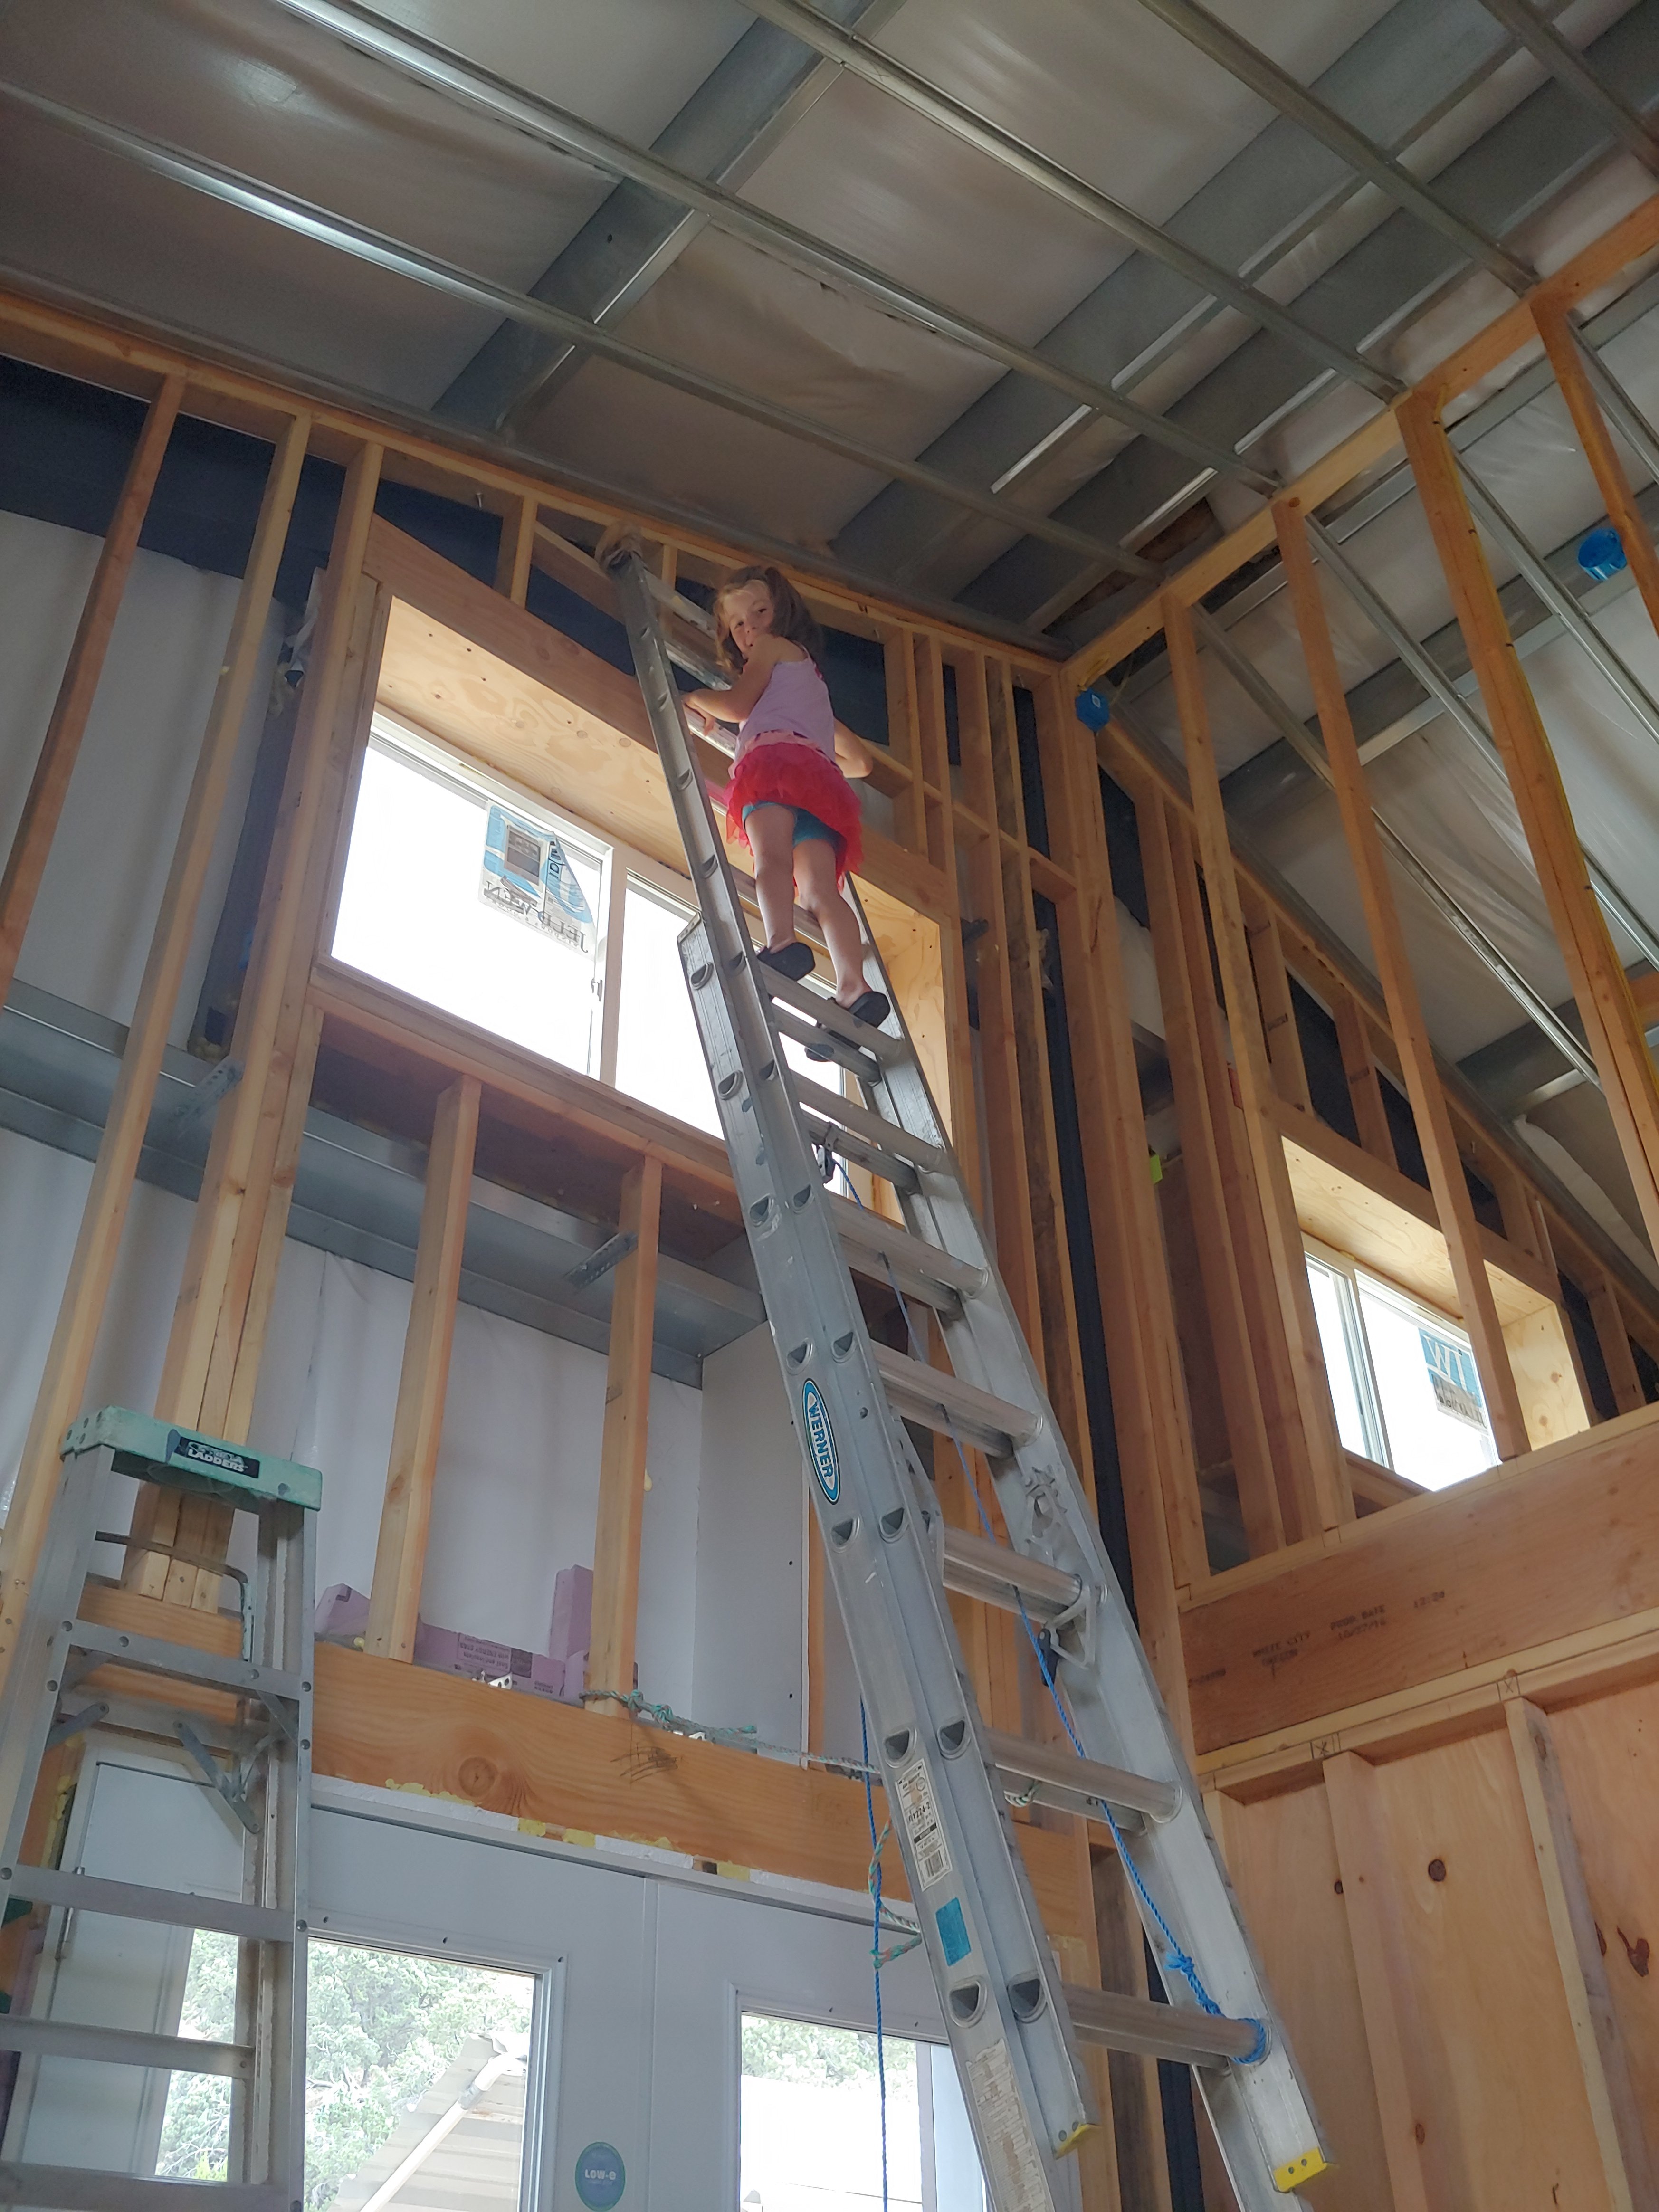
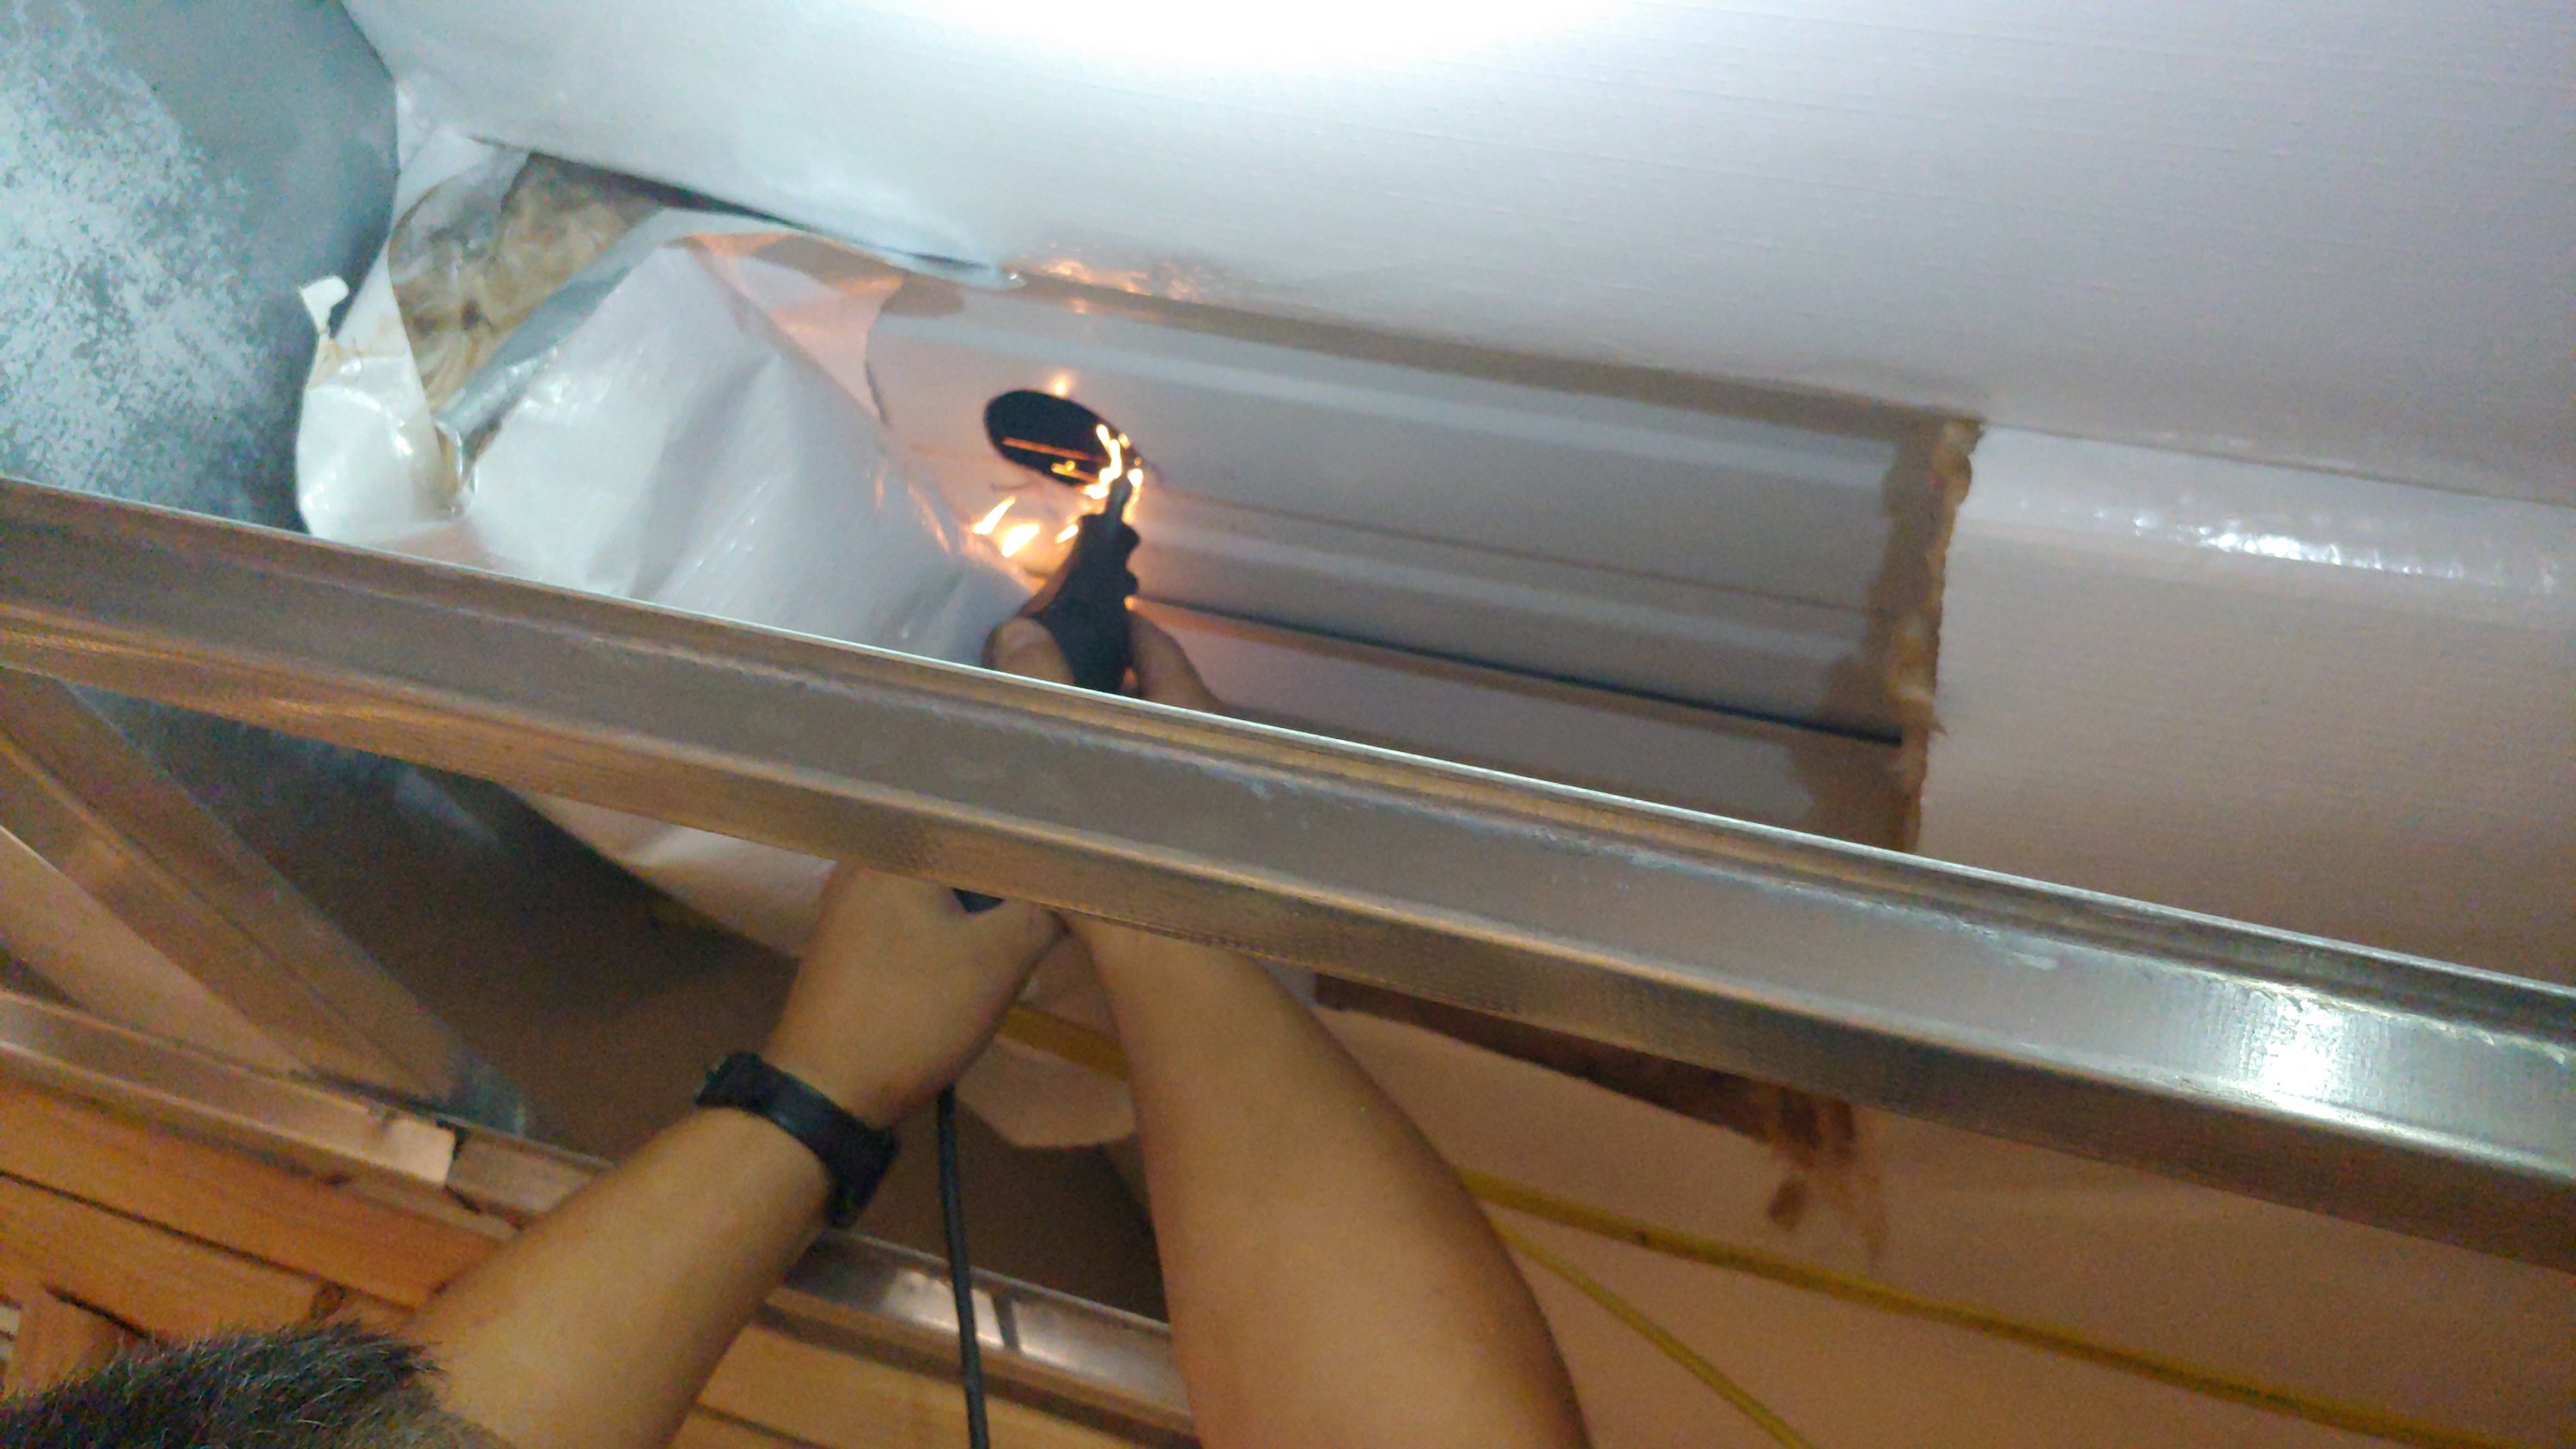
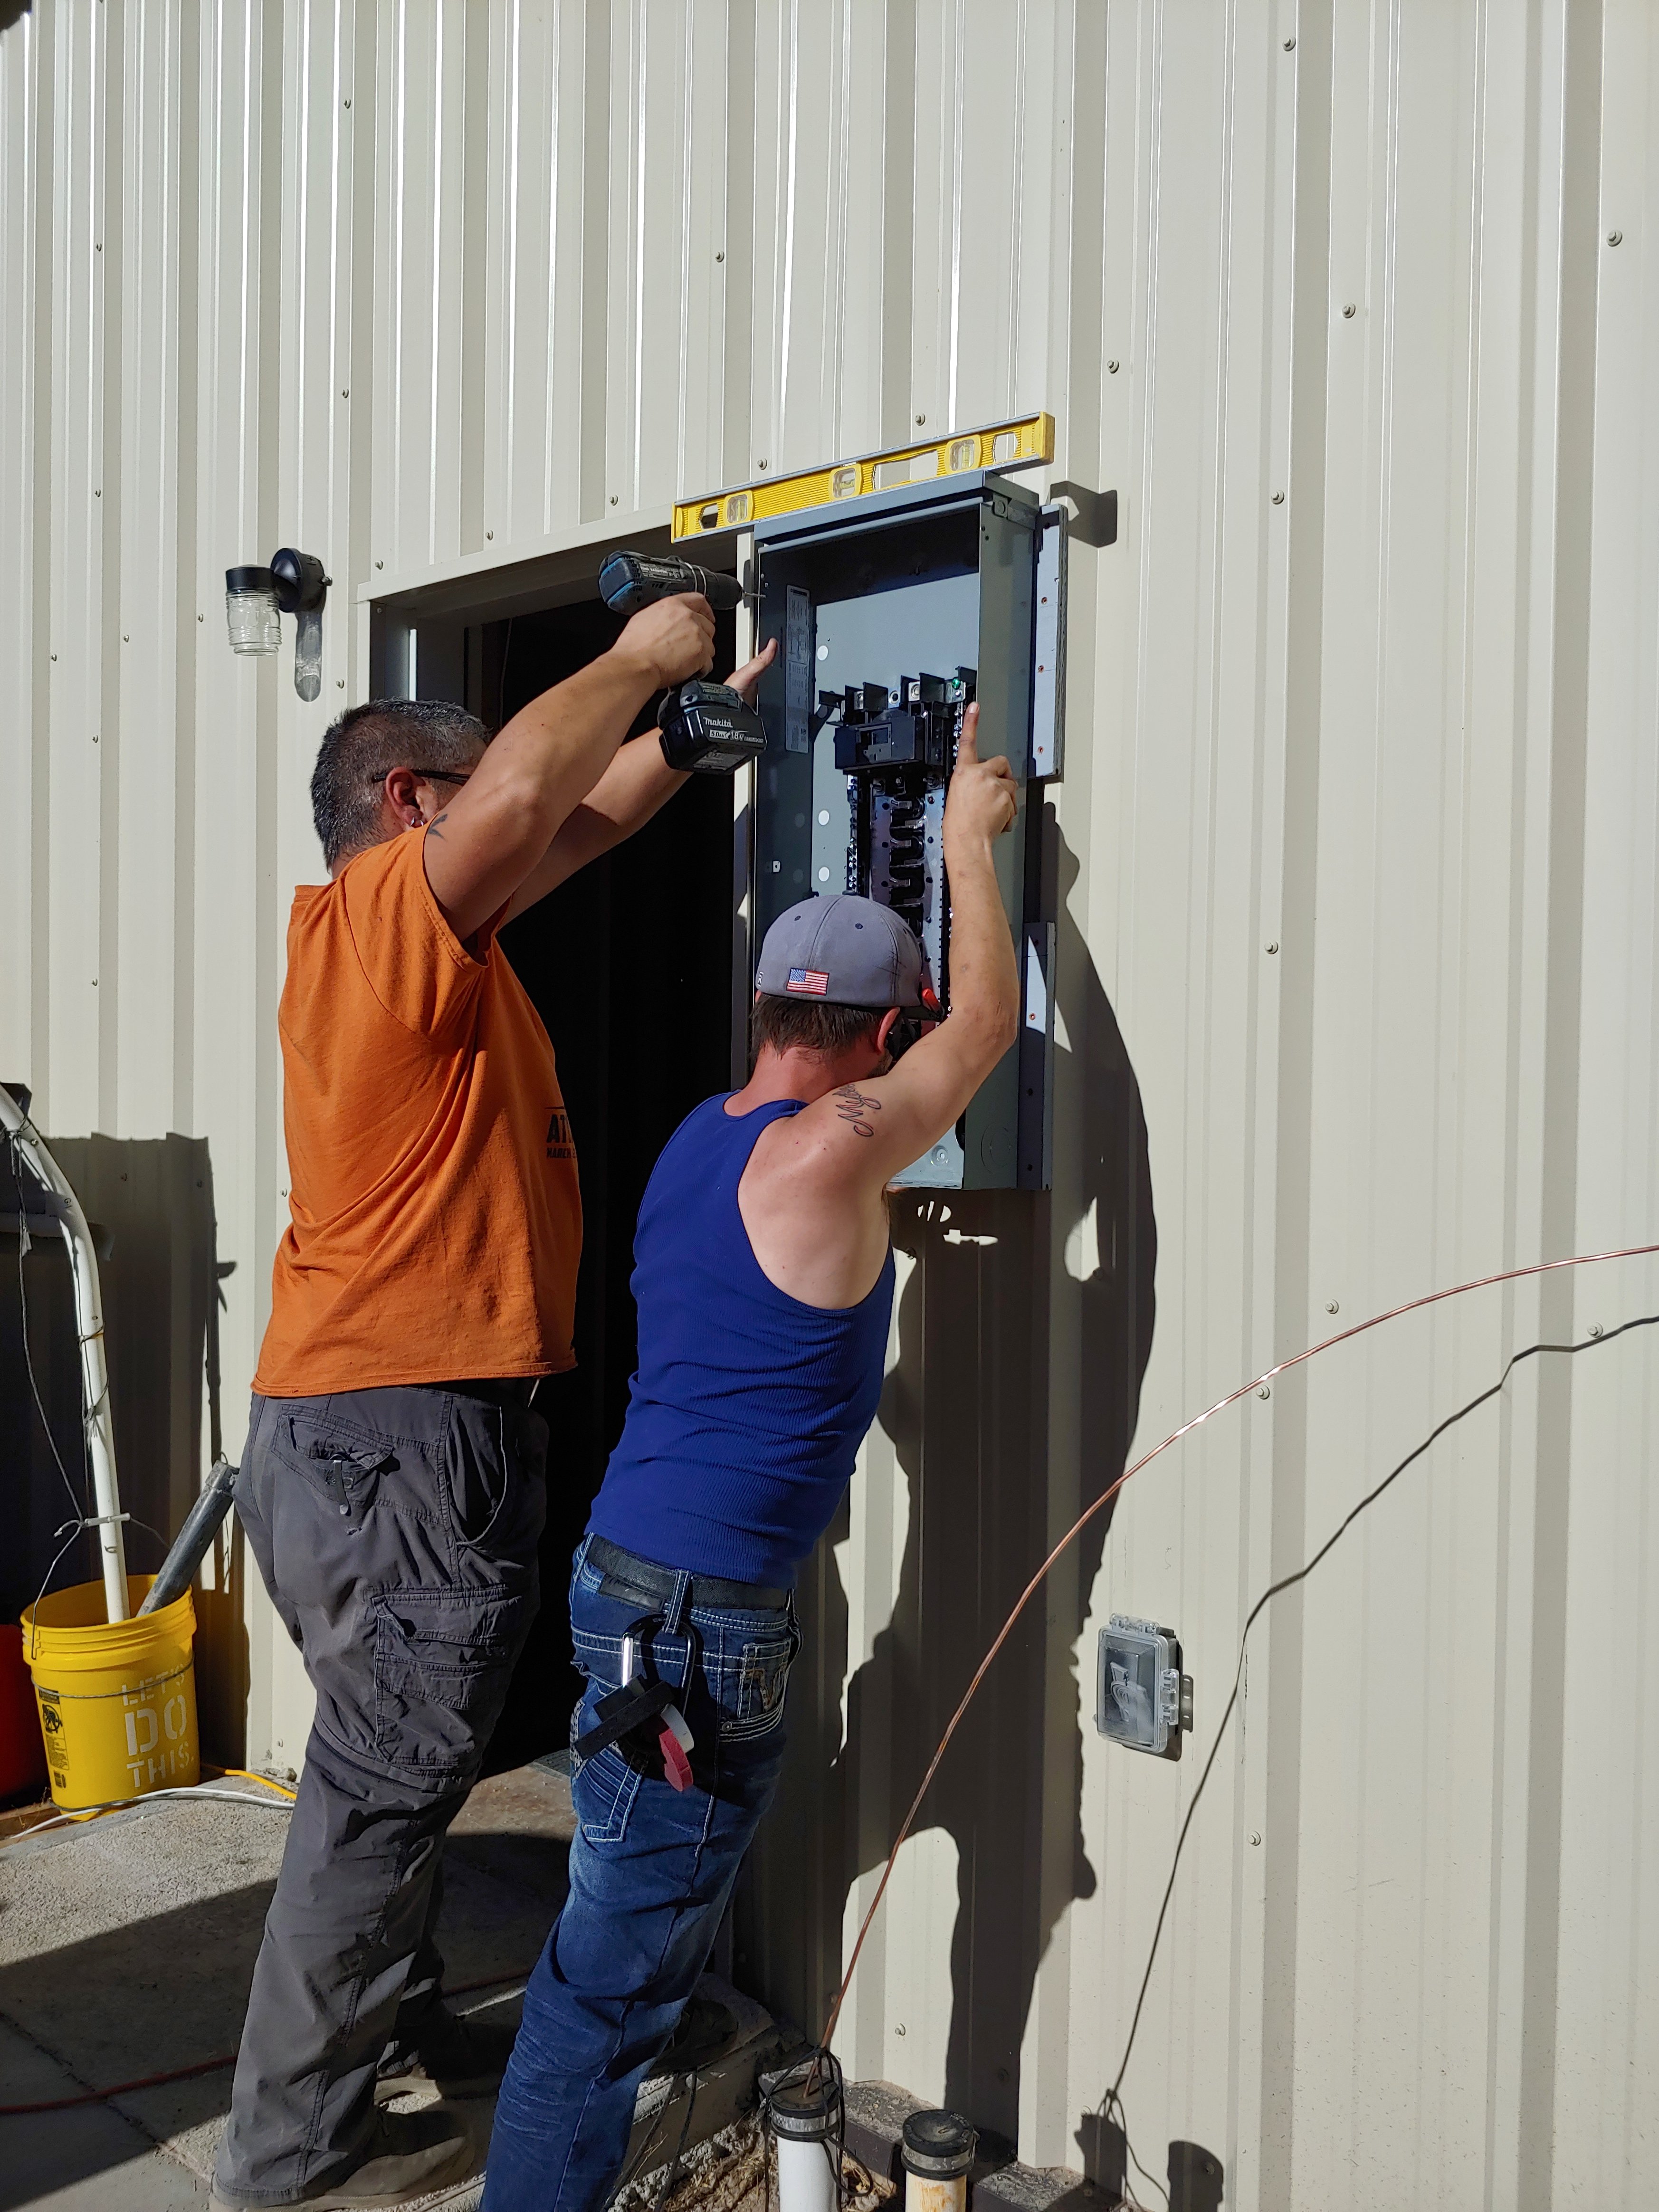
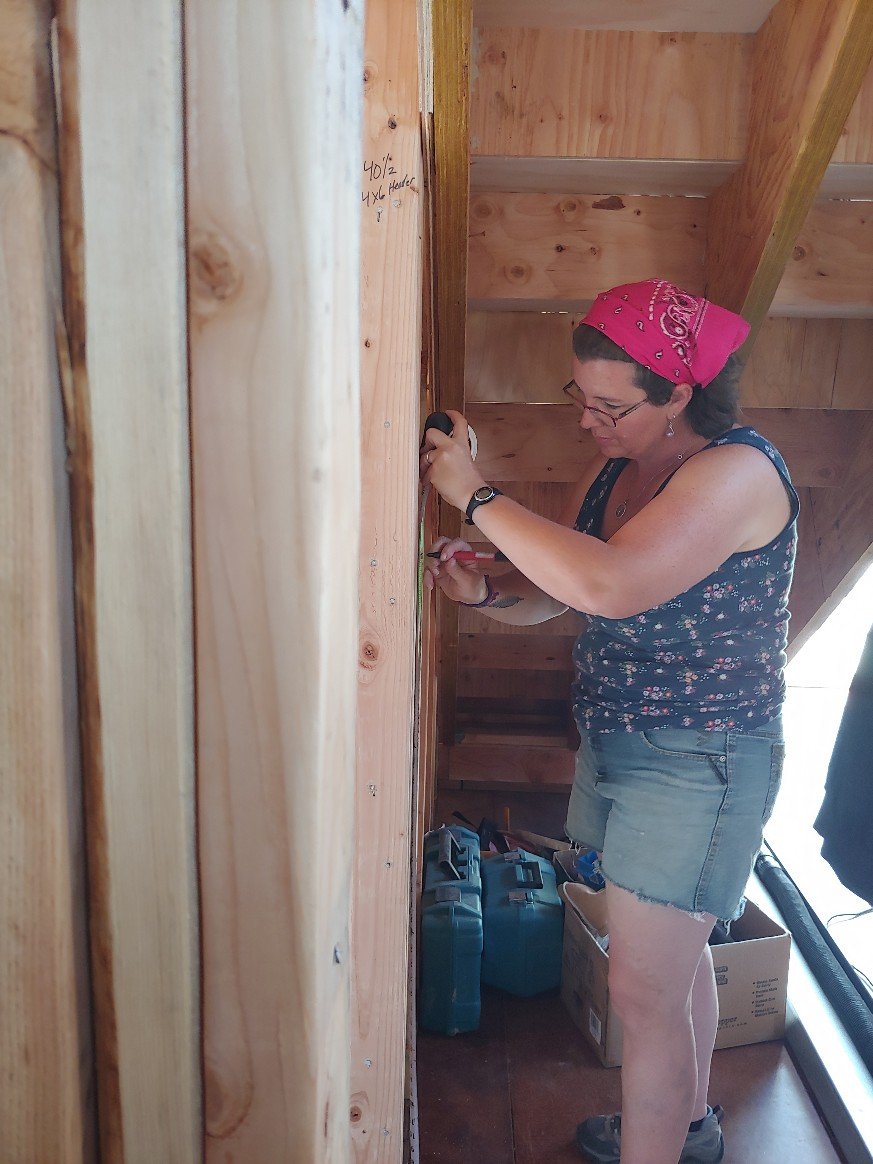
And as you can see from those last couple of pictures, it is definitely summer around here – workin’ in shorts and tank tops – when we have the energy to work at all!If you’ve made it all the way here to the end of this post, you are amazing! Thank you for reading!

House update: upstairs framing

I last left off just after we got out stairs completed at the end of March.

April was all about framing in the upstairs.

We were so excited to get the walls up so that it would not be as easy to fall off the edge.

When my brother came to pick up his daughter whom we had been babysitting, we roped him into helping raise this wall. 😊

The peak looks even further away now!

Our guardian angel given to us by a good friend. We decided to put her in the upper perlin to watch over the building. 😊

Once we had the edge wall up, Flower Girl and I built the smaller wall all by ourselves. You can read more about that here.

Learning to measure

OUR wall

Our friend who helped on the hat channel come over again to help with the framing.

Her very first time using a nail gun.

Me thinks she liked it!

How do you build a large access door into a utility closet when you have a steeply sloped roof?

The answer is, you don’t.

You build THREE doors!

Papa bear, Mama bear, and Baby bear

This way, all areas of the closet can be accessed, no matter what gets stuffed in there.

At some point, the compressor went kaput and we were forced to use hammers.

You can see how happy I was about that!

Even knowing that we didn’t have power tools, some sister-friends came over to help anyway!

And luckily, whatever was wrong with the compressor was fixed by the hubby, cause we still had a whole other half of the upstairs to do!

And one last small wall, the short pony wall for the central loft/open area of the upstairs.

And suddenly the upstairs framing was finished!

The next project we worked on was getting all the windows and doors in (you can see a sneak peak in that last picture with all that natural light.)

Oh, and you know those stairs we had completed the month before?

So. Very. Nice!

So that brings us up to May.

May was spent doing little odd and ends, finishing up smaller tasks and getting our framing inspection (which unbeknownst to us we didn’t have everything done we needed to get done, but he said the framing looked good – yay!)

The next post will be about the doors and windows. That was June’s task.

July was spent prepping for and being out of town for a large family vacation.

August has so far been a lot of working my summer job, researching and prepping for electrical, and doing small odds and ends. Oh, and prepping for the school year, which starts the day after Labor Day.

And it’s HOT, so our motivation to work is almost non-existent. All we want to do is sit around in the shade and stay as cool as we can.

But we gotta get things done, so we do little bits here and there. Slow forward progress is still progress.

Hopefully I’ll get the post about the doors and windows loaded soon. Then I’ll have a garden update/overview to write up. And then finally be caught up. 😊

Helping hands

When we first started this journey of building our house (actually started construction), our girls were 11 and 4 years old. We wanted them to be involved as much as they could be in the actual building process.

Princess Girl (being older) quickly showed that she could be a good helper with many of the tasks that abound while building. She was an extra set of hands for many projects. And now that she has 2 years of experience under her belt, she can do most of the jobs her daddy and I can.

Princess Girl using the chop saw to cut metal.

But not only that, she often gets the homemaking jobs of cleaning the trailer, washing dishes, and doing laundry that keep our family running while Mom (ie me) is busy schooling Flower Girl (who is now in Kindergarten), and building our house. She truly is a huge help and a blessing.

But what do you do with a 4 or 5 or 6, or even a 7 or 8 year old?

Well, first of all, have them around. Don’t ship them off to the babysitters. Let them play nearby. Let them see you working and let them be familiar with the goings-on at a construction site – providing they can do so in a safe manner, of course.

Many an hour spent playing in piles of dirt while we worked nearby

One of her favorite things is to climb around inside the walls.

Most owner-builders work at a slower pace with fewer people than a professional construction crew, making it safer for kiddos to be around. Even then though, safety rules need to be in place and strictly enforced. Even the smallest infraction must be caught and dealt with. And of course, there are times when it is just best if the kids are not around. But we have found those instances to be few and far between.

Playing with “blocks”

Watching us finish the stairs

But how do you get them actually involved with the family project of building your own home?

The answer in a word: patience

It takes a lot of patience.

Little people are slower. They make lots of mistakes. They don’t understand. But it is so worth it to see the joy on their faces when they “helped”.

It mainly means slowing down enough to find jobs that they can do.

Flower Girl – barely 5 years old

Age 4

And it means taking the time to help them along the way.

Recently, Flower Girl and I took on the task of building a wall in the house.

Just her and I.

But what was a six year old really capable of?

Well, she moved the lumber around.

She measured and marked the studs.

She swept up the sawdust after I did the cutting (and if we’d had the chop saw set up, she would have helped with the cutting, too.)

She clamped things together when needed (and sometimes when not needed 🙄)

She put screws in and backed them out as needed.

And she helped tell me when boards were level/plumb.

Overall, how did it go?

Did she slow me down?

Of course she did.

Was it harder building that wall with her “help”?

You betcha.

Was it worth taking the time to do it with her?

ABSOLUTELY!

OUR wall

We believe that by involving our children in all aspects of our lives on the homestead, and especially the building of our house, we are giving them something important. They are learning many important skills that they just wouldn’t anywhere else. And it’s important to us that when they look back on this time of their lives that they can say “we built a house”, not “my parents built a house”.

It takes a lot of patience and effort to get the little ones involvef. But it is so worth it!

We are building this house!

House Update: we have stairs!!

We got a huge step forward on the house accomplished last month (pun totally intended! 😁)

We got our stairs built!

But, if you’ll remember, the last time I updated about the house, we were working on the hat channel on the ceiling.

We got most of the hat channel on the south side of the house (the side above the second floor), and then realized we needed to build the other end wall before we could finish that.

But, we also decided that we wanted to get the stairs in to make working on the second story that much easier for us since the ladder was getting old real quick!

But in order to get the stairs in, we needed to put the hat channel on the ceiling of the north side of the house since once the stairs were in, it would make that task infinitely more difficult since we wouldn’t be able to use the scaffold effectively in that area.

Dominoes.

So, we worked on the ceiling above the dining room area.

And, as usually happens, once we start a project, we like to see it through. So even though we could have stopped after the first ⅓ of the roof, we decided to keep on going.

The upper half of the hat channel all the way across the north side of the ceiling.

Princess Girl learned how to use the chop saw to cut the hat channel to length.

Sometimes you just have to get in there!

Yep, working in the walls. 😁

A good friend came to help out and we put her to work helping me with the hat channel.

In between working on the hat channel, we started the prep work for the stairs. Since the stringers needed to be made out of expensive LVL engineered lumber, we decided to buy a cheaper piece of wood to “practice” our stair-making technique.

Neither one of us have any prior stair-making experience, so we did quite a bit of research prior to starting.

We bought a special layout tool off of Amazon (not an affiliate link, nor are we receiving any kind of benefit from sharing – we just happened to use it and like it.) The website affiliated with the layout tool also had a stair calculator so you could plug in your measurements and it gave you a printout to follow.

It was super easy to use (though we did have to watch the video tutorial a couple times to make sure we were beginning and ending correctly). It gave us the confidence to know that our measurements were accurate and precise.

So we cut out one stair stringer out of the cheaper board and are ever so glad that we did. We discovered that we needed to change a few things around and change a measurement or two.

That stringer was not complete waste though. We can cut it shorter and use in various other locations around the homestead. So for now, it’s living in the garage.

So now we were confident about how to build the the stringers, but we needed to put in a post.

Way back when we were laying out the foundation, I made a mistake on the placement of a shearwall. It is 8 inches out of place from what the plans call for. Not too much of a big deal. It just means the bedroom is wider and the dining room is narrower. But that also means the staircase is narrower. Too narrow actually. Building codes state that staircases have to be a minimum of 36inches wide. Because of the mistake in the placement of the wall, our available space was only 35″. Oops.

Had we realized our mistake when laying out all the other walls, we would have just made the pantry wall that the stairs tie into a bit longer. Problem solved.

But, of course, we didn’t realize the problem until ALL the downstairs walls were built and we were working on the flooring for the second floor.

So after quite a bit of brainstorming, we came up with a solution that we actually really like. We decided to add a post to extend the wall where the stairs attach and we are going to leave it exposed. It’s more work, time, and money, but in the end, we are really going to love the exposed posts in our kitchen. And I say posts – plural – because the way we have to tie in the pony wall on the upper floor (because of our mistake) necessitates a post on each end.

So, anyway, we purchased a 16ft long 6×6 and then Hubs and Princess Girl got busy making it purty.

After sanding, Hubs put boiled linseed oil on it.

We just love the way that the BLO makes the grain “pop” and gives the wood a warm glow.

Then we attached it to the wall with ½” lag bolts.

Once we had a full width wall to attach the stairs to, we purchased our LVL boards and got to work cutting the three stringers.

I was the one to use the circular saw because I have a steadier hand than the hubs. Probably from all the sewing I’ve done in my life. 😊

And Hubs is slow and meticulous when it comes to hand work (he’s much more patient than I), so he did a great job getting the little corner bits that the circular saw couldn’t get.

It’s a messy job, but someone has to do it.

And just like that, the stringers were made and ready to be installed.

But first, we had to build the landing.

And put on the Simpson stair hanger ties.

You can see in this picture how much the wall is extended with the post. The very left hand stair hanger bracket is actually on the post itself.

And then came the fun part. Installing the stair stringers. Princess Girl and I worked together on that project while Hubs was at work.

Princess Girl learning to use the palm nailer.

Where has a palm nailer been all my life? It makes nailing in tight spaces so much easier!

Those stairs aren’t going anywhere!

Ah, the fun of climbing the “stairs” for the first time!

When Hubby got home, he was very excited to see our progress. He and Princess Girl got to work ripping down leftover ¾” plywood to use as the riser boards…

And I cut down all the stair treads to the appropriate length.

Then the most exciting part…putting on the risers and treads!

And just like that, we have stairs!

This was one of those projects in this house that, like getting the interior walls up, really changed the form and function, the whole look and feel, of the house. We were giddy with excitement for days afterward. And even now, I get a deep sense of satisfaction whenever I run up and down those steps.

I am rather proud of us.

House Update: Upper floor framing

Quite a bit of progress lately – finally!

I am pretty much completely healed from the broken rib and we are finding our groove once more.

While I was still injured, we had several friends come by on several different days to help us move along. With the help of these guys, we were able to complete the floor joists and get all the flooring on.

We can’t thank these gentlemen enough. They are amazing!

Hubby, of course, was there when his work schedule permitted.

One weekend while Hubs was out of town, one of the guys came over and we were able to finish the subfloor and even raised the first of the upstairs walls.

Subfloor done! Time to focus on the wall.

Once that wall was raised and securely fastened, we realized before we could go any farther, we needed to attach the “hat channel” on the ceiling.

The hat channel, also called resilient channel, is basically a metal stud that is lightweight but strong and can span long distances. It attaches to the ceiling perlins every 16 inches and then the sheetrock is attached to those.

We’ve been working on the hat channel for a couple days now and have figured out a good system. It feels great to be working as a team again, and even just working again in general.

And it feels great to be getting somewhere once more!

It is also cool to finally see where the actual ceiling is going to be and how much space we will ultimately have.

Pajii is 6′ tall for reference. It will be short at the sides, but still useable space there.

It’s pretty amazing to be down on the first floor and see all the hat channel on the ceiling. We got just about all of it done on the south half of the house.

We will build the other end wall, then the short side walls next. After that, we tackle the difficult section by putting the hat channel on the north half of the house using the scaffold.

After that, we work on the tall walls and the railing wall upstairs. Oh, and the stairs themselves!

Exciting times!

I just thank God that I have healed enough to be able to work!

PS, Oh, and you know how awesome it is to be able to continue working inside our nice secure house with the warm fire going when it looks like this outside?

Yeah, so nice!

How we do this Off-Grid thing

So you all know we live “off-grid” on our homestead in our trailers and are building our house to be off-grid as well.

But what does that mean?

It does not mean that we are completely independent from modern conveniences. I mean, I do drive a vehicle (more than I want to, I admit). We heat our trailers with propane. And there are times our little temporary solar system just does not cut it and we need to run the generator to charge the batteries. Like when the sun hasn’t come out for days.

Or, like today, when we did have some sun, but I didn’t get laundry out on the line in time for it to dry and needed to use the generator to run the clothes dryer.

It’s times like this that I’m very glad for modern conveniences like generators and the gasoline needed to run them.

Big generator pulled up to the well shed to run the dryer

Our washer can run on our small solar system, but the dryer requires more power.

BTW this is how we vent the dryer. We don’t want to put a hole in the shed wall since this is temporary until we can move the washer and dryer into the house. We also route the washer drain out this window.

So, yeah, for us, living off-grid does not mean that we do not rely on the grid. We are not one of those families who live in the wilderness, eating only what we can hunt or gather or grow, heating our house only with wood we can gather, etc. Not by a long shot!

But it does mean that we produce about 90% of our daily (not construction) power needs through our solar system. (And once we are living in the house it will be even more since our solar system will be larger.) And we stock up on propane and gasoline when the storms are threatening. It means that in an emergency situation, we could live quite comfortably for quite a while. And in a long term situation, we could get by without the backup generators if we ran out of gas. Yeah, it might mean not watching TV, and having to do essential bits of laundry by hand and hanging it to dry in front of the fire in the house, but we’d get by till the sun came back out. Way better than most people who rely completely on the grid. For us, it’s about being as self sufficient as is feasible in our current lifestyle. I also like the idea that by using mostly solar power, we are reducing our carbon footprint.

Now, to just get this house built so that we can focus on producing our own food again and be even more sustainable. 😁

House update: we have a second floor!

Yesterday, Hubs asked where something was and I responded that it was upstairs.

Upstairs!!!

We actually have an “upstairs” in the house!

Now, it doesn’t look like a traditional second floor yet, just some plywood on some floor joists, which we access by a ladder.

But it’s a second floor nonetheless.

Here’s a picture of almost how far we’ve gotten so far.

Floor joists about 1/3 of the way across the loft with plywood staged to attach to the joists.

But now we go back to the beginning of the second floor framing…

Floor i-joists in the staging area (ie our dining room and kitchen areas)

Some of the joists placed on the walls in preparation for attaching

A friend helping us get the framing finished in preparation for the joists.

Princess Girl helped space the joists out on our 16inch-on-center layout

Once the joists were in place, we needed to add some additional blocking where an upper wall will be attached.

Then it was time for plywood!

We glued then nailed the subfloor to the joists.

Once we got a few sheets of subfloor down, we needed to put more joists on. Here, Princess Girl and I are starting the measuring process for the next section of joists.

And that’s about as far as we got, and not likely to get much more done in the next week or or so because I was stupid and got injured.

We got the next joists cut and ready to go, and while we were putting them up on the second level, I forgot to watch where I was walking, and walked off the edge of the plywood! Blessedly, I didn’t fall the 9 feet down to the concrete floor, but that does mean I fell onto the joists. I added an arrow to the previous picture to show where I went through.

I landed on the joists sideways with all my weight hitting on my rib cage. Can I just say that this is one of the few times in my life I’ve been glad for the “extra padding” I have? Between that and the fact I was once again wearing a sweatshirt and puffy vest, I escaped more serious injury. I shudder to think how bad the contusion would have been had I been wearing just a t-shirt as in the picture above.

As it is, I am very bruised and sore. I did not go to the ER since they could not do anything for me anyway other than confirm that my ribs are, or are not, cracked, and send me home with a prescription for pain meds. I do not have any symptoms of internal injuries, but I am continuing to keep an eye on how my body is doing.

The treatment plan, even if my ribs are actually cracked – which I don’t think they are – is just rest (and ice and painkillers, etc). So, it looks like I have an unexpected “vacation” on my hands. Time to catch up on some reading and crocheting I’ve been wanting to do. I’ll update on my condition in a few days.

-Maridy

Goals for the New Year

We’re not so different than most people this time of year. We eagerly make our goals, we start out with determination, we work hard to accomplish them.

Besides the obvious goal of completeing the house (which barring any more major set backs looks totally doable by summer time), we have quite a few other goals for the homestead and in our personal lives.

One of our goals for the homestead is to get rid of this junk wood.

It’s right at the entrance to our property and looks uuuuugly! I want it gone!

One of the personal goals I have is to work on getting my legs back in shape. I want to start backpacking again and right now, my knees could not handle that. Especially with the injury I sustained this summer.

Remember that?

Laid up with a bum knee in June 2018

Yeah, not fun.

So, I have mapped out a one mile route from our trailer, around the house, up the upper driveway and around Castle Rock and back.

The girls and I will be walking this route every day for a while, then we’ll find a way to extend it and build up our miles as our muscles build up. We will also be taking longer hikes once a week, and this summer I want to go on a couple of backpacking trips.

And while this goal is not specifically about homesteading, I love, love, love that I can walk an entire mile on my own property (well, mostly – part of the driveway is technically on our right-of-way on the neighbor’s property). Also, staying in shape is going to help out with gardening and animal care, etc as we get back into that. Especially on this hilly property, and especially as we get older (I turned 40 last month, so I’m feeling my age a bit). It’s the only way to be even somewhat sustainable here. We gotta stay in shape!

Also, I share this with you all to help hold myself accountable. As all the success gurus tell us, writing a goal down and sharing it with others makes you more likely to follow through.

So, there we are. Building a house. Daily walks. De-junkifying the property. Oh, and I want to have a small garden this year. And chicks! I need some cute little baby chicks in my life once again. And through it all, teaching Flower Girl to read, taking some fun school outings, working my summer job, a big family vacation in July that’s been in the works for a few years now, and of course, deepening my relationship with the Lord.

I’m excited just thinking about it all!

What are some of your goals for 2019?