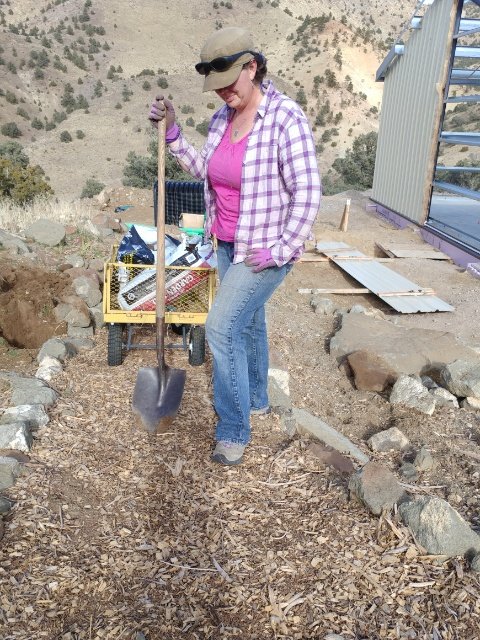
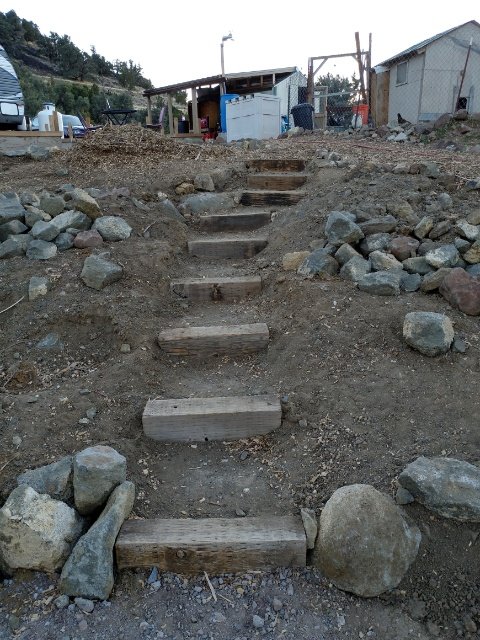
I last left off just after we got out stairs completed at the end of March.
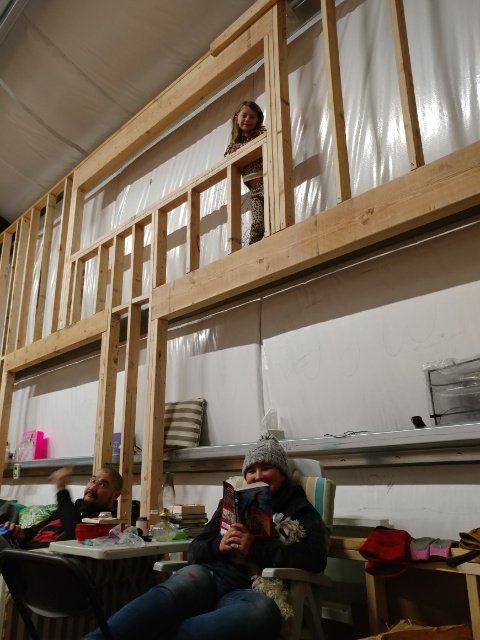
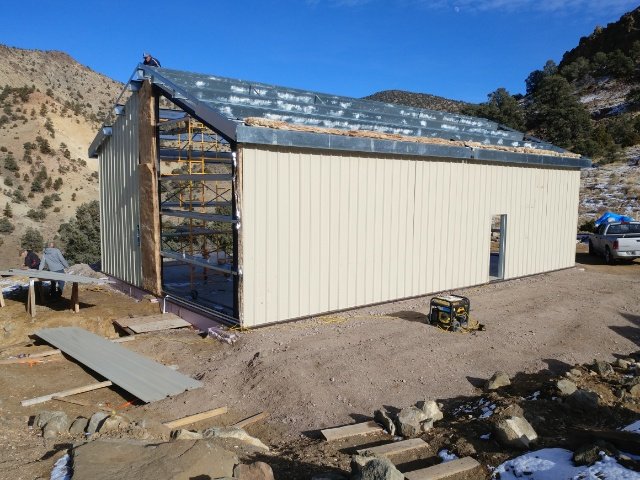
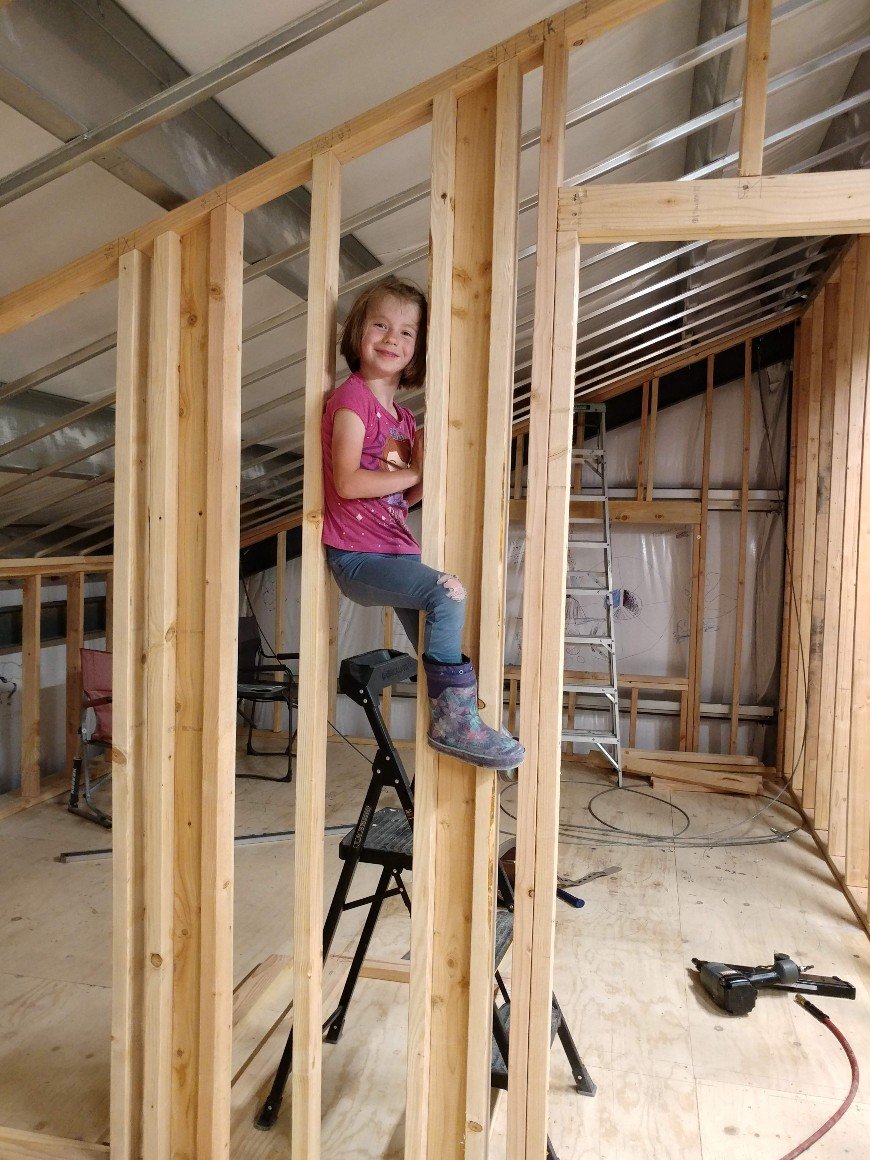
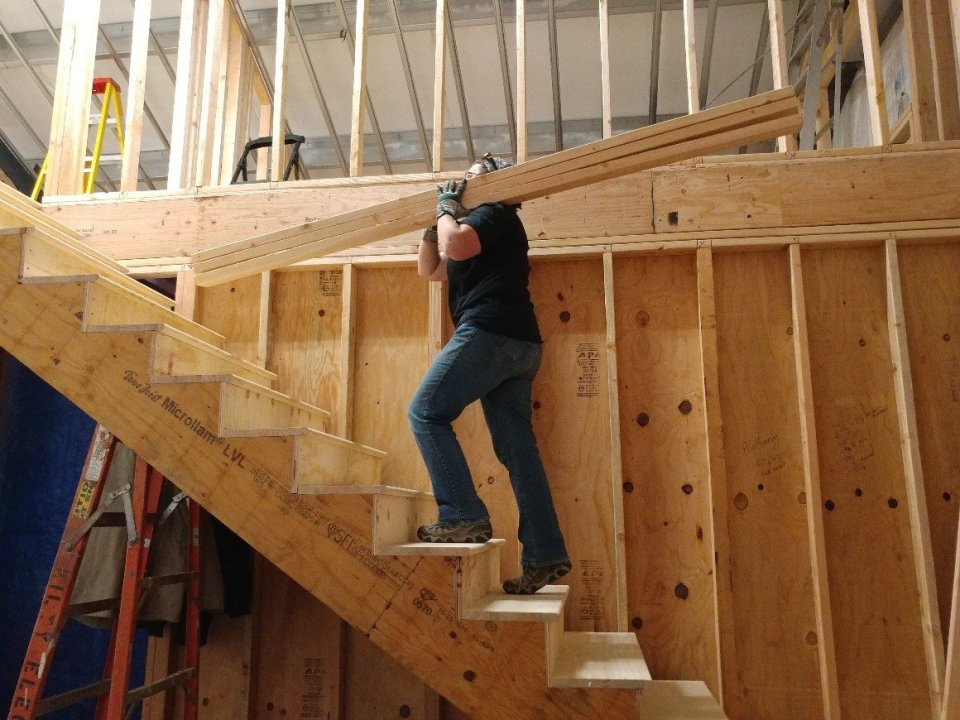
April was all about framing in the upstairs.
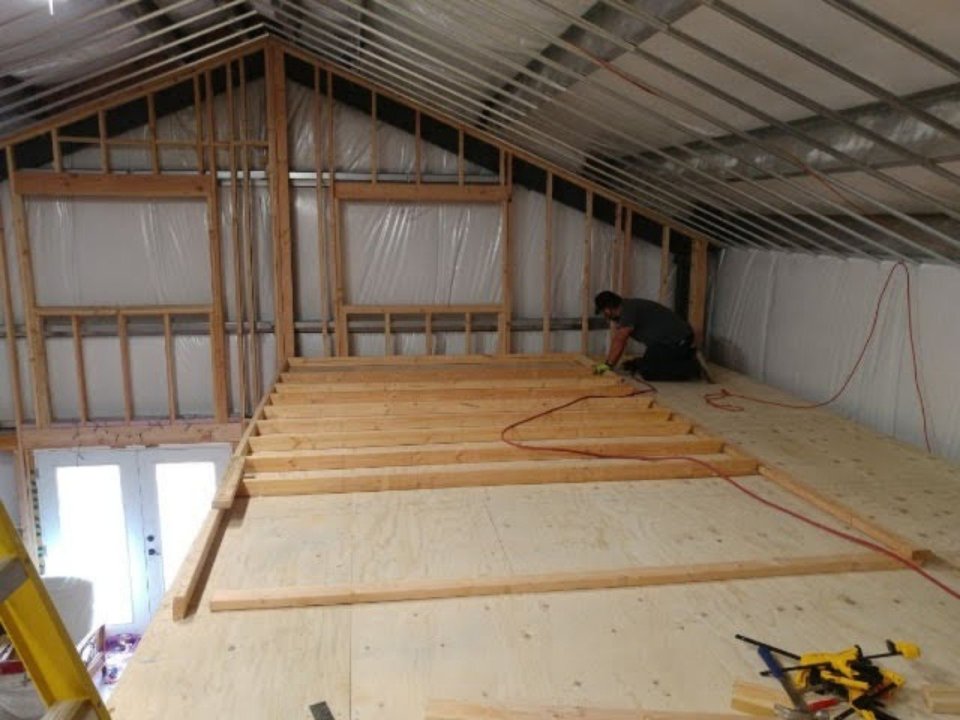
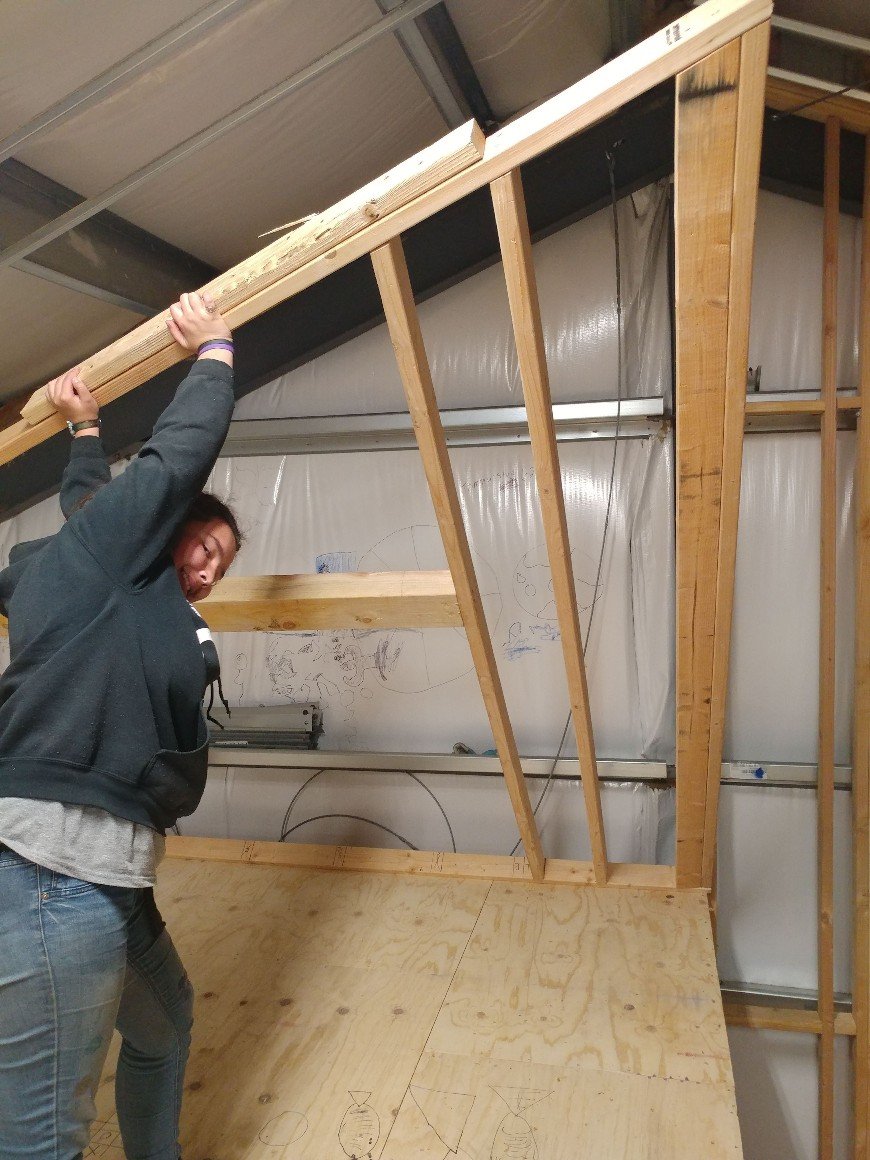
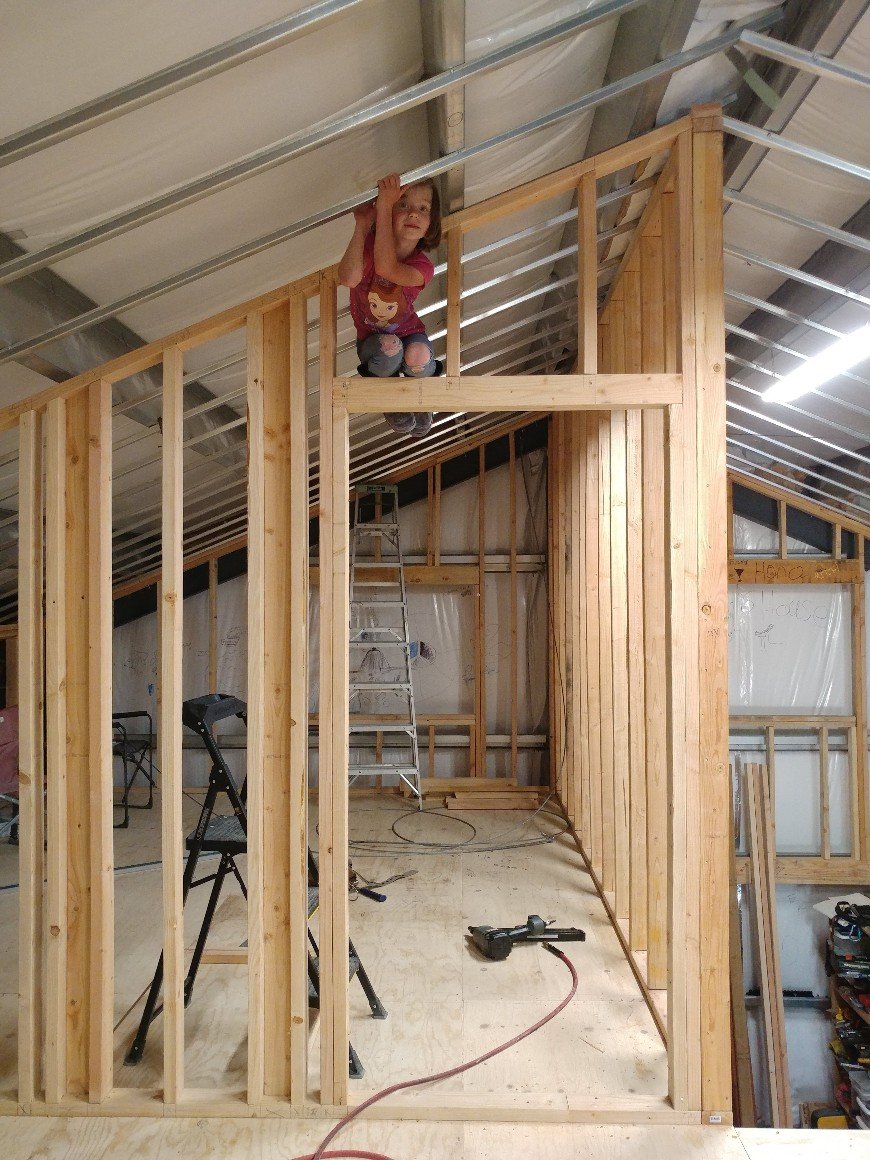
We were so excited to get the walls up so that it would not be as easy to fall off the edge.
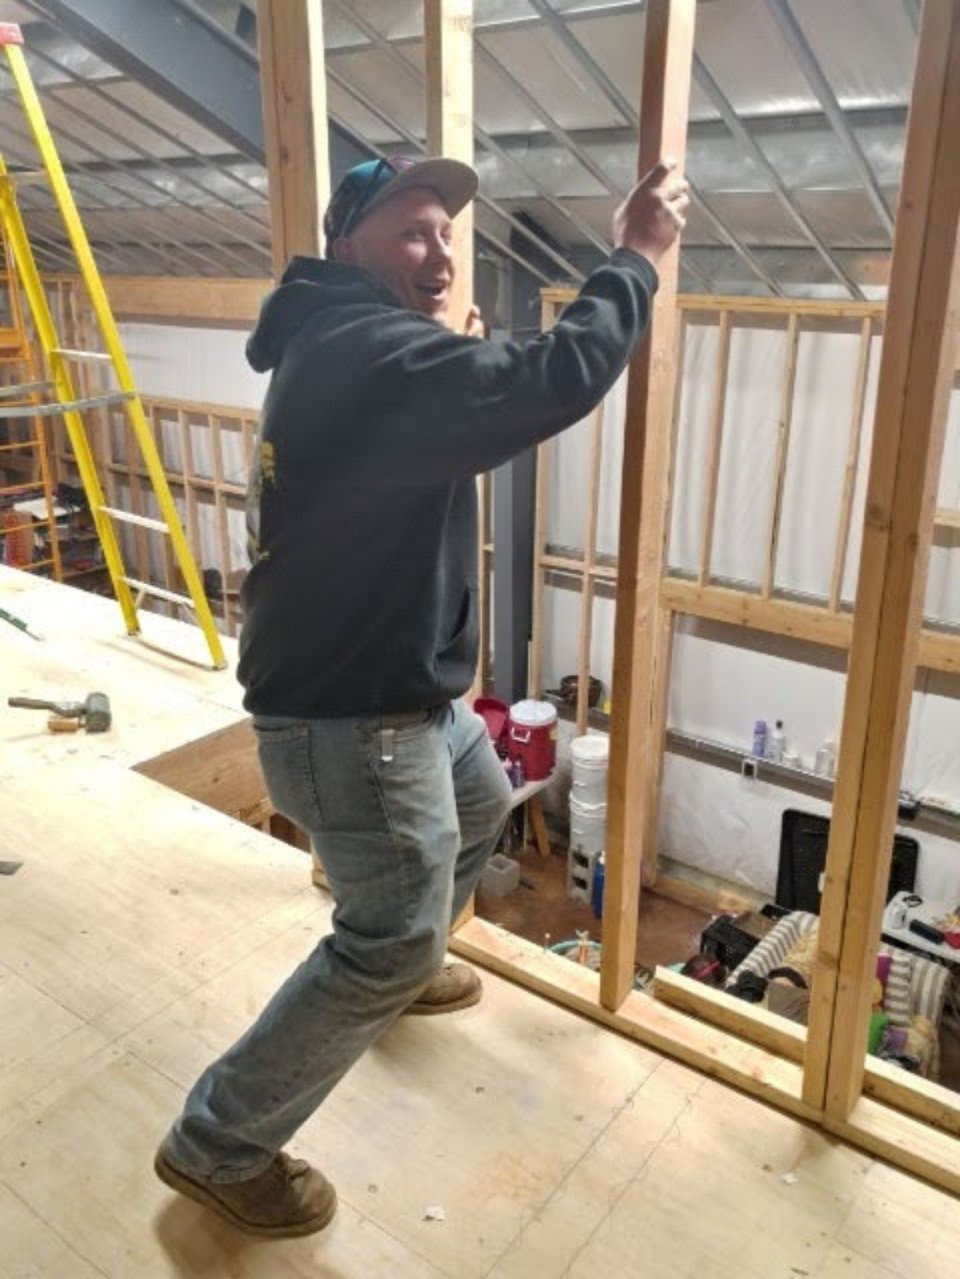
When my brother came to pick up his daughter whom we had been babysitting, we roped him into helping raise this wall. 😊
The peak looks even further away now!
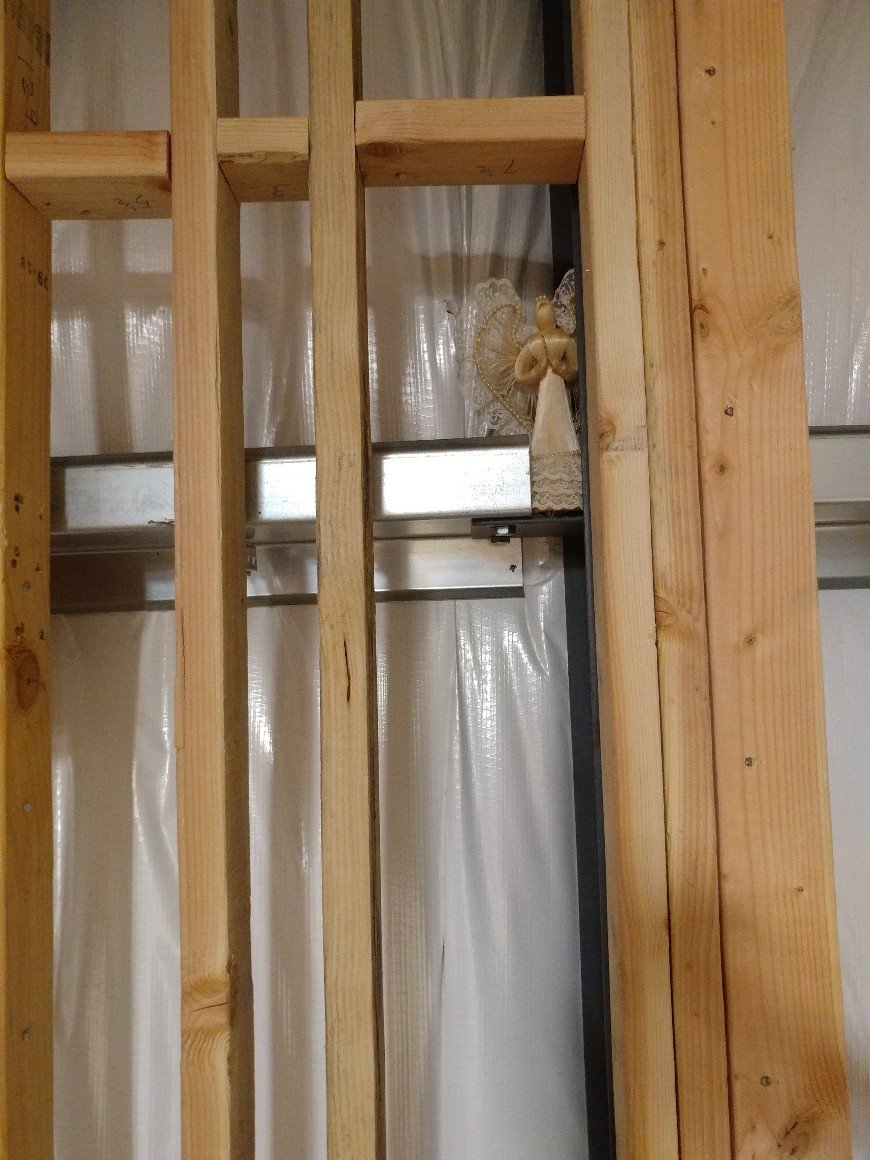
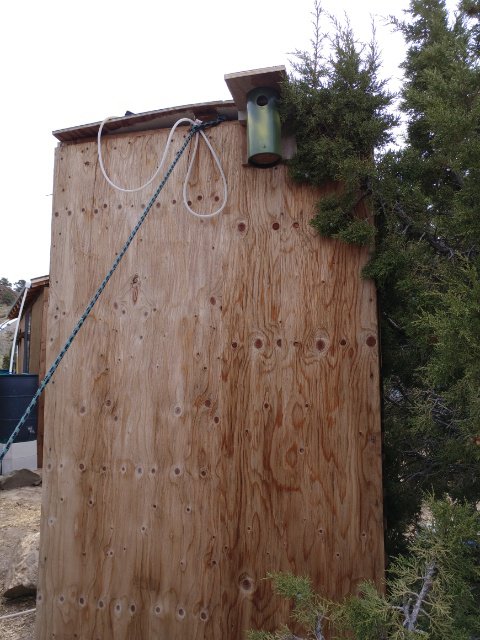
Our guardian angel given to us by a good friend. We decided to put her in the upper perlin to watch over the building. 😊
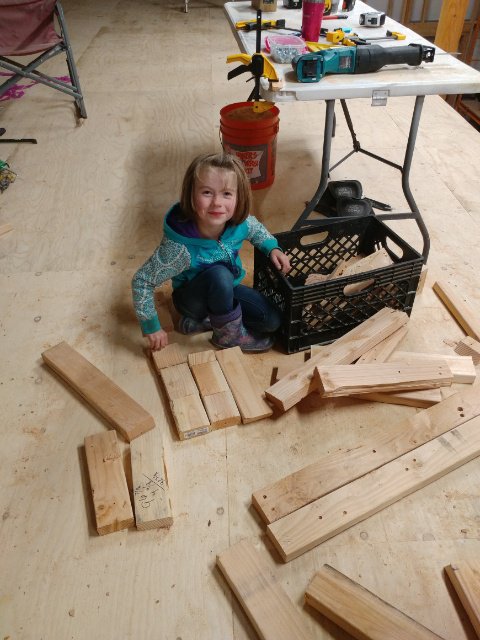
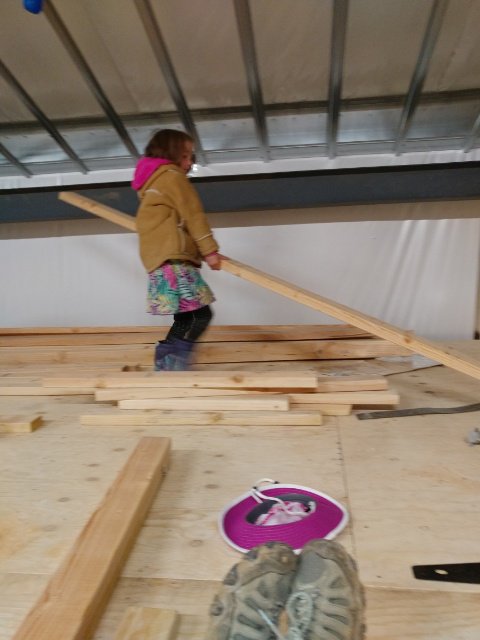
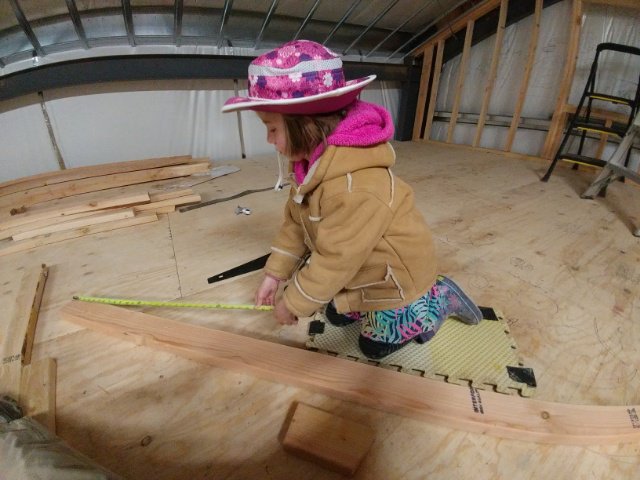
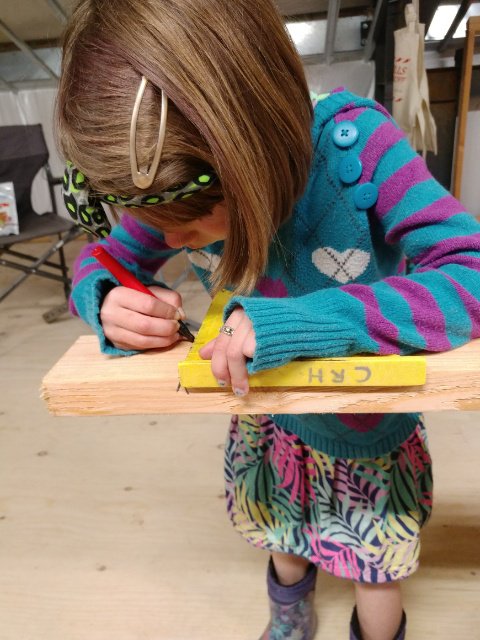
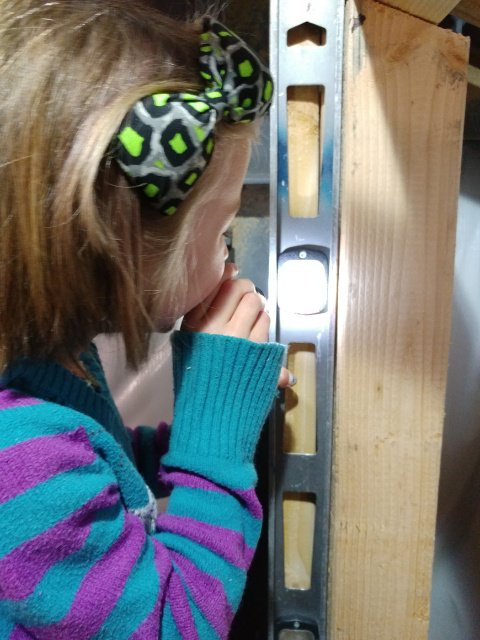
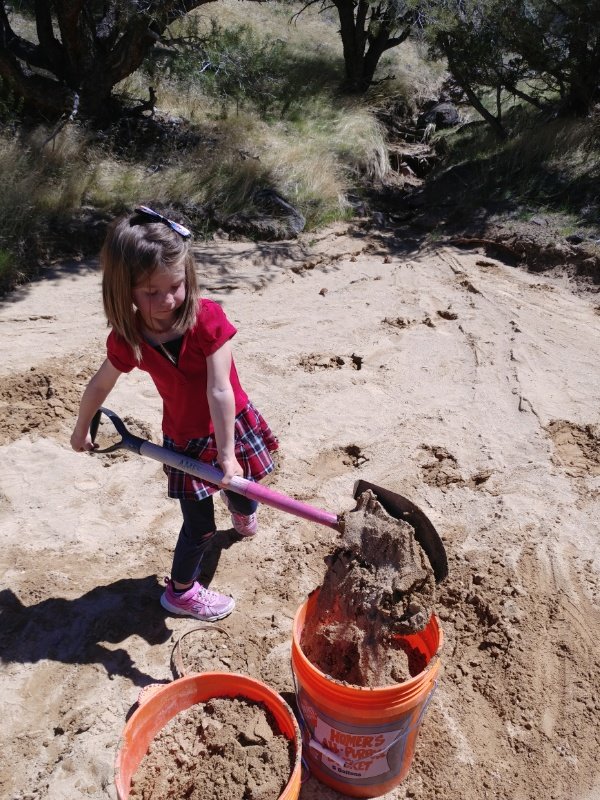
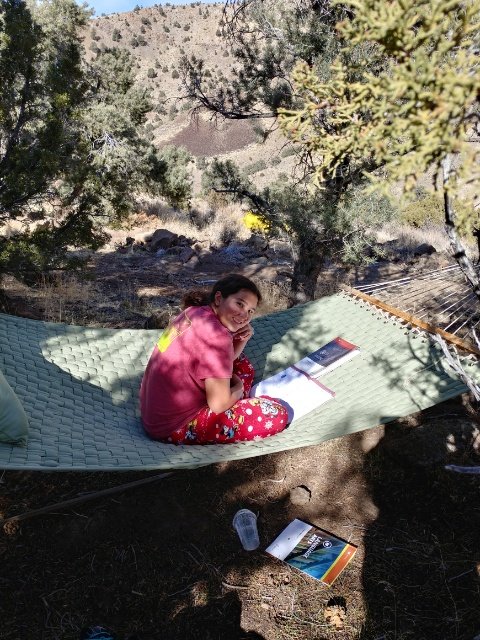
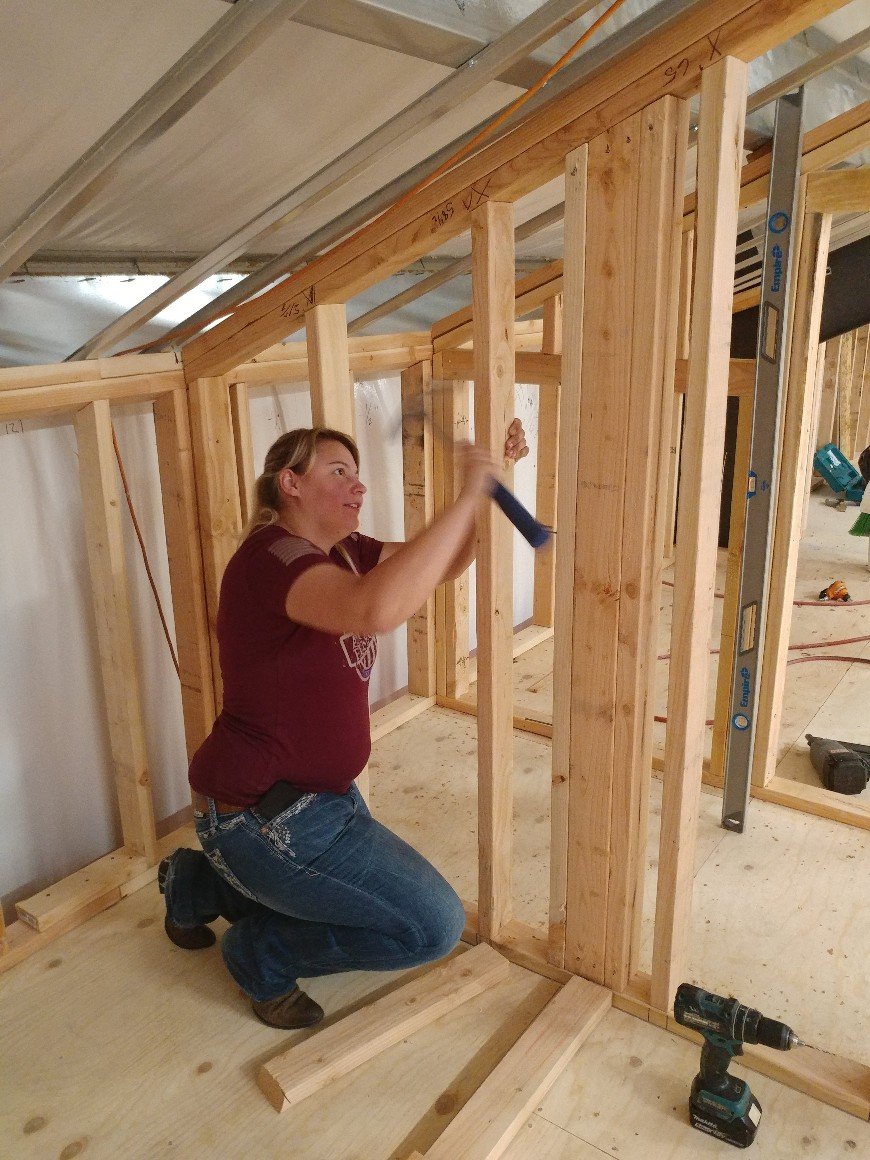
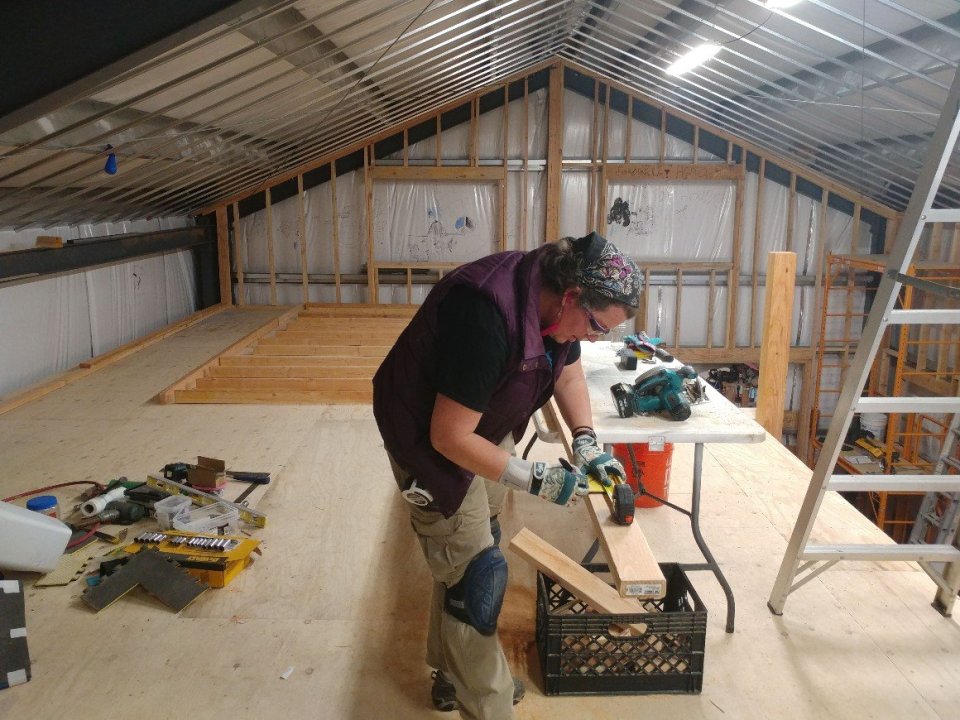
Once we had the edge wall up, Flower Girl and I built the smaller wall all by ourselves. You can read more about that here.

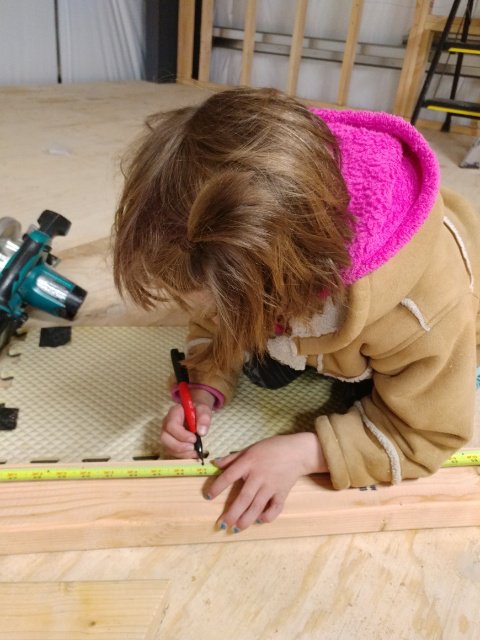
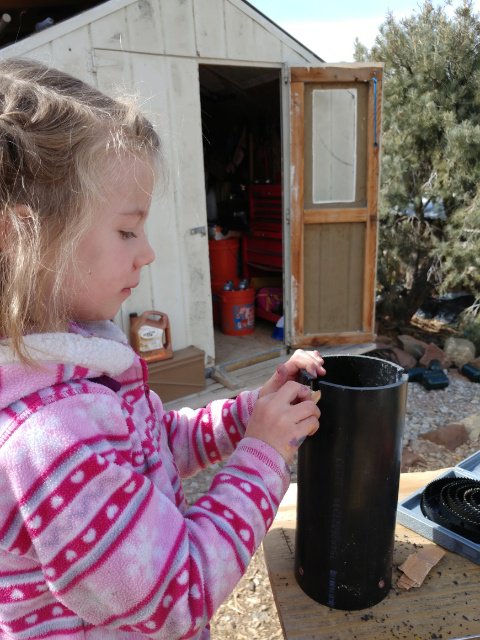
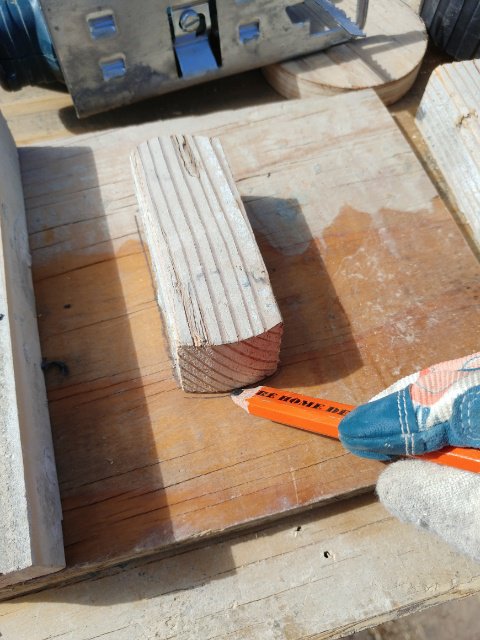
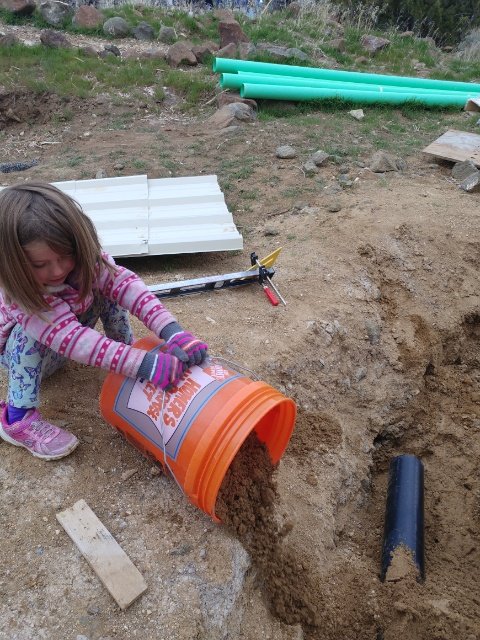
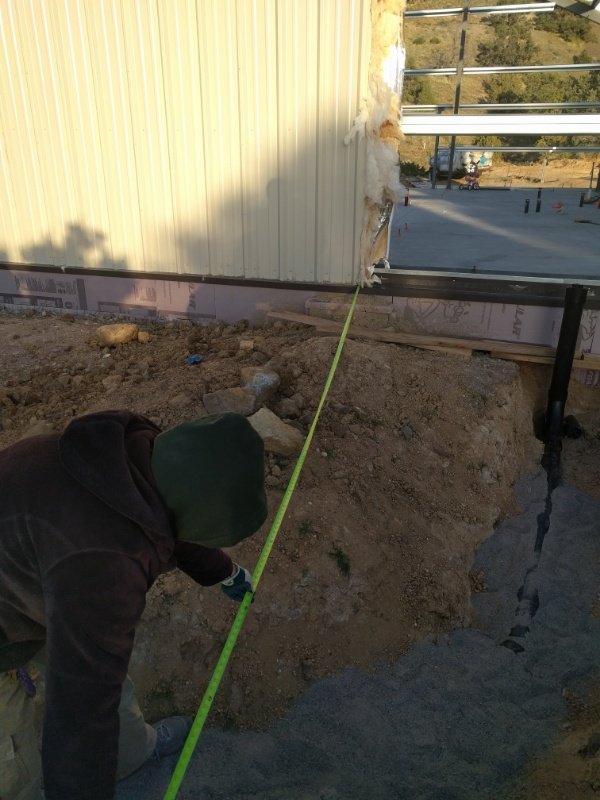
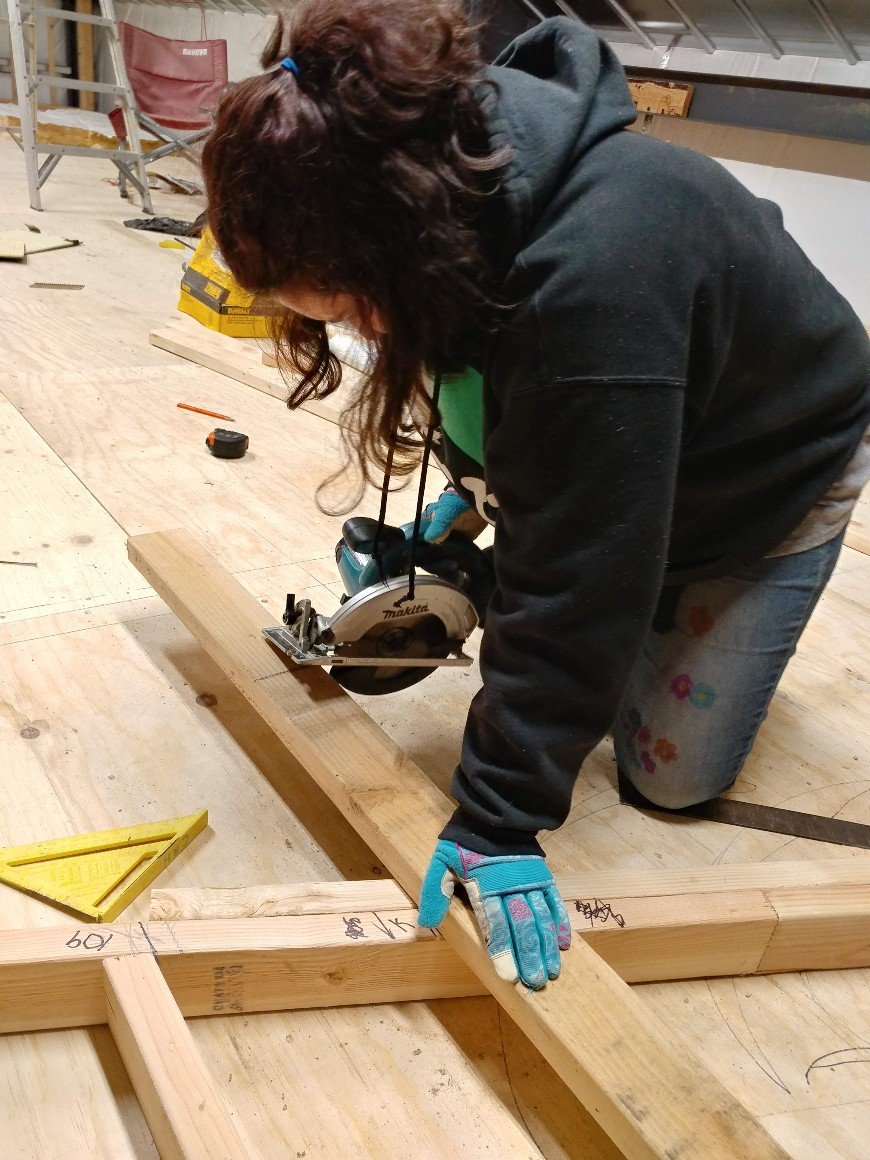
Learning to measure
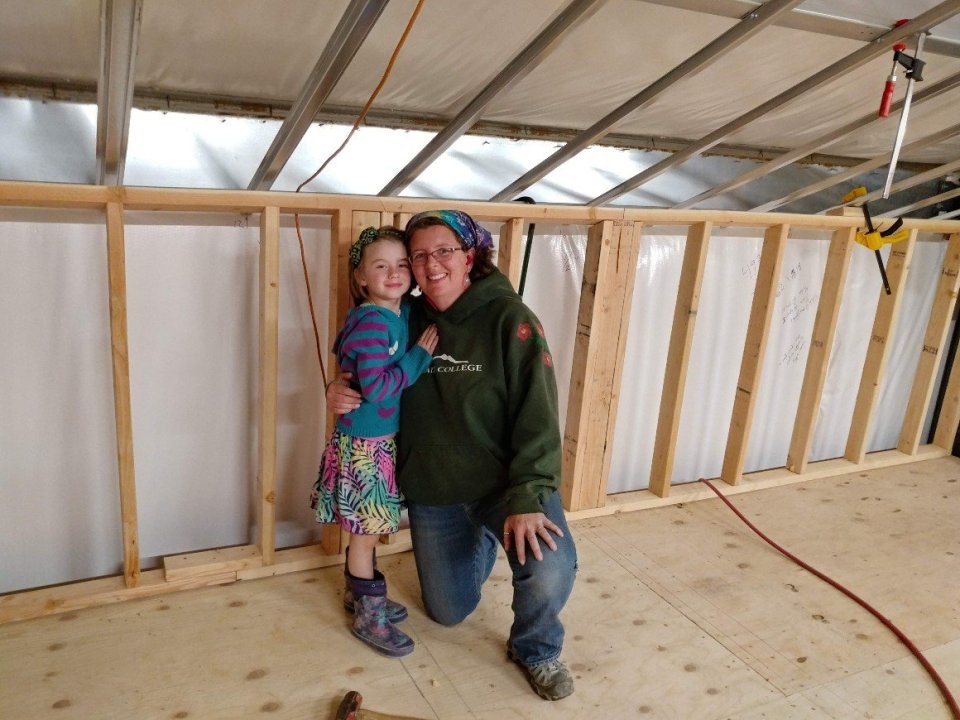
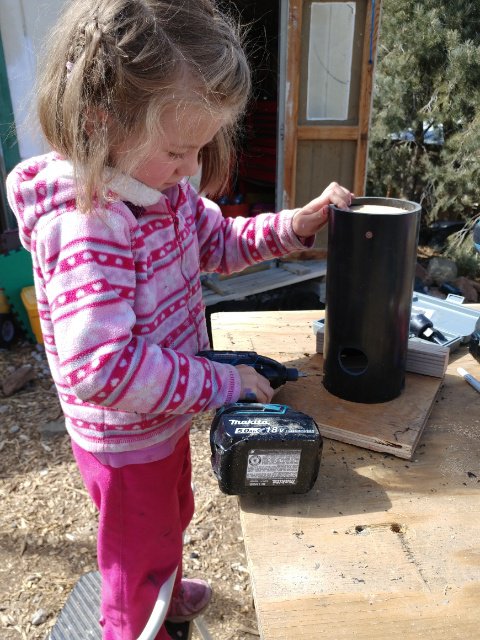
OUR wall
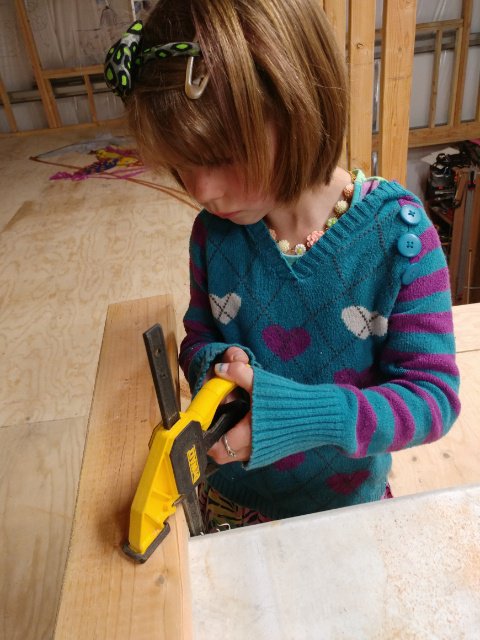
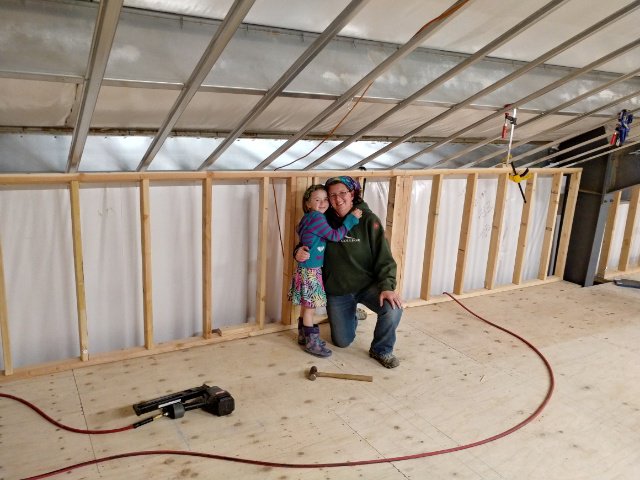
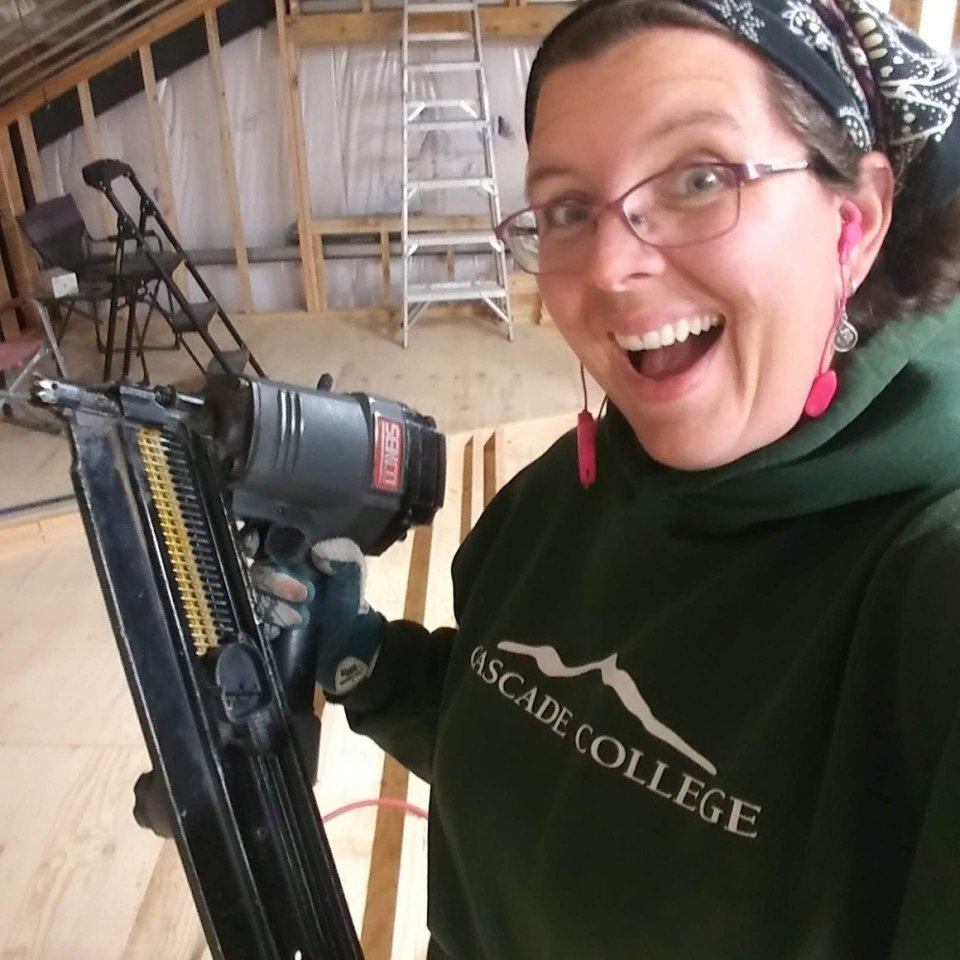
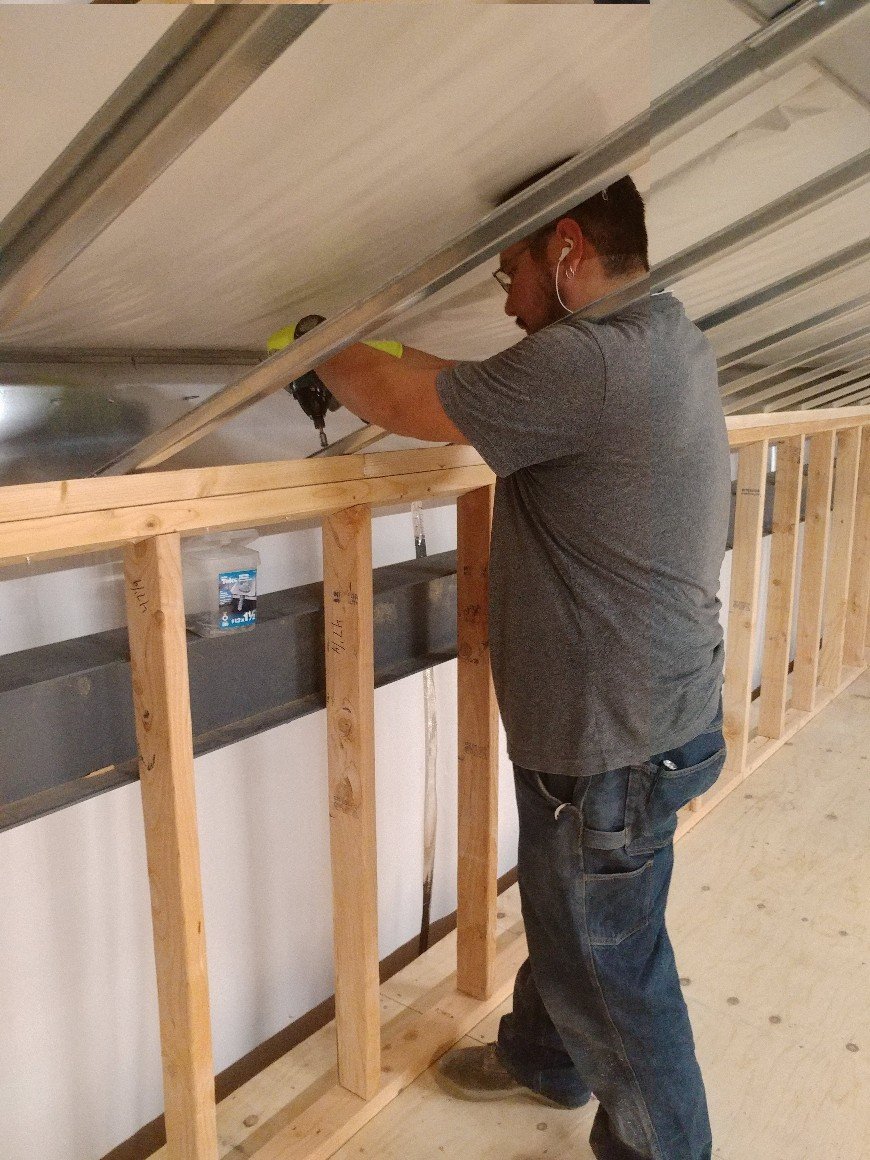
Our friend who helped on the hat channel come over again to help with the framing.
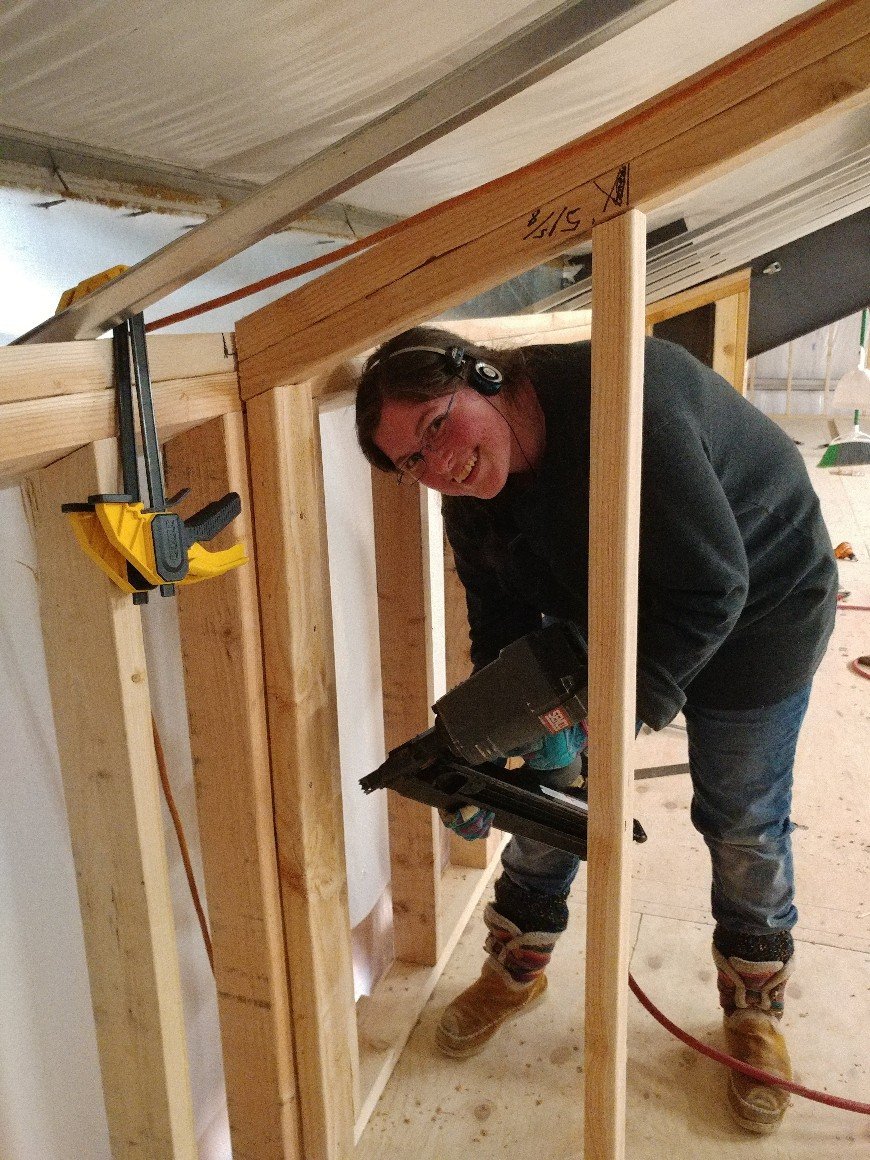
Her very first time using a nail gun.
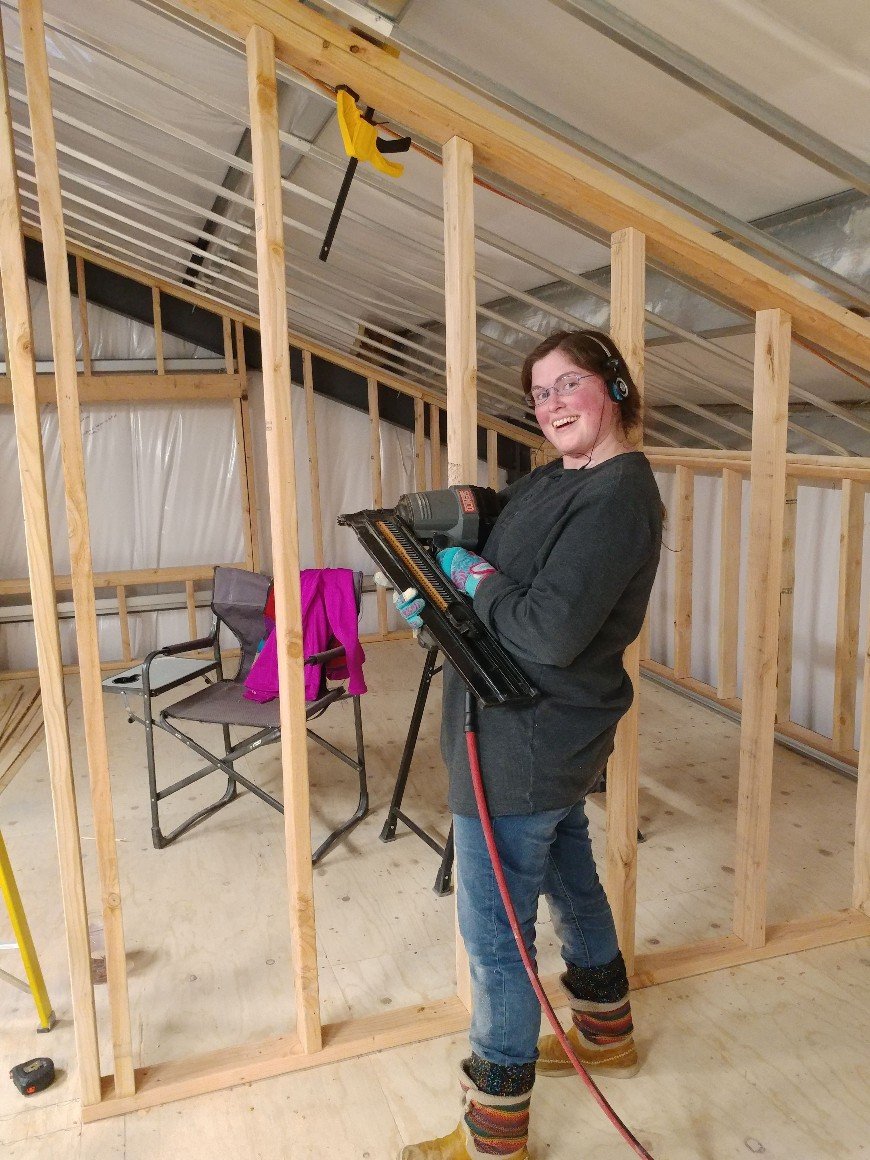
Me thinks she liked it!
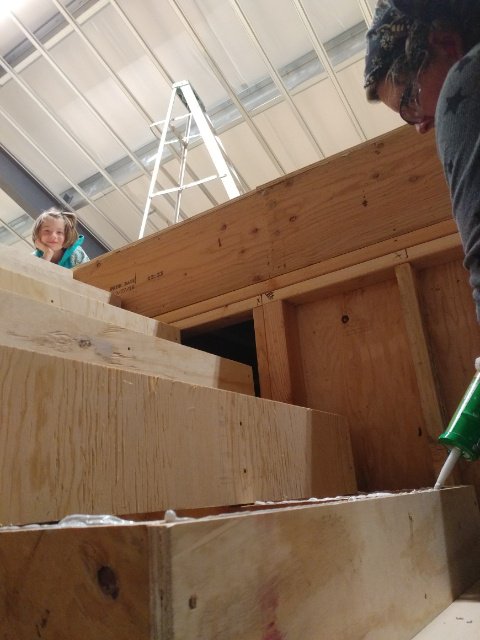
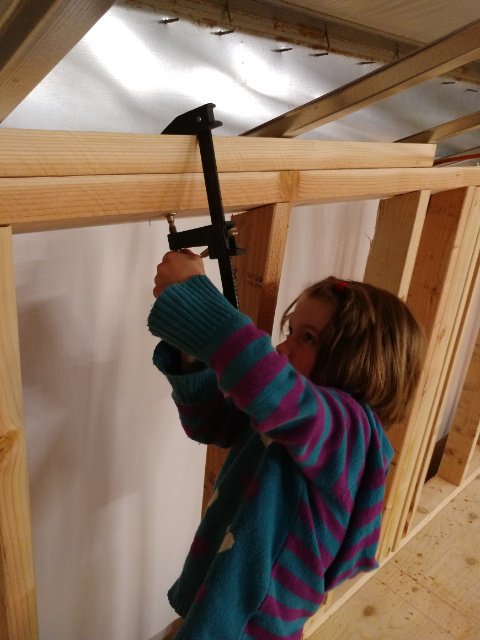
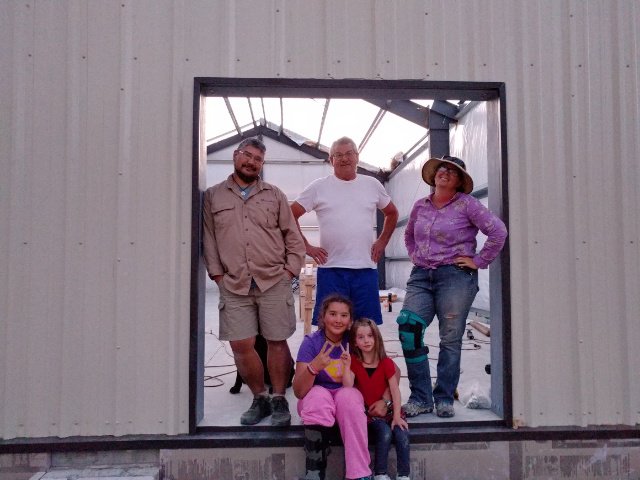
How do you build a large access door into a utility closet when you have a steeply sloped roof?
The answer is, you don’t.
You build THREE doors!
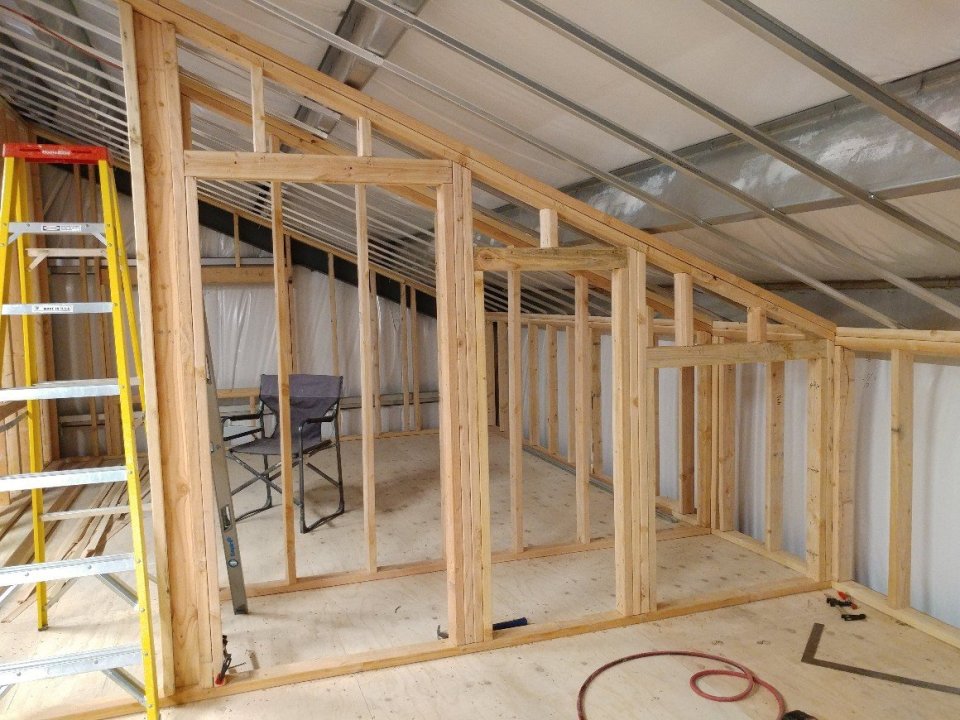
Papa bear, Mama bear, and Baby bear
This way, all areas of the closet can be accessed, no matter what gets stuffed in there.
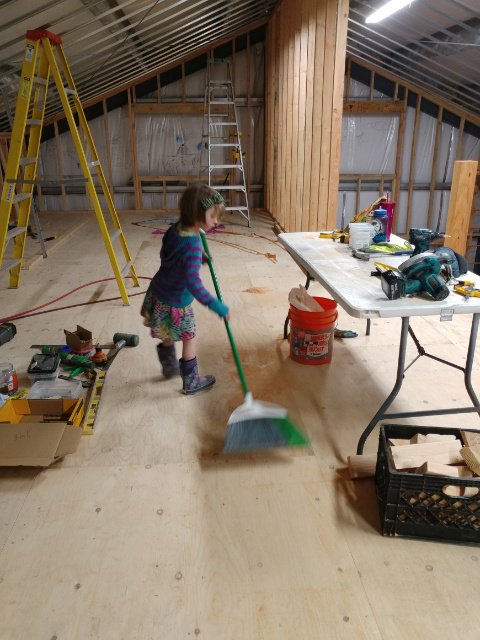
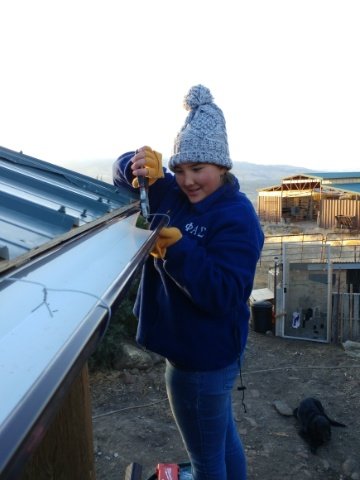
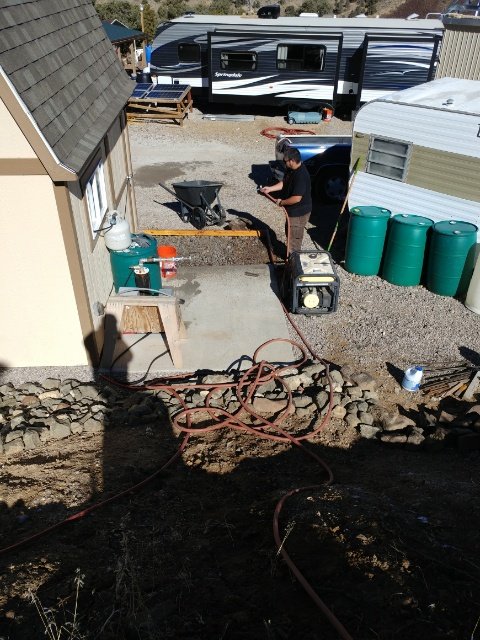
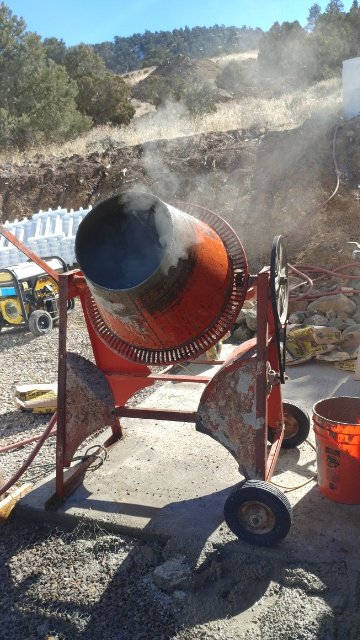
At some point, the compressor went kaput and we were forced to use hammers.
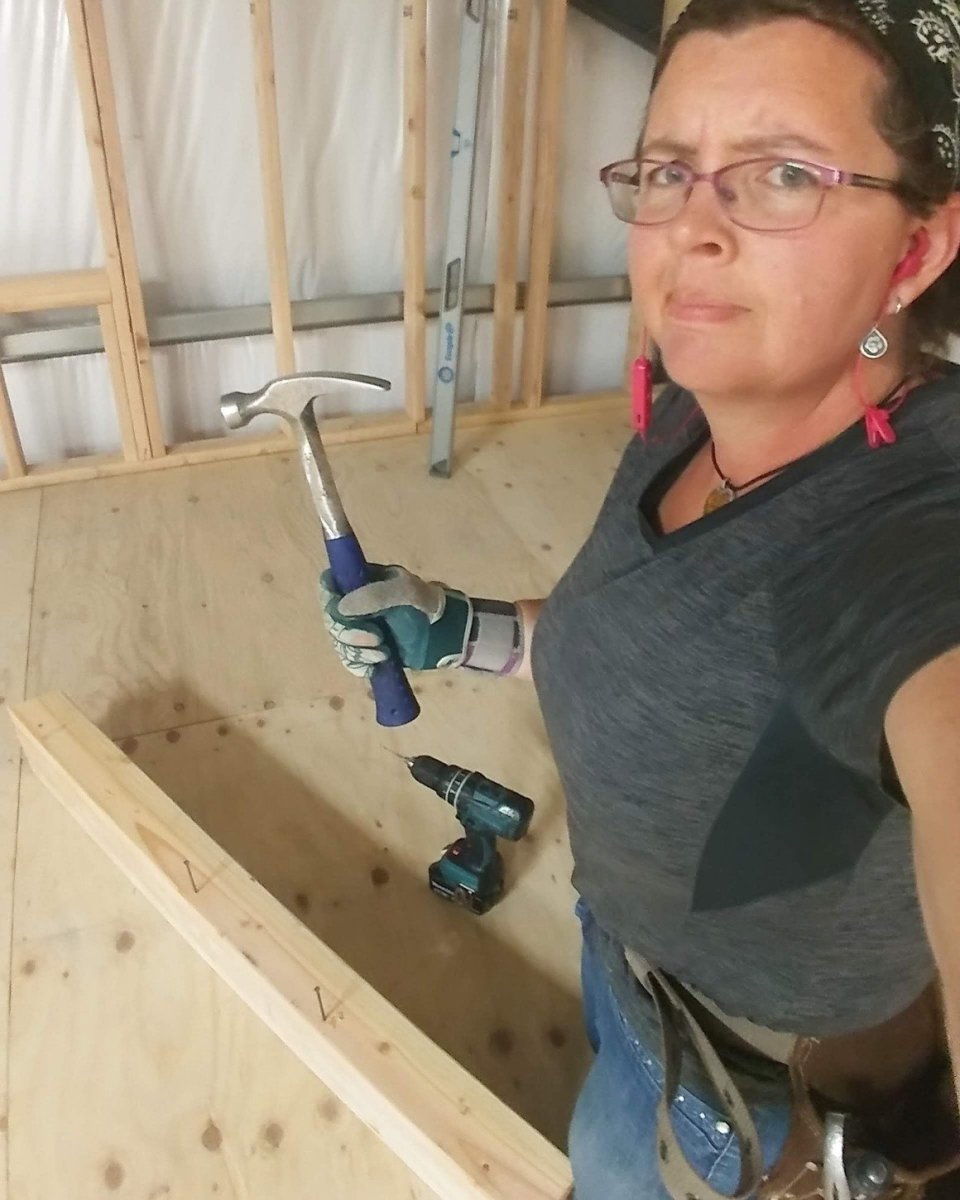
You can see how happy I was about that!
Even knowing that we didn’t have power tools, some sister-friends came over to help anyway!

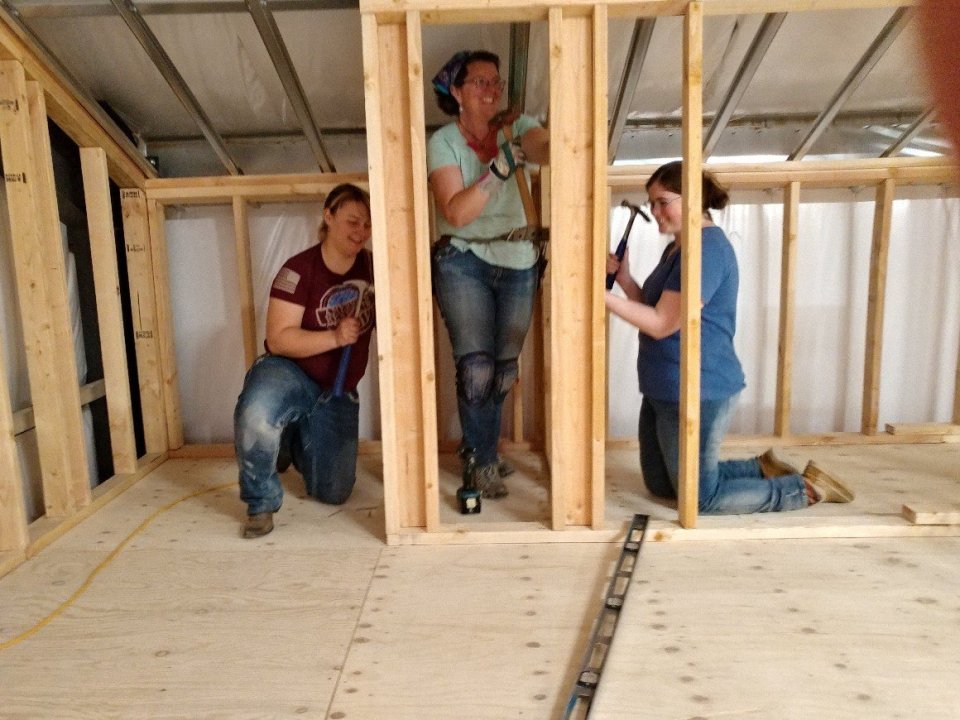
And luckily, whatever was wrong with the compressor was fixed by the hubby, cause we still had a whole other half of the upstairs to do!
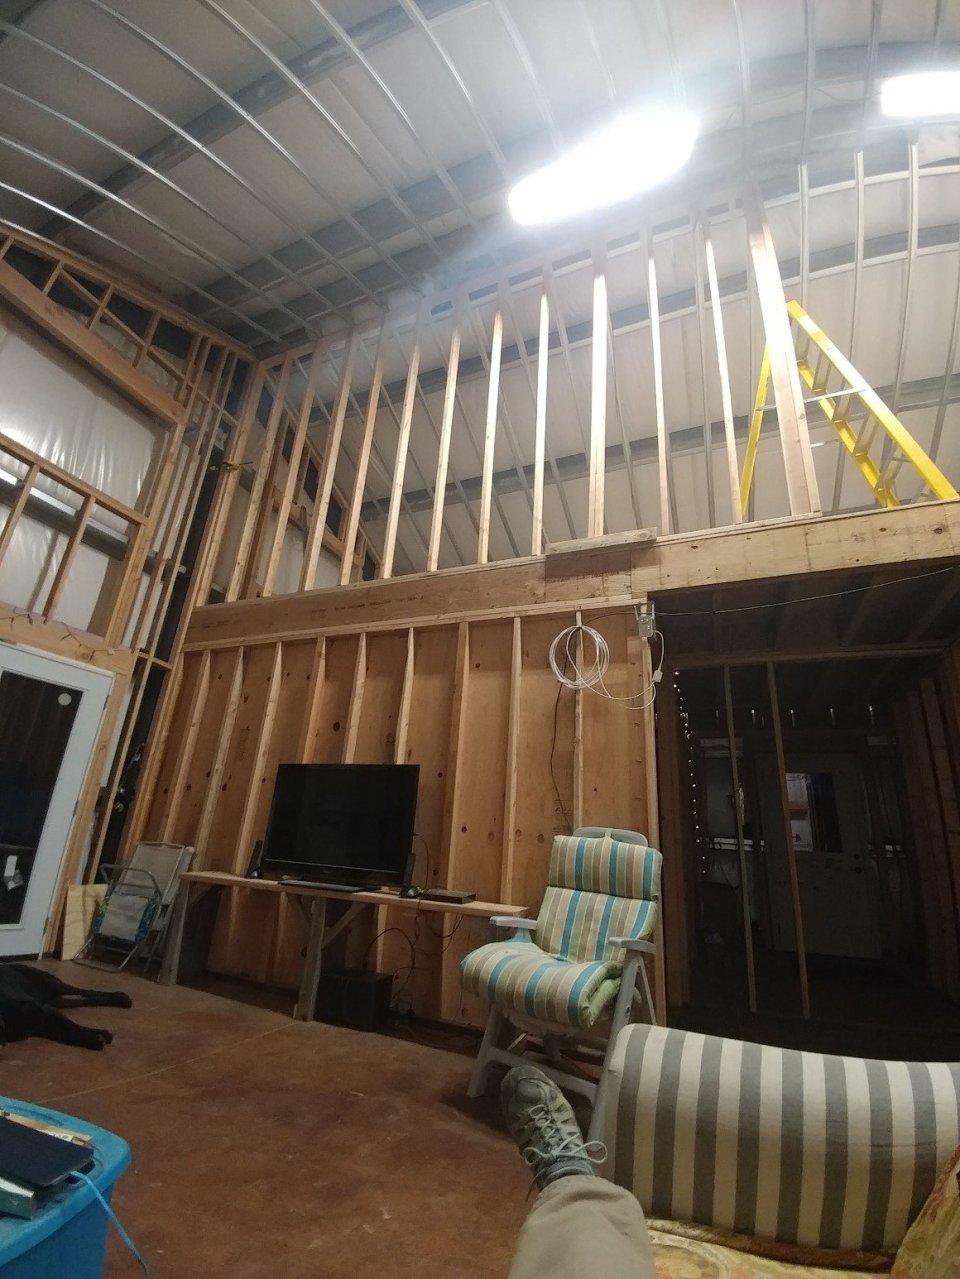
And one last small wall, the short pony wall for the central loft/open area of the upstairs.
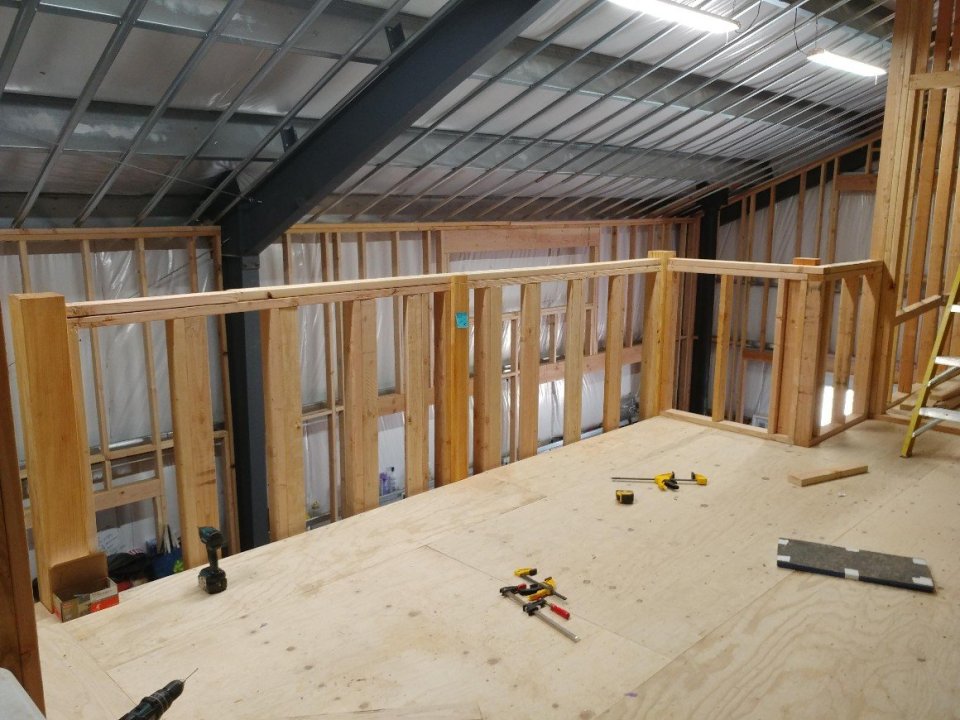
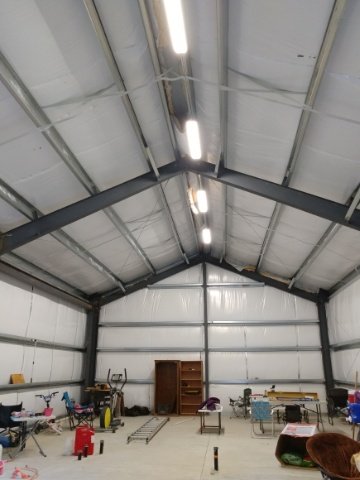
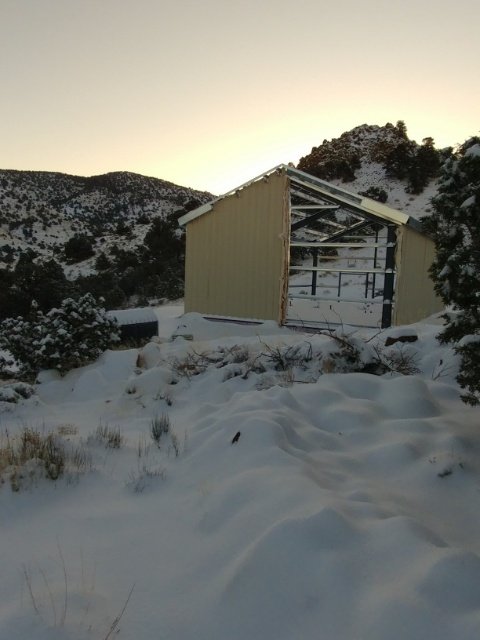
And suddenly the upstairs framing was finished!
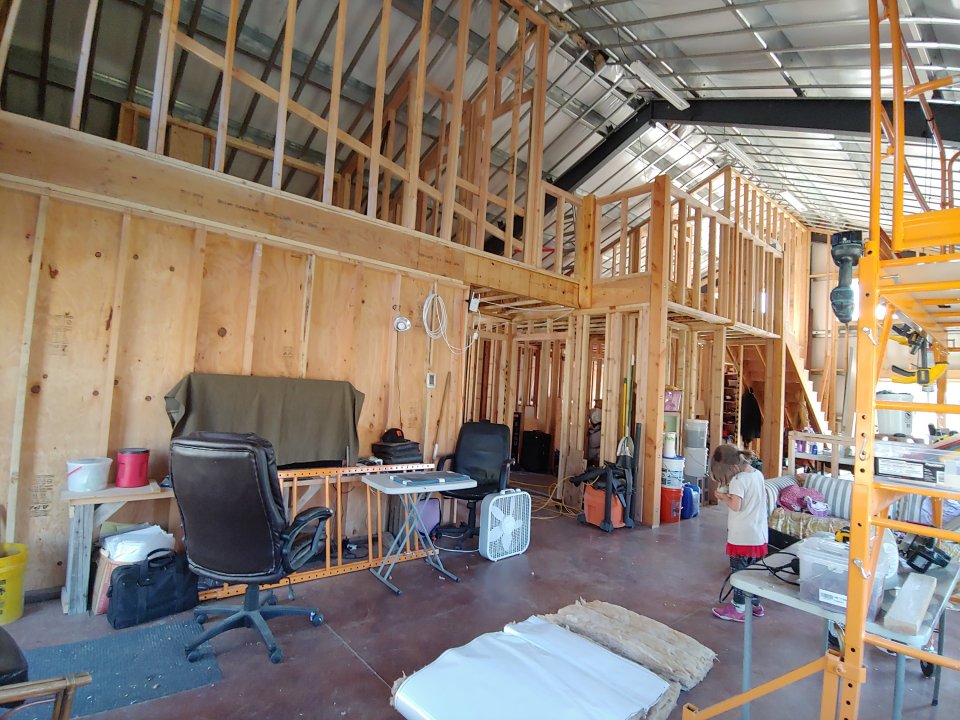
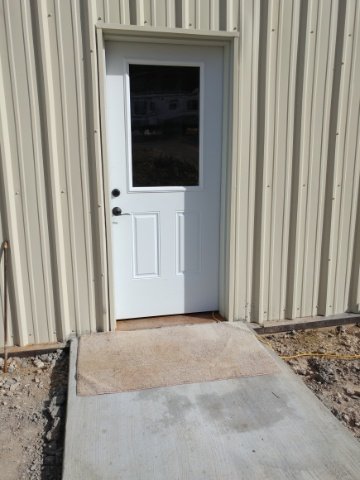
The next project we worked on was getting all the windows and doors in (you can see a sneak peak in that last picture with all that natural light.)
Oh, and you know those stairs we had completed the month before?
So. Very. Nice!
So that brings us up to May.
May was spent doing little odd and ends, finishing up smaller tasks and getting our framing inspection (which unbeknownst to us we didn’t have everything done we needed to get done, but he said the framing looked good – yay!)
The next post will be about the doors and windows. That was June’s task.
July was spent prepping for and being out of town for a large family vacation.
August has so far been a lot of working my summer job, researching and prepping for electrical, and doing small odds and ends. Oh, and prepping for the school year, which starts the day after Labor Day.
And it’s HOT, so our motivation to work is almost non-existent. All we want to do is sit around in the shade and stay as cool as we can.
But we gotta get things done, so we do little bits here and there. Slow forward progress is still progress.
Hopefully I’ll get the post about the doors and windows loaded soon. Then I’ll have a garden update/overview to write up. And then finally be caught up. 😊