Tag Archives: Family

House Update: electrical and plumbing

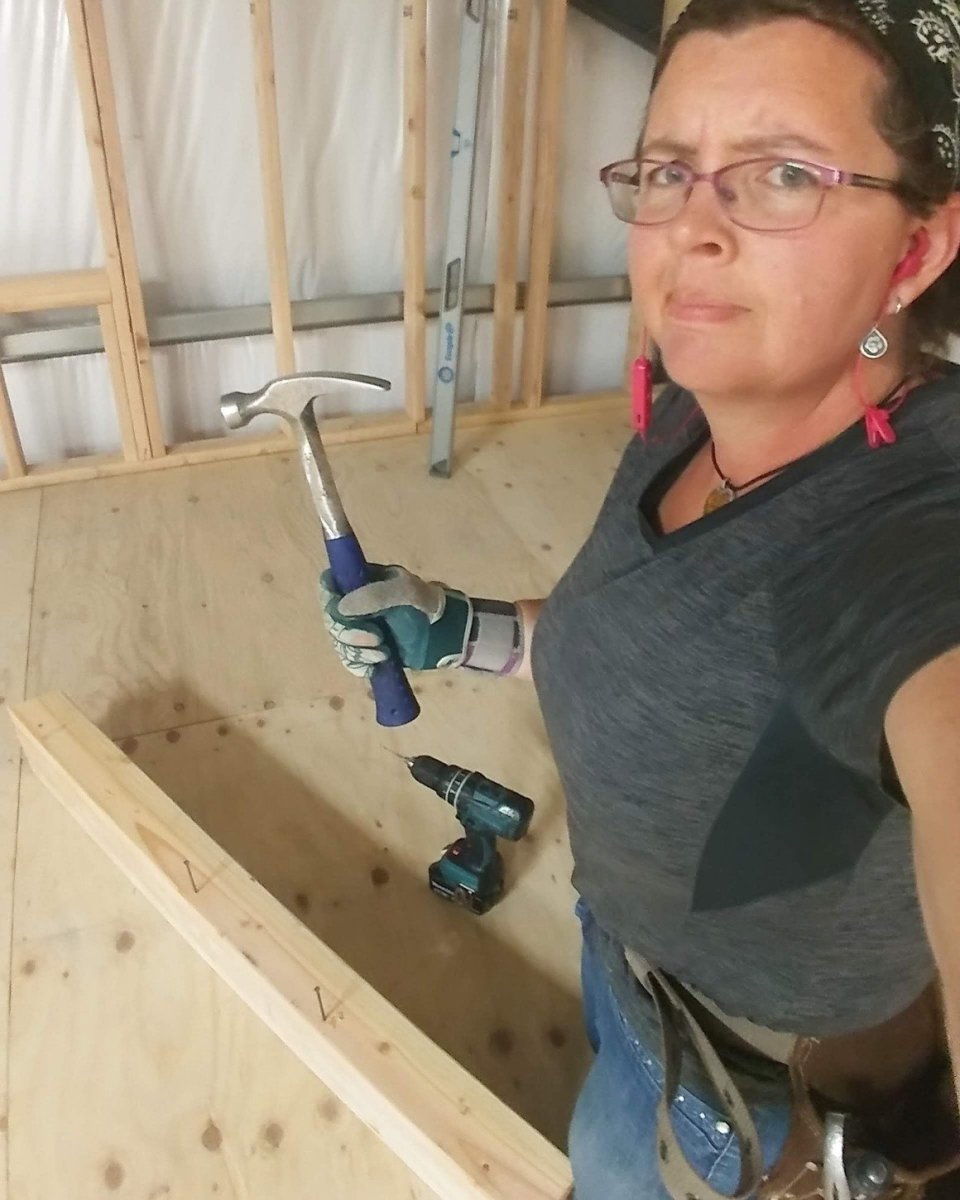
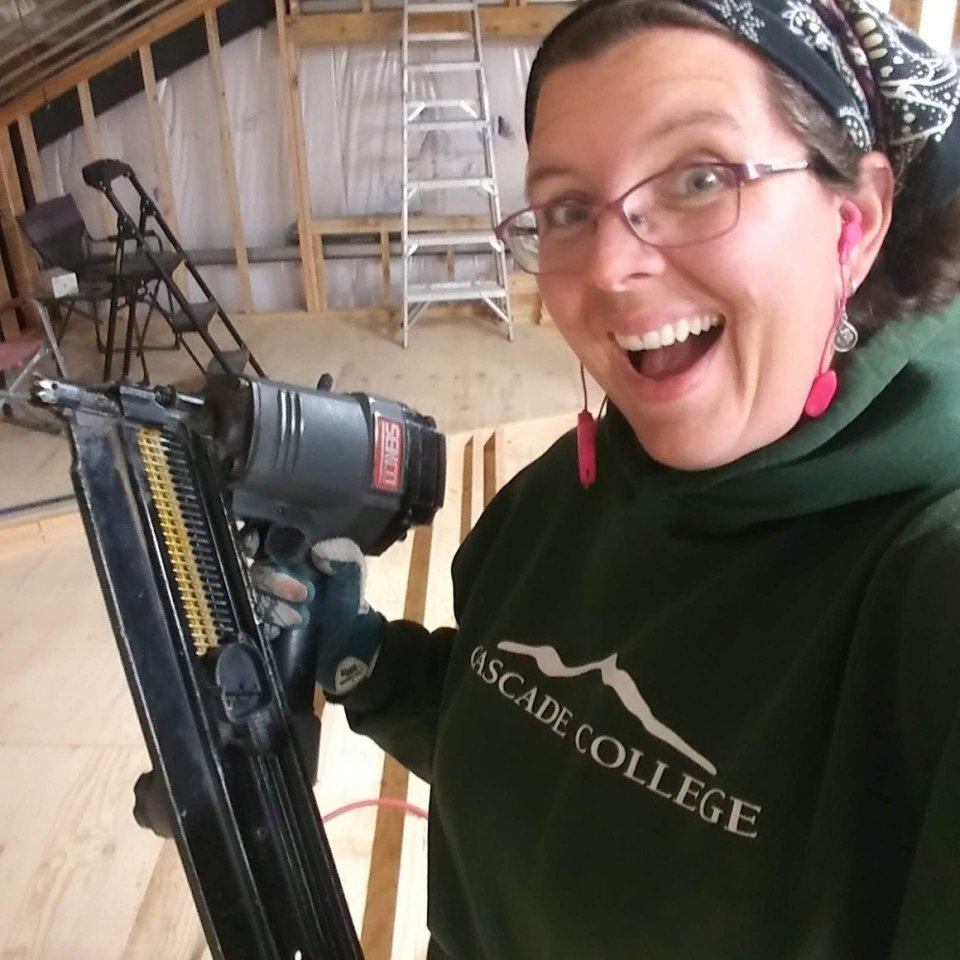
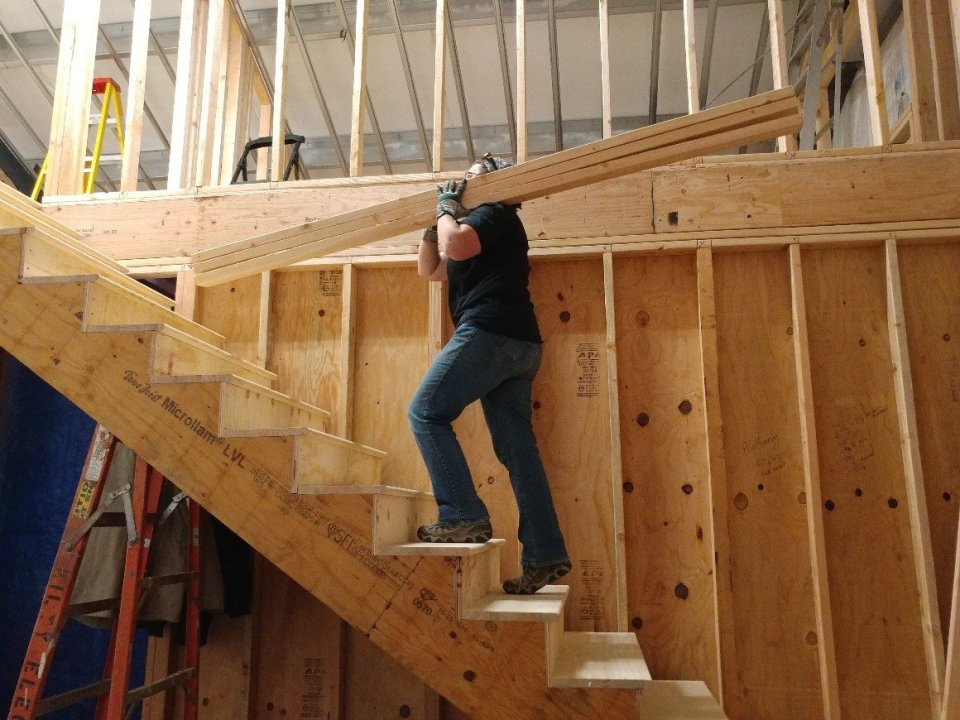
Oy! It’s been so long! And we don’t have much to show for it. Yes, we’ve been making forward progress on the house, but very slow.

My last house update was about the windows and doors.

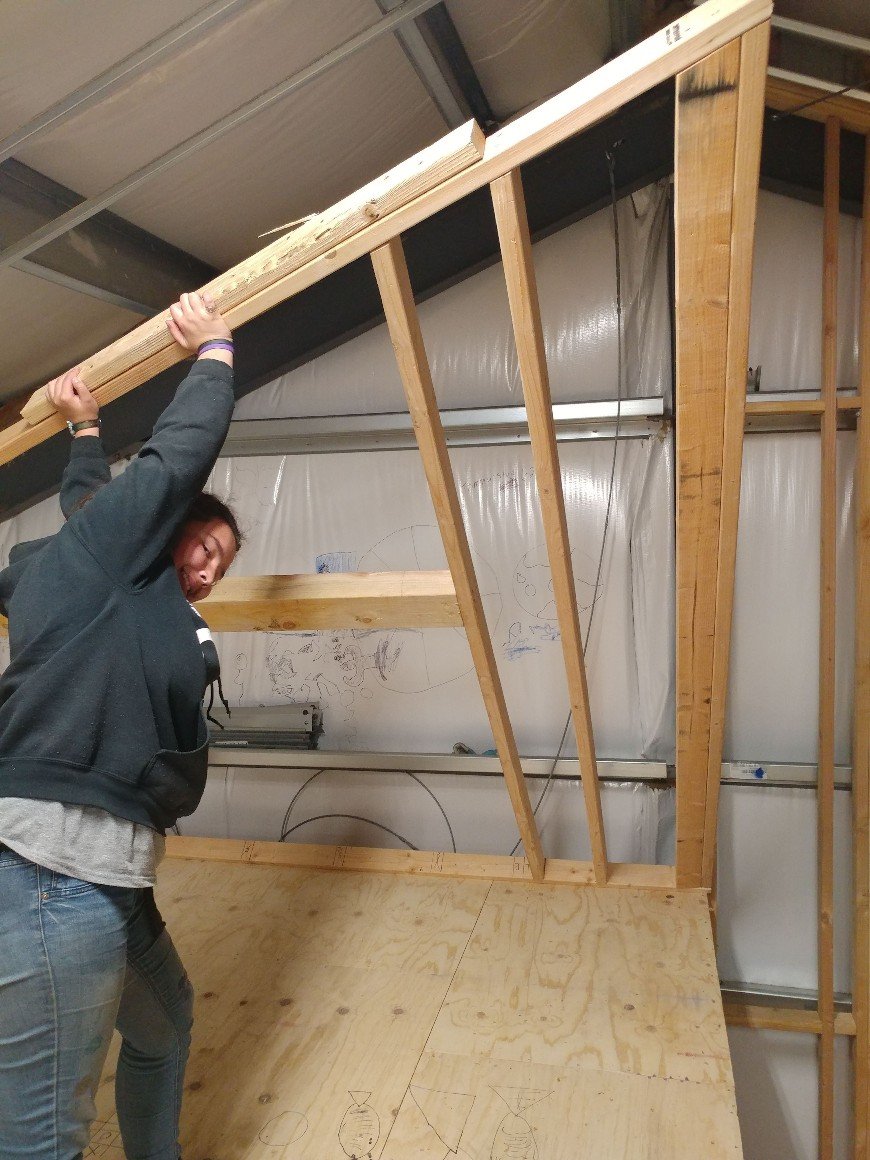
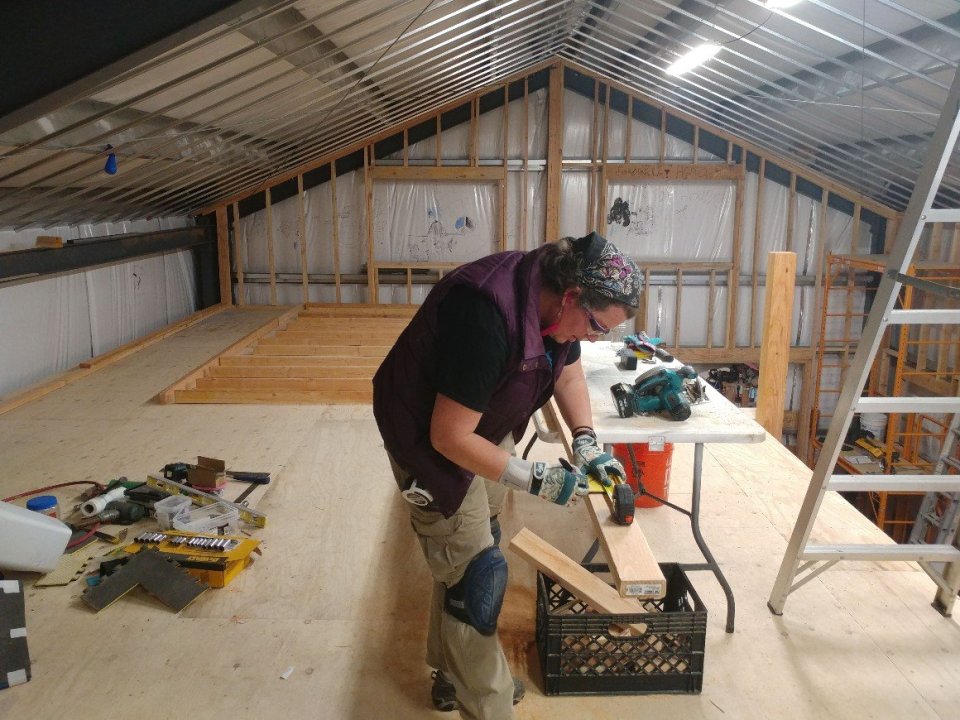
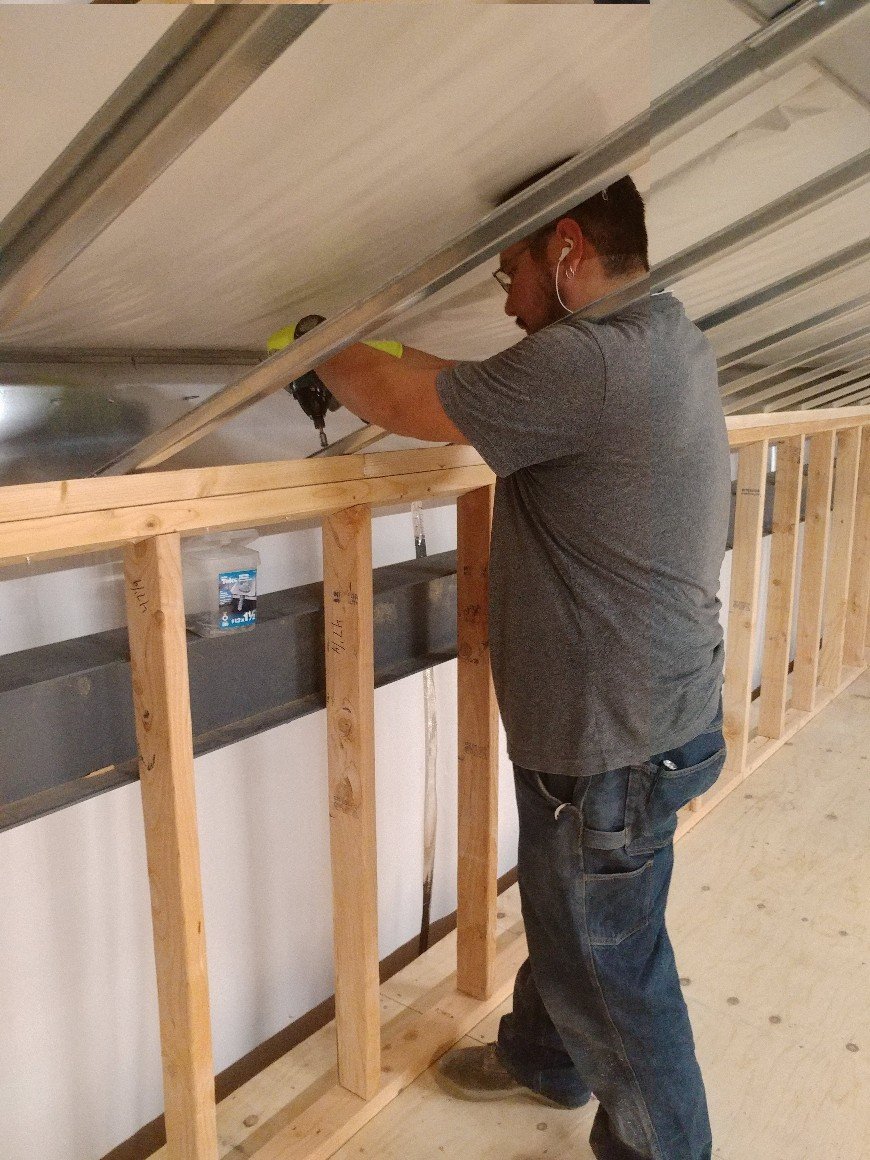
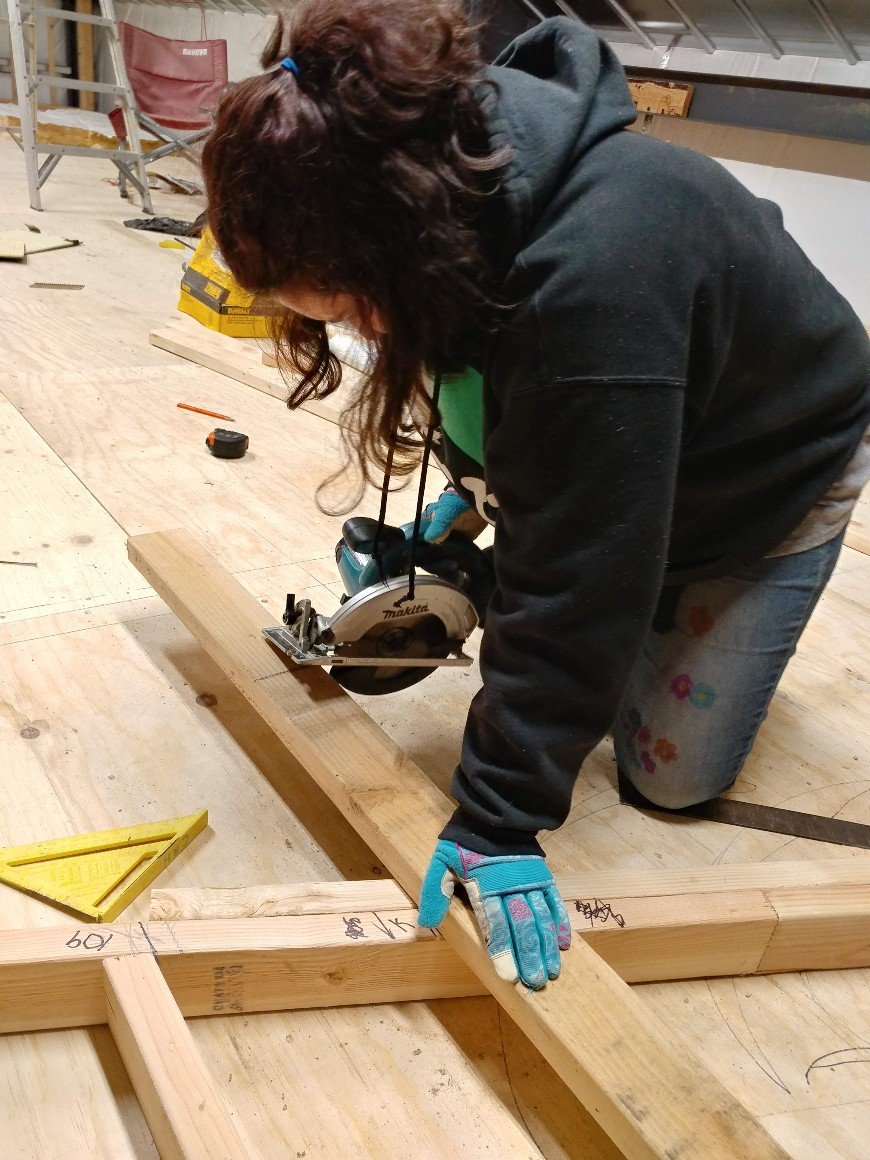
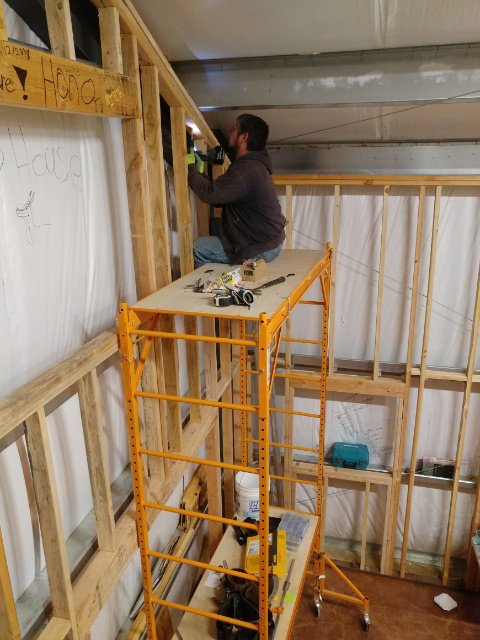
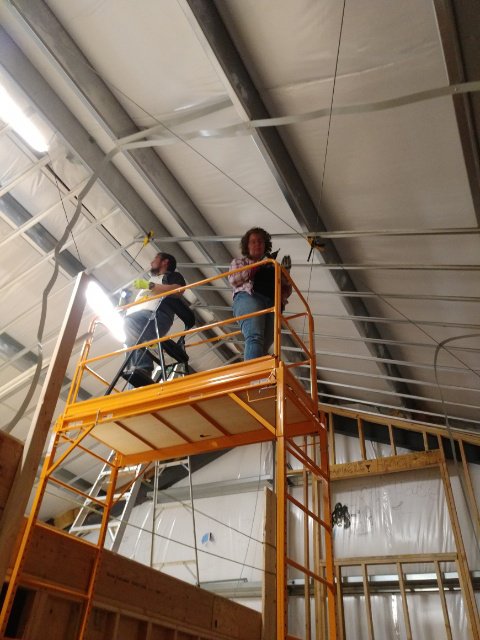
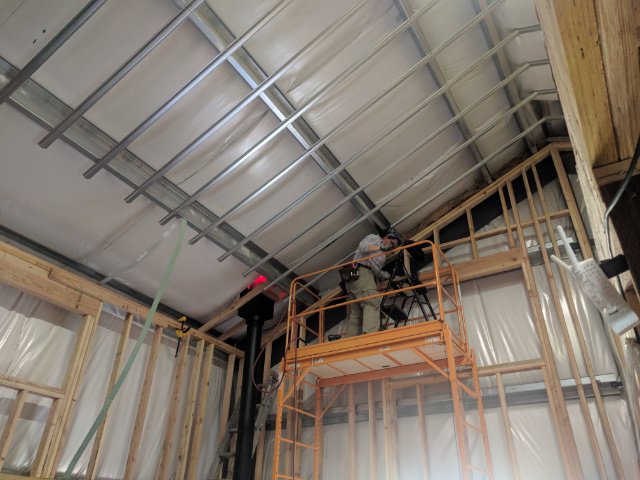
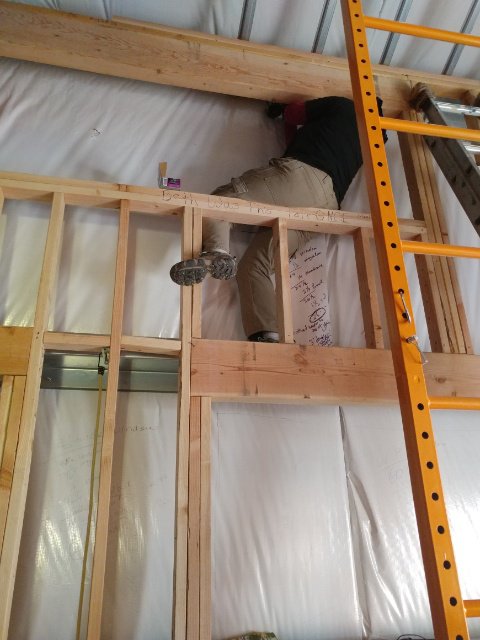
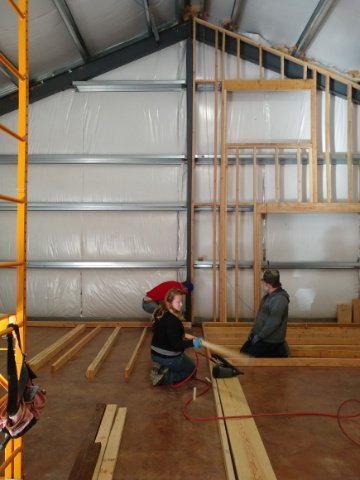
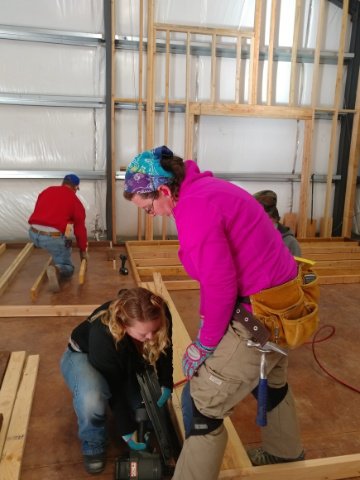
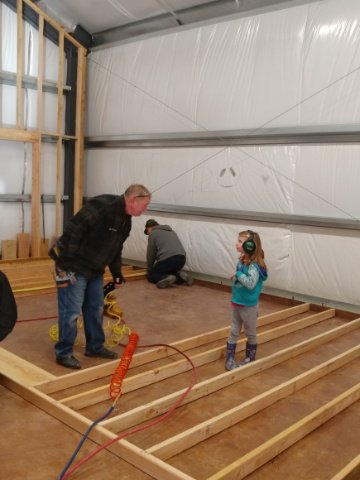
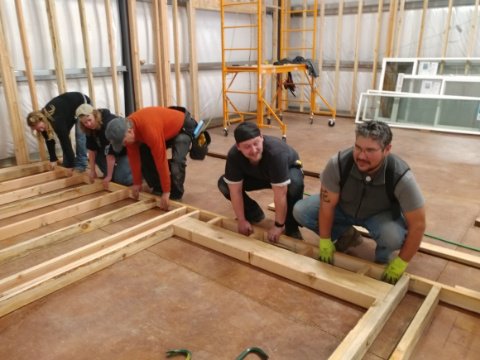
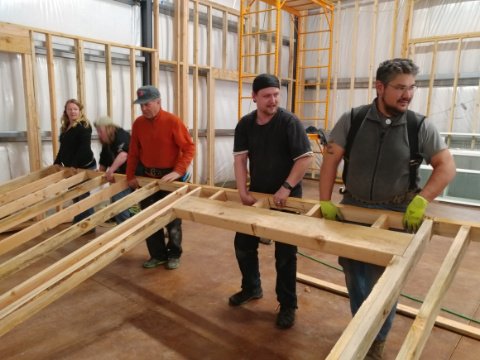
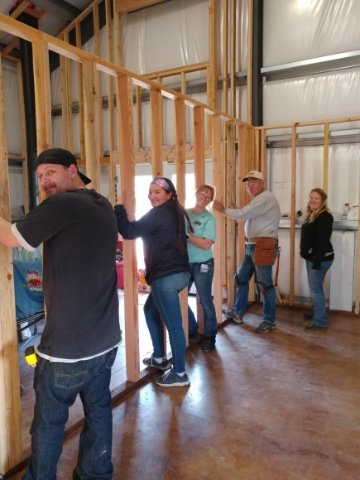
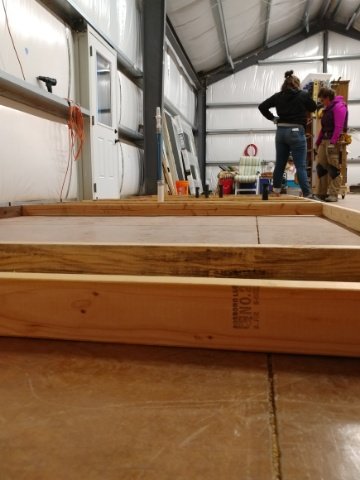
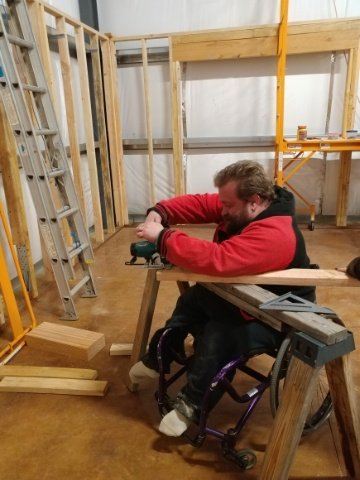
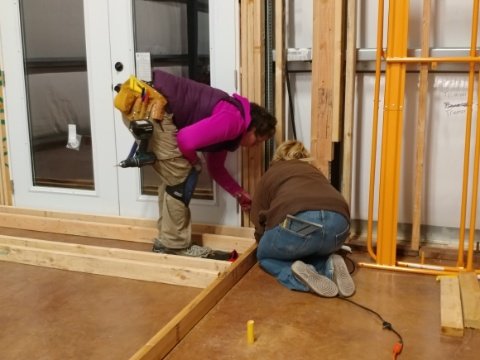
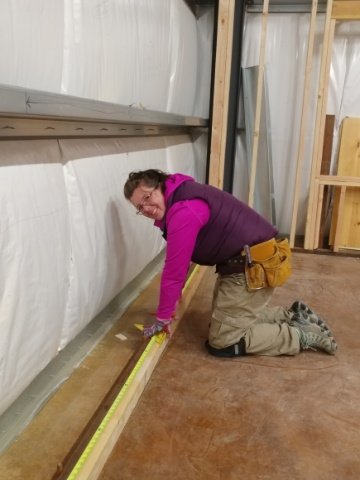
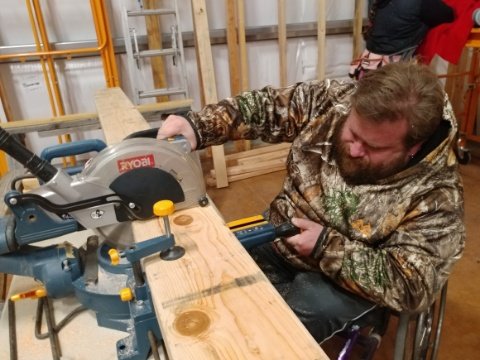
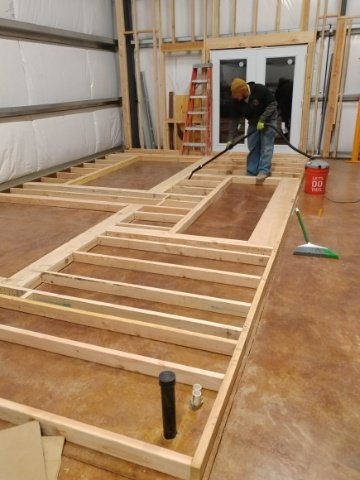
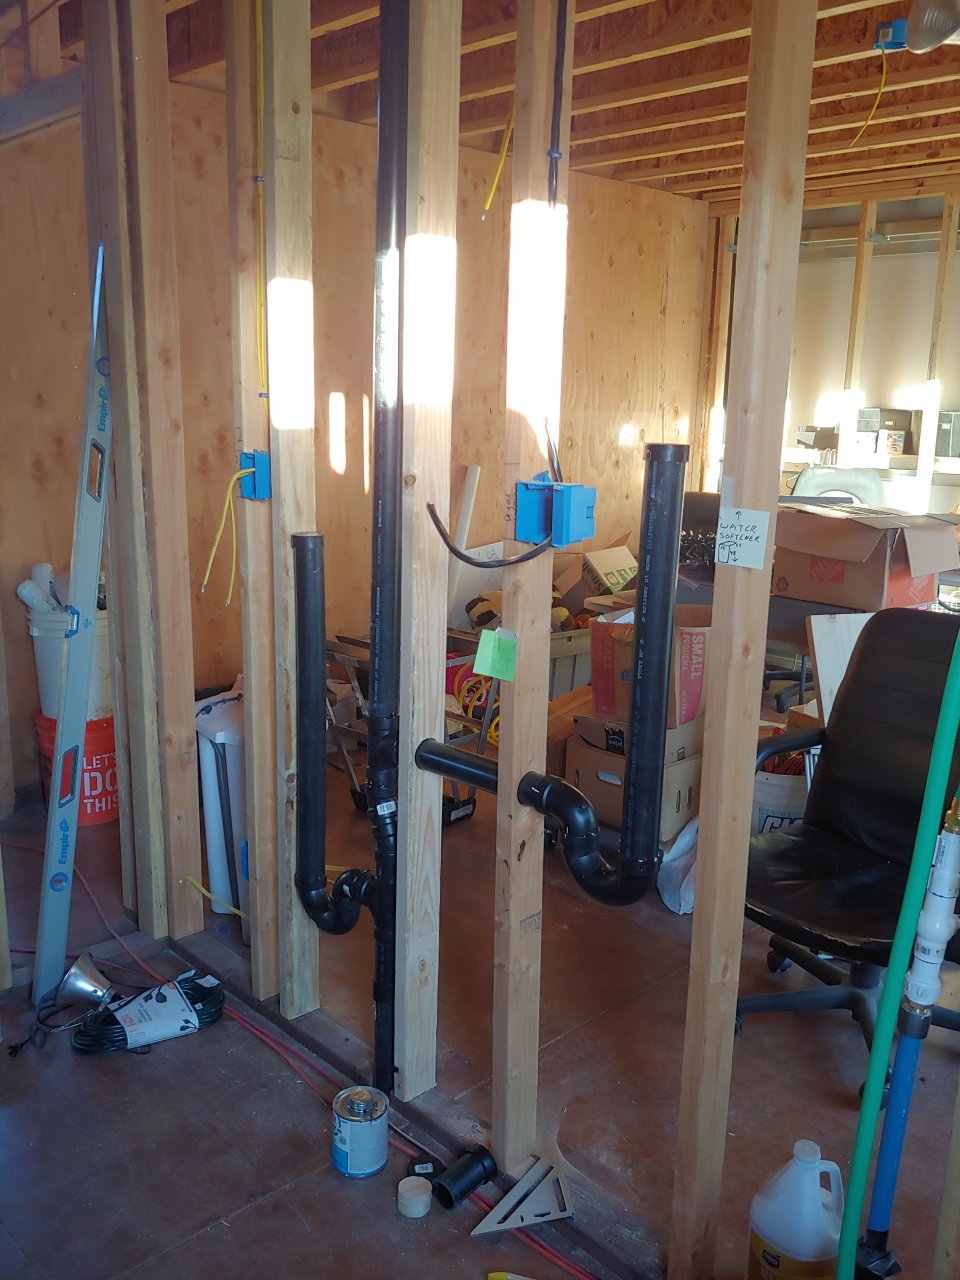
Since then, we got all the special fire blocking installed, all the electrical lines run, and all the drain/waste/vent pipes installed. Here’s a few pictures to show you. Unfortunately, these systems are hard to see in pictures, so I really don’t have a lot.

Working on the fire blocking. It is 5/8″ sheetrock that creates draft stops every 10′ horizontally. It has to go floor to ceiling. It was a jigsaw puzzle to get it between walls, etc.

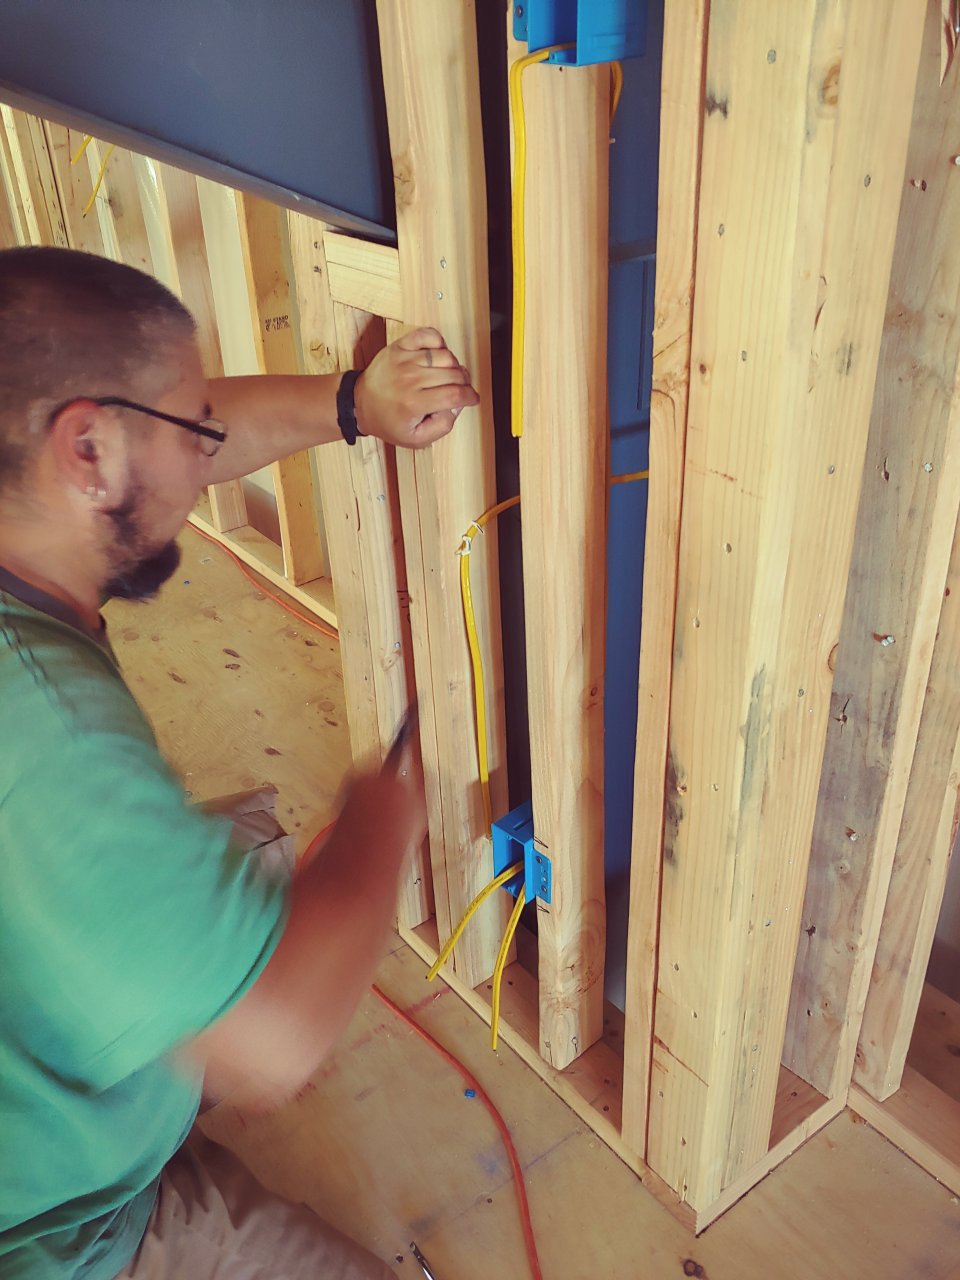
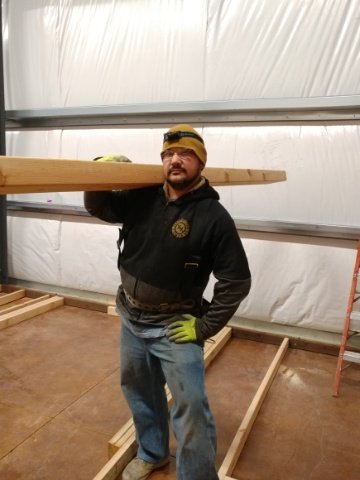
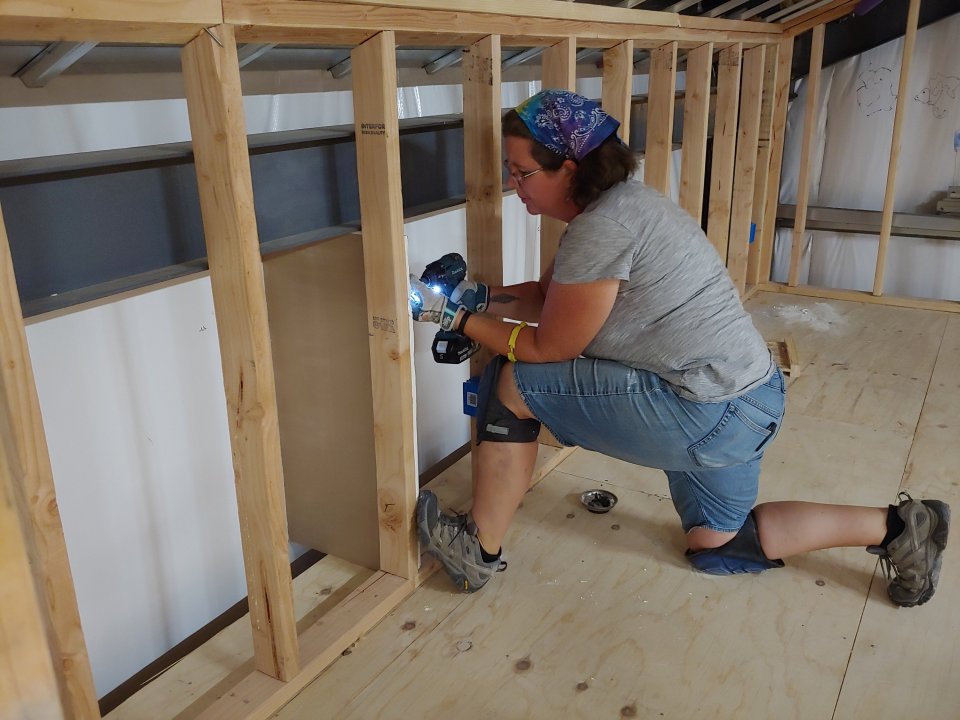
Installing the electrical wires. This took so much longer and a ton more thought than we expected! We’ve worked with small circuits before. Wiring a whole house was something else entirely!

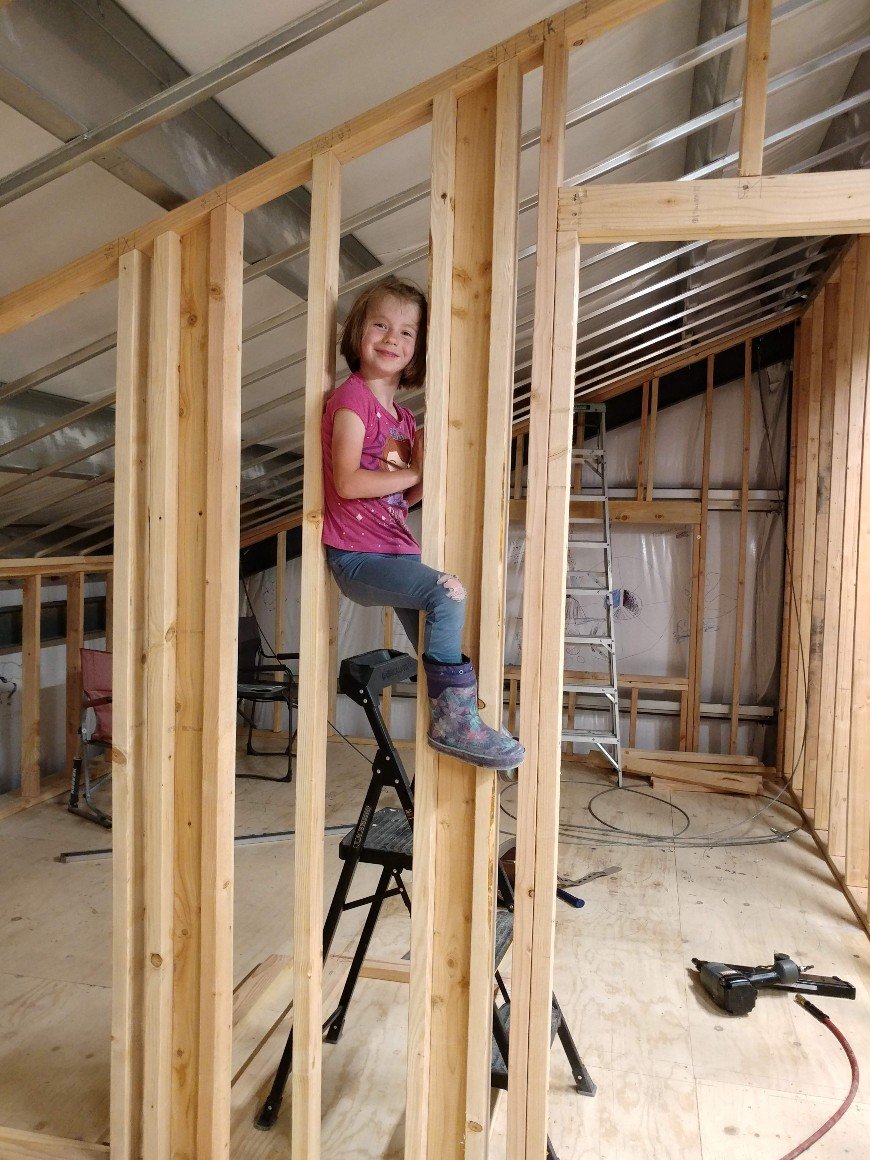
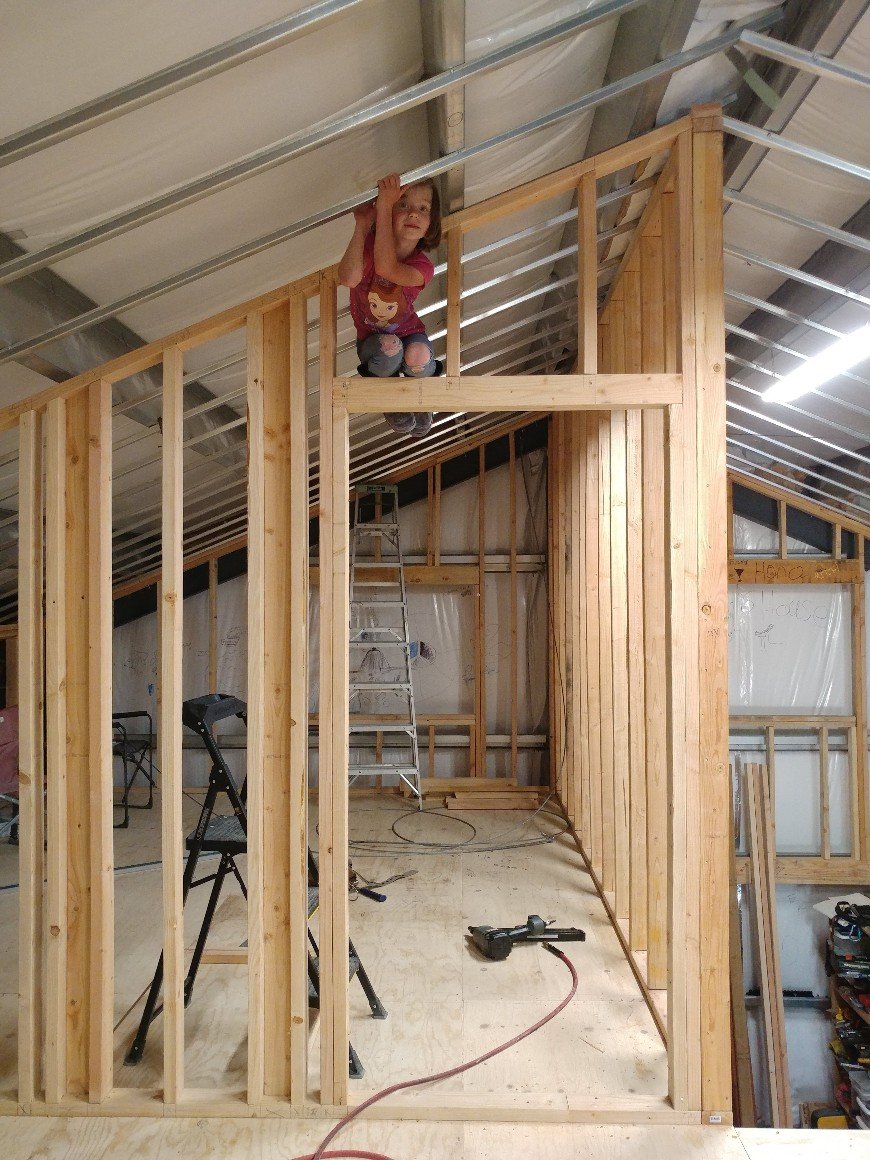
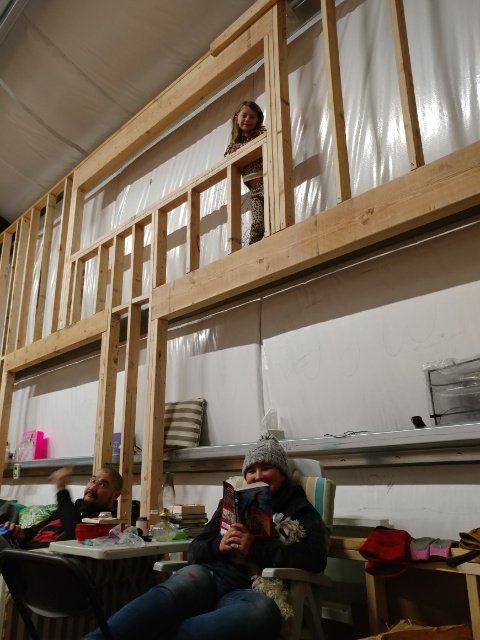
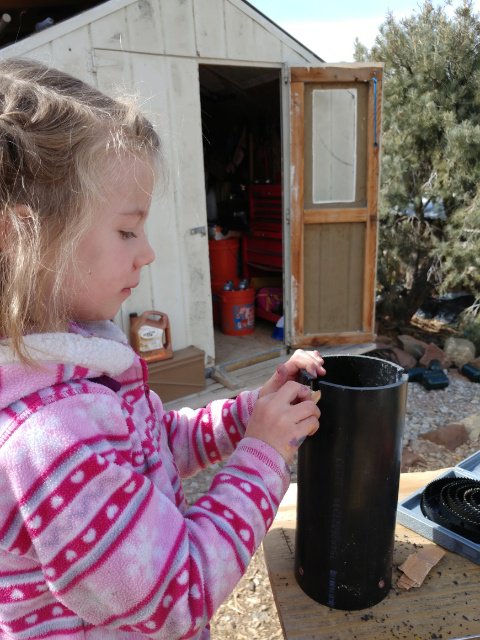
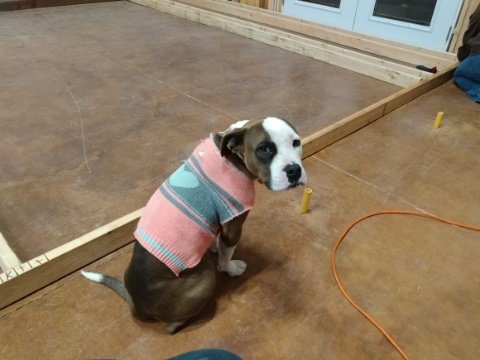
Flower girl was sad when I put up the fire blocking. It blocked off her “playground” in the walls.
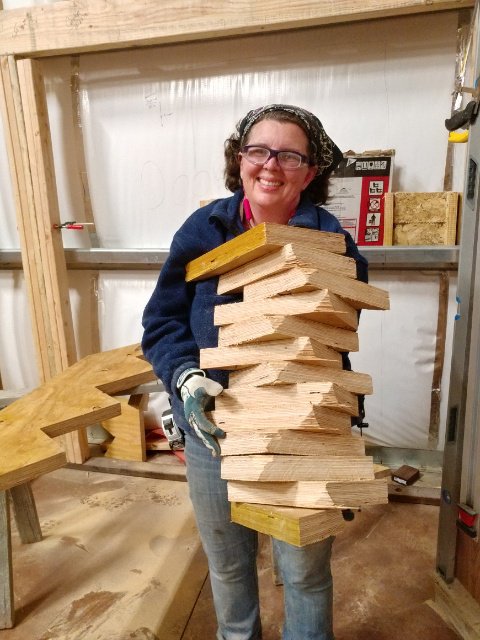
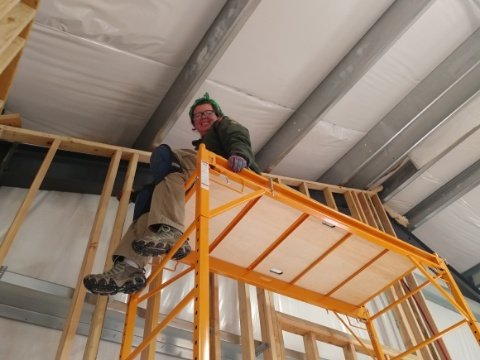
Always the monkey!

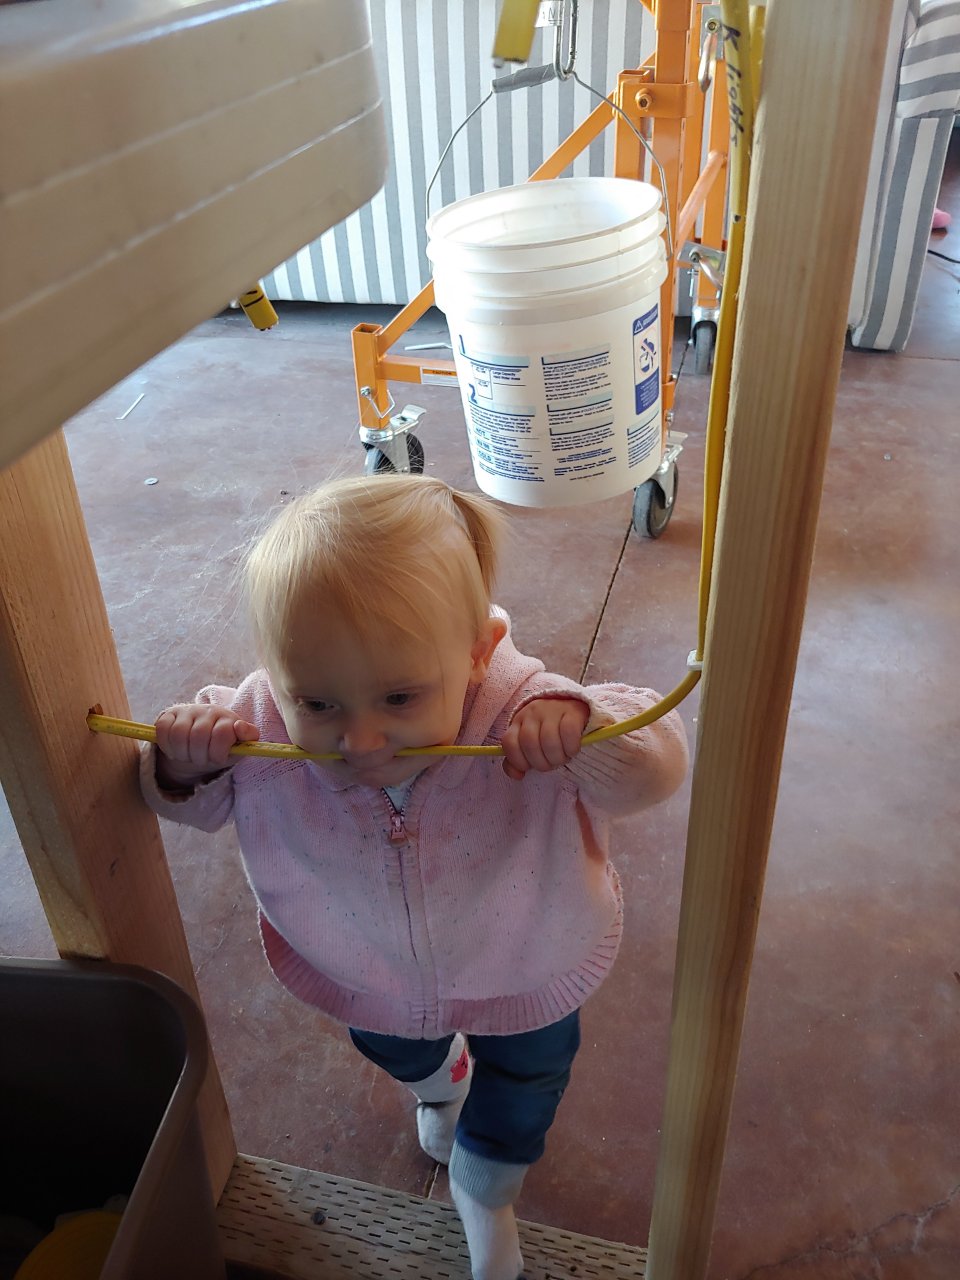
My little niece found a chew toy! Good thing it’s not “hot” yet!

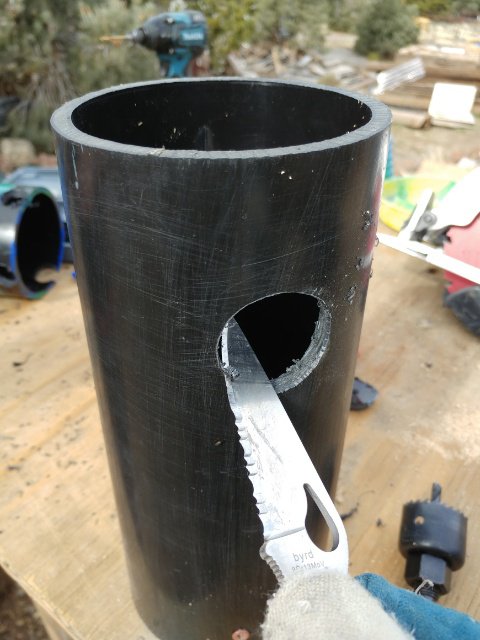
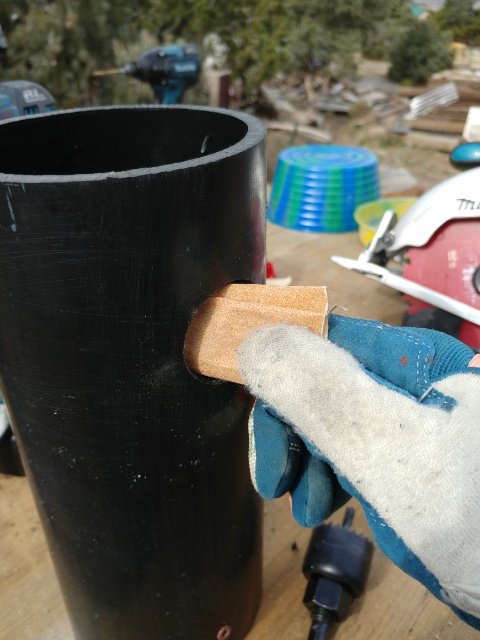
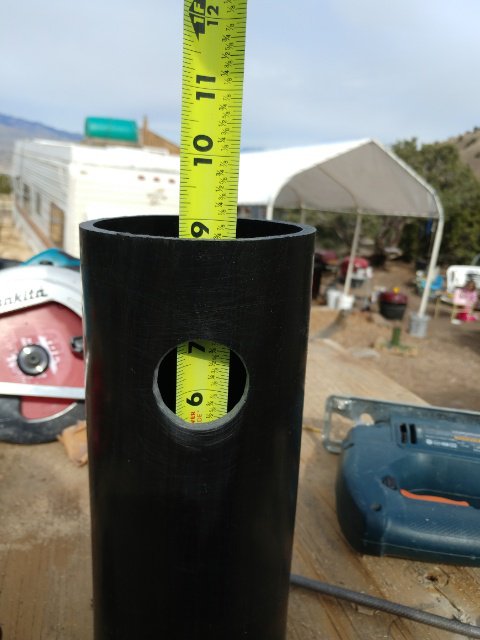
Our first drain. This is for the main bathroom sink.

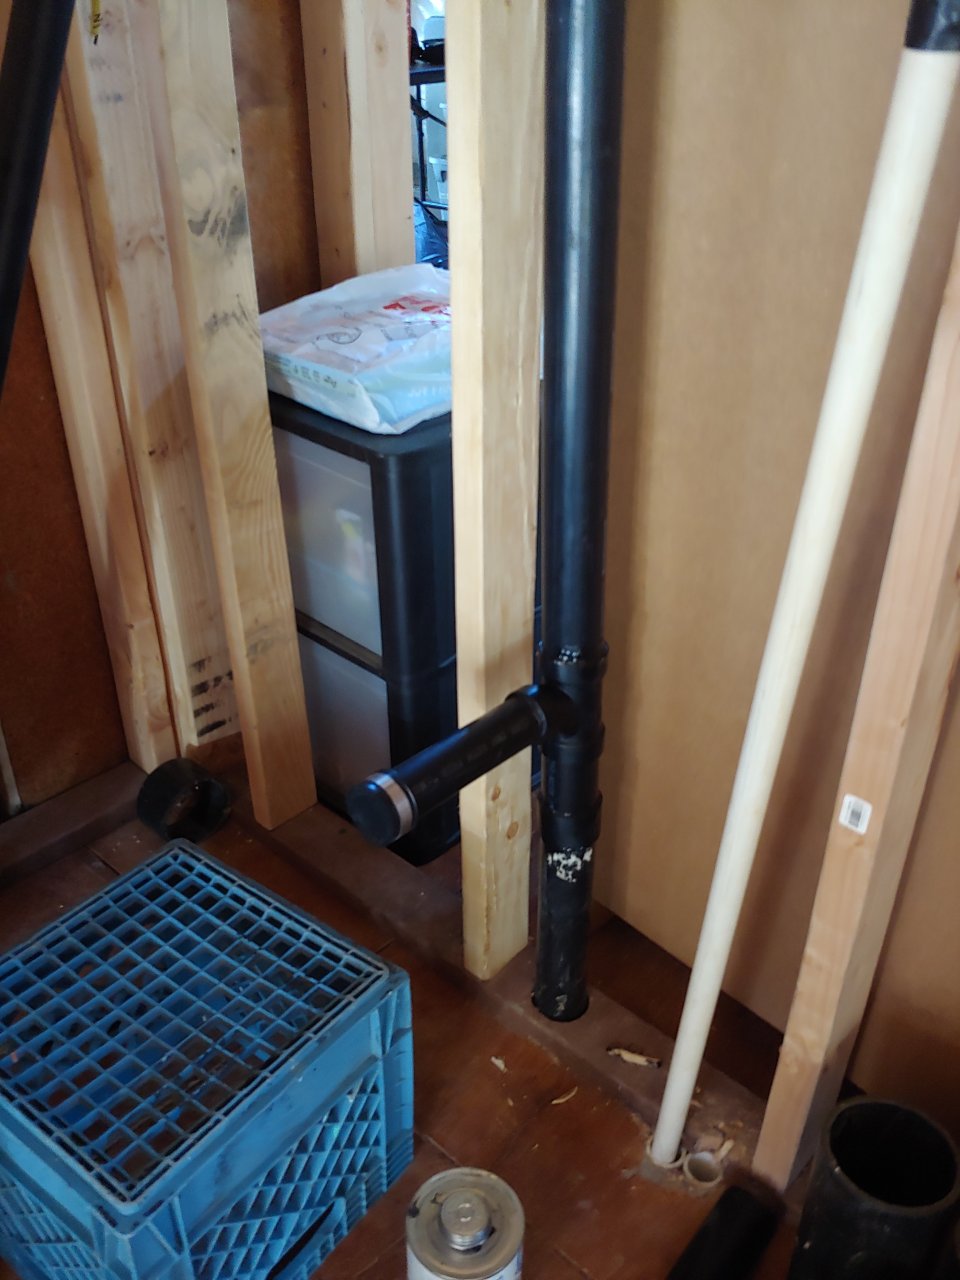
The laundry drain system. It has a stand pipe for the washing machine, and one for the water softener.

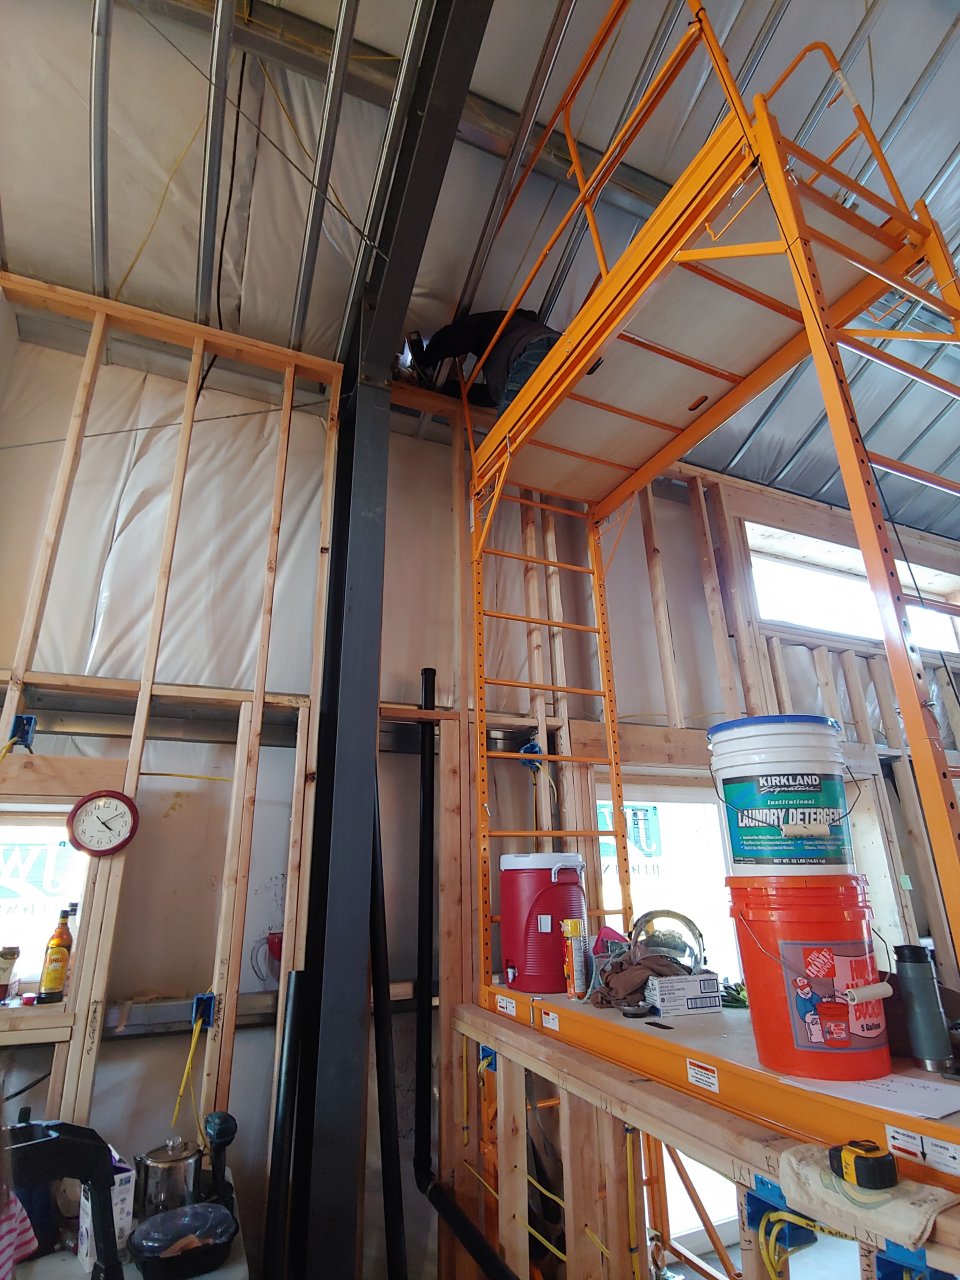
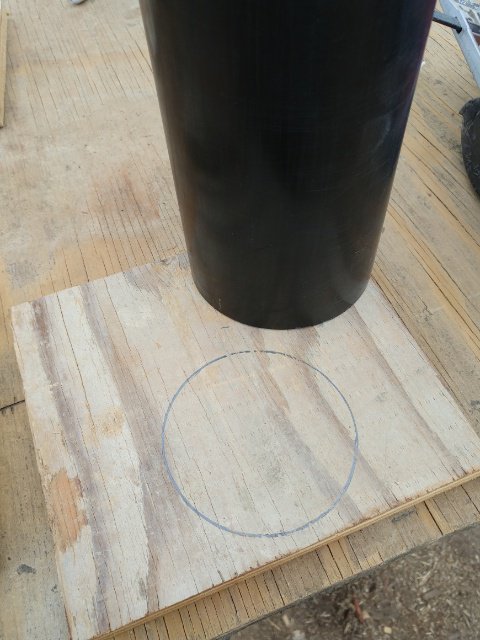
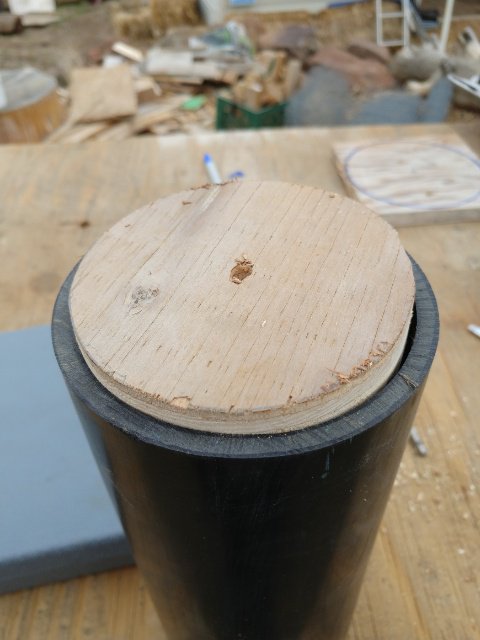
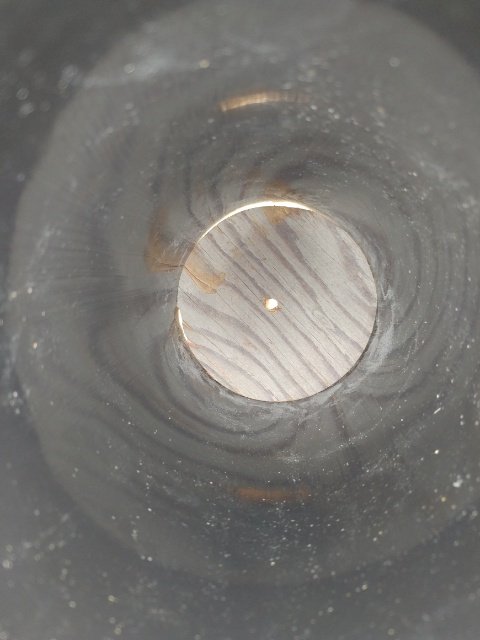
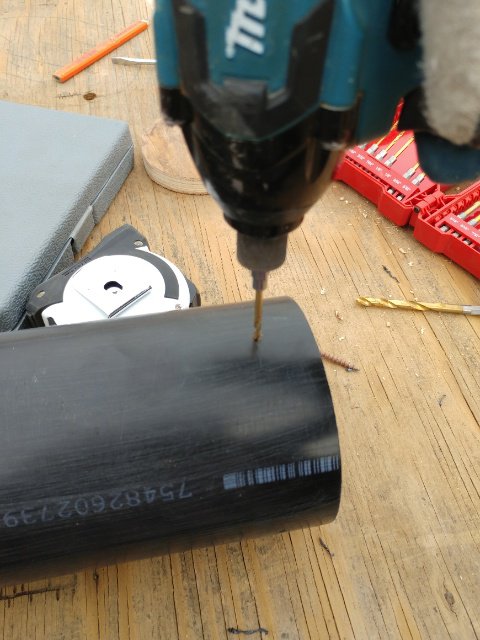
Hubby starting the to cut the hole in the roof for the drain vent pipe.

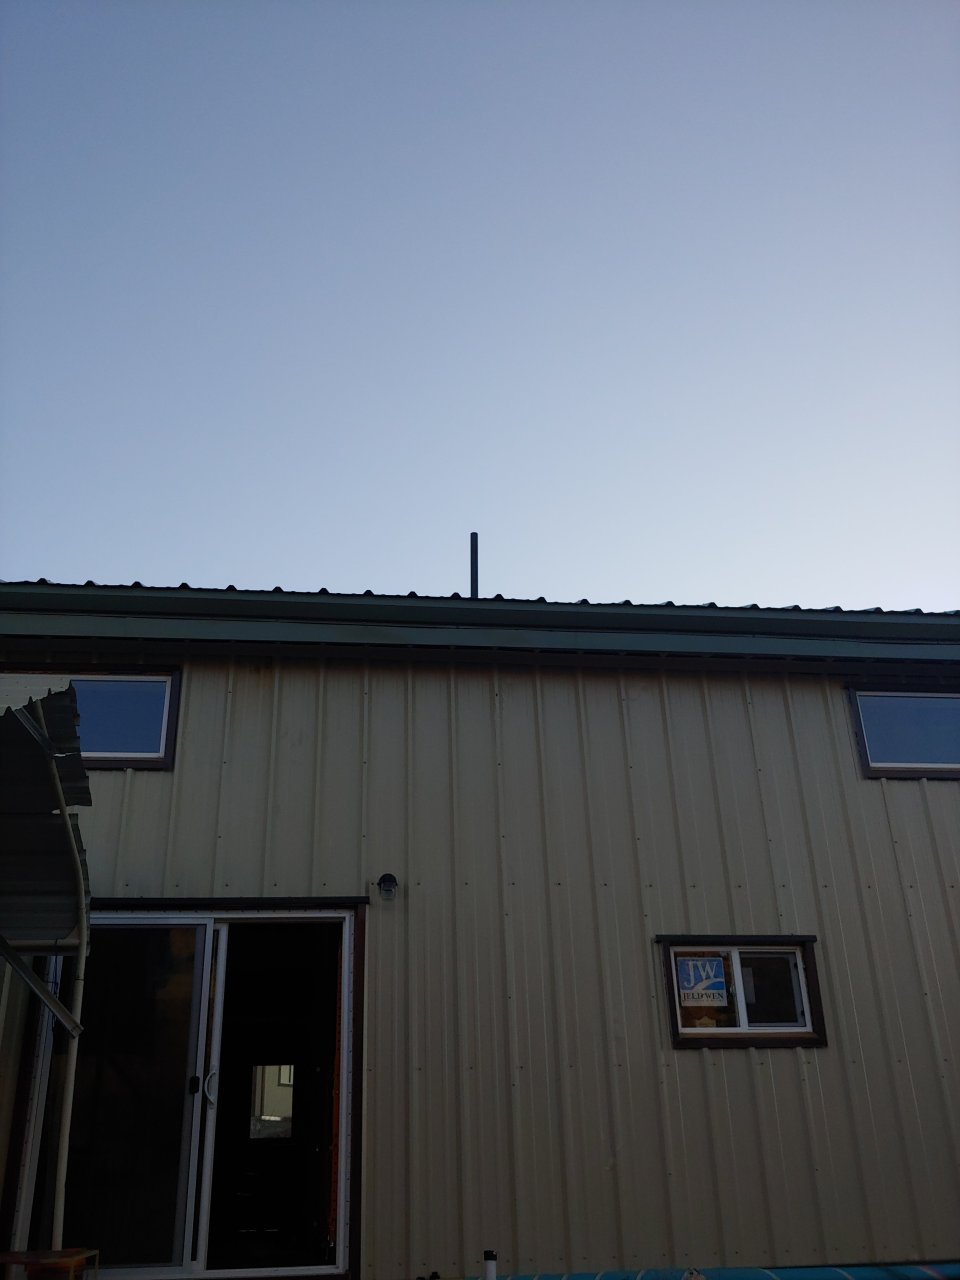
Now it’s REALLY starting to look like a house with the vents sticking up!

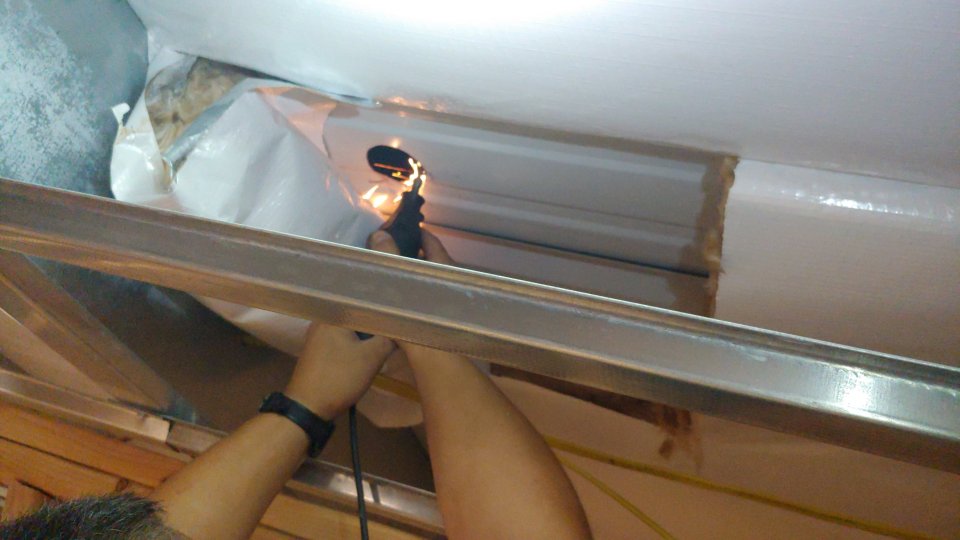
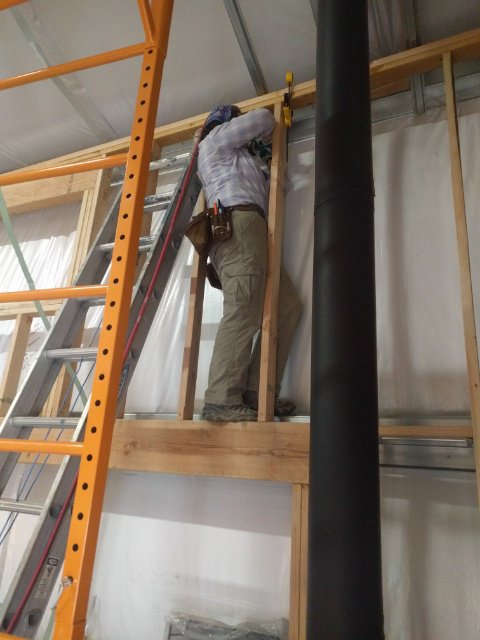
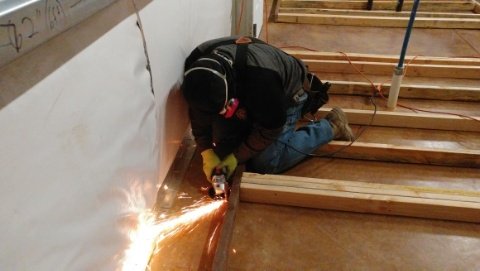
Sparky, sparky. Putting a 2¼” round hole in a metal building is a challenge to be sure.

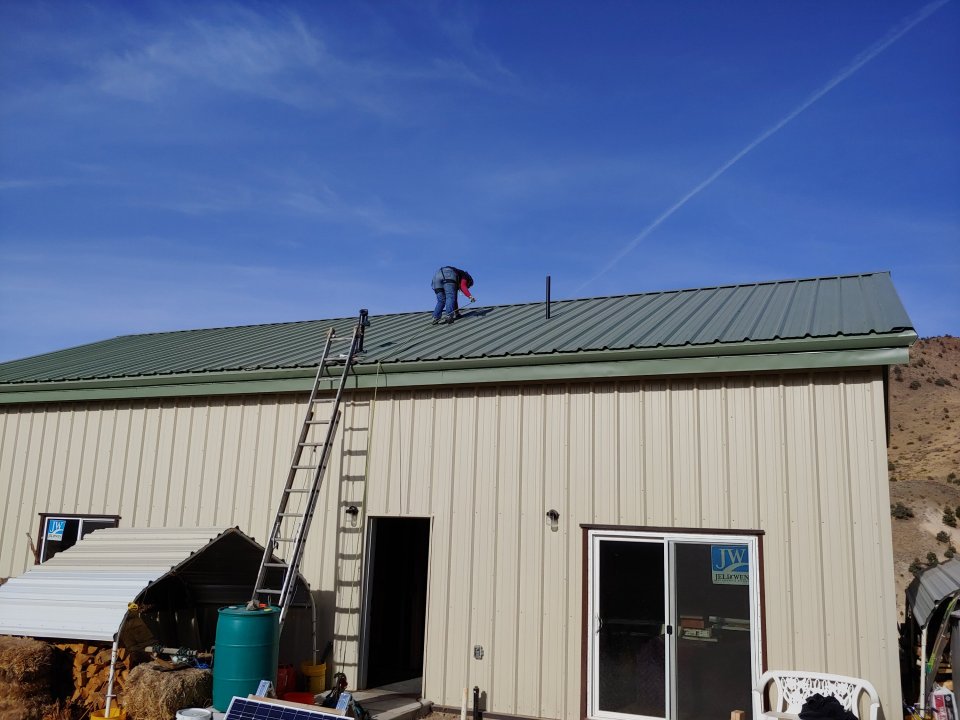
Starting the process of putting on the flashings on the pipes.

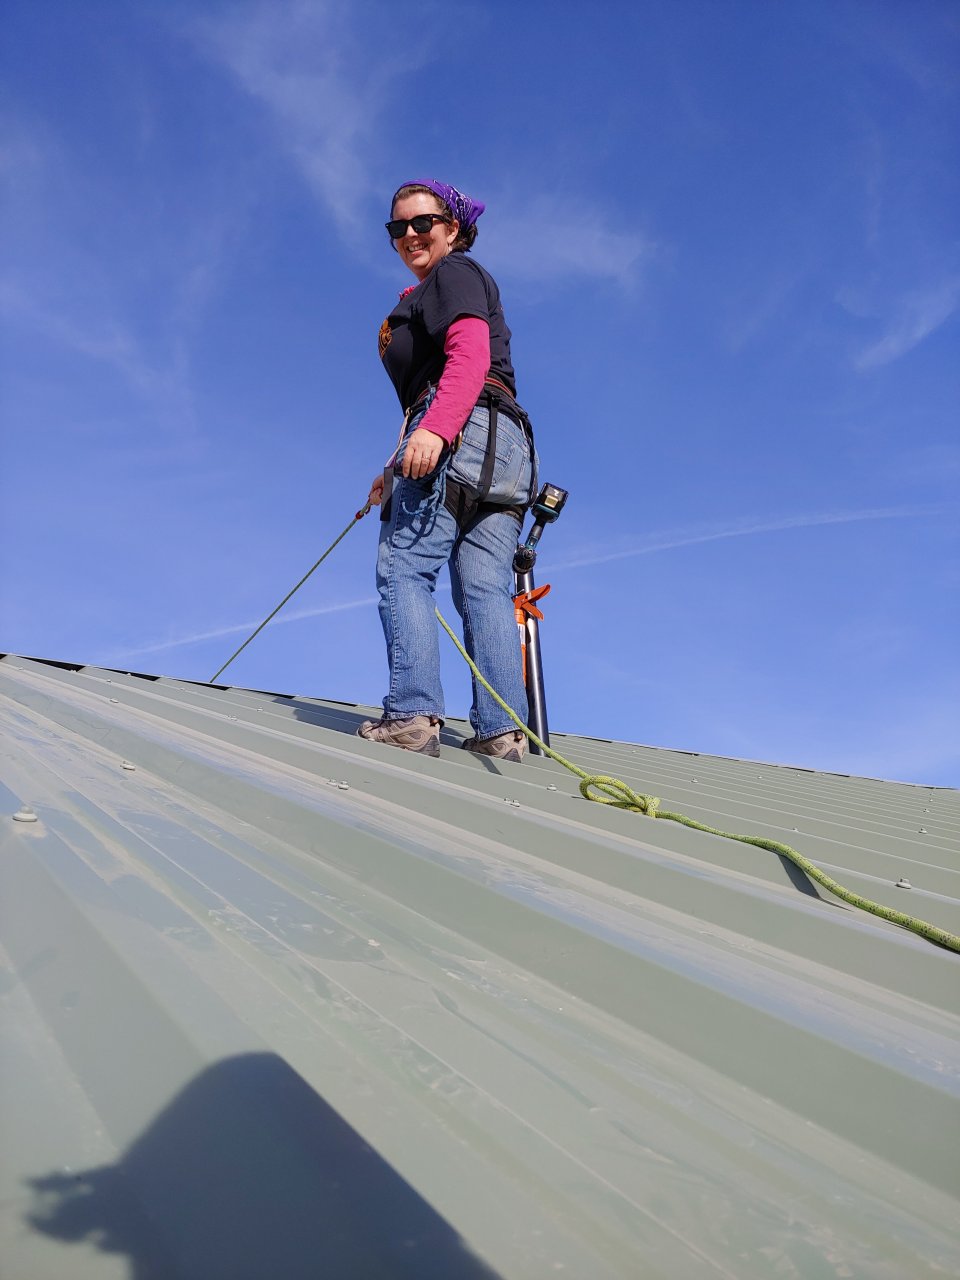
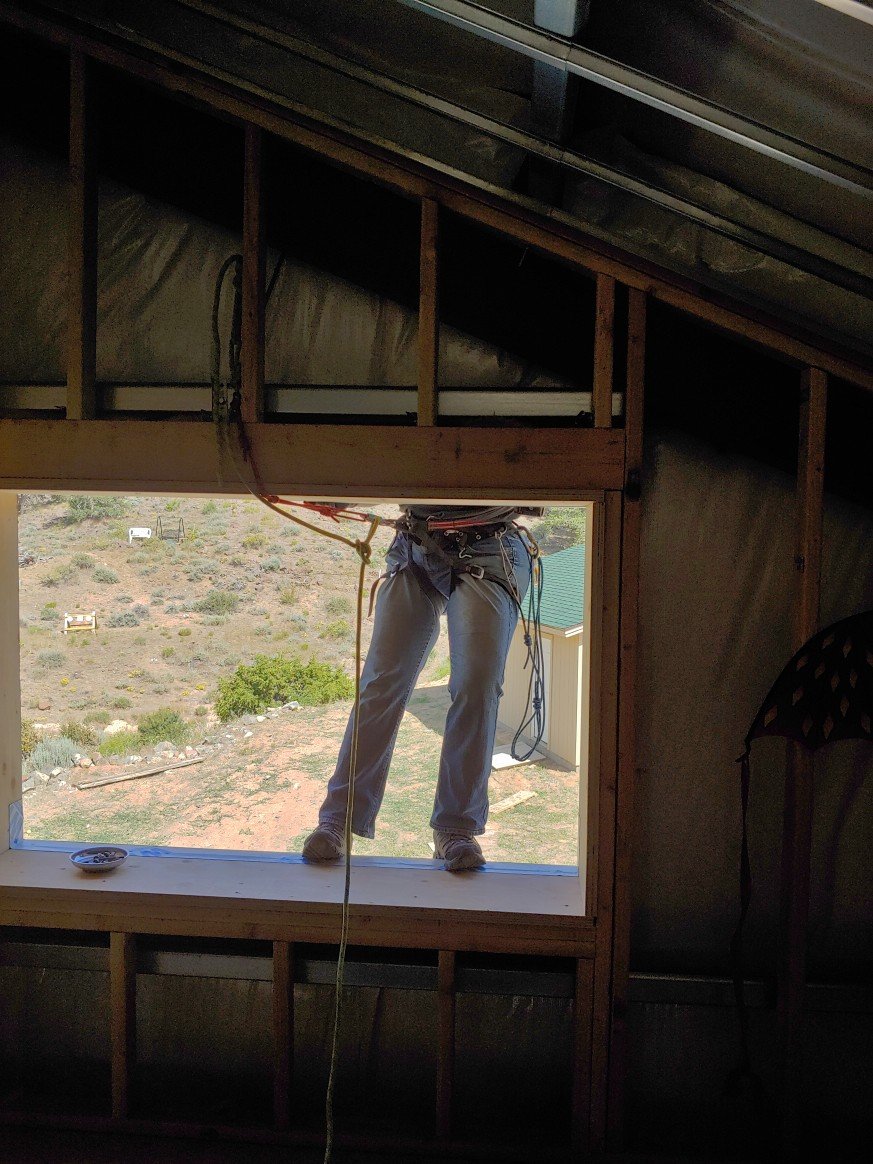
Safety first – that roof is slick!

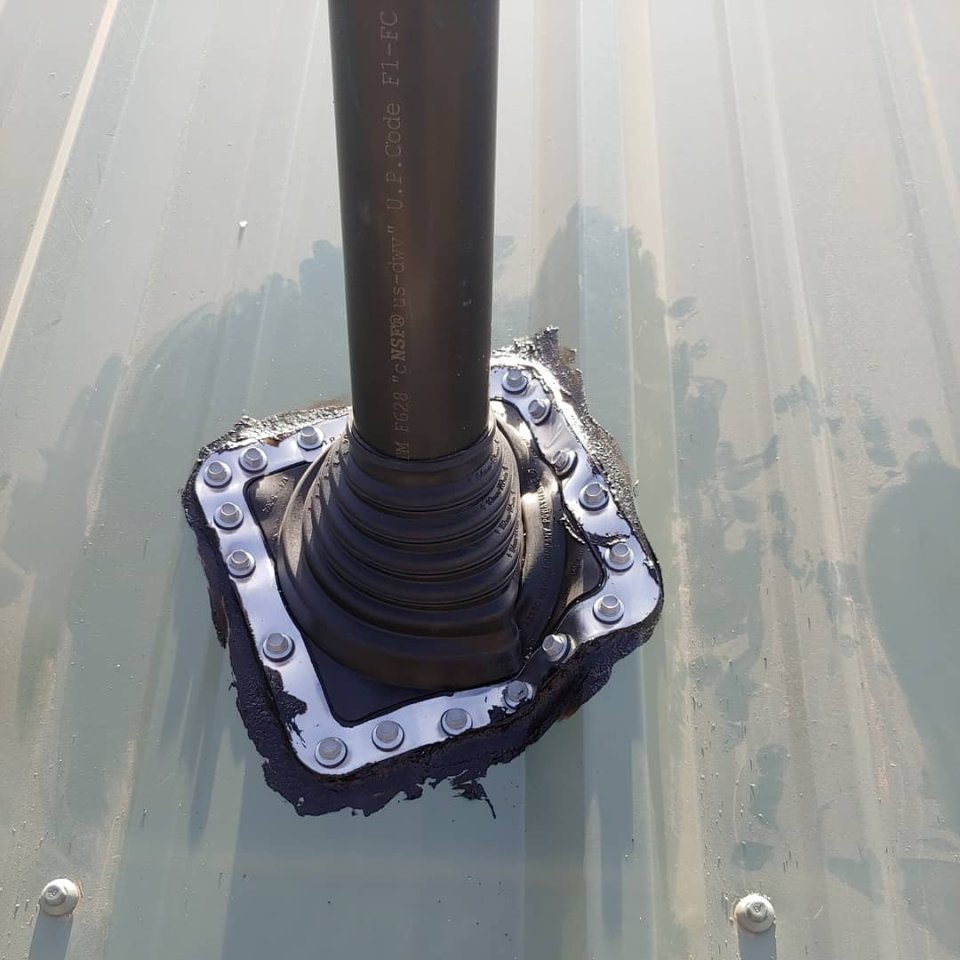
It ain’t pretty, but it keeps the rain out.

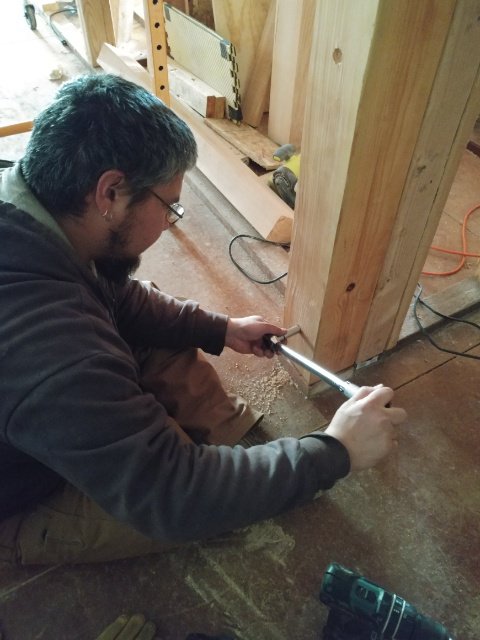
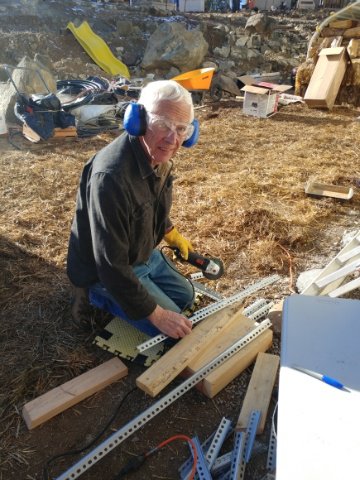
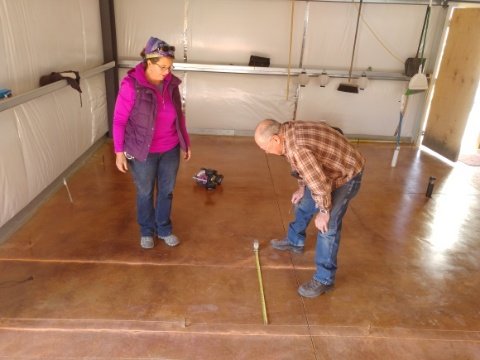
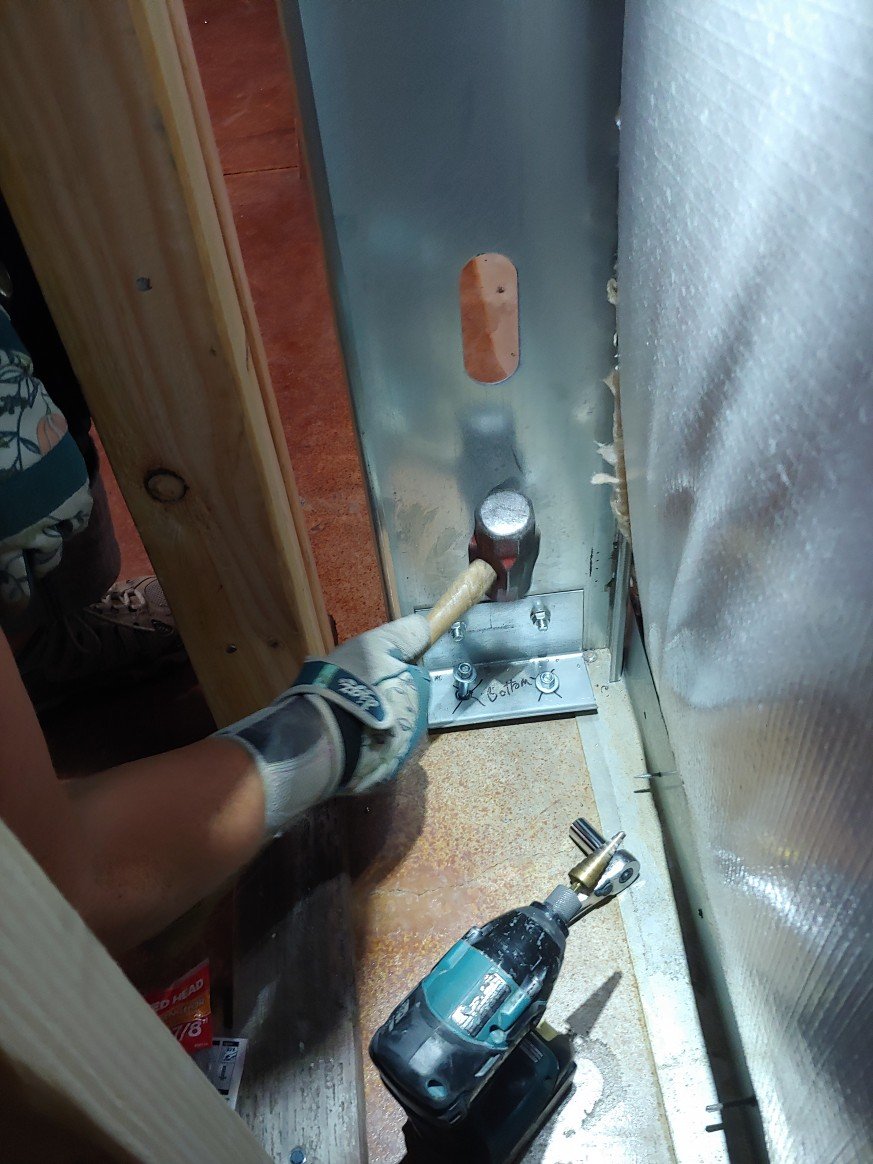
Another of the projects that we got done had to do with the electrical system. We mounted the breaker box. But first we had to find the underground pipes that will bring the power lines from the eventual solar system on the garage over to the house. We did this because we decided to move the panel location from what was originally planned.

Dug down to find the pipes and cut into one and add elbows and risers for the new electrical panel position.
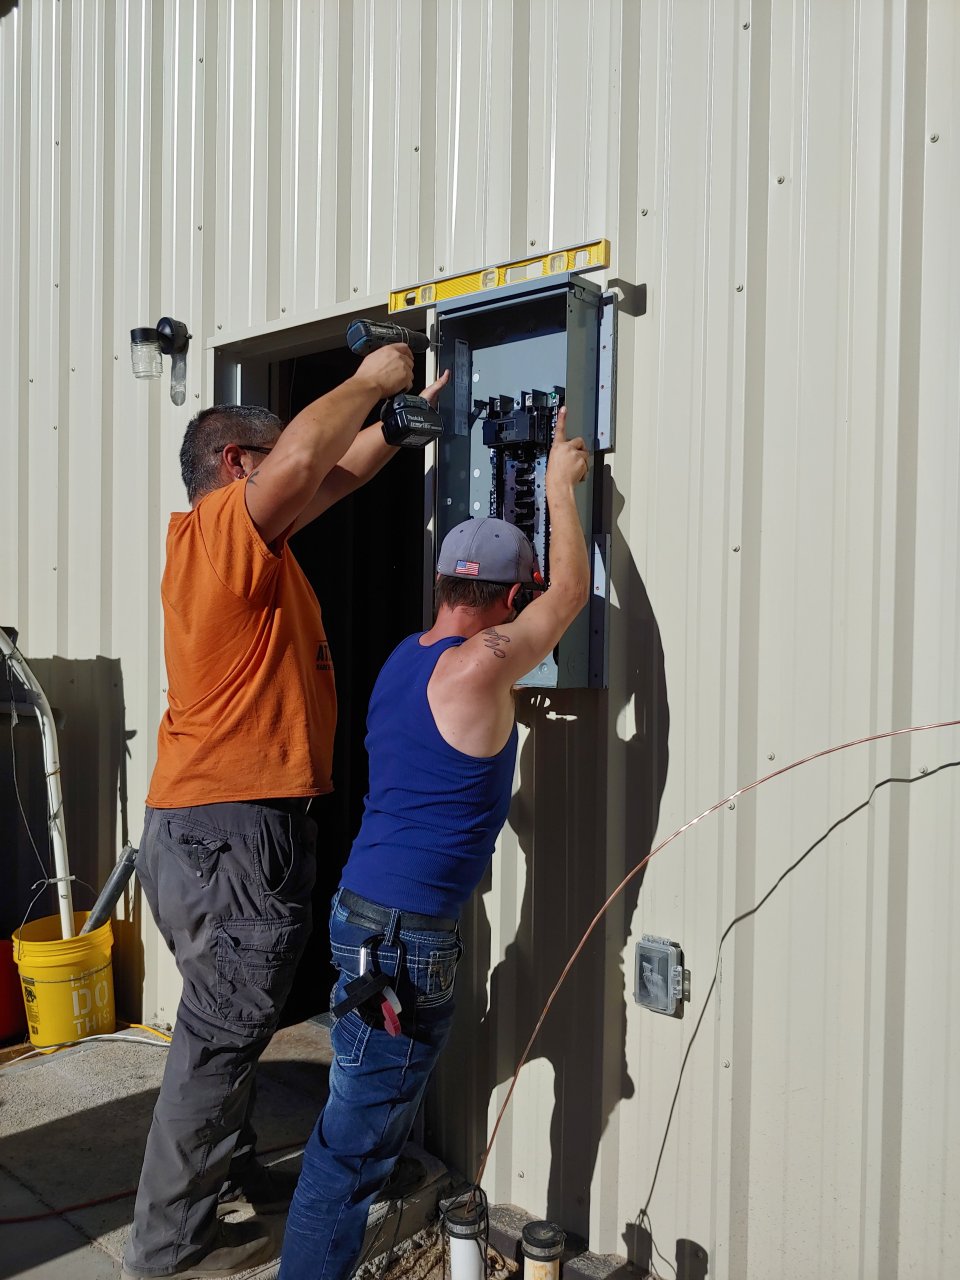
Mounting the box

Having the breaker box there was a small but significant upgrade, especially for winter time. It means we can now run the electrical cords from our generators and our small temporary solar power system in through the box rather than under the laundry room door. Which means that we could finally install the threshold under the laundry room door. Which means we no longer have a 1½ inch gap there for cold air, rain, and dirt to blow through. As I said, small but significant.

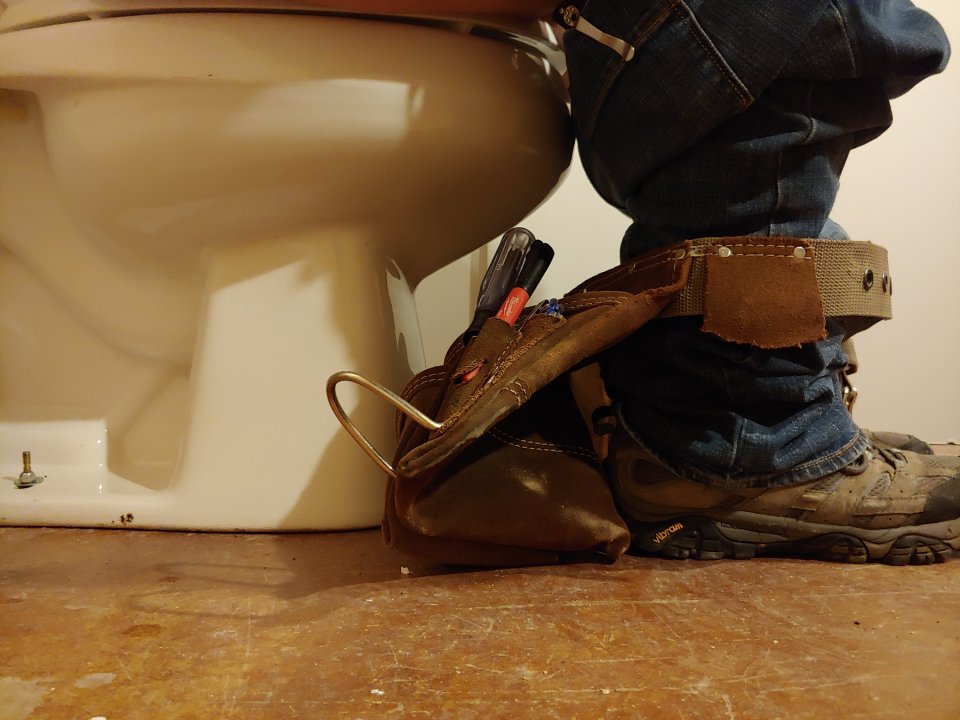
In looking forward to the holidays and knowing that we weren’t going to be getting much work on the house done, but also that we’d have a lot of people around, and already having gone through a couple winter storms where we had to trek up the hill to use the outhouse, we decided it was high time to get our toilet scabbed in.

To “scab in” something means to do it in a manner than is just temporary. We will have to take the toilet back out and maybe even some of the sheetrock off the walls in order to get our next inspection, but we thought it was more than worth it to be able to use a toilet in the house.

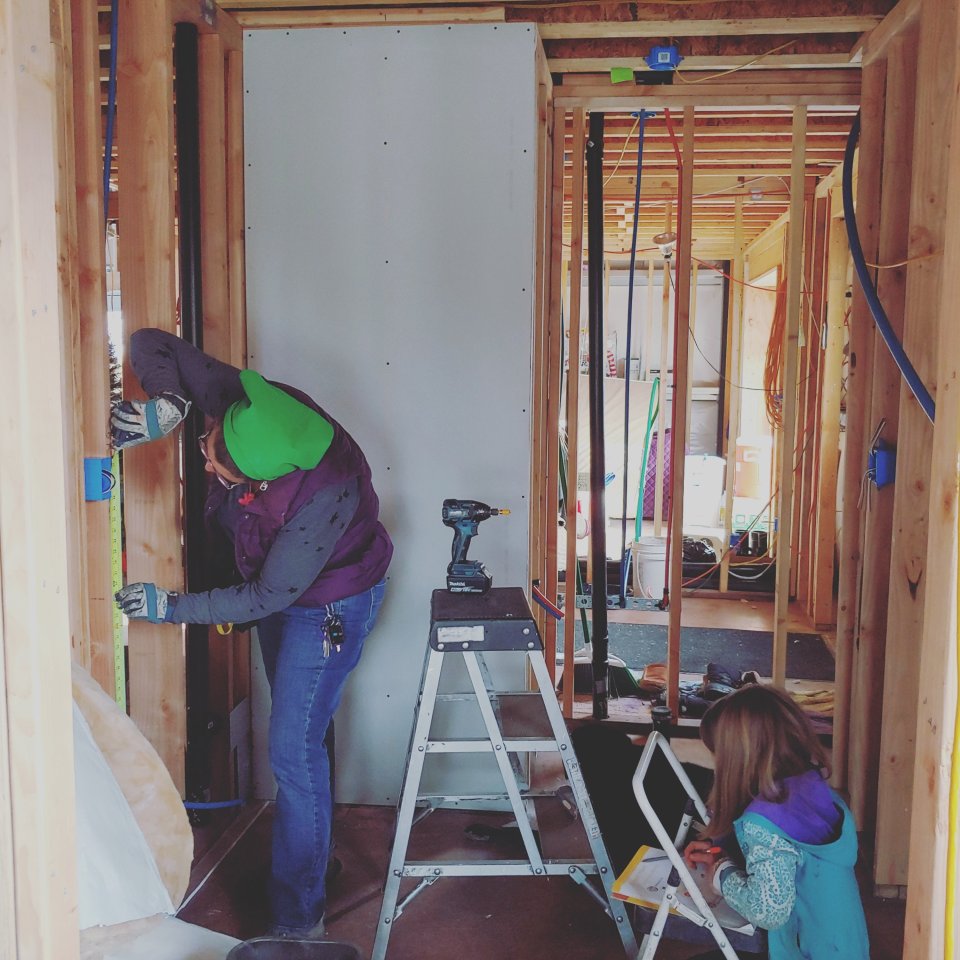
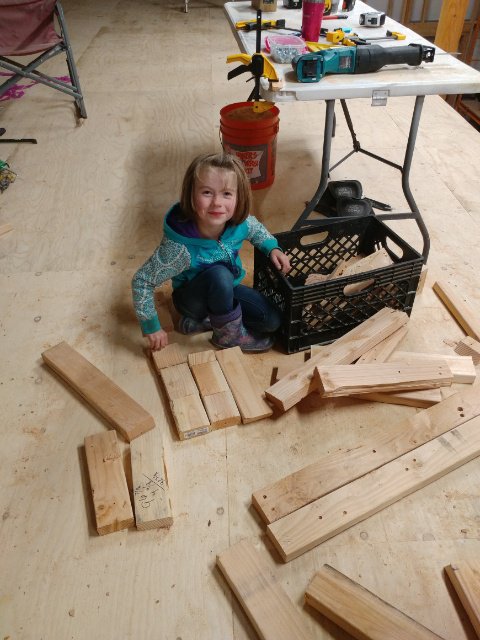
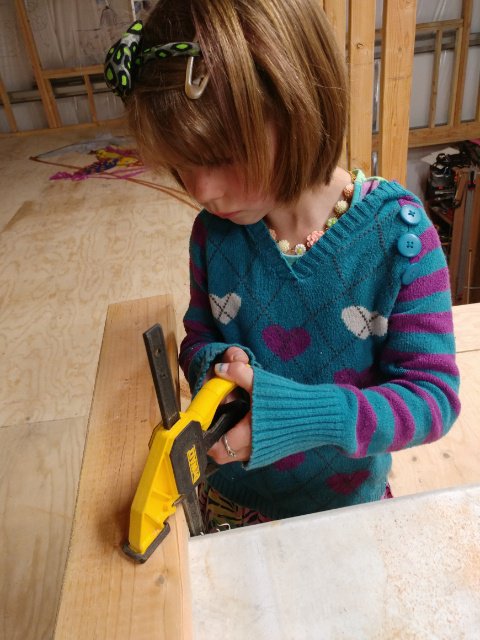
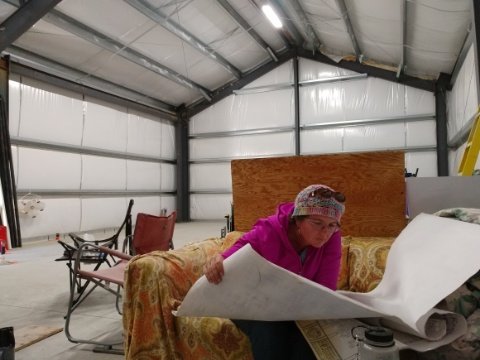
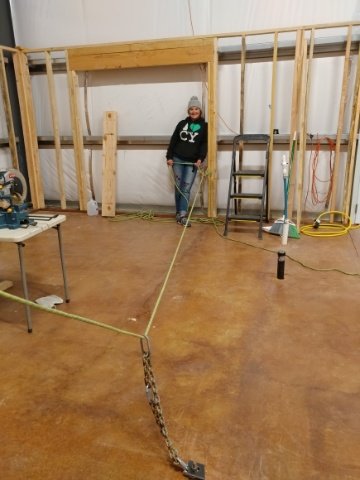
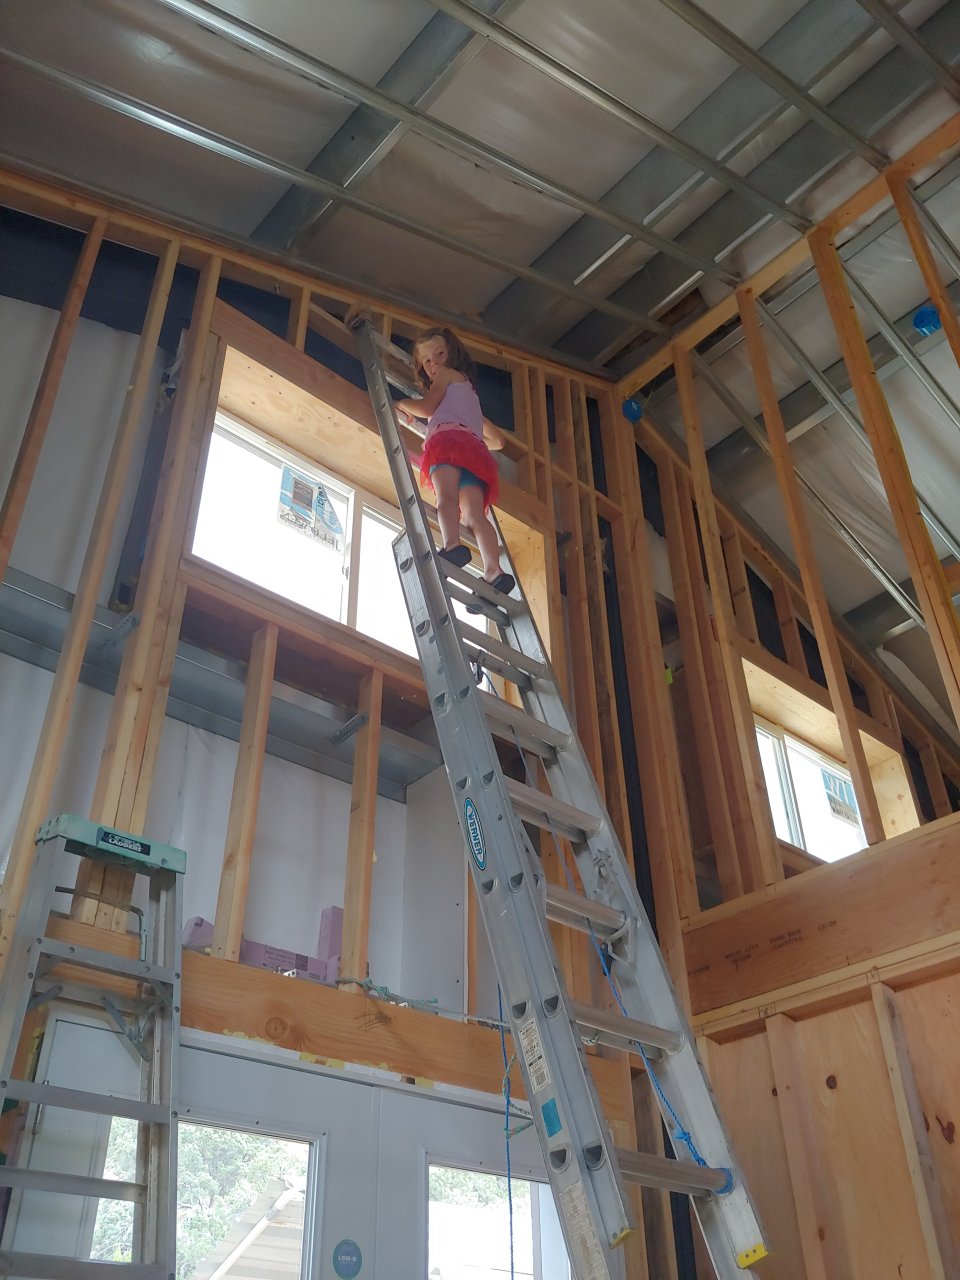
Flower girl doing her language book work while I take measurements for the next piece of sheetrock.

Prepping the toilet and the drain hole. This toilet was free to us. Yet another free item that still works perfectly good, and we will get plenty of use out of. Sure, it’s not exactly what we would have chosen for ourselves, but free is the perfect style and color. 😊

It works! 😆😆😆

Because this is just temporary and we don’t actually have our water supply pipes done yet, we ran a garden hose from the laundry room (where the water comes into the house), over the wall into the bathroom and that’s how we fill the toilet tank.

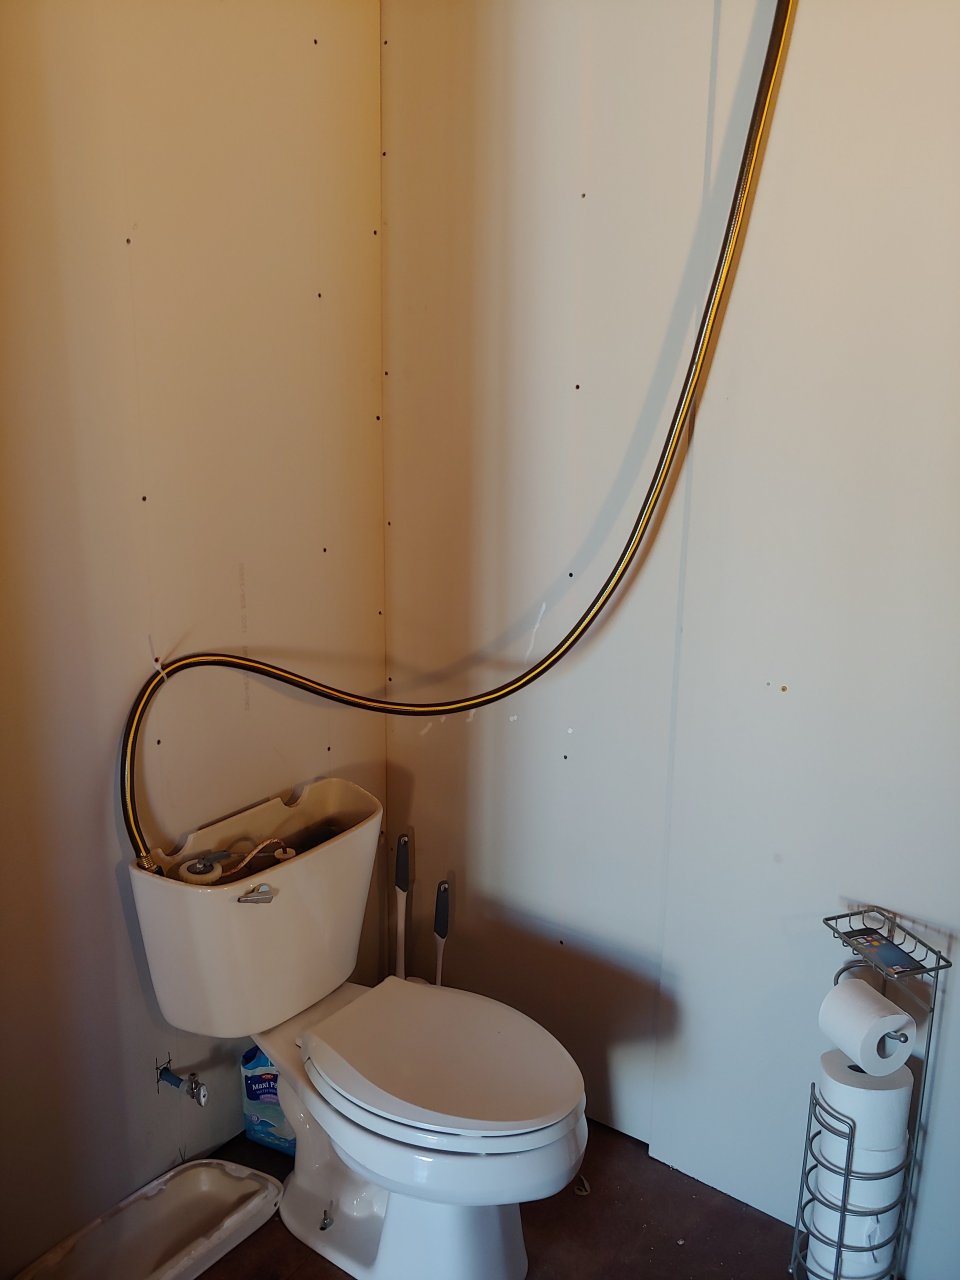
The end of the hose has a shut-off valve on it.

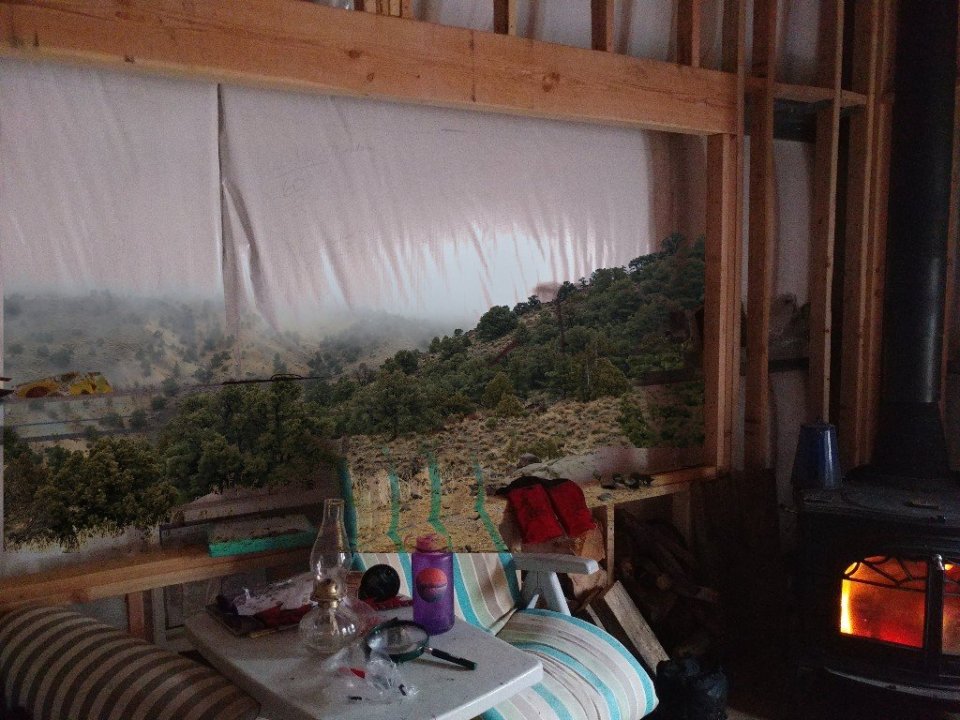
Here’s a little video tour of the bathroom (plus a look at our very messy after-Christmas living room 😆).

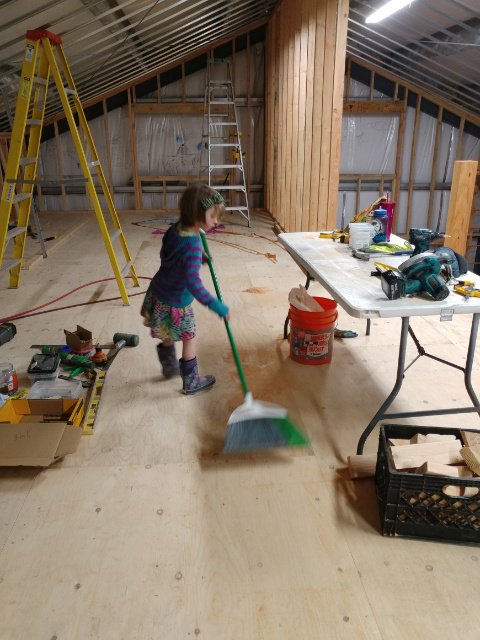
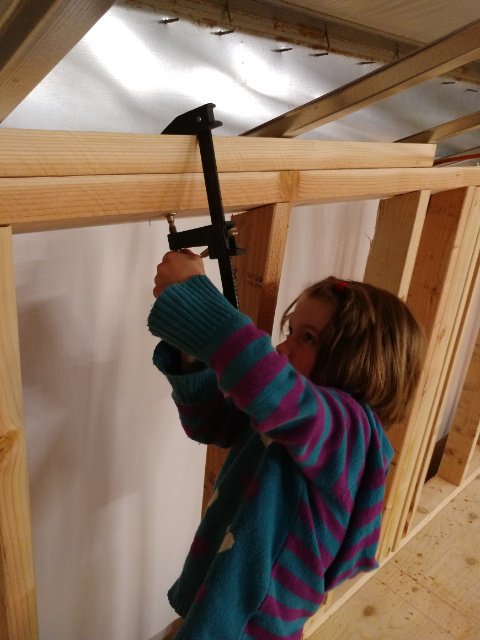
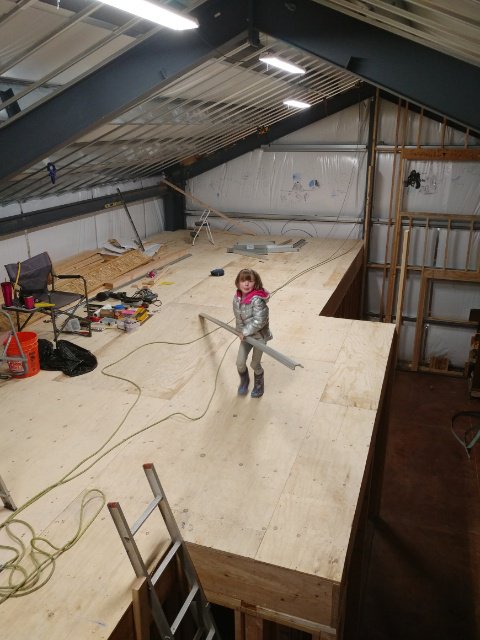
And that’s it. That’s all we’ve gotten done since June. Part of it is just busyness of our normal lives. Soon after my last post, we started school and since Flower Girl is now 7, I figured it was high time she actually learn to read. So we’ve been spending a more concentrated effort on schooling, which takes time away from building.

Another thing that is taking some time away from the house is that I resumed my hiking training for a couple backpacking trips I’m going on in 2020. So I’ve been going on more hikes, which is good, but it does take up time. [Want to follow along with my journey? I post sporadically on my Blog I’m doing for that, I also have a YouTube channel and Instagram.]

Also, the end of October is the beginning of the holiday season for us starting with one of the girls’ birthdays, followed just two weeks later with the other, then Thanksgiving a couple weeks after, and then Hubs birthday in the beginning of December, mine in mid December, plus all the normal holiday activities, and wrapping up with Christmas and New Years. It’s an exciting and exhausting time of year for our family.

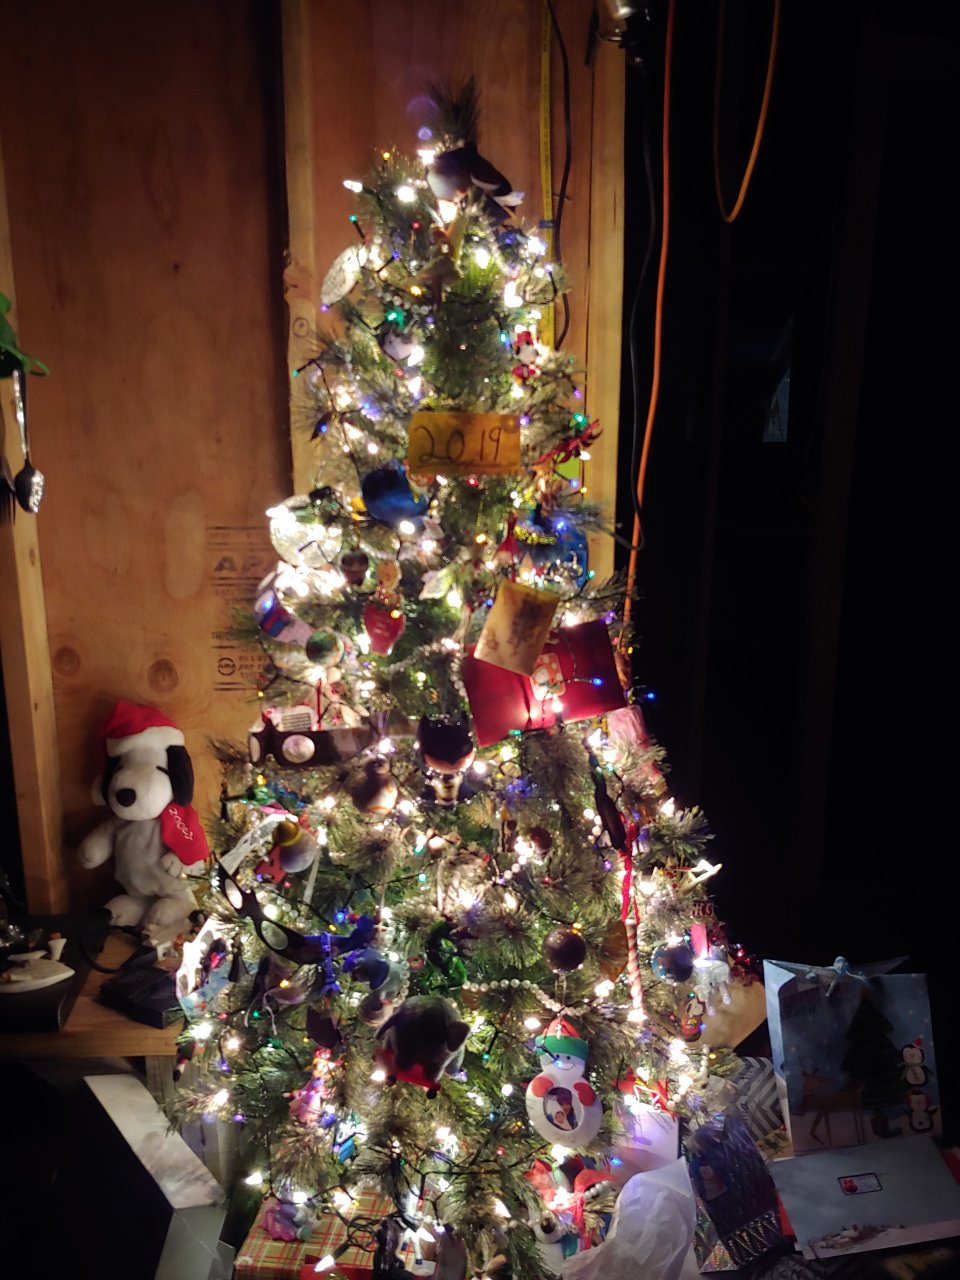
But once the holidays are over, we’ll pick back up on construction. For now, we are enjoying the rest of the year by playing with new toys and pets, catching up on some reading and blogging (obviously), and me getting over a cold I came down with on Christmas Eve. Until next time, Happy Holidays!

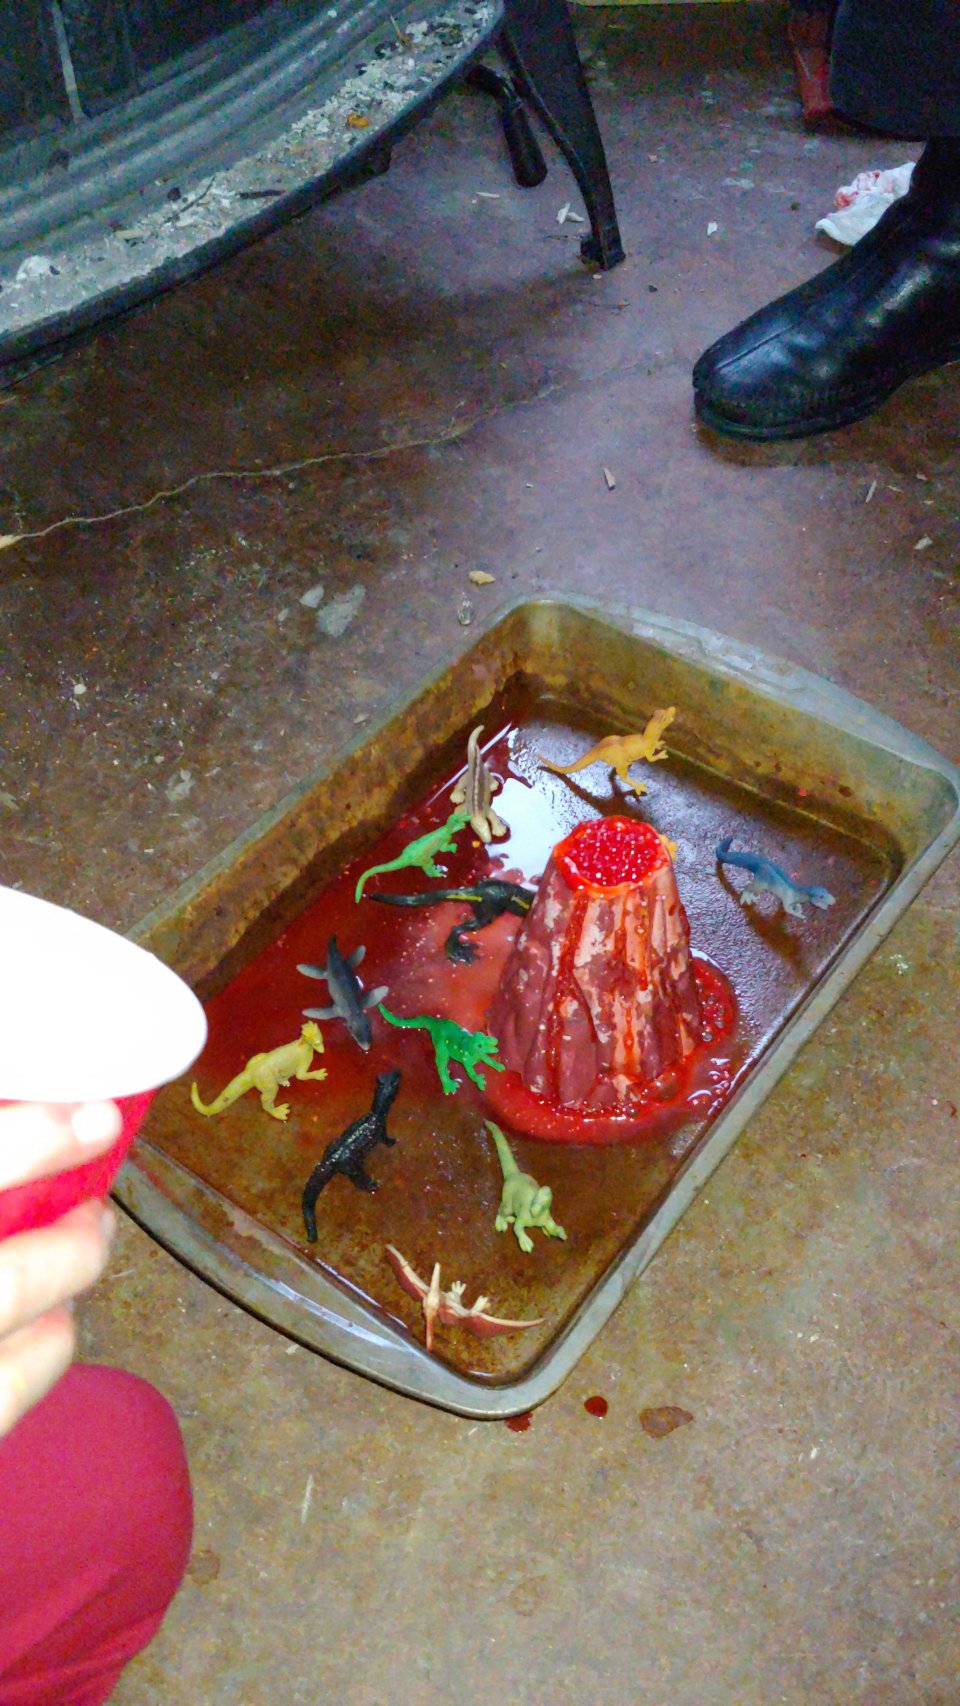
One of Flower Girl’s favorite gifts – a volcano experiment set with dinosaurs from a different gift.

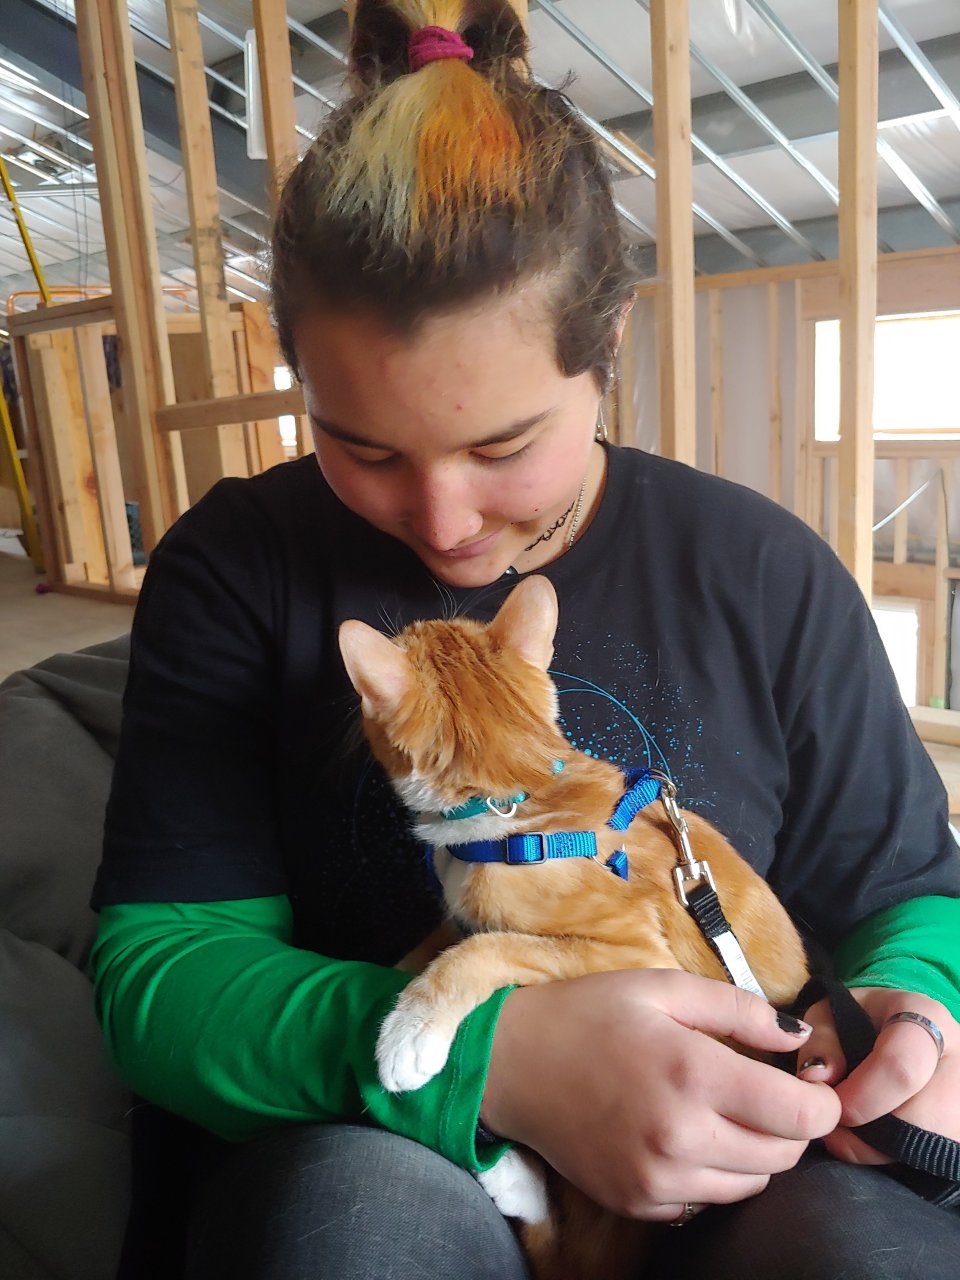
Princess Girl’s favorite gift – her new cat 🐈

House update: Let There Be {Natural} Light!

I remember posting on my Instagram account a picture of a little rolly cart we have in the house.
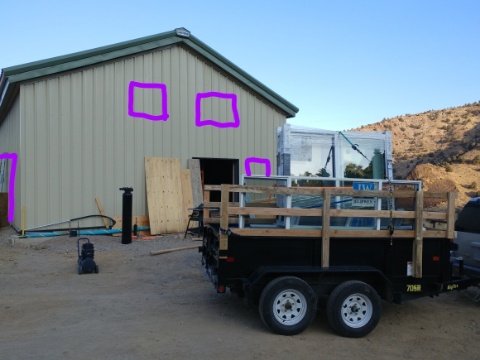
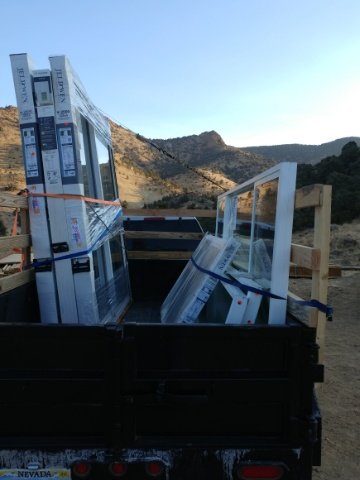
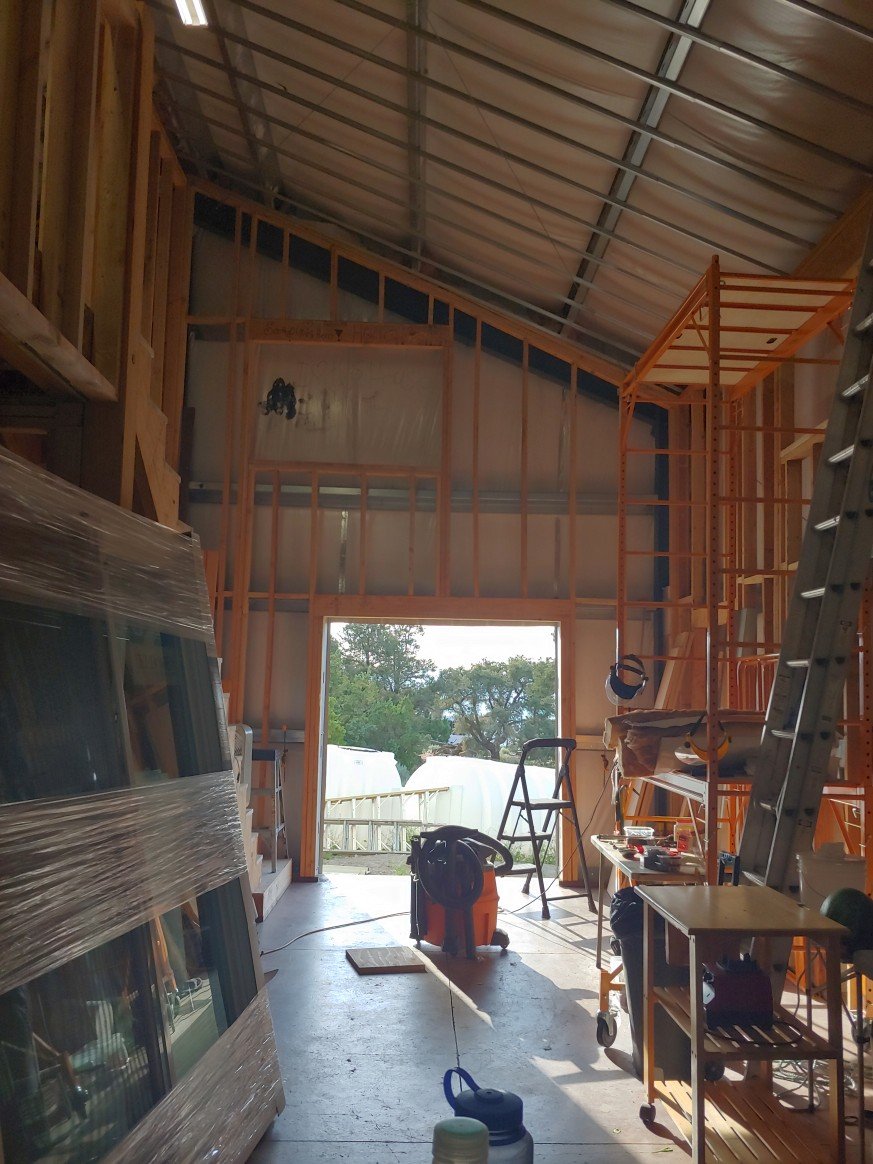
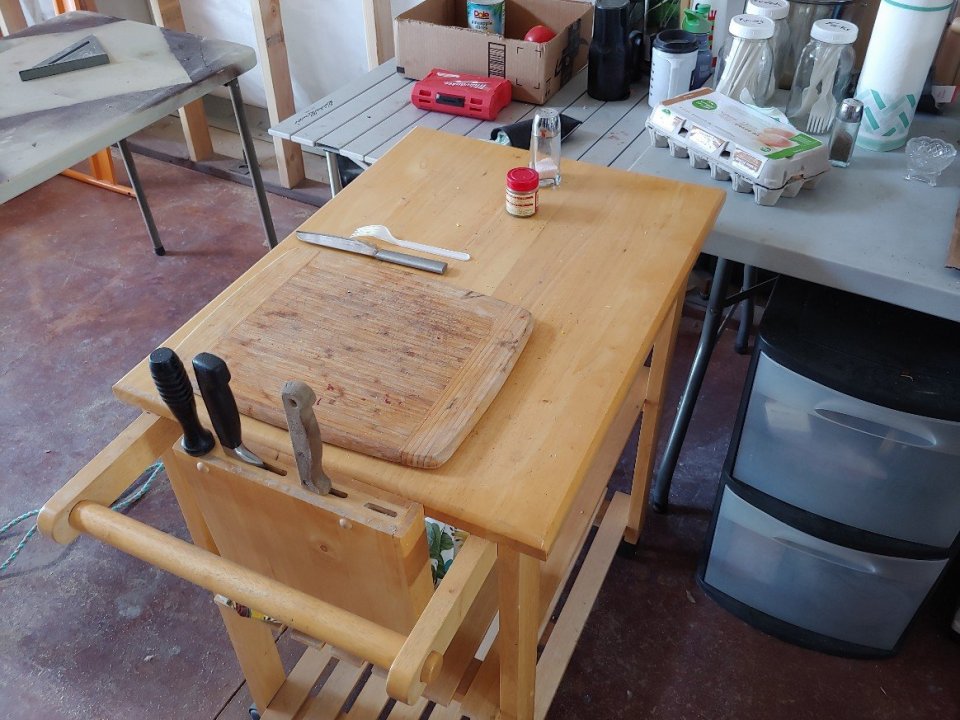
Nothing special about this freebie cart. What’s special is the amount of natural light shining on it.Obviously, this was after we had gotten some of the doors and windows cut in.But let me back up a bit.Normal houses are built with the window and door openings already there, so you just gotta put in the actual windows into the openings, and you’re done.
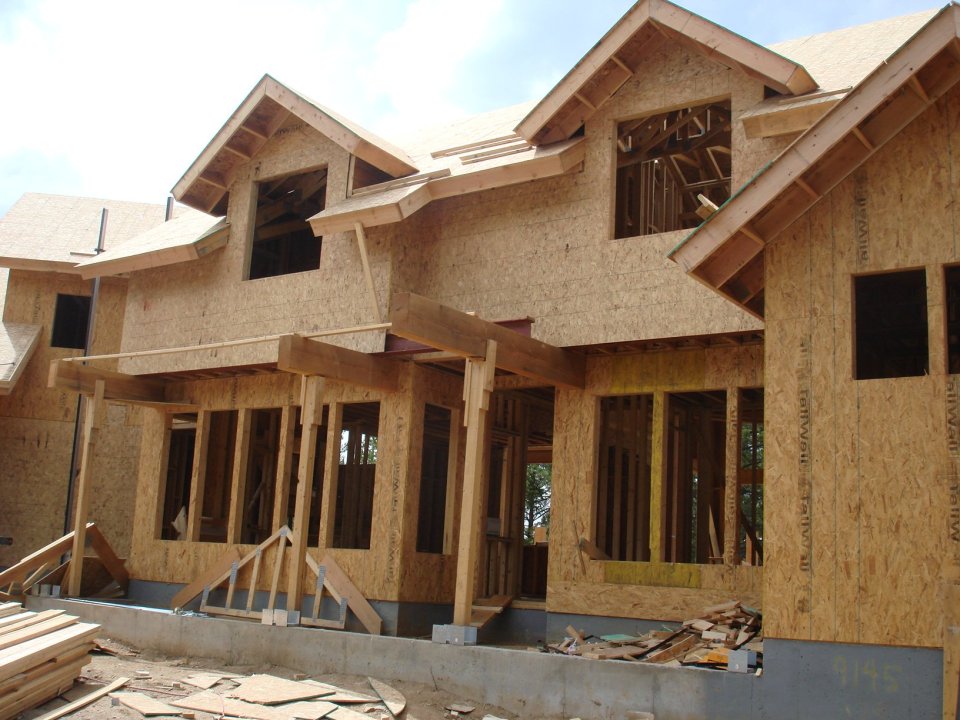
Source: Google imagesBut, as we all know, our house is not a normal house.We basically have a house inside of a house. The shell is the metal building, and there is a 2×4 stick-built house inside.Exterior – pre windows and doors
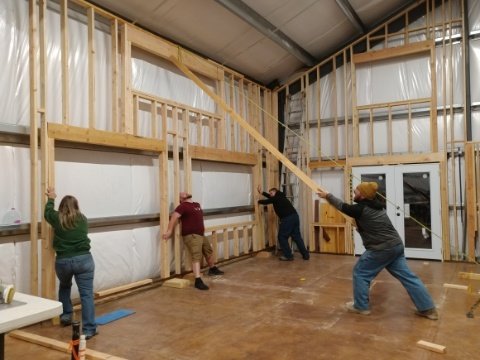
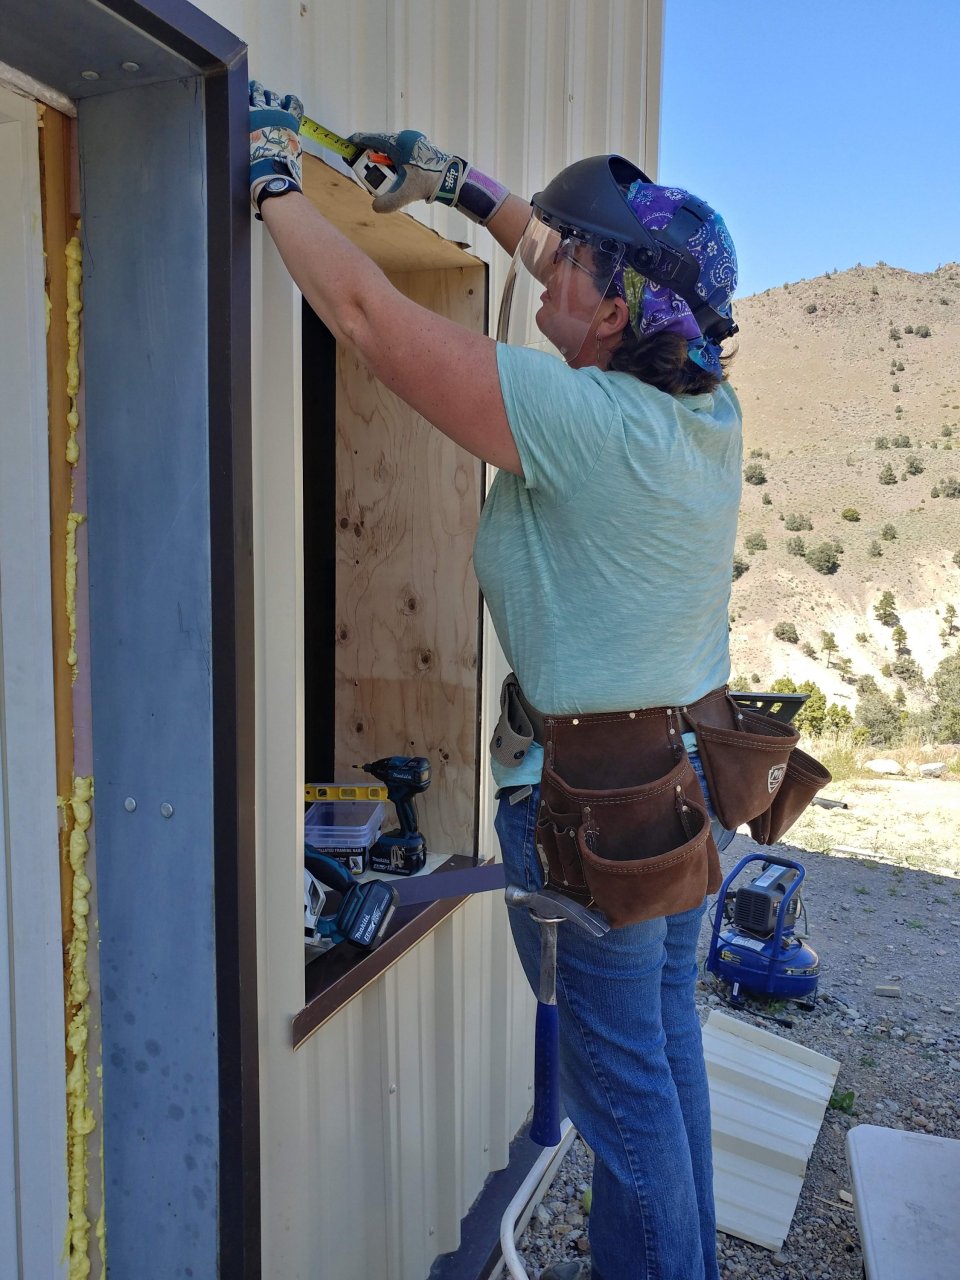
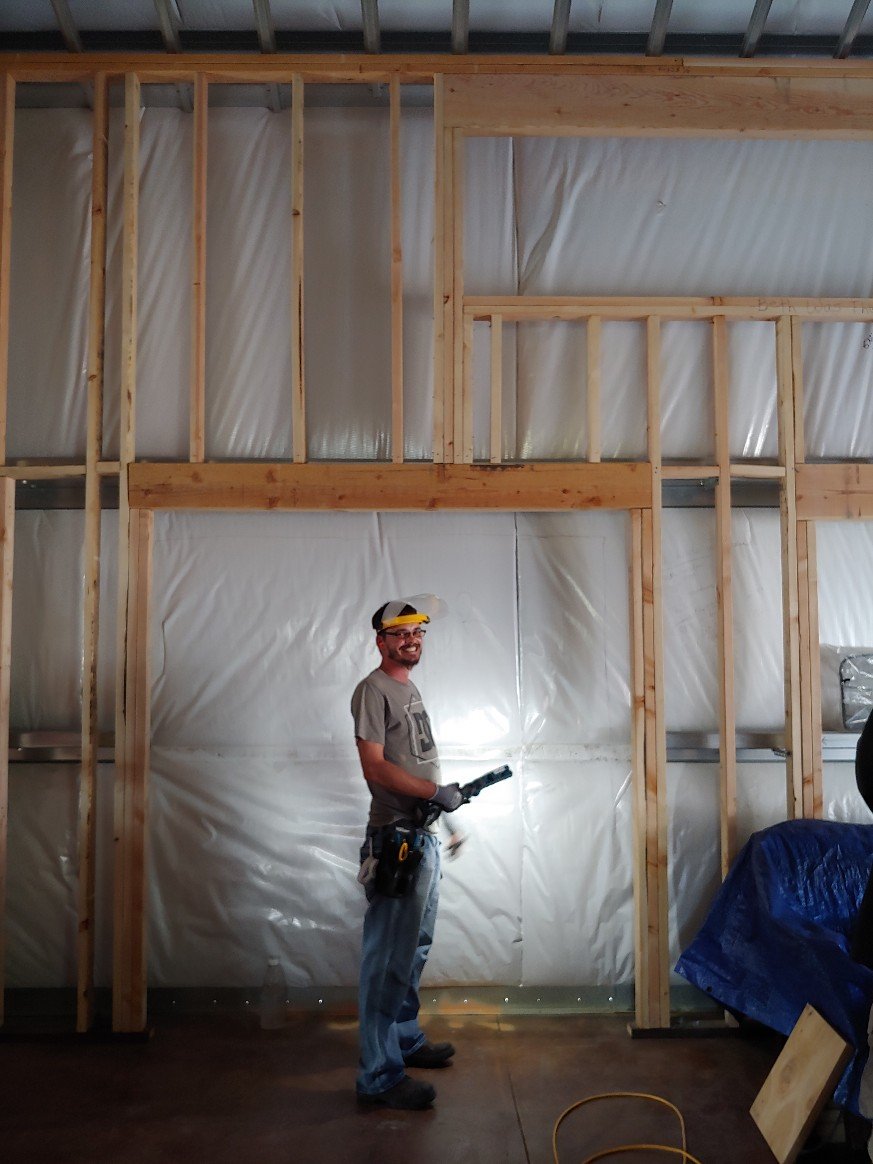
Same wall as the previous pic – Interior – before door and window openings are cutWe chose to not have the metal building designed with all the window and door openings because we knew we’d be building these interior walls during the winter time. Because of how we needed to attach the interior walls to the exterior walls at the openings, we could not put the windows in until the interior walls were built.Which means, if we had already had the openings in the metal building, we would not have been able to heat the house and keep working in it over the winter (which was when we were building those walls). We would have lost all that working time.And would have been even further behind than we are now.But we finally got all the interior framing done, so it was time to tackle the windows and doors!We are planning on making a blog post and even a video about the actual technical method to put in the windows and doors, but for now, here’s the less detailed and less tedious (I hope) version.The first window we put in was next to the front door.
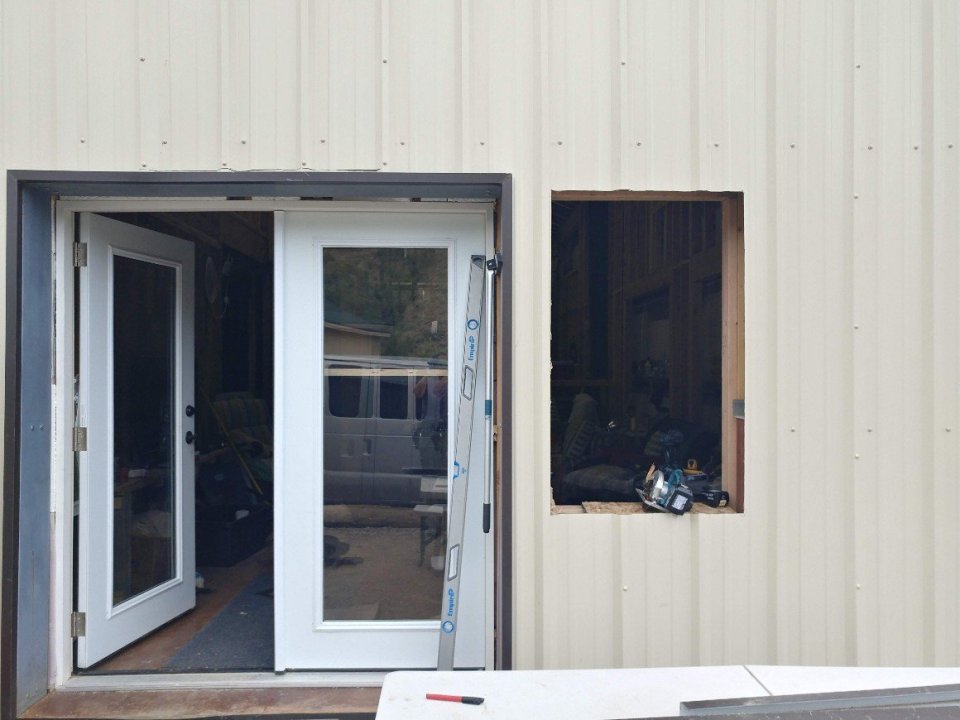
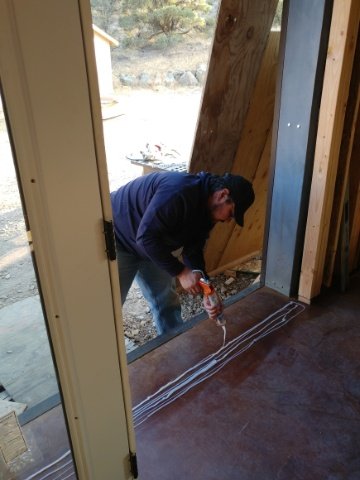
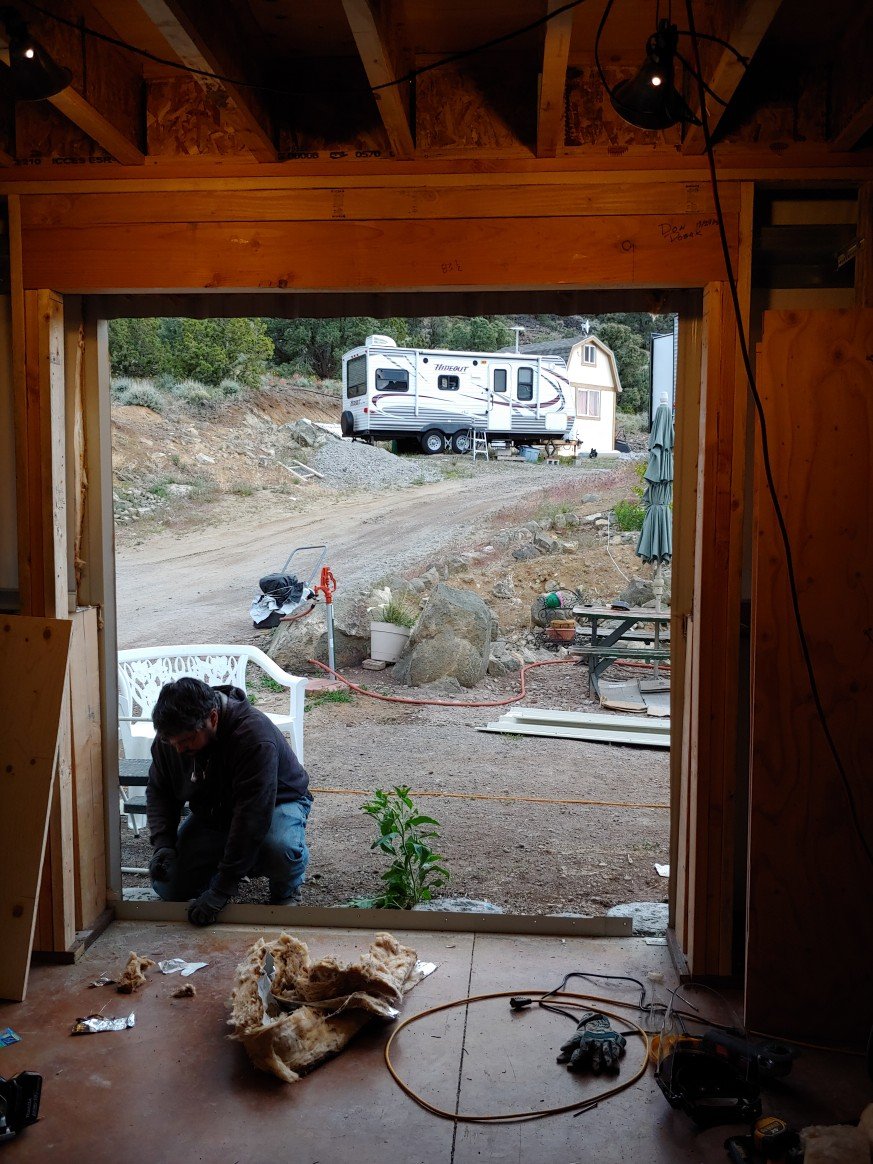
Since it was right next to a door with a lot of glass in it, I felt like this one window didn’t make a major difference in the look of the living room or the light that was coming in. I mean, it was cool to be able to see a slightly different view, but it wasn’t a huge change.The next opening we did was the sliding glass door in one of the downstairs rooms.This one took a full week of us working on it several hours a day to figure out how to do it.While we were figuring it all out and working on it bit by bit, the weather decided to not play nice.
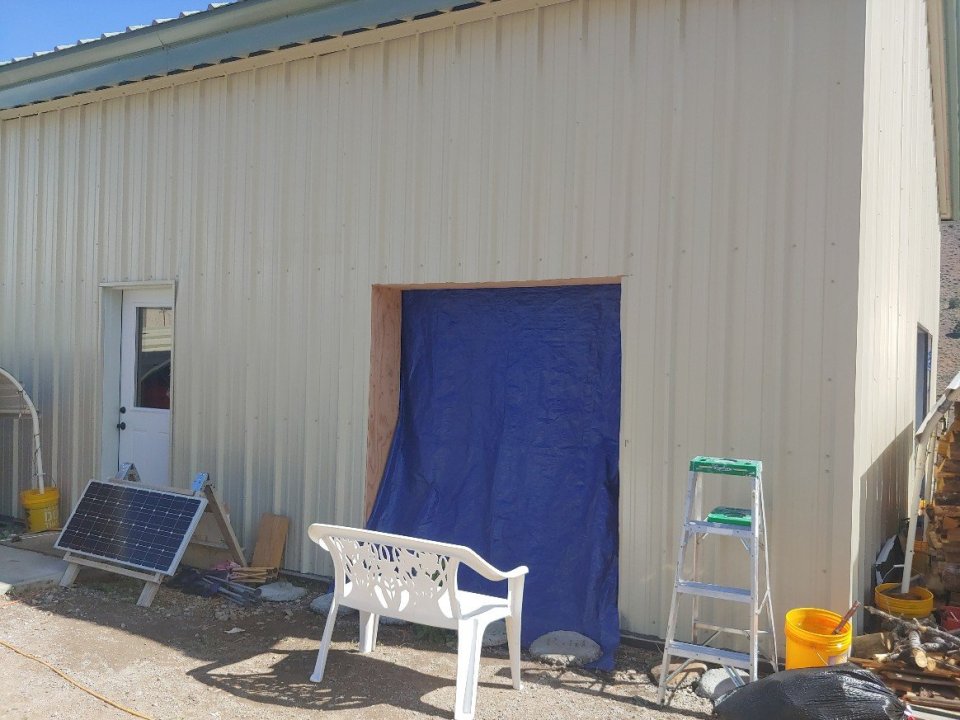
But eventually we were able to get the door installed.
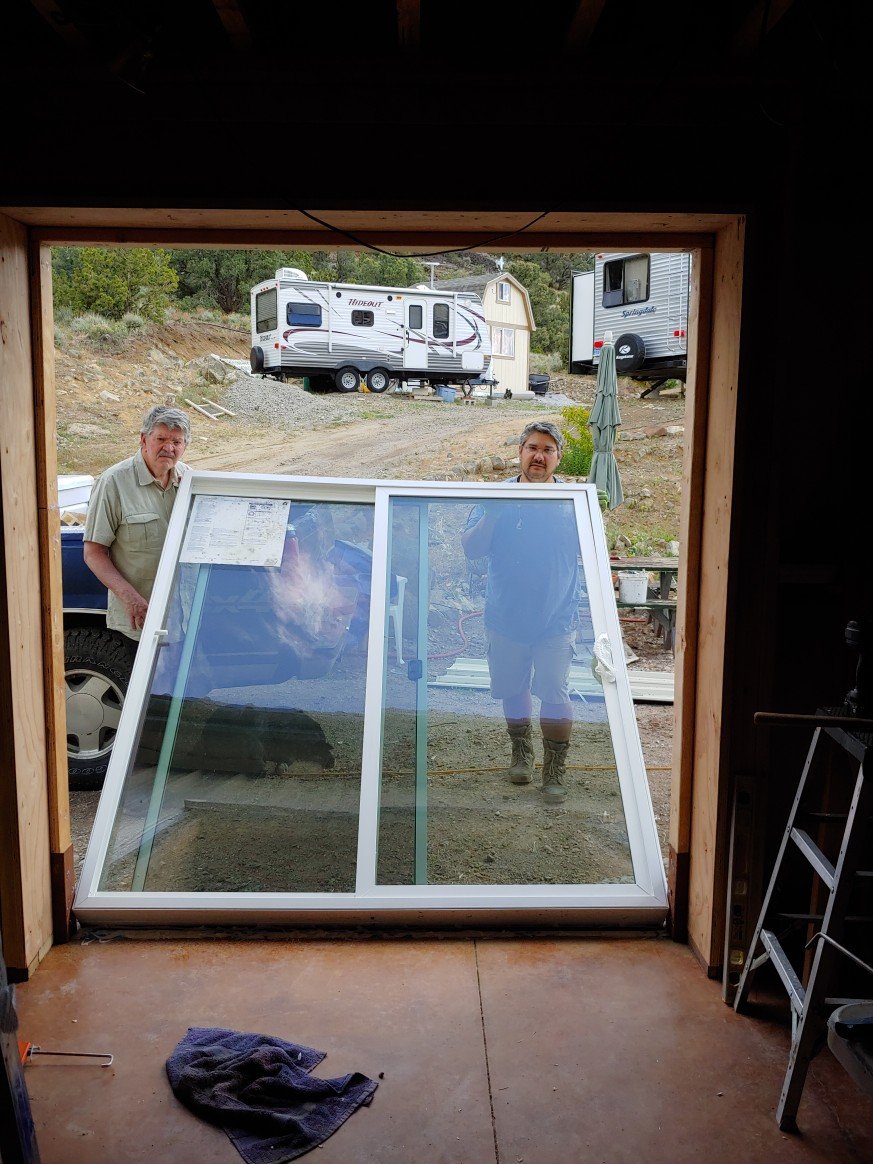
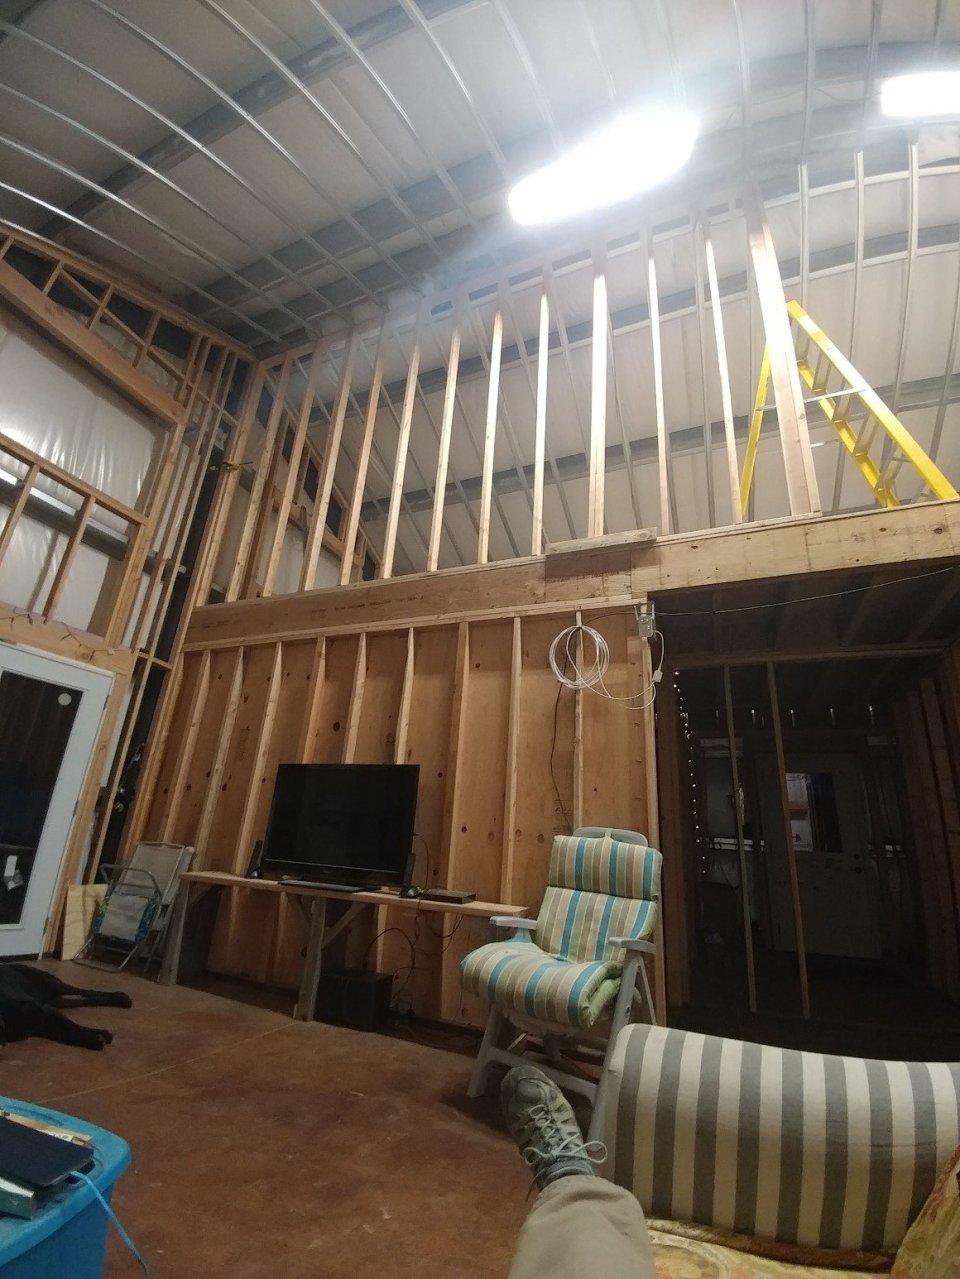
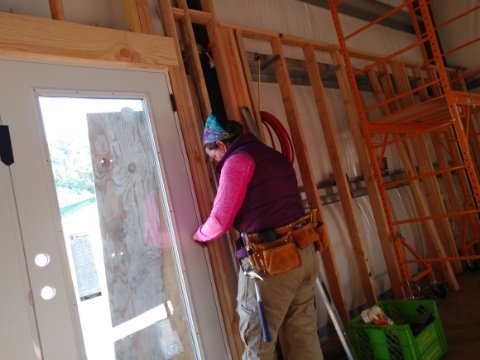
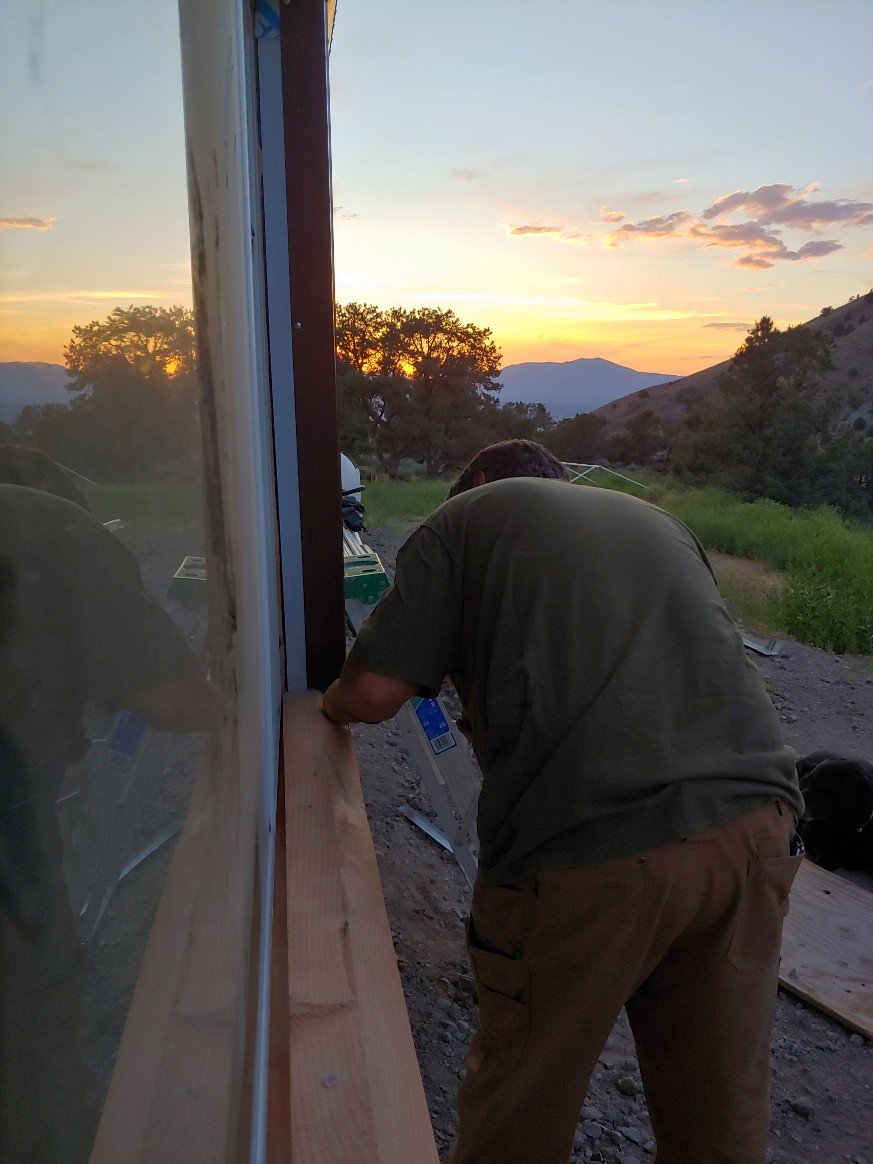
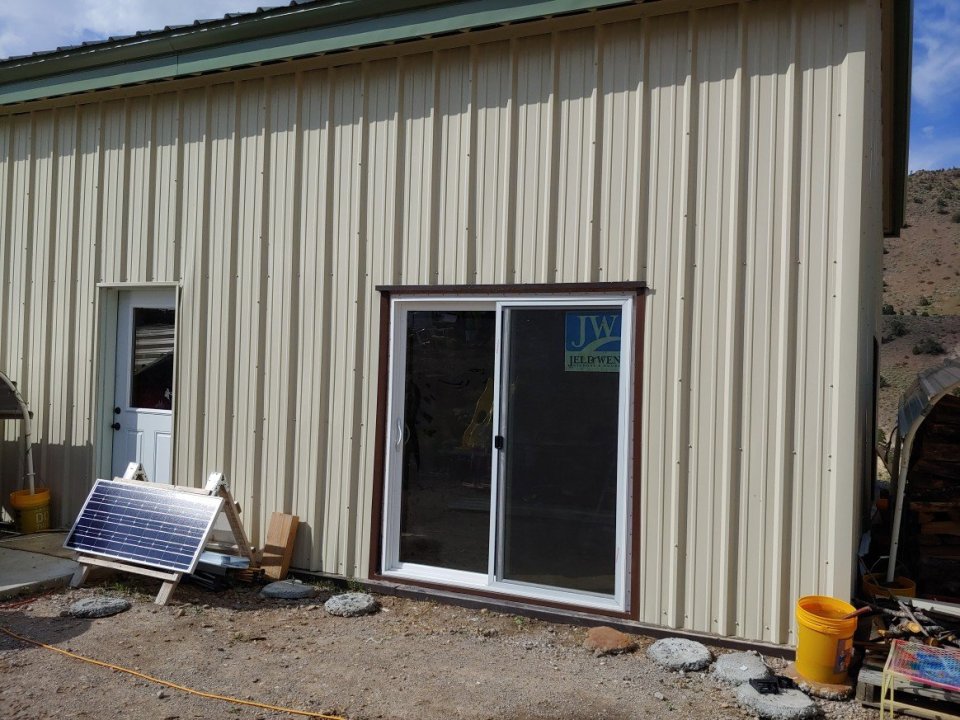
And let me tell you, this door made a difference!The main door we used up to this point was the laundry room door (to the left of the slider in the above pic.)Since the interior walls are all still just open studs, the light from this door not only lights up that room, but spills out into the other adjoining rooms.
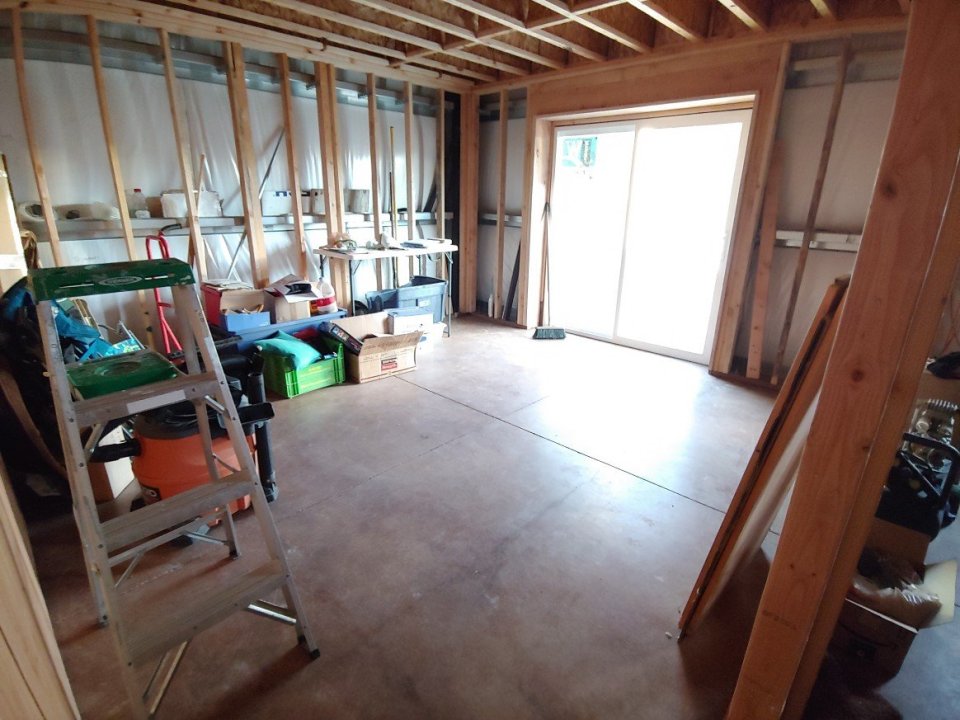
It was definitely something to open that laundry room door and walk in like we’d done hundreds of times before, and be greeted with light!Next was Pajii’s bedroom sliding glass door. It did not take us nearly as long this time to get it in as the first one. And I don’t get hardly any pictures. But I think he likes it!
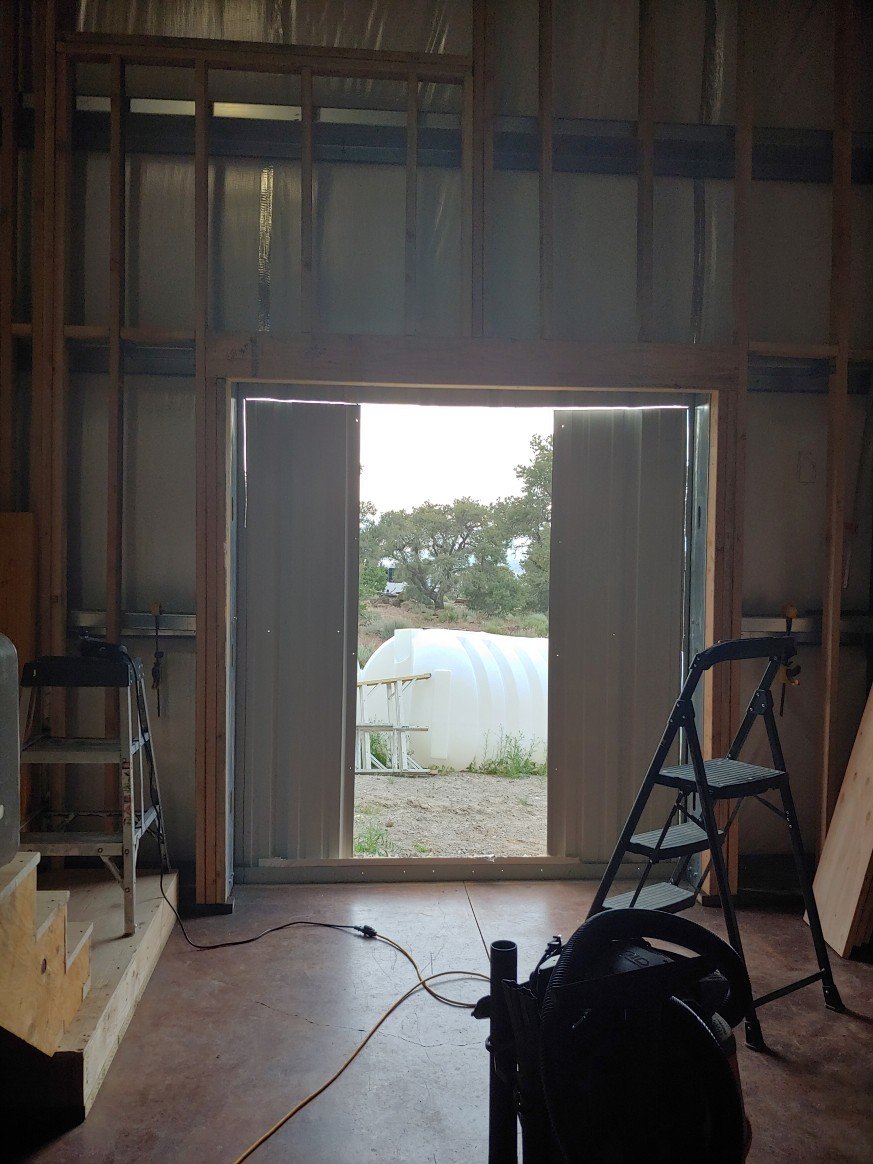
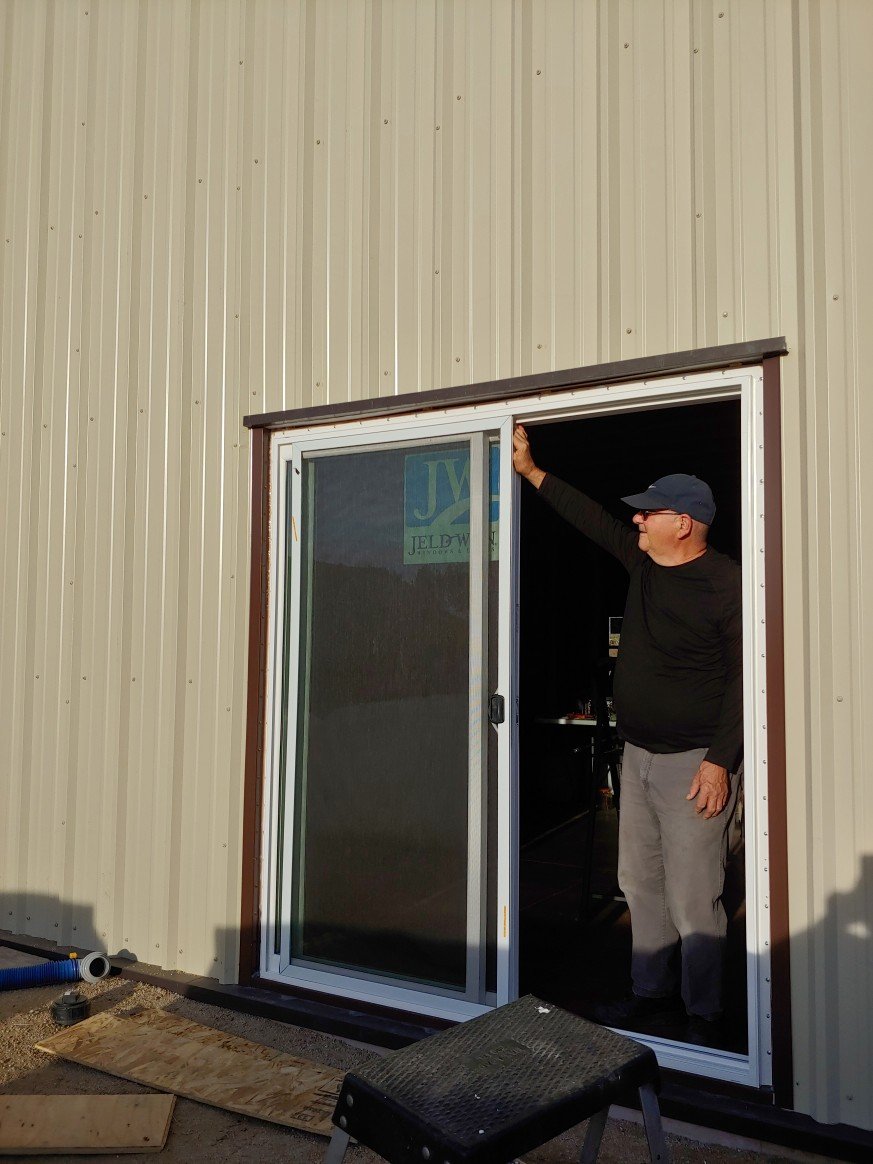
After that was one of the doors I was most excited for, the dining room slider.This is the door opposite the front door, and was sure to let in lots of natural light to an end of the house that was perpetually dark.
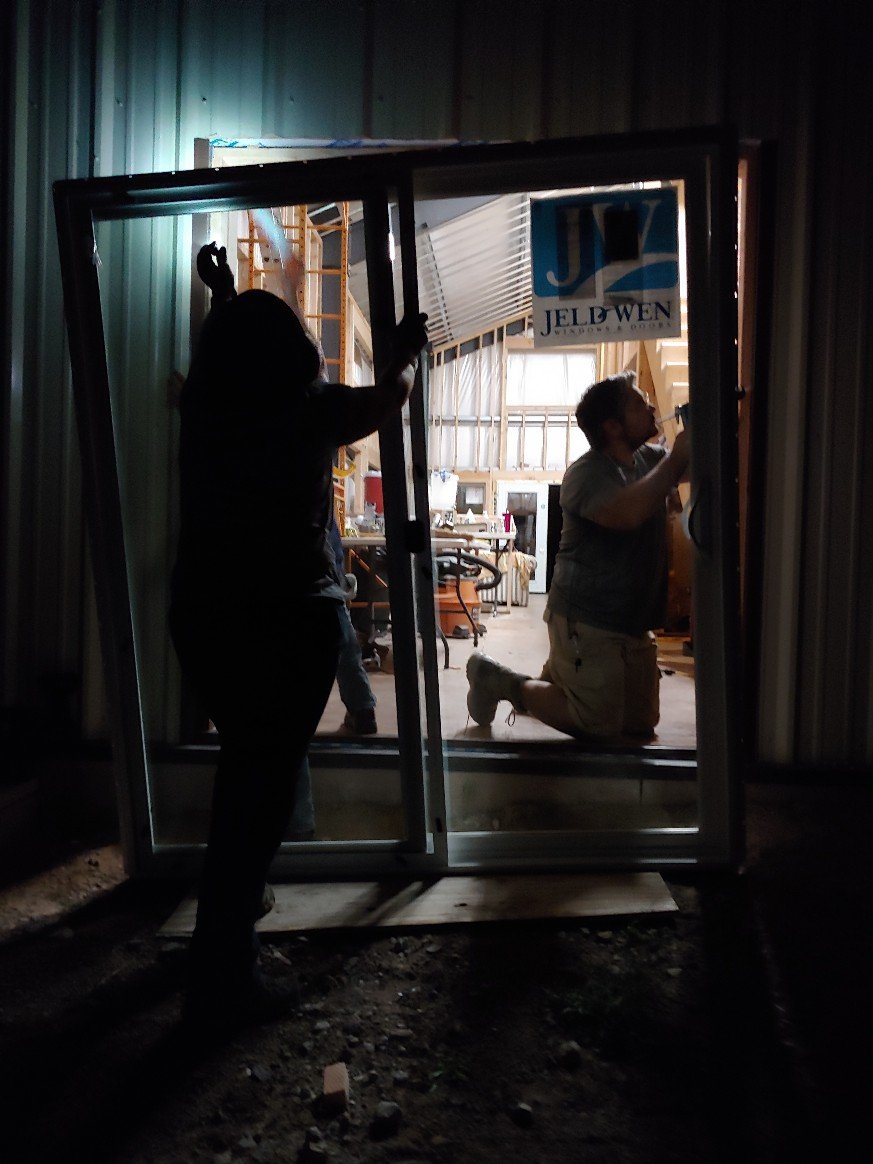
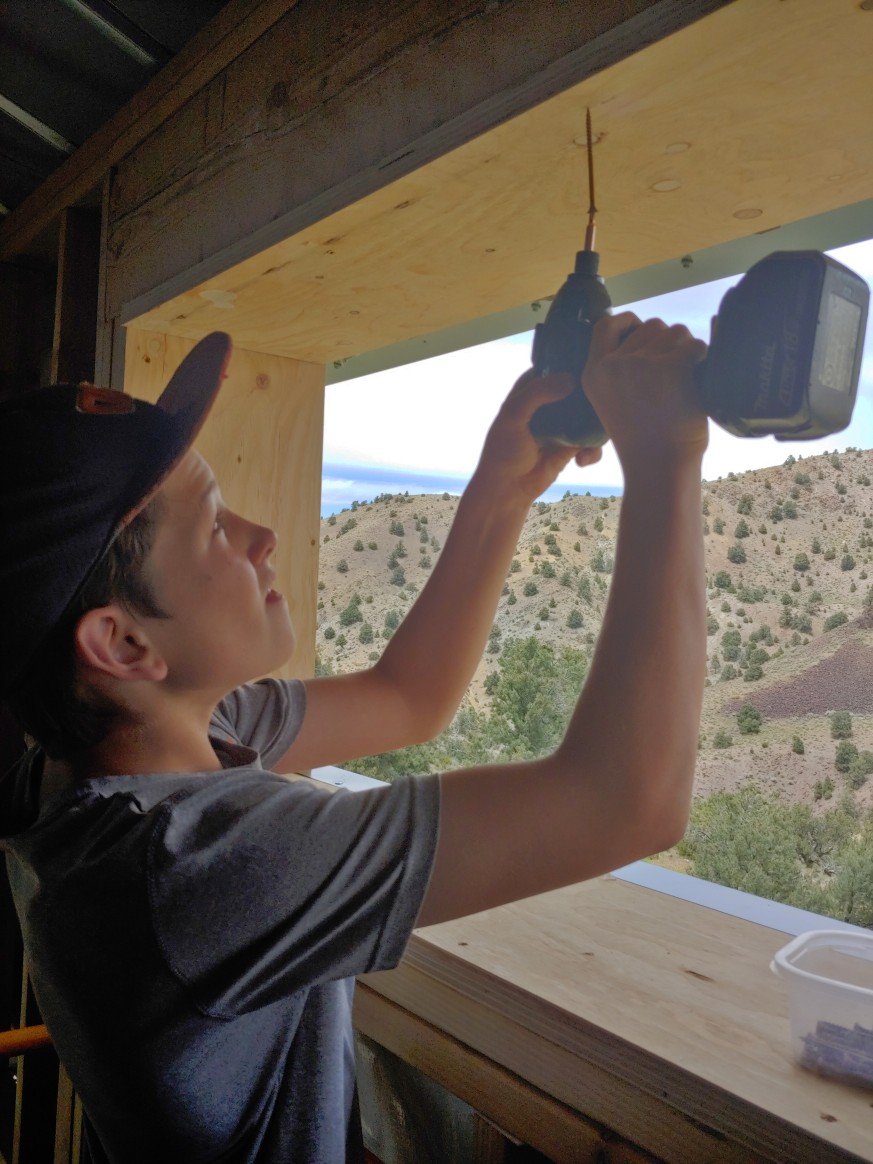
Just a peak!My nephew came over a couple evenings and weekend or two and helped put in doors and windows.
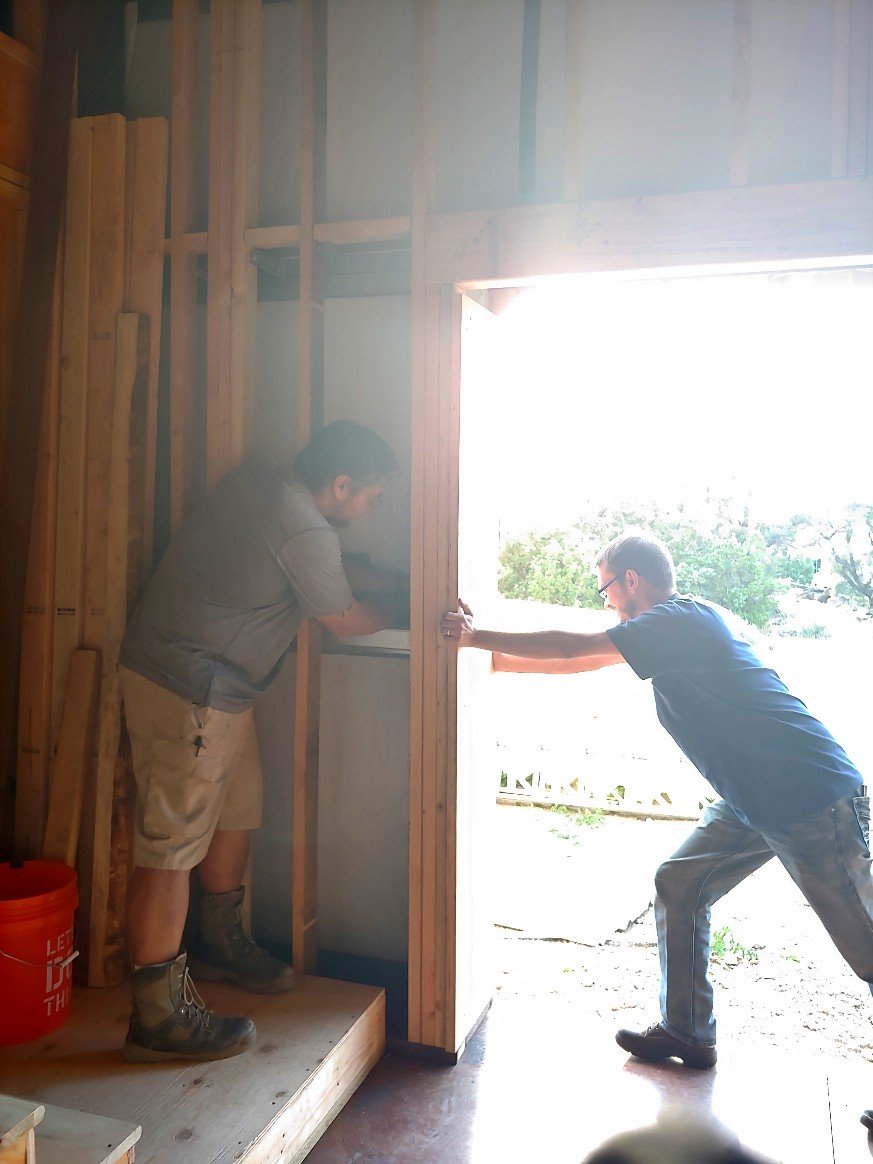
We worked until after dark on one of the longest days of the (less than 10 days before the solstice) to get that door in!
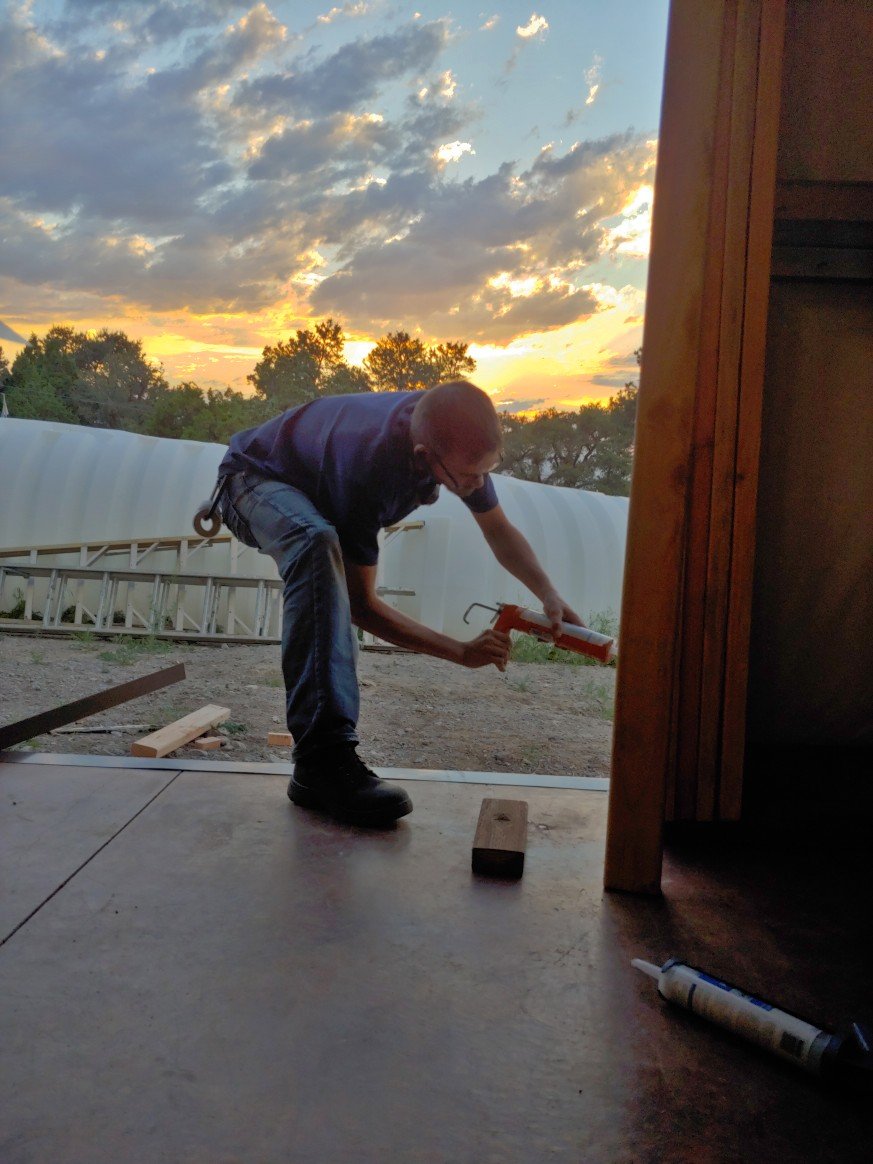
Had to finish by flashlight, but finish we did!After that things went a lot smoother and faster. We knew what we were doing by that point.

Cutting the 1⅛” plywood that we used for the frames.

Anchoring one of the metal side supports to the concrete floor.

And then came the part I had been dreaming about since we first sketched up the design for this house.The Big. Picture. Window.If you follow me on Instagram, you might remember that back in March I posted a poorly photoshopped picture of what the view out our picture window might look like. For those that did not see it or don’t remember, here it is.
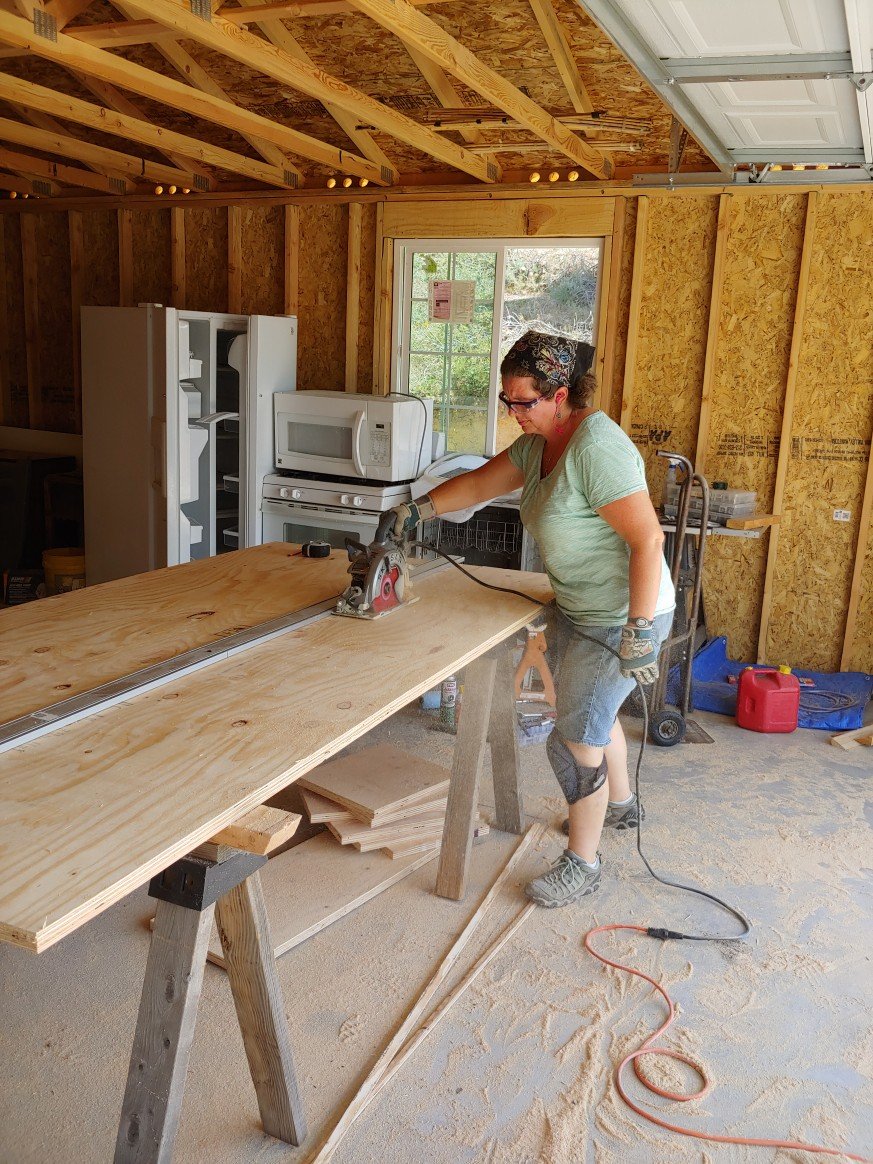
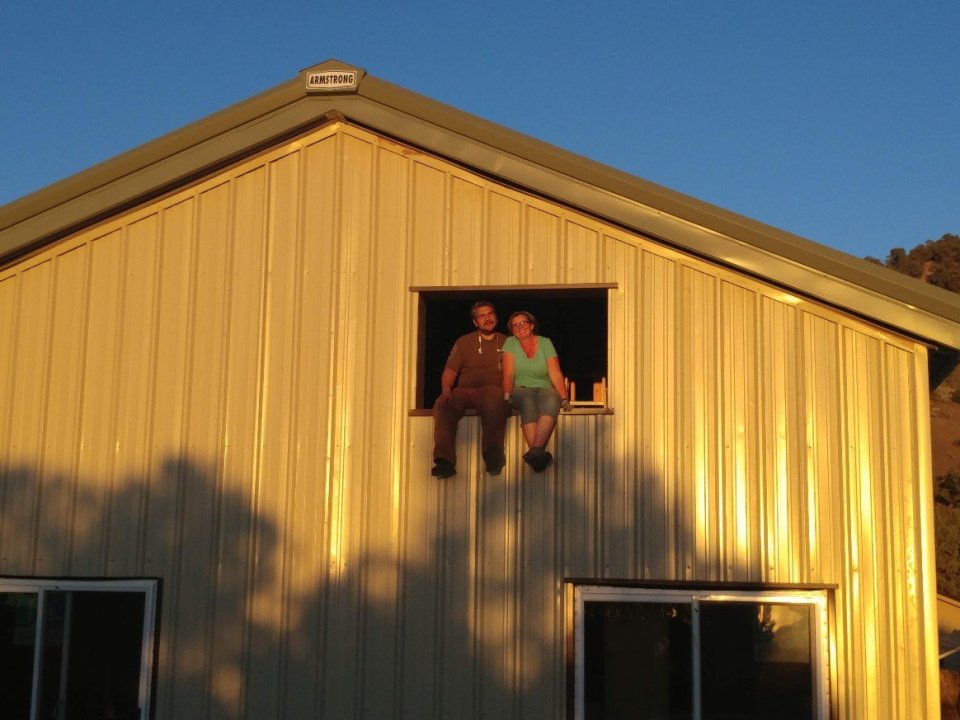
I was just dreaming of the day I could look out that window to view up our canyon. I mean, seriously, I’ve been dreaming of that literally for years!And it was finally happening!

Another late night finishing up the job

And…voila!
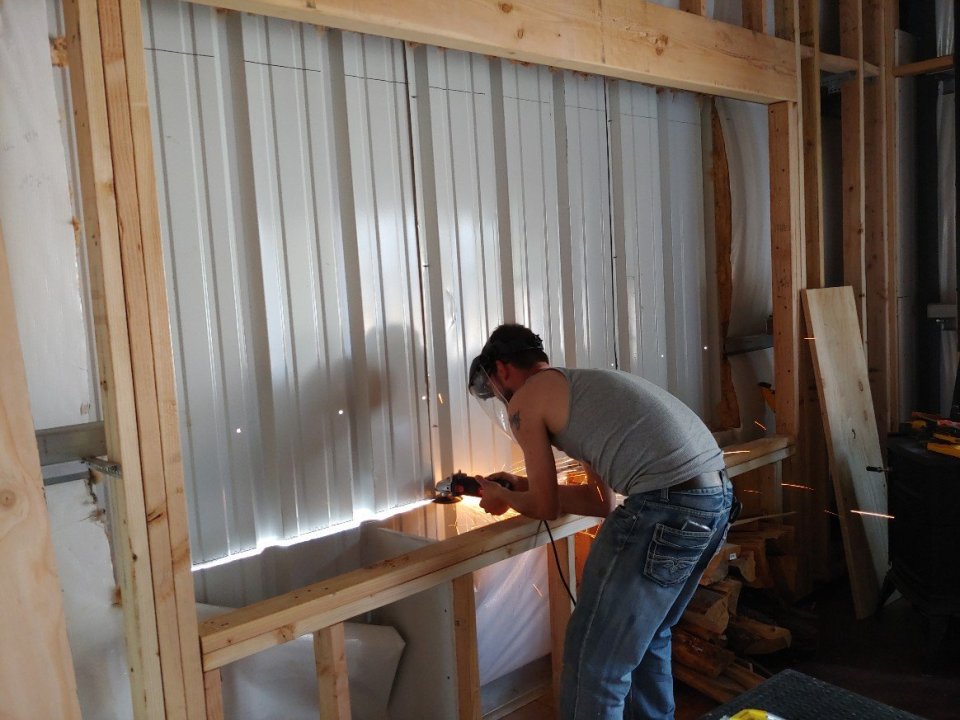
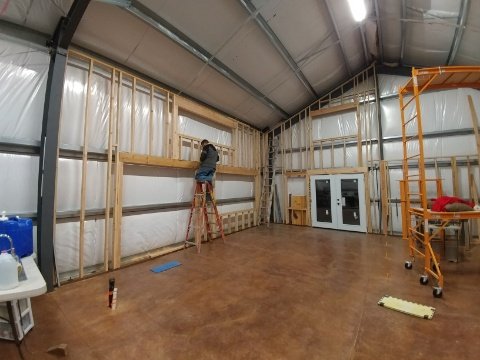
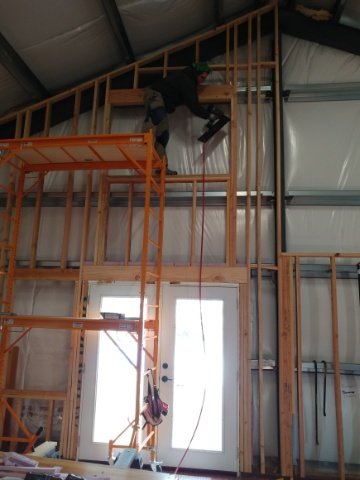
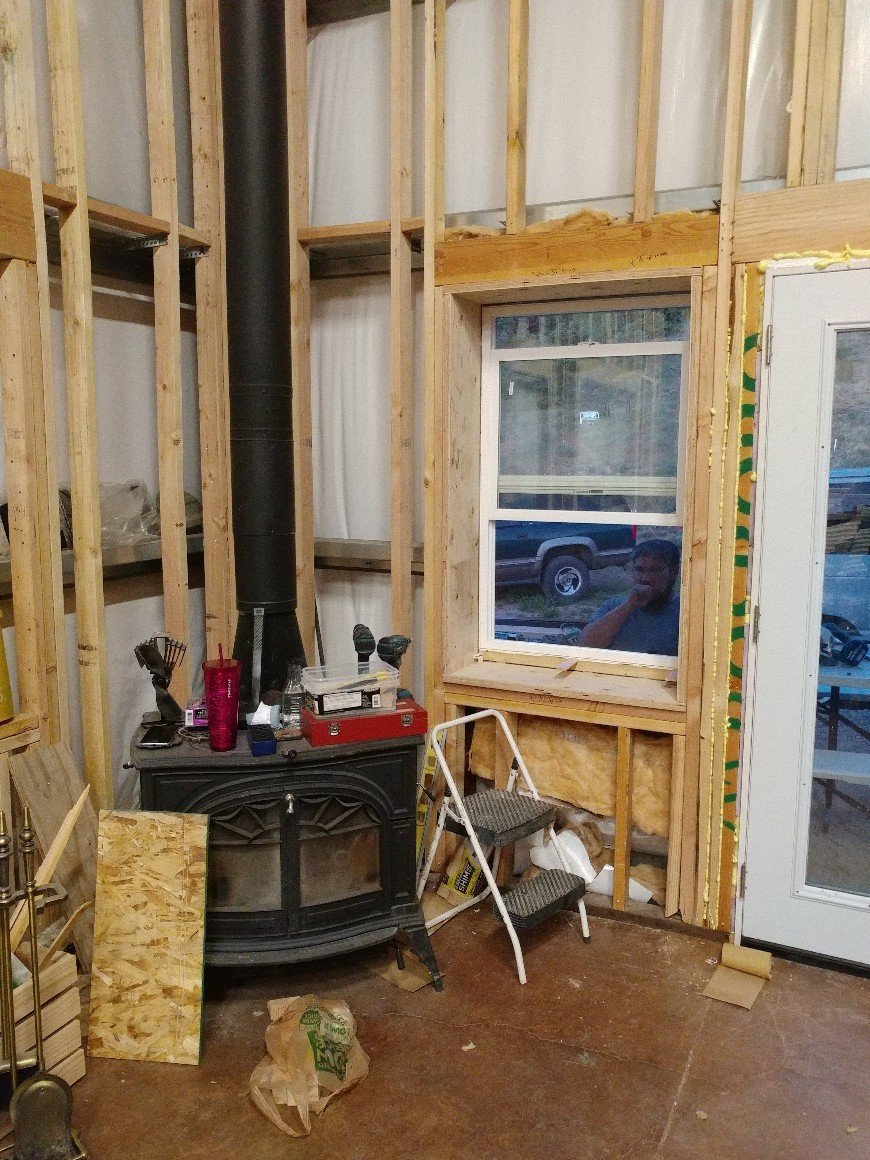
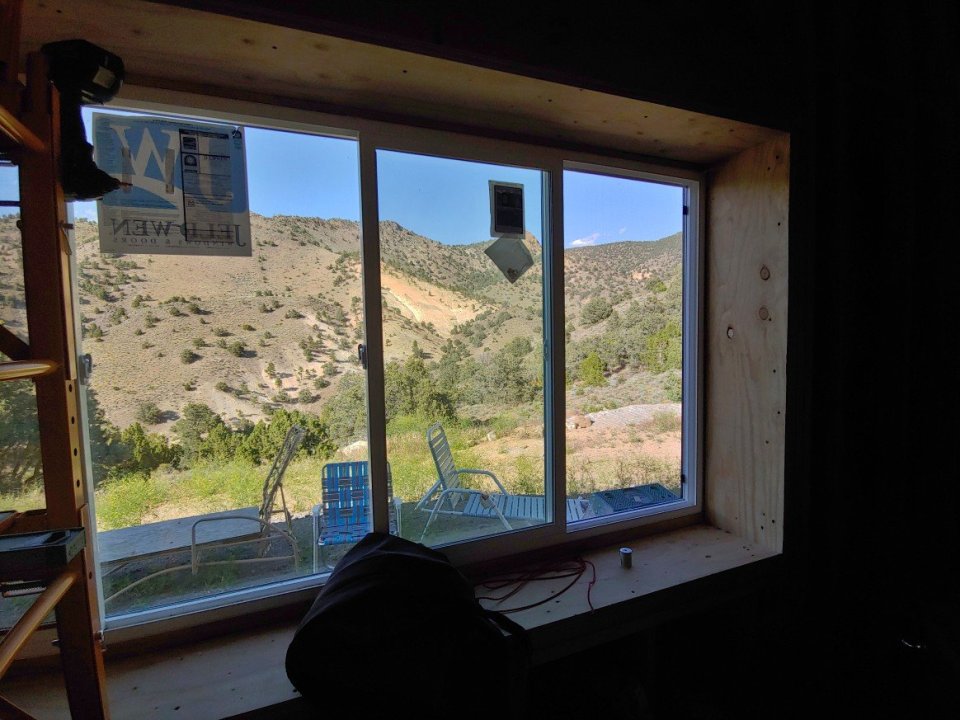
I love my big window!After that, it was time to move upstairs to the second story windows.

Flower Girl and her cousins wanted to watch the “fireworks”

We can actually see all the way down into the valley from our bedroom window!

Working on the second floor windows presented some extra challenges, especially on the one window we could not access from the outside for various reasons. So we had to get creative.

Putting my climbing skills and gear to good use

We watched some friends’ kids one day and I put their 11 year old son to work. 😁

And suddenly it was starting to look like a regular house, not a warehouse!

The side in the shade is still missing four – yes 4 – windows in this pic!

It there were several windows we had to special order because they were odd sizes, so those took a little while to arrive.But eventually, we put in the very last window.
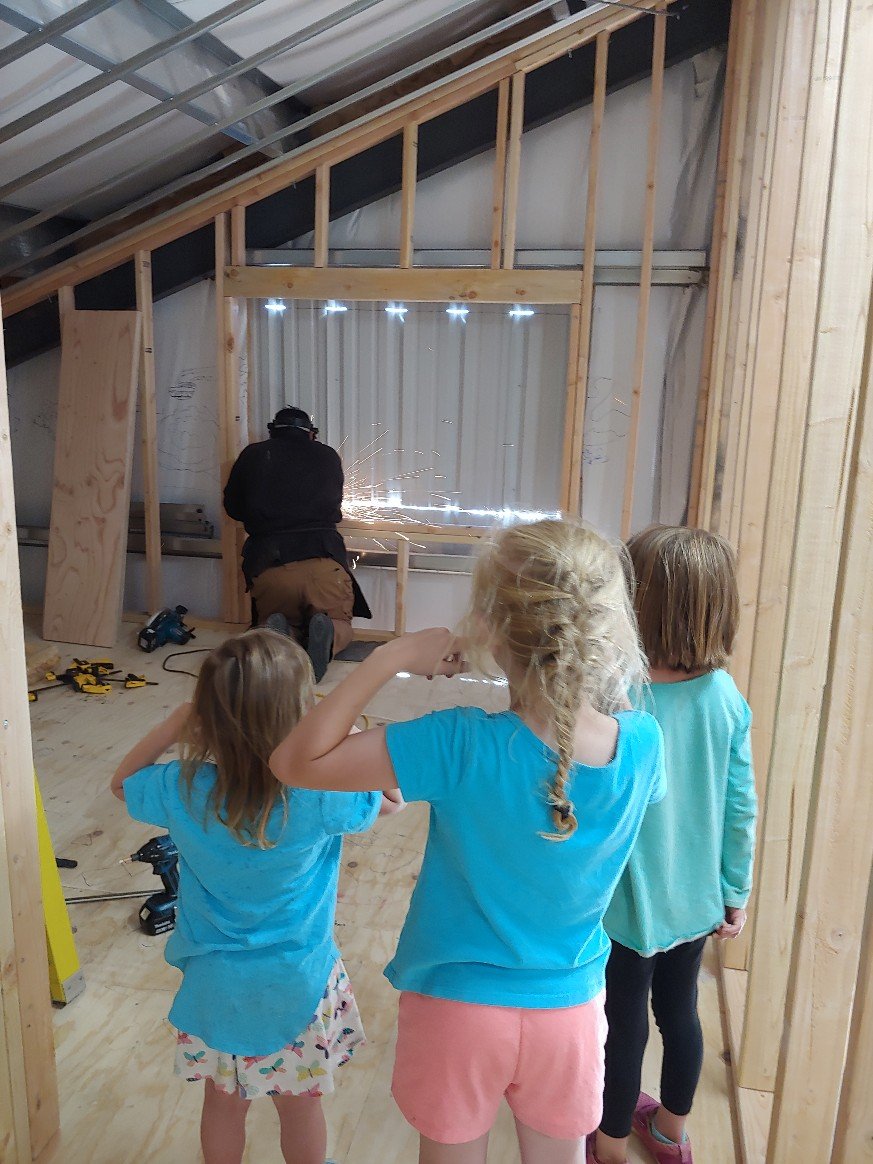
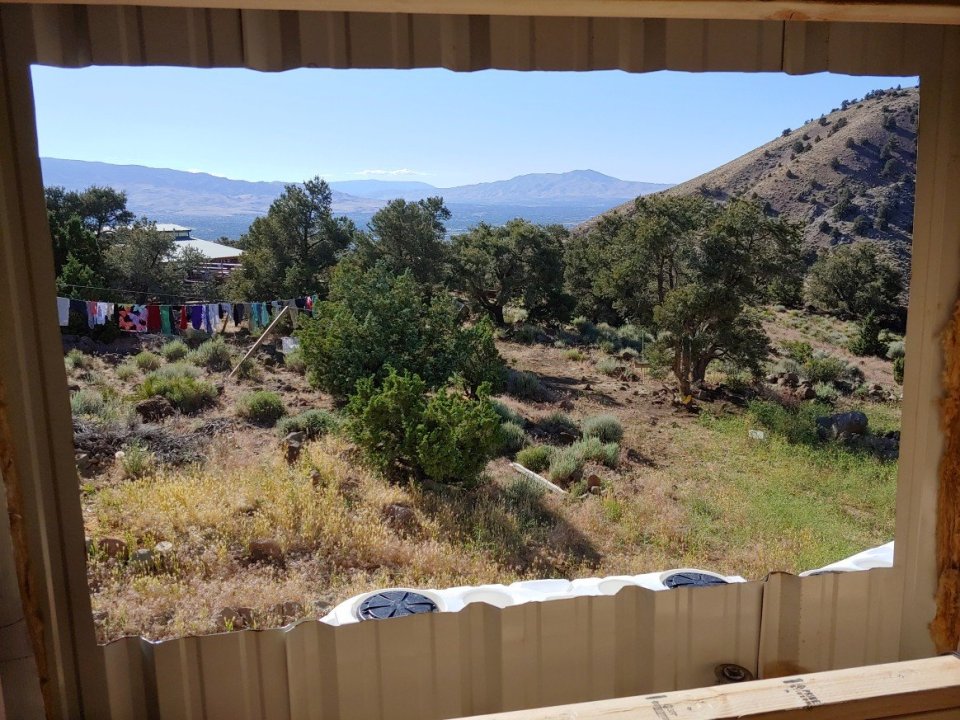
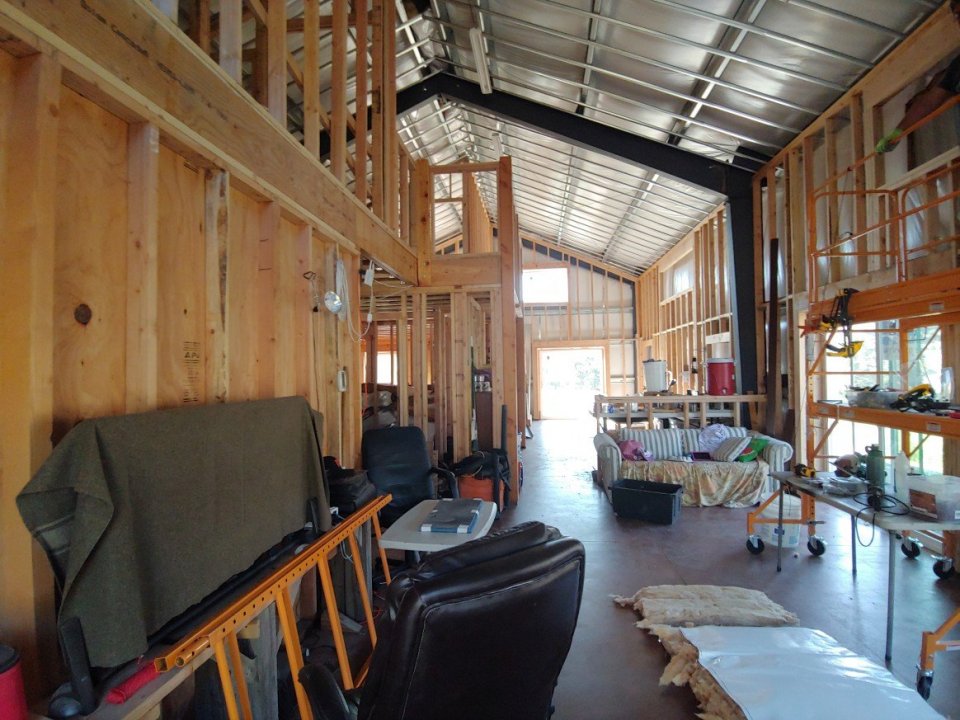
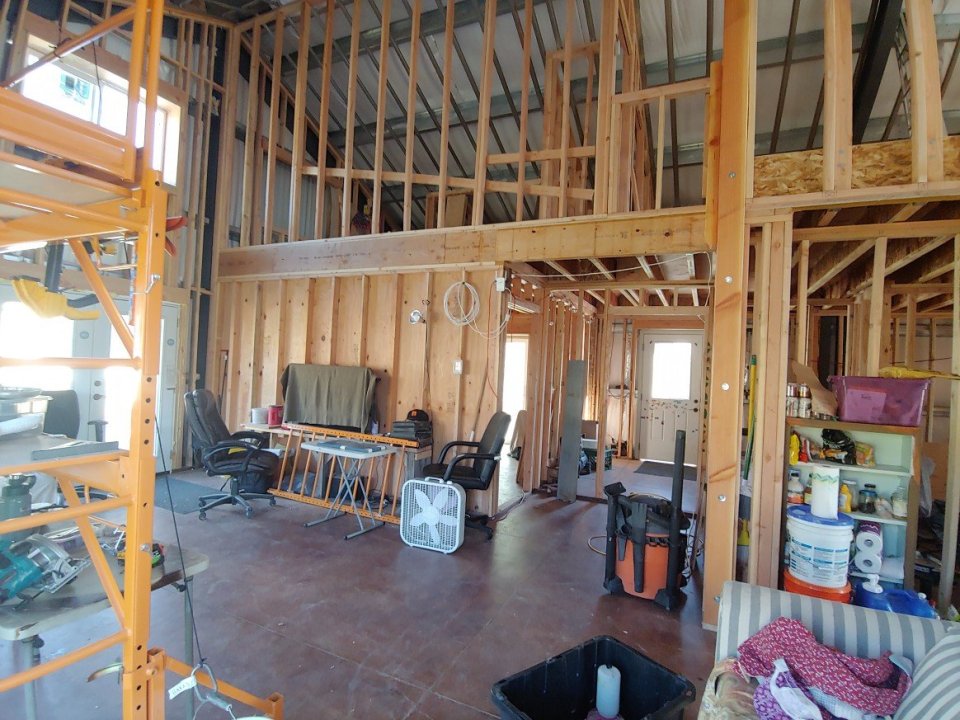
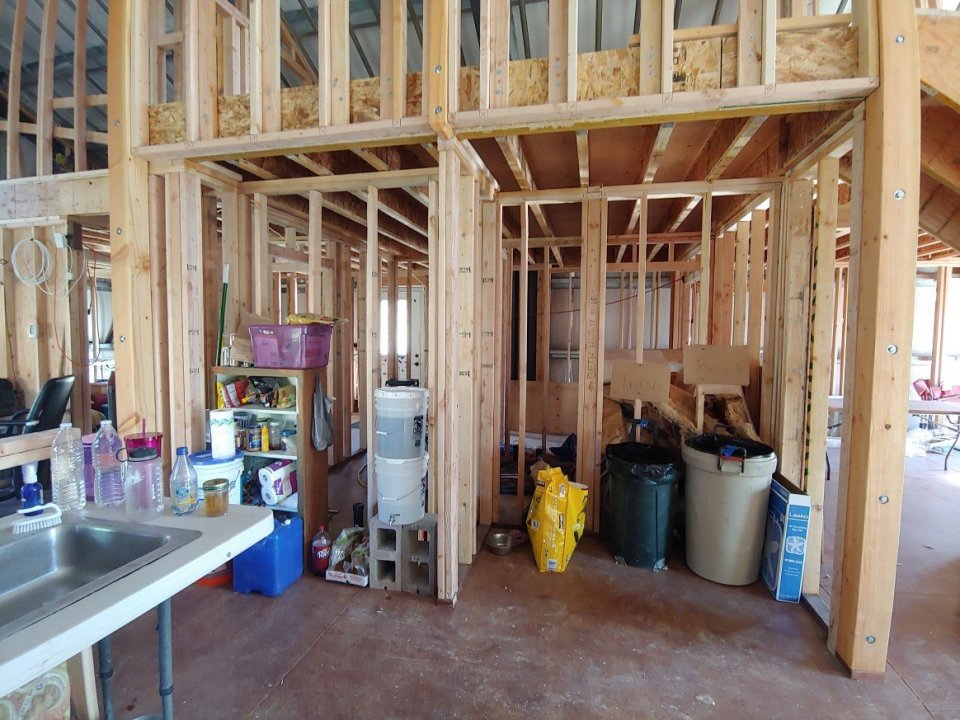
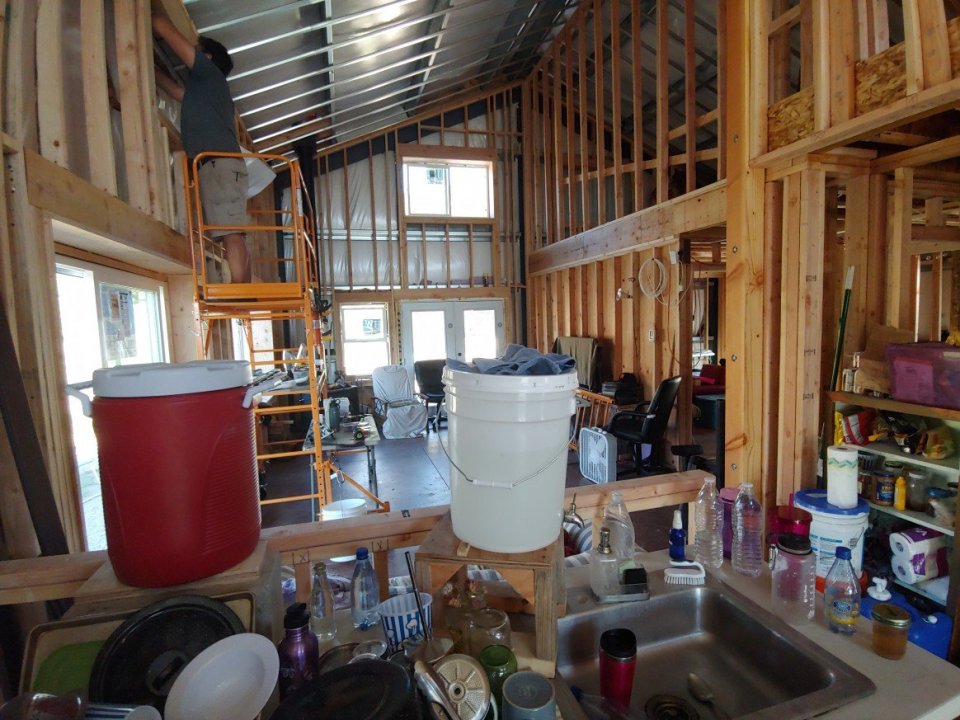
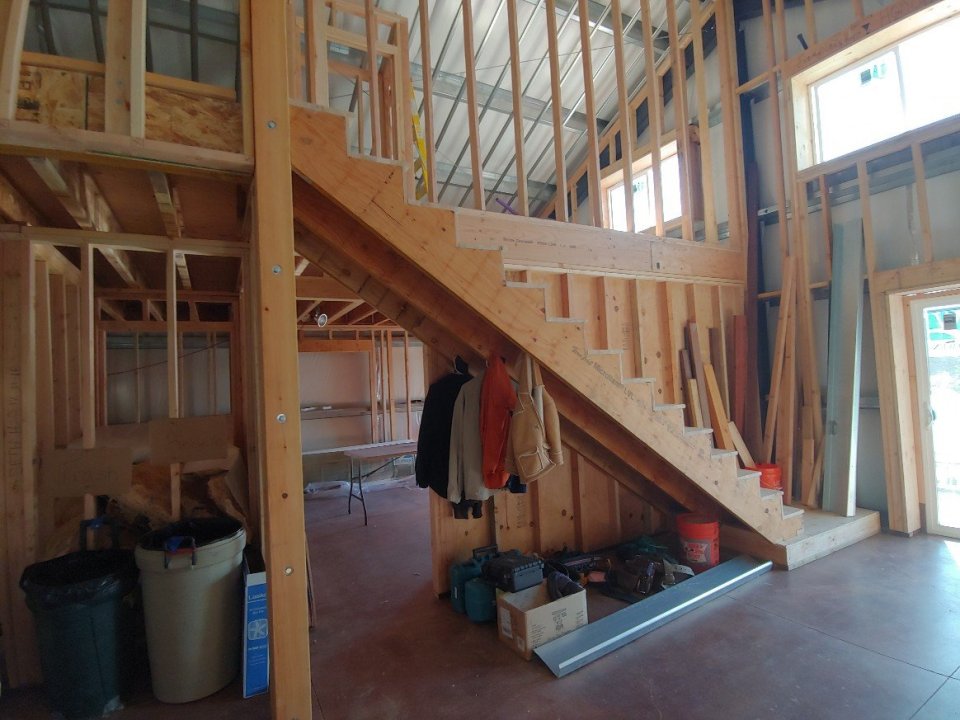
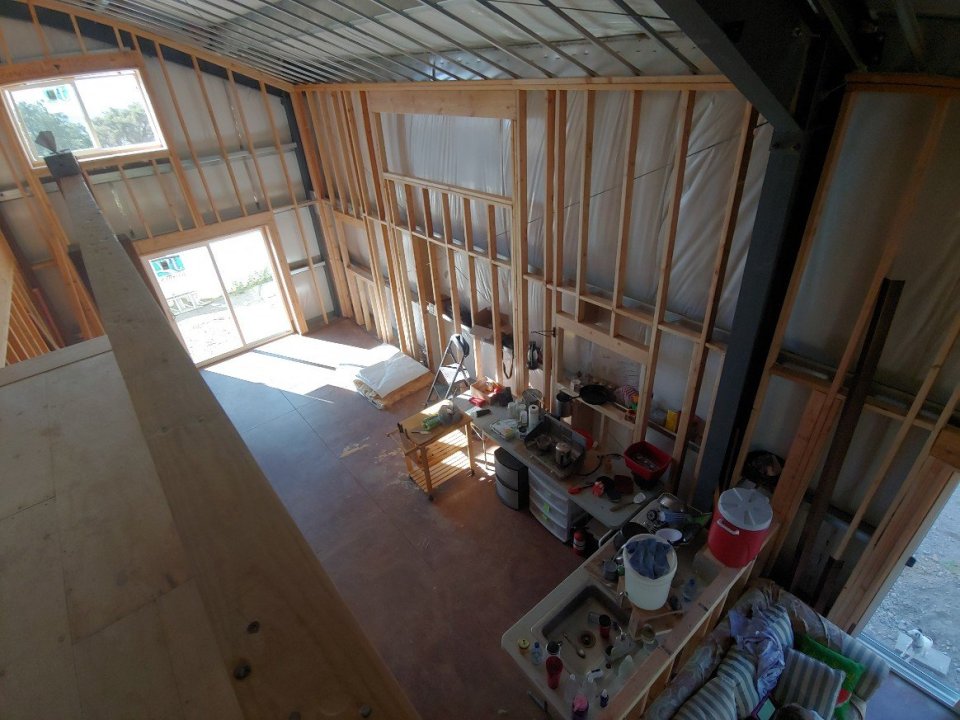
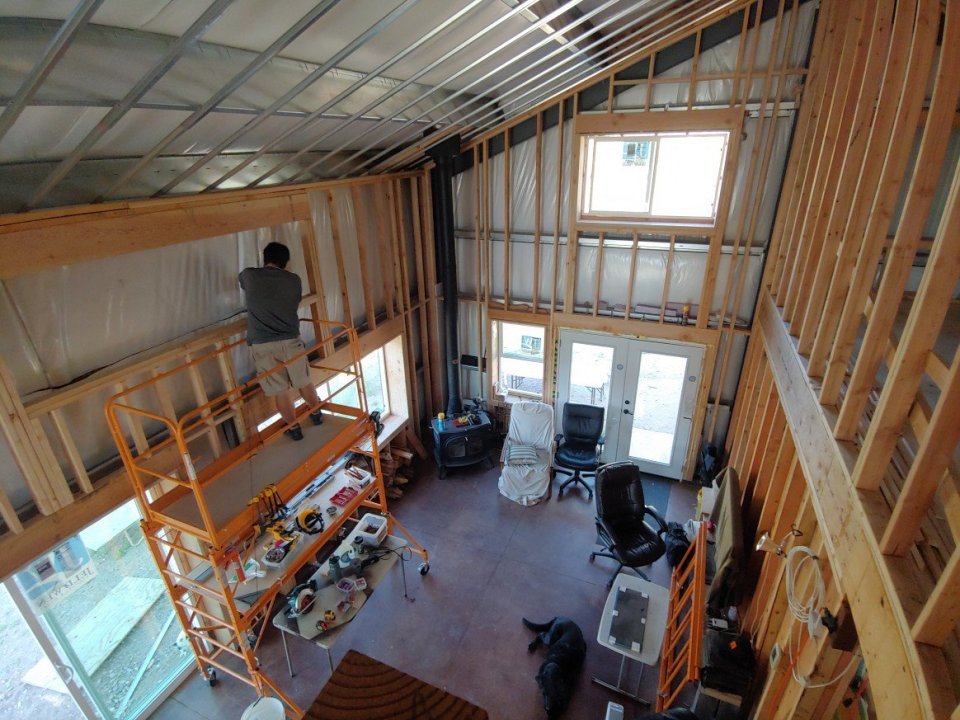
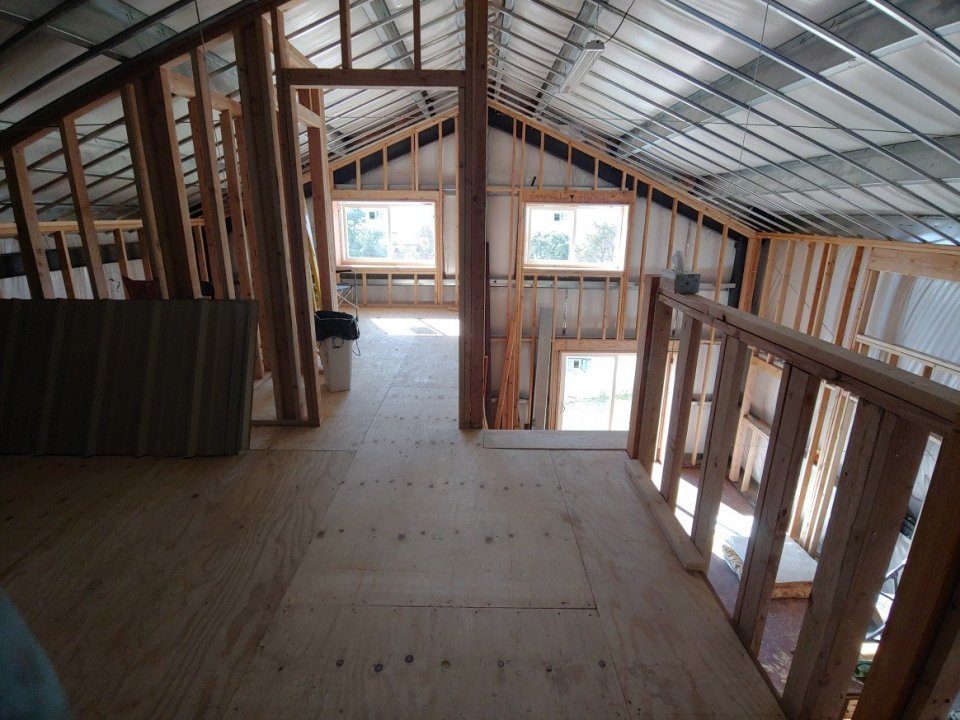
And now some pictures of the interior with no artificial lighting turned on. All the light in the following pics is natural.And in some of them, not every single window opening is actually cut yet! We love all the natural light in our house!

Window in Pajii’s room still uncut (on the right). That is a south facing window, so it now let’s in a ton of light.

One of the upper great room windows waiting to be cut

You can see Hubs on the scaffold just starting to work on one of the upper great room windows.

Window in the girls’ room still not cut either

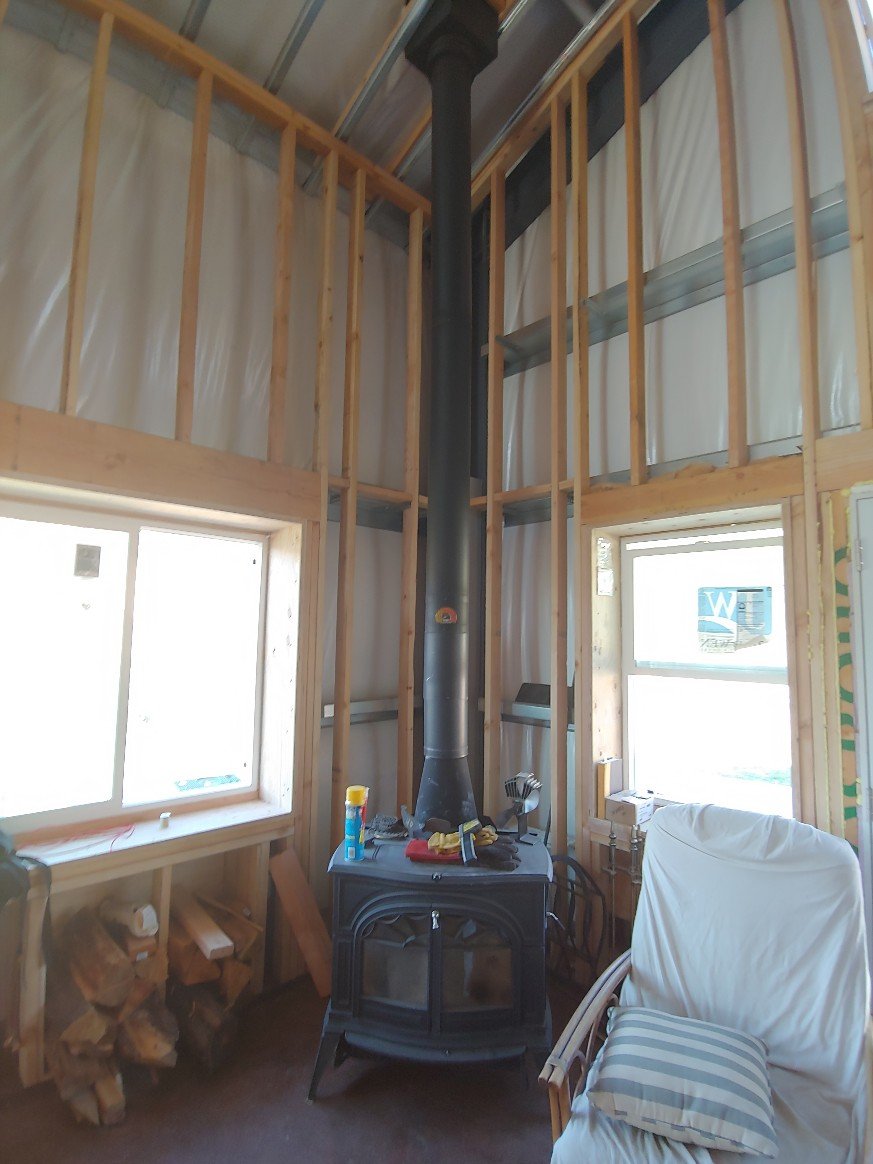
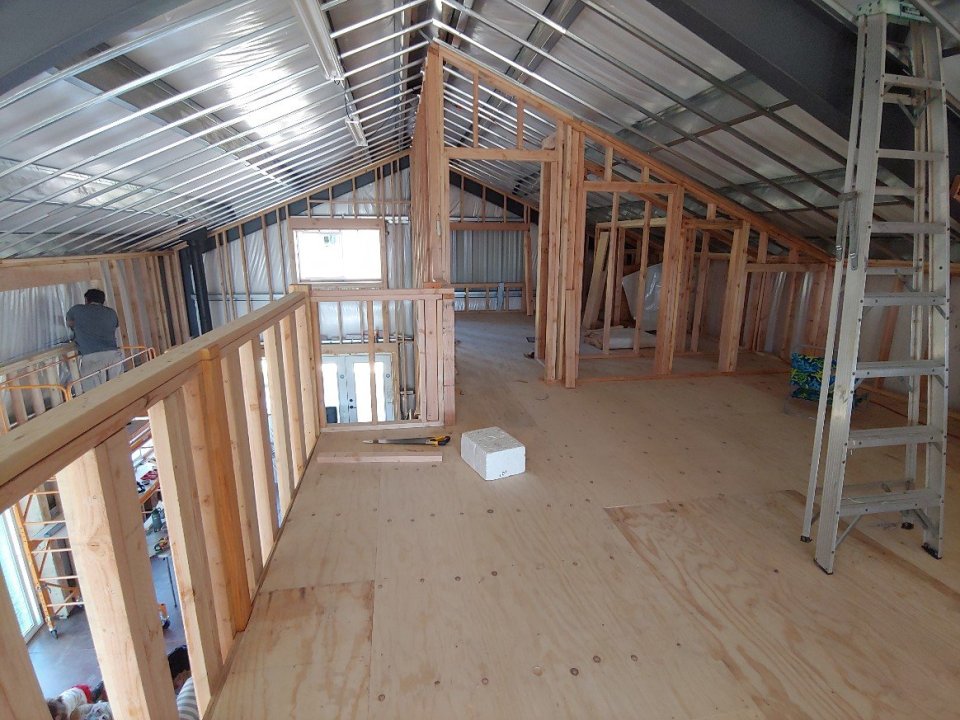
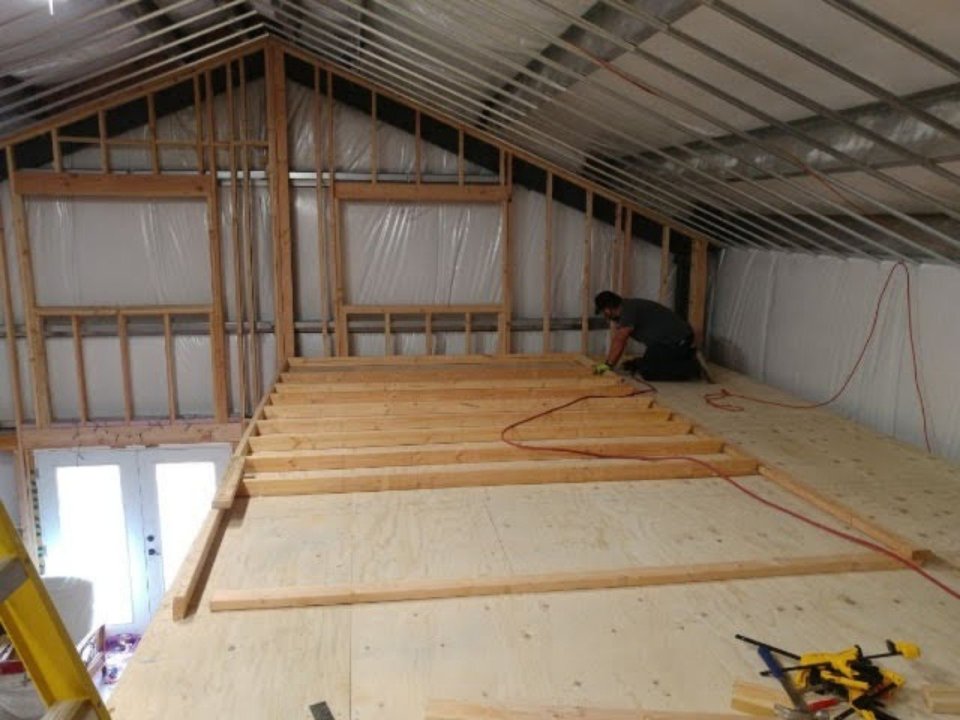
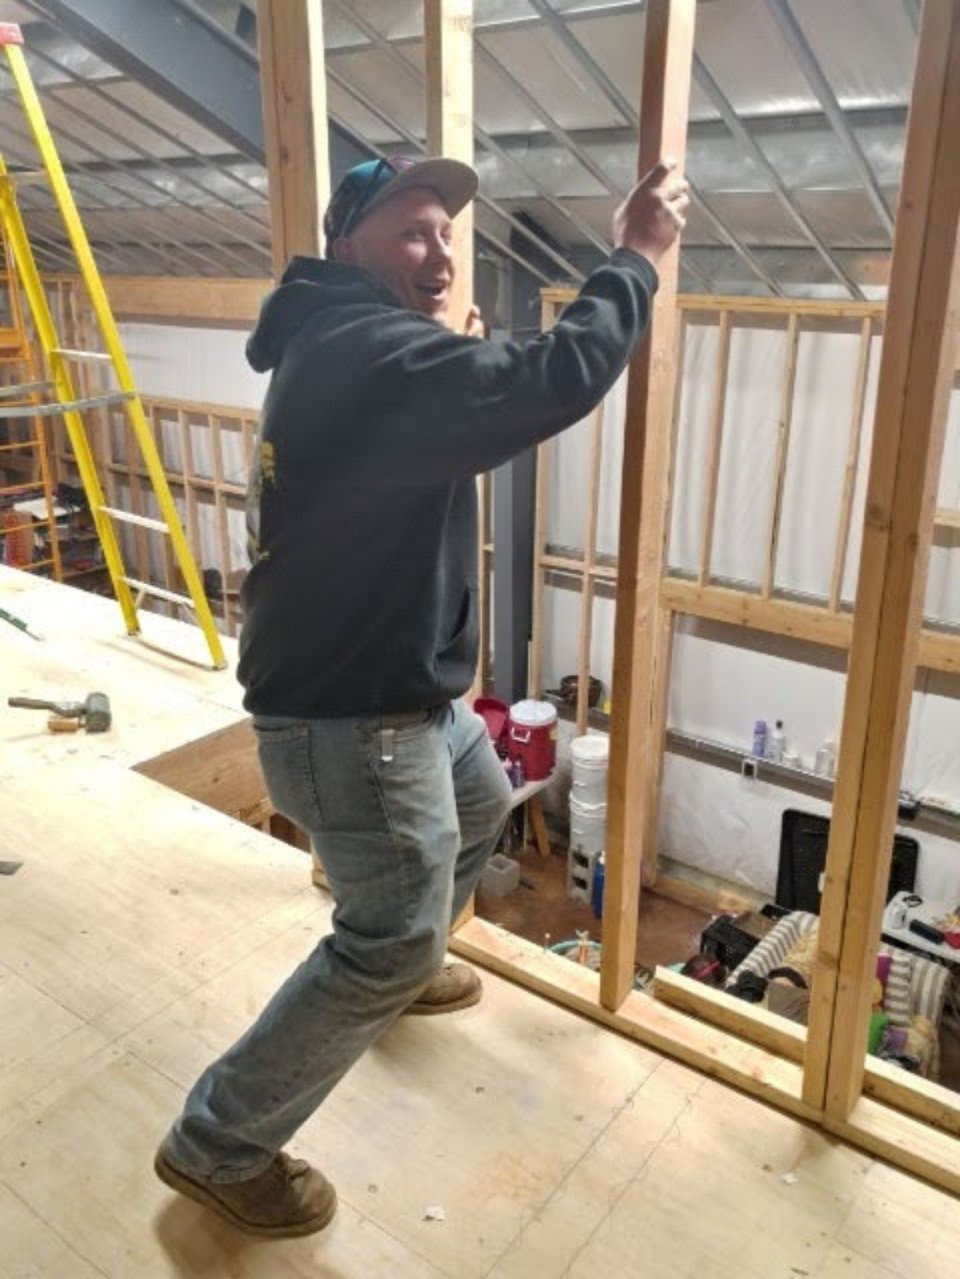
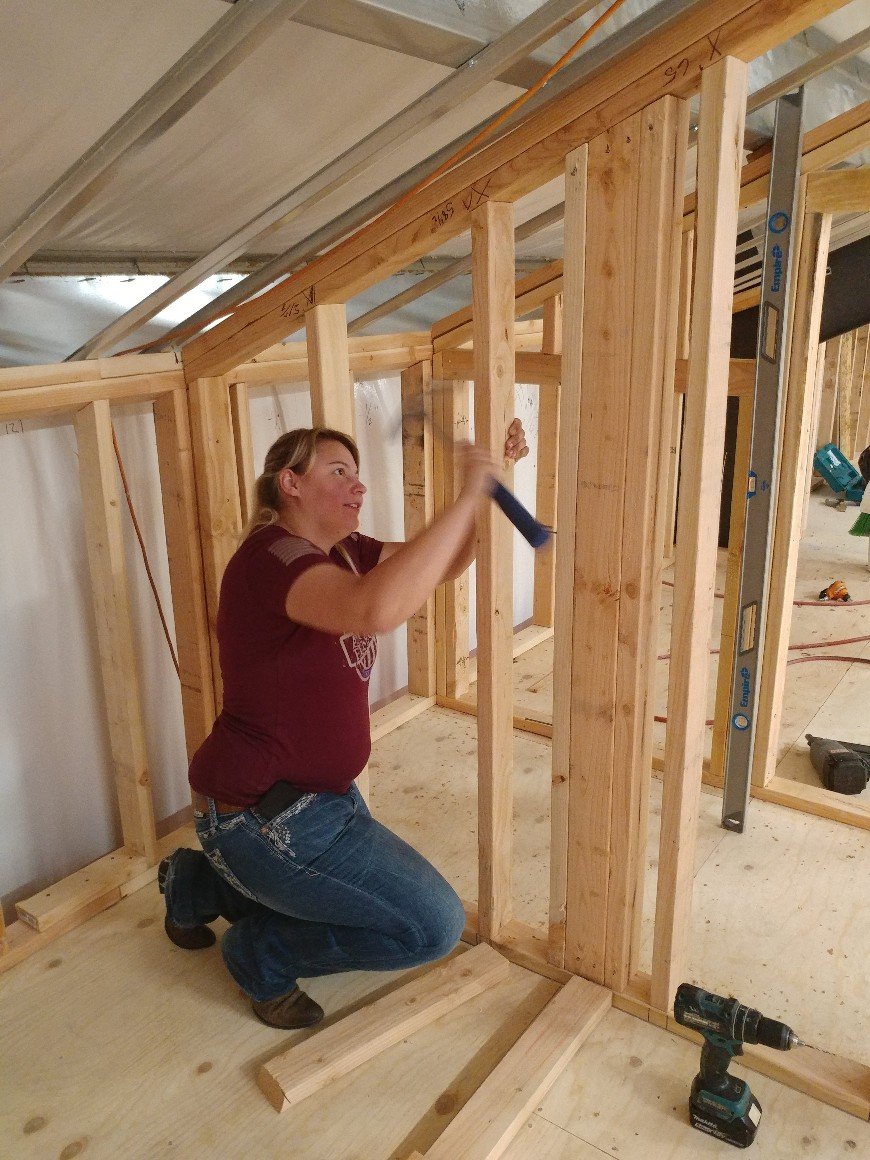
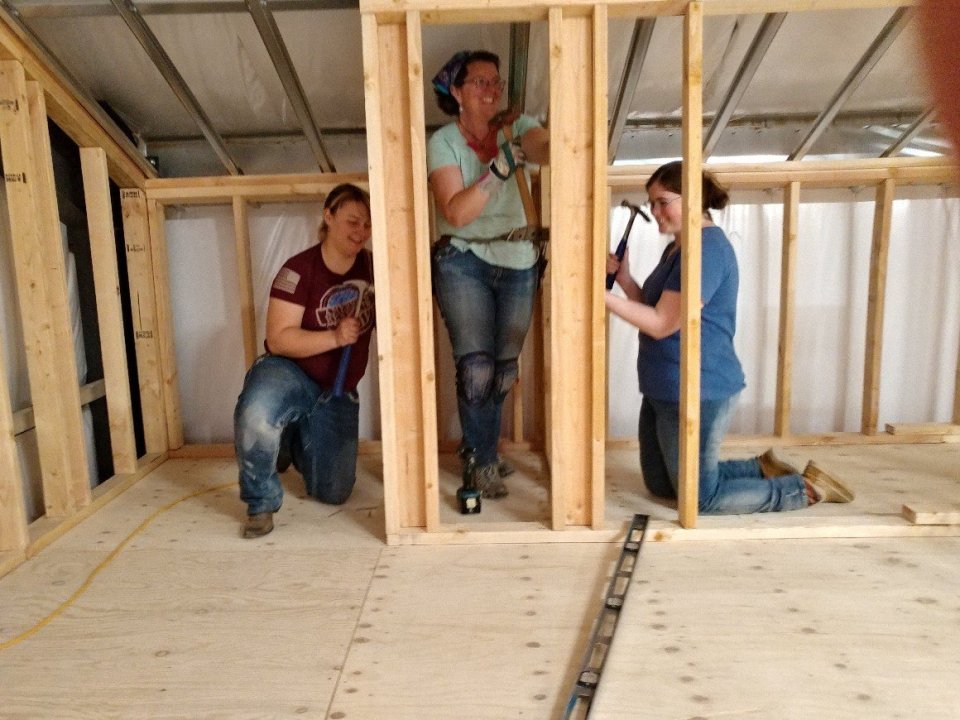
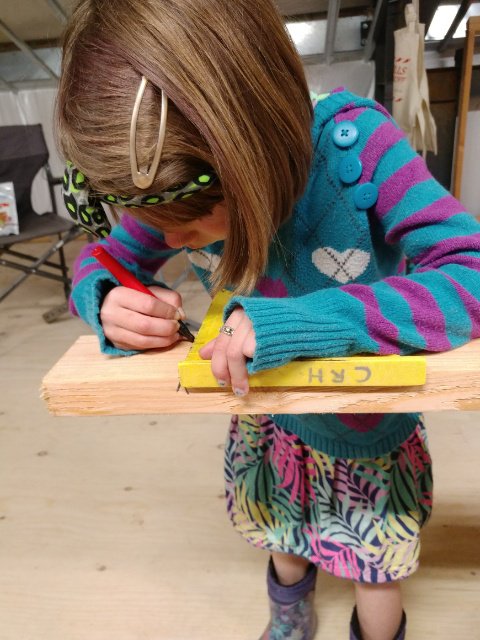
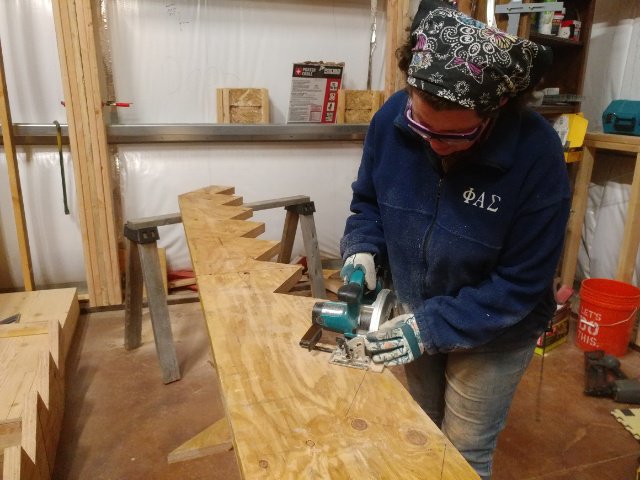
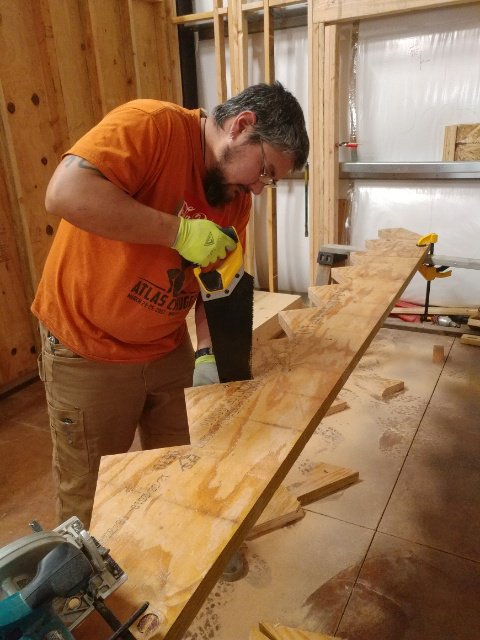
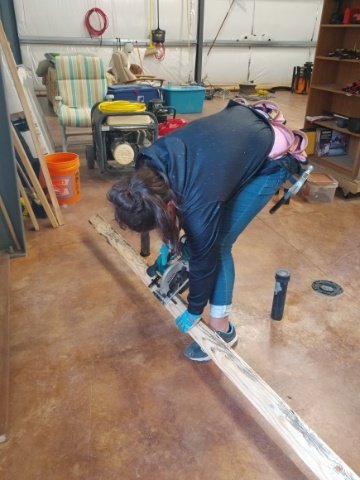
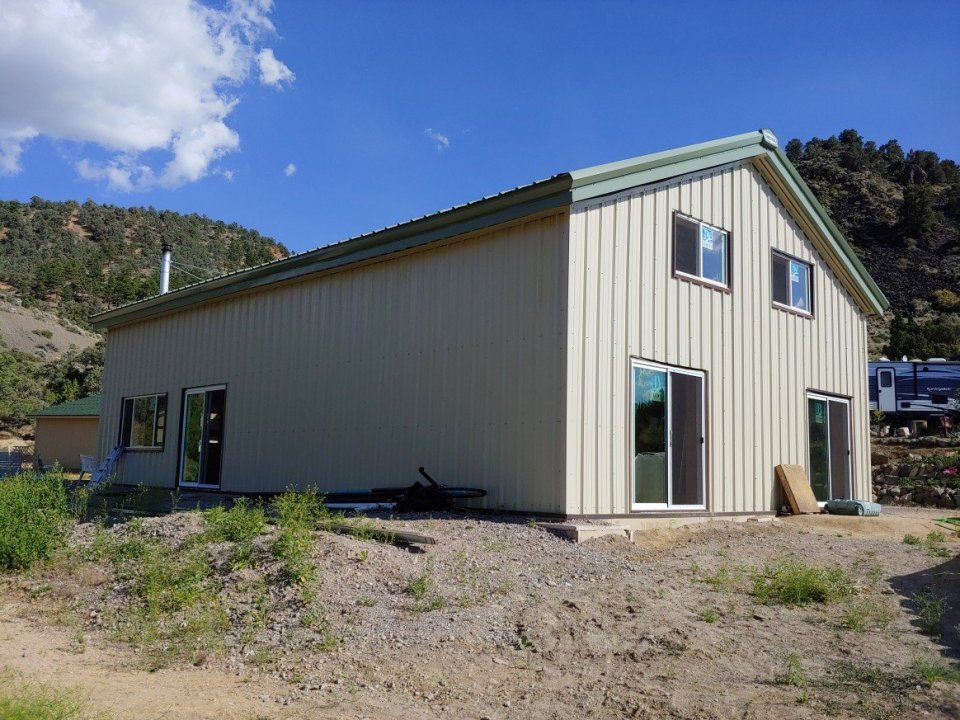
And that brings us pretty much up to date on the actual house!As I said in my last post, windows and doors pretty much ate up June. July was taken up with a family vacation. And August has been just little things here and there.Though we did figure out where all our outlets and light fixtures are gonna go!Princess Girl and I installed all the boxes.
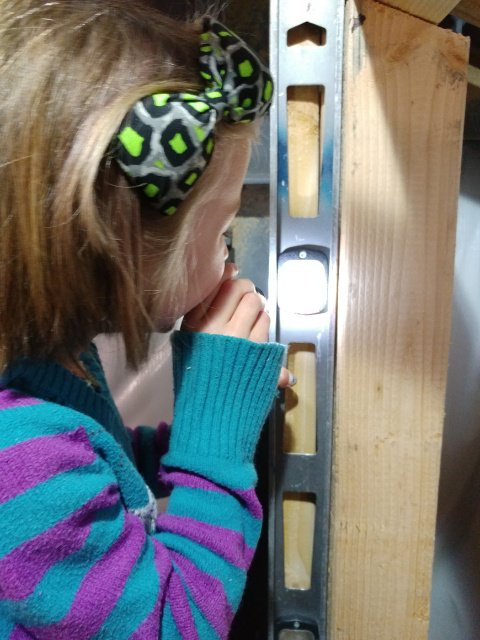
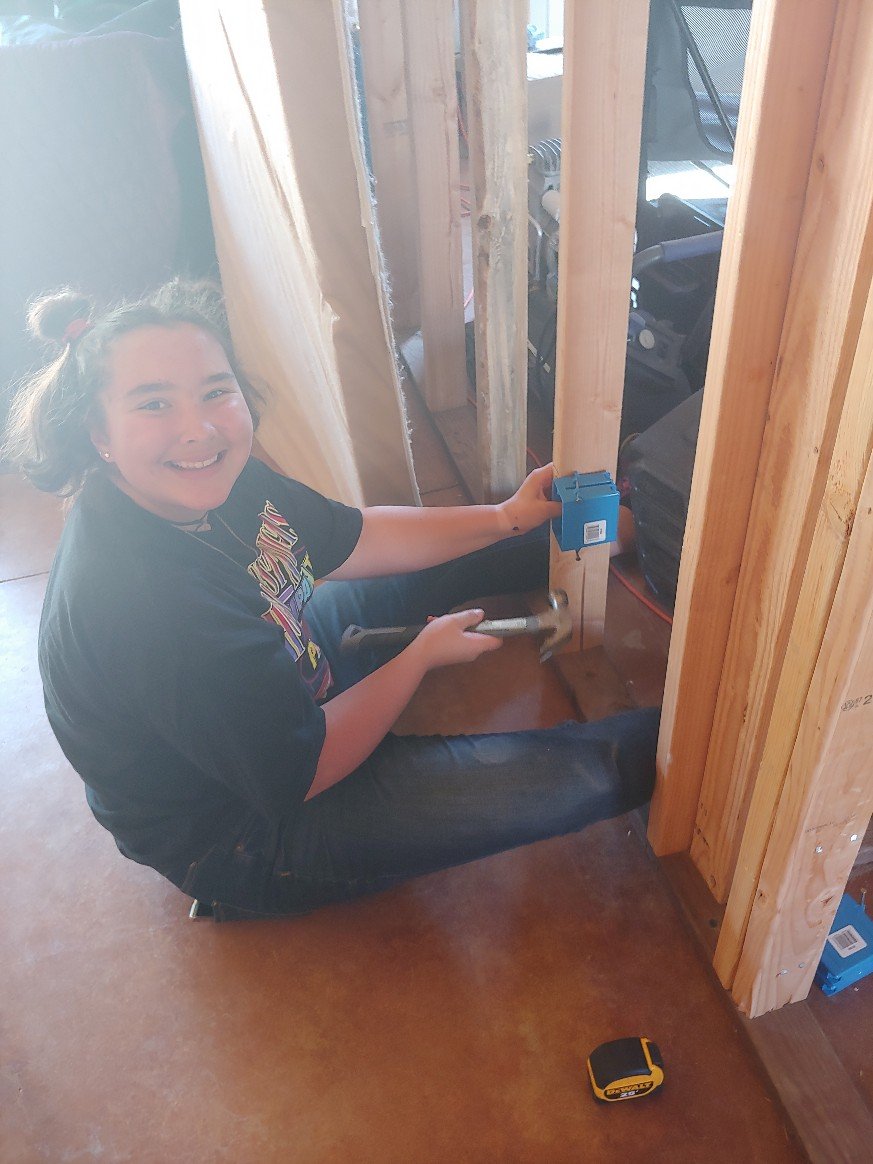
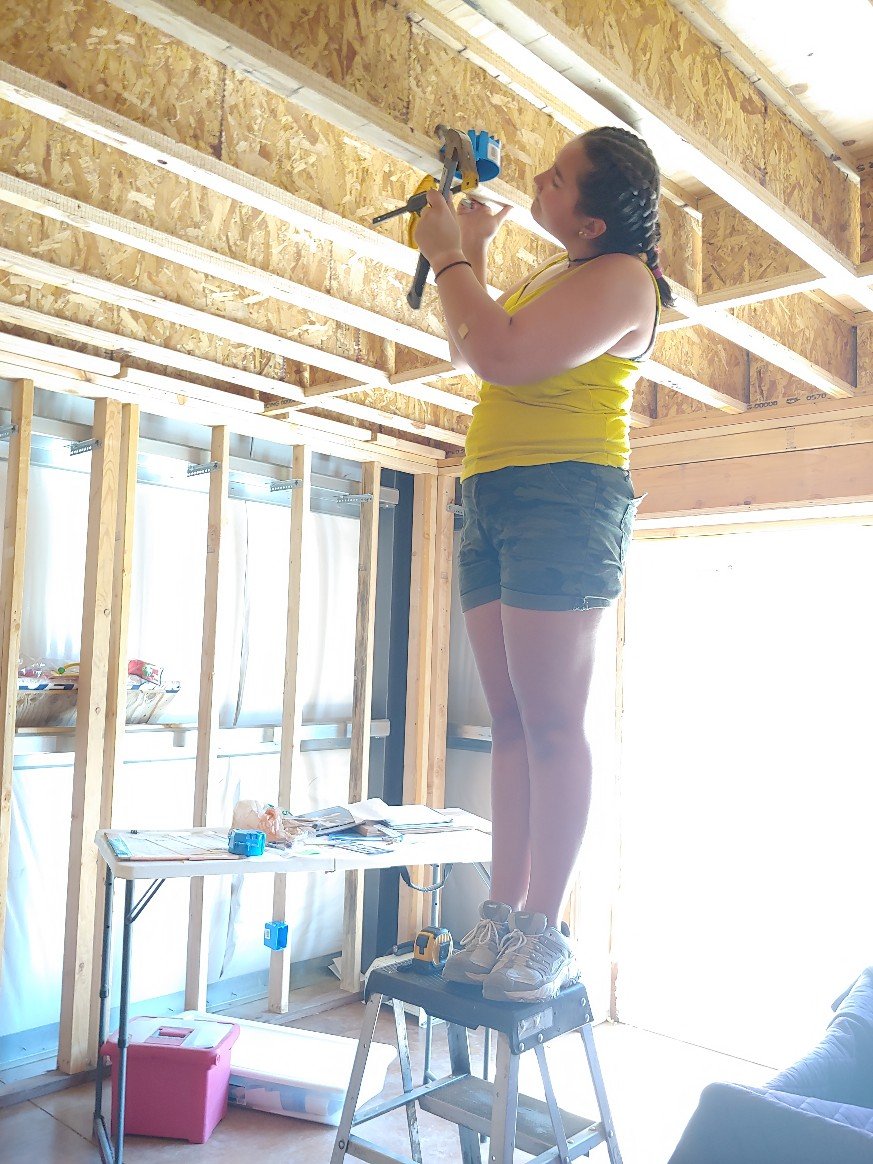
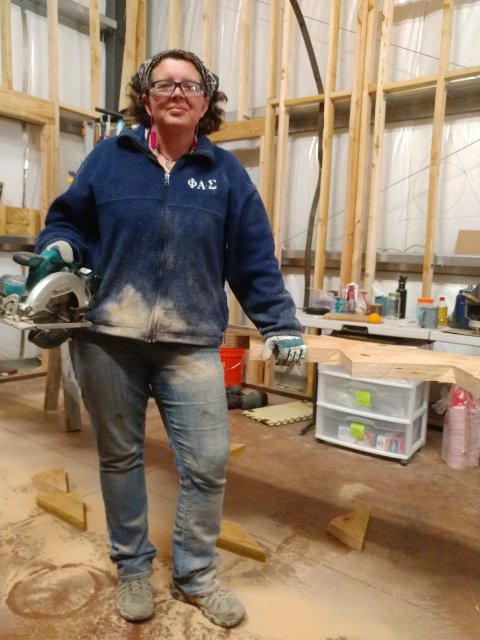
And as you can see from those last couple of pictures, it is definitely summer around here – workin’ in shorts and tank tops – when we have the energy to work at all!If you’ve made it all the way here to the end of this post, you are amazing! Thank you for reading!

House update: upstairs framing

I last left off just after we got out stairs completed at the end of March.

April was all about framing in the upstairs.

We were so excited to get the walls up so that it would not be as easy to fall off the edge.

When my brother came to pick up his daughter whom we had been babysitting, we roped him into helping raise this wall. 😊

The peak looks even further away now!

Our guardian angel given to us by a good friend. We decided to put her in the upper perlin to watch over the building. 😊

Once we had the edge wall up, Flower Girl and I built the smaller wall all by ourselves. You can read more about that here.

Learning to measure

OUR wall

Our friend who helped on the hat channel come over again to help with the framing.

Her very first time using a nail gun.

Me thinks she liked it!

How do you build a large access door into a utility closet when you have a steeply sloped roof?

The answer is, you don’t.

You build THREE doors!

Papa bear, Mama bear, and Baby bear

This way, all areas of the closet can be accessed, no matter what gets stuffed in there.

At some point, the compressor went kaput and we were forced to use hammers.

You can see how happy I was about that!

Even knowing that we didn’t have power tools, some sister-friends came over to help anyway!

And luckily, whatever was wrong with the compressor was fixed by the hubby, cause we still had a whole other half of the upstairs to do!

And one last small wall, the short pony wall for the central loft/open area of the upstairs.

And suddenly the upstairs framing was finished!

The next project we worked on was getting all the windows and doors in (you can see a sneak peak in that last picture with all that natural light.)

Oh, and you know those stairs we had completed the month before?

So. Very. Nice!

So that brings us up to May.

May was spent doing little odd and ends, finishing up smaller tasks and getting our framing inspection (which unbeknownst to us we didn’t have everything done we needed to get done, but he said the framing looked good – yay!)

The next post will be about the doors and windows. That was June’s task.

July was spent prepping for and being out of town for a large family vacation.

August has so far been a lot of working my summer job, researching and prepping for electrical, and doing small odds and ends. Oh, and prepping for the school year, which starts the day after Labor Day.

And it’s HOT, so our motivation to work is almost non-existent. All we want to do is sit around in the shade and stay as cool as we can.

But we gotta get things done, so we do little bits here and there. Slow forward progress is still progress.

Hopefully I’ll get the post about the doors and windows loaded soon. Then I’ll have a garden update/overview to write up. And then finally be caught up. 😊

Helping hands

When we first started this journey of building our house (actually started construction), our girls were 11 and 4 years old. We wanted them to be involved as much as they could be in the actual building process.

Princess Girl (being older) quickly showed that she could be a good helper with many of the tasks that abound while building. She was an extra set of hands for many projects. And now that she has 2 years of experience under her belt, she can do most of the jobs her daddy and I can.

Princess Girl using the chop saw to cut metal.

But not only that, she often gets the homemaking jobs of cleaning the trailer, washing dishes, and doing laundry that keep our family running while Mom (ie me) is busy schooling Flower Girl (who is now in Kindergarten), and building our house. She truly is a huge help and a blessing.

But what do you do with a 4 or 5 or 6, or even a 7 or 8 year old?

Well, first of all, have them around. Don’t ship them off to the babysitters. Let them play nearby. Let them see you working and let them be familiar with the goings-on at a construction site – providing they can do so in a safe manner, of course.

Many an hour spent playing in piles of dirt while we worked nearby

One of her favorite things is to climb around inside the walls.

Most owner-builders work at a slower pace with fewer people than a professional construction crew, making it safer for kiddos to be around. Even then though, safety rules need to be in place and strictly enforced. Even the smallest infraction must be caught and dealt with. And of course, there are times when it is just best if the kids are not around. But we have found those instances to be few and far between.

Playing with “blocks”

Watching us finish the stairs

But how do you get them actually involved with the family project of building your own home?

The answer in a word: patience

It takes a lot of patience.

Little people are slower. They make lots of mistakes. They don’t understand. But it is so worth it to see the joy on their faces when they “helped”.

It mainly means slowing down enough to find jobs that they can do.

Flower Girl – barely 5 years old

Age 4

And it means taking the time to help them along the way.

Recently, Flower Girl and I took on the task of building a wall in the house.

Just her and I.

But what was a six year old really capable of?

Well, she moved the lumber around.

She measured and marked the studs.

She swept up the sawdust after I did the cutting (and if we’d had the chop saw set up, she would have helped with the cutting, too.)

She clamped things together when needed (and sometimes when not needed 🙄)

She put screws in and backed them out as needed.

And she helped tell me when boards were level/plumb.

Overall, how did it go?

Did she slow me down?

Of course she did.

Was it harder building that wall with her “help”?

You betcha.

Was it worth taking the time to do it with her?

ABSOLUTELY!

OUR wall

We believe that by involving our children in all aspects of our lives on the homestead, and especially the building of our house, we are giving them something important. They are learning many important skills that they just wouldn’t anywhere else. And it’s important to us that when they look back on this time of their lives that they can say “we built a house”, not “my parents built a house”.

It takes a lot of patience and effort to get the little ones involvef. But it is so worth it!

We are building this house!

House Update: we have stairs!!

We got a huge step forward on the house accomplished last month (pun totally intended! 😁)

We got our stairs built!

But, if you’ll remember, the last time I updated about the house, we were working on the hat channel on the ceiling.

We got most of the hat channel on the south side of the house (the side above the second floor), and then realized we needed to build the other end wall before we could finish that.

But, we also decided that we wanted to get the stairs in to make working on the second story that much easier for us since the ladder was getting old real quick!

But in order to get the stairs in, we needed to put the hat channel on the ceiling of the north side of the house since once the stairs were in, it would make that task infinitely more difficult since we wouldn’t be able to use the scaffold effectively in that area.

Dominoes.

So, we worked on the ceiling above the dining room area.

And, as usually happens, once we start a project, we like to see it through. So even though we could have stopped after the first ⅓ of the roof, we decided to keep on going.

The upper half of the hat channel all the way across the north side of the ceiling.

Princess Girl learned how to use the chop saw to cut the hat channel to length.

Sometimes you just have to get in there!

Yep, working in the walls. 😁

A good friend came to help out and we put her to work helping me with the hat channel.

In between working on the hat channel, we started the prep work for the stairs. Since the stringers needed to be made out of expensive LVL engineered lumber, we decided to buy a cheaper piece of wood to “practice” our stair-making technique.

Neither one of us have any prior stair-making experience, so we did quite a bit of research prior to starting.

We bought a special layout tool off of Amazon (not an affiliate link, nor are we receiving any kind of benefit from sharing – we just happened to use it and like it.) The website affiliated with the layout tool also had a stair calculator so you could plug in your measurements and it gave you a printout to follow.

It was super easy to use (though we did have to watch the video tutorial a couple times to make sure we were beginning and ending correctly). It gave us the confidence to know that our measurements were accurate and precise.

So we cut out one stair stringer out of the cheaper board and are ever so glad that we did. We discovered that we needed to change a few things around and change a measurement or two.

That stringer was not complete waste though. We can cut it shorter and use in various other locations around the homestead. So for now, it’s living in the garage.

So now we were confident about how to build the the stringers, but we needed to put in a post.

Way back when we were laying out the foundation, I made a mistake on the placement of a shearwall. It is 8 inches out of place from what the plans call for. Not too much of a big deal. It just means the bedroom is wider and the dining room is narrower. But that also means the staircase is narrower. Too narrow actually. Building codes state that staircases have to be a minimum of 36inches wide. Because of the mistake in the placement of the wall, our available space was only 35″. Oops.

Had we realized our mistake when laying out all the other walls, we would have just made the pantry wall that the stairs tie into a bit longer. Problem solved.

But, of course, we didn’t realize the problem until ALL the downstairs walls were built and we were working on the flooring for the second floor.

So after quite a bit of brainstorming, we came up with a solution that we actually really like. We decided to add a post to extend the wall where the stairs attach and we are going to leave it exposed. It’s more work, time, and money, but in the end, we are really going to love the exposed posts in our kitchen. And I say posts – plural – because the way we have to tie in the pony wall on the upper floor (because of our mistake) necessitates a post on each end.

So, anyway, we purchased a 16ft long 6×6 and then Hubs and Princess Girl got busy making it purty.

After sanding, Hubs put boiled linseed oil on it.

We just love the way that the BLO makes the grain “pop” and gives the wood a warm glow.

Then we attached it to the wall with ½” lag bolts.

Once we had a full width wall to attach the stairs to, we purchased our LVL boards and got to work cutting the three stringers.

I was the one to use the circular saw because I have a steadier hand than the hubs. Probably from all the sewing I’ve done in my life. 😊

And Hubs is slow and meticulous when it comes to hand work (he’s much more patient than I), so he did a great job getting the little corner bits that the circular saw couldn’t get.

It’s a messy job, but someone has to do it.

And just like that, the stringers were made and ready to be installed.

But first, we had to build the landing.

And put on the Simpson stair hanger ties.

You can see in this picture how much the wall is extended with the post. The very left hand stair hanger bracket is actually on the post itself.

And then came the fun part. Installing the stair stringers. Princess Girl and I worked together on that project while Hubs was at work.

Princess Girl learning to use the palm nailer.

Where has a palm nailer been all my life? It makes nailing in tight spaces so much easier!

Those stairs aren’t going anywhere!

Ah, the fun of climbing the “stairs” for the first time!

When Hubby got home, he was very excited to see our progress. He and Princess Girl got to work ripping down leftover ¾” plywood to use as the riser boards…

And I cut down all the stair treads to the appropriate length.

Then the most exciting part…putting on the risers and treads!

And just like that, we have stairs!

This was one of those projects in this house that, like getting the interior walls up, really changed the form and function, the whole look and feel, of the house. We were giddy with excitement for days afterward. And even now, I get a deep sense of satisfaction whenever I run up and down those steps.

I am rather proud of us.

Bluebirds of Happiness

We have bluebirds!

About a year ago, the girls and I built bluebird houses following plans found online. (This is a really good website all about bluebirds and how to make houses for them with lots of different types of plans for houses.)

We modified the plans a bit to use materials we had on hand (mainly just swapping out black ABS pipe for the thinner PVC pipe called for on the plans), but basically we used the plans for the Gilbertson PVC house.

But we made them too late in the season and nothing ever nested in them. But this year they are fighting over them!

Yep, we have at least two “couples” who are arguing over who gets to build their nest in one of the houses. The cool thing is that one of the couples are Western Bluebirds and the other couple are Mountain Bluebirds.

Blue arrows are the Western and white arrows are the Mountain

Looks like the Westerns are winning as they are the ones I see perched on the roof all the time.

The bad thing is that this little coop that it is attached to is actually occupied this year with chicks. That means we go out there several times a day to check on and interact with the chicks. I hope it’s not too much human activity for the bluebirds.

Luckily, the door to access the chicks in on the opposite side from the bluebird house.

Here’s some pictures of us building the boxes last year.

Marked the inside rim of the pipe onto the board to make the bottom plug

Fits great

Nearly perfect. Notice the hole in the middle, along with not fitting 100% perfectly around the edges will allow for drainage if water somehow gets inside.

Drilling a hole to be able to screw in the bottom plug without cracking the plastic pipe.

Scraping the rough edges

Also cut holes near the top as vent holes.

Smoothing out the edges even more.

Checking for proper depth and hole size.

More smoothing

Placing the hanging block.

Attaching everything together. It is all upside down at the moment.

Painting it so it’s not so dark, thus not so hot in the sun.

Taa daa! Installed on our little brooder coop.

And the other one hung on the outhouse. Not sure if anyone is scoping that one out or not.

It was a fun little project, and we are excited that a bluebird family is moving in this year. We plan to have lots more birdhouses around the property as homes for our feathery friends!

A little bit of winter fun

Every winter, we look forward to the right conditions to use our old fashioned runner sled.

Check out our YouTube channel to see a short video of Flower Girl and I going for a ride.

While you’re there, be sure to subscribe to our channel. We don’t post videos very often, so you don’t want to miss a single one. 😄

Goals for the New Year

We’re not so different than most people this time of year. We eagerly make our goals, we start out with determination, we work hard to accomplish them.

Besides the obvious goal of completeing the house (which barring any more major set backs looks totally doable by summer time), we have quite a few other goals for the homestead and in our personal lives.

One of our goals for the homestead is to get rid of this junk wood.

It’s right at the entrance to our property and looks uuuuugly! I want it gone!

One of the personal goals I have is to work on getting my legs back in shape. I want to start backpacking again and right now, my knees could not handle that. Especially with the injury I sustained this summer.

Remember that?

Laid up with a bum knee in June 2018

Yeah, not fun.

So, I have mapped out a one mile route from our trailer, around the house, up the upper driveway and around Castle Rock and back.

The girls and I will be walking this route every day for a while, then we’ll find a way to extend it and build up our miles as our muscles build up. We will also be taking longer hikes once a week, and this summer I want to go on a couple of backpacking trips.

And while this goal is not specifically about homesteading, I love, love, love that I can walk an entire mile on my own property (well, mostly – part of the driveway is technically on our right-of-way on the neighbor’s property). Also, staying in shape is going to help out with gardening and animal care, etc as we get back into that. Especially on this hilly property, and especially as we get older (I turned 40 last month, so I’m feeling my age a bit). It’s the only way to be even somewhat sustainable here. We gotta stay in shape!

Also, I share this with you all to help hold myself accountable. As all the success gurus tell us, writing a goal down and sharing it with others makes you more likely to follow through.

So, there we are. Building a house. Daily walks. De-junkifying the property. Oh, and I want to have a small garden this year. And chicks! I need some cute little baby chicks in my life once again. And through it all, teaching Flower Girl to read, taking some fun school outings, working my summer job, a big family vacation in July that’s been in the works for a few years now, and of course, deepening my relationship with the Lord.

I’m excited just thinking about it all!

What are some of your goals for 2019?

House update: more interior framing

We have more walls up!

We have had many of our friends ask when they could come up to help with the house. So, we set a date for a Framing Party for Saturday, December 29th and let all of our friends know about it.

But before everyone showed up, we needed to get the most complicated wall built since it was heavy on the calculations and decision making – something Hubs and I wouldn’t necessarily have time to do with 10-15 people looking for direction.

So on the 27th, Ahma and Pops (my mom and stepdad) came up to help with that wall.

It was all angles and complicated calculations and we had to make decisions on where (exactly) the door and window needed to go.

But we got it built and raised in about 6 hours.

On the 28th we prepped for the work day.

Framing Party:

December 29, 2018

Here you’ll see a couple familiar faces, but mainly these are friends from church and a few others.

These ladies provided us with lunch. It was amazing that we didn’t even have to think about it. They just showed up with the food and we ate!

When all was said and done, we were able to build and raise 8 walls in one day. Eight! On the 27th, we got one. On the 29th we got eight!

We definitely couldn’t have done that without all the help from our wonderful friends.

And then we ran out of the right length studs. Guess my calculations were off.

So, an after-church trip to the lumber store was in order the next day.

Today is Monday the 31st. We have yet another friend coming today to help out. We should be able to finish all the bottom level framing. Then it’s time to put on the floor joists and floor sheeting and then the upstairs walls. But that will take a bit of time. Nothing like 8 big walls in one day!

Probably without even thinking too hard, you can guess what our goal for the New Year is. 😄

Finish this house!

Happy New Year!

House update: Interior Framing!

This is a post I’ve wanted to write for a very long time. The start of interior framing means that our house is beginning to look like a house.

We haven’t gotten very far yet, but it’s started!

So, as a reminder, the frame and exterior shell of our house is basically a metal warehouse/shop type building.

On the inside

In order to support our second floor/loft, and to have something to attach sheetrock to on the inside, we have to build a 2×4 wall inside the metal frame. It gets attached to the metal frame with brackets and everything is nice and solid and tied together at that point.

Lay-out:

So, on October 24th, our contractor friend – who helped us get our foundation laid – came back to help us lay out our interior framing. (That means measuring where the walls are going to go and marking them on the floors.)

As I write that, I realize it’s been over a month and a half since we started framing, and we don’t have a lot to show for it. But there have been a lot of small things to try to figure out as we go along, birthdays and holidays and sick days and mental health days.

*Sigh*

I guess that’s how it goes when you are an owner-builder. If you’re not doing it, it doesn’t get done. Oh well, we have quite a bit of forward momentum now. Let hope we can keep it up.

Prepping:

Once we had the walls marked out on the floor and could get accurate measurements, we started cutting sill plates and top plates and studs.

First Wall!:

After we had done more prep work, we started actually forming the walls. We chose the front wall first so we could get in a door asap to close off the gaping hole in our building.

We framed the walls on the floor first.

Nearly there. Just a bit more work needed to frame in the window above the front door.

Time to raise it! Mr Contactor had a winch to use, so just the two of us were able to get this entire wall into place.

In fact, I made a little video of the process. (This is my first time trying to embed a video into a blog post, so bear with me if it doesn’t work.)

Ta-da!

The shape looks funny because the right hand side will have a second story on it…eventually.

Front door:
After we secured that wall to the metal frame, it was time to install the front door!

In the picture below, I marked where the eventual doors and windows will be cut and placed. It’s gonna be so nice…eventually!

Not nearly all the windows we’re gonna need, but it’s a start!

Then we put the front door into place to test-fit it.

Then moved it back out of the way and applied a thick seal of silicone under the threshold.

Then placed it again, shimmed it, tinkered with the fit for a while, screwed it into place, and now have a fully functioning front door!

Ta-da!

We eventually stuffed insulation around it to stop the drafts.

But it is a beautiful sight to behold.

More walls:

If I were making a video, the next section would be a montage of us putting up more walls. My brother and sis-in-law and her family came on a couple different evenings to help build then raise a couple more walls. (Though the first wall of this montage was was completely built and raised by Hubs, Princess Girl, and myself.)

Made a mistake in the placement of this anchor bolt and had to cut it off. We will replace it in the proper location later.

Even my brother’s dog, Tsunami, came to help. 😁

My studly hubby

Just cleaning up some sawdust so it’s not slippery under foot when we go to raise this wall.

We were not sure how heavy this wall would be to lift, so we wanted to add a bit of safety. We created a pulley type system where the wall was attached at the top by a rope, through an eye bolt in the ceiling, to our other (anchored) wall with a friction device used in climbing. This way, if things went terribly wrong, at least the wall wouldn’t come crashing down on our heads.

Our safety mechanism.

Princess Girl was in charge of taking up the slack and locking the rope as we raised the wall. She was “belaying” the wall just like we do with a climber at the ropes course!

With 5 of us lifting, we “accidentally” lifted the wall into place.

No, seriously, we didn’t really mean to do it. We we’re waiting on Bro and SIL to get there so we’d have a couple more hands and the five of us (Hubs, SIL’s mom and 2 brothers, and I) decided to “just see how heavy it was going to be.” And, fwoop, there it went.

Yes, that’s the actual sound it made.

“Fwoop.”

At least in my mind. 😁

I didn’t have the cameras ready or anything. So I took this “staged” shot of the 4 of then holding the wall in place after it was already standing.

Once we got the wall secured in a few places…

we called it a night and had dinner and just sat around chatting for the next 2 hours. 😁

Then we spent another evening or two putting in all the braces and fixing some areas we had messed up on (more on that later).

One thing we did do is buy a scaffold. It has already come in SO handy, and will continue to for quite some time to come.

And that’s where we are at right now.

Winter hit here in Northern Nevada and the temperatures dropped substantially. Though there is some insulation on the building, it is not a lot, and without a heat source, insulation doesn’t help a whole lot anyway. So the temps inside the house were getting down into the 30’s and not warming up. We had a snow storm come through and then we stayed cloudy for 10 whole days! That is almost unheard of here in the high desert. When the sun doesn’t come out, things don’t warm up. On top of that, Flower Girl got sick, and I could feel my body fighting a cold, so we decided that until something changes, we’re not going to stress over working in the house.

Besides, who wants to be building when there’s cookies to be made?

But, things are looking up. The sun has come back out (yay!) and, a huge piece of news, our wood stove is going to be installed next week! Yay! Yay! Yay! We will soon have a source of heat in the house, and will have no more excuses not to get rocking and rolling once more.

(Except…cookie baking, fudge making, present wrapping, feast eating…!)

We are so excited to get that stove in and have real heat in the house so we can keep on working (maybe after Christmas?). It’s going to be so. Very. Nice! What a great Christmas present!