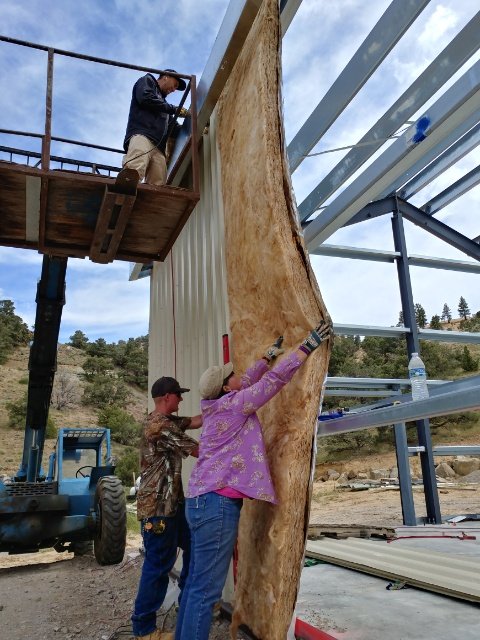
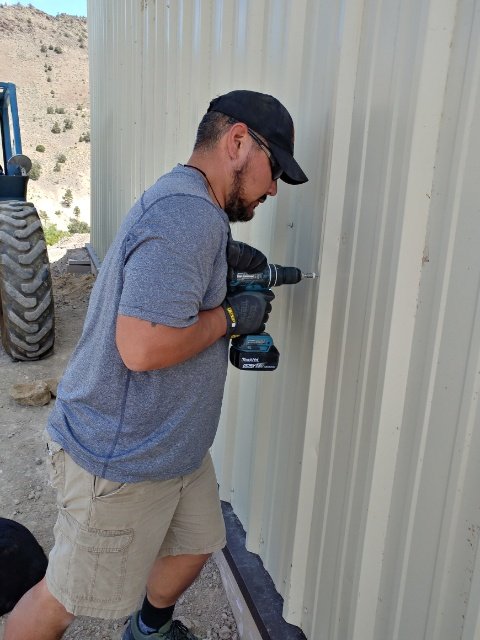
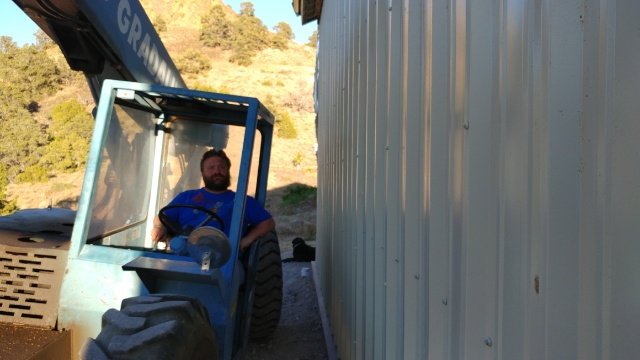
So, last I wrote about the house, we were still waiting on contractors to come finish the siding and roof. Our house sat with only 1½ walls for 4 months till the new contractors finally fit us into their schedule. They finally started and I jumped in to help on a particularly windy day. In the process of helping, I learned how to do it.
So when some unavoidable delays happened again, we decided to take matters into our own hands.
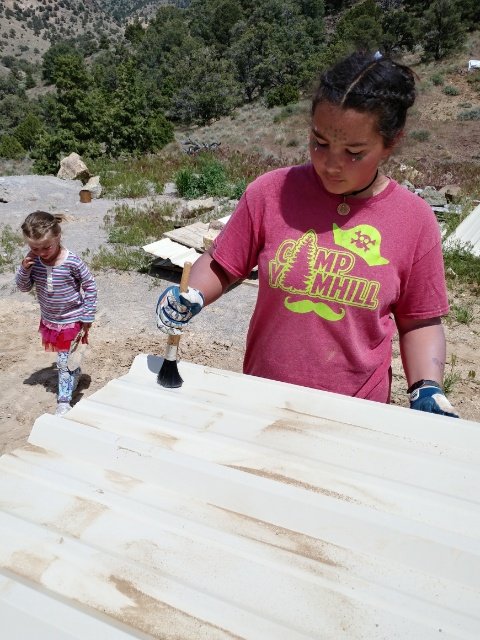
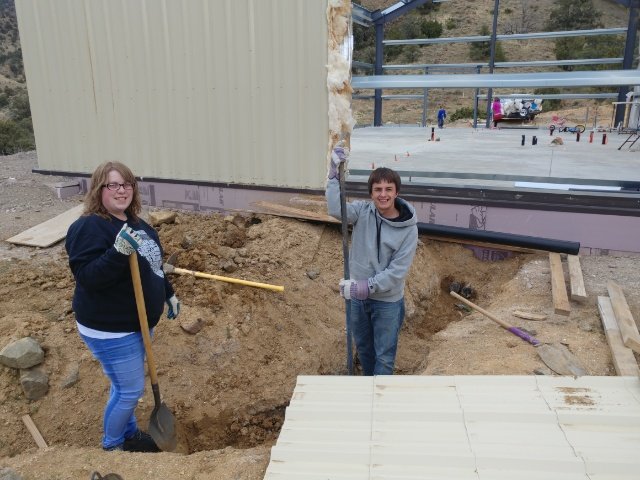
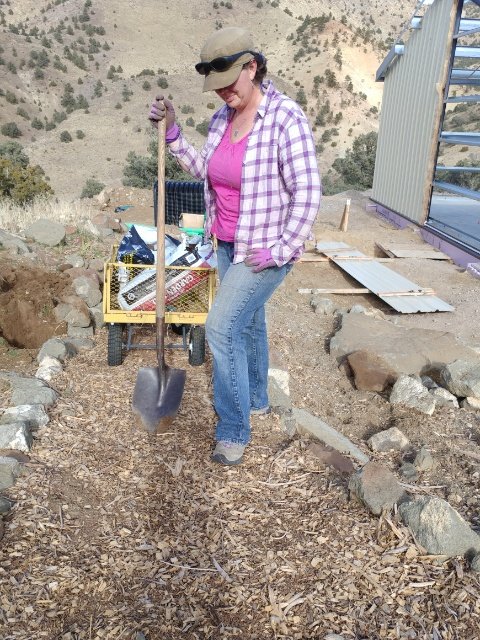
Brushing off the dirt from the panels
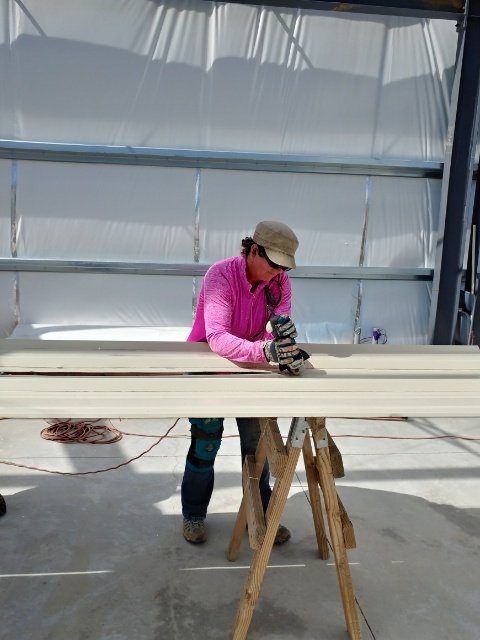
And there were were, a family of rock stars who put the preliminary insulation, and siding up on 1½ of our walls, all by ourselves.
But then…
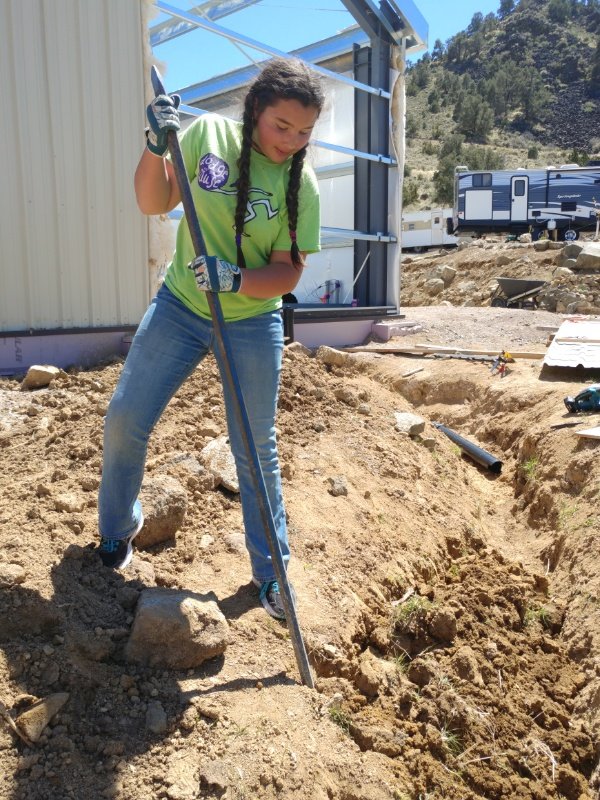
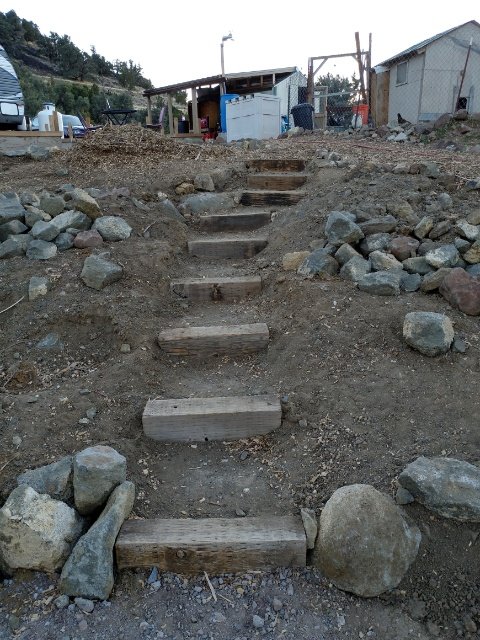
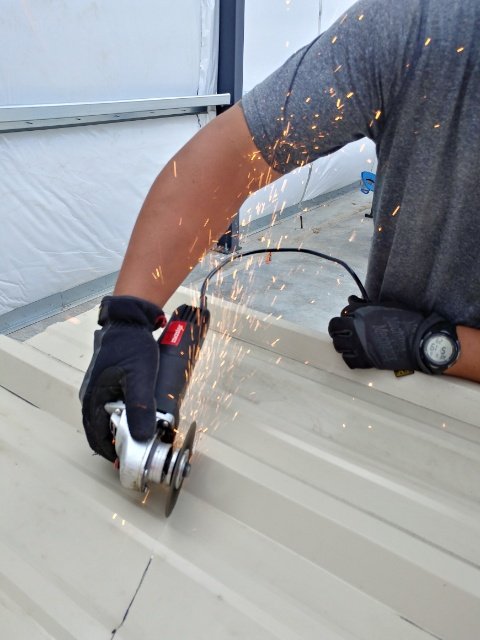
Before the contractors could come back and start on the roof, there was some trim work that needed to be done. And we REALLY wanted that roof. So, we continued working sun up to sun down in a push to get ready for the contractors.
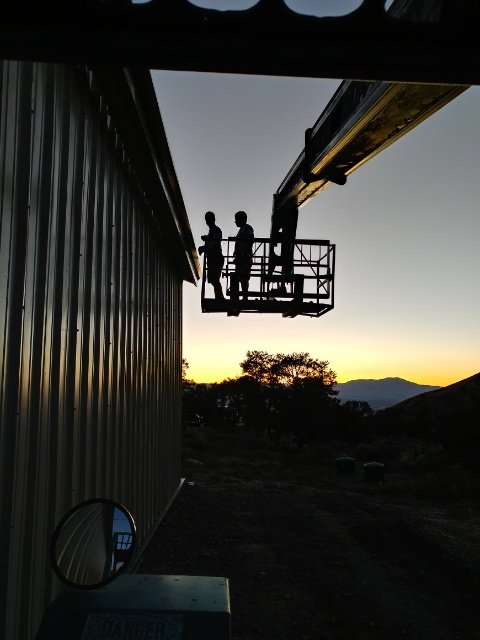
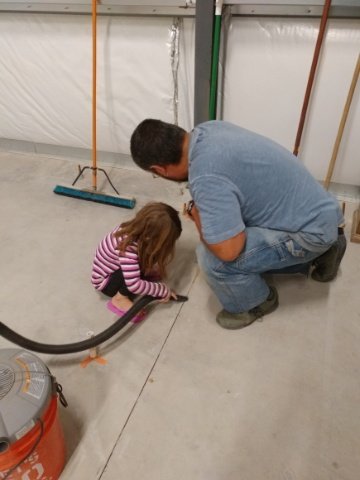
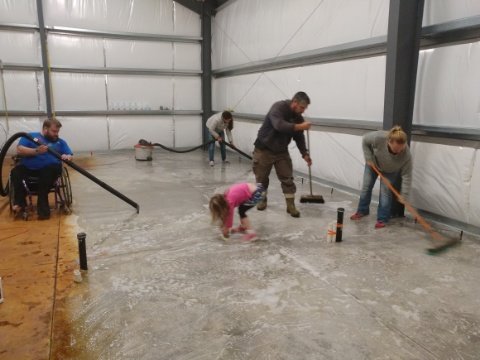
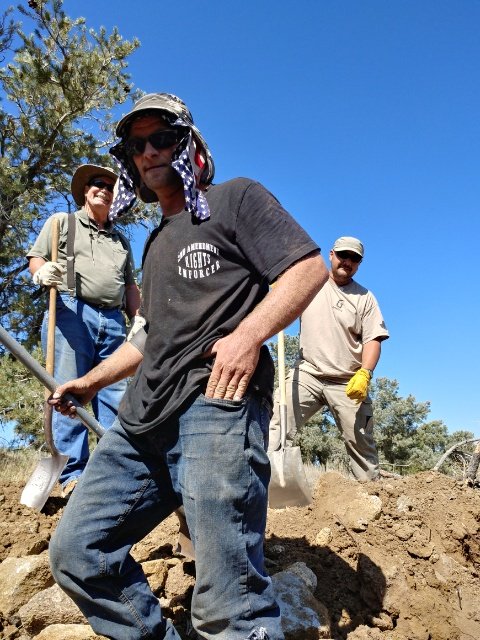
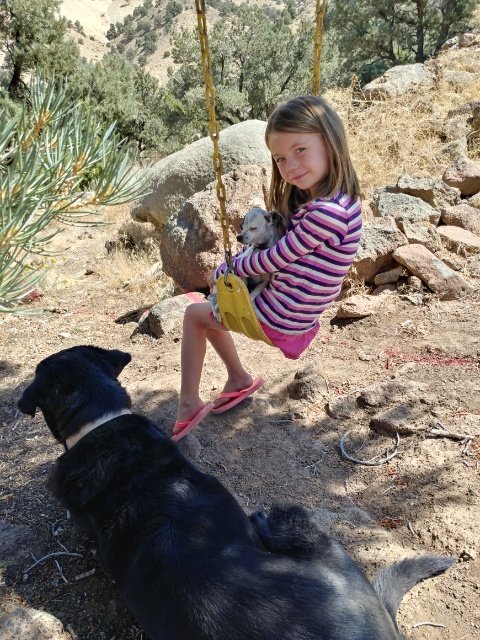
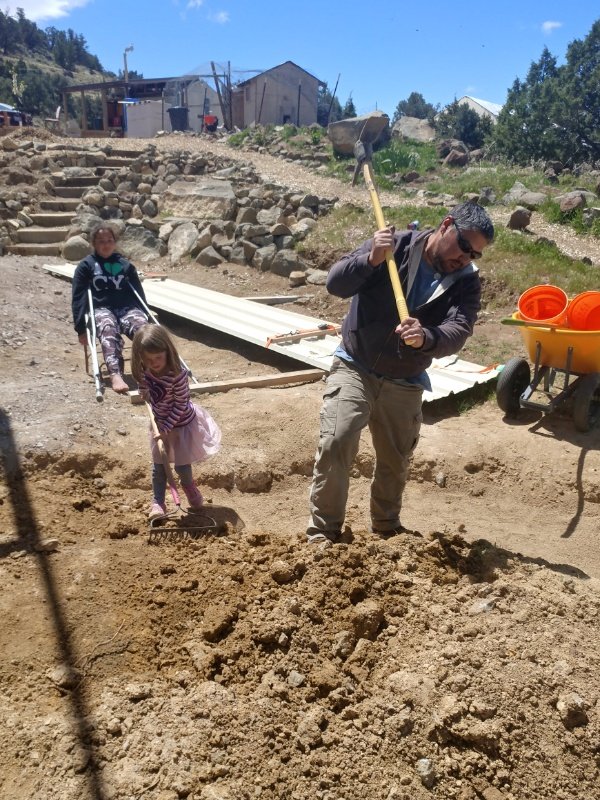
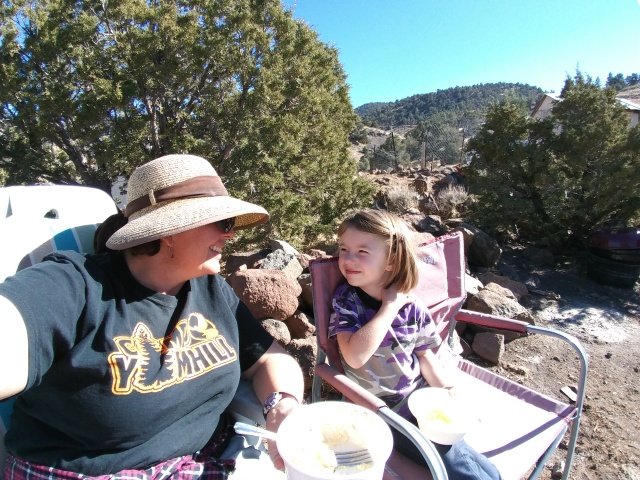
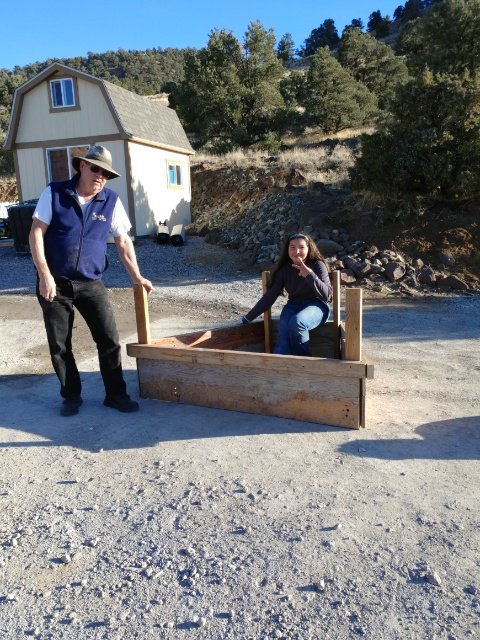
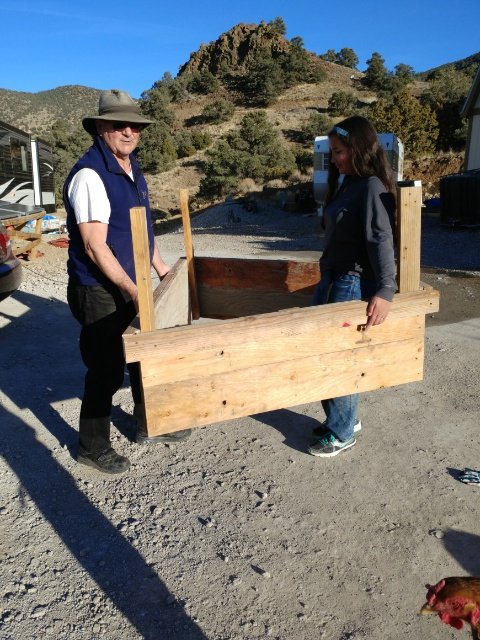
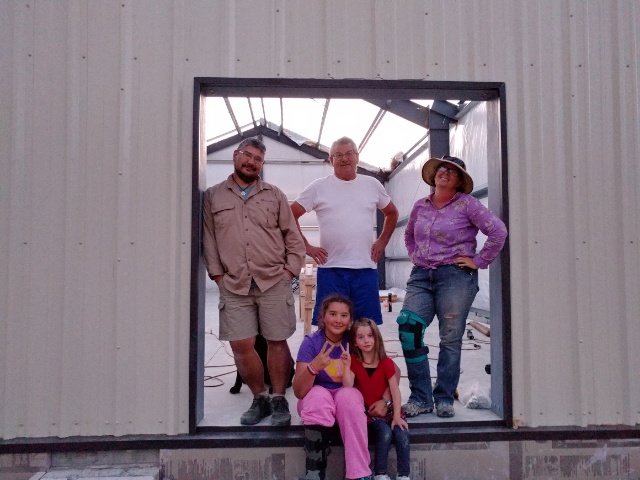
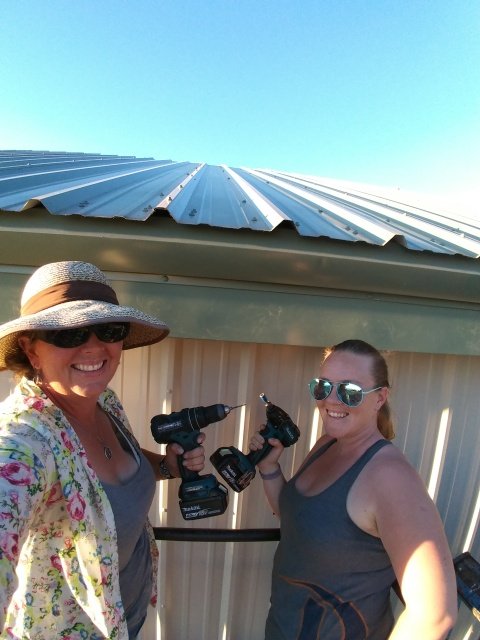
With the help of some good friends
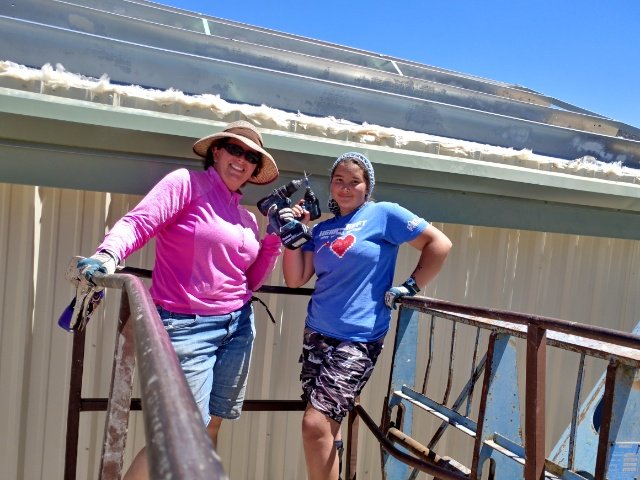
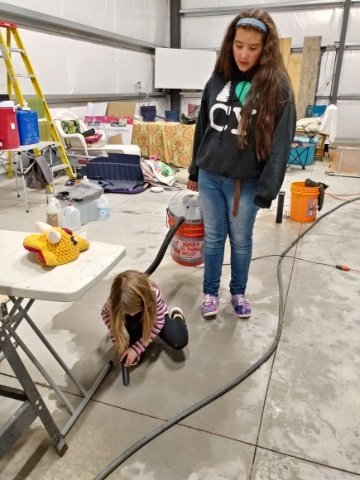
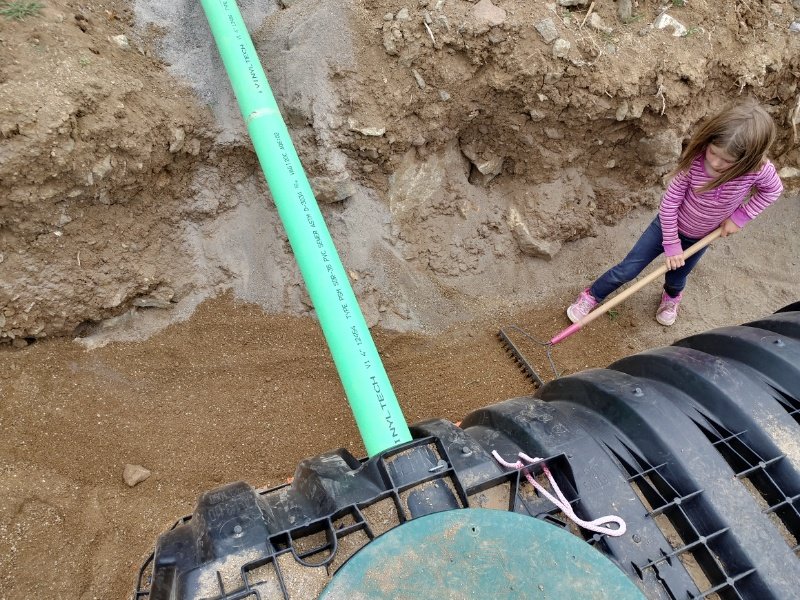
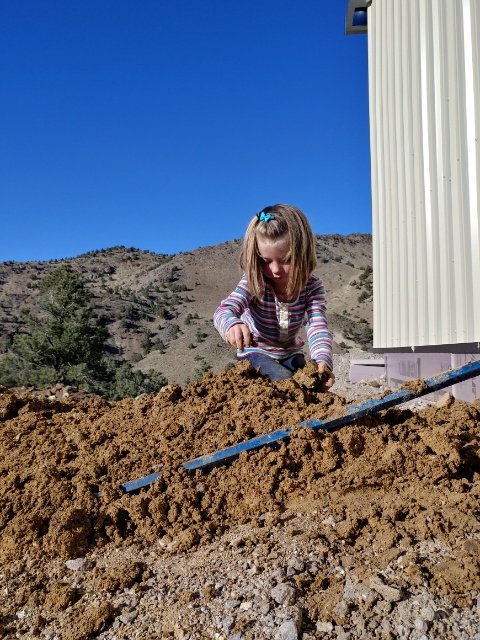
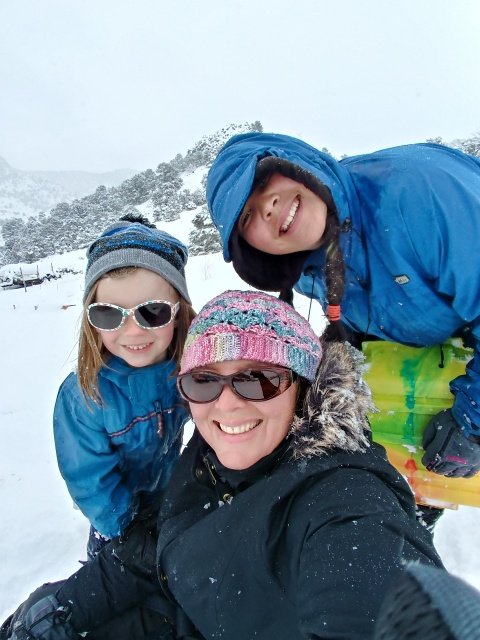
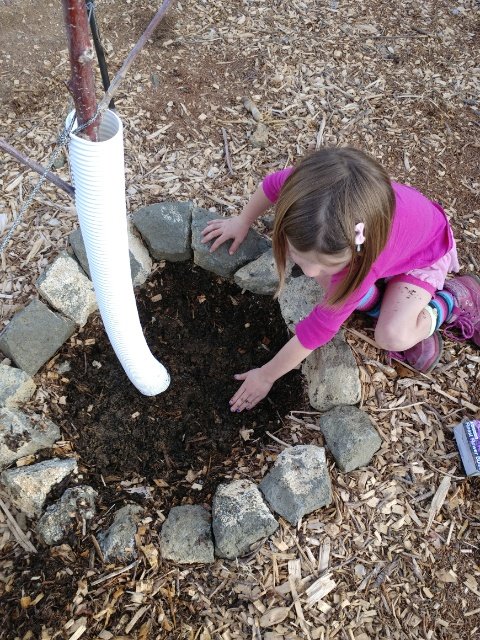
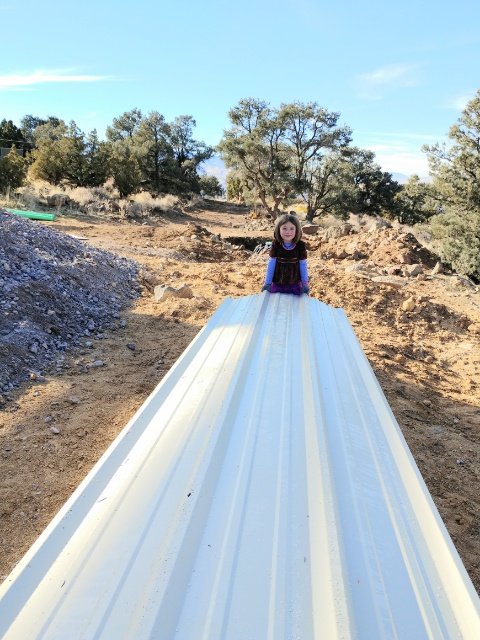
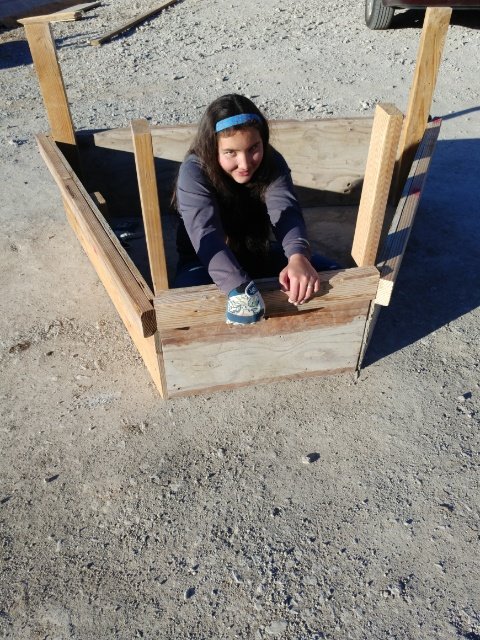
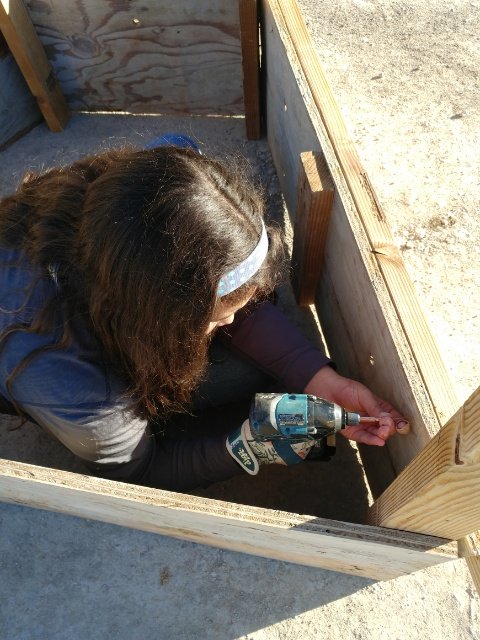
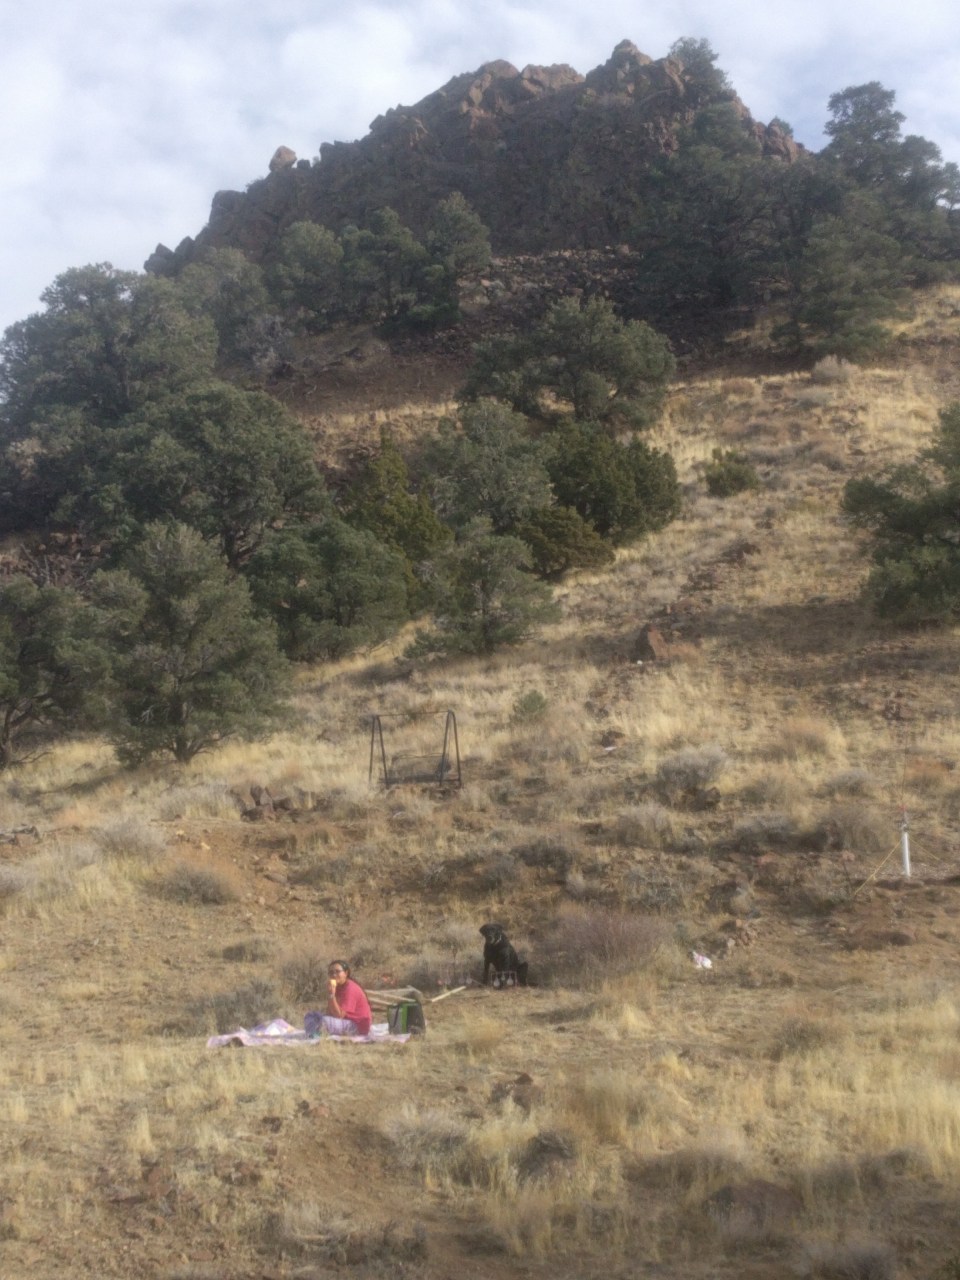
This picture makes me so happy. I love that my girl is old enough to be a huge help, but also to really remember this awesome adventure we get to have as a family.
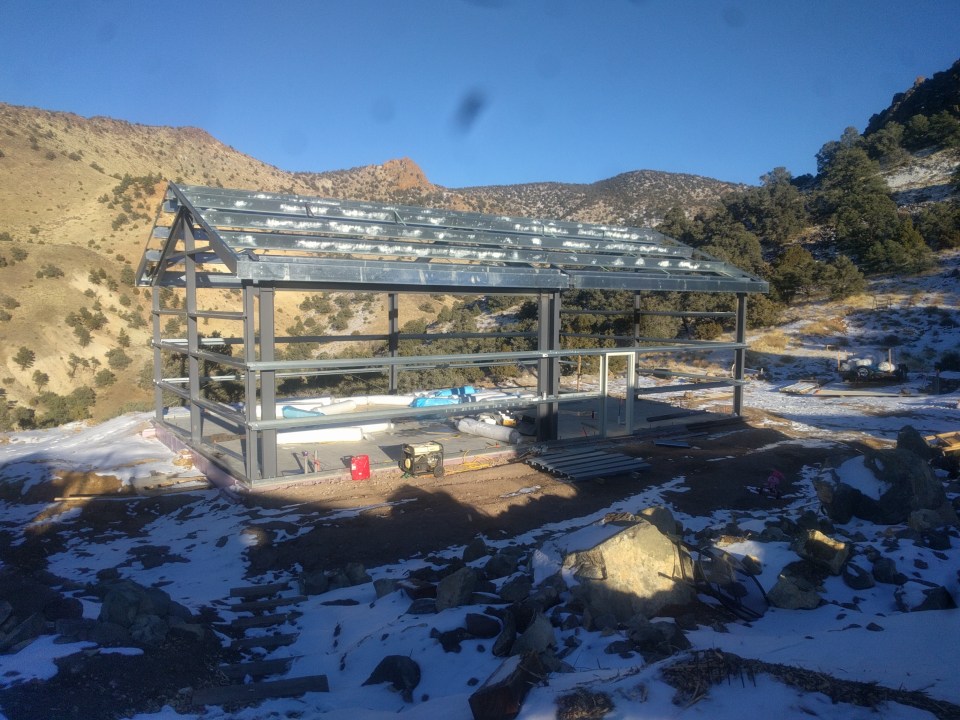
We got the trim all on and it was time for the roof.
But first…

Yep, that’s a fire pit. INSIDE our house. How many of you can say you’ve done that?
And then the day finally came that the roof started going on!
Oh Happy day!
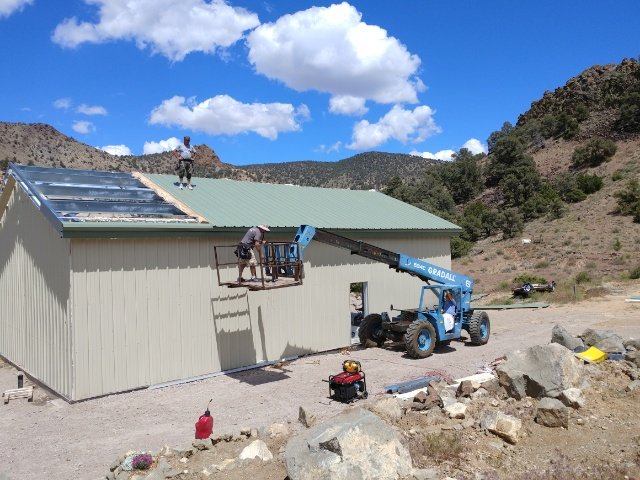

Pajii got to help!
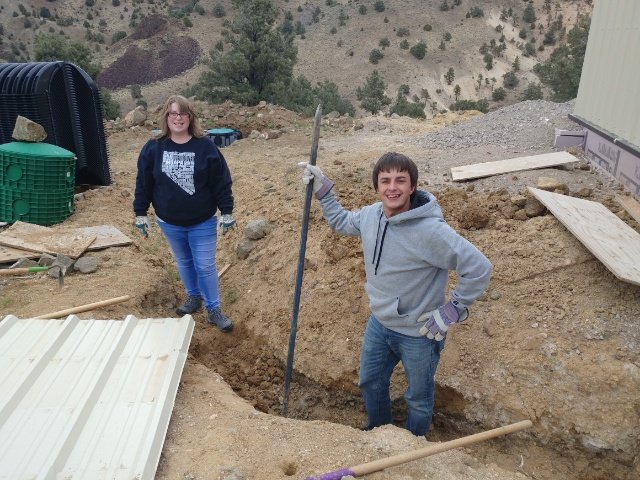
Finally! The roof was on, but there was still a bit of trim work to do before we no longer had the equipment. So once again, my brother and sis-in-law jumped in to help out.
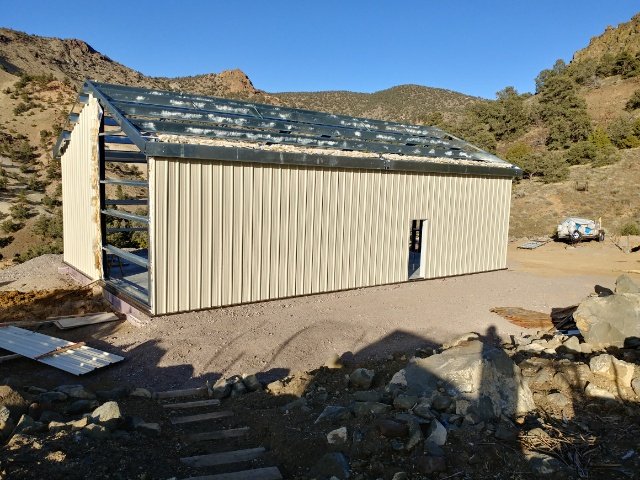
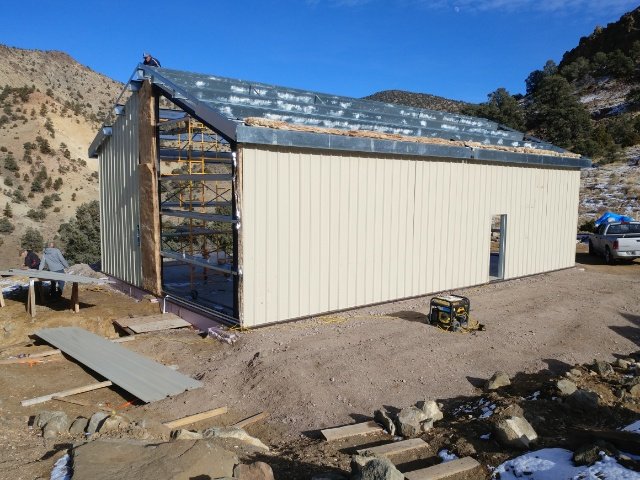
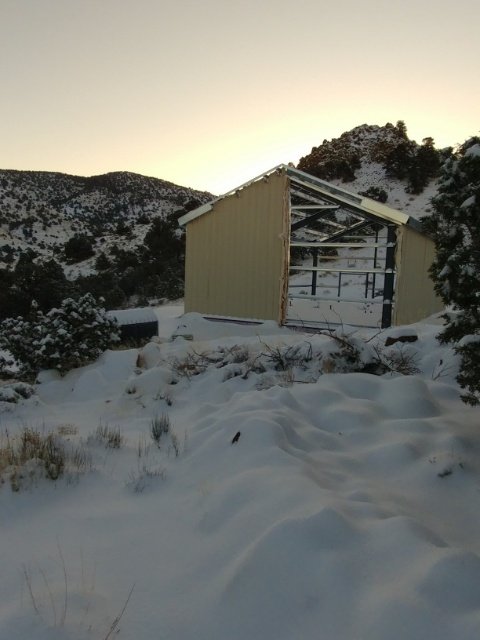
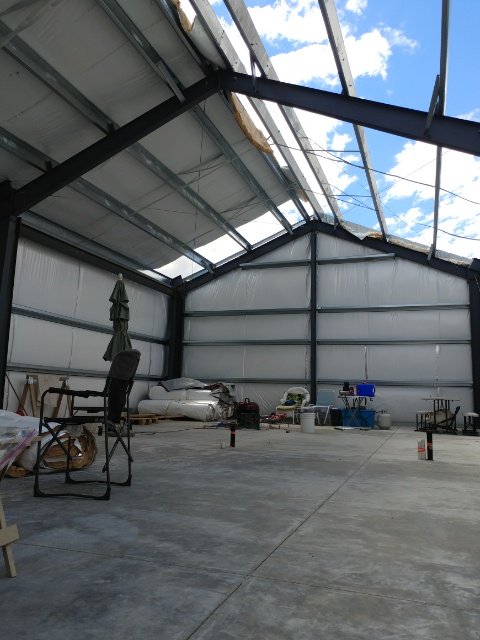
And then it was done, done!
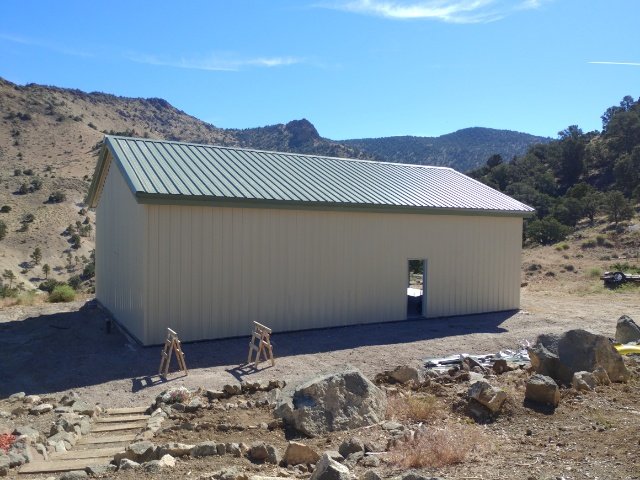
We still have to cut in the doors and windows, but at least it’s “dried in”.
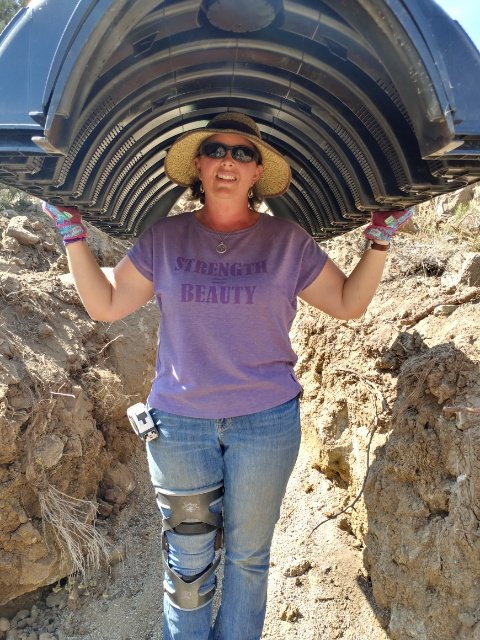
So the exterior structure of our house was done. And so was I!
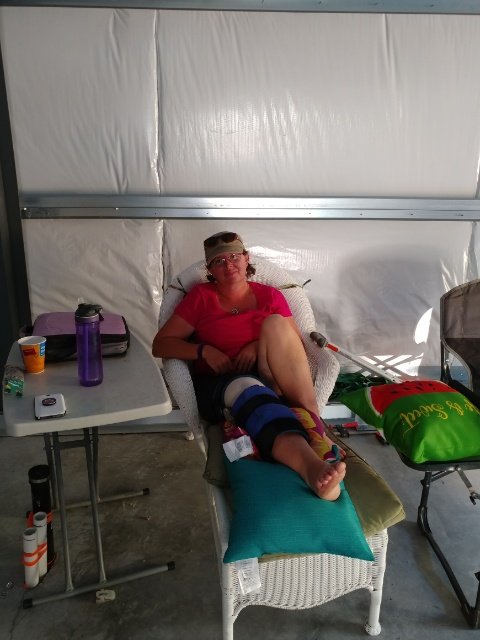
This is what happens when you hurt your knee but don’t really take the time to slow down and heal. It keeps getting worse until it’s so bad you can’t walk on it any more!
So, I was laid up for about a week, waiting for my knee to heal well enough that I could get back to work.
But in the meantime, we had one more job to do with that equipment.
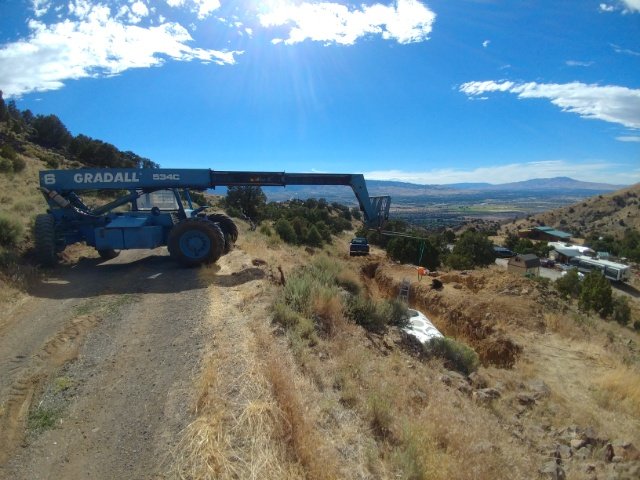
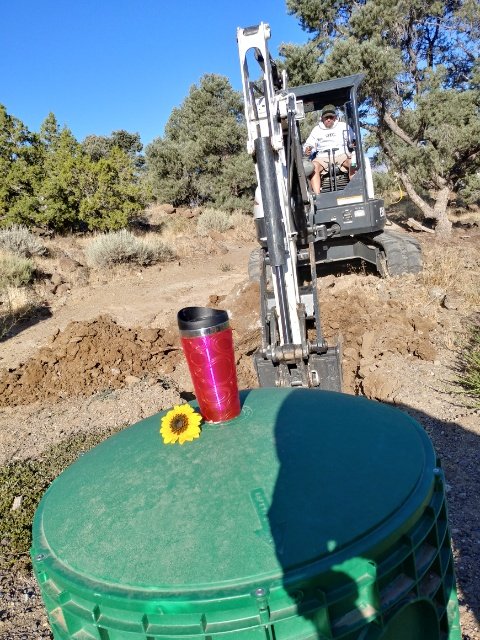
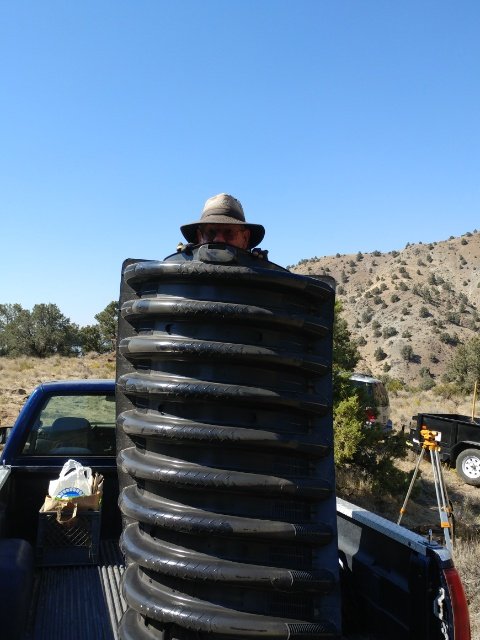
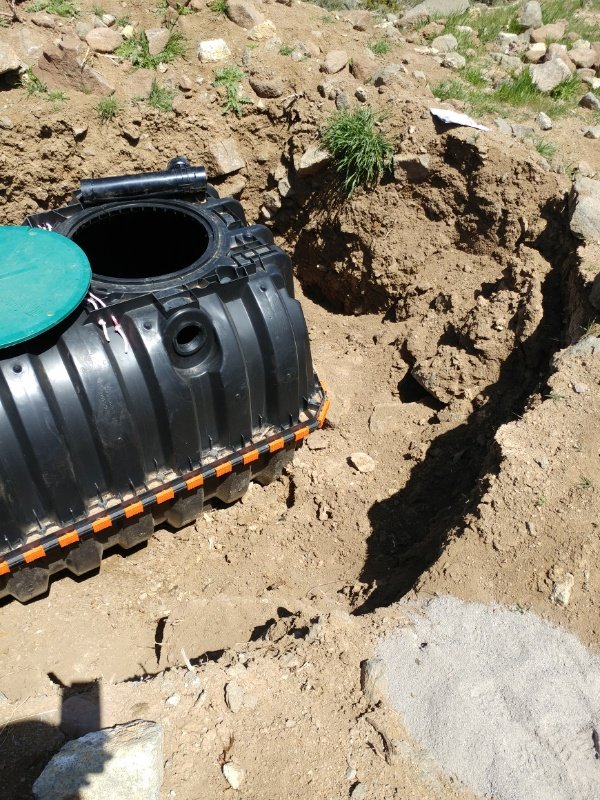
Putting in our cistern tank.
But let me back up…
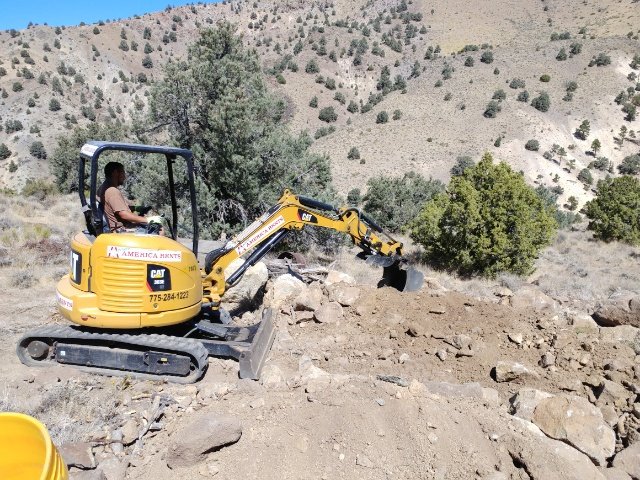
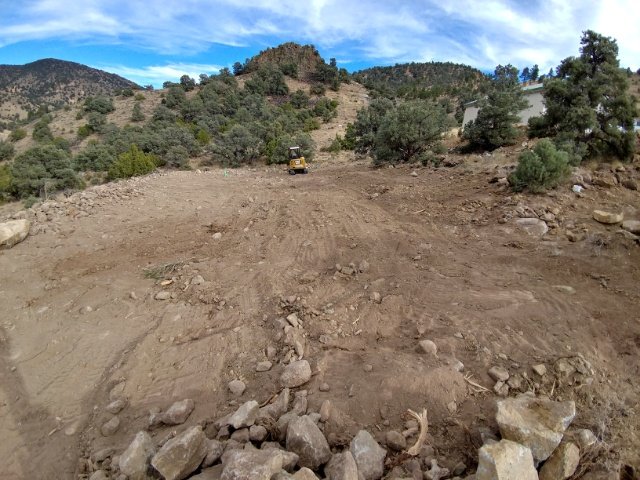
Last summer, we needed to rent a large excavator to widen our garage pad. We also dug the hole and trench for our cistern system (say that three times fast!). A cistern is a fancy way of saying a water tank. This one is specifically a holding tank that we will fill with our well water and use as the water for our house. Being off grid, this is the best system.
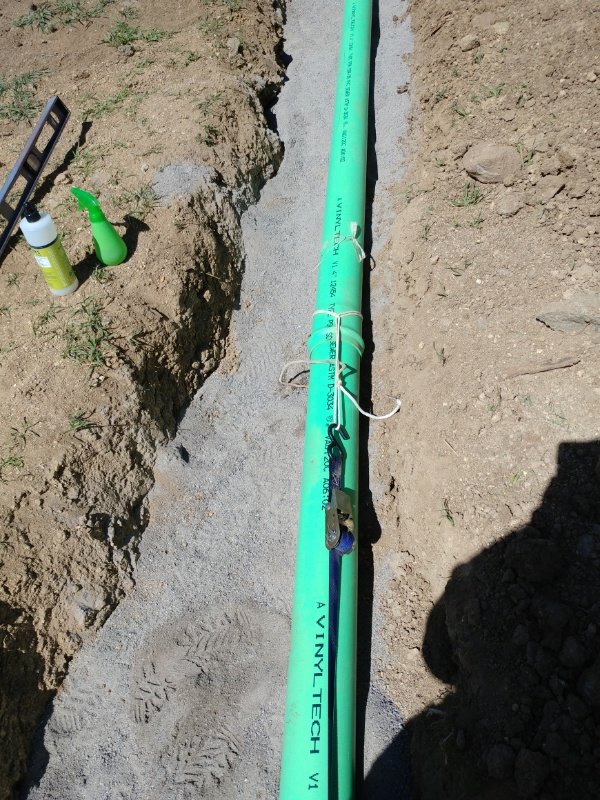
But in order to get the tank in the hole, we needed to prep the hole and run the line for the water.
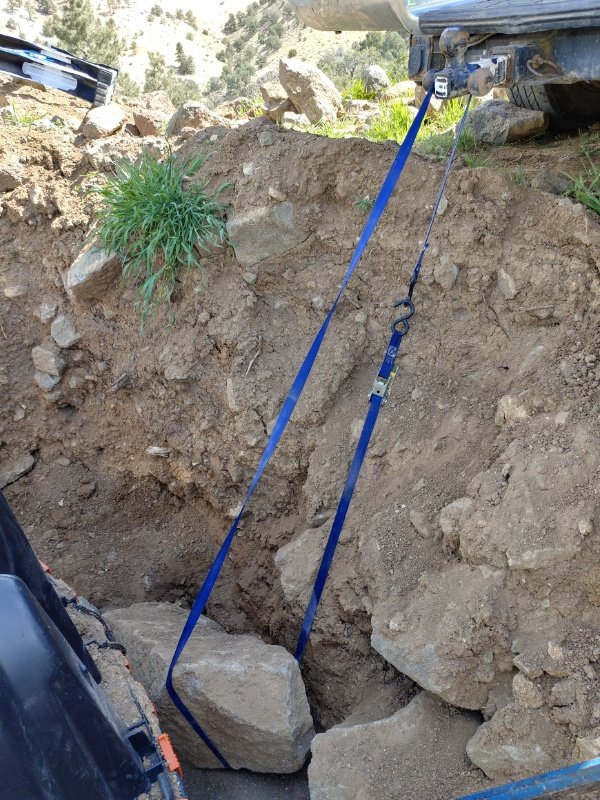
Remember the part I said the hole and trench were dug last year?

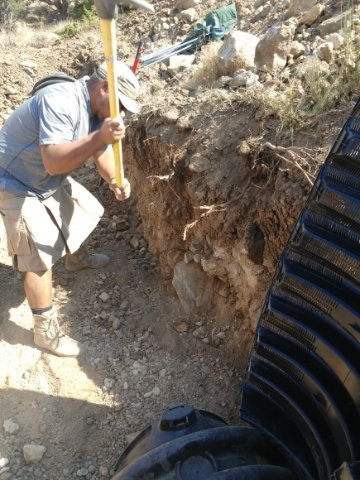
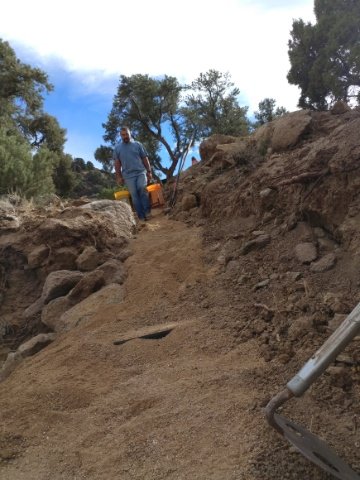
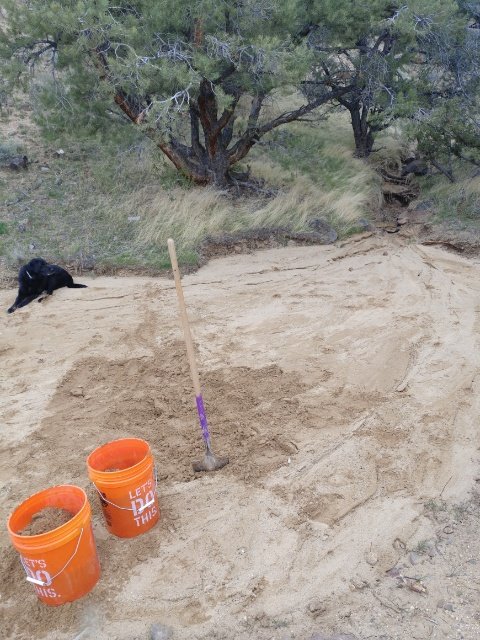
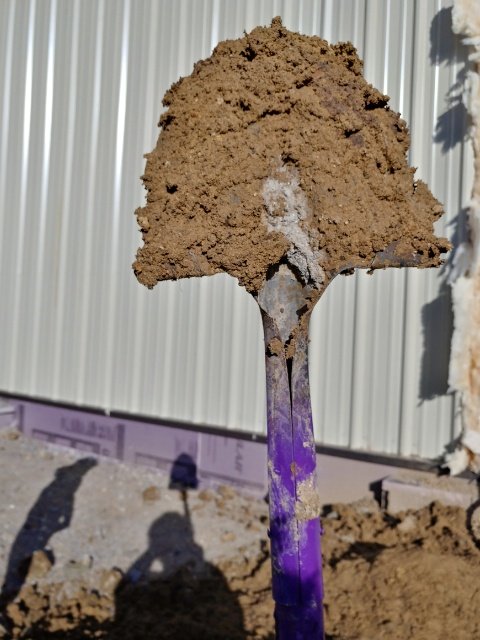
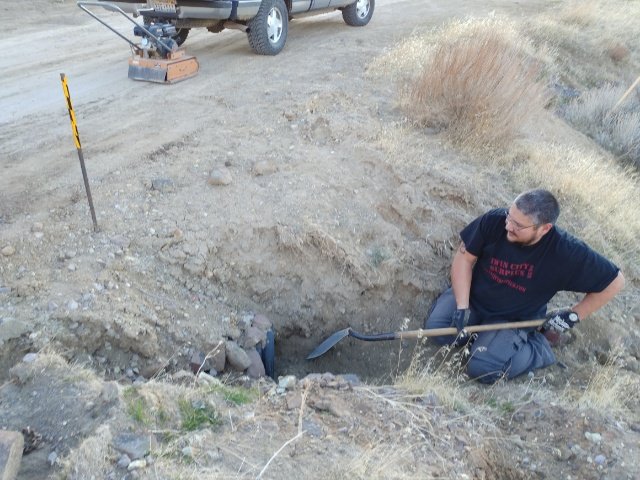
Yeah, it wasn’t pretty. And this picture is after Pajii had cleared all the big rocks out! But that entire trench had to be bedded in sand for the pipe to lay on. And how do you get dirt up a 175 foot long trench that is 3+ feet deep and only 2 feet wide?
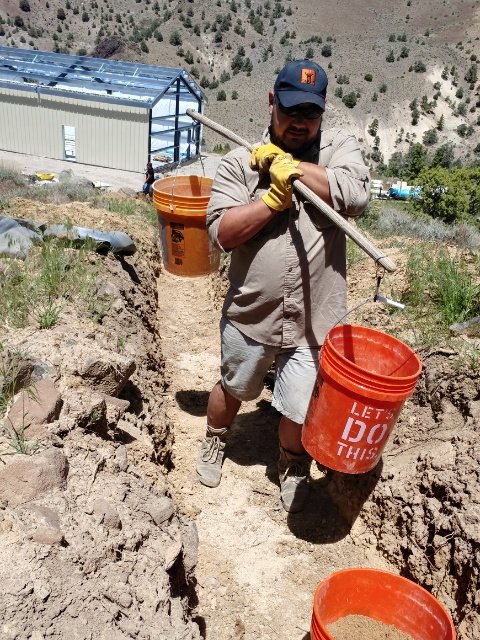
With buckets. Lots and lots (and lots and lots) of buckets full of sand! In fact, that’s how I hurt my knee, all the way back at the beginning of June. Carrying those heavy buckets (each one weighs roughly 40lbs when full!)
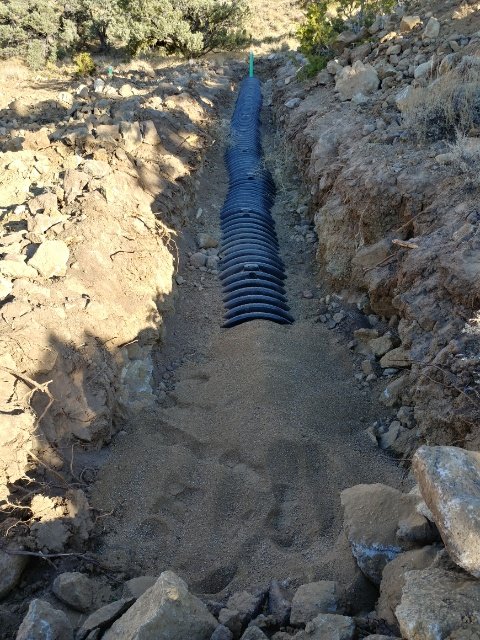
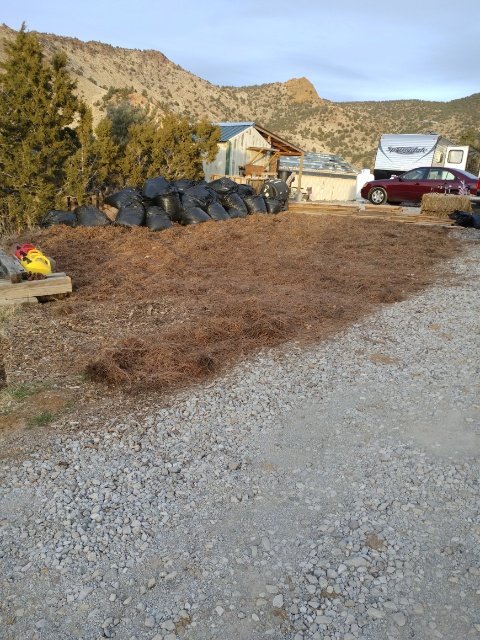
And where were we getting the sand for most of the job?
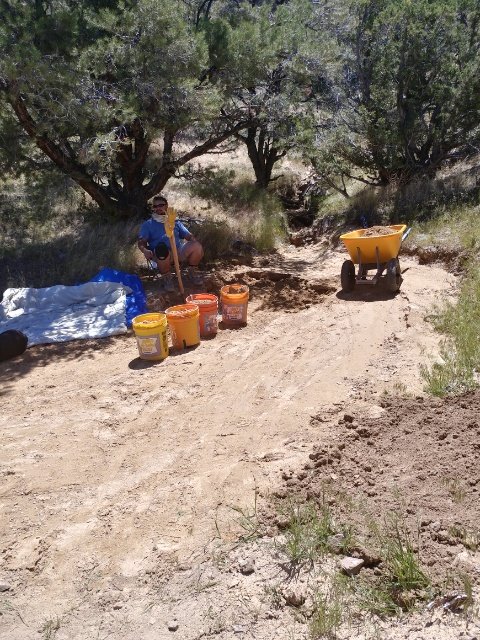
From our own sand pit, of course. We bedded and covered nearly a hundred feet of pipe on a very steep hillside by “mining” sand from our property. A lot of extra work, but it was free, and we had the time (we were still waiting for the contractors at the point.)
So fast forward several weeks. The contractors came and went and we had abandoned the trench prep in lieu of working on the house (because, priorities), I had begun to heal from my knee injury, and we were looking forward to finishing the cistern and starting the next phase of the journey.
But that was not God’s plan. My Dad’s health took a drastic turn for the worse and it became apparent that he should no longer be living alone, and therefore, his house on the other end of town needed to be sold. So, very reminiscent of when we dropped everything and moved to Oregon in 2014 to care for Hub’s ailing mom, we dropped nearly everything to care for my ailing dad and get his house ready to sell.
That was at the end of June. It took two months, but I’m happy to say, PopPop is now settled in here with us (in his own trailer), his house is in escrow, and we only have one more load to bring home from his house.
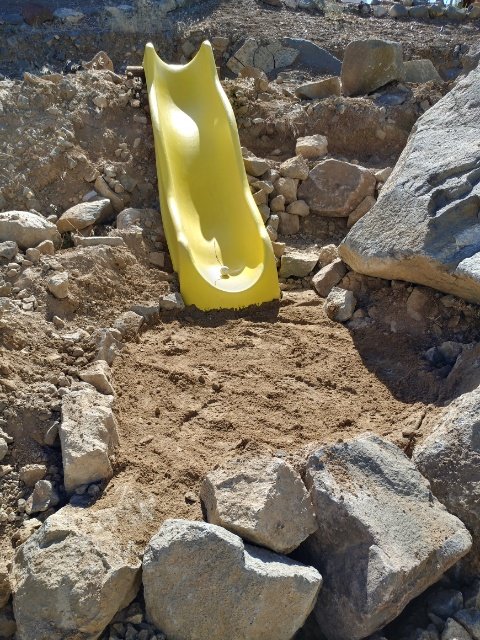
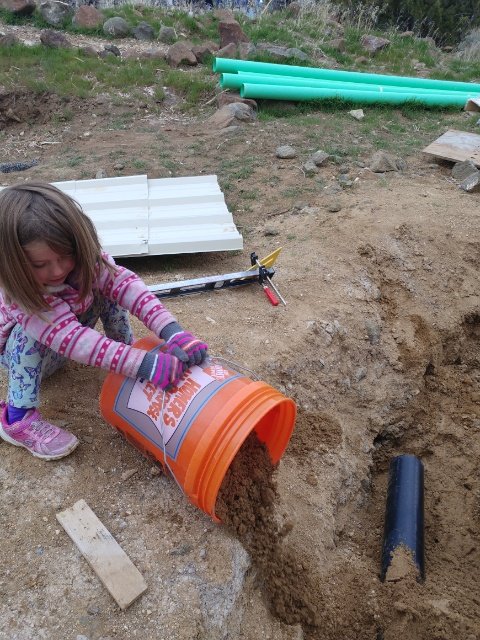
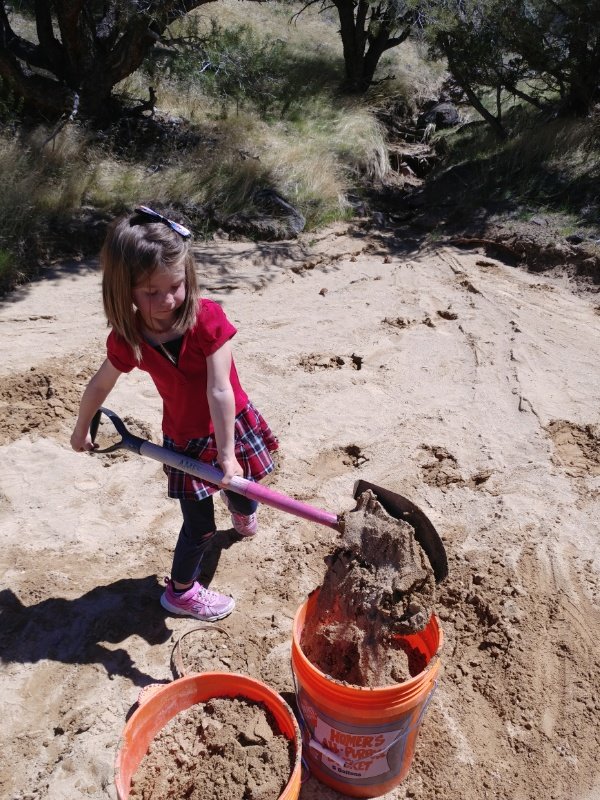
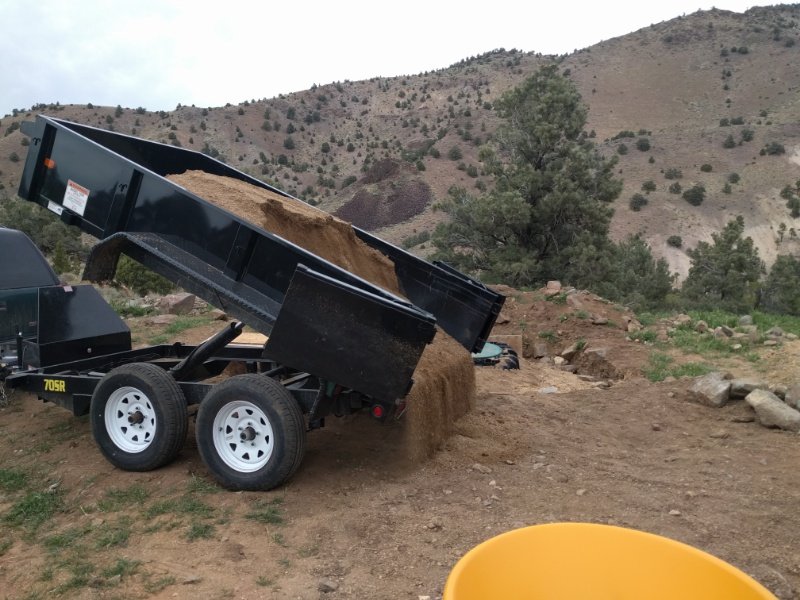
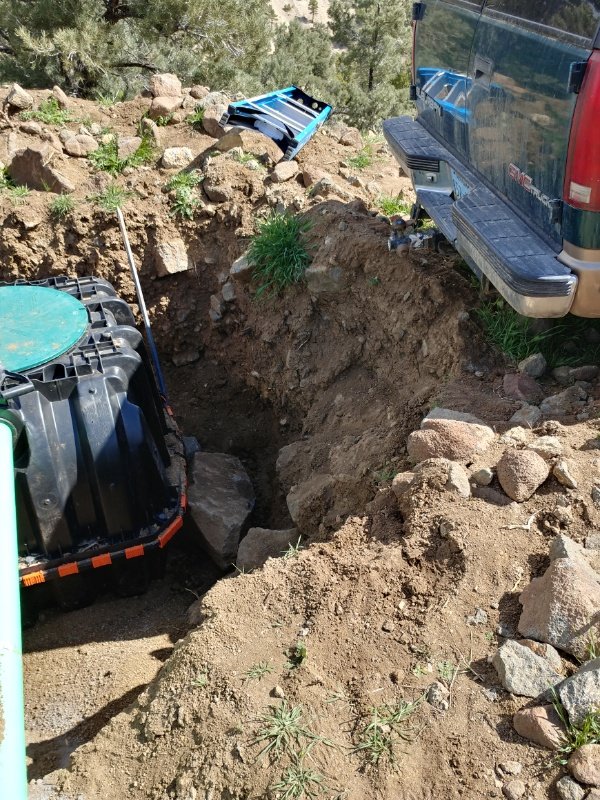
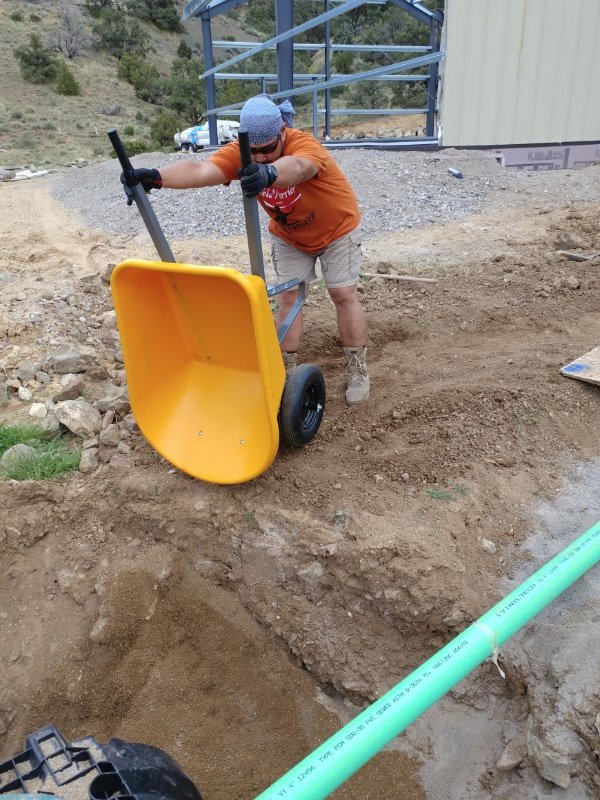
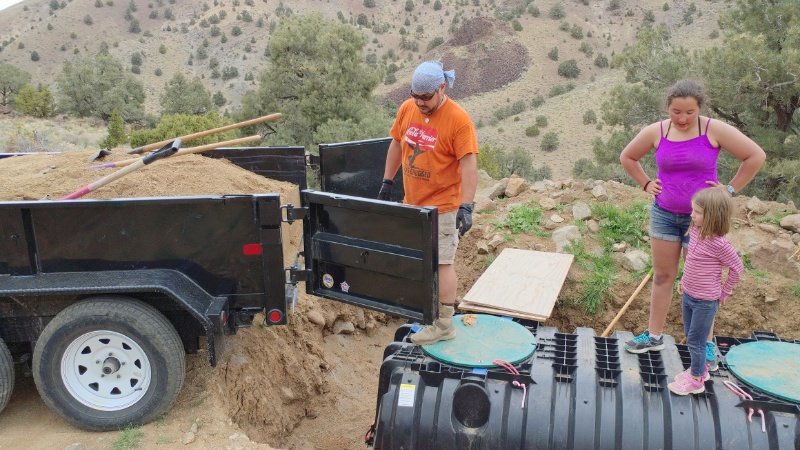
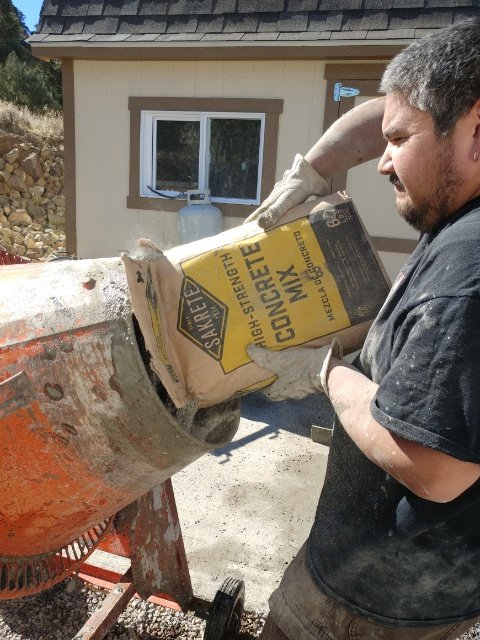
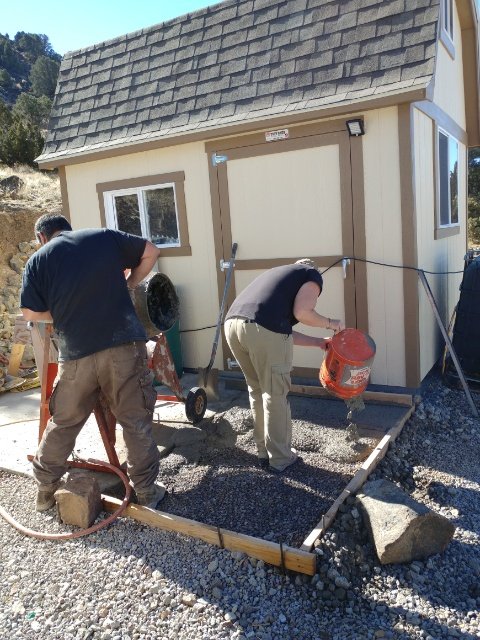
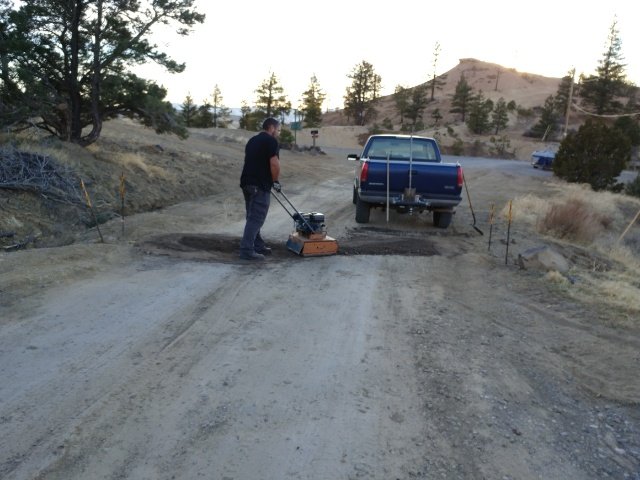
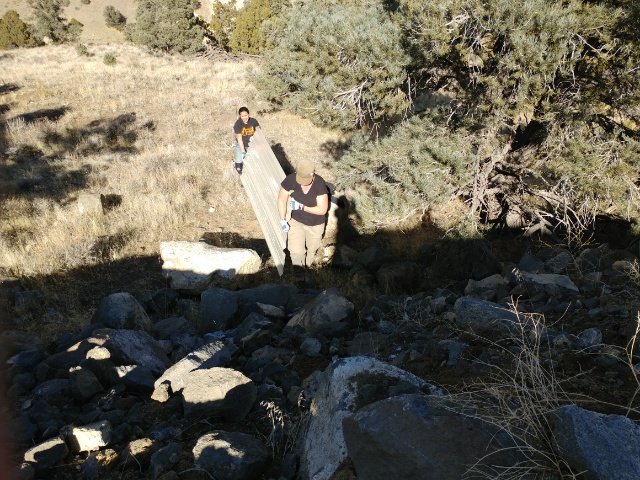
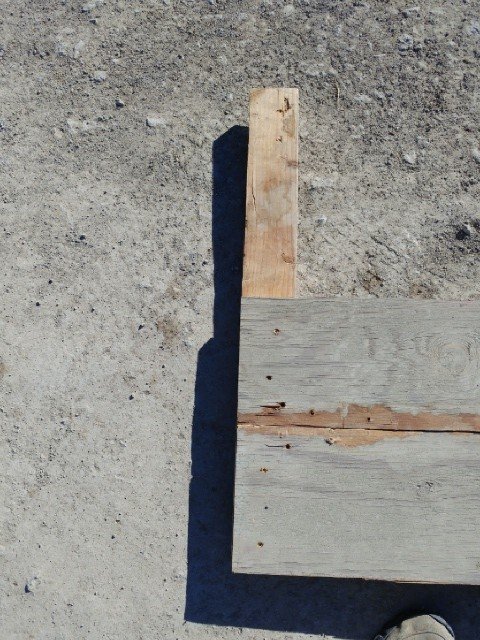
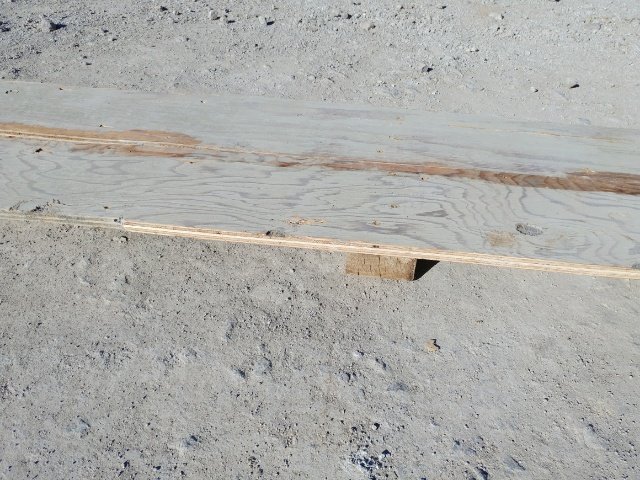
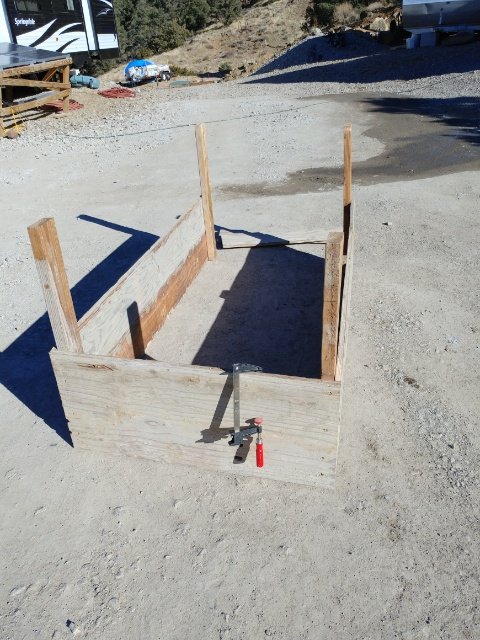
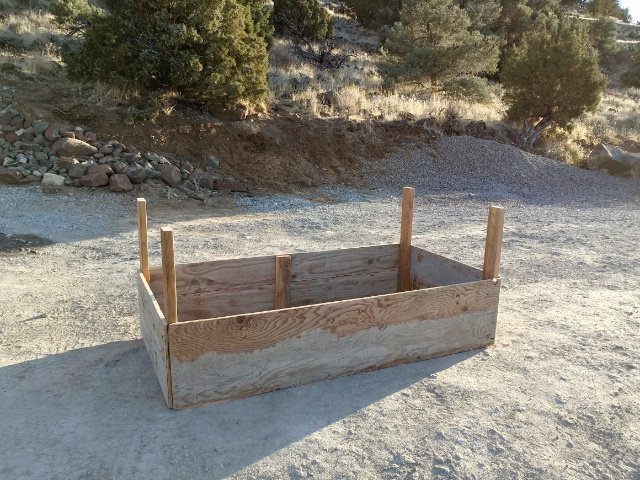
But in the midst of all that, we needed to finish the cistern. And we needed to do it quick. We had already put in so much work to it, that to leave it at the mercy of the elements was just stupid. So, while we still had the equipment we used for the siding on the house, we put in the cistern. Then we had to bring in load after load of DG (saving us the time and effort of shoveling it from our own property). But, how do you get the DG from the trailer on the road, down 15+ feet to the hole that the cistern is in?

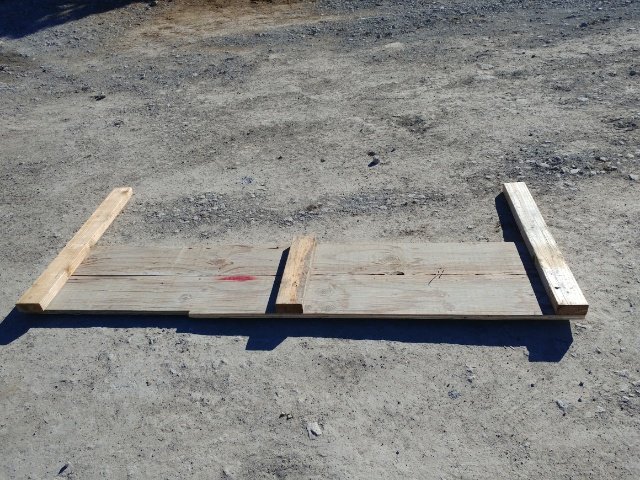
That’s right, some of our roofing and siding scraps. The sand just slid right in. Quite ingenious, if I do say so myself.
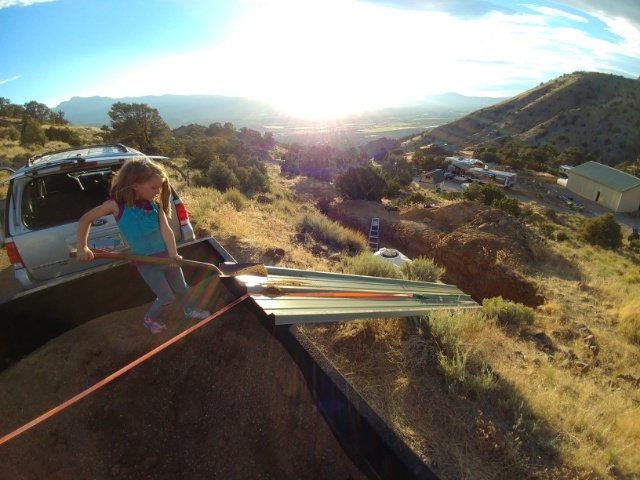
And so easy, a 5 year old could do it.
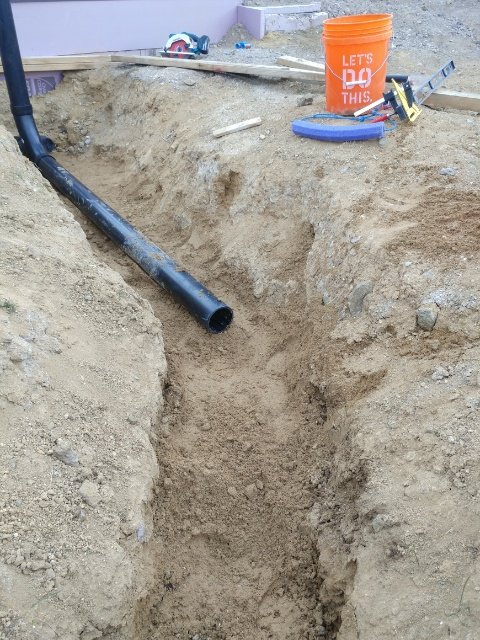
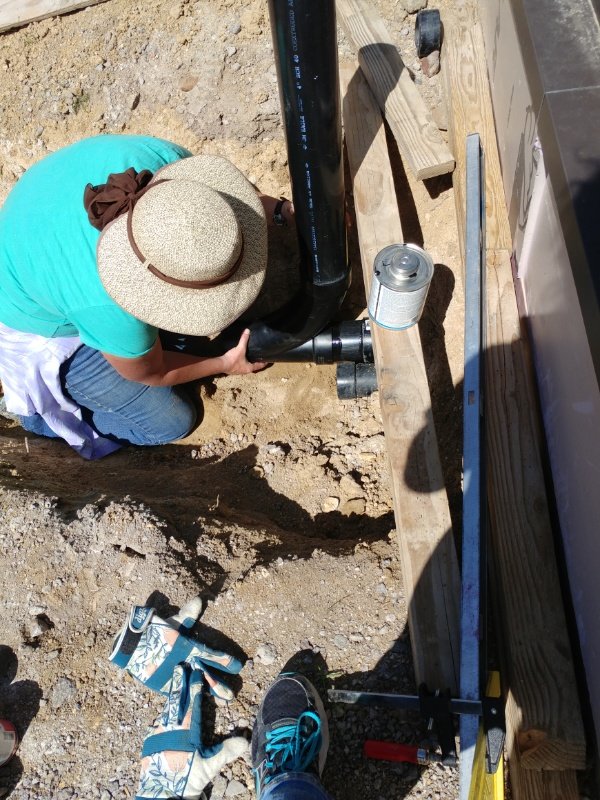
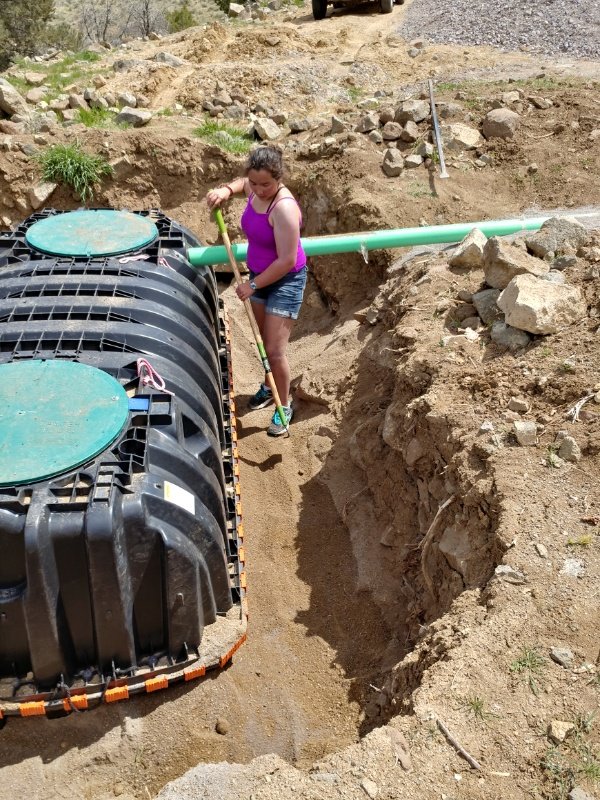
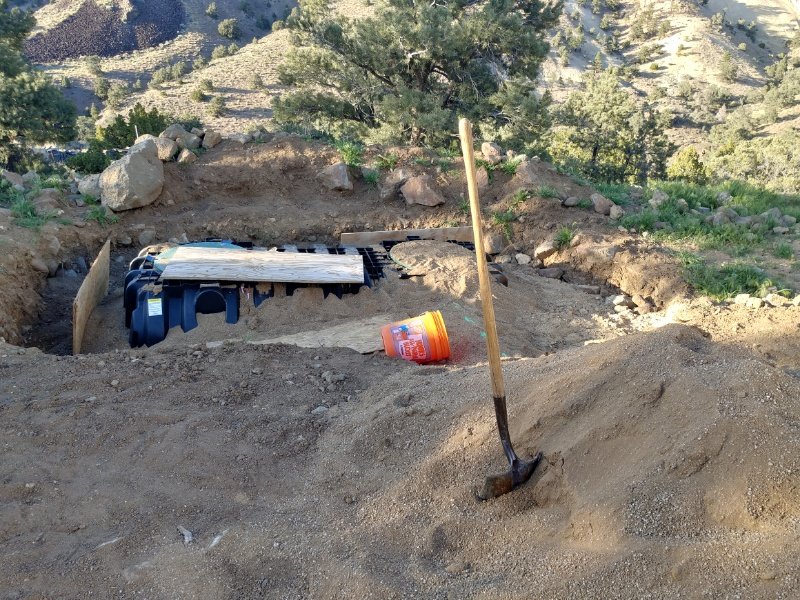
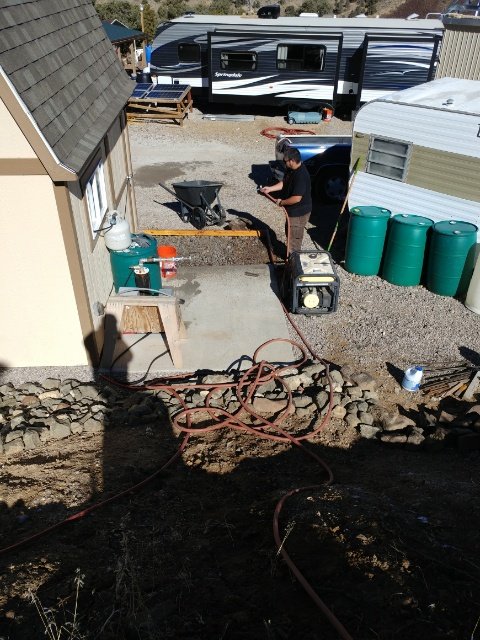
Then it was another while before we could get it finished. That entailed hooking up the supply pipes, etc to the tank.
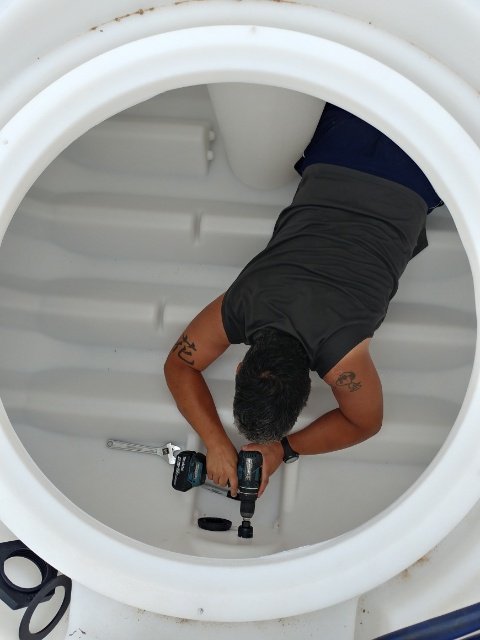
Hubs is inside the tank, putting holes in it!

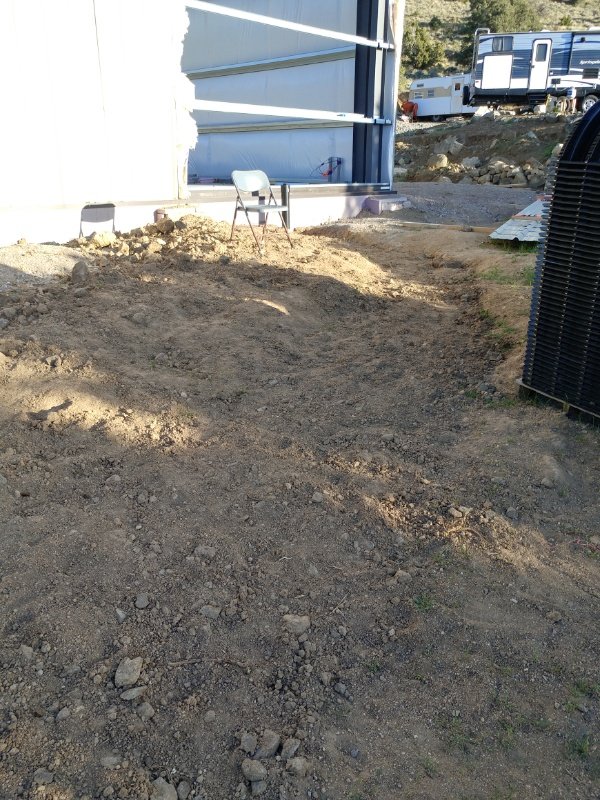
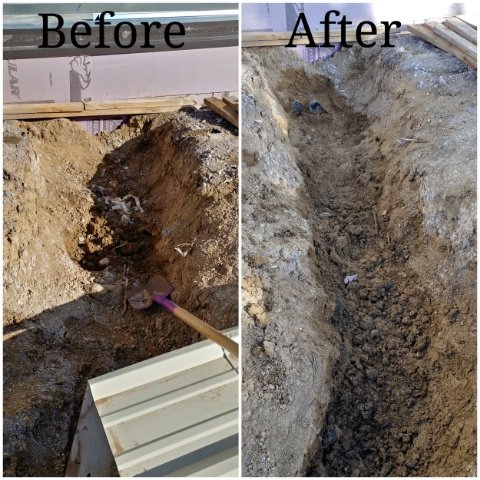
Starting to fill in the hole to cover the tank
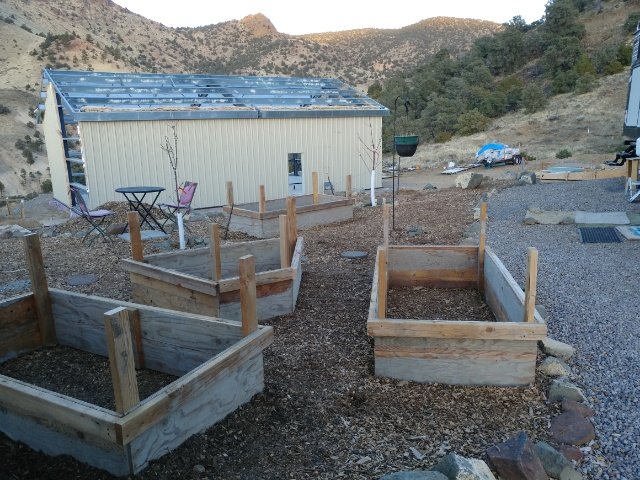
And that brings us up pretty much to the present. Here’s an updated picture of the dianthus bush I planted.
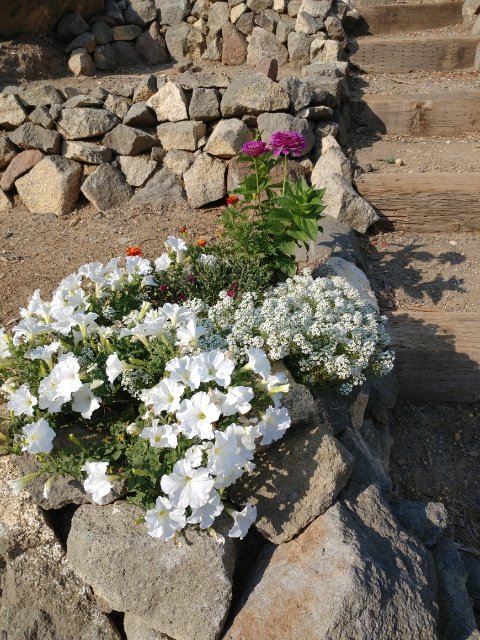
The dianthus has not done too well in our hot summer, but the alyssum, petunias, zinnias, and marigolds that I planted around it have just about taken over!
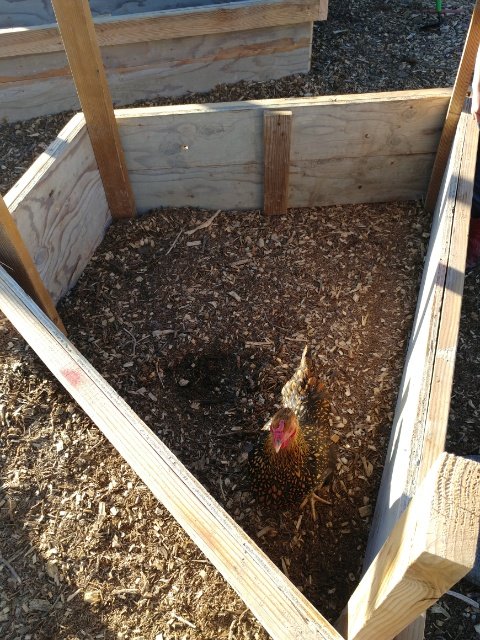
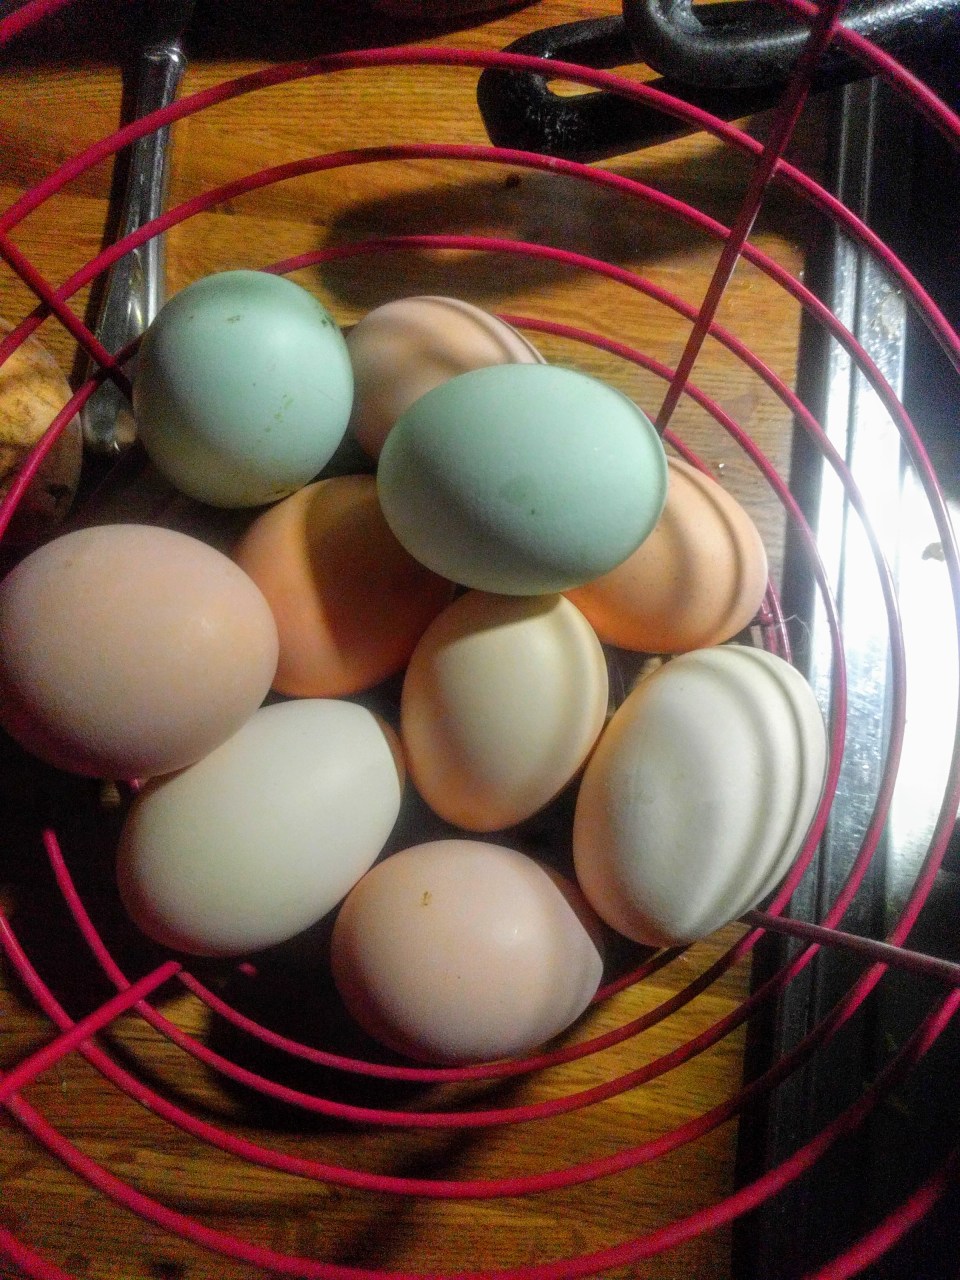
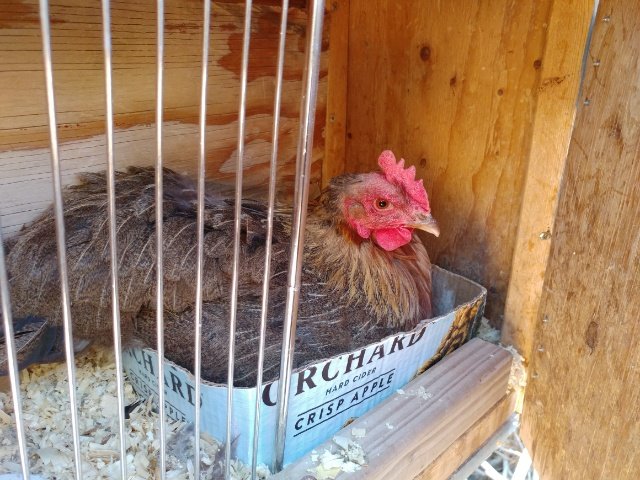
And we’ve got another broody hen who has been sitting on golf balls for 5 days. I put 9 fertile eggs under her this evening. This will be hen #6 that we’ve tried to get to set till the eggs hatch. It has been misadventure after misadventure. But I’ve learned a lot and have great hopes that this clutch of eggs will be the one!
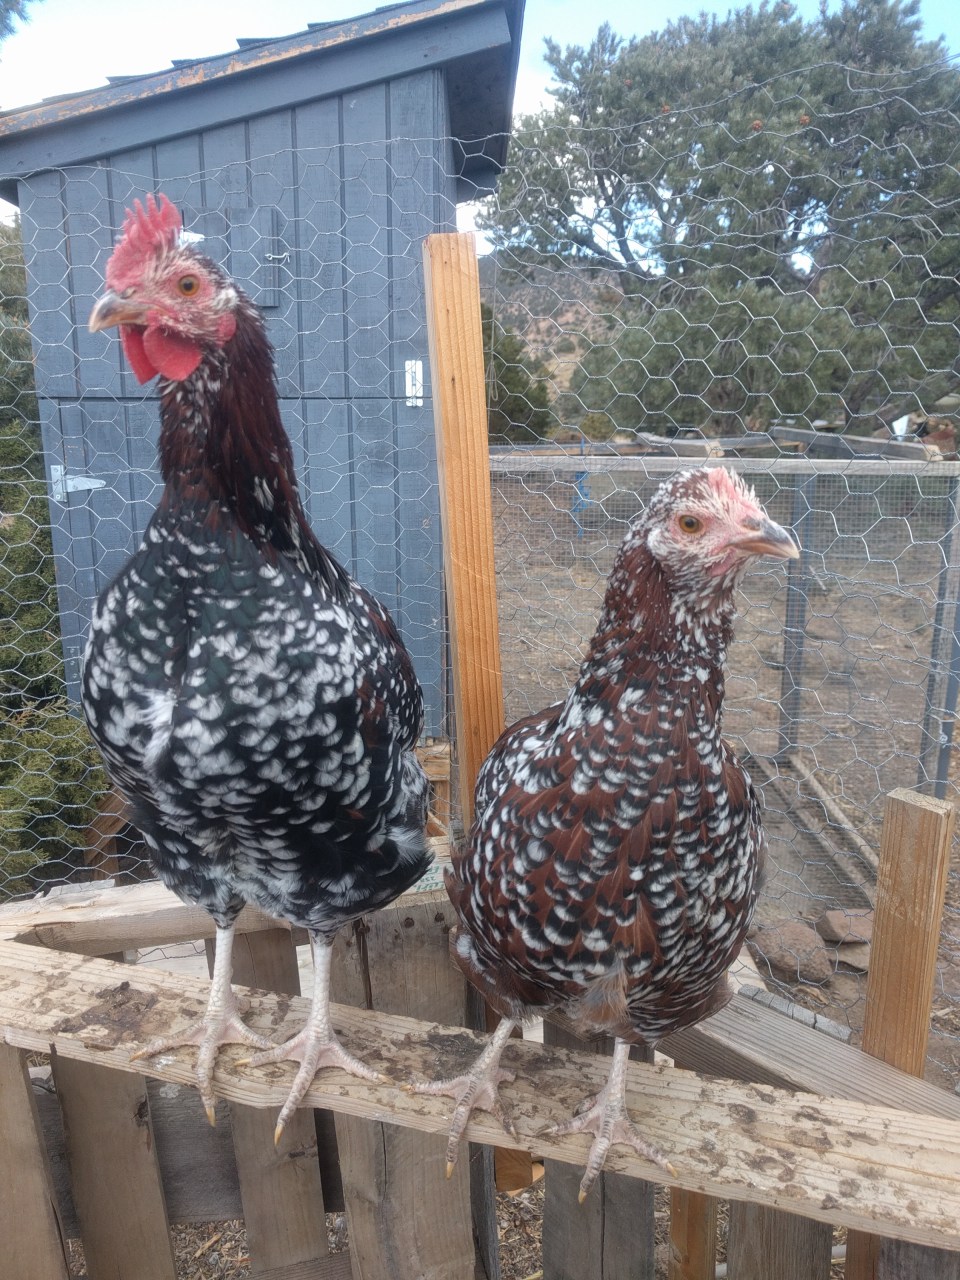
We did have two chicks hatch from our very first broody hen of the season.
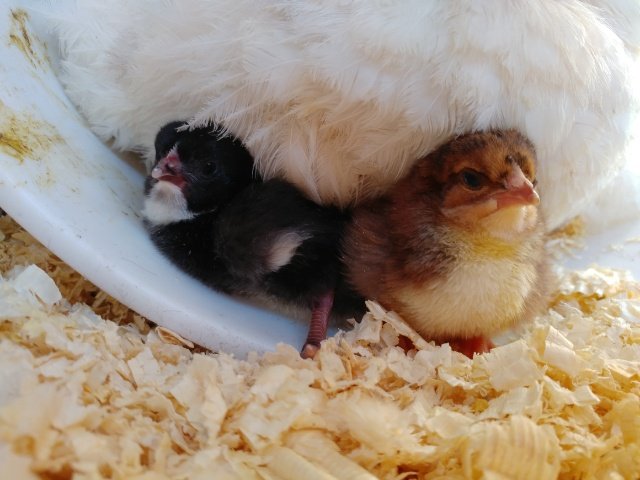
I’m not sure why only two of the 7 eggs survived. Of those other 5 eggs, one chick was half hatched, three were fully formed as far as I could tell but had died before hatching, and one had gone rotten from the beginning of the brood. But I was totally excited to get two of our very own, completely home grown chicks! Too bad they both turned out to be boys. 🙄😒
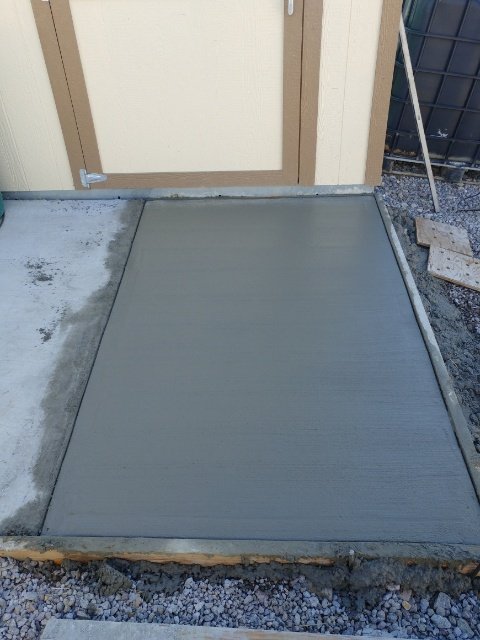
And now, for the truly, truly up-to-date update:
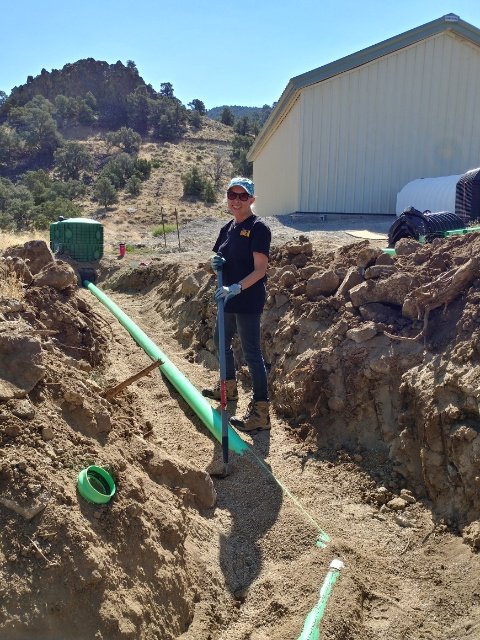
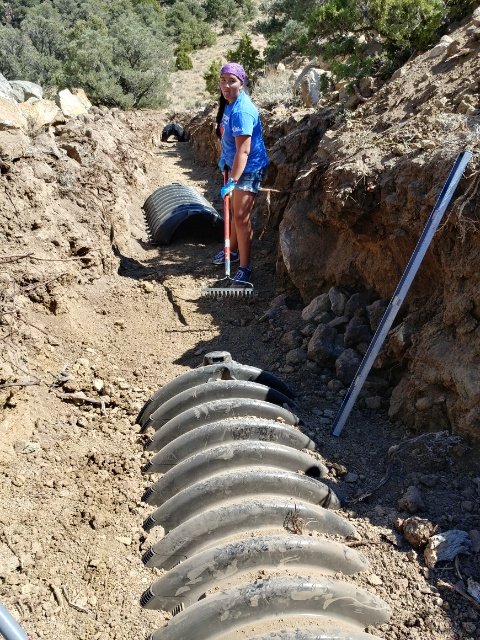
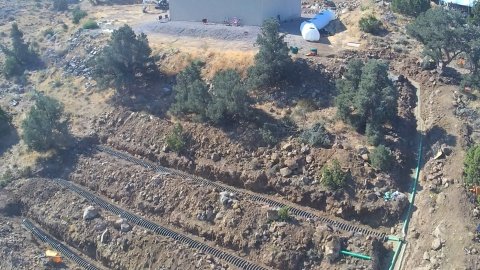
We’ve started working on the Septic System: Phase 2! By the end of the week, we should have a complete septic system. Hallelujah!
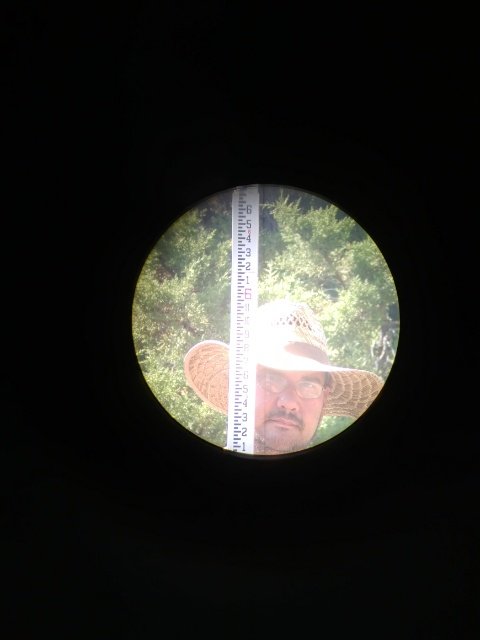
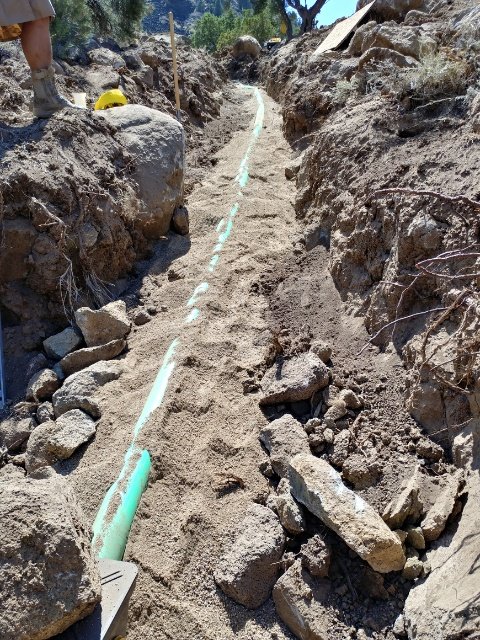
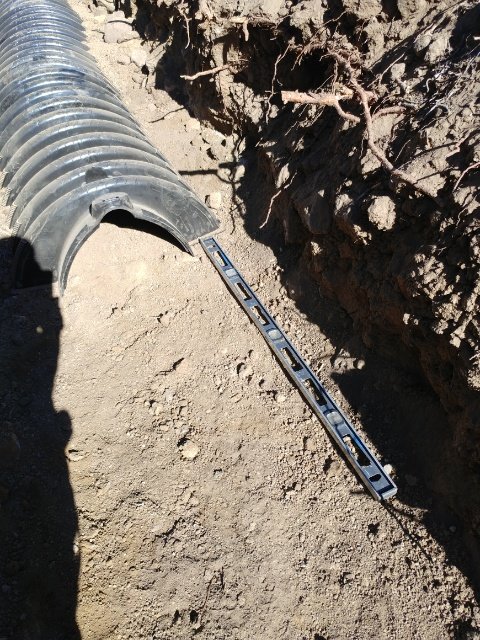
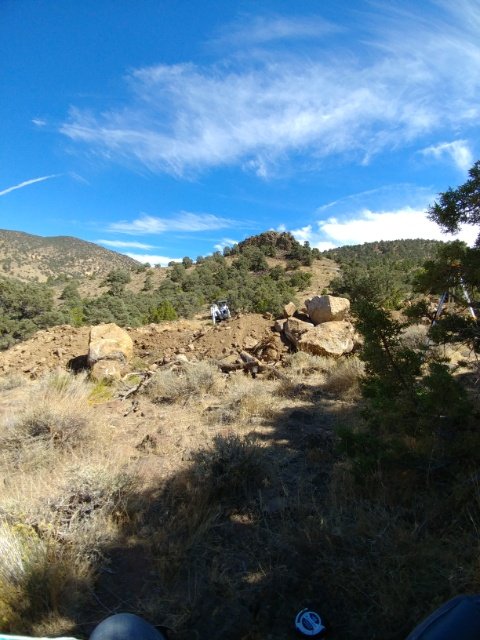
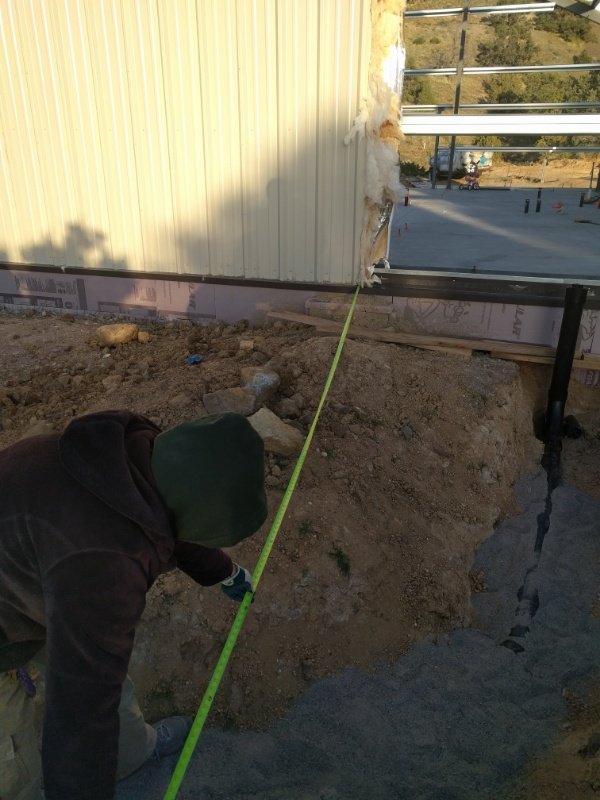
Using a friend’s transit level to lay out the septic field.
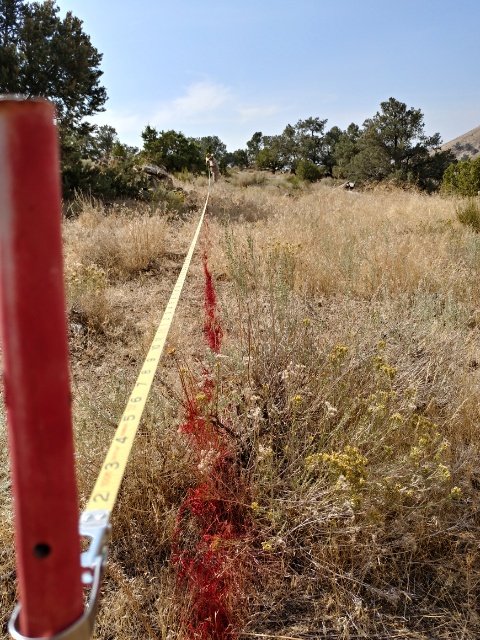
The middle one of the three required leach lines marked out.
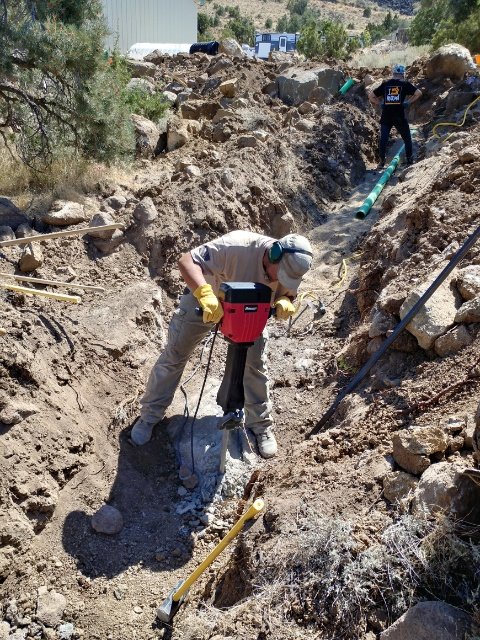
And today, we started cutting the trenches. But that’s another post for another time. Right now, I am t-i-r-e-d. And we still have at least another two hard days of work till we can call for inspection.
Nighty night. Don’t work too hard!
Show some love and share: