
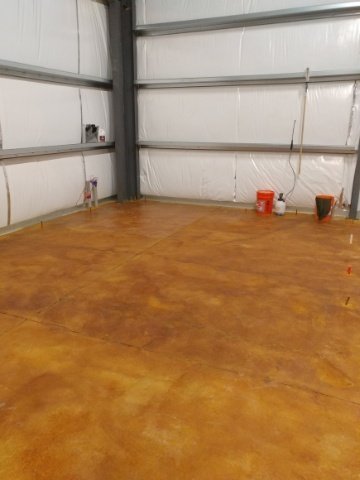
Starting near the beginning of October and lasting for a couple weeks, we worked on staining our concrete slab. We knew that it was going to be a whole heck of a lot easier to do the floors before any of the interior walls went up, and we had a run of really mild temperatures, so we decided to git ‘er done.
It took so long because we had no experience with acid staining concrete, and we did it in sections in order to test our procedures. So in some of the pictures below you might see areas that are already stained in the background.
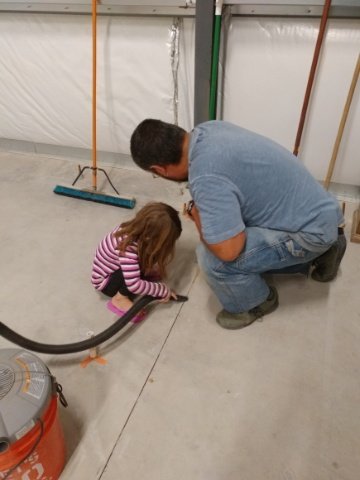
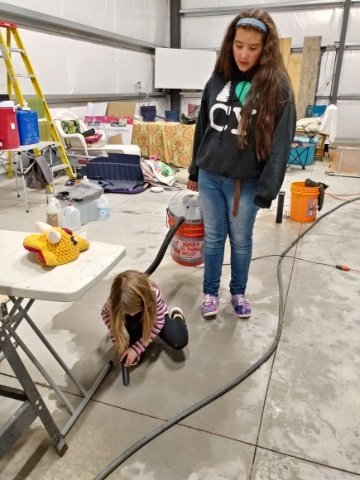
The first step was to clean out the cut lines.
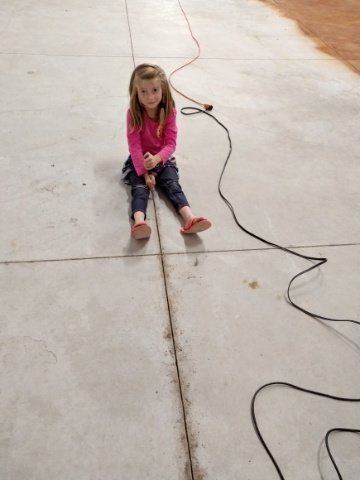
Flower Girl was very helpful in this since she liked to scrape out the cracks and vacuum up the mess.
Once the cracks were cleaned out, it was time to wash the floors.
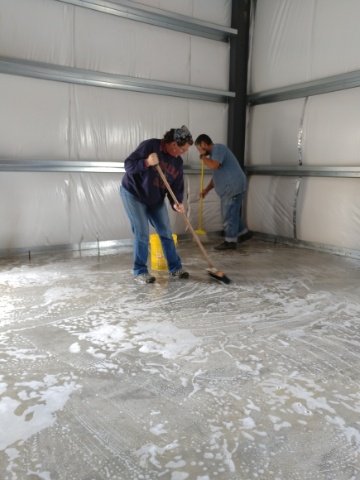
Scrub, scrub, scrub
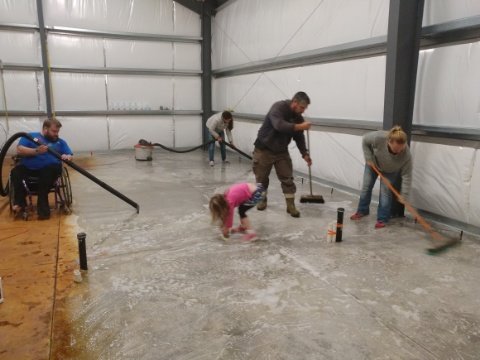
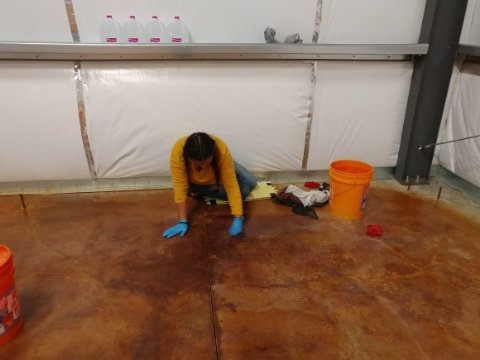
Brother and sis-in-law came to help and to learn the process. We really appreciated their help!
It felt really weird to run the hose in the house to rinse off the degreaser/cleaner (and later the stain). But with one person on the hose controlling the flow, and the other people using the squeegee and push brooms, we were able to keep the puddling to a minimum.
The next step was to make sure all the water was cleaned up. The easiest way to get all the water was to sweep and squeegee out the majority, then use the shop vacs for the remainder.
Once the floors were dry, it was time to apply the acid stain with a weed sprayer.
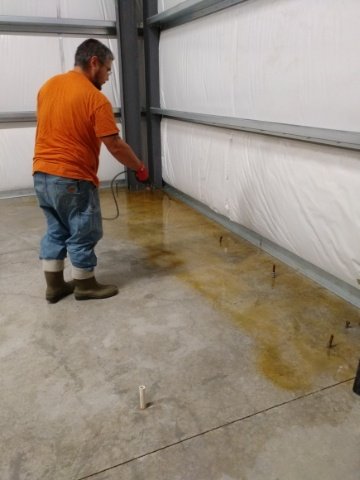
This was the easy part!
Once the stain had sat and developed for 8 hours, we neutralized it with ammonia water and then had to rinse all of that out the doors.
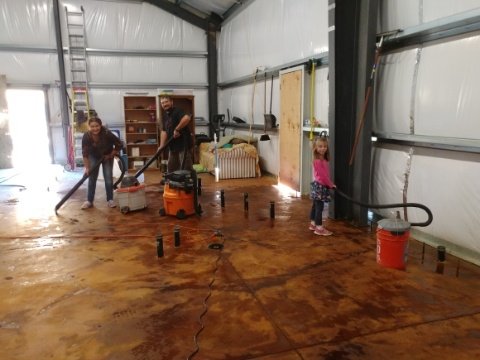
We had to run the big generator in order to run all three shop vacuums at once.
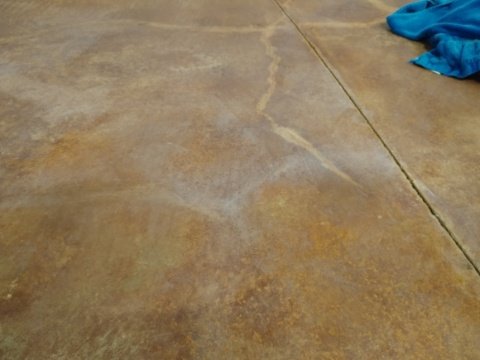
And then it was time to wait. Once the stain was neutralized and rinsed, we had to wait for it to thoroughly and completely dry before applying the sealer. Since we were testing procedures as we went, we needed to wait each time we did a section to get some sealer on it to see what the final result would look like. That’s why it took so long to get everything done.
But finally, we did get it all stained and sealed.
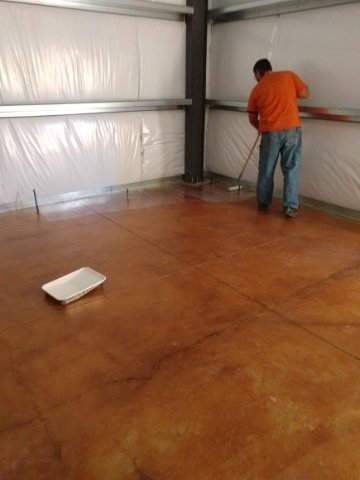
Applying the sealer
Before the seal
And that’s when we ran into problems. For whatever reason, when we applied the sealer in some areas, it turned a milky white when it dried.
After much trial and error and frustration, we discovered that a stiff scrubbing pad, water, and a LOT of plain old elbow grease would strip the sealer off the floor. So for two days we scrubbed those floors. We had to be careful since too much scrubbing would eventually strip the stain off the floor as well.
This job was too much like playing Cinderella.
But eventually we got the problem spots scrubbed off and once again waited a few days for everything to dry completely. Then applied the sealer, doing some experimenting in order to avoid the previous issues.
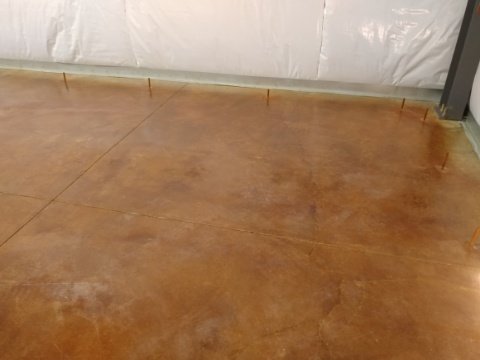
And just like that, our floors are finished! Of course now, one month and some more building later, and they are completely covered in dust and dirt. But that will sweep and mop up. We might have to touch up a couple areas, but for now, it feels good to have yet one more project done!

Beautiful! I’ll bet that was a lot less expensive than putting down a tile or wood floor, and I’m sure cleaning will be a whole lot easier! Do you have any idea, in hindsight, what may have caused the discoloration of the sealant? Please continue posting…I just love seeing your journey!
LikeLike
Thanks Vickie. We ended up liking the final result. It was quite a bit cheaper than tile or wood/pergo. For 1500 sq ft we only spent about $700. And I believe the problem with the sealer is that we applied it too thickly the first time. And maybe the cooler temperatures might have had a hand in it. Though it was mild for October, it was still at the bottom end of the temperature range for application. But when we put it on the second time, we made sure to continue rolling it until all the whiteness disappeared. That seemed to solve the problem.
And I’m totally going to continue blogging. Got a couple more to do till I’m caught up. 😁
LikeLike