
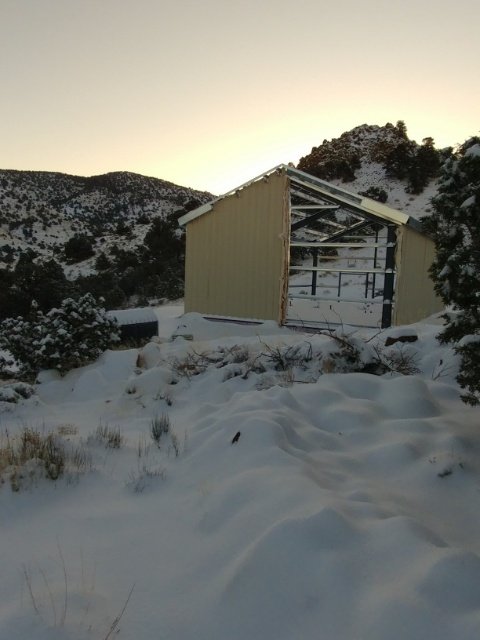
I didn’t realize it had been so long since I last did an update on the house progress until I posted about Pajii’s new garden beds and saw the half-sided house in the background.
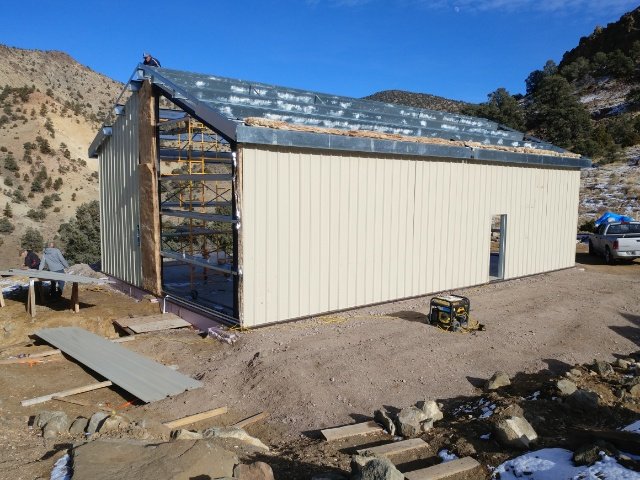
So yeah, this picture was taken on January 26th. We haven’t seen our contractor since that day. Our house sits there, half sided, getting snowed on. We finally gave up on being able to get ahold of him and have found a new contactor to finish the job. They will start as soon as they can fit us into their schedule.
In the mean time, we’ve been keeping pretty busy around the homestead with other projects that needed doing.
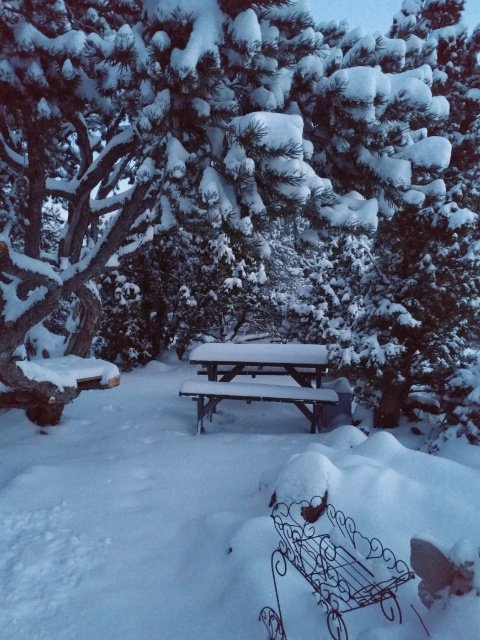
We were blessed with unseasonably warm and dry weather for most of January and February.

Picnic lunch in the February sunshine
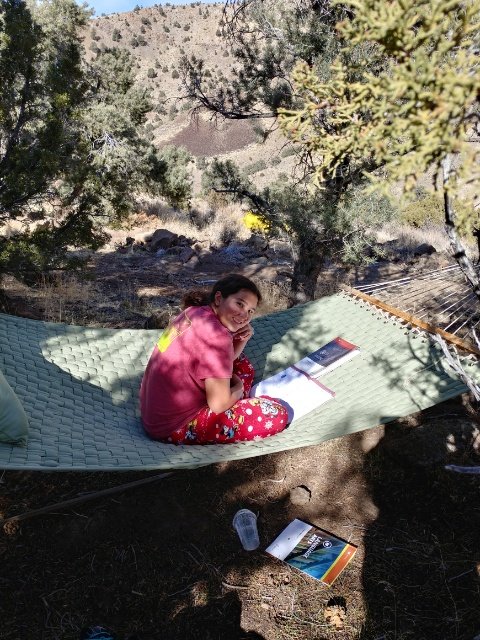
School outside in February?
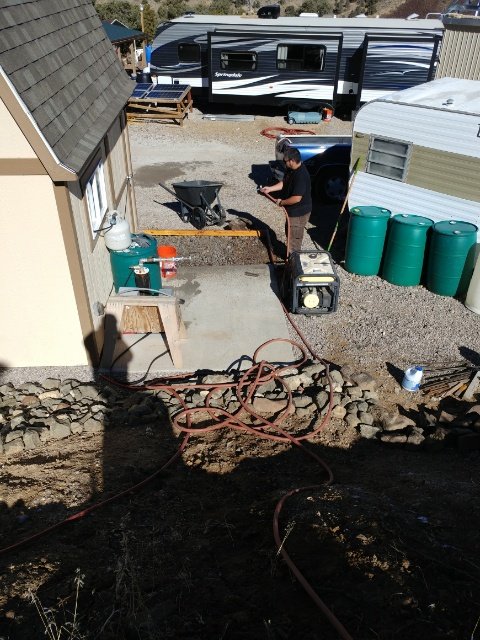
We decided to take a Saturday and finish the concrete patio outside our completed well shed (I’m putting together a post on that, I promise). The existing concrete was leftovers from when we poured our house footers. We were hoping we’d have enough left over from the house slab pour, but the calculations on that were perfect. Not short, but no leftovers either. So we had to go buy bags of concrete to finish the well shed slab job.
Prepping the 4’x7′ section
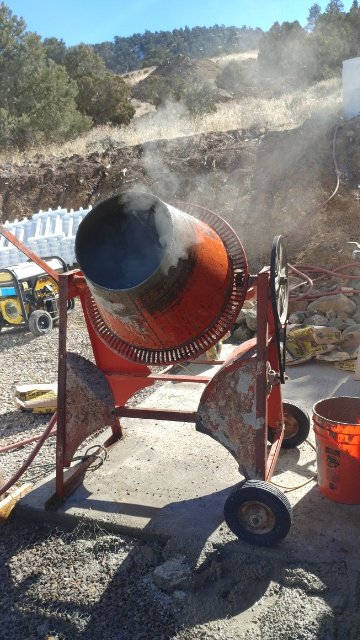
IT’S ALIVE!!! This concrete mixer was my dad’s and has been sitting on this piece of land, completely unprotected, for at least 12 years. And it still worked!
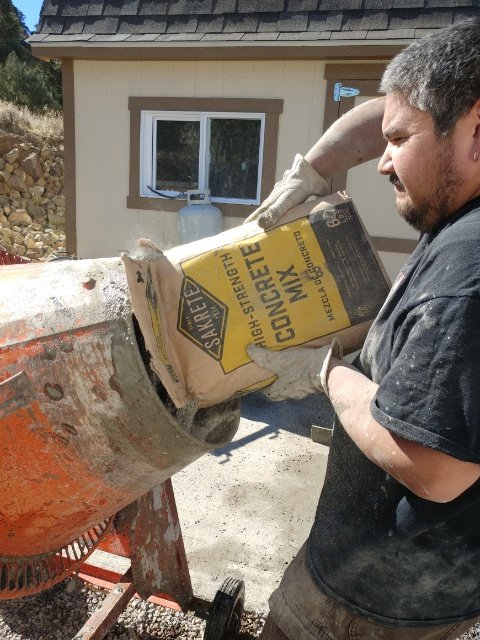
Concrete work is dirty work.

We mixed 3 bags of concrete at a time in the mixer, then poured it into a bucket to schlep it into place.
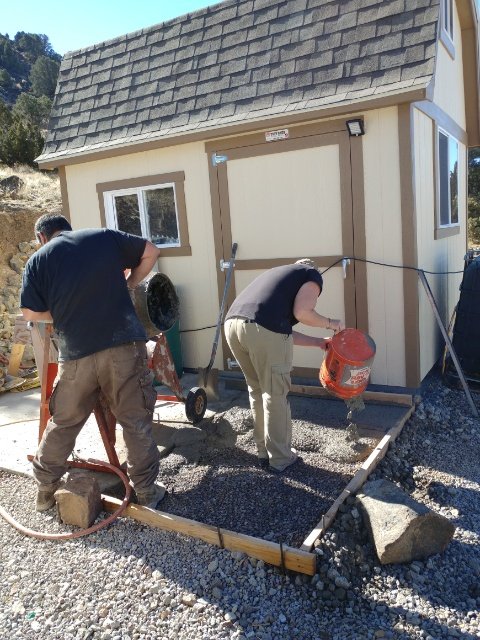
It was actually really easy to move the concrete around such a small area with the bucket.
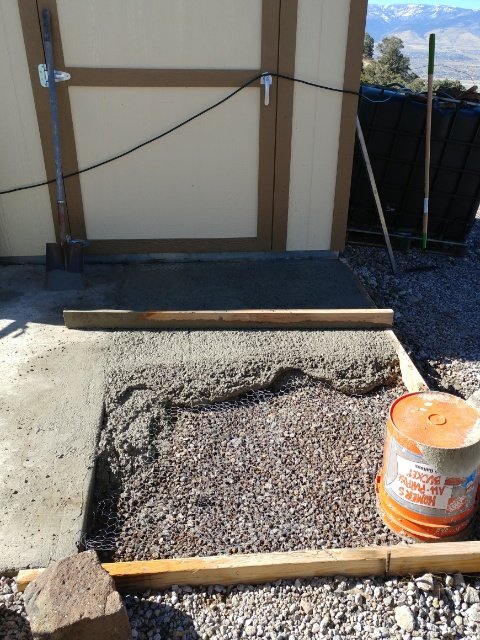
You can see the chicken wire we put down as an added strengthener. Every so often, we’d reach down and pull the wire up so it was floating in the slab rather than pressed down to the ground.
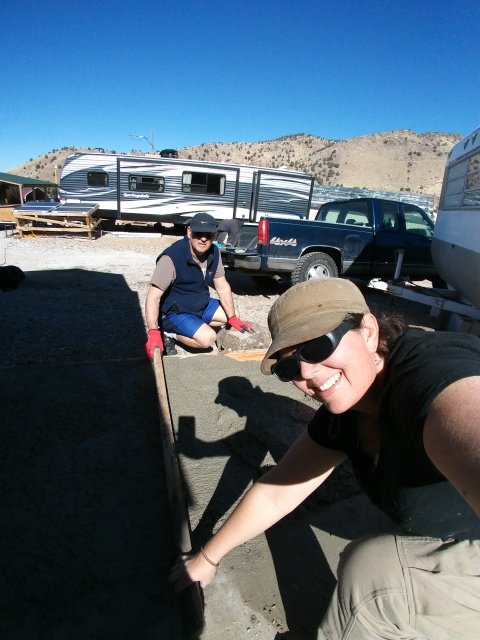
While Hubs mixed up another batch of concrete in the mixer, Pajii and I would scree the freshly poured stuff so it stayed level with our existing slab and the forms we built out of 2×4’s.
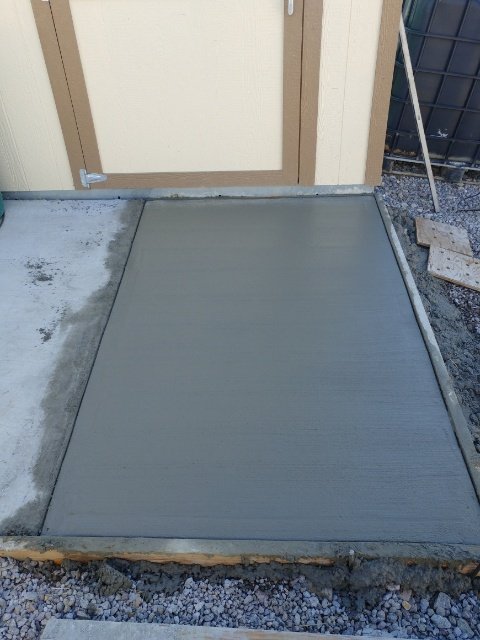
The finished slab. It makes getting into the well shed so much easier!
Another project we worked on was some driveway maintenance. We had put in a culvert last fall and it needed a bit of upkeep.
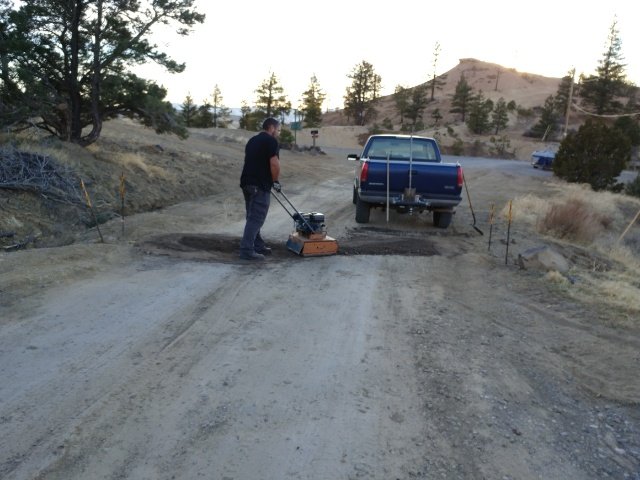
Adding and compacting more dirt over top of the culvert.
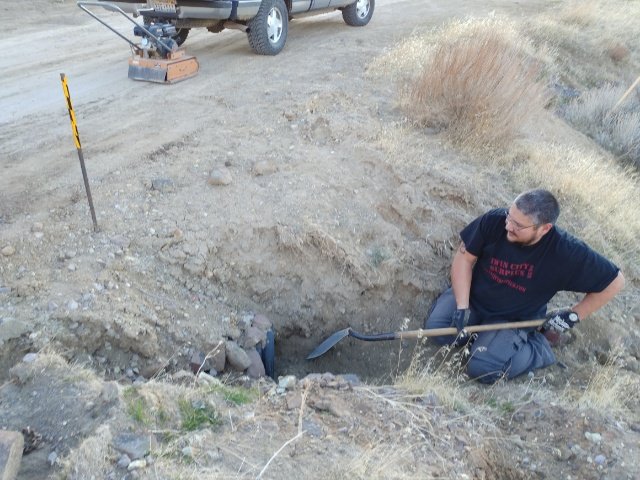
Hubby cleaning out some collected sediment inside the culvert.
There were a few gardening type things to do as well. Since I don’t plan to start a garden this year for myself, it was great to get some dirt under my fingernails, so to speak.
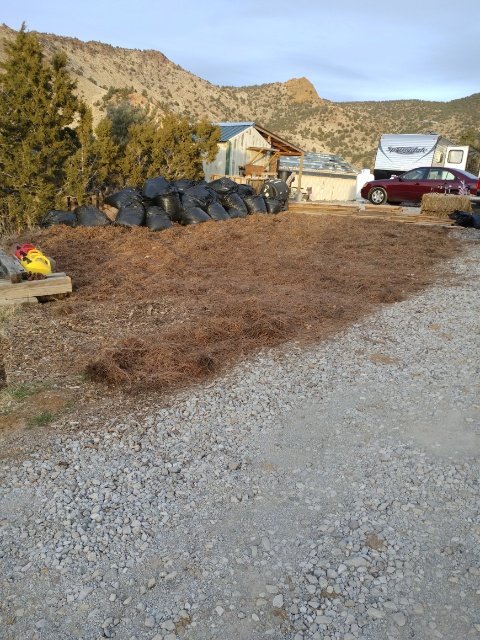
Spreading pine needles collected from our church’s landscaping. This area will eventually be our fenced in garden with raised beds, but right now it is a parking area. We thought it best to use decomposable material rather than gravel to combat the mud in this area. Besides, the pine needles were free and we were saving our church some money since they didn’t have to haul it all to the dump.
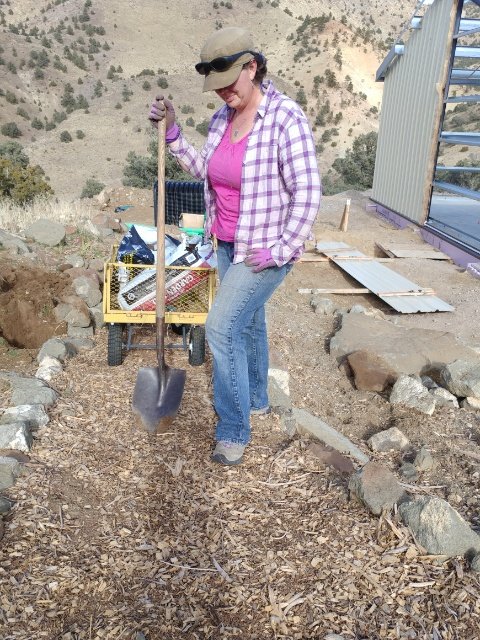
I had some flower bulbs I needed to get in the ground. So I made a couple new areas for flowers along the pathway going from the upper level down to the house pad.

This area eventually became a perennial flower bed. Once the spring bulbs come up, we’ll plant some more summer type perennials in this bed, too.
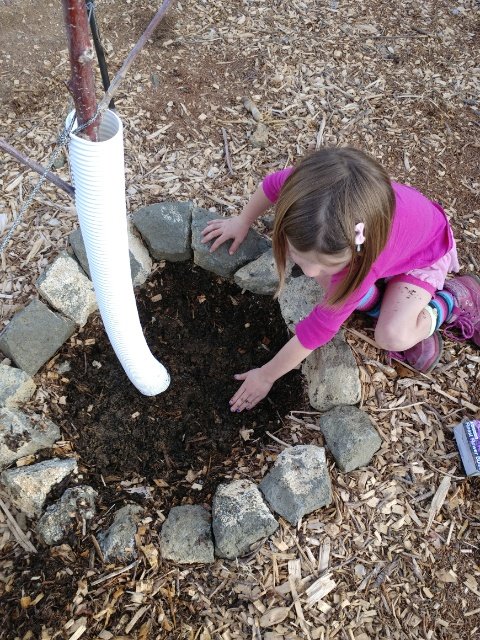
And, since I had gone a little crazy buying flower bulbs last fall, we had plenty left over to plant in other places as well, such as around our cherry trees.
Oh, and we finally finished the stairway that leads from the upper level down to the house pad.
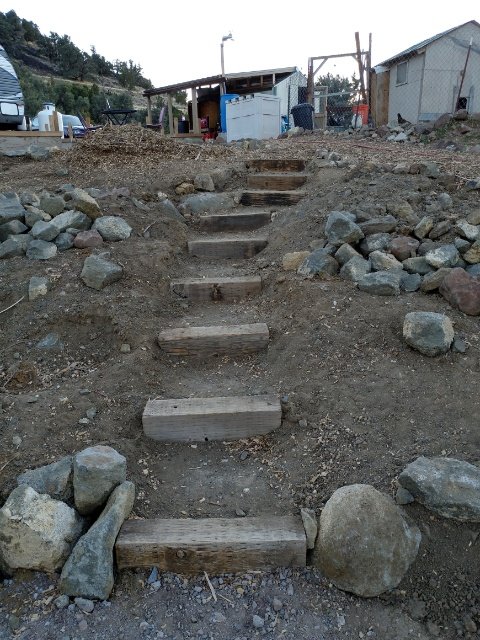
These stairs are made from railroad ties that have been sitting on this property for over a decade.
And, if you’ll remember the panels that blew off the side of the hill?
We finally got them back up to the pad. All 29 of them.
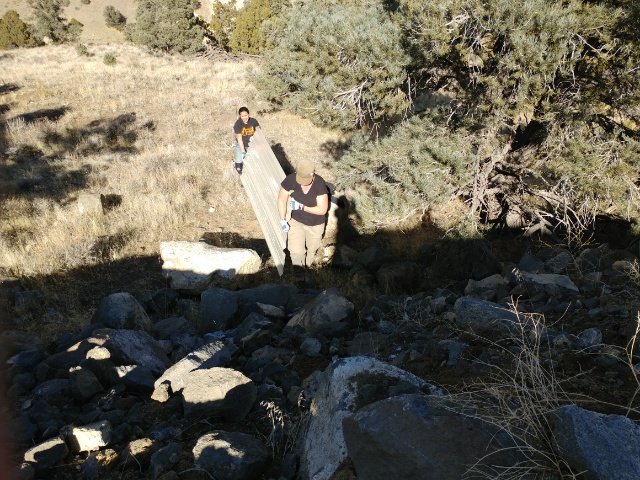

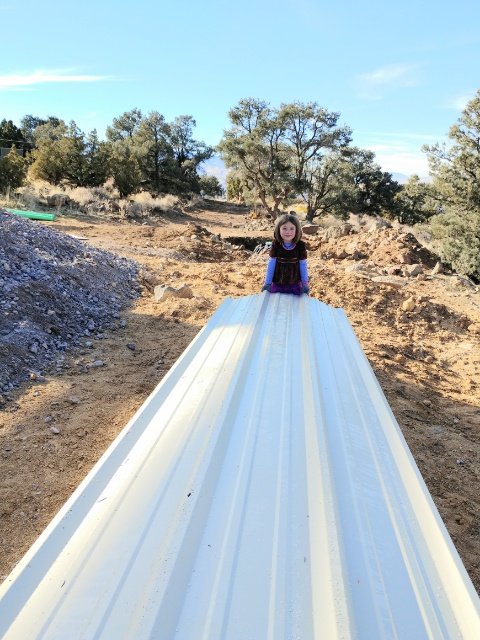
Even Flower Girl was able to help once the panels were at the top of the hill. The panels are heavy for a 5 year old, but she’s strong and has a will to help.

This girl, even with a gimpy knee, was amazing in getting all those panels back to the top.
So even though we haven’t been able to work on the house, we have not been idle this winter. January and February we’re filled with a lot of time outside.
And then March blew in and winter finally settled in.
So, we’re back to being stuck inside and working on other projects.
But Spring is just around the corner. And our new contractor said it shouldn’t take much more than a week to finish the siding and roofing once they get started. Rest assured we’ll be shouting from the mountainside when that blessed event finally happens.
In the meantime, keep warm and busy friends.


