
Back this summer I learned to make my own granola and we are loving it! I made up another big batch today, so figured it was a good time to give you my recipe.
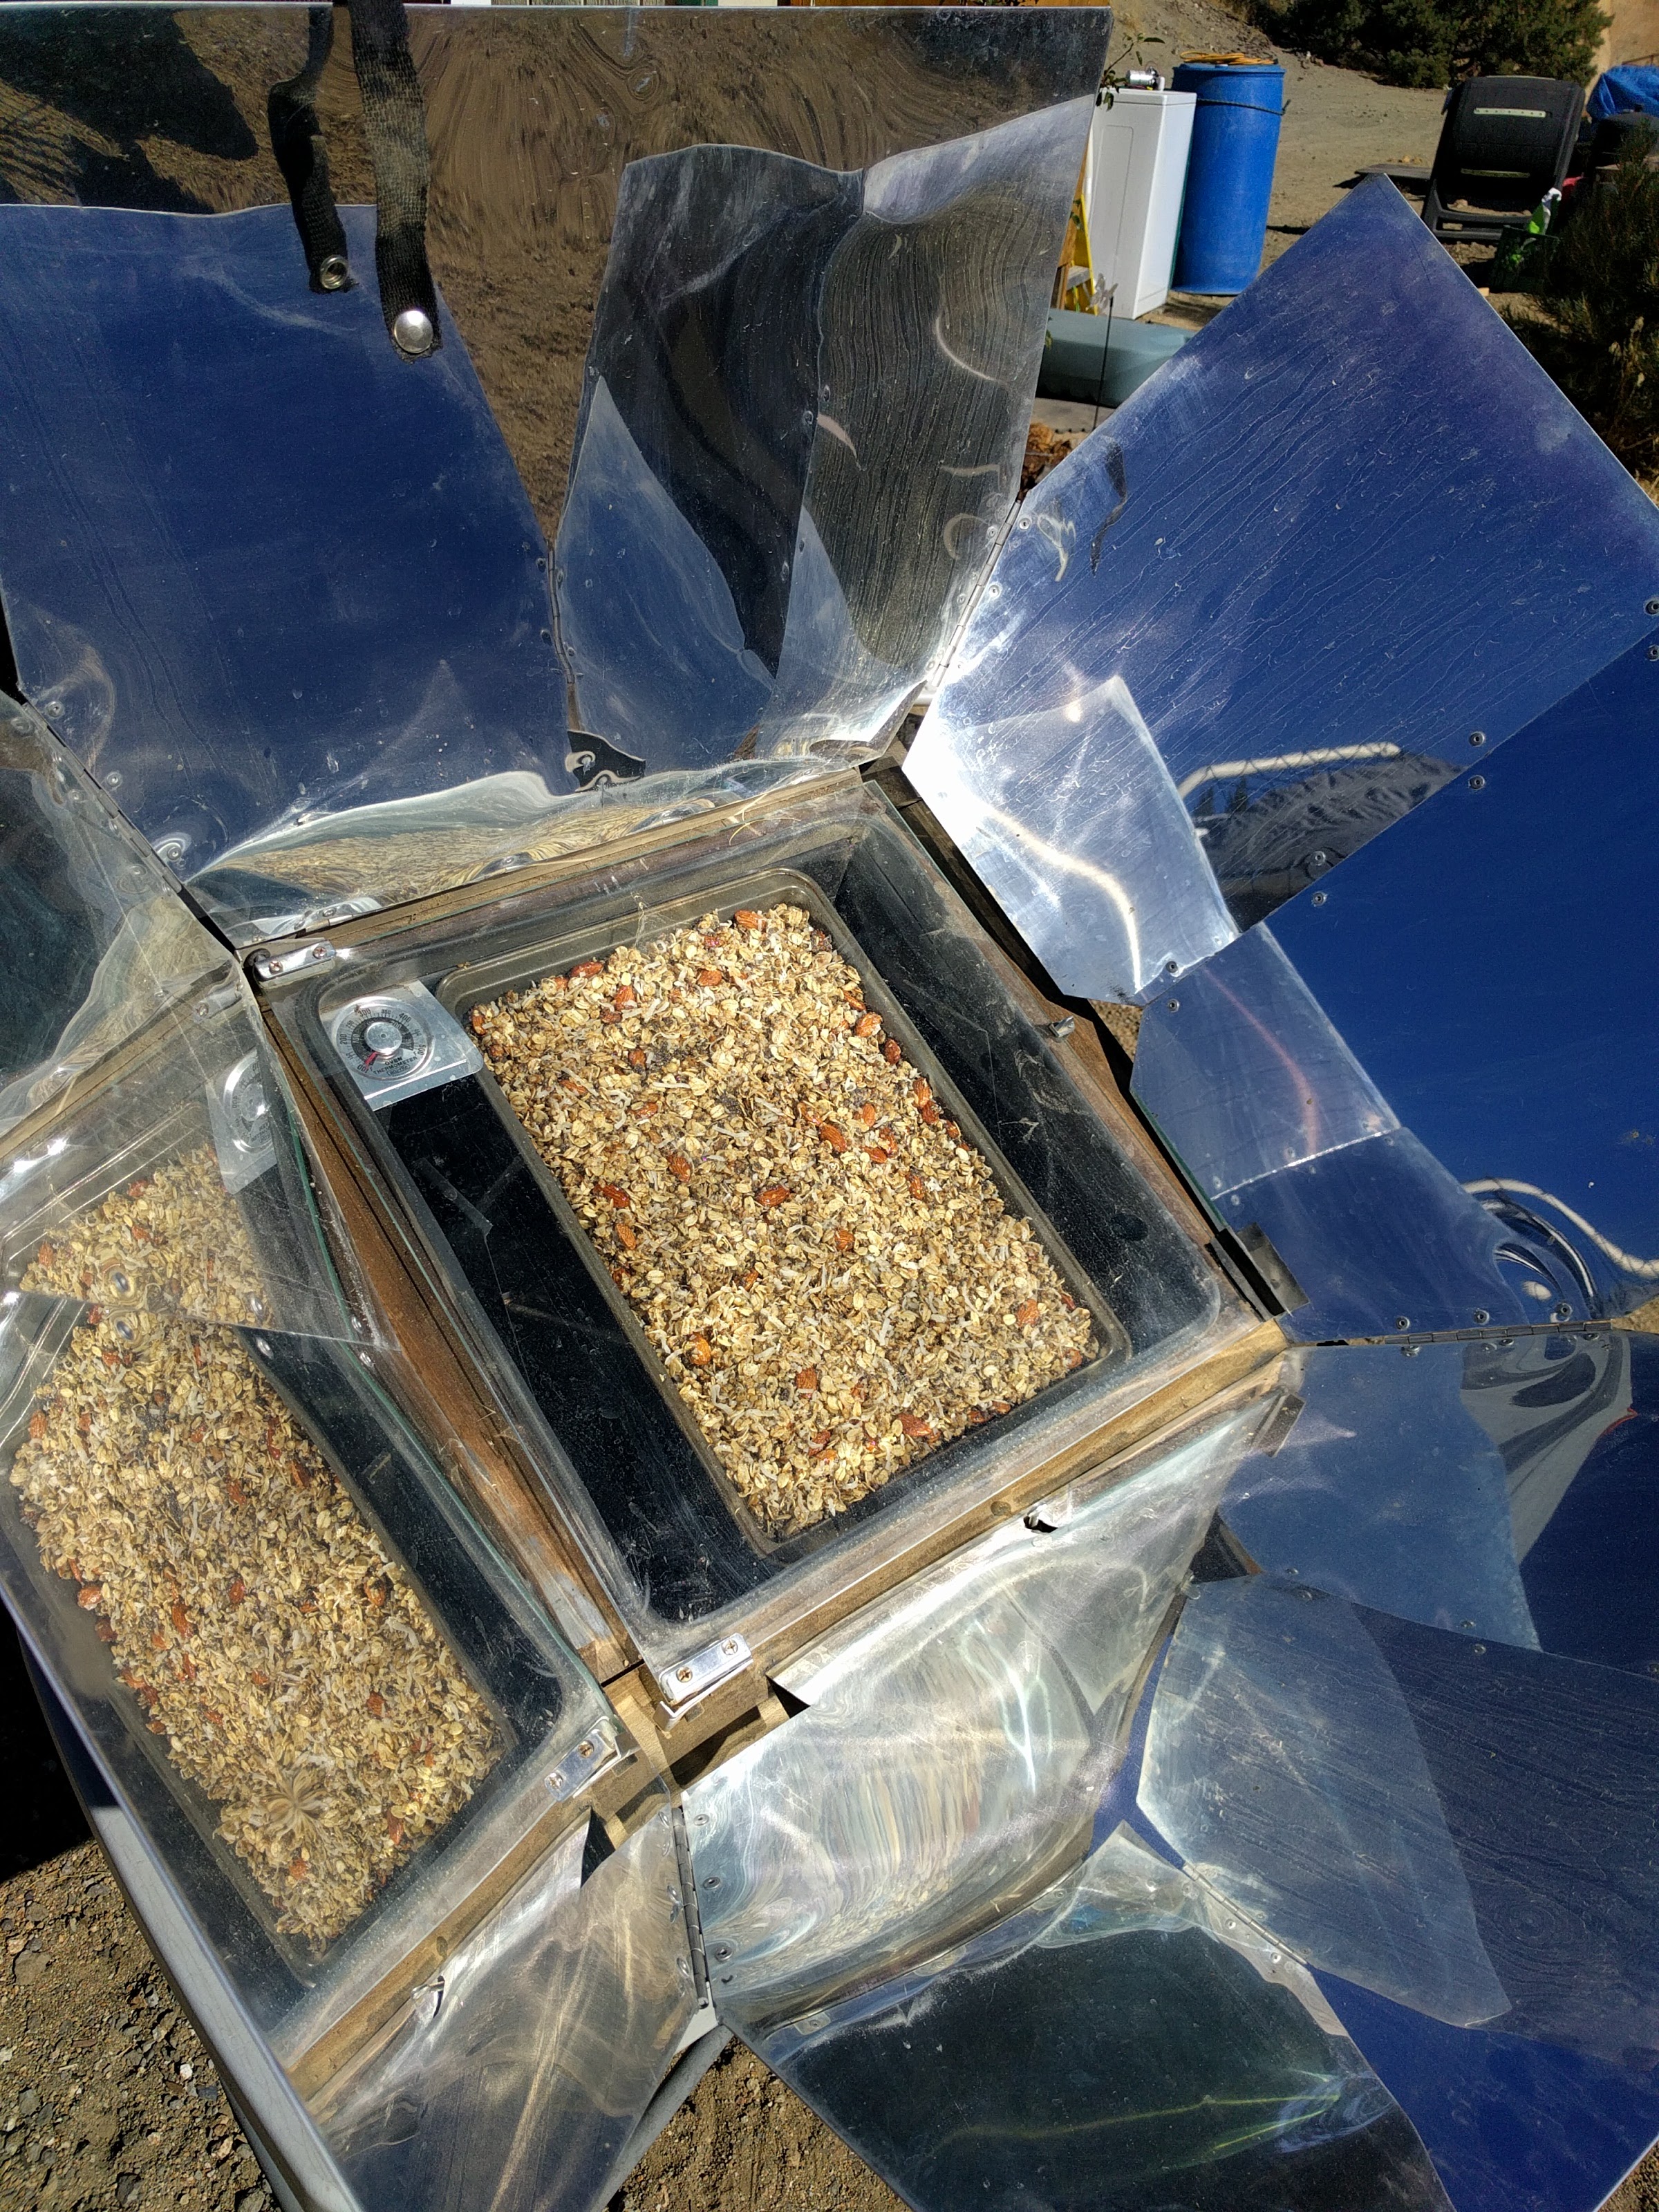
Making Granola in the early autumn sunshine with a borrowed solar oven.
I have spent countless minutes in the grocery store reading ingredient labels on granola packages and still ended up having to accept some ingredients I did not like in order to have the convenience of a cold cereal that is at least somewhat healthier for you.
So I decided to make my own. From be able to use whatever flavors you want to being able to control the quantity and quality of the ingredients, it just makes sense to make your own. Below is the recipe that I make every couple of months. Every time we run out, the Hubs gets a sad face and continually asks for me to make up another batch.
Oh, and speaking of the Hubby, did you see the post he did the other day about flashlights? I was so proud of him for taking the initiative to write up a post for this here blog. Ain’t my man great? 😉
I digress…
The recipe:
Homemade Granola
- 6-ish cups Old Fashioned oats
- 4-ish cups nuts or seeds of choice, chopped small
- 1-ish cup chia seeds
- 4-ish tsp Cinnamon
- 2-ish tsp salt
- 1-ish cup pure maple syrup
- 3/4-ish cup coconut oil
- 2-ish tsp real vanilla
- 1-2 cups raisins
- 1-2 cups unsweetened coconut flakes
Directions: Place all ingredients except for the coconut flakes and raisins in a large bowl and mix thoroughly. Once mixed, spread a 1 inch portion of the uncooked granola onto a baking sheet and bake in the oven at 300 degrees for about 15 minutes. Stir the granola and bake for an additional 5-10 minutes or until the granola is just barely lightly browned. Empty that panfull into a large bowl and repeat with more granola until the entire batch has been cooked (it takes me four 9×13 pans to cook this amount. You could do it one at a time or if your oven is big enough, all at once – lucky you!) Add the coconut flakes and raisins and mix completely. Let cool and store in an airtight gallon sized container (I use 2 half-gallon jars). Enjoy by the handful or with milk. And feel free to experiment next time.
Notes:
-As you can tell by all “ish” statements, I tend not to measure my ingredients very precisely. I just scoop or pour till it looks about right. 🙂 This recipe is very forgiving that way.
-Nuts: I usually use sliced almonds and chopped walnuts. Lately I’ve been putting in raw pumpkin seeds as well. This time I even added a bit of flax seeds. Whatever seems good at the time and to ramp up the nutritional value. If you really want to be uber healthy, you should soak the nuts ahead of time. I have never done this, mainly because I never think about it ahead of time. It sounds really easy to do, just takes some planning.
-Other recipes will tell you to add the coconut flakes in at the beginning or midway through for a “toasted coconut” flavor. I found that by doing that, I lost the coconutty flavor. So I just add it at the end with the raisins (which don’t taste good baked in my opinion – they get too dried out).
-Feel free to make substitutions as needed/wanted. Your results may vary from mine, but that’s what making your own food from scratch is all about, making it the way YOU want it. Want to use regular oats, not old fashioned? Go for it! Want to play with the ratio of oats to nuts? Awesome! Can’t stand coconut? Leave it out. Make it yours!
-A note about price. Obviously the price of your ingredients is going to affect the price of this granola. I have found that it is not really any cheaper to make my own than a good quality store bought, mainly because I use so many nuts, which are expensive. But, and that’s the most important “but”, I can make it exactly how I want it with the exact ingredients I want. I get to control everything that goes into it. And that is worth more than the price tag.
Well, there you go. I finally got my granola recipe up here for y’all, as I said I was going to in a facebook post way back in August!
I hope you enjoy.
