We got a huge step forward on the house accomplished last month (pun totally intended! 😁)
We got our stairs built!
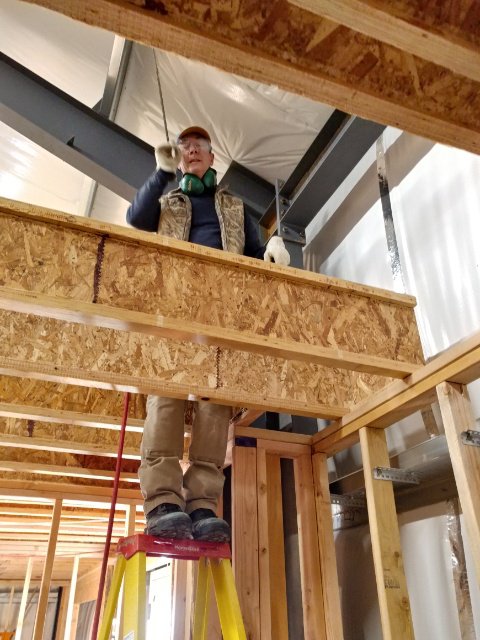
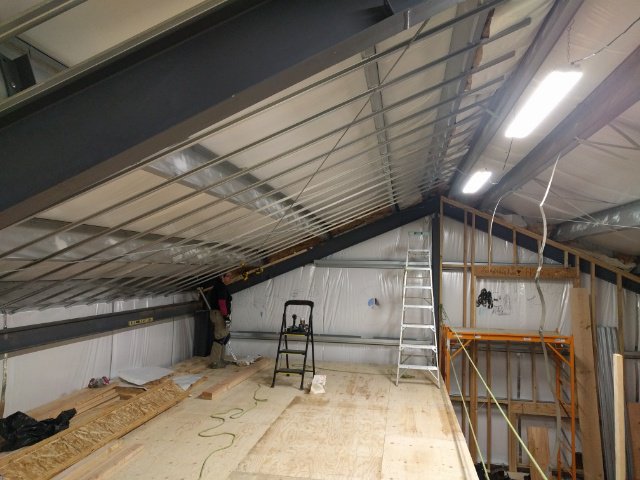
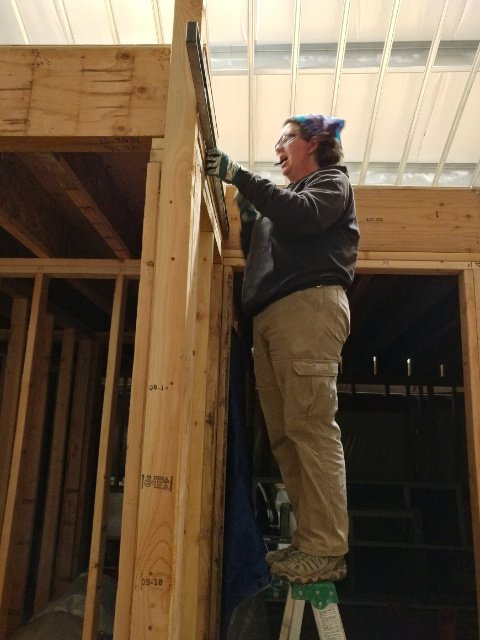
But, if you’ll remember, the last time I updated about the house, we were working on the hat channel on the ceiling.
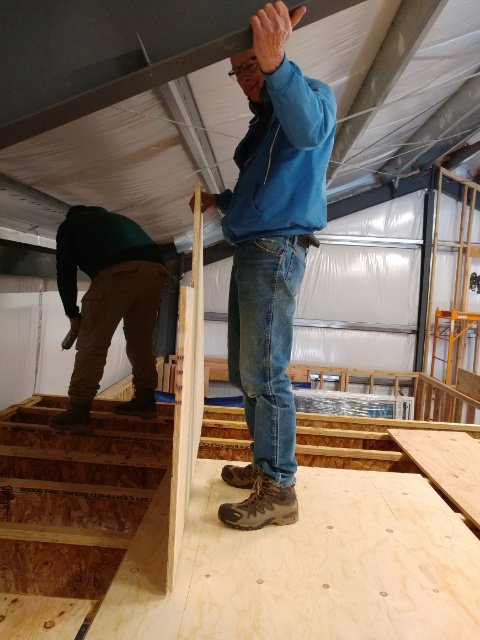
We got most of the hat channel on the south side of the house (the side above the second floor), and then realized we needed to build the other end wall before we could finish that.
But, we also decided that we wanted to get the stairs in to make working on the second story that much easier for us since the ladder was getting old real quick!
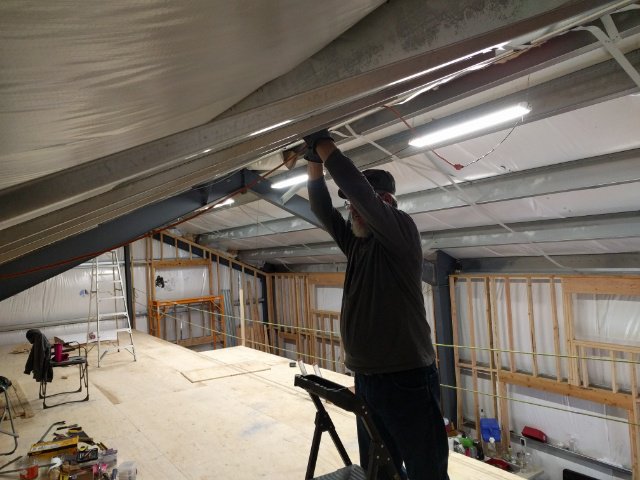
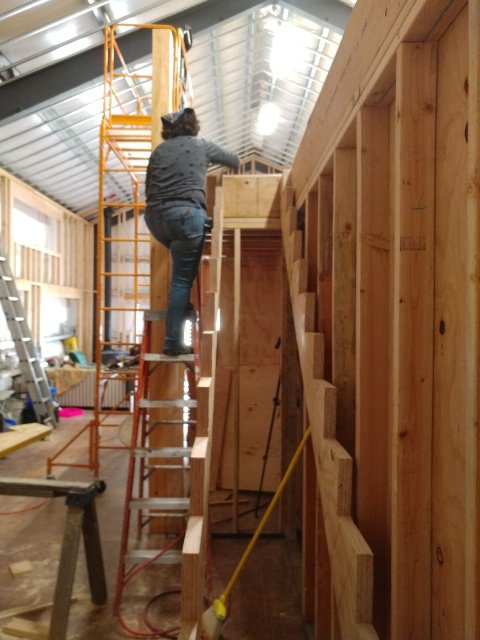
But in order to get the stairs in, we needed to put the hat channel on the ceiling of the north side of the house since once the stairs were in, it would make that task infinitely more difficult since we wouldn’t be able to use the scaffold effectively in that area.
Dominoes.
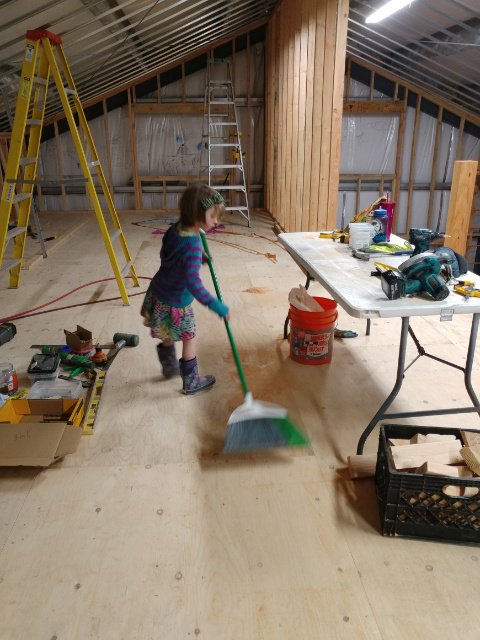
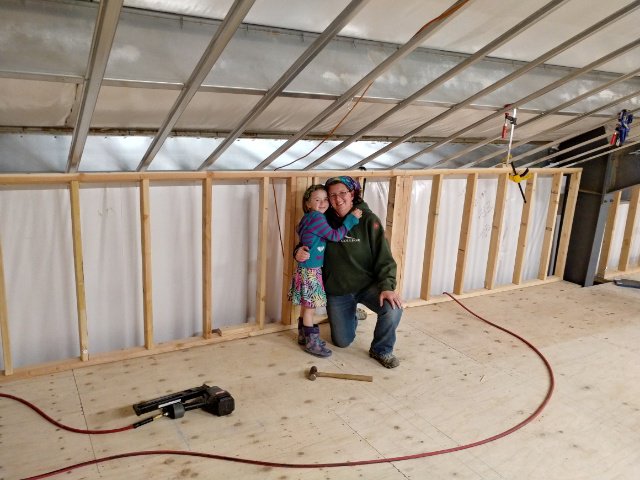
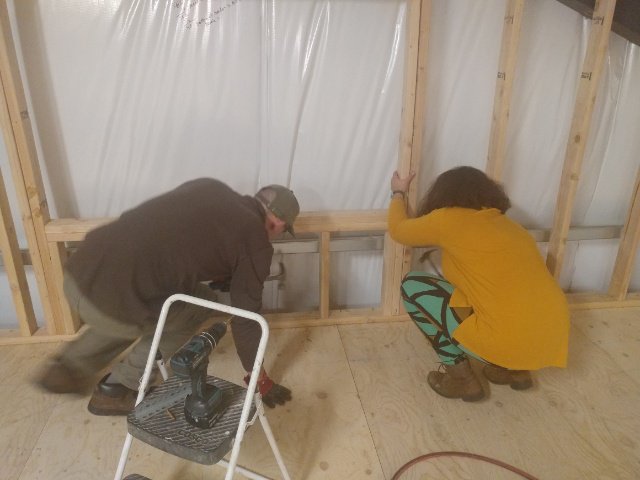
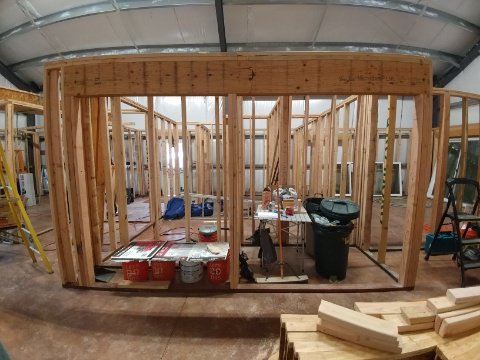
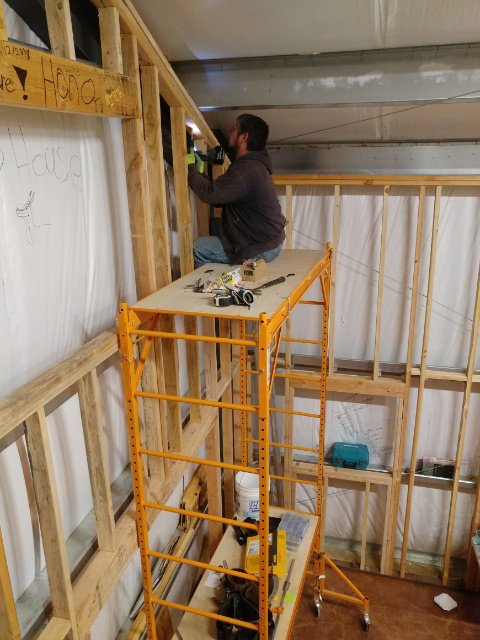
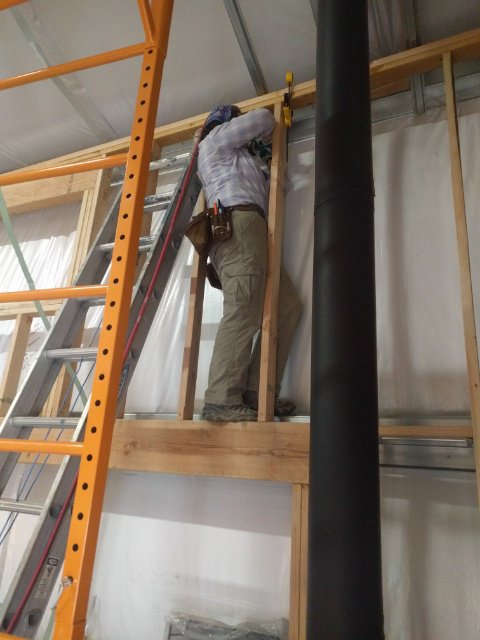
So, we worked on the ceiling above the dining room area.
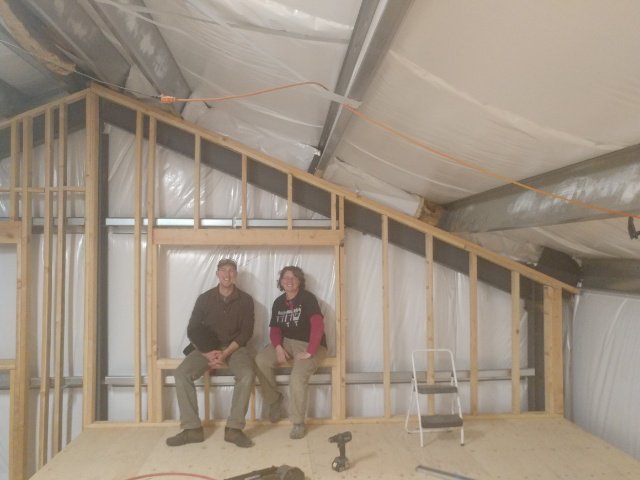
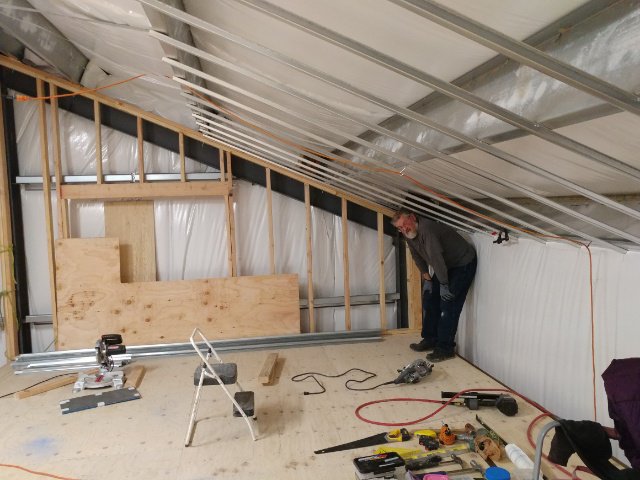
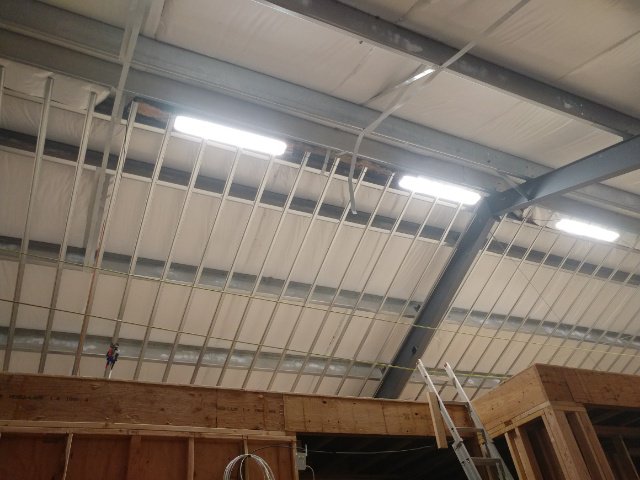
And, as usually happens, once we start a project, we like to see it through. So even though we could have stopped after the first ⅓ of the roof, we decided to keep on going.

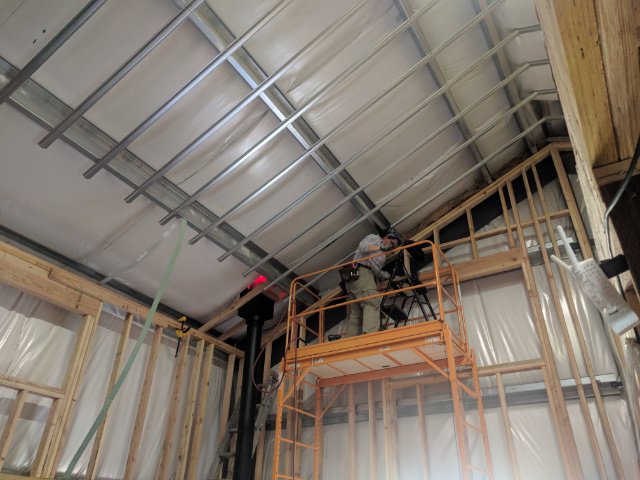
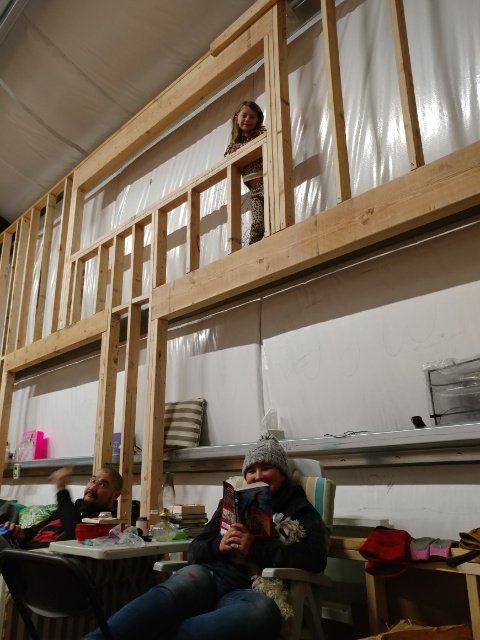
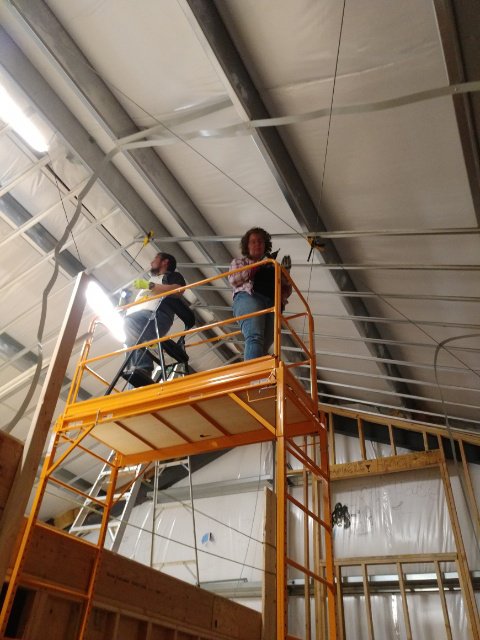
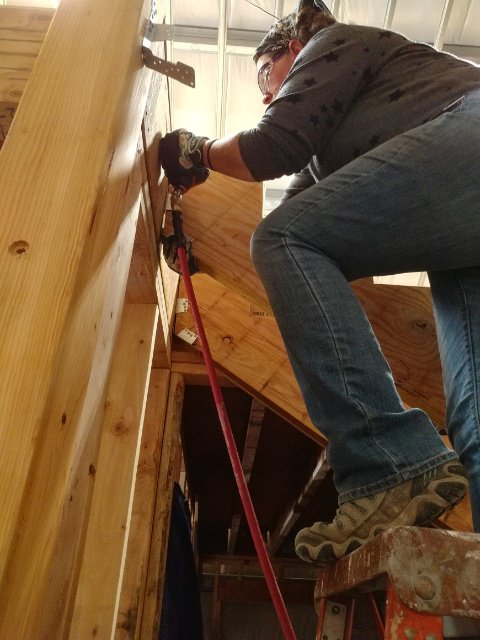
The upper half of the hat channel all the way across the north side of the ceiling.

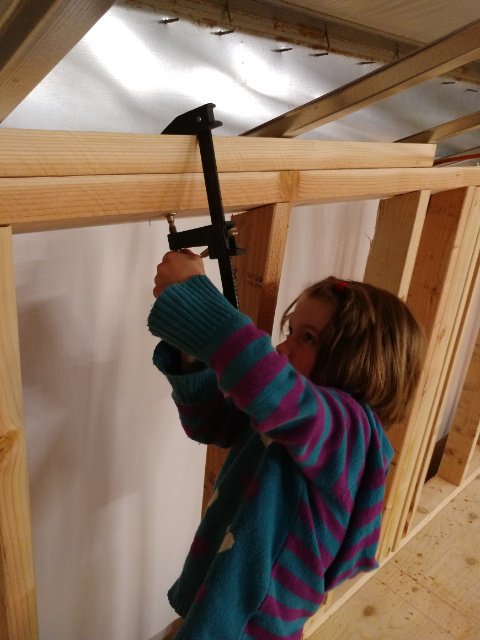
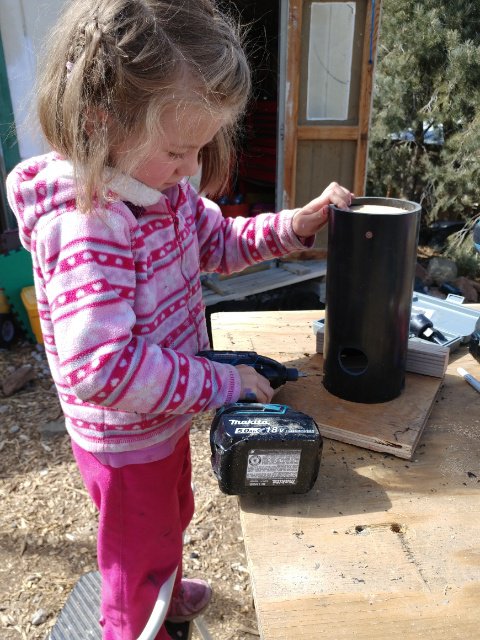
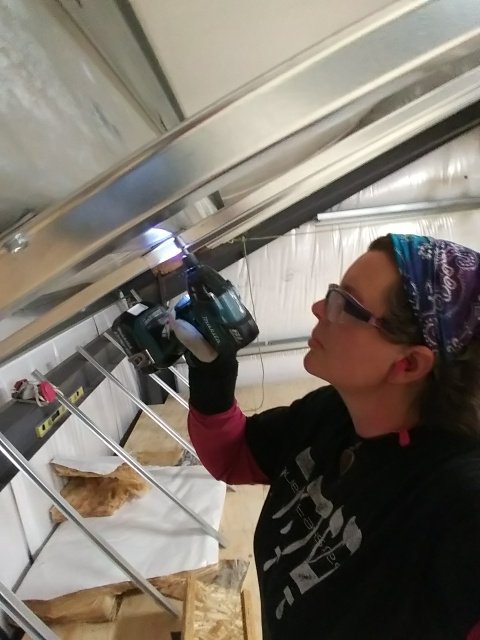
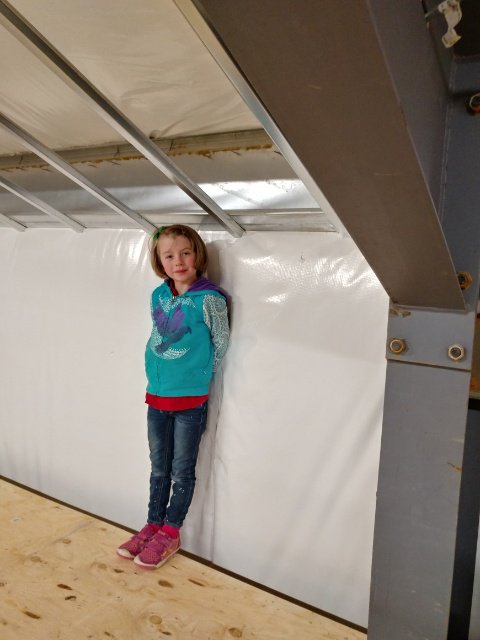
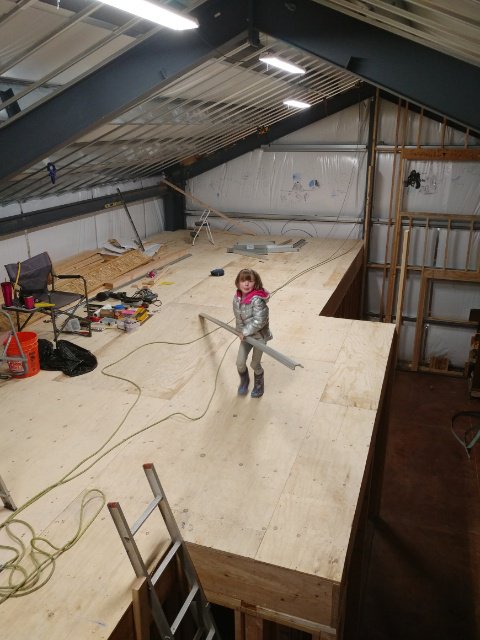
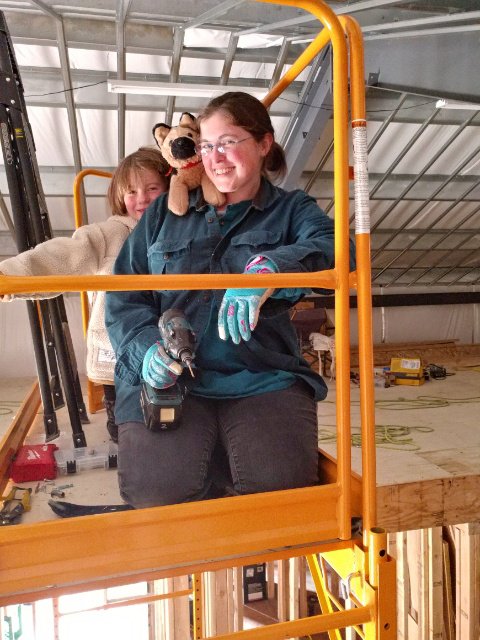
Princess Girl learned how to use the chop saw to cut the hat channel to length.
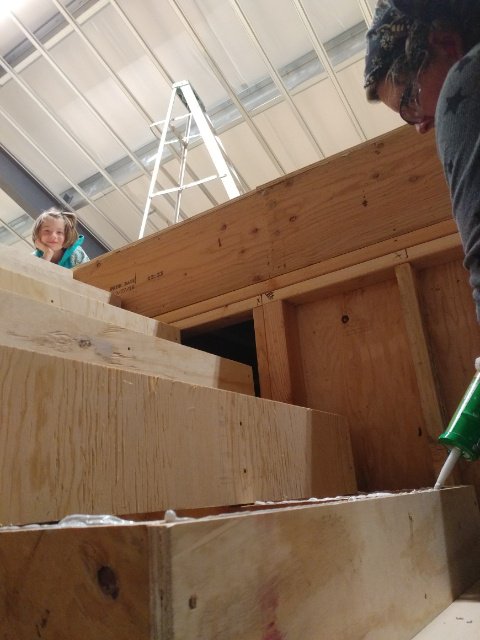
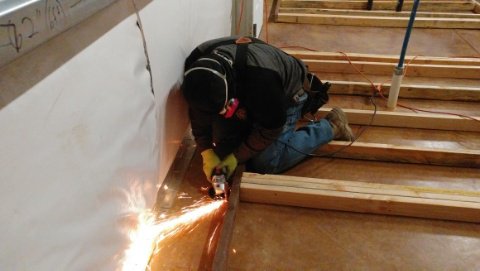
Sometimes you just have to get in there!
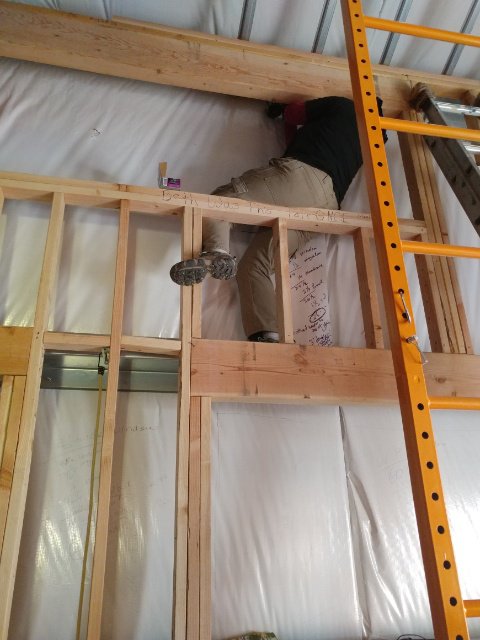
Yep, working in the walls. 😁
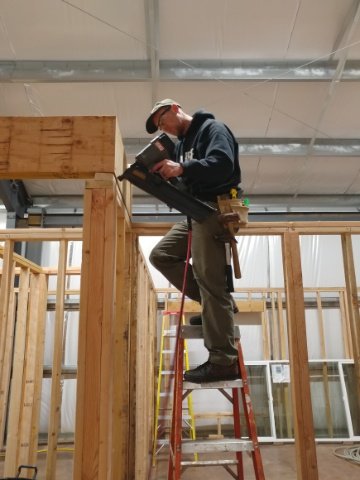
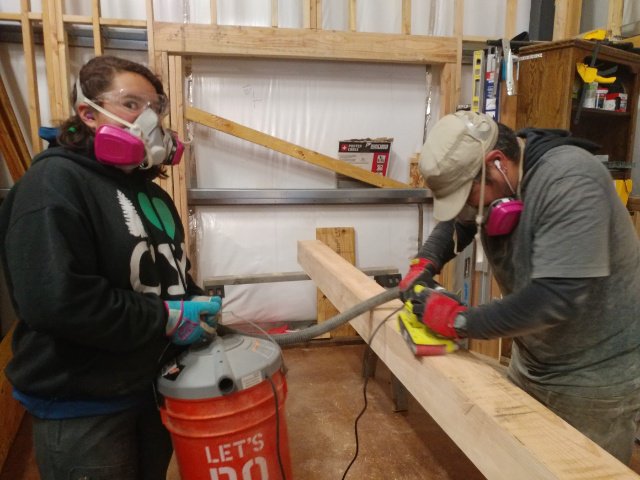
A good friend came to help out and we put her to work helping me with the hat channel.
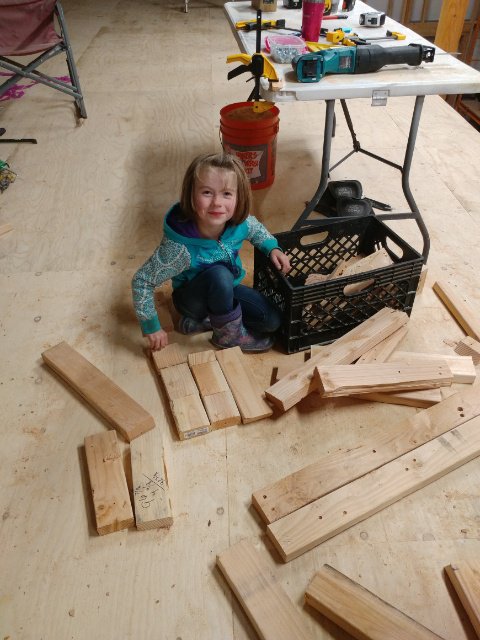
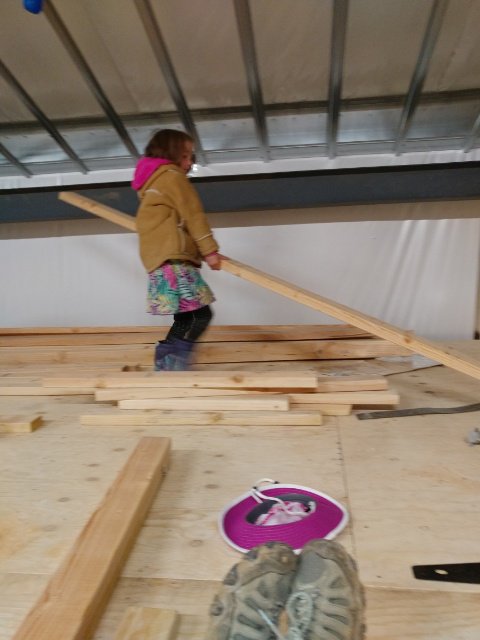
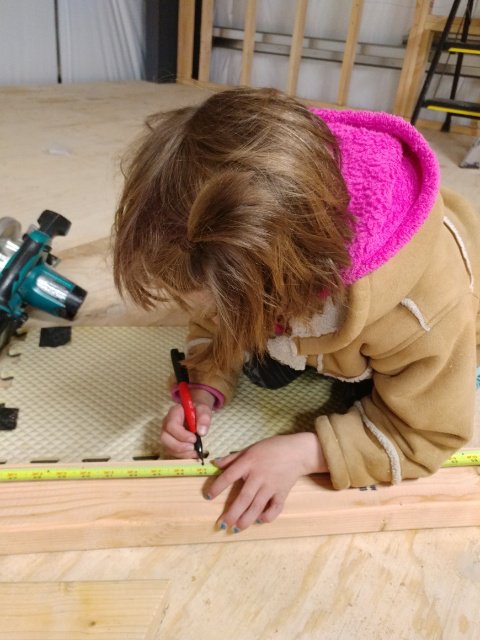
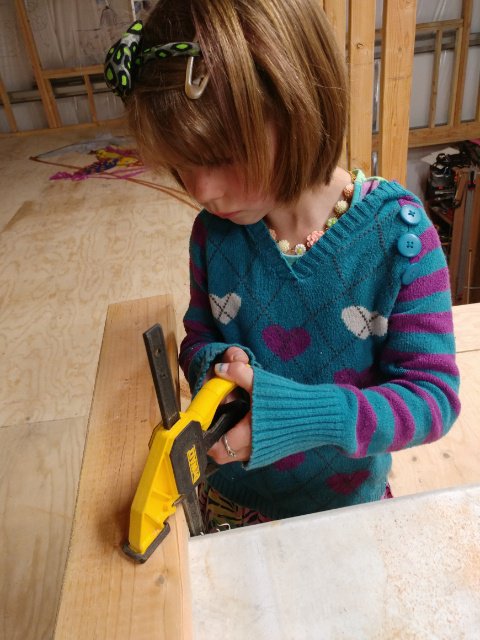
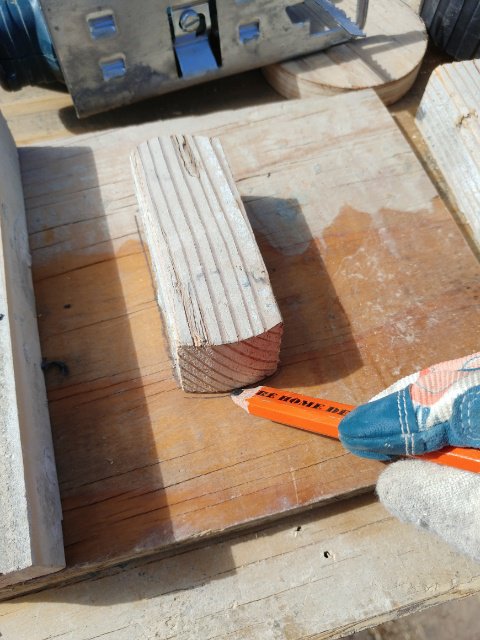
In between working on the hat channel, we started the prep work for the stairs. Since the stringers needed to be made out of expensive LVL engineered lumber, we decided to buy a cheaper piece of wood to “practice” our stair-making technique.
Neither one of us have any prior stair-making experience, so we did quite a bit of research prior to starting.
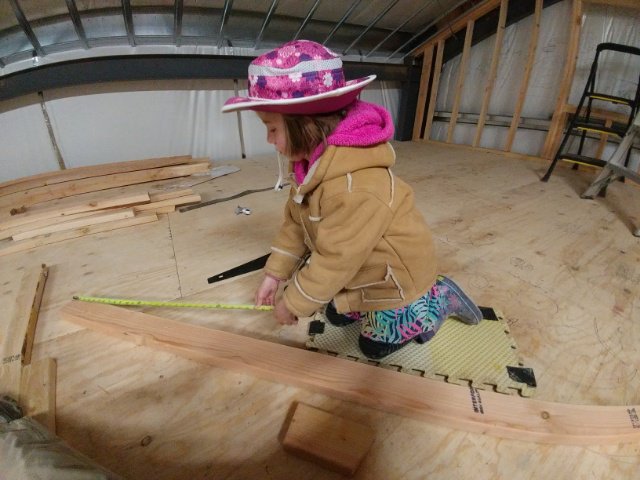
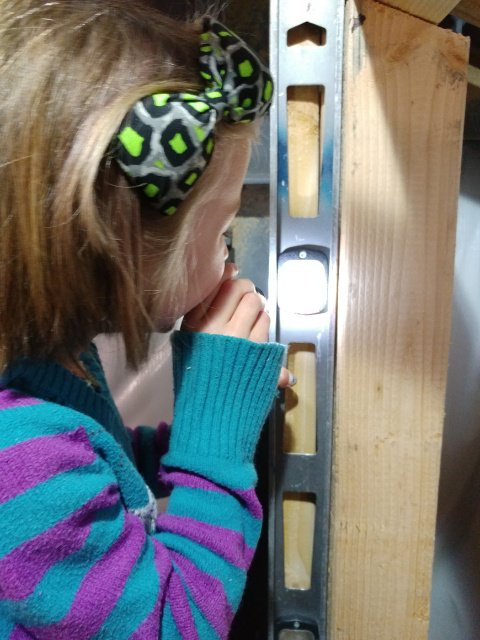
We bought a special layout tool off of Amazon (not an affiliate link, nor are we receiving any kind of benefit from sharing – we just happened to use it and like it.) The website affiliated with the layout tool also had a stair calculator so you could plug in your measurements and it gave you a printout to follow.
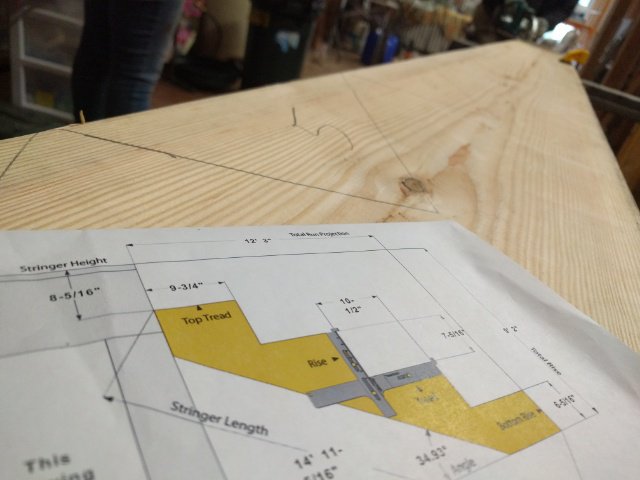
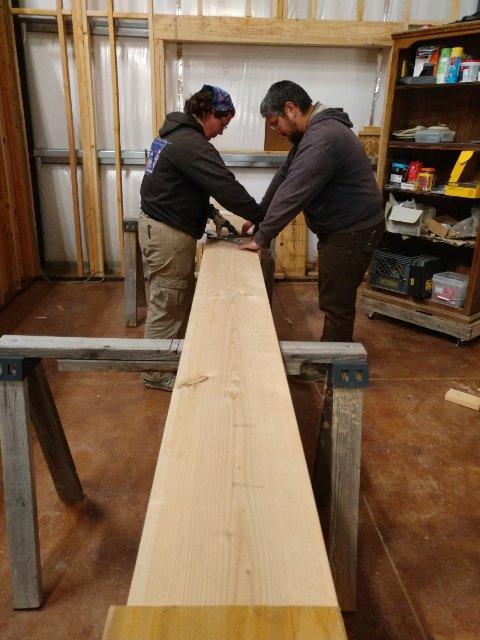
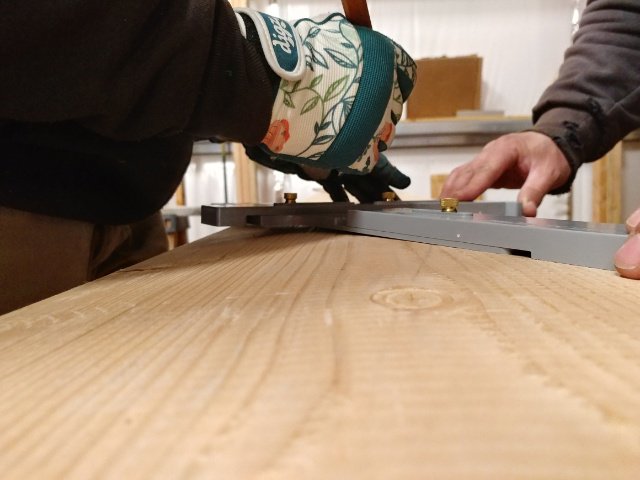
It was super easy to use (though we did have to watch the video tutorial a couple times to make sure we were beginning and ending correctly). It gave us the confidence to know that our measurements were accurate and precise.
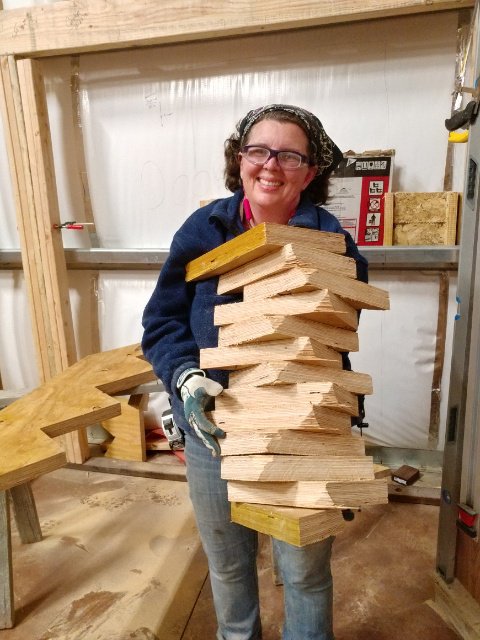
So we cut out one stair stringer out of the cheaper board and are ever so glad that we did. We discovered that we needed to change a few things around and change a measurement or two.
That stringer was not complete waste though. We can cut it shorter and use in various other locations around the homestead. So for now, it’s living in the garage.
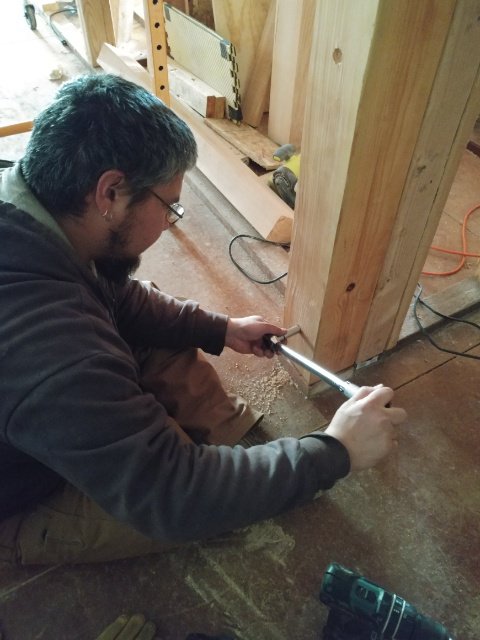
So now we were confident about how to build the the stringers, but we needed to put in a post.
Way back when we were laying out the foundation, I made a mistake on the placement of a shearwall. It is 8 inches out of place from what the plans call for. Not too much of a big deal. It just means the bedroom is wider and the dining room is narrower. But that also means the staircase is narrower. Too narrow actually. Building codes state that staircases have to be a minimum of 36inches wide. Because of the mistake in the placement of the wall, our available space was only 35″. Oops.
Had we realized our mistake when laying out all the other walls, we would have just made the pantry wall that the stairs tie into a bit longer. Problem solved.
But, of course, we didn’t realize the problem until ALL the downstairs walls were built and we were working on the flooring for the second floor.
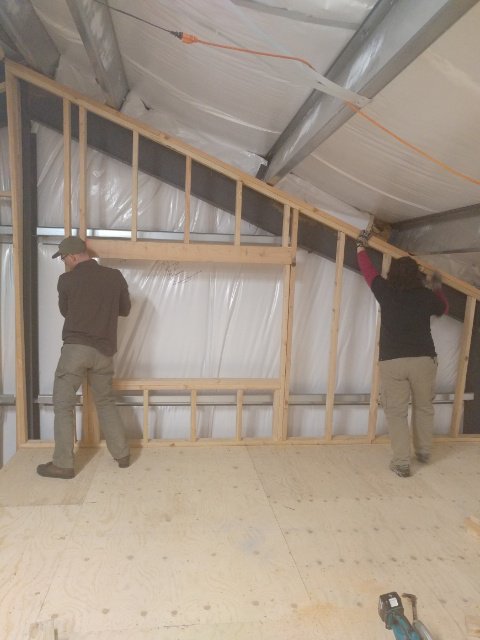
So after quite a bit of brainstorming, we came up with a solution that we actually really like. We decided to add a post to extend the wall where the stairs attach and we are going to leave it exposed. It’s more work, time, and money, but in the end, we are really going to love the exposed posts in our kitchen. And I say posts – plural – because the way we have to tie in the pony wall on the upper floor (because of our mistake) necessitates a post on each end.
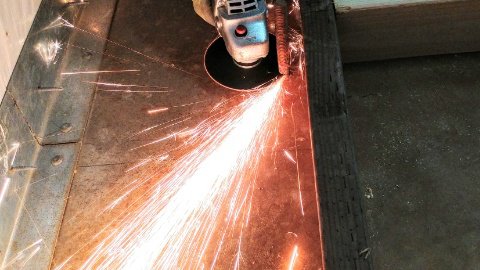
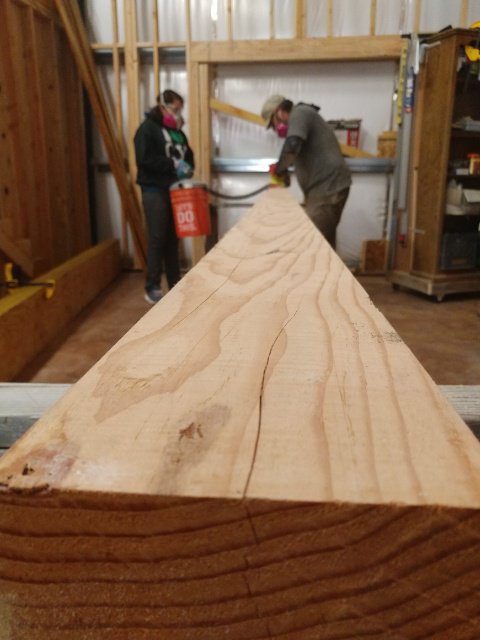
So, anyway, we purchased a 16ft long 6×6 and then Hubs and Princess Girl got busy making it purty.

After sanding, Hubs put boiled linseed oil on it.
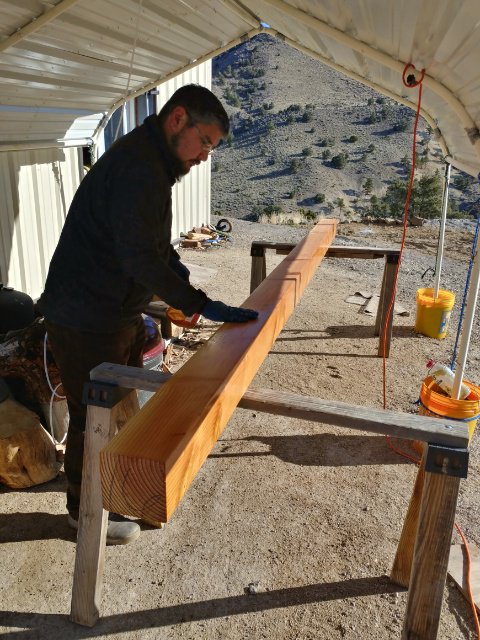
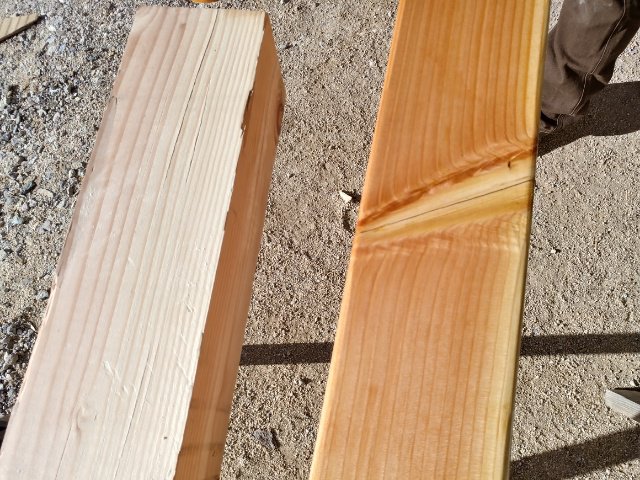
We just love the way that the BLO makes the grain “pop” and gives the wood a warm glow.
Then we attached it to the wall with ½” lag bolts.

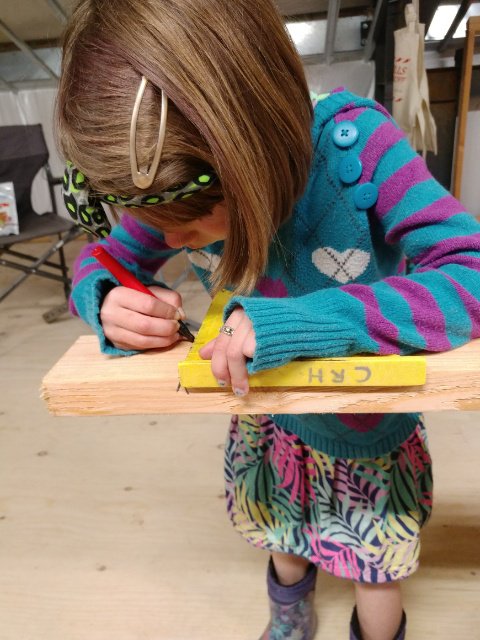
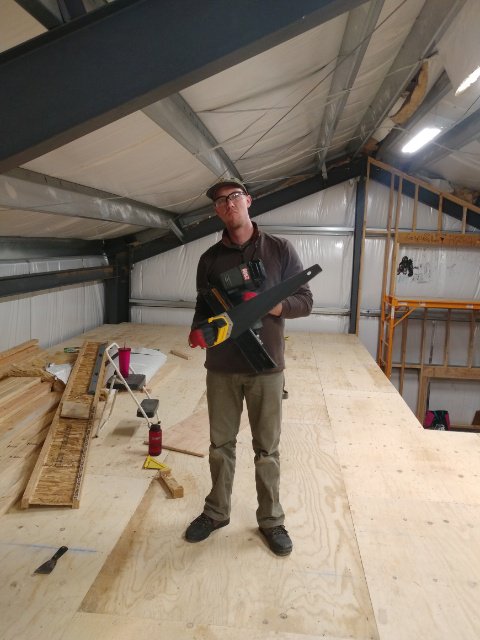
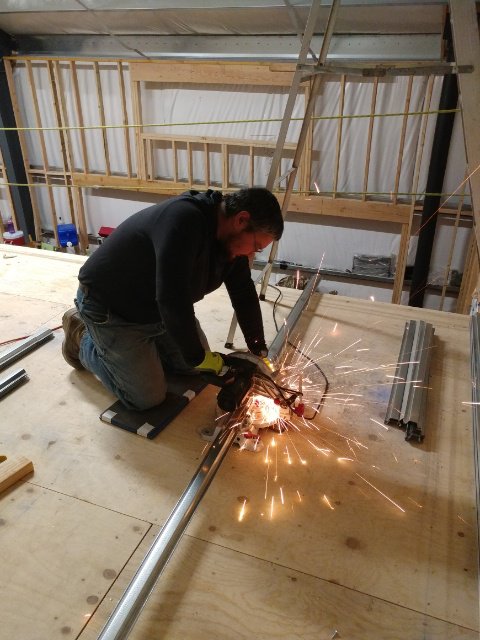
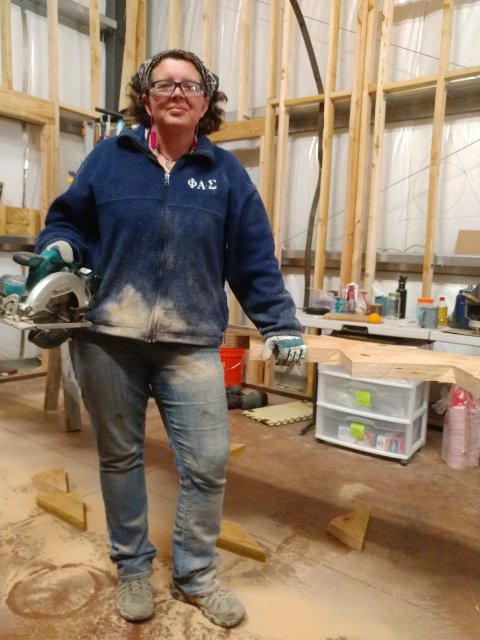
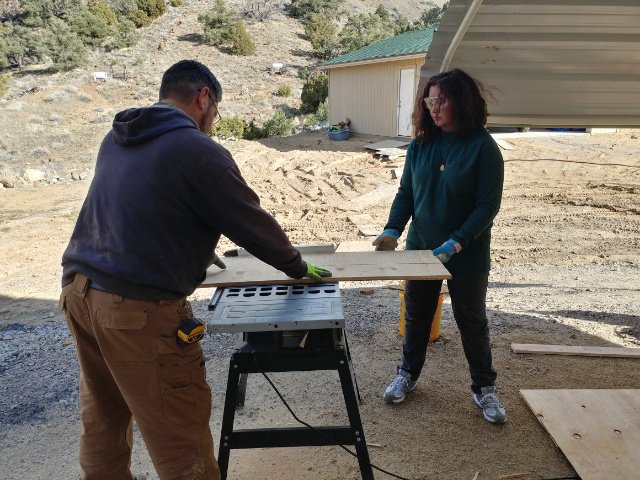
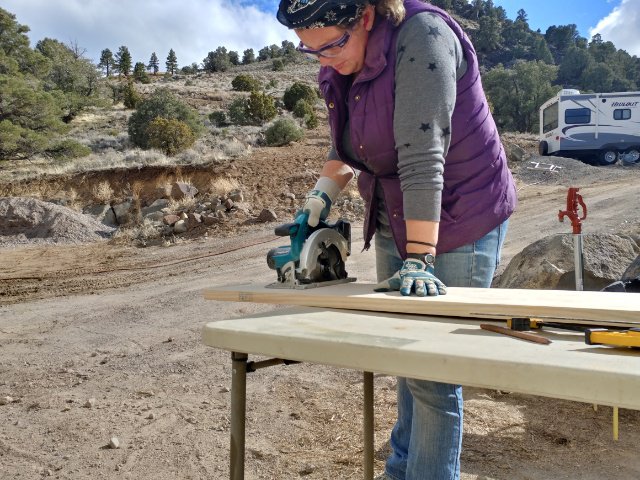
Once we had a full width wall to attach the stairs to, we purchased our LVL boards and got to work cutting the three stringers.
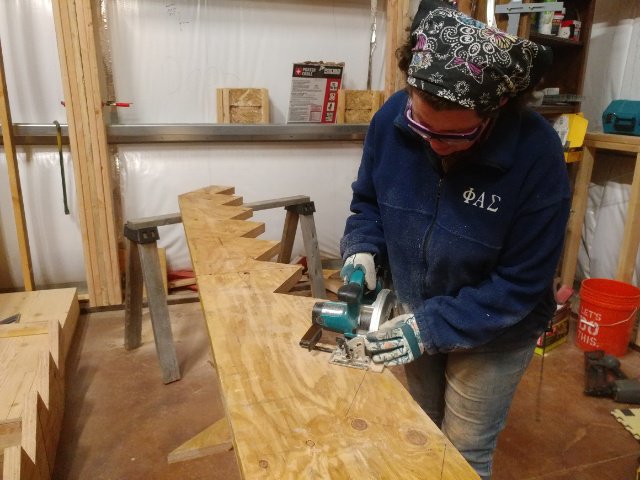
I was the one to use the circular saw because I have a steadier hand than the hubs. Probably from all the sewing I’ve done in my life. 😊
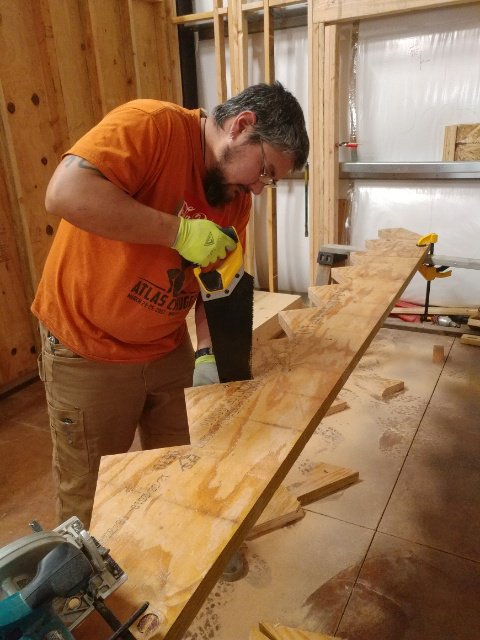
And Hubs is slow and meticulous when it comes to hand work (he’s much more patient than I), so he did a great job getting the little corner bits that the circular saw couldn’t get.
It’s a messy job, but someone has to do it.
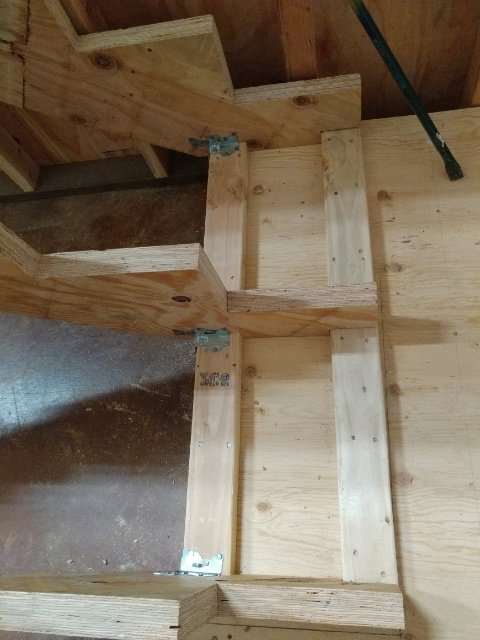
And just like that, the stringers were made and ready to be installed.
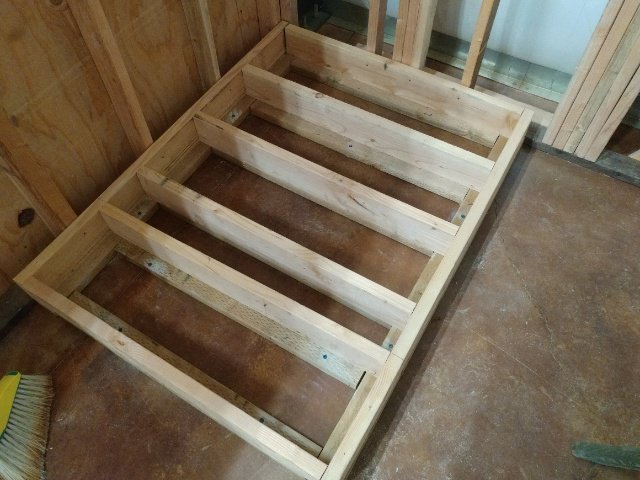
But first, we had to build the landing.
And put on the Simpson stair hanger ties.
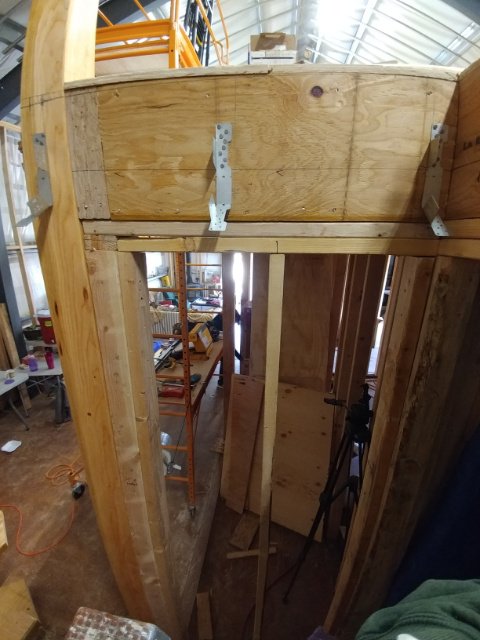
You can see in this picture how much the wall is extended with the post. The very left hand stair hanger bracket is actually on the post itself.
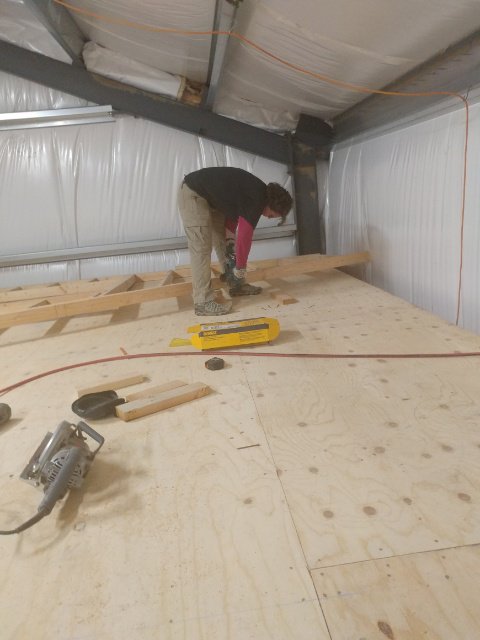
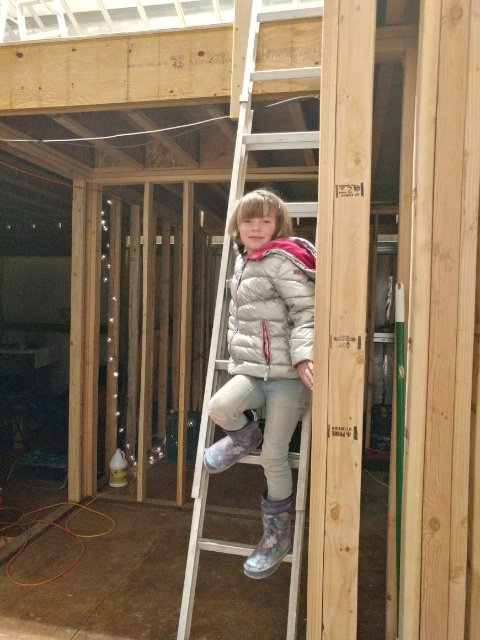
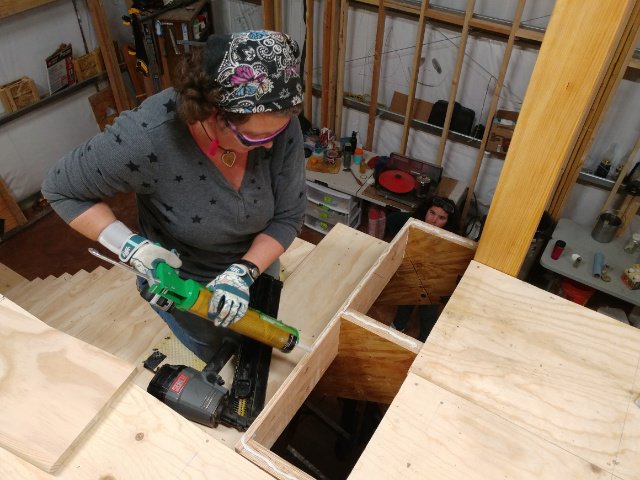
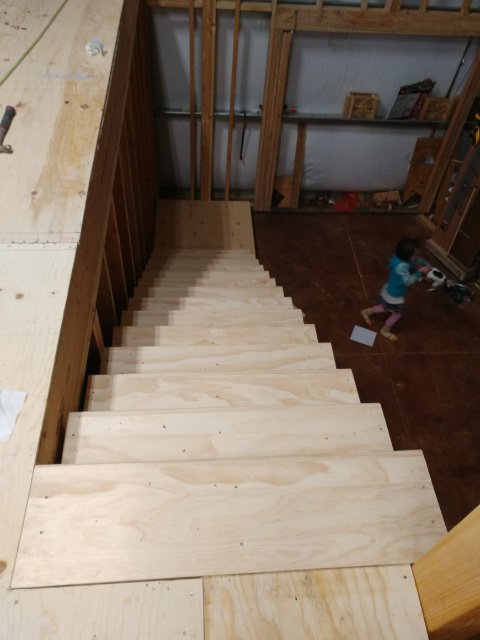
And then came the fun part. Installing the stair stringers. Princess Girl and I worked together on that project while Hubs was at work.
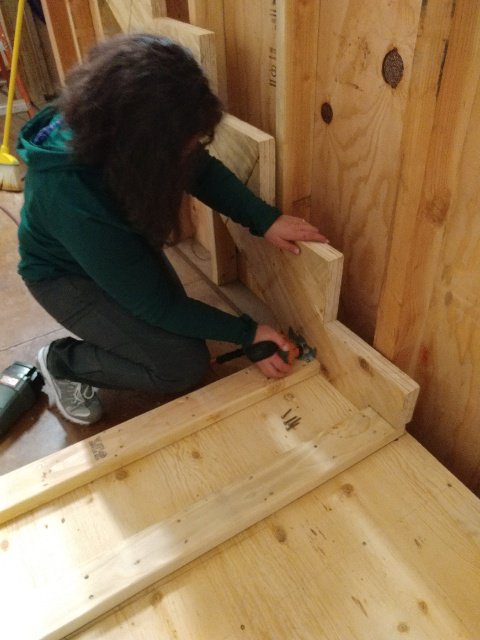
Princess Girl learning to use the palm nailer.
Where has a palm nailer been all my life? It makes nailing in tight spaces so much easier!
Those stairs aren’t going anywhere!
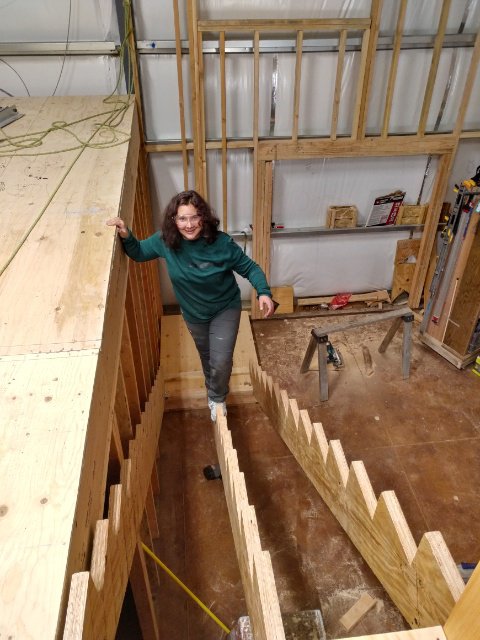
Ah, the fun of climbing the “stairs” for the first time!
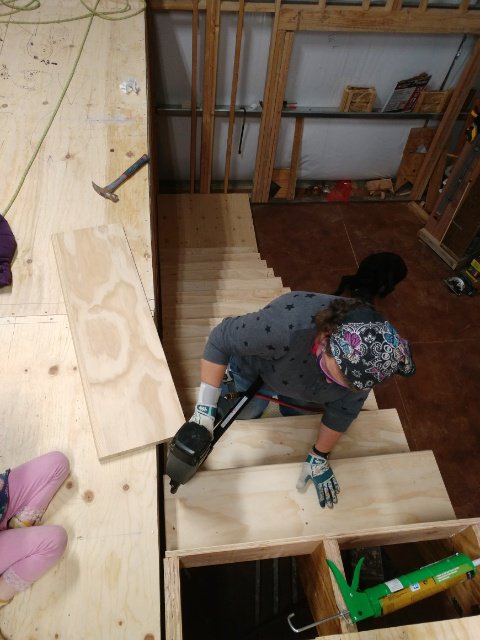
When Hubby got home, he was very excited to see our progress. He and Princess Girl got to work ripping down leftover ¾” plywood to use as the riser boards…
And I cut down all the stair treads to the appropriate length.
Then the most exciting part…putting on the risers and treads!

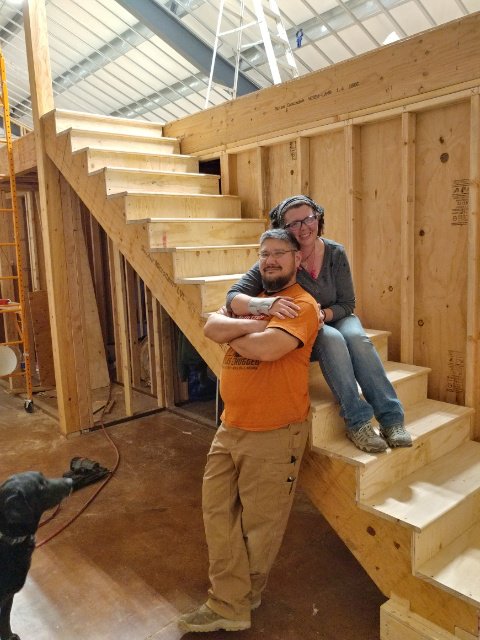
And just like that, we have stairs!
This was one of those projects in this house that, like getting the interior walls up, really changed the form and function, the whole look and feel, of the house. We were giddy with excitement for days afterward. And even now, I get a deep sense of satisfaction whenever I run up and down those steps.
I am rather proud of us.
Show some love and share:

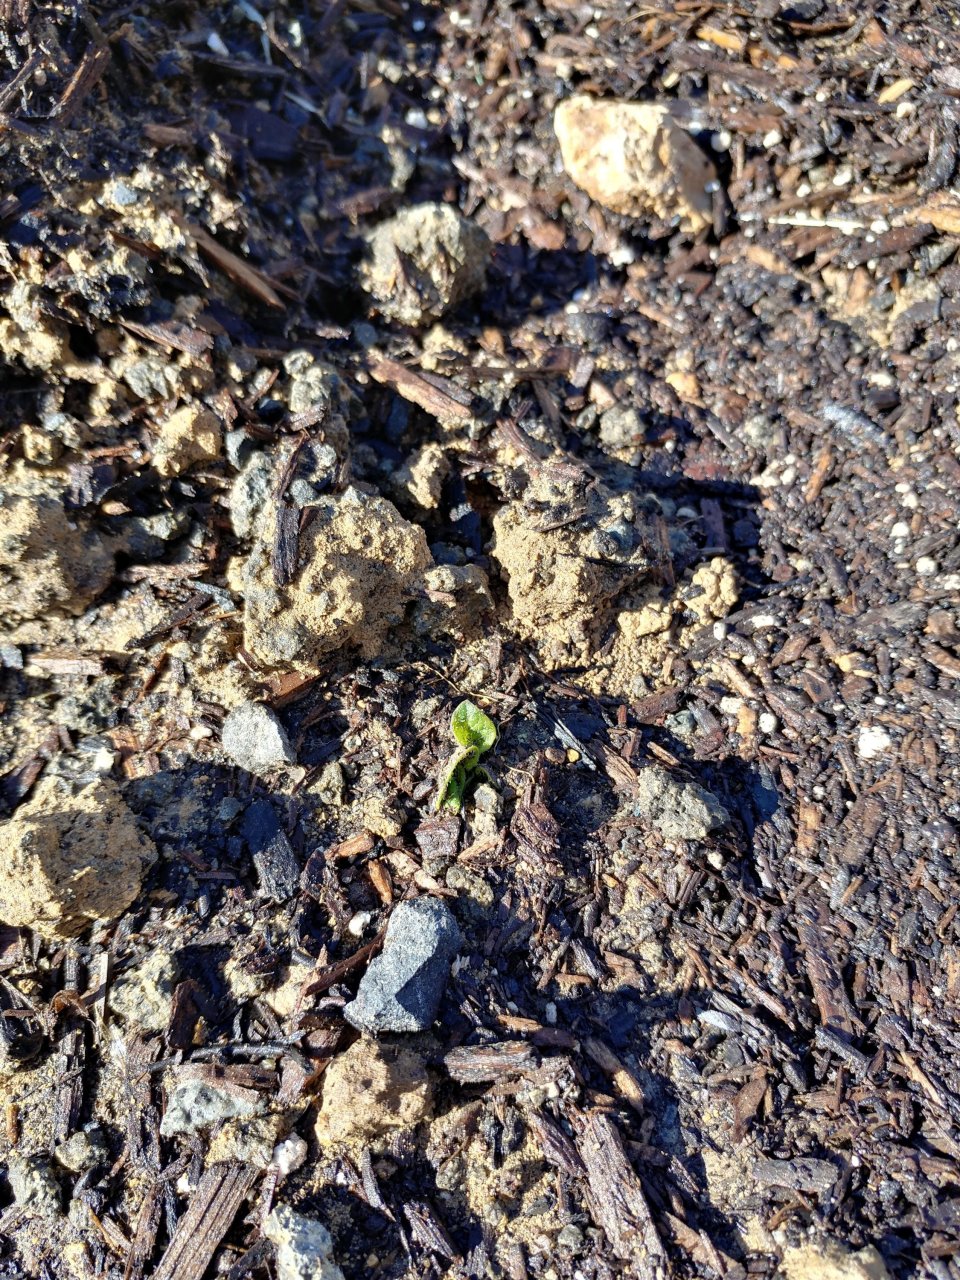
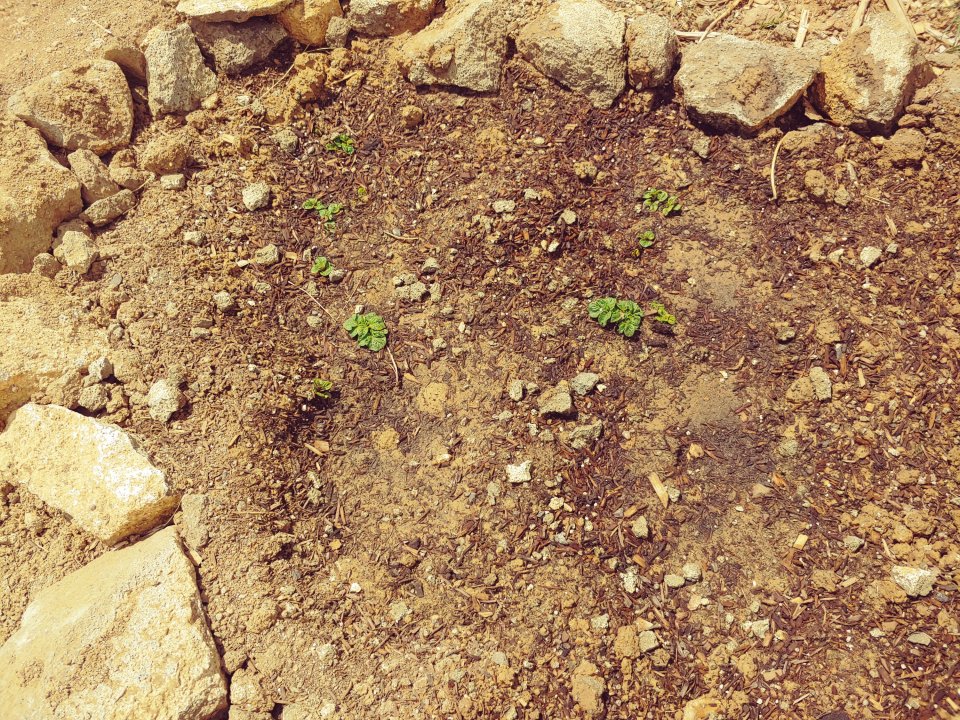
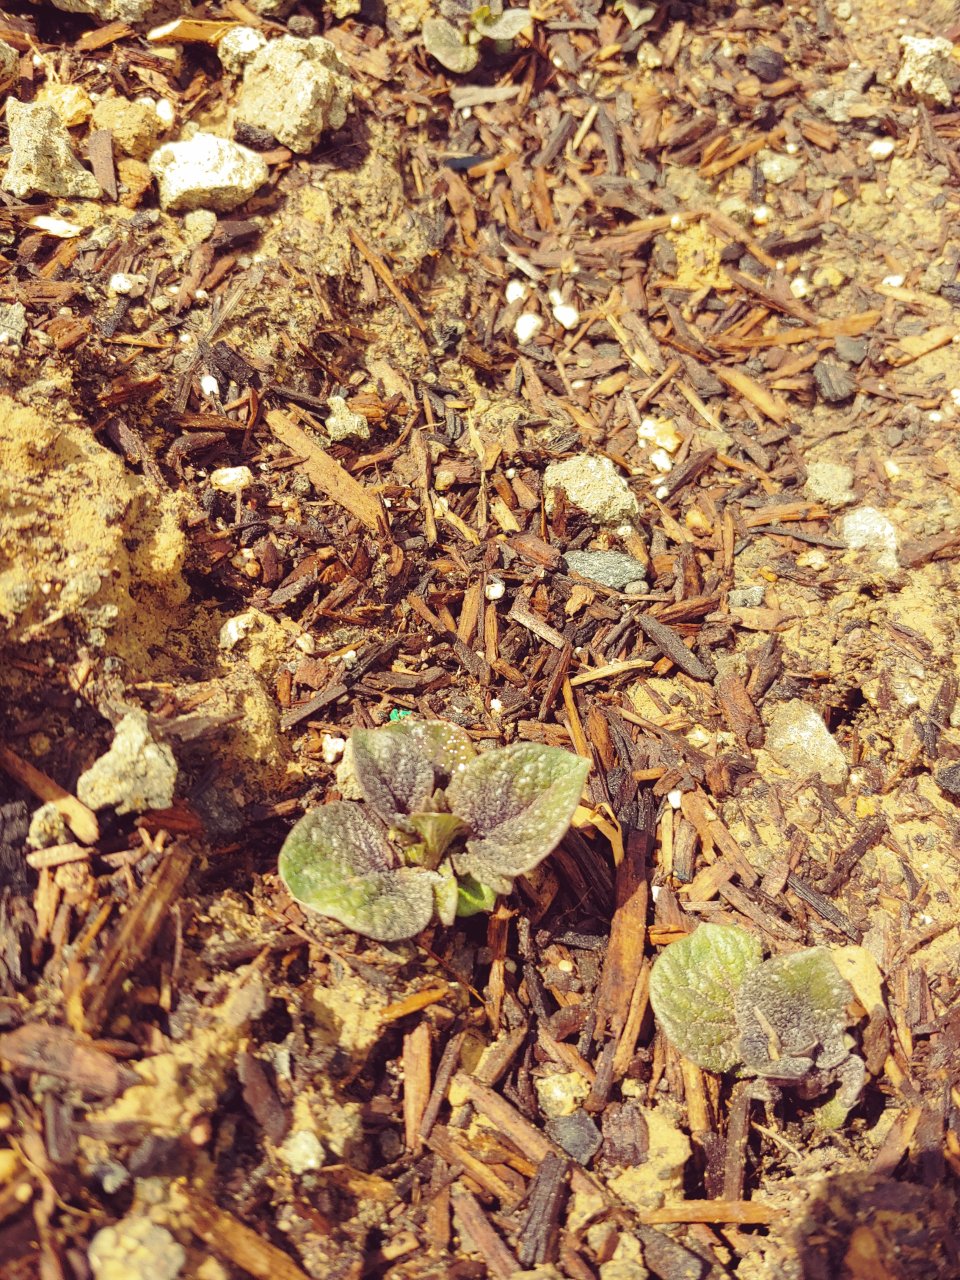
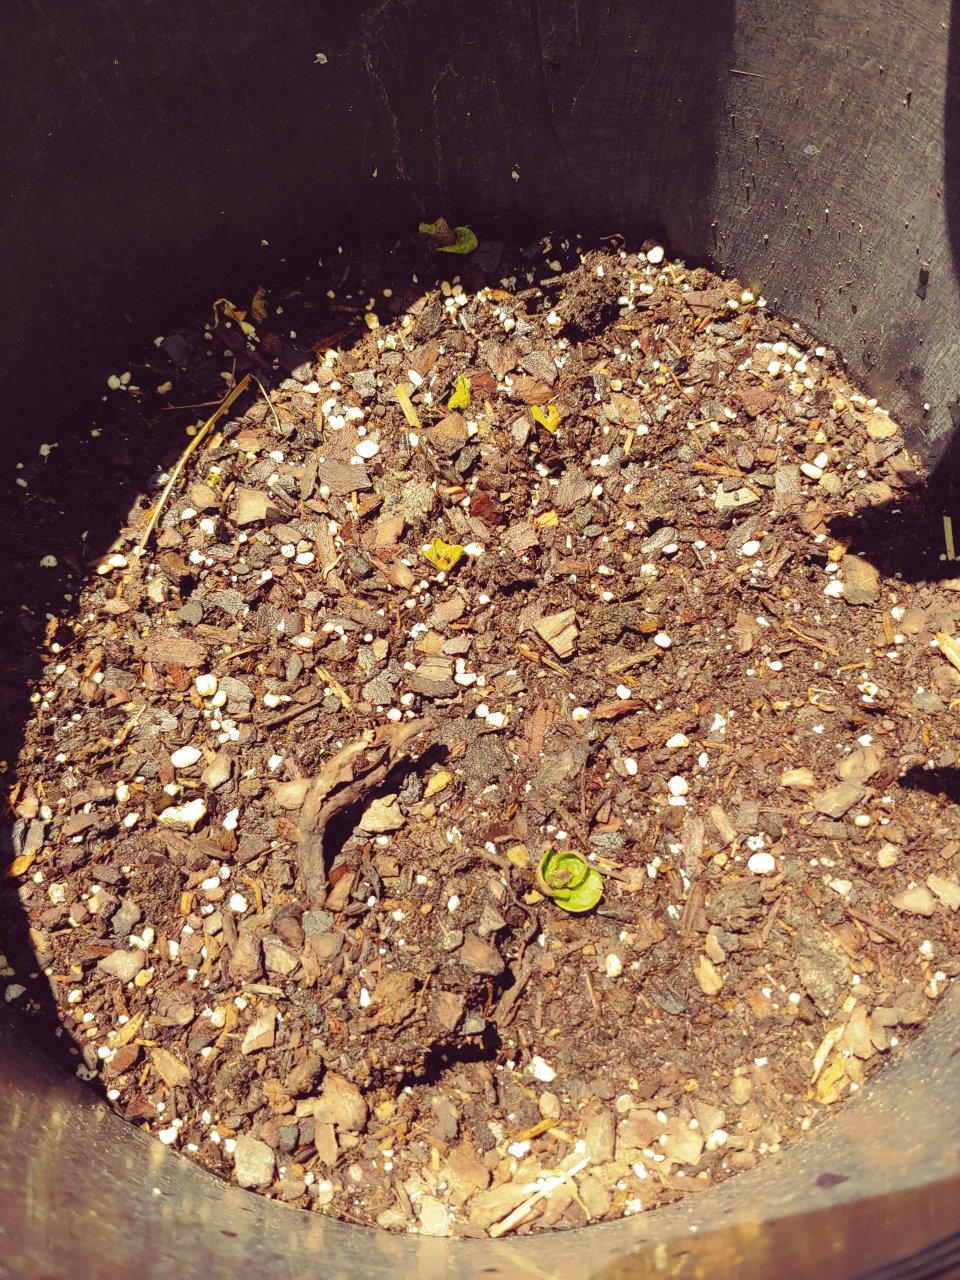
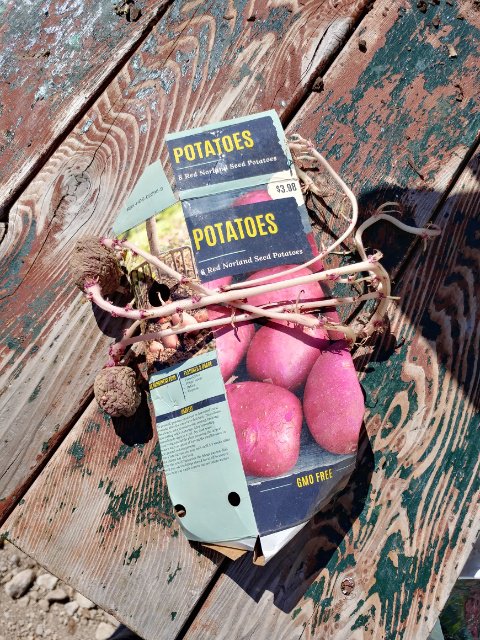
 Method: dig 3 foot long trenches 8 inches deep. Lay 3 potatoes with sprouts end-to-end in the trenches. Cover with several inches of soil. As (if?) they grow, when they get to be about 6 inches tall, I’ll cover the bottom 3 inches with soil. I’ll continue doing that until…ummmm, I’m actually not sure when they are ready to harvest. More research is needed, obviously. But for now, at least they are in the ground!