Category Archives: Homemaking

Daily Life #15 – Candle Wick Testing

February 9

I’m am so pleased and surprised with today’s tests results.

To recap, my Man and I have decided that it is a good idea to practice some of those skills which we have a theoretical knowledge of, but have never really learned how to do ourselves. Such as making candles.

I started researching how to make candles when you can’t go out to the craft store and buy supplies. The basics are wax and cotton string. But I got to reading that you should treat the string with something in order for it to burn properly.

Most sources I found with a quick internet search said to use a solution of Borax and salt. I did find one or two which said just pre-soaking in the wax would do. And at least one source which stated that a salt solution would work.

Well, I wanted to see which one worked best. So, I pre-treated four lengths of string and another to use un-treated.

I made a solution of borax and salt (1 Tbl Salt, 2 Tbl Borax, 1 cup hot water). I soaked one length of string in it for 1 hour, one length of string in it for 48hours (was only supposed to be 24, but I forgot), and one length of string I soaked for 1 hour once the solution had cooled off.

I also made a salt solution (2 Tbl salt to one cup water) and soaked a length of string in that for 24 hours.

I then took those four strings (once dried), plus the untreated one and dipped them in melted wax 3-4 times and laid them out on foil to dry.

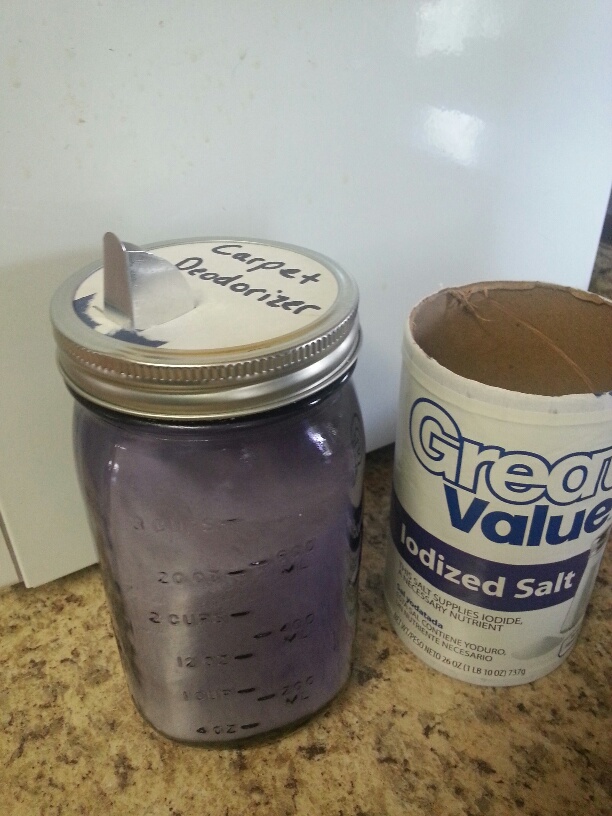
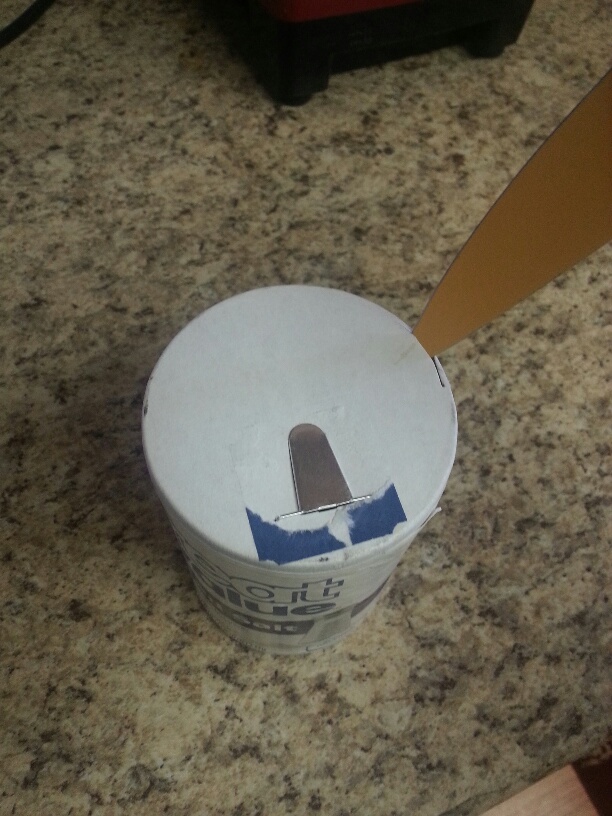
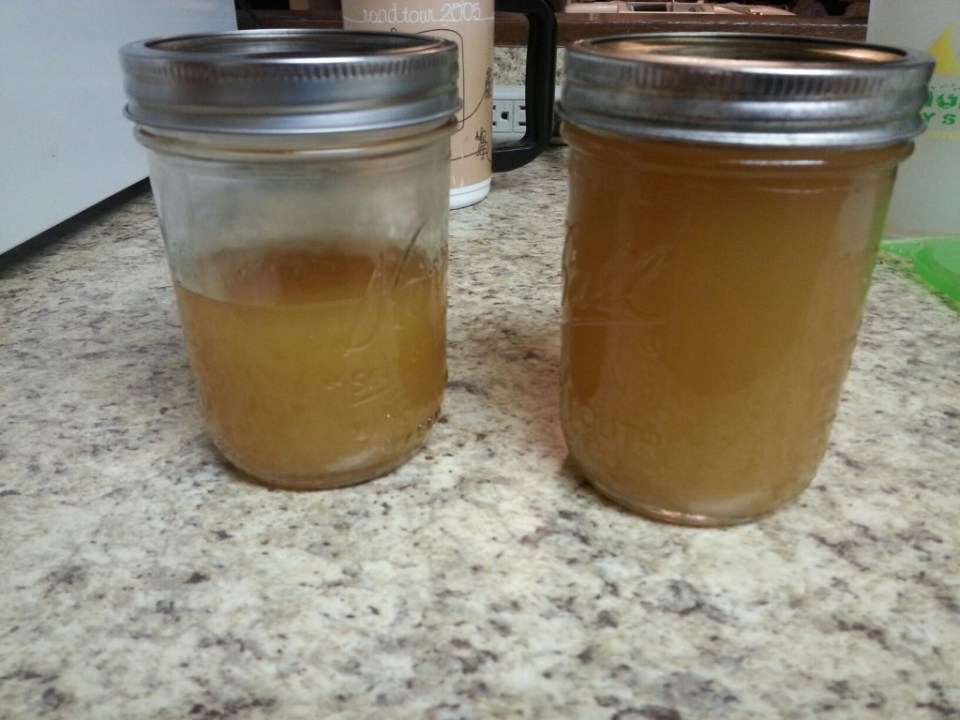
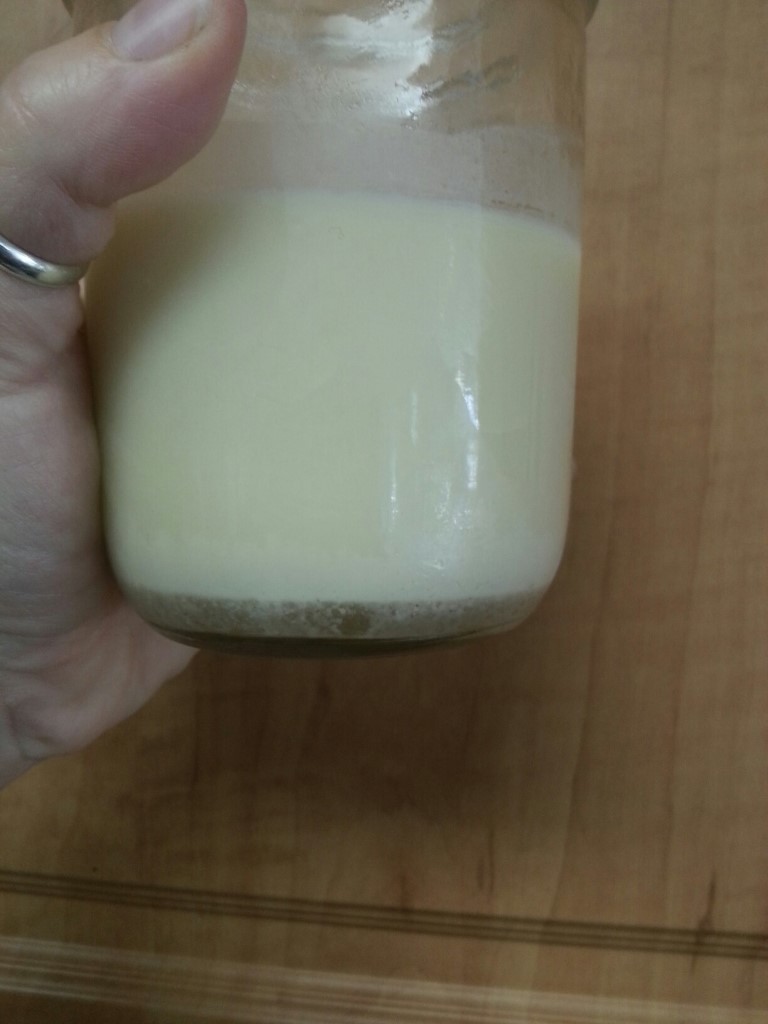
Yesterday, I cut the strings to size, put foil feet on them and put them in little jars, then poured hot wax into the jars.

Overnight, the wax solidified, and voila, I had candles!

Today was the big burn test.

At 10am we lit the five candles.

image

10 minutes later it was obvious that we were going to have troubles with the 48hr borax soaked wick.

image

I it wouldn’t stand up straight and I had to baby it along, as well as the other two wicks soaked in the borax solution. Every 10-15 minutes, I had to either straighten the wicks or relight them altogether.

At the thirty minutes mark, I trimmed the wicks down a bit on all the candles since they were all smoking quite a lot (except for the 48hr borax soaked one which was barely burning as you can see).

image

Finally, after about an hour, the 48hour soaked one seamed to be doing fine after being re-lit several times, but the other two borax ones still had to be taken care of every so often.

By two hours into it I had just about given up on the two candles with wicks soaked for an hour in the borax solution (the middle and far right). The 48hr soaked one was better than those two, but not by much. And the cold soak versus hot soak for an hour didn’t seem to make any difference at all. As for the candle with the untreated wick, I had straightened the wick and re-lit it once. And hadn’t touched the salt treated one even once!

image

By 12:30, after 2.5 hours of burning, I gave up on the borax treated ones.

image

However, the untreated one was still hanging in there, and the salt treated one was turning out to be a champ. Finally, after 4 hours of burning, even the candle with the non-treated wick gave up the ghost.

image

So, it’s the salt treated wick for the win!

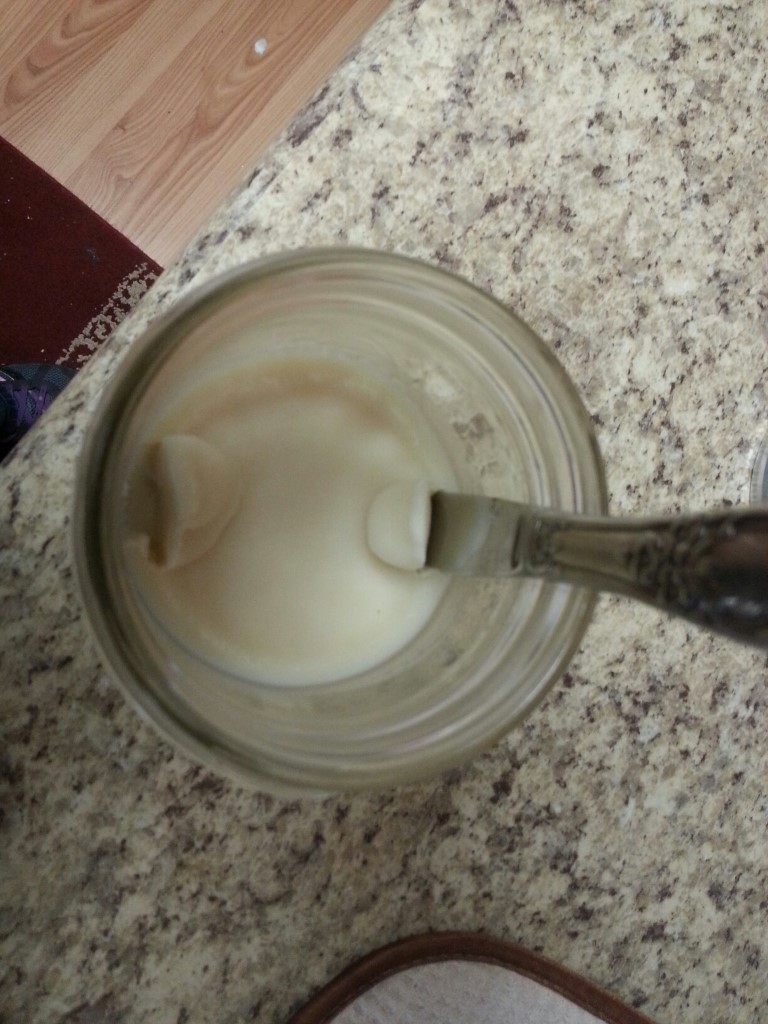
I’m fact, it burned for a solid 6 hours without me having to do a thing to it! Eventually the wax liquefied enough that my poor aluminum foot couldn’t hold the wick in place any more and it fell over.

And, no, that is not what was happening to the others because they never burned enough to liquify to that point.

So, what now? Is this a definitive answer? Well, no. I want to try replicating the results. Because as any good scientist knows, if you can’t replicate it, it doesn’t count. So, while all this burning was happening, I made three new candles. One has a 48 hour soaked wick, but it is doubled up so maybe it will be stiffer and not fall over as easily. One has the same salt treated wick. And one had a wick from a different cotton string which I found. It is thicker and again, I’m hoping it will keep the wick from falling over as easily, which seemed to be the biggest problem. I also knotted the bottom of the string before making the aluminum foil foot, so the feet should hold the wicks better.

I will do another burn test tomorrow and let you know the results.

And today we also made taper candles.

image

image

image

I used some of the same wicks and want to do the same type of burn tests with those, too.

I’m having fun with this and hope you find this information useful.

Maridy

“I lift up my eyes to the hills, where does my help come from? My help comes from the Lord, the maker of heaven and earth.” Psalm 121

Daily Life #13 – Bacon Wrapped Stuffed Jalapenos and Organizing the Garage

February 7
Such a lovely day today. We drove home from church with the windows open in the van! Glorious, sunny warmth!

When we got home and had a bite to eat to tide us over till later, I intended to start on my jalapeno poppers for the big game. But there were a bunch of empty jars on the counter which needed to go back out to the garage.

I took them out and got distracted by the chaos. I mean, where was I to put another couple of jars??

image

Unorganized chaos

Empty jars on all available surfaces, empty boxes taking up valuable space, filled boxes on the floor in front of the shelves. Yeah, it wasn’t pretty.

After a couple hours of work, it was much cleaner and useable.

image

Still a bit chaotic, but much more organized

One of the features I like the most is that I finally have a dedicated spot for my empty jars to go.

image

Labeled spots for them so that no one has an excuse for not putting them away where they belong!

I feel so accomplished.

Well, by the time I finished up in the garage, the game was just about to begin, so it was definitely time to get those stuffed jalapenos made.

Now, I’m not a huge fan of spicy foods, but I enjoy the flavor of jalapenos, especially when paired with cream cheese. And bacon? Well, bacon makes just about everything better!

And by carefully cleaning out the seeds and membranes from the peppers, it lessens their kick.

These are a great appetizer for any sort of gathering and I love that there are only three ingredients (ok, well, technically the bacon and cream cheese each have multiple ingredients themselves, but youknowwhatimean.) And depending on where you are in your health journey, you can choose cream cheese and/or bacon that are more healthily made. For now, we use grocery store brands.

So, without further ado, here’s the recipe.

BACON WRAPPED STUFFED JALAPENOS
Ingredients
15 jalapenos
1 (8oz) pkg cream cheese
1 lb bacon

First, gather all your supplies. And if it’s game day, hopefully you can prep things where you can see the game. 🙂

image

Slice the stem off the jalapenos and then slice each pepper in half lengthwise. Carefully clean out all the seeds and membranes. NOTE: you might want to wear gloves when dealing with the peppers, especially if you are sensitive. I never need to, but I make sure to wash my hands thoroughly before touching anything else.

image

Fill each pepper half with creamcheese.

image

Then cut your bacon pieces in half and wrap them around the stuffed jalapenos and place on a baking sheet. Sometimes, I just lay a piece of bacon over the top rather than wrapping it. We buy thick slice bacon, and 1 lb is usually the perfect number of slices.

image

Bake at 350° for 20-30 minutes until the bacon is crisp to your liking.

image

And that’s it!
Oh, my! These are delicious! Just enough heat, but not enough to send me running for the milk. Usually.

Sometimes one bite is more spicy than the others and has me fanning my mouth and contemplating guzzling straight from the milk jug! But I can deal with it. If you don’t find jalapenos all that hot, you’ll have no problems.

And now for a gratuitous picture of cuteness and silliness from our girls. 🙂

image

Maridy

“I lift up my eyes to the hills, where does my help come from? My help comes from the Lord, the maker of heaven and earth.” Psalm 121

Daily Life #12 – Handmade with love

I love that man of mine! Every day, all day. But there are times when he does something which just melts my heart an extra bit.

Like what’s happening right now.

We are not really what you would call sports fans. But we do like to watch the Super Bowl. So in preparation for tomorrow’s game, my wonderful husband is sitting down explaining football to Princess Girl so she can follow along easier.

Be still my heart!

Yeah, I know it’s not much. But one sure way to this girl’s heart is through her children. Not only that, but I just love seeing a man being a good daddy.

And speaking of love, Valentine’s day is just around the corner.

I am almost finished with Hubby’s Valentine gift. In an effort to stick with our new, healthier ways of eating, we have decided to forgo the candy this year (I know, it’s almost sacrilegious to not have chocolate on Valentine’s day, but I think I’ll survive. Maybe.)

Anyway, I came up with some inexpensive and easy gift the girls and I can make for our main man. I wish I could show it to you right now. But it will have to wait.

I also started another bookmark for a special someone. This one is extra special since there is no printer involved. I’m drawing and coloring by hand. And I’m actually excited about how it’s turning out.

Working on these things by hand is so much more personal than just buying something from the store. No, they don’t cost much, and may not look as nice as something you can buy of the shelf, but each one is infused with love.

And speaking of love, you know what else makes my heart melt?

image

My three year old washing the last of the carrots from the garden. I was able to start her on the task and walk away to finish other tasks. Yes, she took forever, but she did the job and did it well. When did she get so big??

And, for those of you who have been around for a while, yes, these are the last of the carrots which we planted from seed last February. They are oddly misshapen, I think because they stopped growing over the summer, and then started growing again this fall. They overwintered wonderfully in the garden. WAY better than they would have if I had picked them. One of the reasons I live growing carrots in this area!

Maridy

“I lift up my eyes to the hills, where does my help come from? My help comes from the Lord, the maker of heaven and earth.” Psalm 121

Daily Life #11 – DIY paracord belt and signs of spring!

I finished my belt!

image

And O.M.Gosh, my fingertips hurt from gripping the p-cord over and over and over as I weaved the thing!

image

Weaving, weaving, weaving

Overall, I’m very pleased with how it turned out. As you can see from the first picture, I ended up using two different colors because we didn’t have enough of just one. But I think the two tone effect is cool. Besides, people hardly ever see my belt since I never tuck in my shirts.

So, out goes the very worn bracelet.

image

Well, maybe I’ll keep it for those days when I’m not wearing a belt. 🙂

Oh, and here’s a picture that shows the instructions of how to make a belt or bracelet using the weave I used.

Today I went for my walk, but it took twice as long to go the same distance. I kept getting distracted by all the signs of spring just around the corner.

image

image

image

And I walked through the neighborhood park which has the wild onions growing and picked some for our dinner.

image

They are still small, but very flavorful.

Our house designer emailed us the house plans today. We are so very close to being able to submit the plans for our building permit. So Hubby and I spent a substantial amount of time going over everything, making changes were needed, and fueling our dreams.

Maridy

“I lift up my eyes to the hills, where does my help come from? My help comes from the Lord, the maker of heaven and earth.” Psalm 121

Daily Life #4 – DIY Mason Jar Spout And Carpet Deodorizer Recipe

So I’ve seen this tip on Pinterest several times and today the planets aligned and I was able to make one for myself.

20160129_125920_resized

And by planets aligning, I simply mean that I happened to have the need for one right when I had a nearly empty salt container.

I finally got around to vacuuming today and wanted to use my homemade carpet deodorizer (recipe below). But I tend to accidentally shake half the powder on the carpet when I try to shake it out without some sort of top on the jar. I thought about punching holes in a jar lid, but then I remembered this tip.

All I did was use a sharp knife to cut the top off the salt container, then put it on the jar in place in the lid. It worked remarkably well! It is the perfect size for a wide mouth jar. In order to use a regular mouth jar, just trace around a regular size lid and cut it down accordingly.

20160129_125741_resized

So, the carpet deodorizer recipe. That also is super easy.
-Fill a quart size mason jar about 3/4 full with Washing Soda (not baking soda)
-Add 10-20 drops of your favorite essential oils (we like orange and clove or lavender and eucalyptus), put the lid on, and shake the jar to distribute the oils.
-Shake the deodorizer on your carpet 15-30 minutes prior to vacuuming (test on obscure area 1st).
-Vacuum as normal.

Notes:

-Do not use baking soda, it is too powdery and tends to leave a white residue, thus why the recipe calls for washing soda. It still absorbs the odors of stinky carpets but is more granular. It can be found in the laundry isle of most grocery stores.

-You can fill your mason jar full, but then you’d want to dump the soda into a bowl, add the oils, mix, and return to the jar. Otherwise the jar will be too full to shake to distribute the oils. I prefer to just do it as stated above so I don’t have another dish to wash.

-I find that I use about 1/4 of the jar (roughly 1 cup of the mixture) per application. Depending on the size of your house you may have to use more or less. This is where the salt container spout comes in handy as I found that without it, too much sprinkles out and I invariably ended up using over half my mix for one round!

-I use this powder every other or every third time I vacuum, depending on how stinky the pets and kids have been. 🙂

I really like that this carpet deodorizer is all natural. No weird chemicals to worry about around my family.

So aside from vacuuming my house (finally!), and in between the daily tasks of taking care of the family, I started researching how to make candles from scratch. An article I read recently got my gears turning and Hubs and I got to talking about all those skills which we have a theoretical knowledge of, but have never actually tried. Like candle making. Did you know that you are supposed to treat wicks with something like boric acid in order to make them burn properly? I had no idea, and my minimalist side is wondering if it really  makes a difference. So my plan is to try a couple different types of wicks and see what the results are.

So in a couple days hopefully I’ll have a post all about making candles. 🙂

Princess Girl and I also got around to mounting the puzzle we finished a couple weeks ago.

20160129_135640_resized

I cut a piece of cardboard the same size as the puzzle, we covered it in Elmers glue, then slid the puzzle onto it and slathered a bit more glue on the top. Then, when it had dried a bit, we covered it in plastic and put a box on top to keep it from bowing. Princess Girl is going to hang it in her room when it is finished.

And that’s how this homesteader spent her day.

Maridy

“I lift up my eyes to the hills, where does my help come from? My help comes from the Lord, the maker of heaven and earth.” Psalm 121

My Flower Princess

Flower Girl is growing up so quickly! At three years old, she is very independent, always wanting to do things on her own and her way.

But that might have something to do with the fact that she has quite a lot of responsibility for a three year old.

Such as carrying in the eggs.

image

Or picking out her own outfit.

image

Or helping fix her own lunch.

image

Yes, that’s right, I’m teaching my three year old how to use the stove (and please ignore how dirty the stove is!).

But don’t worry, we are careful.

image

Notice how my hand is shielding hers?

So yeah, she’s growing up fast.

And while I sometimes lament the passing of her baby years, I wouldn’t have it any other way.

Maridy

“I lift up my eyes to the hills, where does my help come from? My help comes from the Lord, the maker of heaven and earth.” Psalm 121

Bacon Lard

I’m nearly out of bacon lard and need to make some more, so I figured it was a opportune time to write a tutorial on just how I do that.

Just a word about using lard: if you are vegetarian or subscribe to the low-fat-everything-is-healthy-for-you way of eating, then this is not a post for you. If you’d like to learn more about the philosophy I believe when it comes to using saturated fats for our family’s diet, read this article, it sums up my beliefs quite well.

Now, I’ll be the first to say that the lard which comes from processed bacon is not the healthiest fat on the planet. But I use it because 1.) saturated fats are not the evil fats they have been made out to be, and 2.) (most importantly) it’s free! As with almost everything in this world, moderation is key. I suppose it would be more healthy if we used healthier bacon (yes, there is such a thing.) But we haven’t made that switch yet. One of these days…

So, what is bacon lard anyway, and how do you make it?

I’m so glad you asked. ‘Cause I’m gonna tell you. 🙂

Whenever you make bacon, there’s all that grease left over, right? I know some people dump that grease into a grease pot and leave it on the counter and use it just like that. But, my modern food handling mind just can’t get past that. And I know people who simply pour their bacon grease in a container and keep it in the fridge and use it as needed. I don’t like that either because then you have all those little burned bits of bacon fond mixed in with the grease and an overpowering bacon flavor. I know, I know, there are those of you asking, “What’s wrong with that???”(My Hubby is included in your ranks, for sure!) But depending on what I’m using it for, I don’t want it to taste so much like bacon. And those little burned bits just make the grease look “dirty”. Turning your bacon grease into bacon “lard” makes it nice and clean and less bacony in flavor. It is a long, but very simple process. Most of the time you’re not doing anything but waiting for the grease to harden.

Ok, you you’ve just made your bacon and you want to clean the pan. What do you do with the grease? Well, you simply pour it into a container and put it in the fridge.

But wait! Didn’t I just say I don’t like doing that? No, I said I don’t like using that grease as-is. I do something extra with the grease to make it more like lard.

First of all, I like to strain my grease through a paper towel as I put it in the jar.

20151007_105634_resized

This step is not totally necessary, but makes the cleaning process go faster.

Cleaning process? You “clean” your lard?

Yep. Yep I do.

20151007_105726_resized

Anyway, once your container is full (or nearly so – this make take a while depending on how often you eat bacon), simply melt your grease…

20151113_105316_resized

Yes, that’s bacon grease – with all the dirty bits still inside.

…I use the microwave.

Then you add the grease and about the same amount of water into a pot and put it on the stove to boil.

20151113_110332_resized

Once it just starts to boil, turn it off and set it aside. You can put in some cold water to help it cool off faster. As I’m sure you know, oil and water do not mix. The lard (oil) will float to the top of the water, and the impurities which were in the grease (the dirty bits) will sink or be washed out by the water.

The next step is where the length comes in. You have to let this oil and water concoction cool enough that the fat will solidify. If the temps are cold enough outside, I often secure the lid on the pot, and put it outside in the cold. This makes the process go faster. However, if the temps outside are too high, I let it cool to room temperature, then stick it in the fridge, usually overnight.

Once the fat has solidified, scoop it out with a slotted spoon and put it into a bowl.

20151113_214701_resized

scoopable-solid again

20151113_214751_resized

Look how dirty the water is

Once you get all the chunks of fat out (I use a small mesh strainer to get all the little bits), you’ll be left with dirty water which you can pour down the drain.

I usually “wash” the grease a couple more times by following the above steps, until the water is clear underneath the solidified fat.

20151114_181548_resized

Clear water

But you could certainly skip the subsequent washings if you wanted. I find that by filtering the grease through a paper towel first, it takes fewer “washings” to get the lard as clean as I like it.

Once it’s as clean as you want it, you scoop the grease into a bowl with a slotted spoon or mesh strainer (try to let as much water drip from it as possible).

20151114_182121_resized

Clean lard

Melt the lard just until pourable and pour into mason jars*.

20151114_182937_resized

Notice the color change from the first time I microwaved it near the top of the post.

I suppose there’s probably some way to process this so that it is shelf stable. But I have never researched it. I just stick it in the fridge once it’s cooled off a bit (or freezer if I have extra).

Note: once it has solidified, you might find that there is some water in the bottom of the jar.

20151121_121609_resized

If this happens, slide a knife along the glass into the lard in two spots on opposite sides of each other. Then pour the water out one of the holes (the other hole is to allow air into the bottom cavity so the water flows easier.)

20151121_121643_resized

If you prefer, you can heat the grease again so it melts and fills the holes back in.

*I always use wide mouth pint jars because they are the perfect size for our favorite spatula to fit in to scoop out a bit of lard (not an affiliate link – we just really like the style. In fact, we happened to find some at the dollar store!).

So there you have it. Now that your bacon grease has become lard, you can use it in much the same way you do regular lard. I do find it still has a bit of a bacon flavor/odor, but it is only objectionable to use it in things that are naturally bland themselves. I have even made soap with it!

I always feel so frugal when I use my bacon lard. I mean, it is basically free since you’re gonna eat the bacon anyway, right? So now you have something useful to do with the left over grease.

Heritage recipes

image

Ok, so technically, only one of the recipes in this post can classify as “heritage” (ie being passed down from generation to generation basically unchanged), but I did get them both from my mom, so maybe that does count.

It’s been a rainy, dreary week here in the Pacific Northwest. Add to that the fact that the girls have been sick and now I am with a chest cold, and it’s been a week of soups for dinner. Chicken stew made by the hubby. Clam chowder requested by the Princess. Split pea because we had a ham bone which needed to be used. It’s been a cozy, comfort food kinda week.

And last night was no exception. As I was dozing on the couch that afternoon (such a luxury – one I ever only get when I’m sick!) I got a hankerin’ for my Mom’s chili.

Now, her chili is nothing special. It’s really easy to make. No special prep. It uses mostly canned ingredients, and it’s only the teeniest bit spicy. But for those of us who are whimps when it comes to spicy foods, it’s just about perfect. In fact, it’s the only chili one of my brothers willingly eats. I grew up eating this chili, paired with a tall glass of milk, and a large slice of cornbread made using my great, great grandmother’s recipe.

Oh, it’s heavenly!

So, without further ado, I give you my mom’s no frills, easy chili recipe, along with my great, great grandma’s cornbread recipe – because what good is chili without cornbread to eat with it?

Mom’s Easy Chili
Ingredients:
1-1.5lbs of ground beef
1large onion diced
Season salt to taste
2 cans stewed tomatoes
2 cans beans
3-4 Tbl chili powder
2 tsp garlic powder
1-2 tsp cumin
1.5 cups water (or more if simmering for a while)

Directions:
Place the meat in a soup pot with the diced onion and sprinkle with seasoned salt. Cook until meat is brown and onions are translucent. Drain off grease if desired. Drain and rinse the canned beans. Add all of the ingredients to the pot and mix well. Bring to a boil and simmer as long as desired, adding more water if too much evaporates.

Notes:
-My mom often used venison in place of the beef since we were a hunting family. You can use whatever meat you have on hand.
-I typically use diced tomatoes rather than stewed since I have a large stock of diced and never remember to buy stewed.
-Traditionally my mom used kidney beans, but I use pinto and/or red beans since canned kidney beans have added sugar. Of course you can use freshly prepared dry beans if desired.

While the chili is simmering, it’s time to put together this yummy cornbread. As I said before, this recipe comes down from my great, great grandmother, which means it is at least 100 years old. A true heritage recipe.

I think this cornbread is the perfect cornbread out there. Corn-mealy without being too crumbly or cakey. Moist but not gooey. And just enough sugar to make it sweet without being dessert.

Grandma’s Cornbread Recipe
Ingredients:
1 cup corn meal
1 cup flour
1/2 cup sugar (or honey)
1 tsp salt
1 tsp baking soda
1 cup sour milk (see notes)

Directions:
Preheat oven to 400 degrees. Mix together all the dry ingredients in a medium size bowl. Add the sour milk and mix thouroughly. Pour into an 8×8 casserole dish (or a cast iron pan if you want to be really traditional) and bake for 30 minutes.

Notes:
-My grandma (who got this recipe from her grandma) always used buttermilk for this recipe. I never have buttermilk on hand, so I make my own sour milk by adding 1 tablespoon lemon juice or vinegar to one cup of milk and allowing to sit for 5 minutes. Works perfect.
-Since I do not eat wheat, I have been experimenting with gluten free alternatives to the flour. Most recently, in place of the 1 cup flour I have been using 1/2 cup almond flour and 1/2 cup gluten free baking mix (made primarily with rice flour). I use the almond meal primarily to lower the carb count. If you use almond meal, lower the cooking temperature to 375 degrees.
-I have also replaced the processed sugar with honey to great results.
-Before I started tampering with the ingredients, sometimes I would add a can of creamed corn. This made it exceptionally moist, which we all loved. I do not know how it would turn out with the ingredient substitutions I now use. Maybe I’ll have to try one of these days. 🙂

Well, that’s it. I hope you enjoy! I certainly did.

In fact, I’m having left over chili for lunch today. Unfortunately, the cornbread was wolfed down so fast last night that not only is there none left for today, but I didn’t even get a picture.

However, writing about my grandma put me in a nostalgic mood, so along with my chili, I’m having diced peaches with “smear case.”
image

Grandma never could tell me why her family called cottage cheese “smear case.” But in her later life, cottage cheese and diced fruit was one of her favorite foods. So, here’s to Grandma!

Maridy

“I lift up my eyes to the hills, where does my help come from? My help comes from the Lord, the maker of heaven and earth.” Psalm 121

Zucchini Oat Pancakes

Mmmmm….

The smell of pancakes cooking on the griddle.

I don’t know about you, but pancakes on a rainy Saturday morning seem just about the perfect thing.

image

Oat Zucchini Pancakes with Apple Cider Syrup

It’s been years since I’ve had regular pancakes. I gave up eating wheat after learning that wheat is a major inflammatory food and it affects the arthritis in my knees.

So I went searching for a “gluten free” recipe. But I wanted one that uses normal and whole ingredients rather than processed, refined, high carb flours in place of the wheat.

I stumbled across this oat pancake recipe at www.mountainmamacooks.com. Orginally it called for a banana, but I am fresh out of bananas and I have quite a lot of frozen zucchini from this summer’s bounty. Besides, the Hubby likes zucchini better than banana anyway. (BTW, I think it’s so adorable that Flower Girl says banana like a Minion – BAN-nah-nah :-). The original recipe also called for almond milk, but we use regular milk.

The pancakes have a very moist and chunky texture, even with highly ground oats. I’ve never experimented with using quick/instant oats since old fashioned are all we ever buy. Maybe it wouldn’t be quite so chunky with instant oats?

As an aside, the girls helped make the pancakes this morning. Flower Girl helped add a few ingredients as is fitting for an almost-three-year-old. But Princess Girl helped with all of it. Not only did she help gather the ingredients, add them to the batter, do some of the mixing, and help with the cooking, she also did all the calculations to add a half batch to the recipe. She’s learning more complicated fraction operations in her school work, so this was perfect. She not only had to halve the recipe, she then had to add that half to the original. Natural learning for the win!

image

One thing about these pancakes, they can seem take forever to cook (thus the picture above). So I usually end up cooking them at a higher temp to speed up the process and they tend to get rather dark brown. Compare the two pics below.

image

image

If you’re looking for a gluten free pancake that is as close to traditional pancakes as possible, these aren’t them. But we all like the way these turn out. In fact, I personally like them even better. I always felt guilty eating regular pancakes. I felt that I was eating nothing but fluff and sugar – in essence, nothing more than cake. But these pancakes are filled with good quality, nourishing ingredients. And they taste phenomenal whether you use banana or zucchini!

Zucchini Oat Pancakes

2 cups oats
1 1/2 tsp baking powder (we use aluminum free)
1/2 tsp cinnamon
1/4 tsp salt
1 1/4 cups milk
2 cups shredded zucchini (or 1 large ripe banana)
1-2 Tbl honey
1tsp vanilla
1 egg

Directions:
Place oats in blender or food processor and pulse until it is chopped up fine like oat flour (I suppose you could also just use purchased oat flour as well). Add other dry ingredients and pulse to combine. Add remaining ingredients and mix well.

Ladle 1/4 cup(ish) of the batter onto a medium-low(ish) skillet or griddle. Spread the batter out so it’s not all clumped up, then cook until golden brown on each side, flipping as needed (time will depend on the heat of your cooking surface.)

I usually heat the oven to as low as it will go (170° on ours), place a plate in there, and put the pancakes in there as each one is done. This keeps them warm till they are all finished cooking and we can all eat together.

image

And that makes for a very good Saturday morning.

Maridy

“I lift up my eyes to the hills, where does my help come from? My help comes from the Lord, the maker of heaven and earth.” Psalm 121

Seamstresses in the making

Why, yes. I do let my nearly-three-year-old play with my sewing pins.

image

Just as I let her sister before her when she was young. And now Princess Girl loves designing.

image

Sewing is a big part of a sustainable lifestyle. When purchased thriftily, buying fabric can be much cheaper than buying ready-made items if you have the know-how. But sewing is so much more useful than making your own clothing from scratch.

image

Mending a blanket.

Being able to repair those things which you already own is a first step toward living sustainably.

And you don’t need to tons of fancy gadgets and gizmos. A simple machine and a rudimentary knowledge of a few techniques will get you a long way. I myself have a rather simple machine.

image

I only ever use a couple of the available settings. But it serves me well.

If you have a machine but learning to use it is a daunting task, find a friend who can help you. (It’s hard to learn sewing from the internet unless you already know how to handle your particular machine since they are all a bit different.) As stated above, you don’t need to know how to use every setting on your machine. You basically just need to know how to thread it, how to load and refill the bobbin, how to do the straight stitch and zig zag stitch, and what the length, width, and tension dials do. You can do an awful lot of sewing with those basic skills. And as you practice more and become more comfortable, you can start learning all the other things your particular machine can do.

image

If you don’t have a sewing machine and can’t afford even a basic one, at least learn how to hand sew. Knowing a few easy stitches can be the difference between repairing that blanket and buying a new one, or paying someone to hem your pants or doing it yourself. And hand sewing is easy to learn from videos on the internet.

And remember, if children can learn to do it, you can, too!

Let’s hear you chime in. Do you think that sewing is an important skill to know? Do you know how? Wanting to learn?

Maridy

“I lift up my eyes to the hills, where does my help come from? My help comes from the Lord, the maker of heaven and earth.” Psalm 121