Tag Archives: Chickens

Garden beds

In February, we had a run of really nice weather and it got us itching for spring. Pajii in particular is really missing being able to garden. His garden up in Oregon, though small, was prolific and beautiful.

Pajii’s garden in Oregon – 2014

So, since we couldn’t work on the house (still waiting on our contractor to finish the walls and roof), and we had such nice weather, I decided to knock together some raised garden beds for Pajii to work in come spring.

I decided to use our wood left overs from the concrete forms for the house foundation.

This is only some of the wood we reclaimed from our forms for the foundation.

I measured and cut and organized and got all the pieces sized and ready to assemble.

A lot of the 3/4″ scrap plywood was 8 or 16 inches wide. This made it easy to figure out how tall I wanted the beds to be.

I started by attaching my side panels to the corner 2×4 posts which I cut to be twice the height of the panel. Since I wanted to use as much of the smaller wood scraps as possible and leave larger pieces for future projects, I had to make a couple 16″ panels out of two 8″ panels as you can see in the following pictures.

Attaching a panel to the corner post

I used 1⅝” deck screws to attach the 3/4” plywood to the 2×4 posts.

Joining two 8″ panels together to make a 16″ panel.

One side ready for assembly

Once I had all four sides ready for assembly, I started screwing them together.

Clamps are your friend when working solo.

One box almost finished.

This box is almost finished. Just needs some strengthening 2×4’s around the top edge.

One of the boxes we made a trapezoid (an isosceles trapezoid to be precise 😉) to work in with the shape of the garden a bit better. You can see in the pic below where Princess Girl is helping me put on the strengthening rim boards around the top of the box. I used 3″ deck screws too attach these boards to the corner posts.

Finally got some human help. 😁

We also attached the plywood to the rim boards with 1⅝” deck screws.

Princess Girl gets some more screw gun practice.

Pajii and the Princess with a finished box.

Time to move.

Once we got the boxes put into place, Flower Girl’s chicken, Leilani, had to come check them out.

All 4 boxes in position.

We made 4 boxes total. Three of them are 3ft by 6ft and the fourth one is a trapezoid that is 5ft x 3ft x 2ft, if that makes sense. All of the boxes are 16 inches tall with 32 inch corner posts. The corner posts are taller in order to easily attach clear plastic to make a cold frame in early spring, or more likely, netting to keep the squirrels and other pests out.

I really like how these boxes turned out. I love that everything used to make them, including the screws, is reclaimed materials that were used to make the foundation of our house.

We have not filled them with soil yet since winter returned just a couple of days after we finished them. Soon, though, we’ll go get some soil and not too long after that, Pajii will be able to keep busy growing us some fresh veggies. I can’t wait!

Homestead Update: Happy New Year

Happy New Year!

I know it’s been a while since I’ve updated. Sorry about that. I kept hoping for the “big reveal” on our house, but, well, things keep happening to keep it from being done. And by done I mean dried in (meaning the siding and roof is on.)

So I guess for now, here’s our “big reveal”. We have the frame of a house!

We hired a contractor to put the structure up for us. He started the week after Thanksgiving and did pretty well getting to this point. But then his wife had a stroke, he had some equipment trouble, we’ve had some weather related delays, and the holidays rolled around, so there the frame sits.

One of those weather delays was a bad windstorm. It blew about 30 of our siding panels and some of our rolls of insulation off the house pad into the ravine. And then it promptly snowed. We were able to get them all stacked together with rocks on them so they don’t blow any more, but they are still down there. Hubs and I have been sick with bronchitis since before Christmas and haven’t been able to do much.

Lately though, I’ve been feeling a bit better and have been able to do a bit of work around the place. I cleaned out the chickens nest boxes and today I’m hoping to get our flocks rearranged. We have two roosters (technically I think they are both still cockerels) in one small flock and I want to get then separated before the younger, bigger one starts challenging the older, smaller one.

Besides, I want all the hens to be in with the correct rooster for when we start our breeding program. Nigel (pictured below with “Lizzie” two months ago) is our man man. He will be our breeding rooster, but right now, he’s the non dominant male in a flock of 12.

I am planning on moving Fritz (our frizzle Cochin bantam rooster) and a couple of his girls up to the upper coop and bringing a few of those girls down for Nigel. And I want to do that now while their egg laying is already disrupted by the winter.

Although, they have started picking up a bit!

We were only getting 4-6 eggs a day out of 30 hens for about 2 months. Our older flock went through their first molt and thus stopped laying. And the younger flock just hit maturity when the light faded for the winter (hens need approximately 14 or more hours of daylight to lay optimally.)

But we are past the solstice so the days are only getting longer now, the older flock is past their molt, and the younger flock is moving into their prime laying time (they lay the most eggs their first year of laying.) So now we are getting roughly 10 eggs a day. And it’s only gonna get better from here.

Lately we have been having some beautiful weather. While the rest of the country freezes, we’ve been wearing t-shirts and having picnics.

And doing crafts outdoors.

And going for walks in the hills above our house.

The weather is supposed to turn chilly and rainy, possibly with snow, this weekend.

And I heard from our contractor again today, and there’s been more unavoidable delays. So sometime in the future, hopefully sooner rather than later, we will have a roof and sides put on our house. But for now, it’s still pretty cool to walk out our trailer door and see that frame rising toward the sky.

And once it is “dried in”, we get to go to town finishing off the interior. That’s going to be a blast! And honestly that’s really the only thing on our resolution list for this year. Get. The. House. Finished!

For now, I’ll leave you with one more picture of our frame until we have more to report.

House update: concrete slab pour

The post you’ve all been waiting for!

I know, I know, it’s been nearly a week since I said we’d get the slab poured, and here I am just now writing about it.

But really, it’s only been 3 days since it was poured. Yep, that’s right, it was done this past Monday, not last Friday.

Yeah, the overnight lows were forecasted to be down around freezing for Friday and Saturday night. Frozen concrete is not a good thing. And while there are steps you can take to make sure the slab does not freeze, waiting an extra couple of days for the temps to warm up is an easy fix.

On top of that, none of the concrete companies in town could do a Friday pour before noon. Doing a slab this size takes about 8 hours. It gets dark here around 7pm right now. I think you can see the problem there.

So, we decided that it was best to just wait till Monday.

It was chilly that morning before the sun hit the pad.

But the crew was there and the cement showed up right on time.

The interior footers were poured first.

Then they started on the slab.

Flower Girl didn’t want to miss a moment, even when she was so cold. But the sun came up and we all warmed up.

There wasn’t much for us to do other than watch.

But watch, we did!

And then spent a few minutes stabbing in the bolts for the walls.

Pajii gave it a go.

Princess Girl looked over the plans to make sure we were doing it right.

I had a moment of panic when I did some measuring and thought we were an entire inch and a half off. Till I realized I was measuring to the wrong side of the form boards. Whew!

Lots and lots of bolts.

The concrete crew we hired did an efficient job.

Looks like he is standing on the edge of a huge drop off. In reality, there’s enough space on the other side of the house for a cement truck to pull up there.

More finishing.

The last thing to do was cut the relief cuts to hopefully control some of the cracking. Our concrete contractor uses a big machine to do the cuts rather than a skill saw by hand.

Here it is with the concrete blankets on. My brother and my dad were each able to loan us enough blankets to cover half the pad. We decided that since we got them for free, it couldn’t hurt to use them. Better safe than sorry.

On Wednesday we started taking down the forms. We can’t take off all of then yet because that’s what the plastic is stapled to.

Since we are going to stain the slab and use it as our finished floor, the concrete guy didn’t want to put on a chemical seal/cure on it. So instead, we wetted everything down then covered it in 6mil black plastic to keep the water from evaporating. This will allow the slab to slowly cure over the course of a week or so without adding something to the top that will make the stain not work.

Pajii and Princess Girl took off all the blankets today. I stayed inside out of the pounding wind because I came down with a cold on Tuesday (great timing, right).

Instead of working on the house, I’ve been resting and recuperating and making chicken stock out of the carcasses of the chickens we processed over the weekend.

One of these pots of stock got canned into jars. The other became soup for dinner tonight. Hopefully it will help me feel better. This not being able to breath thing is getting old real quick.

The next stage of building the house is getting the metal frame up, but that may take a while. In the meantime, we need to finish up our septic system and fresh water cistern and get started on the garage. Still got a lot to do. But it’s moving forward. Slowly but surely.

Culling old chickens

So, I know you’re anxious to know about the slab, but that’s for another post. Sorry, you’ll have to wait another day or two.

For now, I want to share with you a task that we had to take care of that had nothing to do with the house build.

You may remember that back in April, we acquired a flock of about 20 old hens from some friends of ours. We were told they were roughly 5 years old. We did not expect many eggs out of them, but for several months during the summer we got about 10-12 eggs out of them every day so we were happy. Then the end of summer came and between the diminished daylight and the molting and the fact that they were old and that they kept eating their eggs, we didn’t get very many eggs out of them. For the last month or two, we’ve only gotten an egg or so a week. Very frustrating. So, we decided it was time for them to go.

Warning: this is a Homesteading blog about homesteaderly things and one of the things we do on this homestead is produce our own meat. The following pictures may not be suitable for all viewers. While I will not be posting “how-to” pics, or ones that are too bloody, some people may not like seeing dead chickens. I respect your decision to click away if you’d rather not see anything objectionable.

For those of you who are ok with that sort of thing, read on.

As I said above, this is not a how-to type post. There are plenty of those out there, and I especially found the one by The Prairie Homestead and the video by Joel Salatin she linked to at the end of her post to be useful.

This is more of a “this is how we spent our day” post. Actually, how we spent a day and a half, even into this evening as the canner is busily boiling away as I type this.

.

Hubs was the main chicken dispatcher.

He was also the main feather plucker.

My brother and sis-in-law joined is to help with the task.

Sis-in-law ended up doing most of the cleaning.

Flower Girl was rather eager to help with the whole process.

She thought that the tiny egg yolks we found inside some of the hens were really cool.

One of the hens was obviously still producing some eggs as we found different size yolks.

Nearly 12 year old Princess Girl was not nearly as interested in getting her hands dirty as her little sister, but she did process one chicken completely from catching it in the run to putting the cut-up meat into the jars.

I’m so proud of her. And when she wasn’t helping with the actual processing, she was a great gopher, as we all had dirty hands, she’d be the one to run and get stuff for us.

She also took a lot of these pictures since my hands were perpetually covered in ick or water.

This chicken wing looks like an octopus tentacle!

Since these chickens we’re so old, we knew that their meat would be pretty darn tough.

By canning the meat, it is pressure cooked as it is canned. This high pressure cooking/canning for over an hour makes the meat nice and tender.

And yes, I’m canning after dark.

These are great for use in soups or as chicken salad, etc. And I’m so excited that we were able to put these chickens to good use since they had become useless in the egg production category. It feels great to be able to produce some of our own food again. I’ve missed that since we moved back to Nevada and spent so much of our time building the homestead living systems.

We’ll, that’s it for the day. I’ll update in a day or two about our slab, I promise.

House update – MORE backfill! (And other stuff)

This was a very productive weekend.

We completed a bunch of the finish work on the well shed.

Including painting the shed floor.

While the paint was drying, we continued backfilling inside the house footers. Once we added another layer of dirt, we couldn’t do much else because the equipment rental shop was out of the compactor we needed, so we had to wait till Monday. So we found another project to work on.

This rather steep hillside is going to be terraced, but needs a set of stairs.

We have a large pile of 5ft railroad ties that were on the property when we bought it. So we set to work cutting them in half.

Princess Girl and I are standing on the tie to steady it while Hubs finishes the cut.

We stopped periodically throughout the weekend to put another coat of paint on the shed floor. Doesn’t it look good?

Then we went back to building the stairs.

Digging in Nevada requires the use of some heavy duty digging tools.

Today, the Hubs took the day off work to help out with the house. And we got all the preliminary backfill filled in and compacted!

The red chicken scratch marks on the ground is my code to see where we were still low. We string a line across the forms (which is slab level) and measured down from the line. Then if put a mark if it was on grade or low. It was not “real” grading marks, I’m sure. But it worked for us.

As my wonderful hubby stated on a Facebook post, it’s been great to be able to work such a productive few days with my best friend. Sad that he goes back to work tomorrow. Happy that he got the day off.

And then tonight as I was closing up the chickens, I found this.

Our first egg from our pullets that hatched this spring! Guess I need to put more bedding in that nest box, eh?

Yeah, it was a good weekend!

How was yours? Did you get lots of work done? Our maybe it was more about relaxation. I’d love to hear from you.

Raising chicks while living off-grid

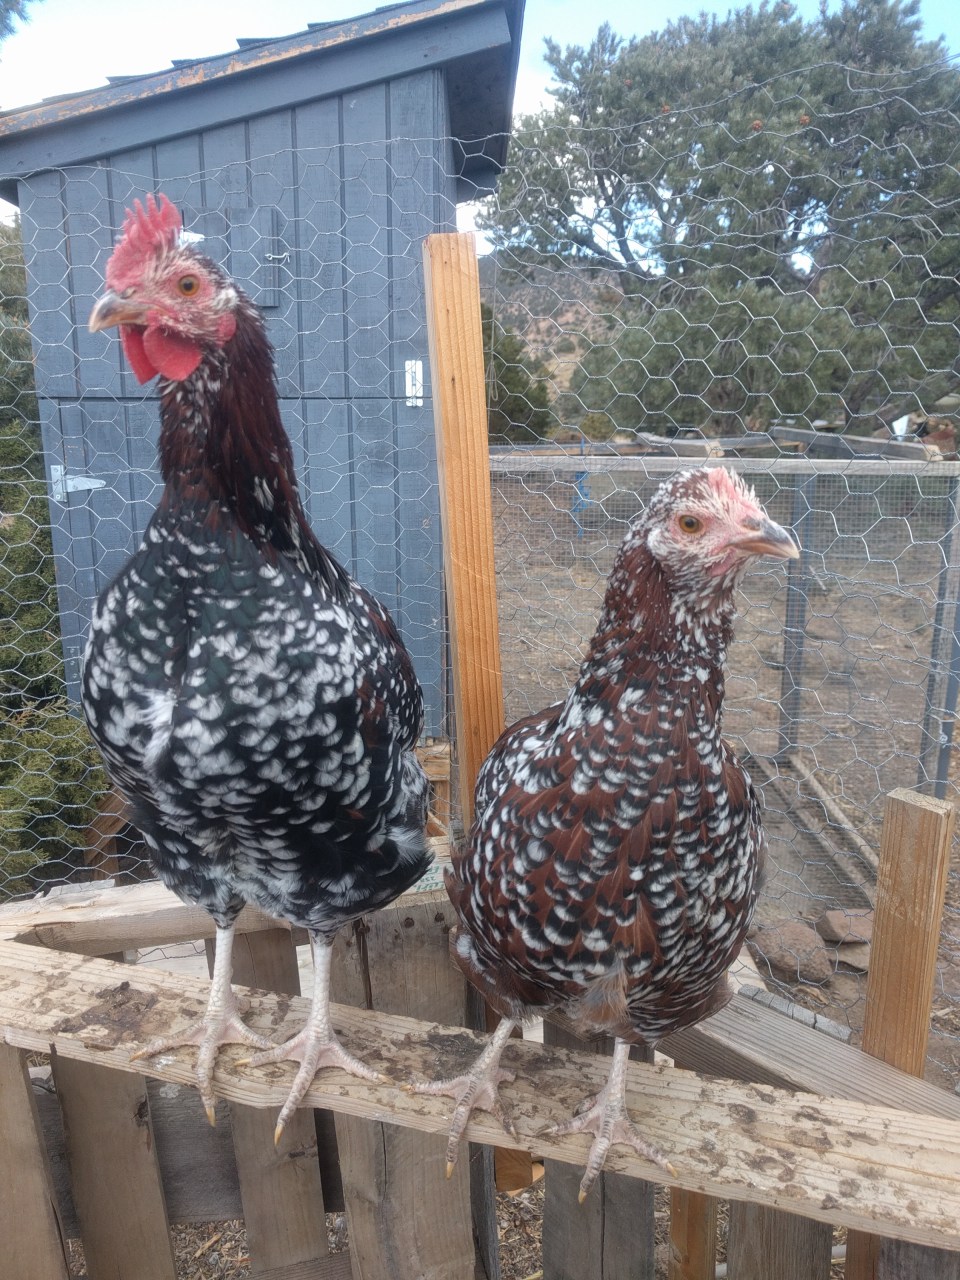
So yeah. I’m a sucker for chicks. That is a fully established fact.

Yup. That’s two MORE chicks to add to our menagerie.

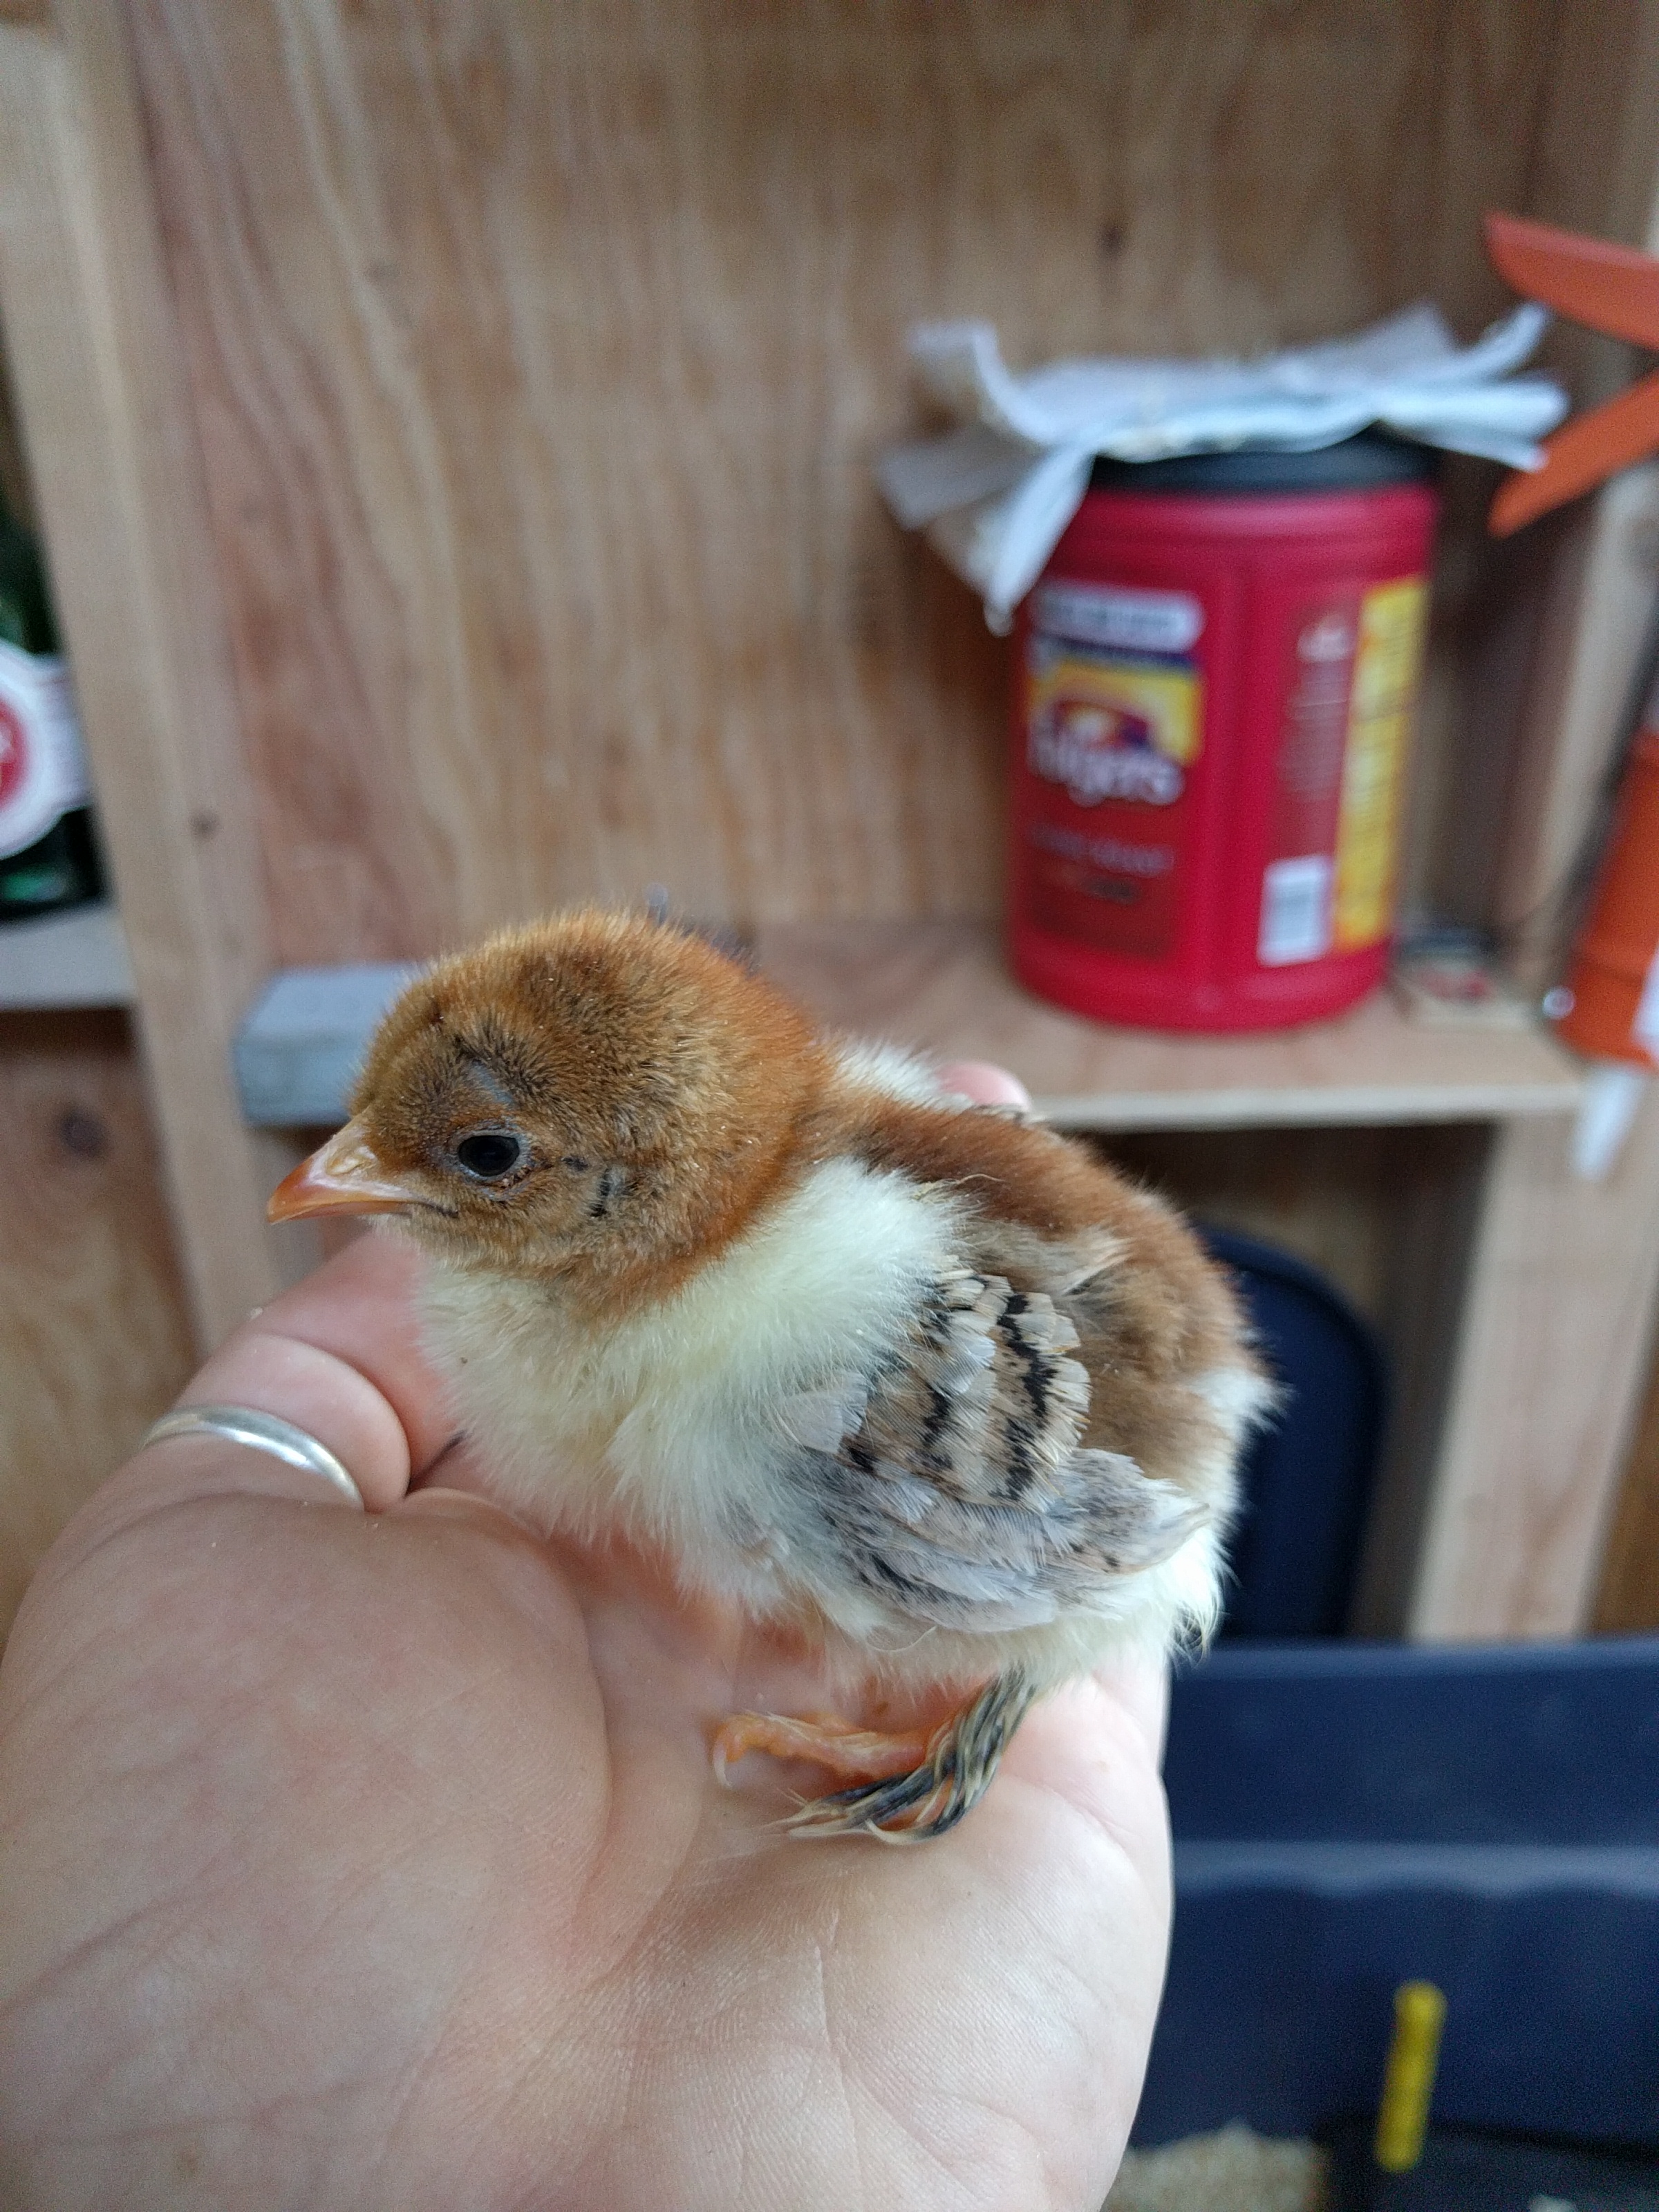
I was not planning on buying more chicks. But the feed store I was in had these 5 week old Ameraucanas for sale for only $2 more than they were selling brand new chicks.

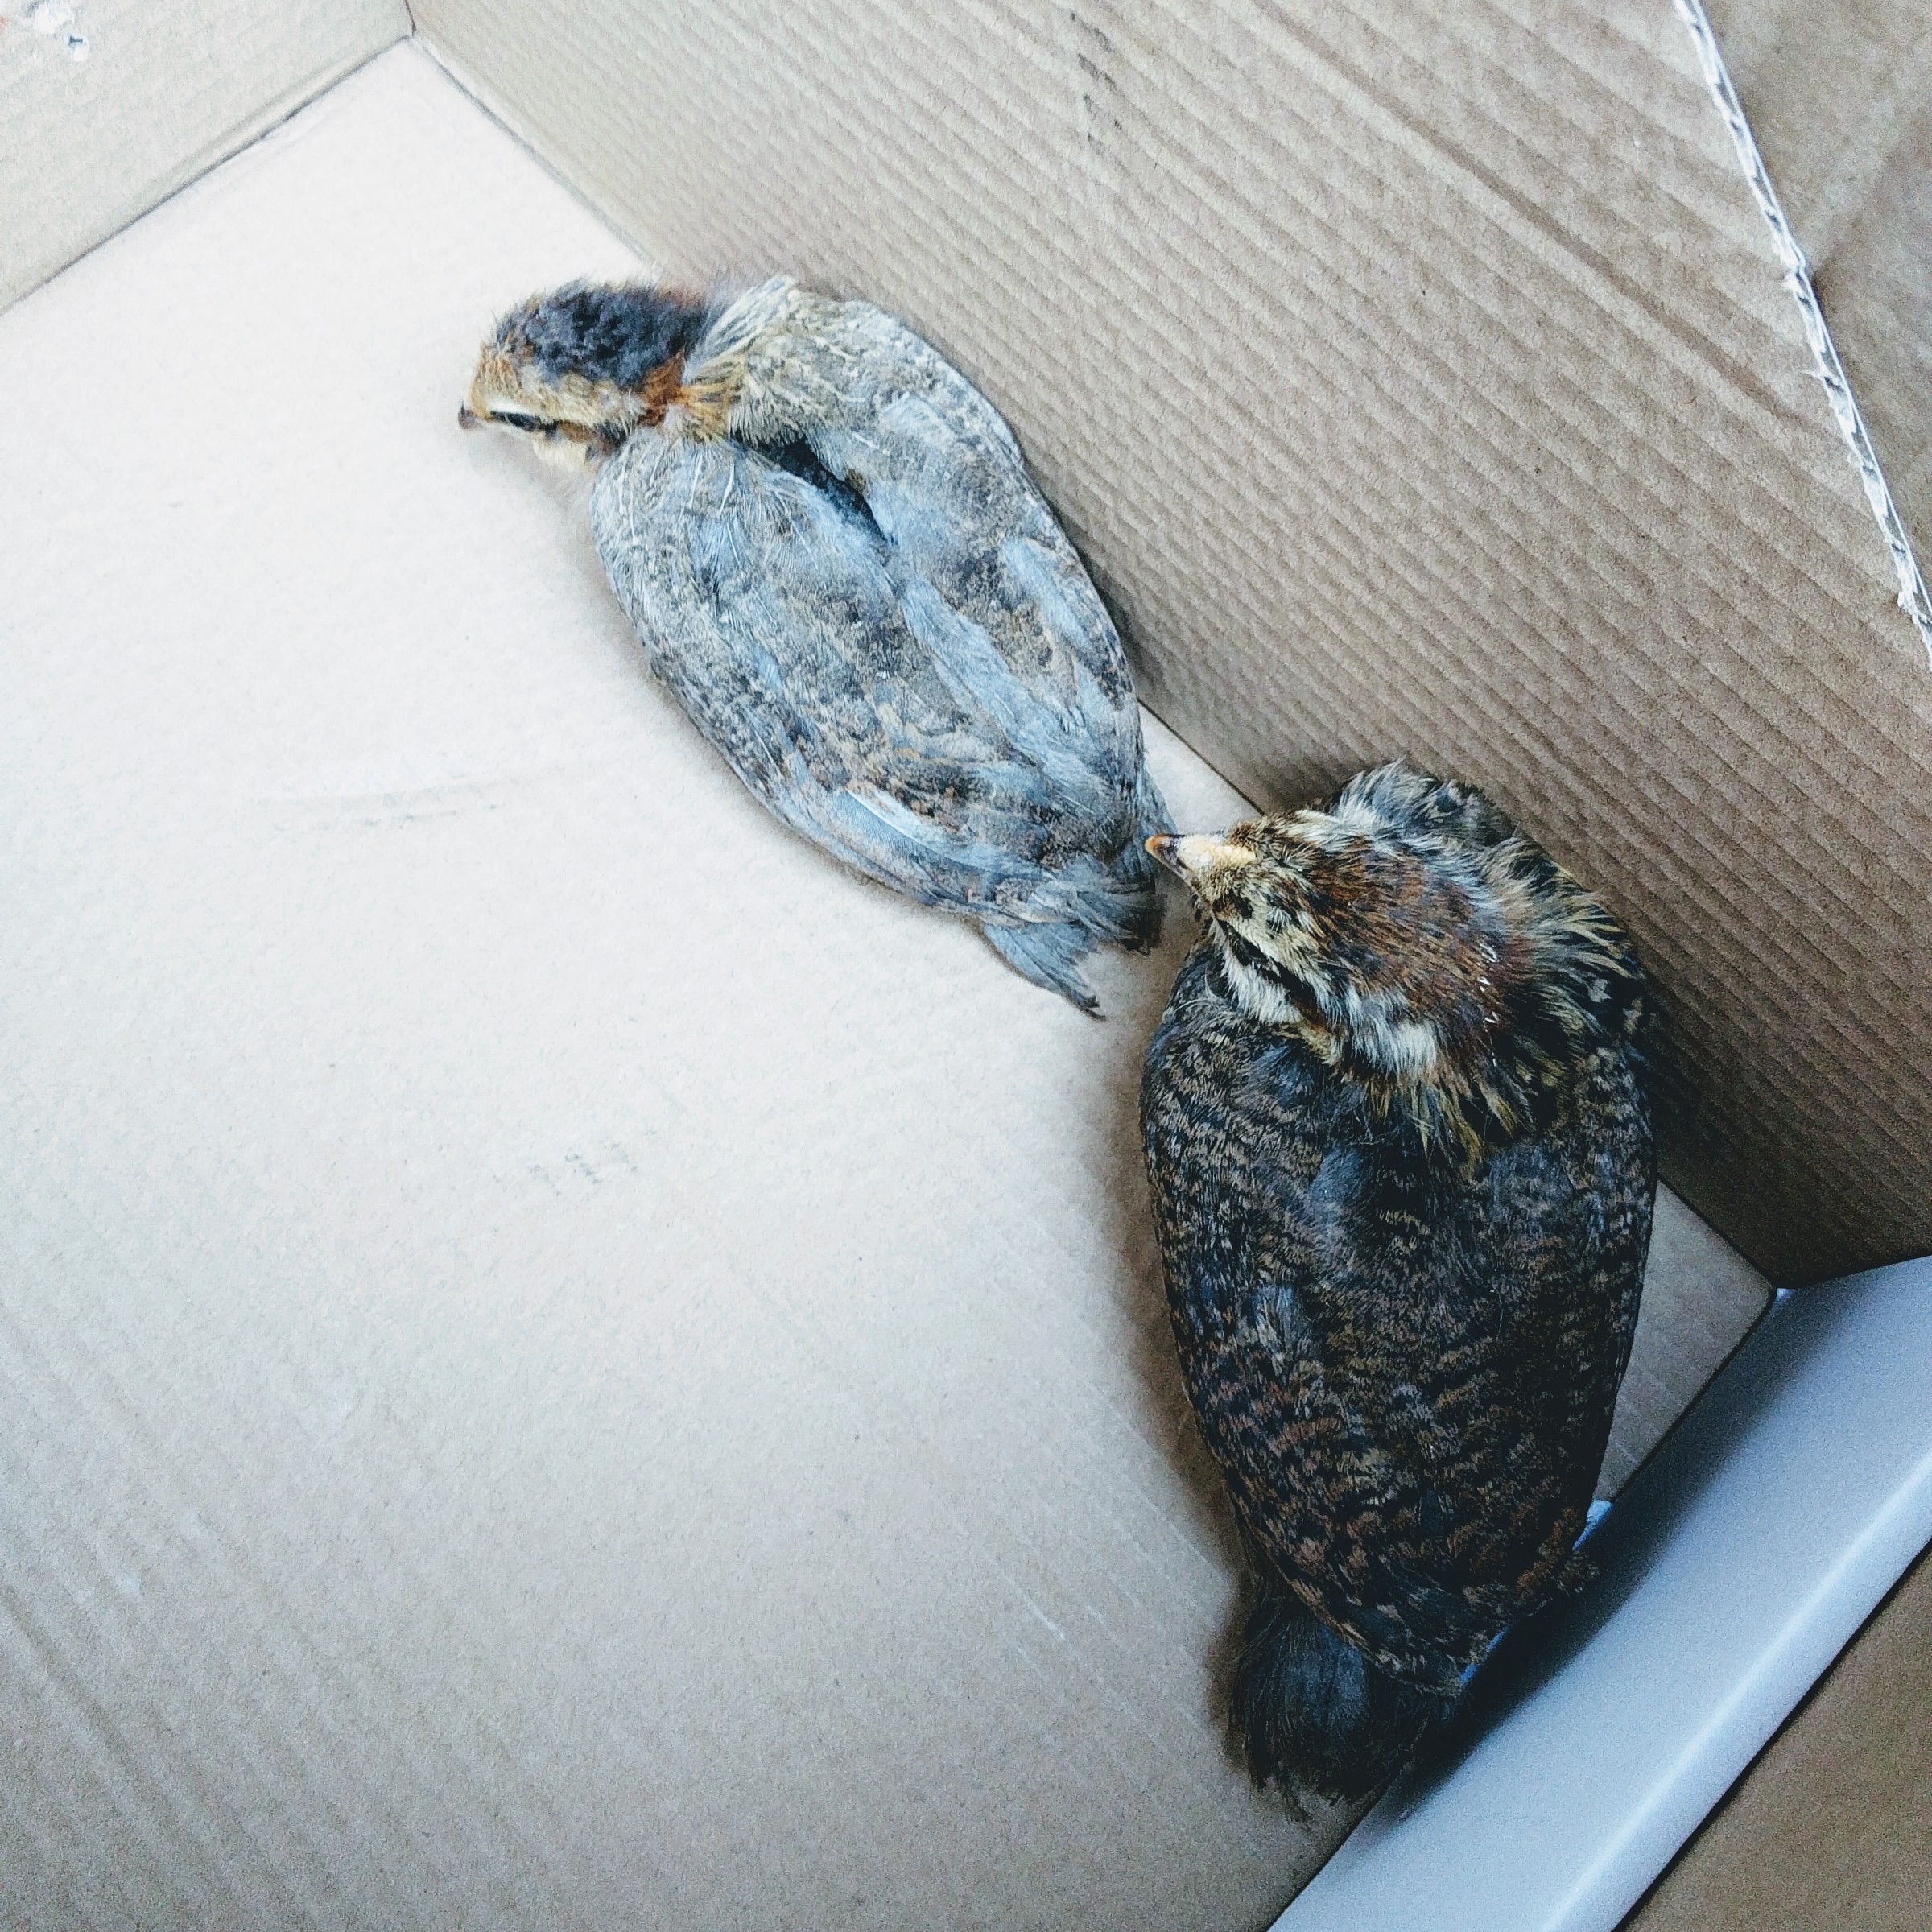
And two of our four Ameraucana chicks had died (being crushed) within the first week. I really wanted more Ameraucanas. So when I saw these 5 week old chicks, who are almost the same age as our original chicks, and at a reasonable price?

Well, how could I resist?

[Did I mention that I went to that feed store, miles out of my way,  because I heard they had 5 week old Ameraucanas? No? Oh, well, that will be our little secret, k?]

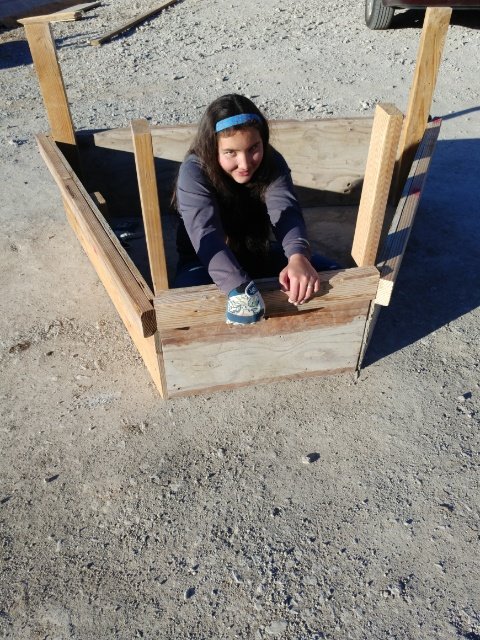
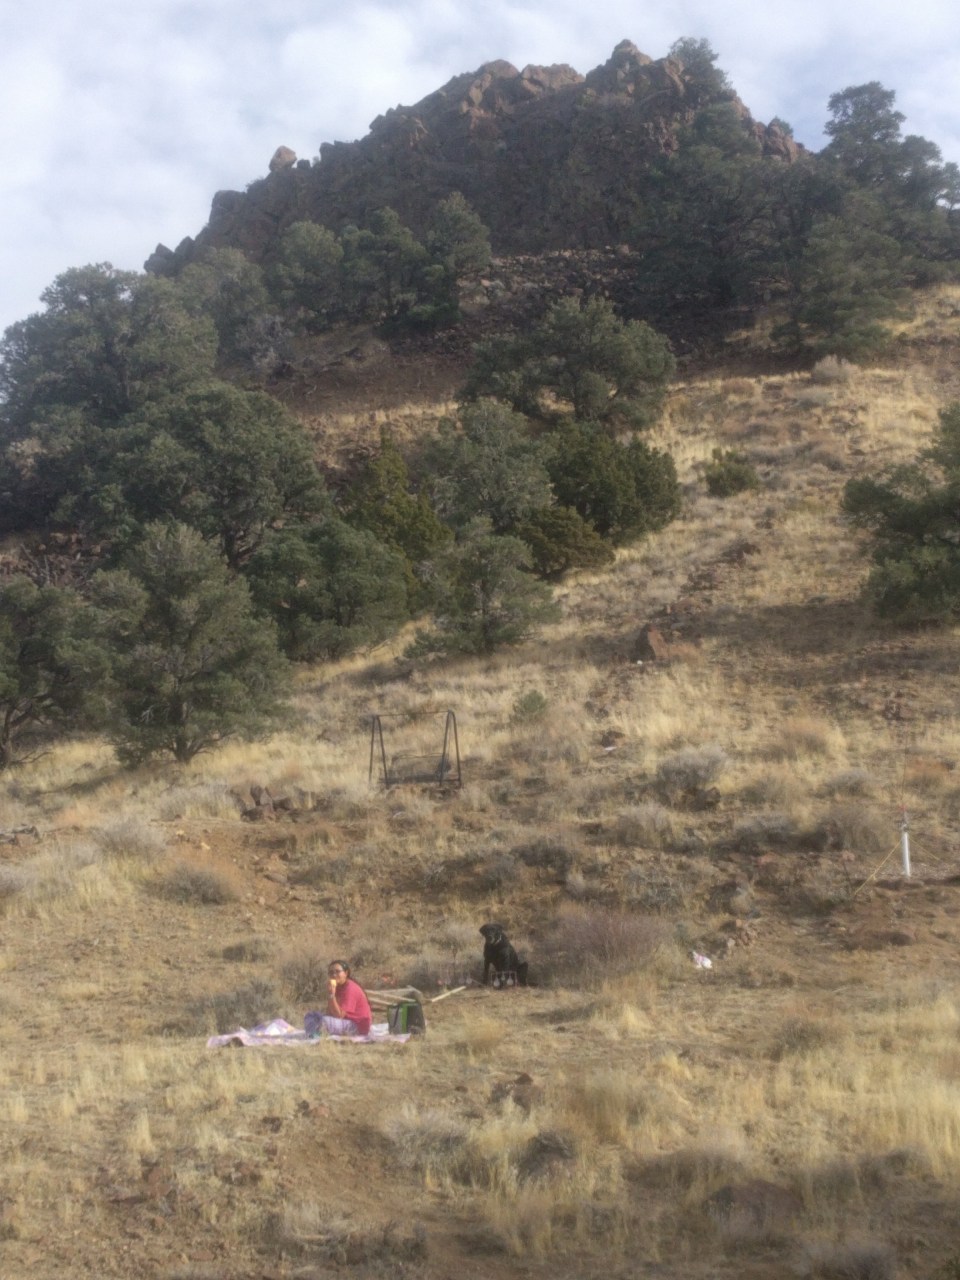
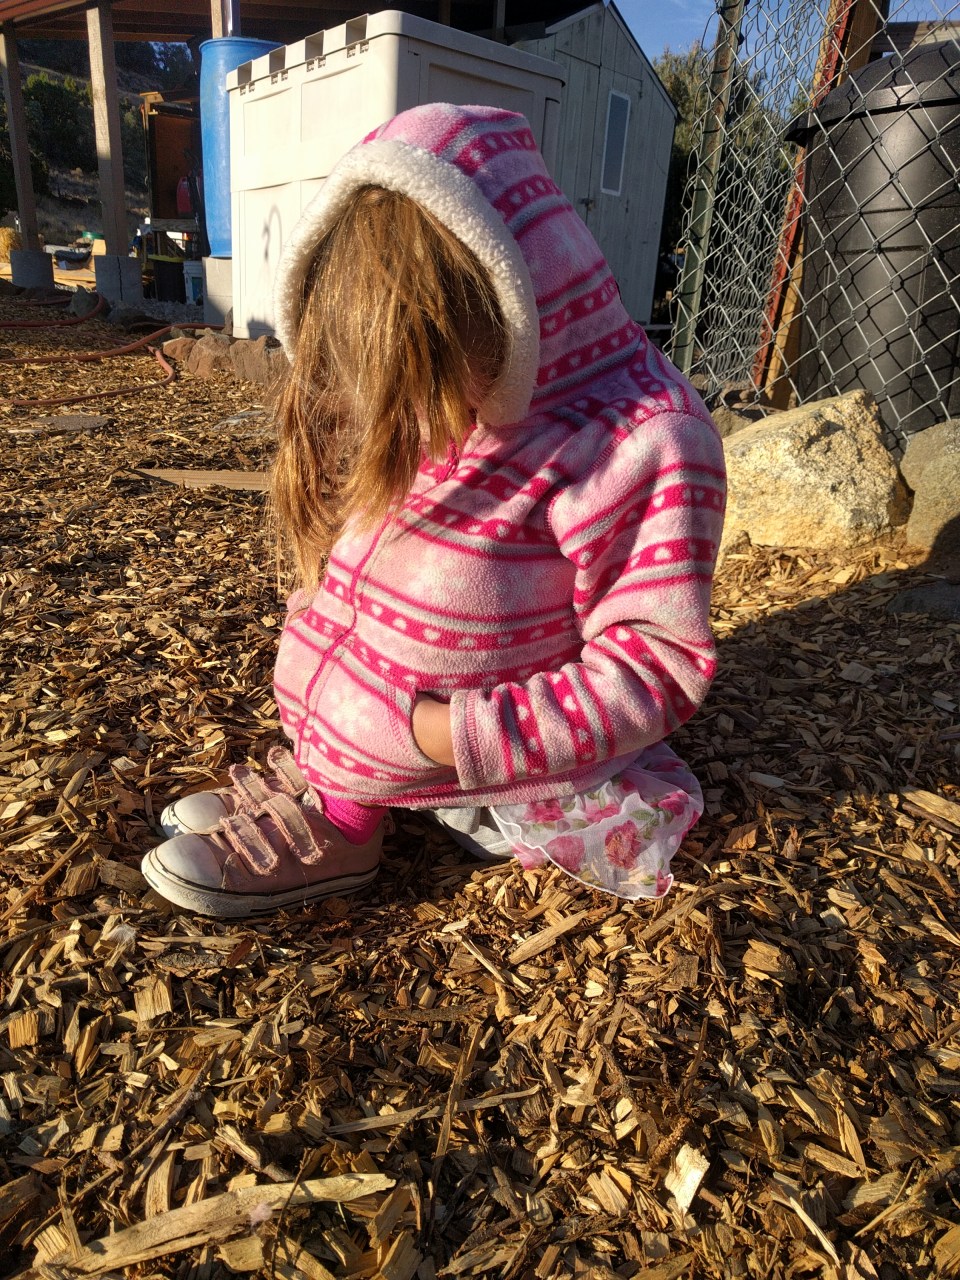
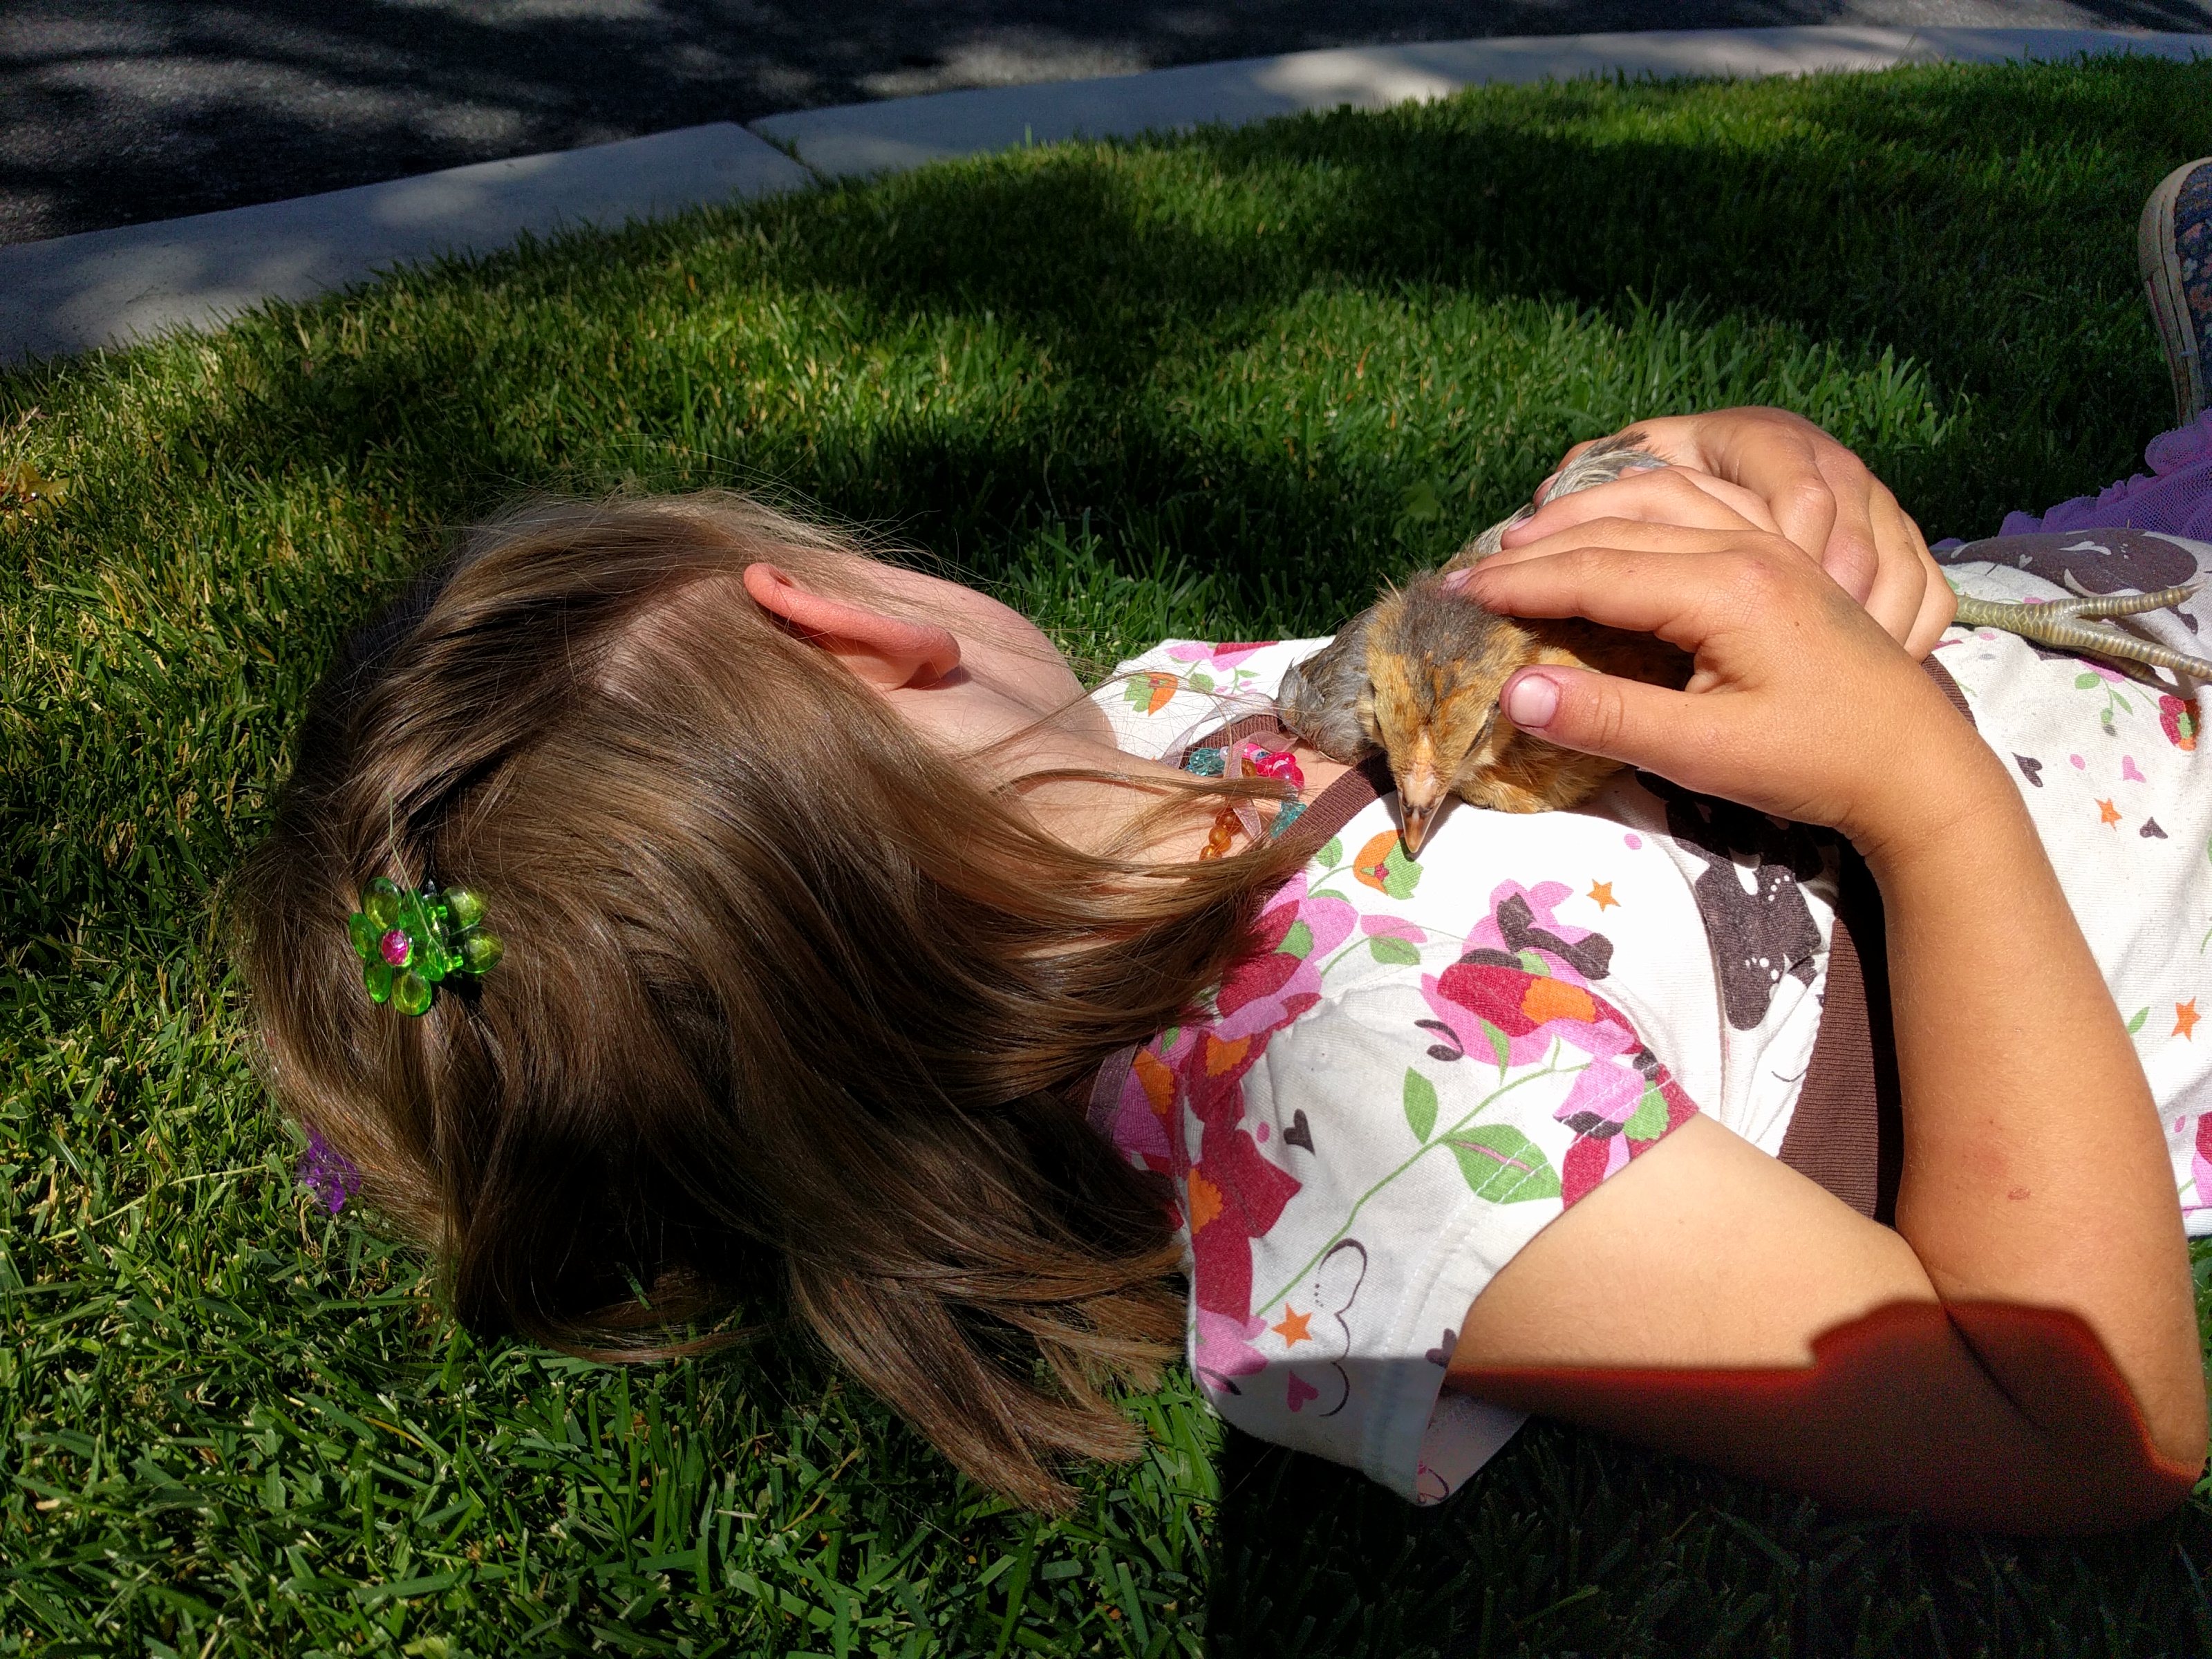
So as Flower Girl sat in the parking strip grass next to the laundromat today, cuddling one of the new chickies, I figured it was high time to detail out how we have raised our chicks while living off-grid in a camping trailer.

She’s the chicken whisperer for sure!

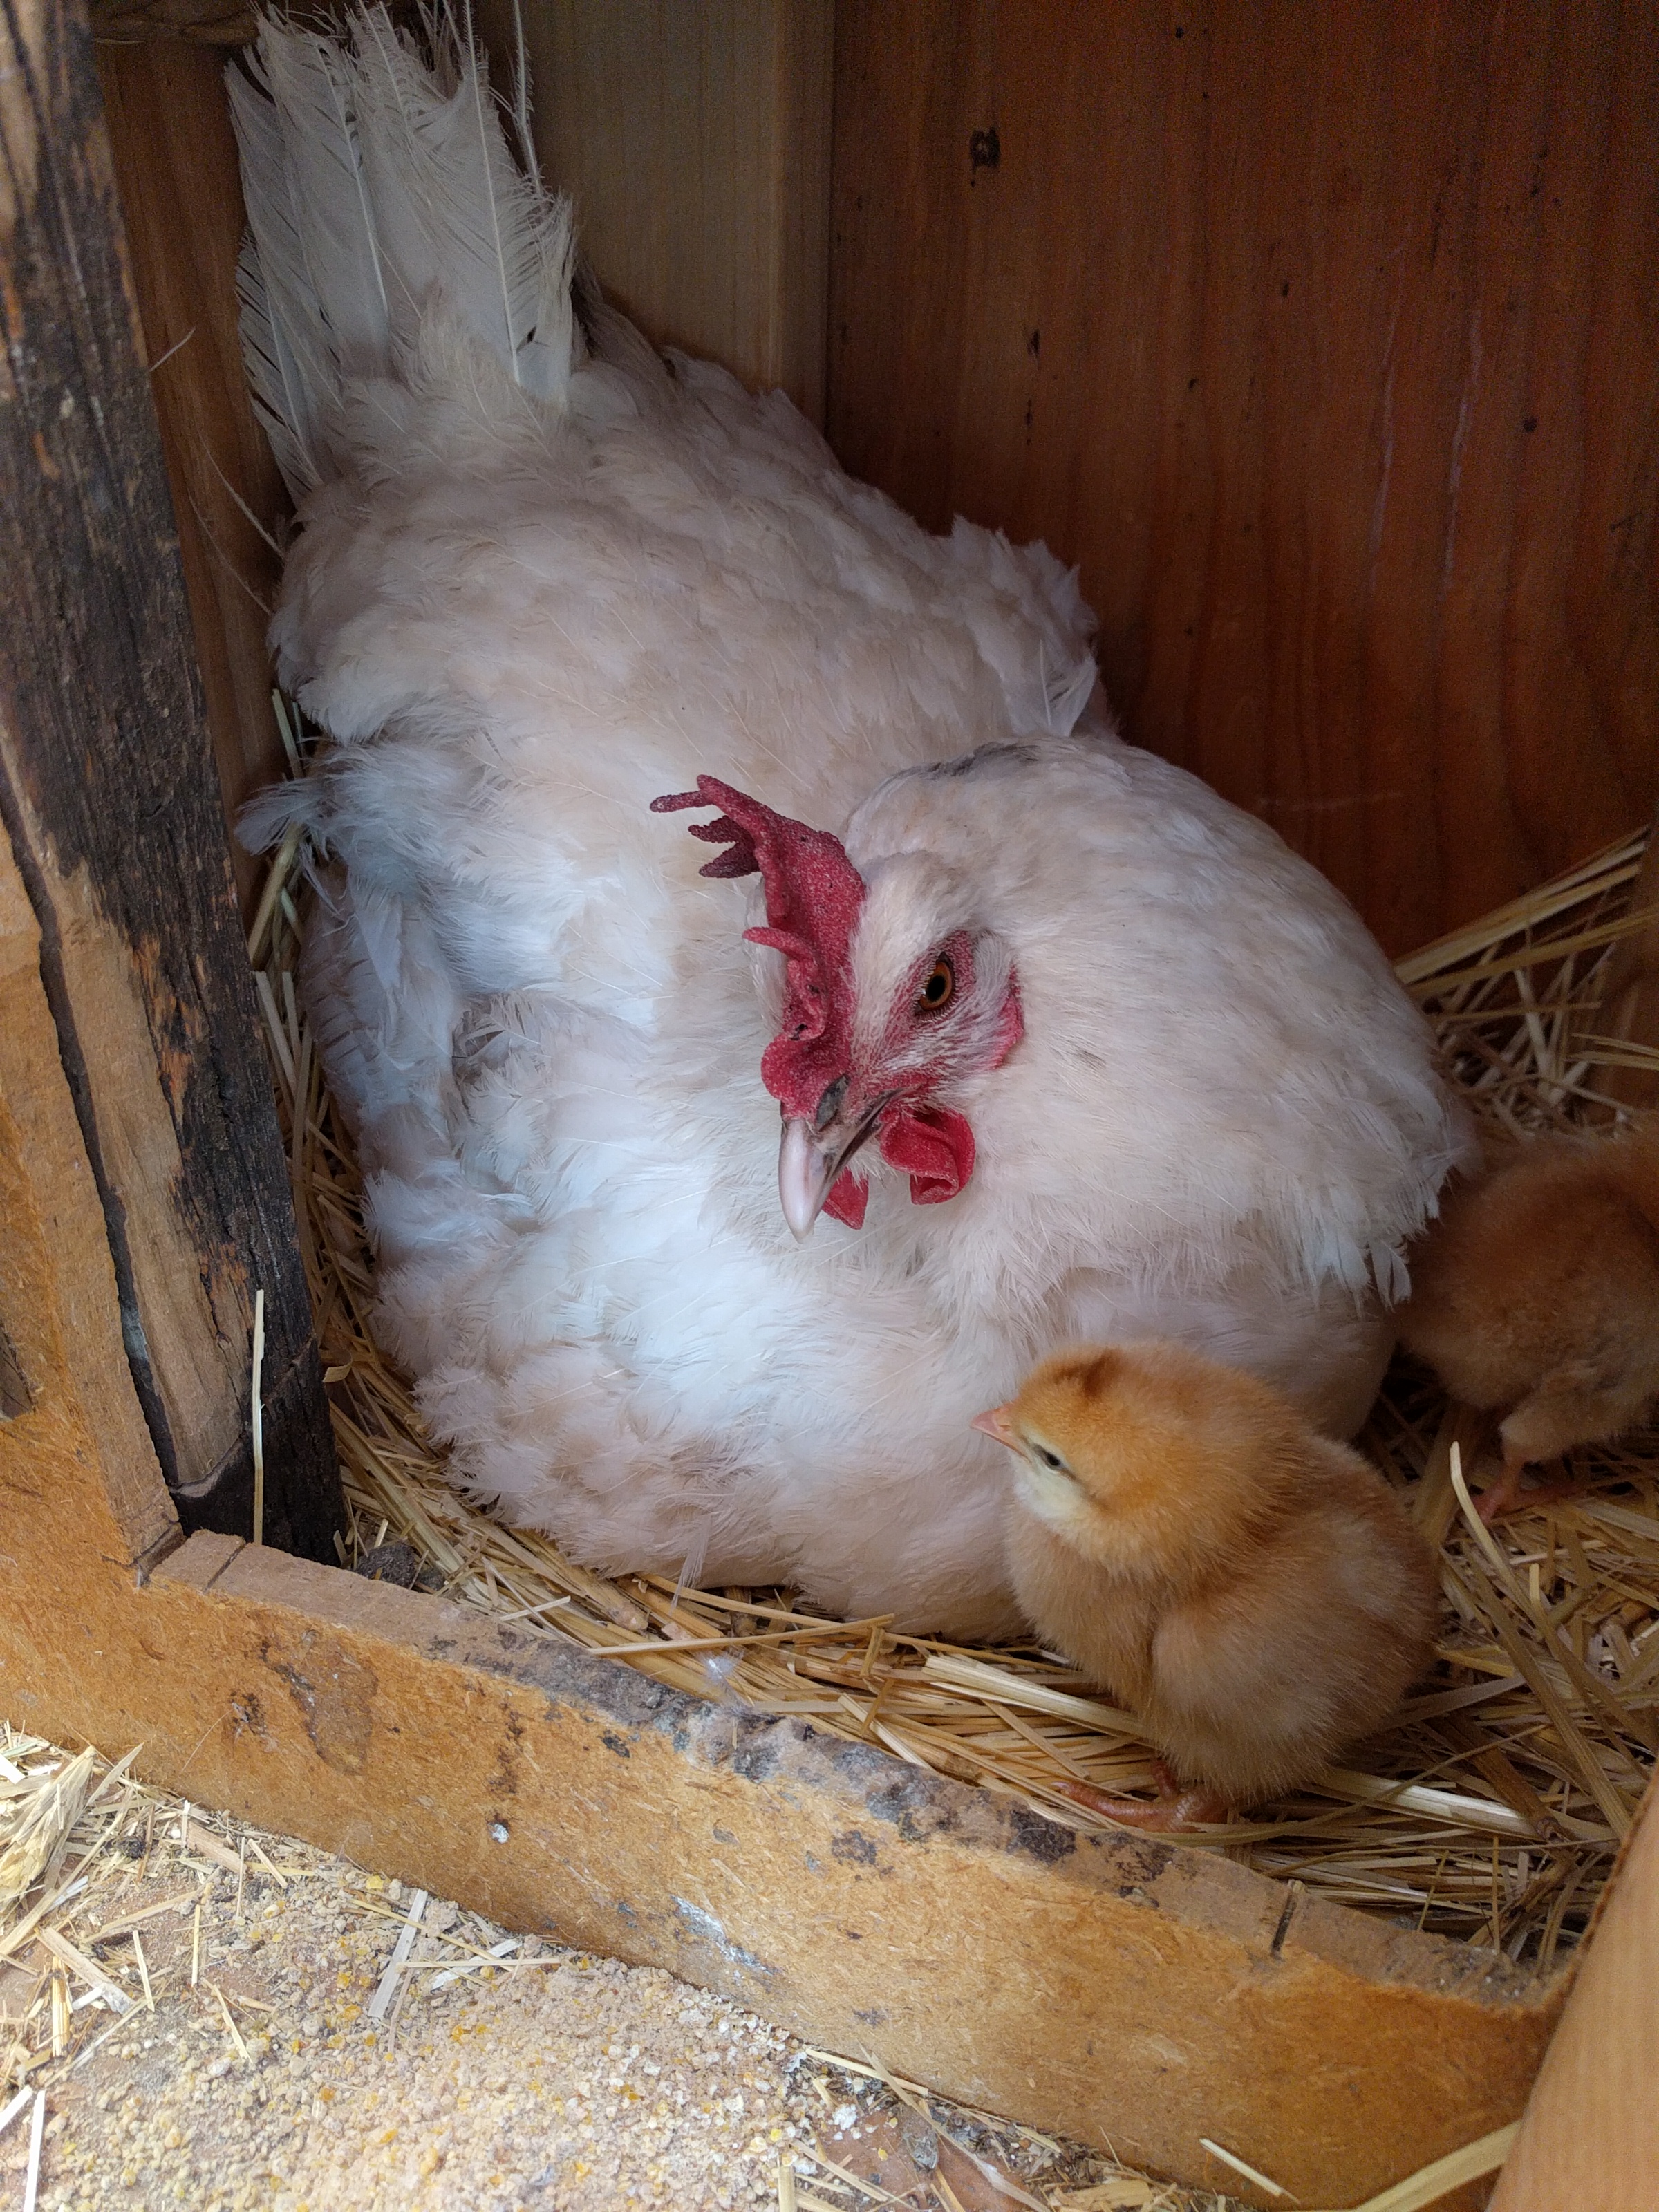
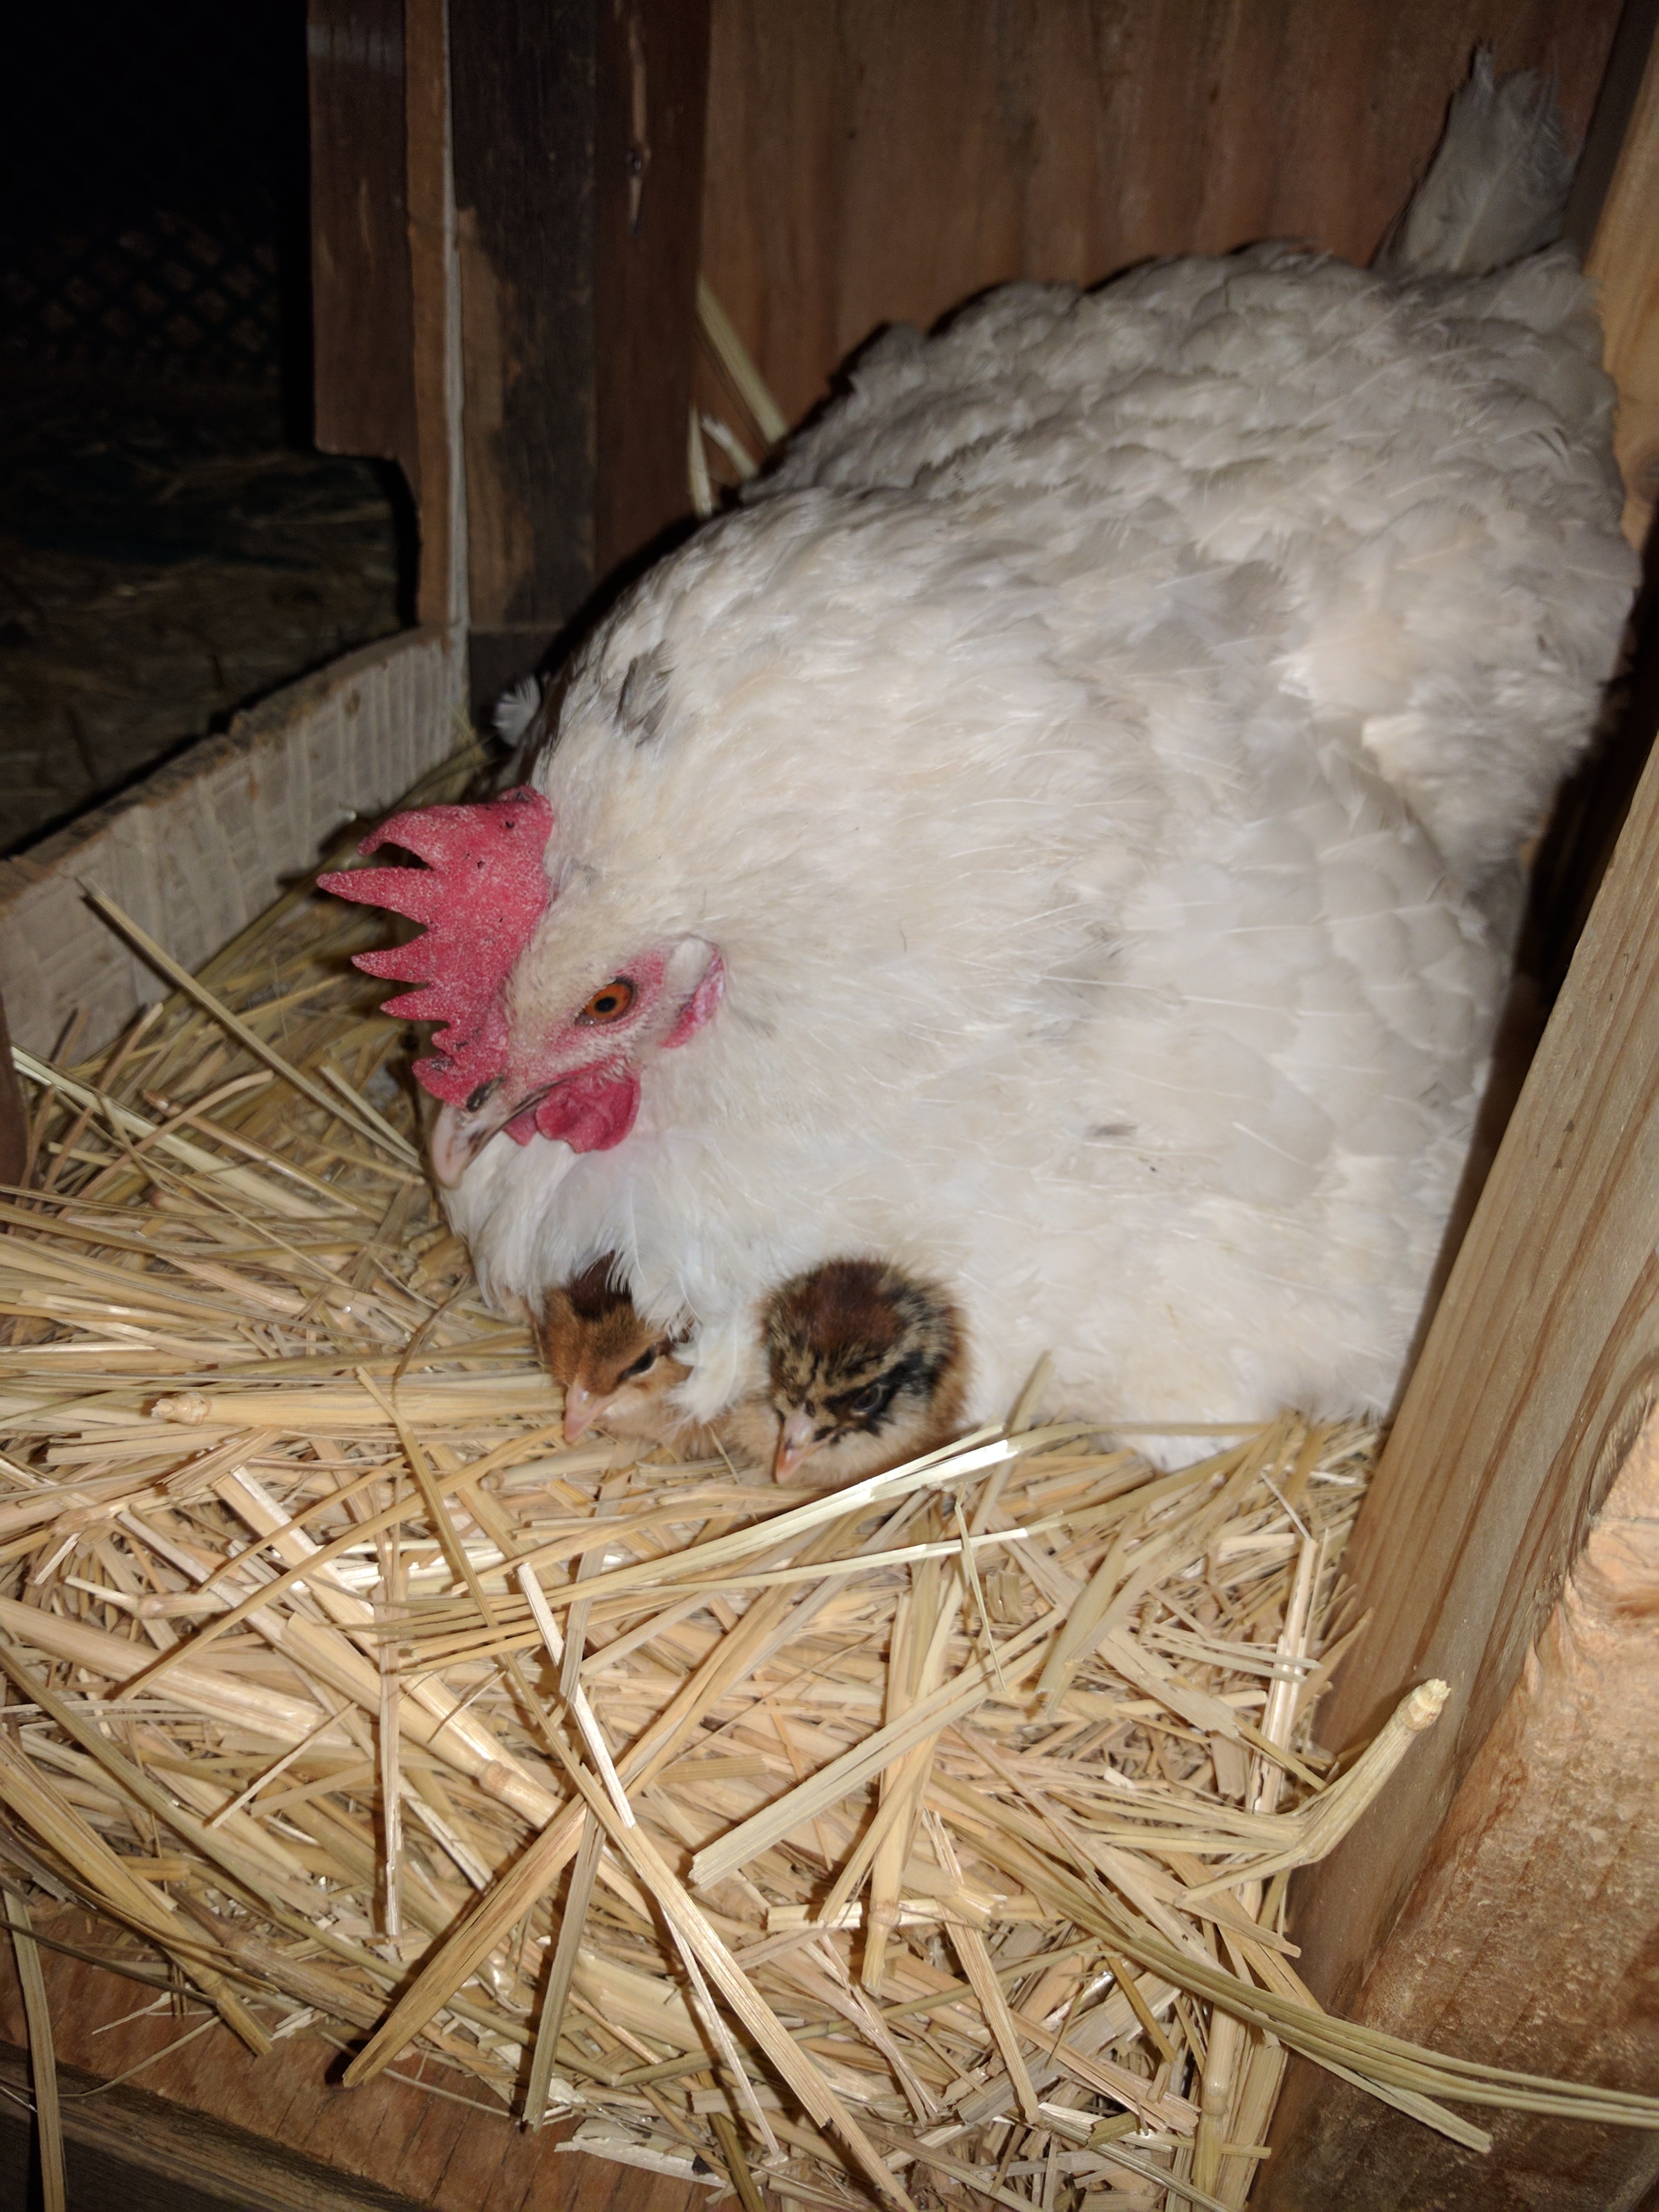
On April 19, we brought our first chicks home and fostered them to a broody hen who had been sitting on golf balls for about 6 weeks. It worked great. You can read that post HERE

A few days later we tried again with another broody hen. It didn’t work at all. So we had to implement our backup plan.

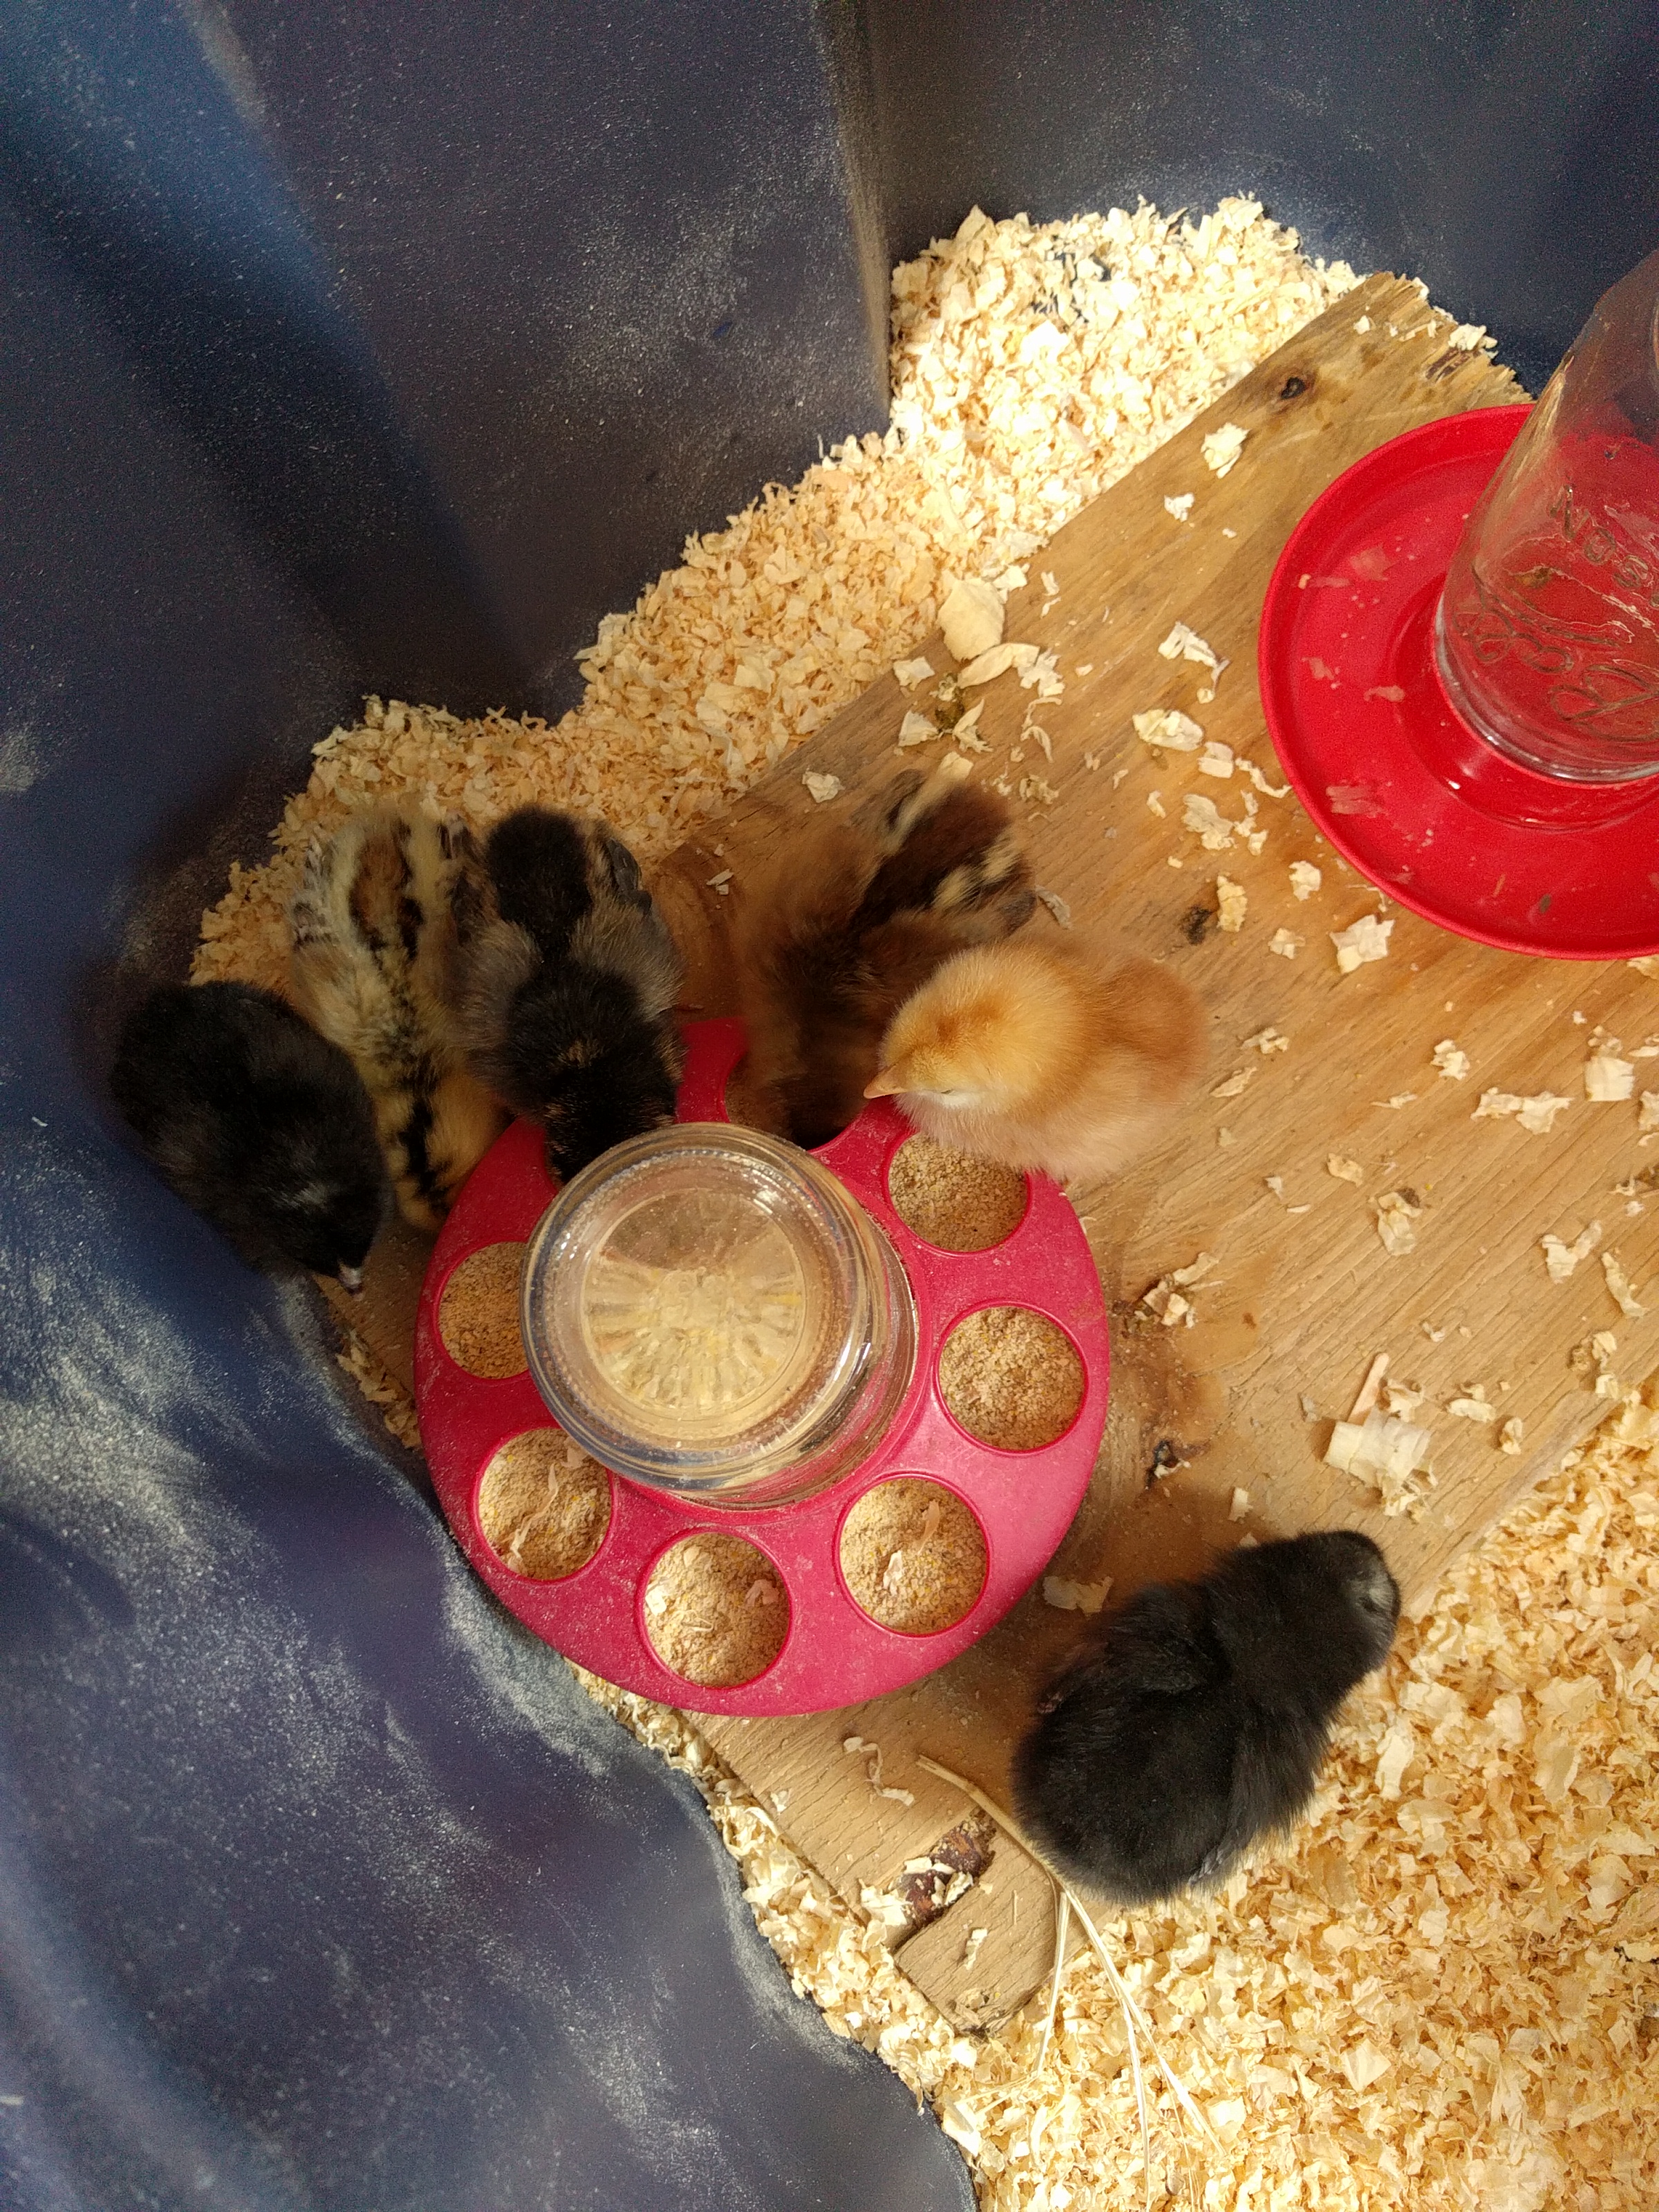
We knew we needed to raise these chicks in a brooder. We had just emptied a large plastic tote, so that would work perfect. But there was no way that our solar power system could run a traditional heat lamp.

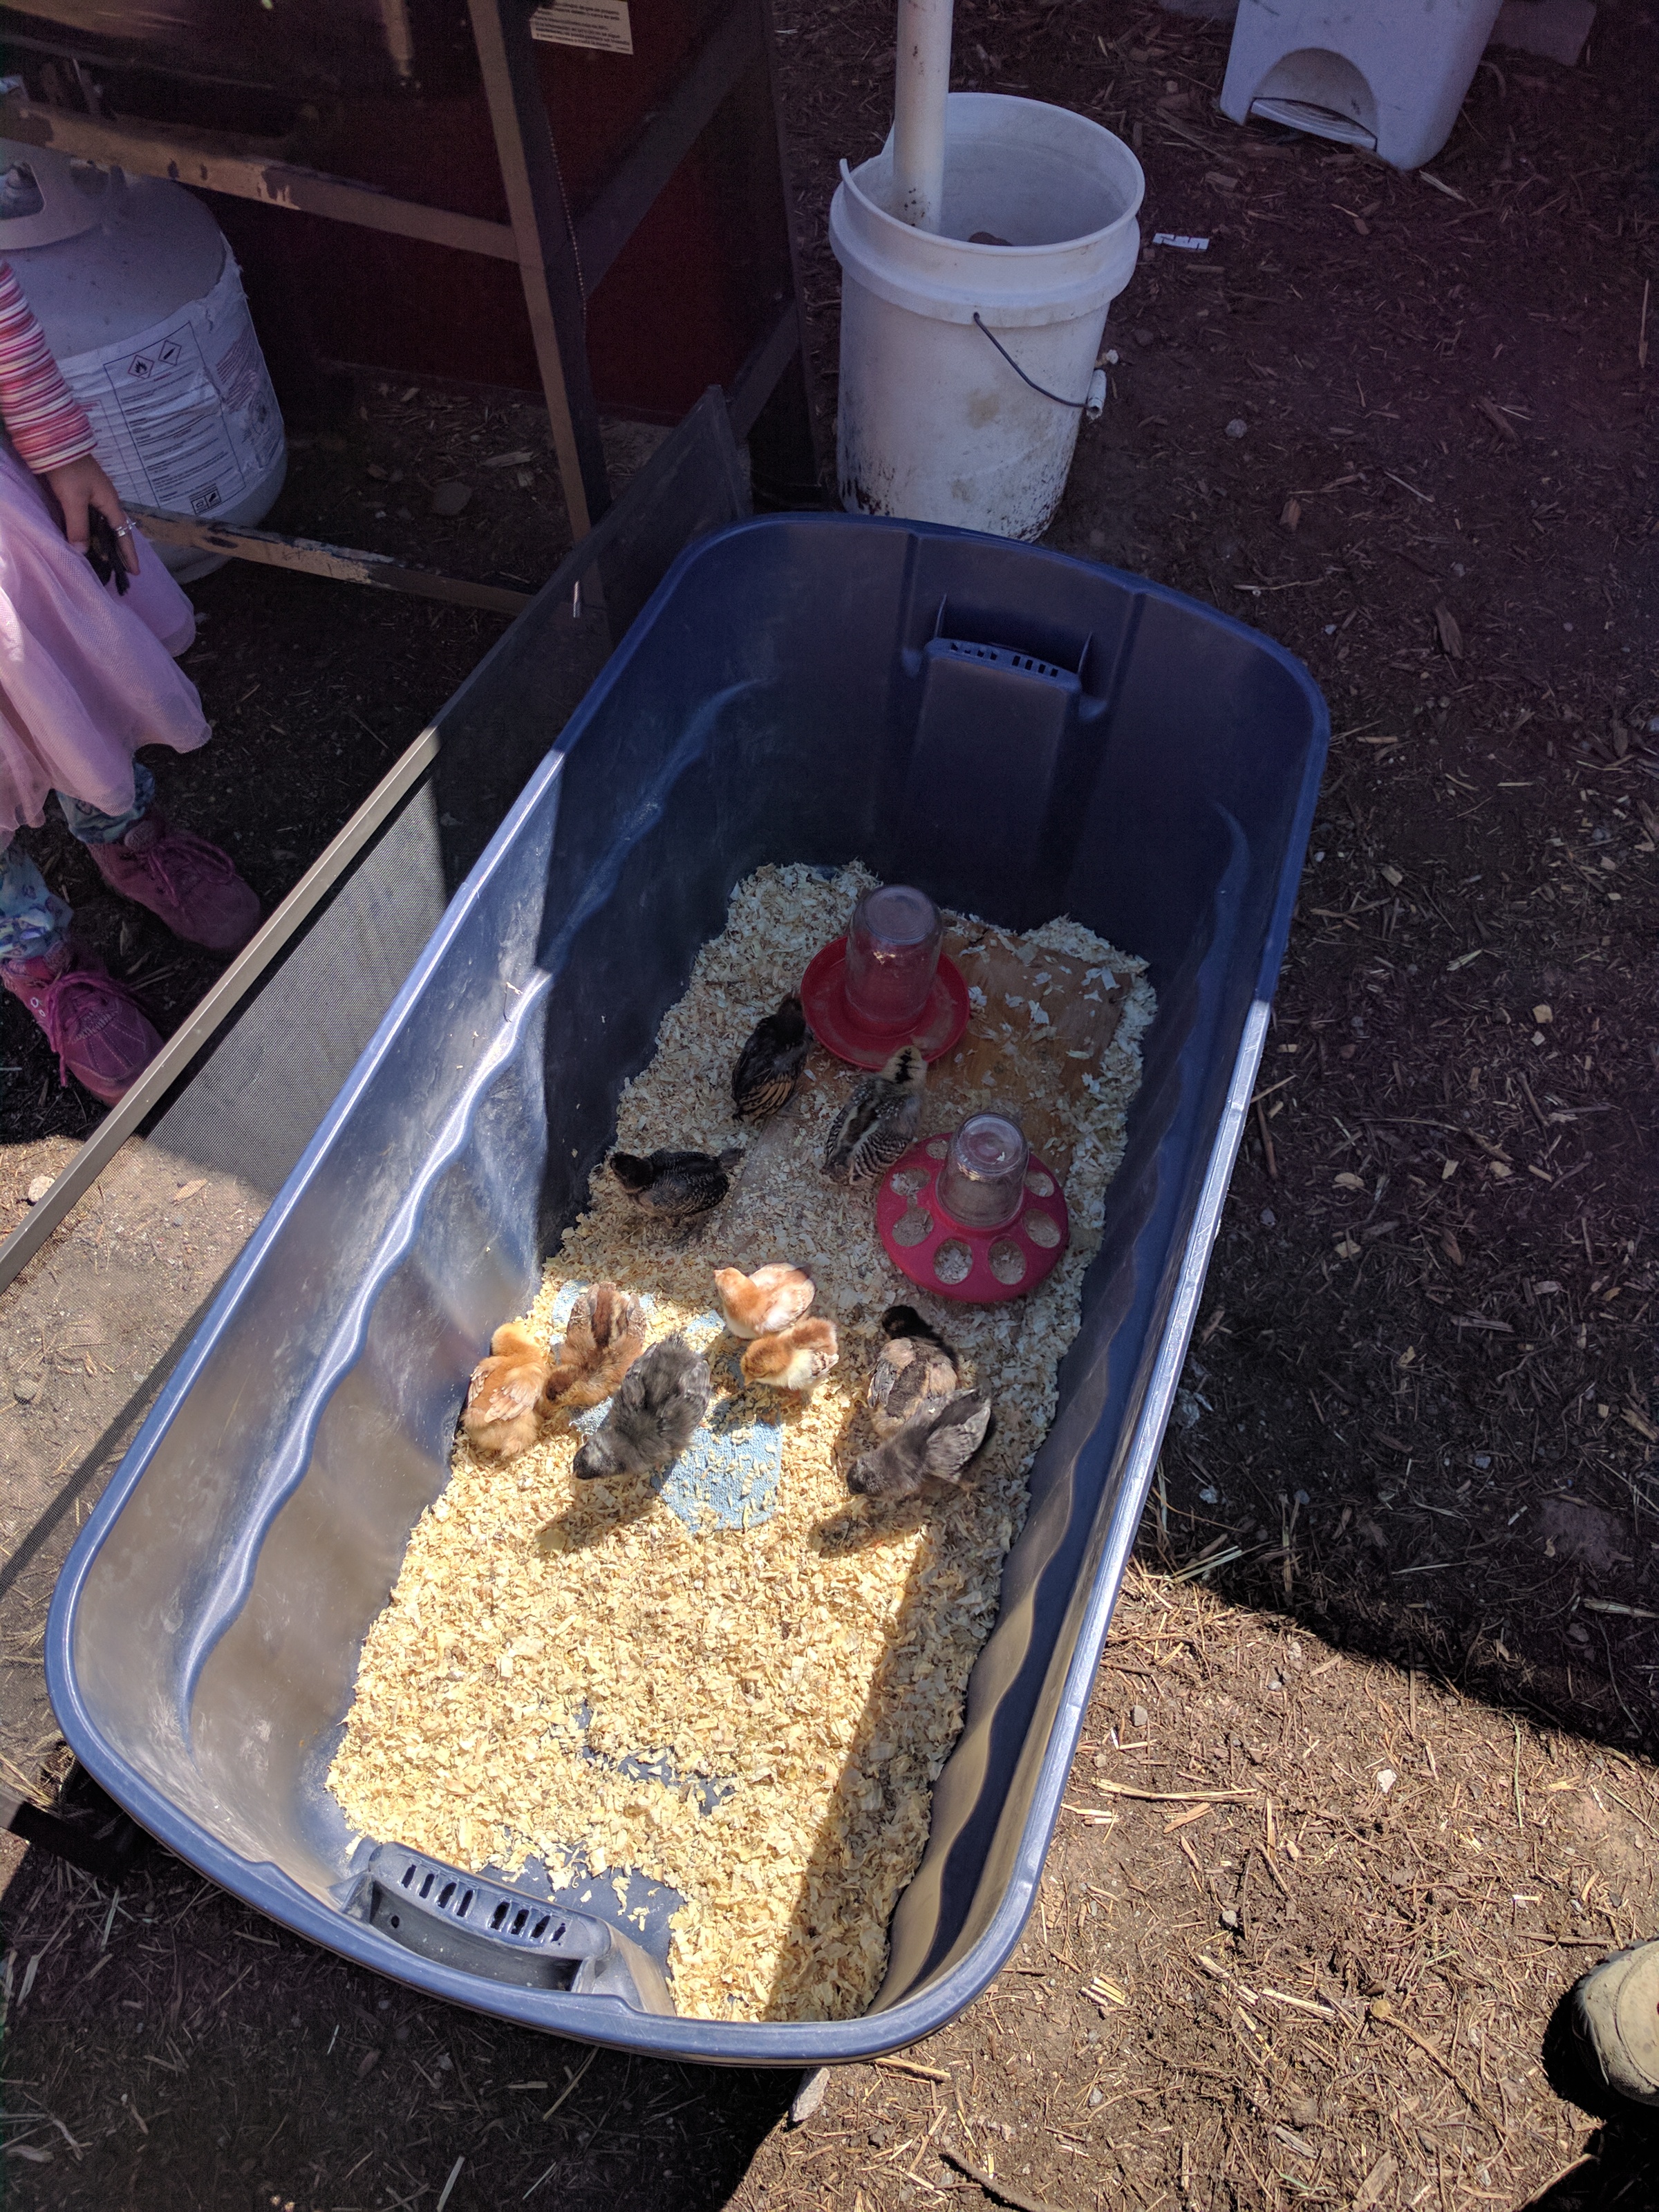
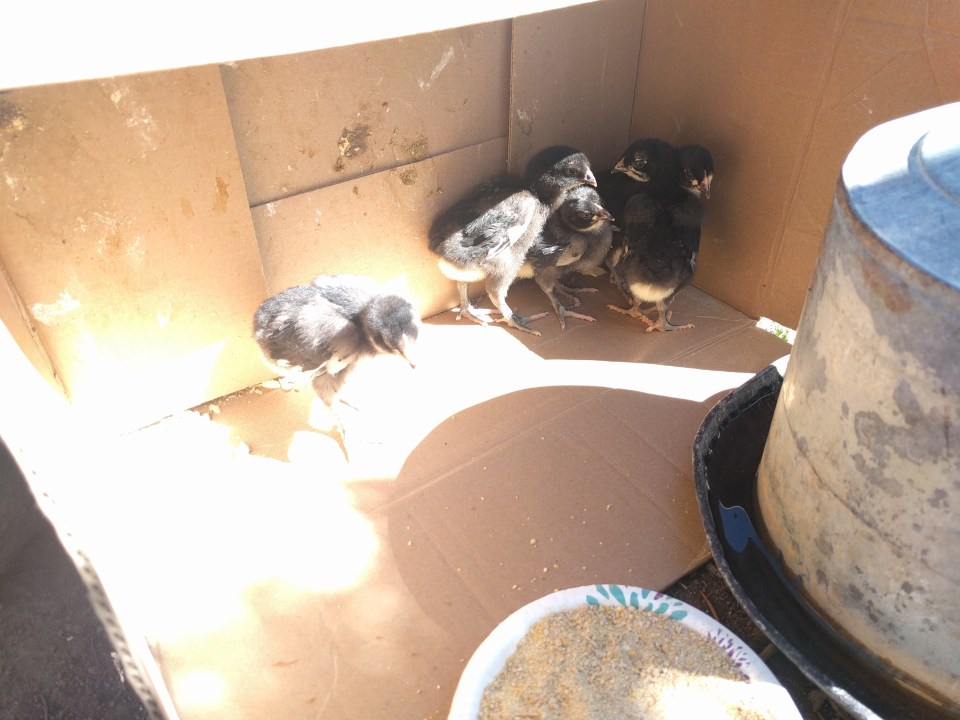
As the weather warmed up, we were able to use the warmth of the sun during the day. 

Solar powered warmth for the chicks – at least on sunny days 😊 (PS, this pic was take  after we got our bantams – the original chicks were about 10 days old, and the bantams ranged from less than a week old to about 2ish weeks old)

But what about at night? Or when it was overcast or cold? Sure, their brooder box would be in the mud room, out of the elements, but April in Northern Nevada is still pretty chilly. Too chilly for newly hatched chicks.

I had seen some warming plates online that advertised that they only use 15watts, but even with Amazon’s 2-day shipping, it would still be several nights before we could get one and set it up. 

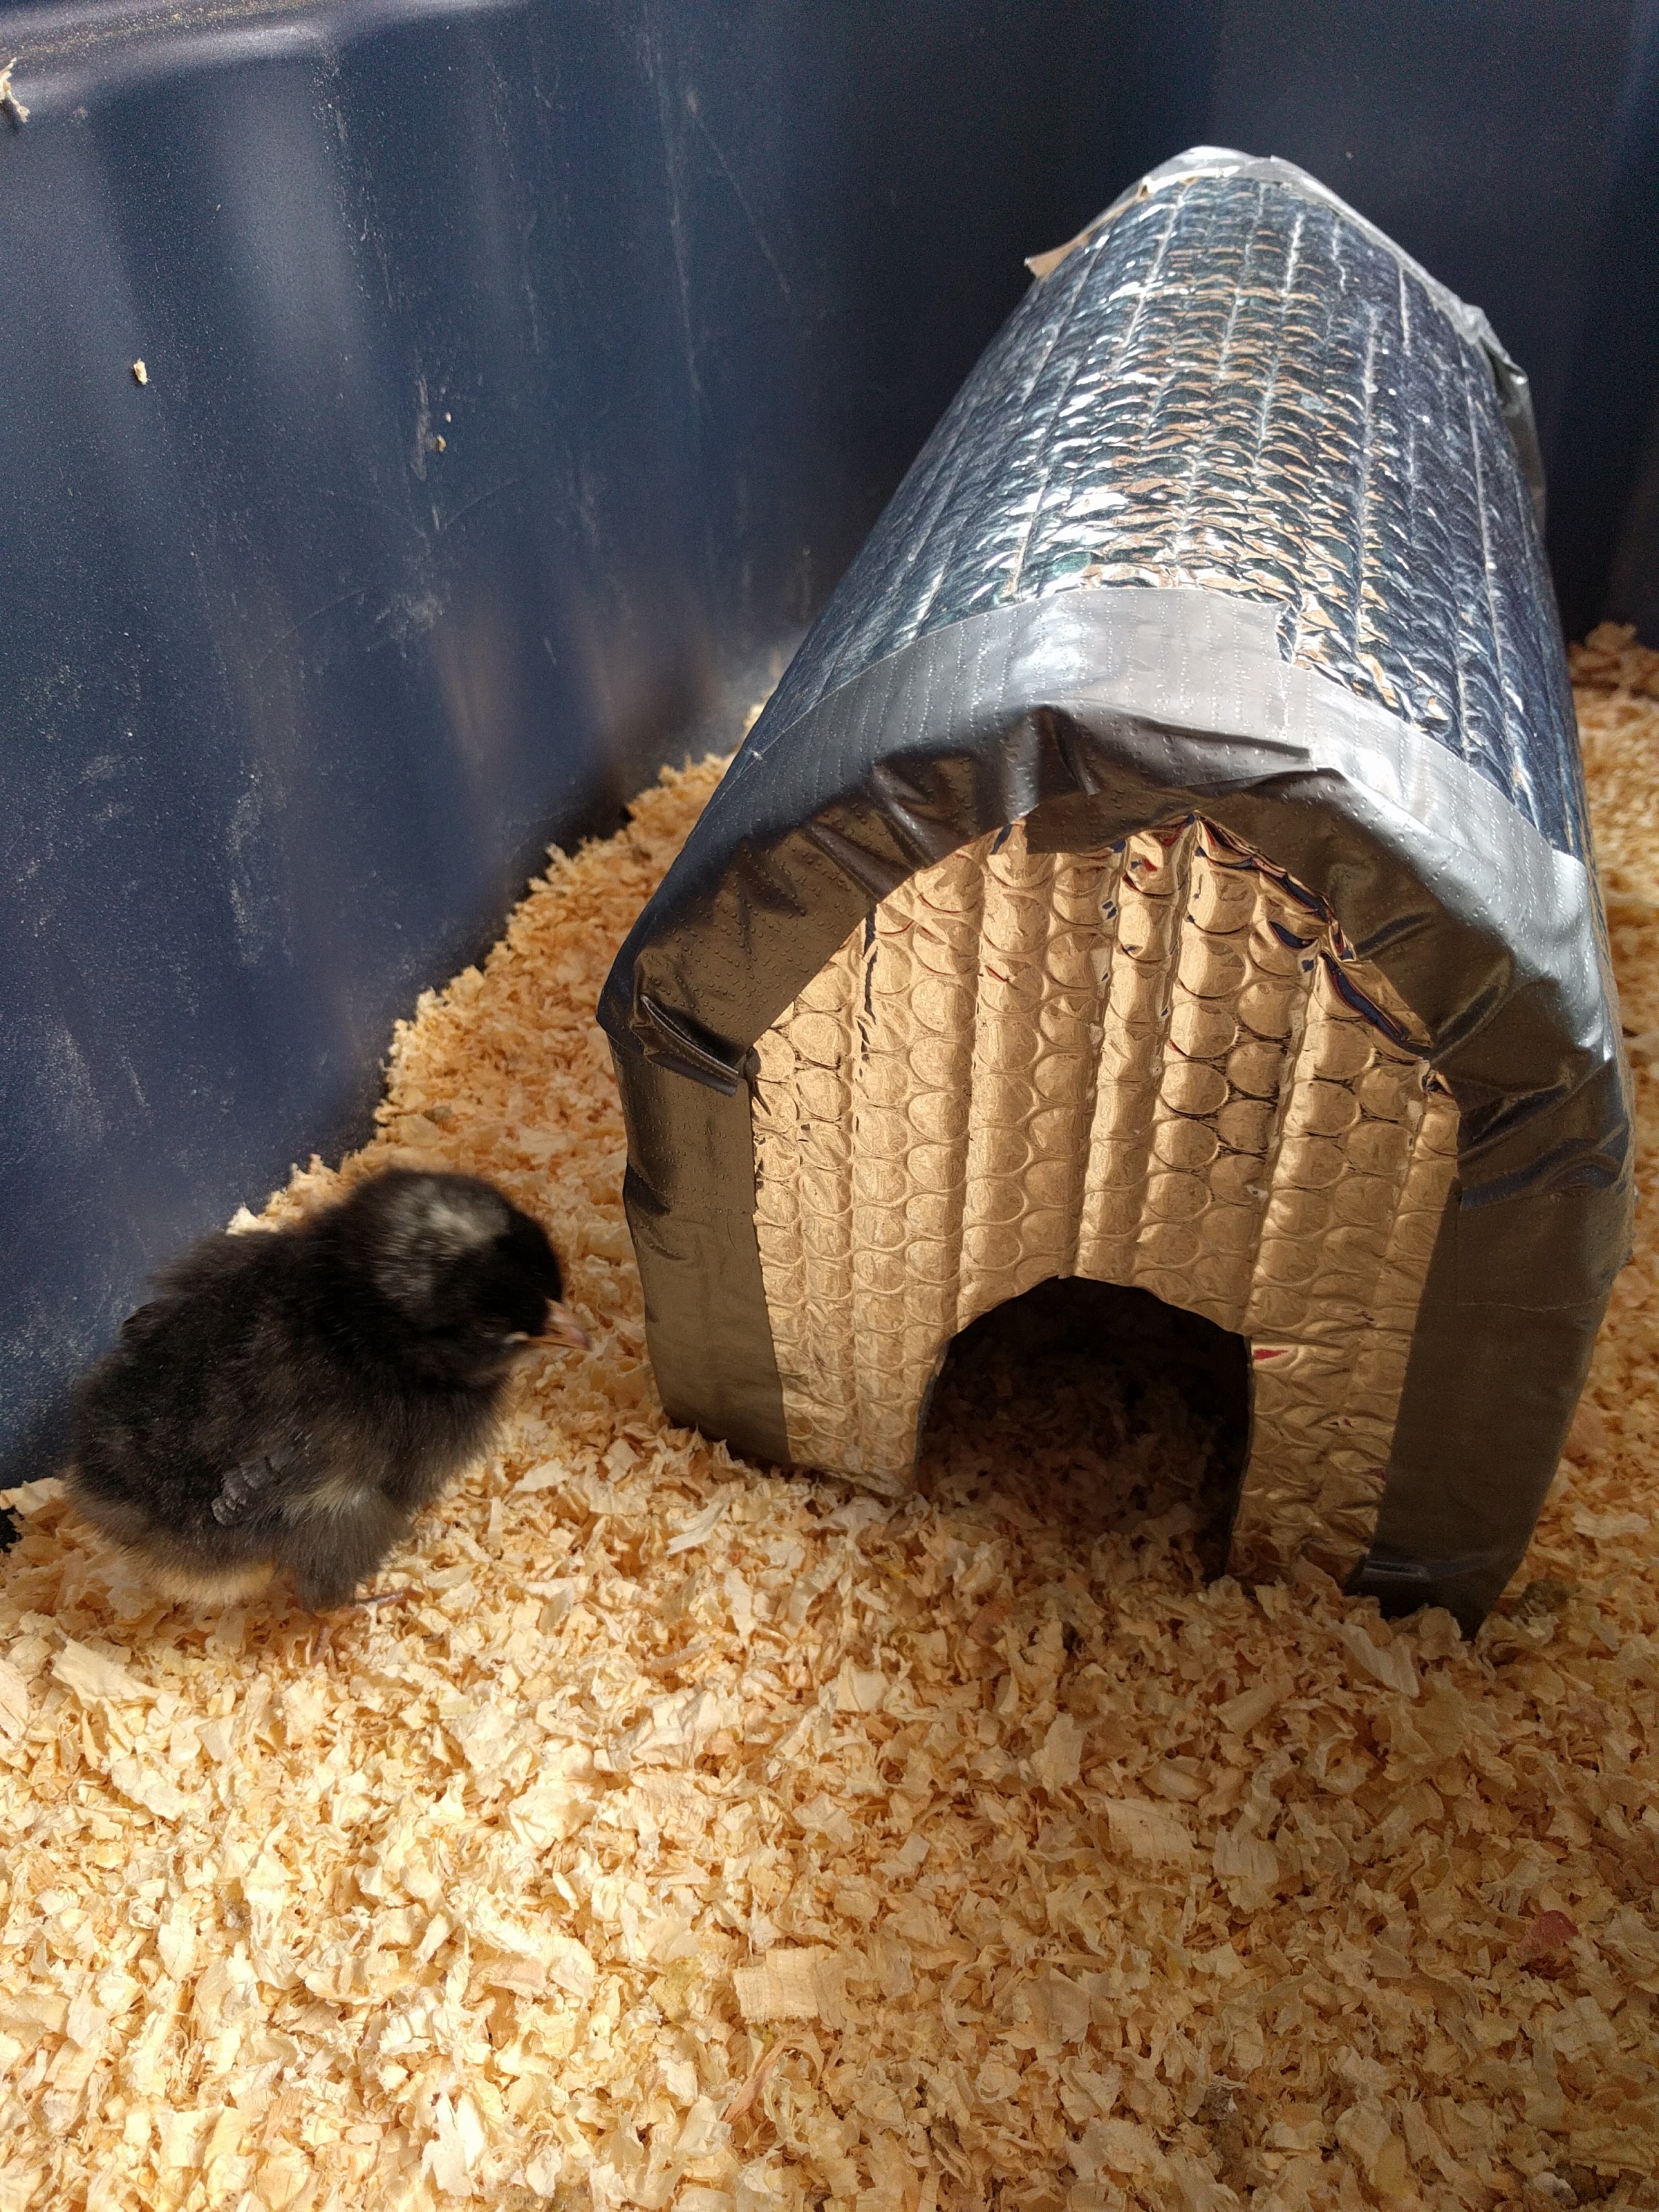
So, to keep our little chickies warm, we built a little hut out of some reflectix we had laying around. (Reflectix is a insulative mylar and bubble wrap material, basically what a lot of car windshield shades are made from.)

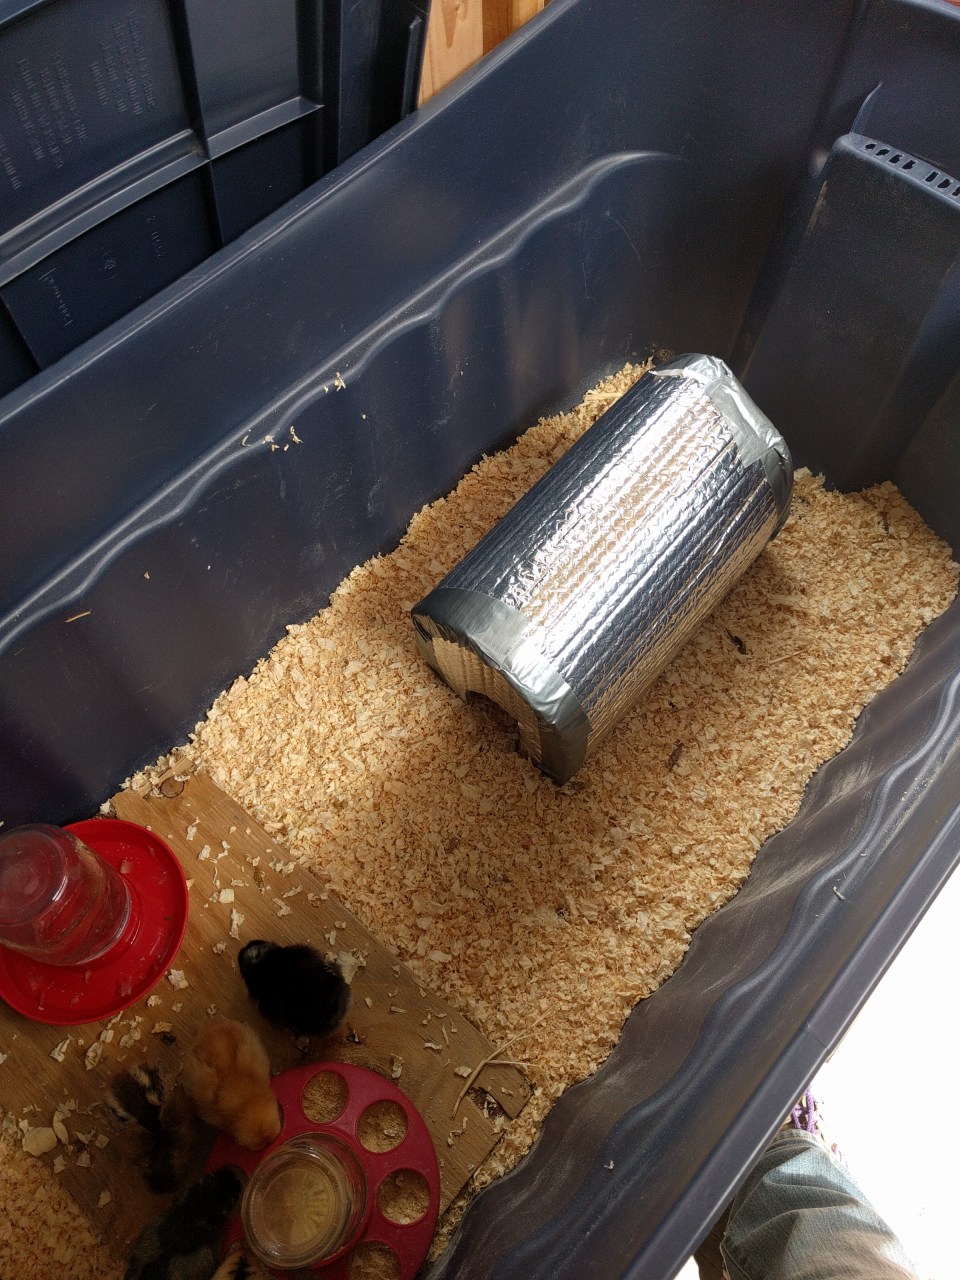
Reflectix hut inside the brooder box

We cut a hole just big enough for the chicks to get in and out.

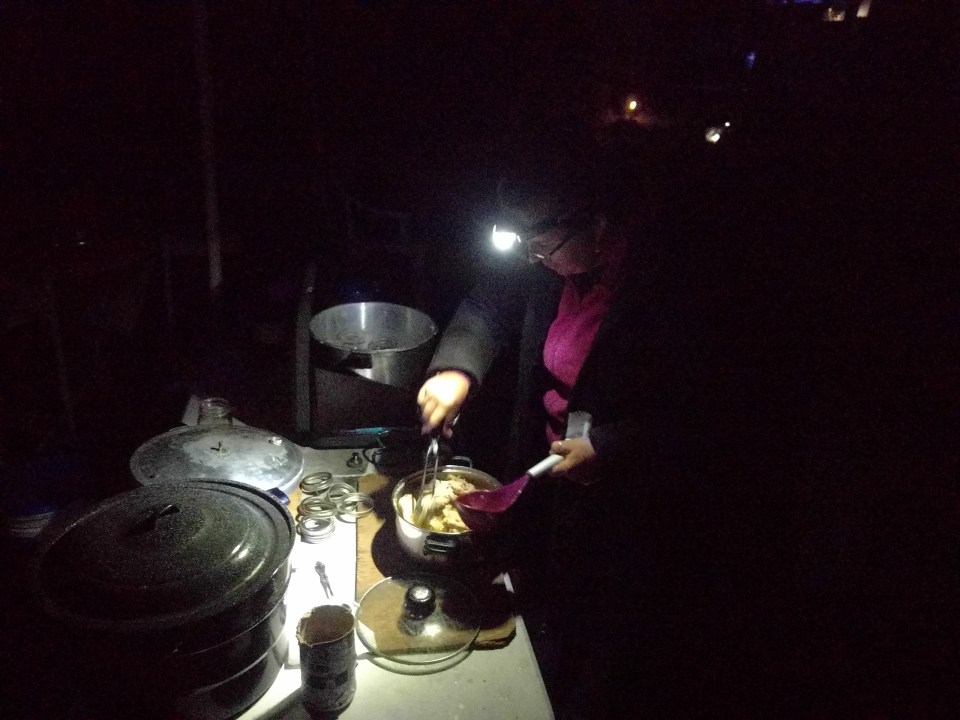
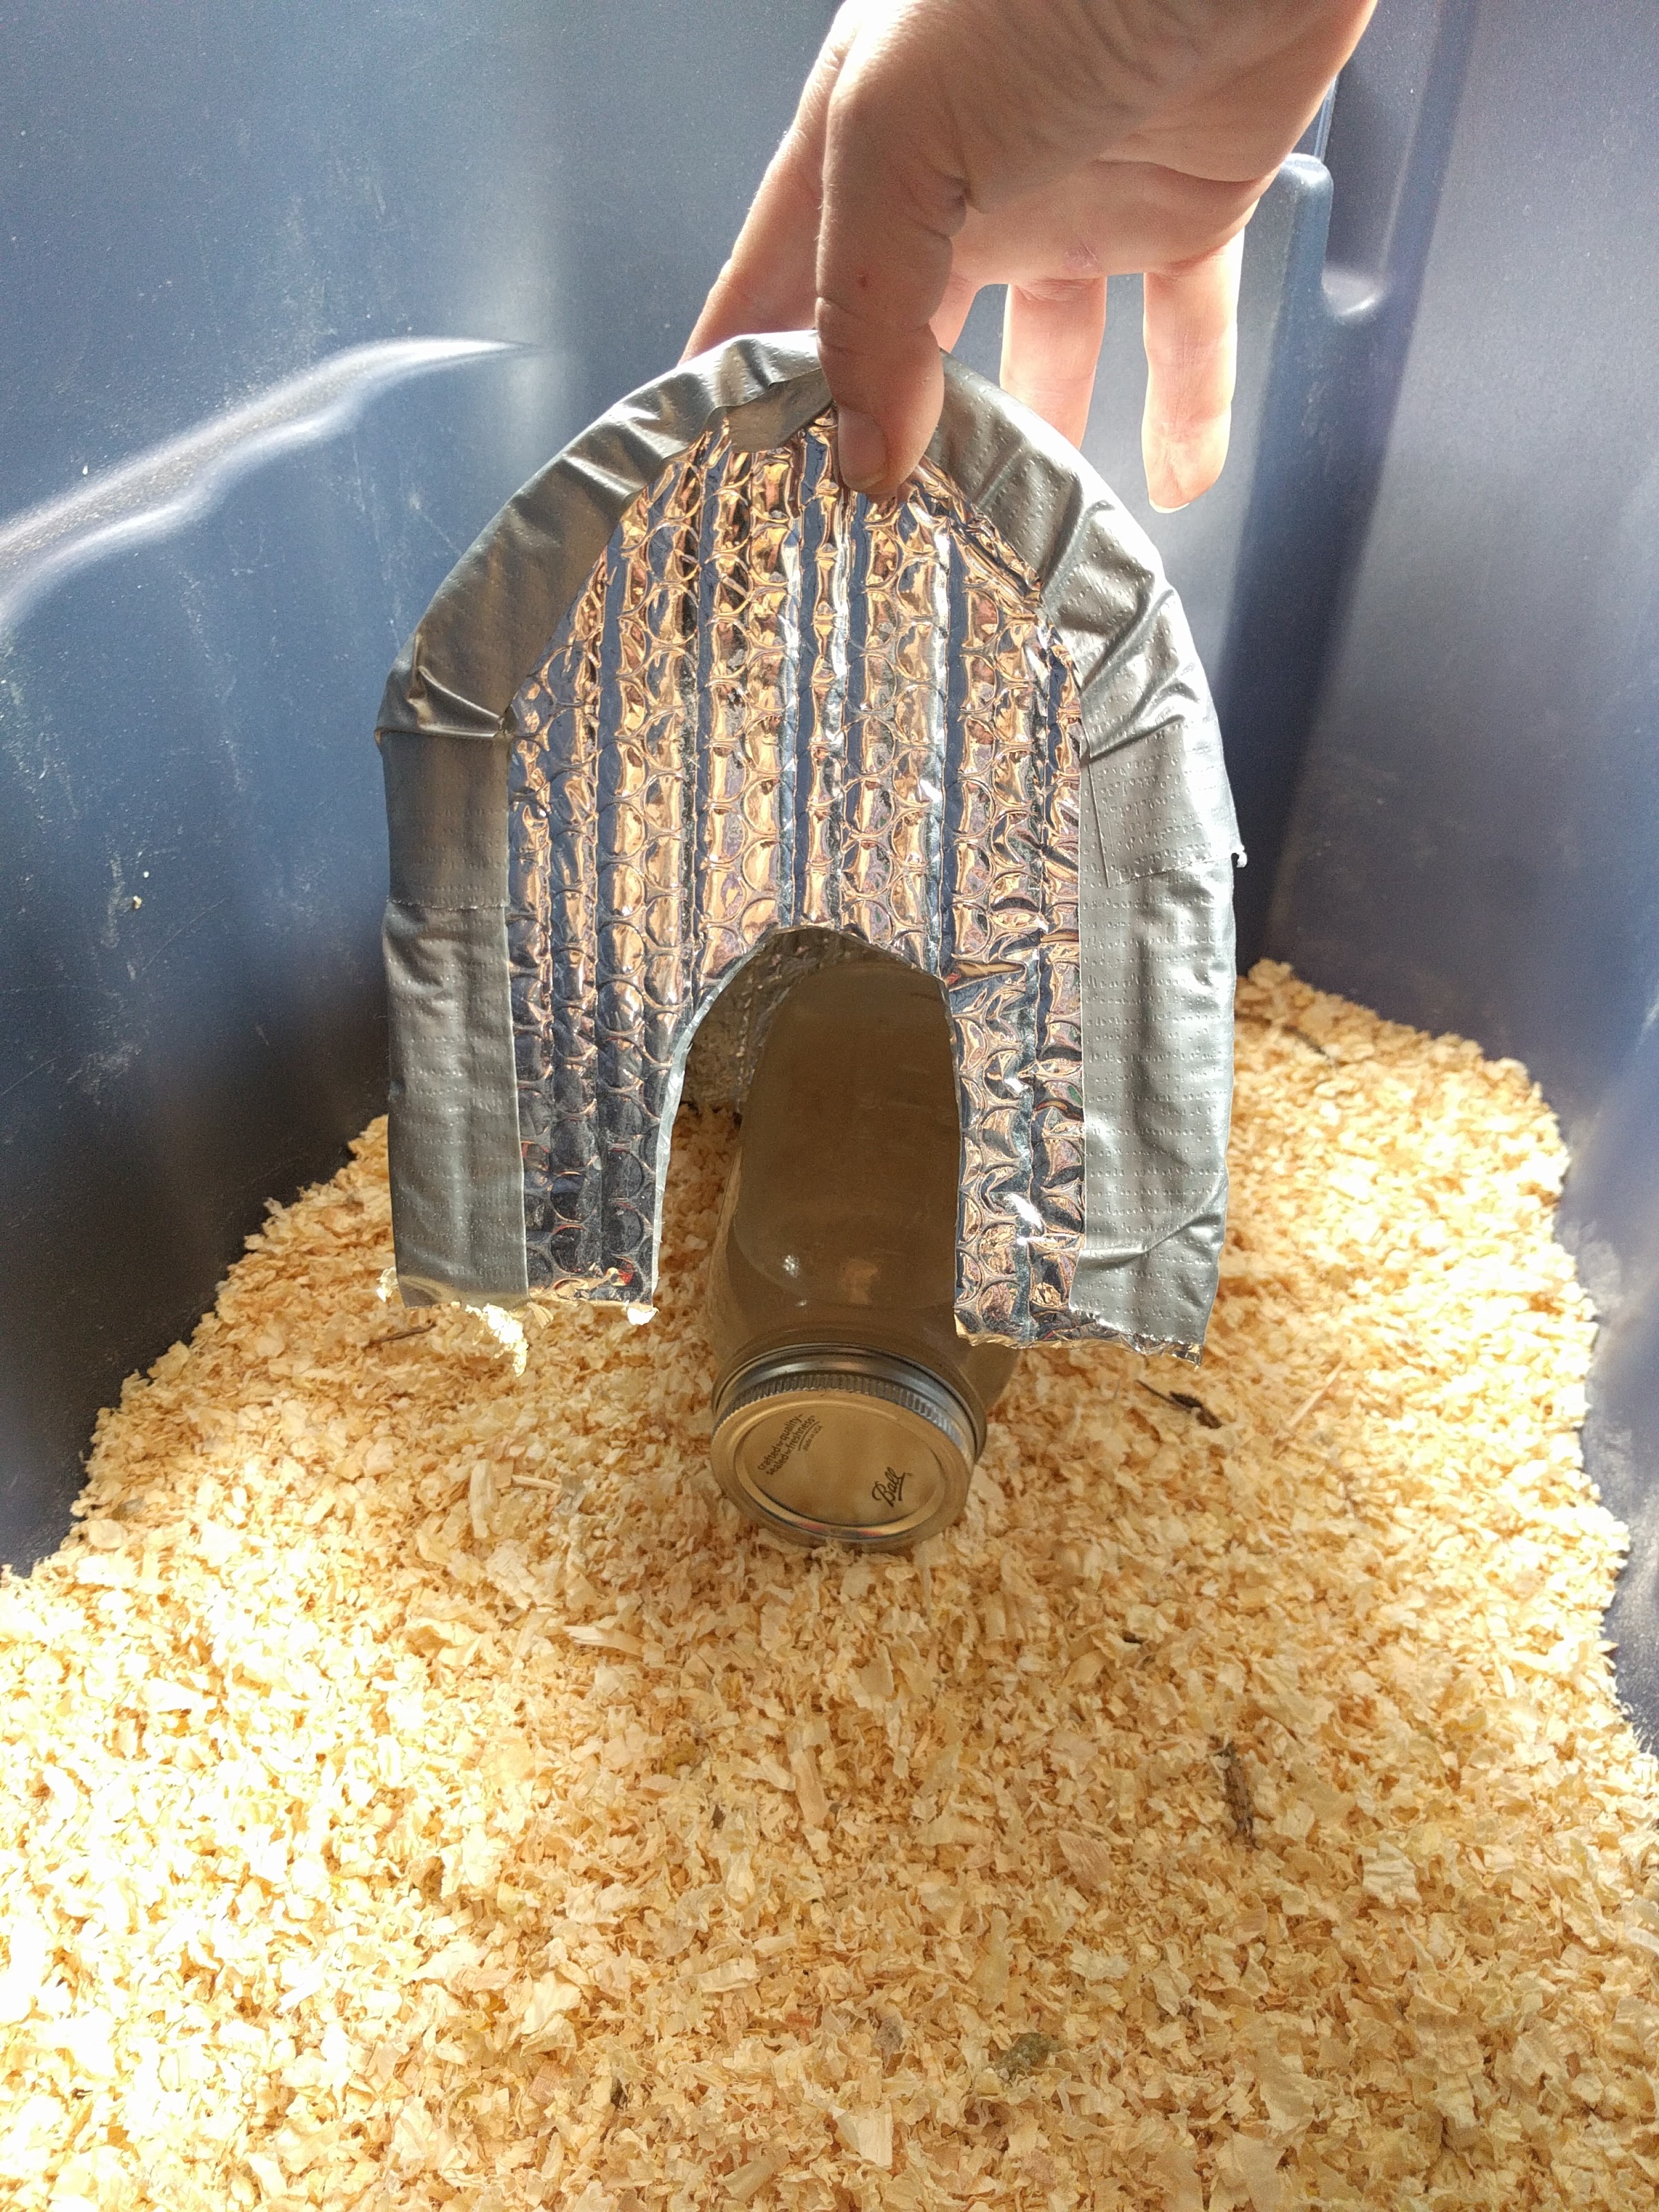
So we had the hut made, but we still needed a heat source. So, we heated some water and put it in a quart size canning jar and placed it in the warming hut, making sure that the door was not blocked so the chicks could get in and out.

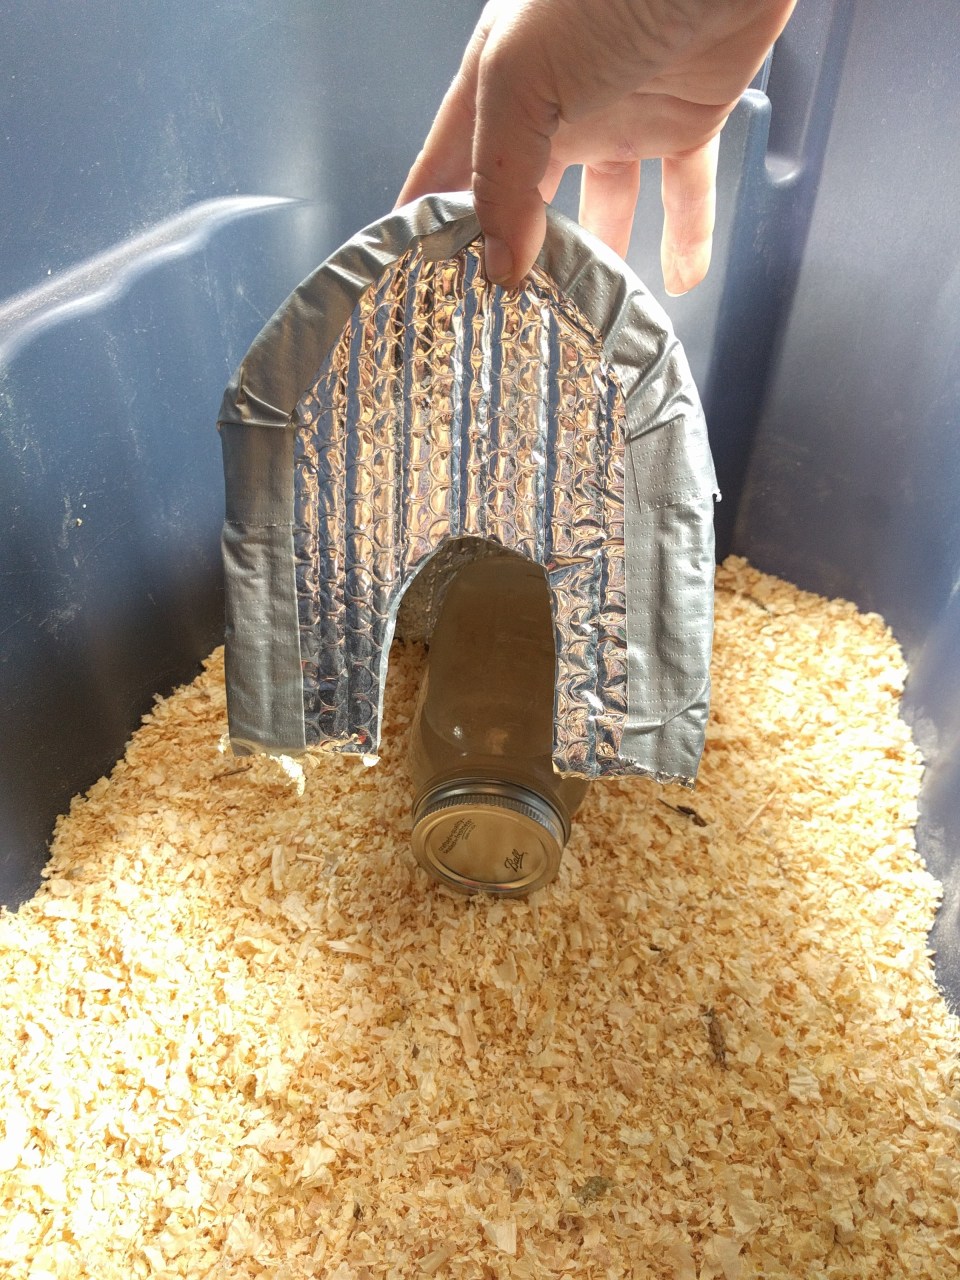
The hut was sized just right so that a quart size jar and 6 chicks could all fit in the hut together.

This worked great, except that the water needed to be reheated every 4 hours. Even in the middle of the night. Which meant that for three nights, I was getting up at 2am to reheat the water for the chicks. 

It reminded me of middle of the night feedings of the girls when they were babies. 😄

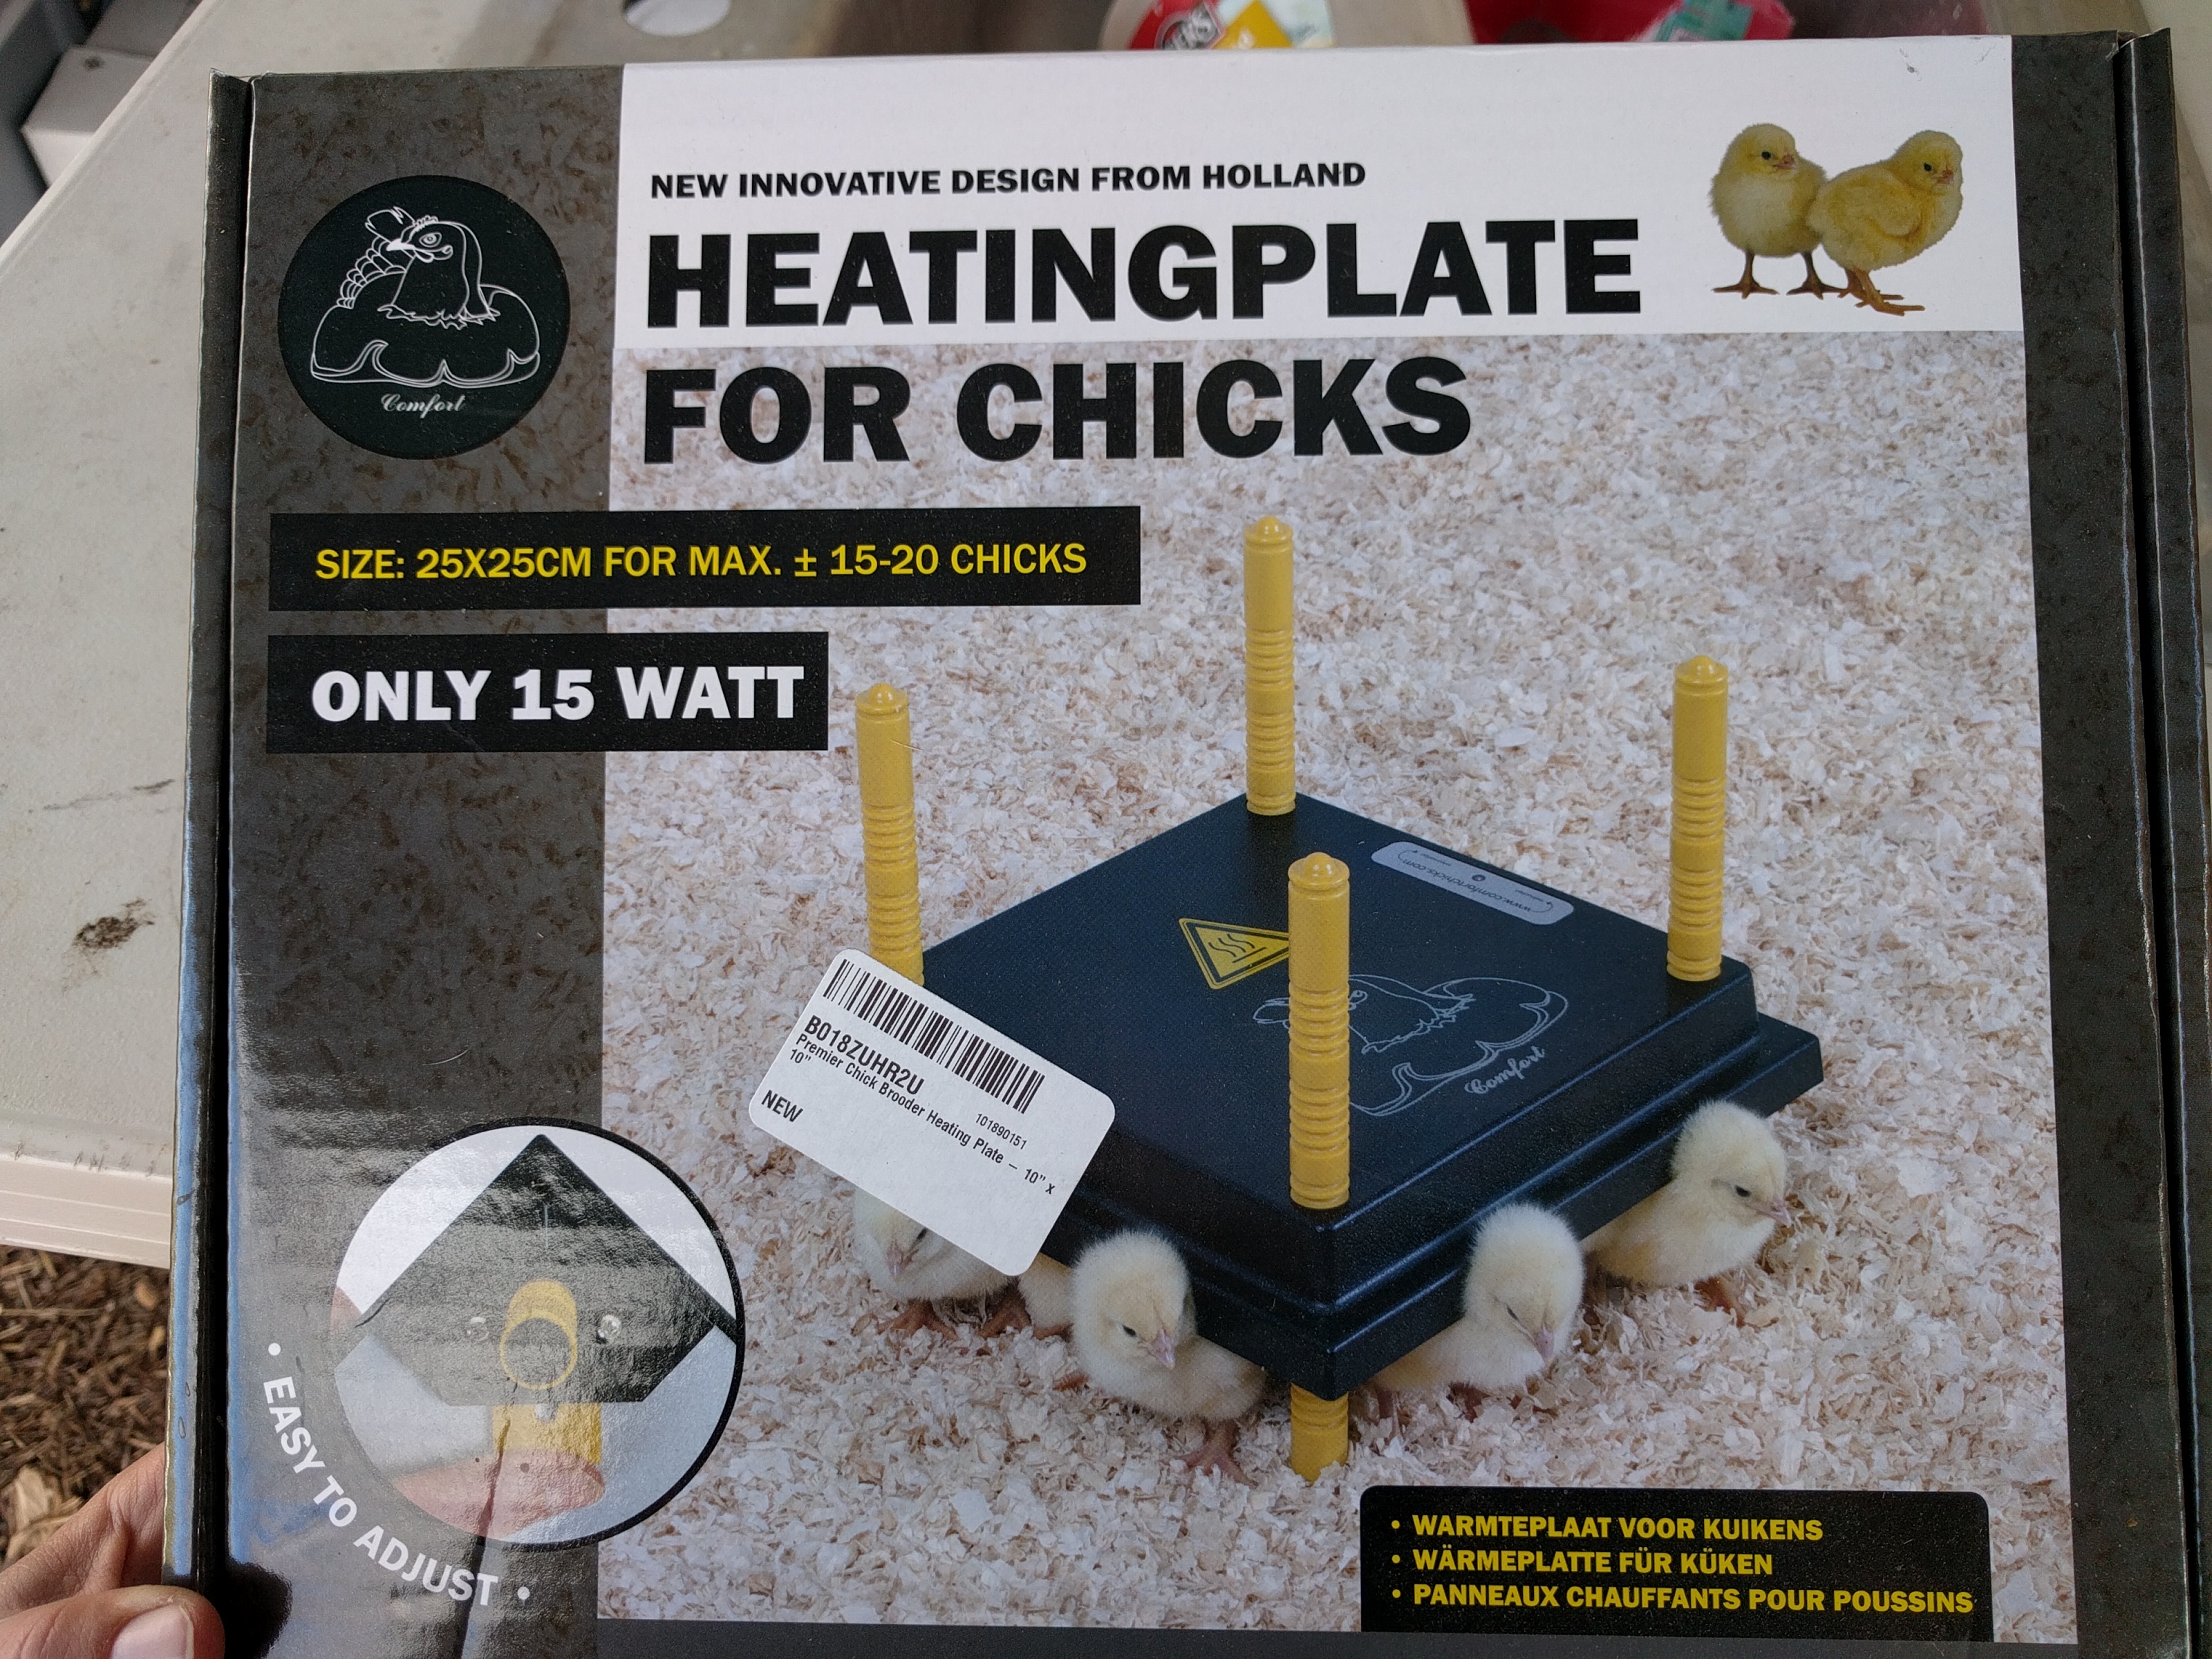
So after three nights of getting up at 2am, I was very glad to see this come in the mail. (This is not an affiliate link. I am not being paid or reimbursed or compensated by Amazon or Premier. I’m just giving an honest review of a product I actually bought.)

Warming plate for chicks

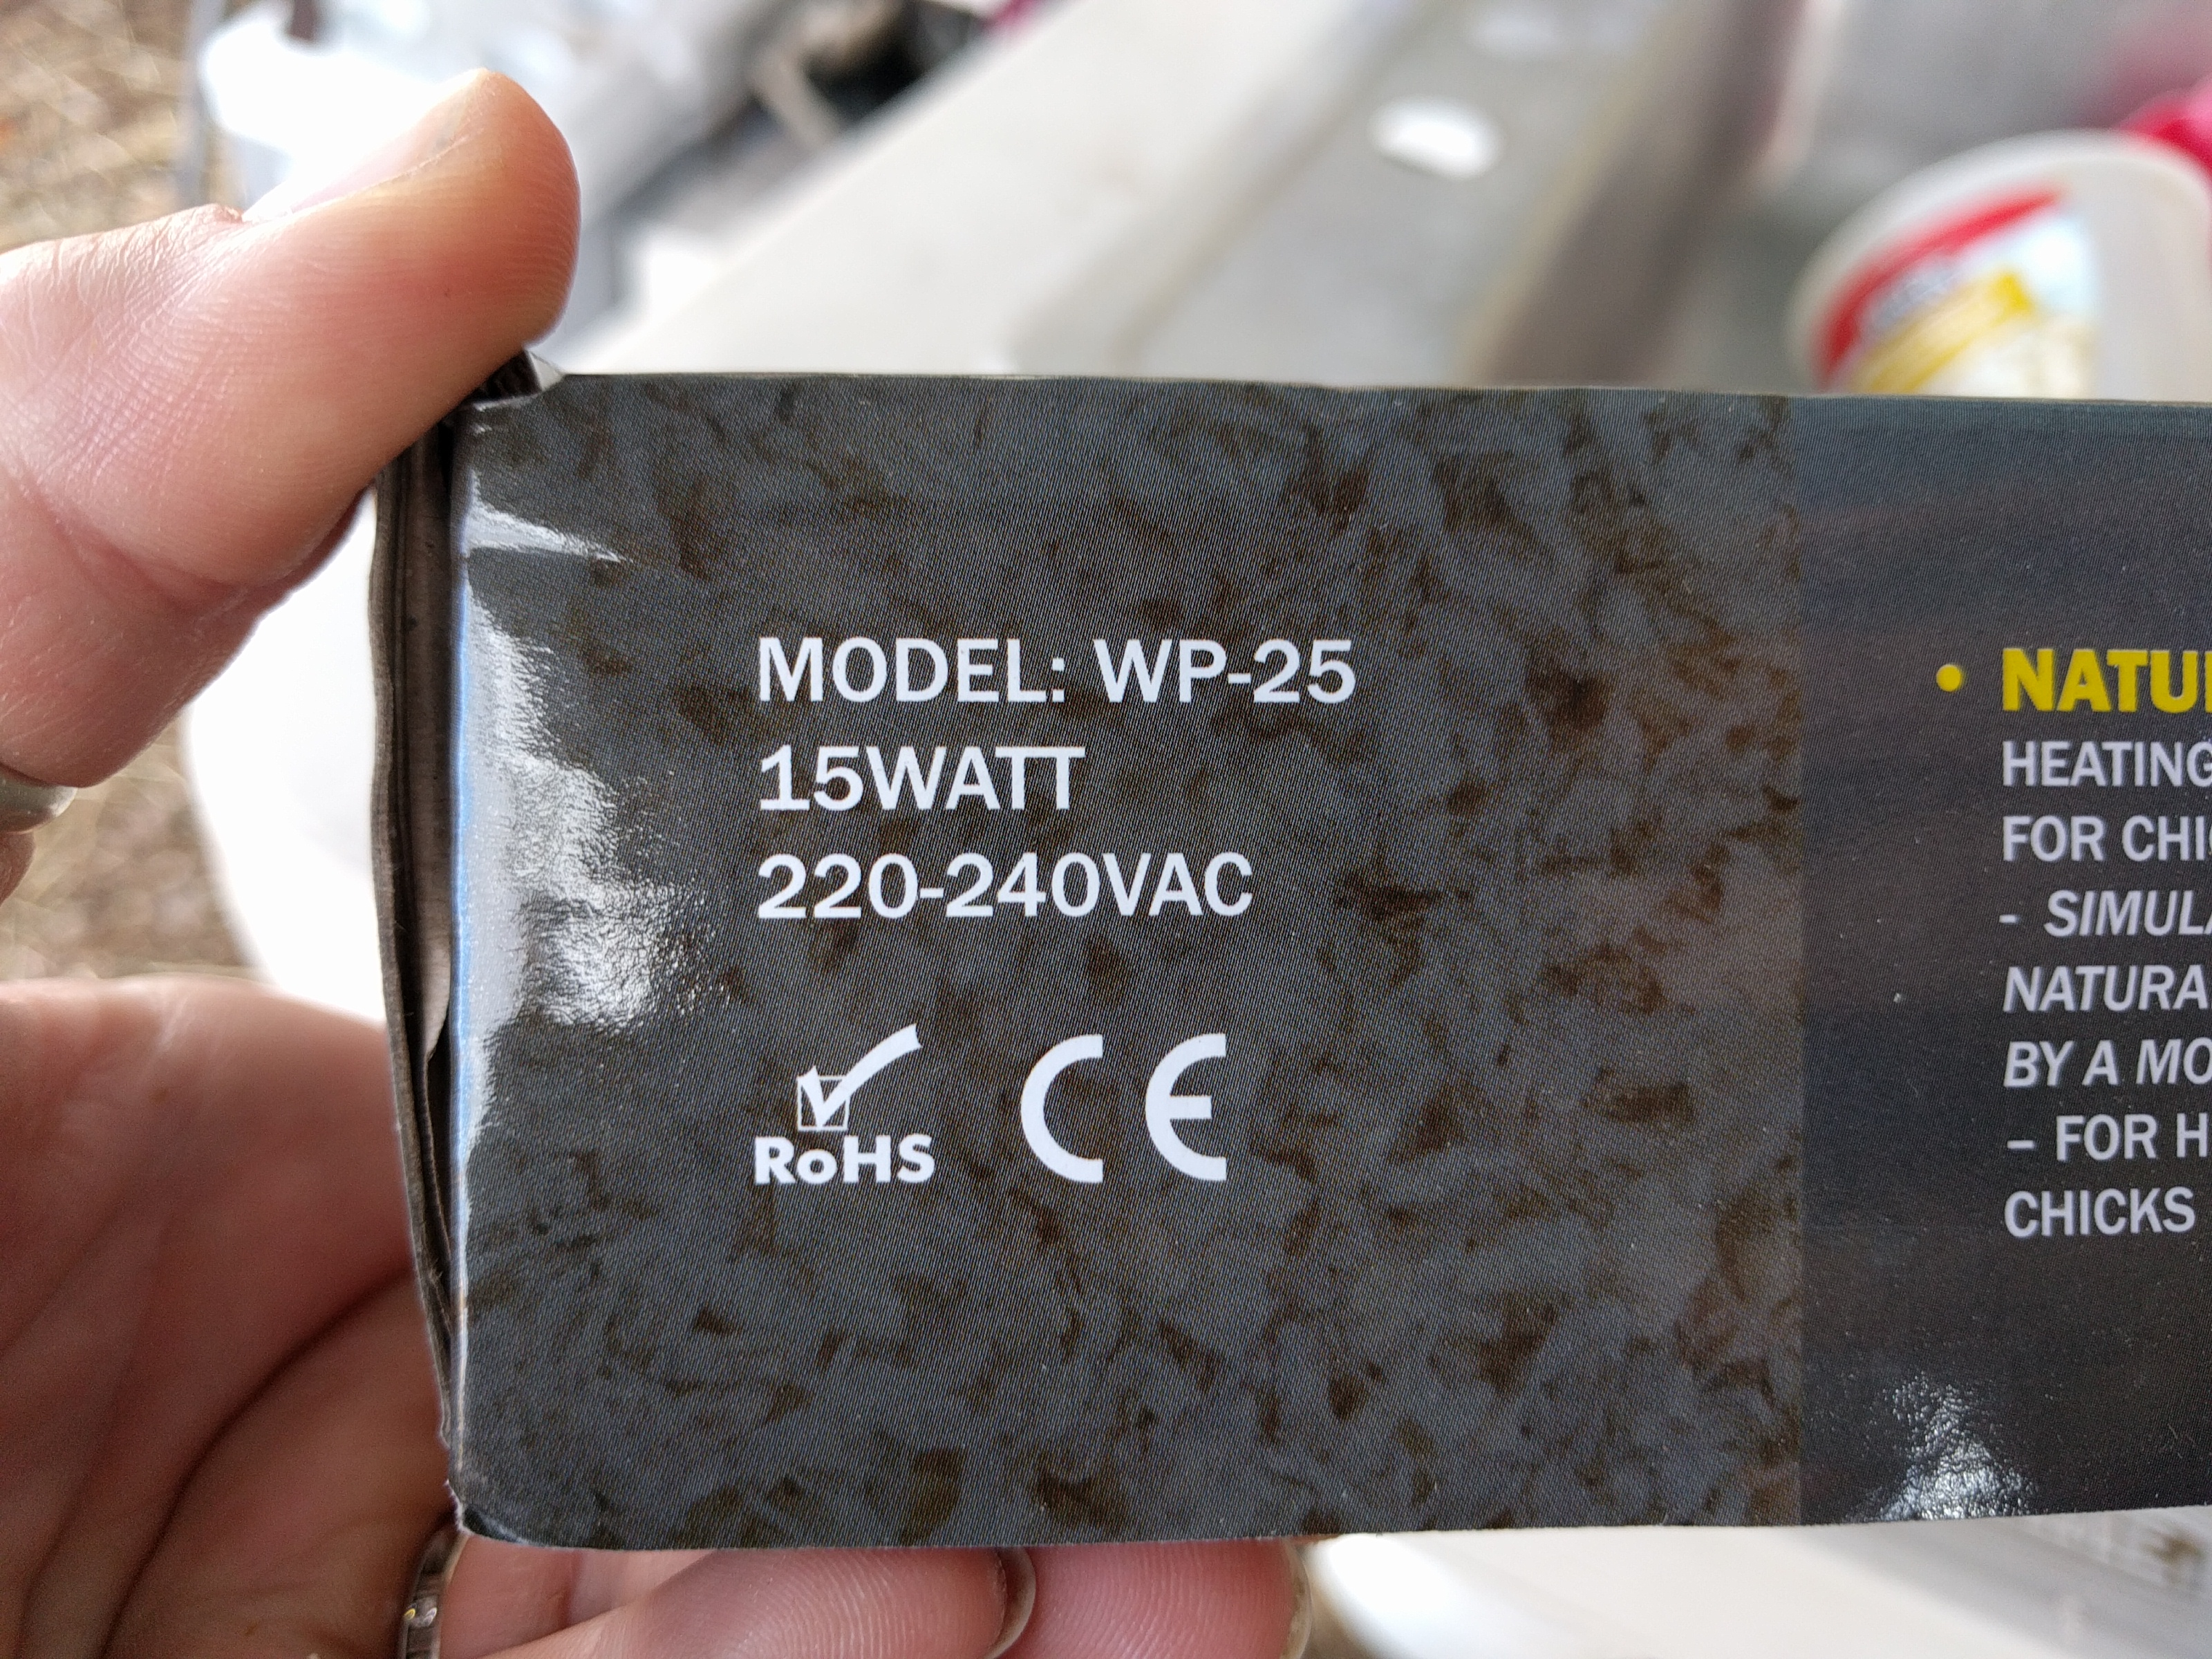
The under side gets to be about 110°F, just a bit warmer than a mamma hen. It’s easily adjustable in height to accommodate growing chicks, and advertised that it only takes 15 watts to run. 

Considering we are set up on solar power, and this would be running all night, a minimal power draw was essential. But we were skeptical, especially seeing that it was designed for a 220volt system (maybe because it’s made in Germany?) and we are running 110 through our inverter.

But we plugged it in and gave it a go. 

And it worked as advertised. Actually, the power consumption was even less. We hooked it up to our power meter, and it never drew more than 12watts. It and the refergerator could run all night long on our battery bank no problem. Providing the batteries were fully charged, of course.

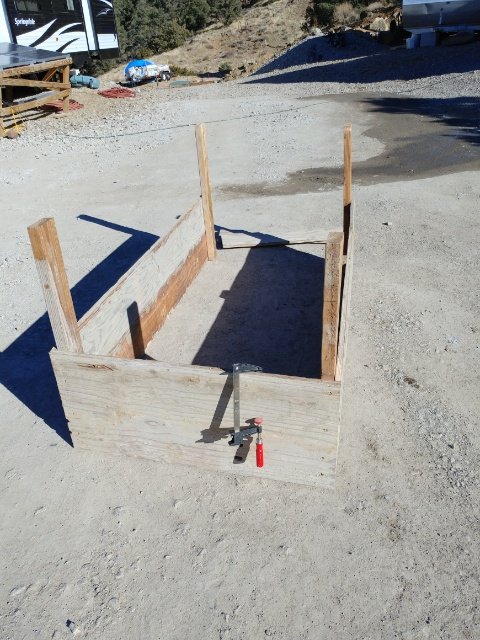
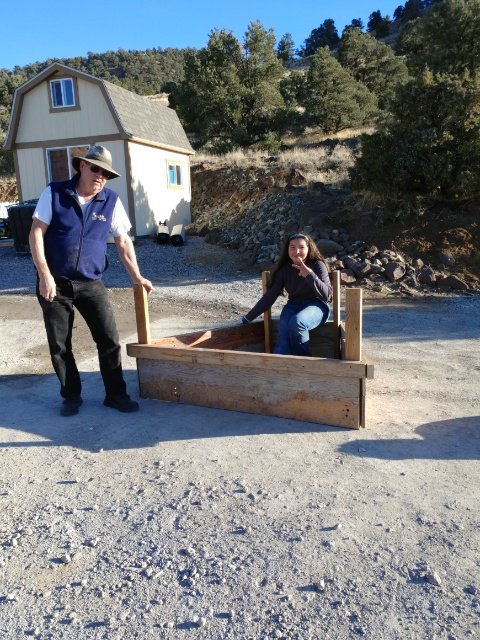
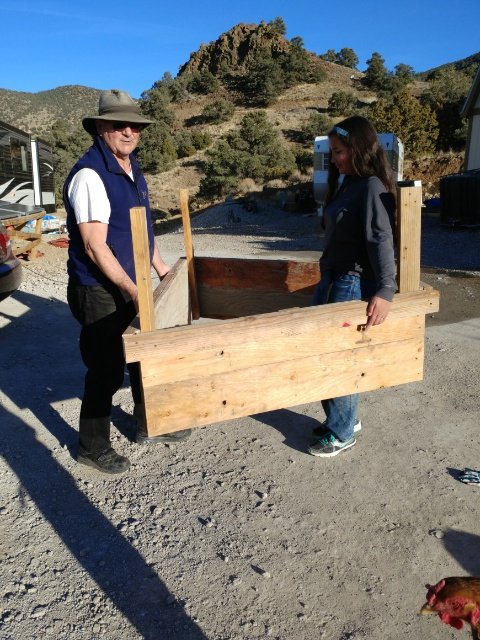
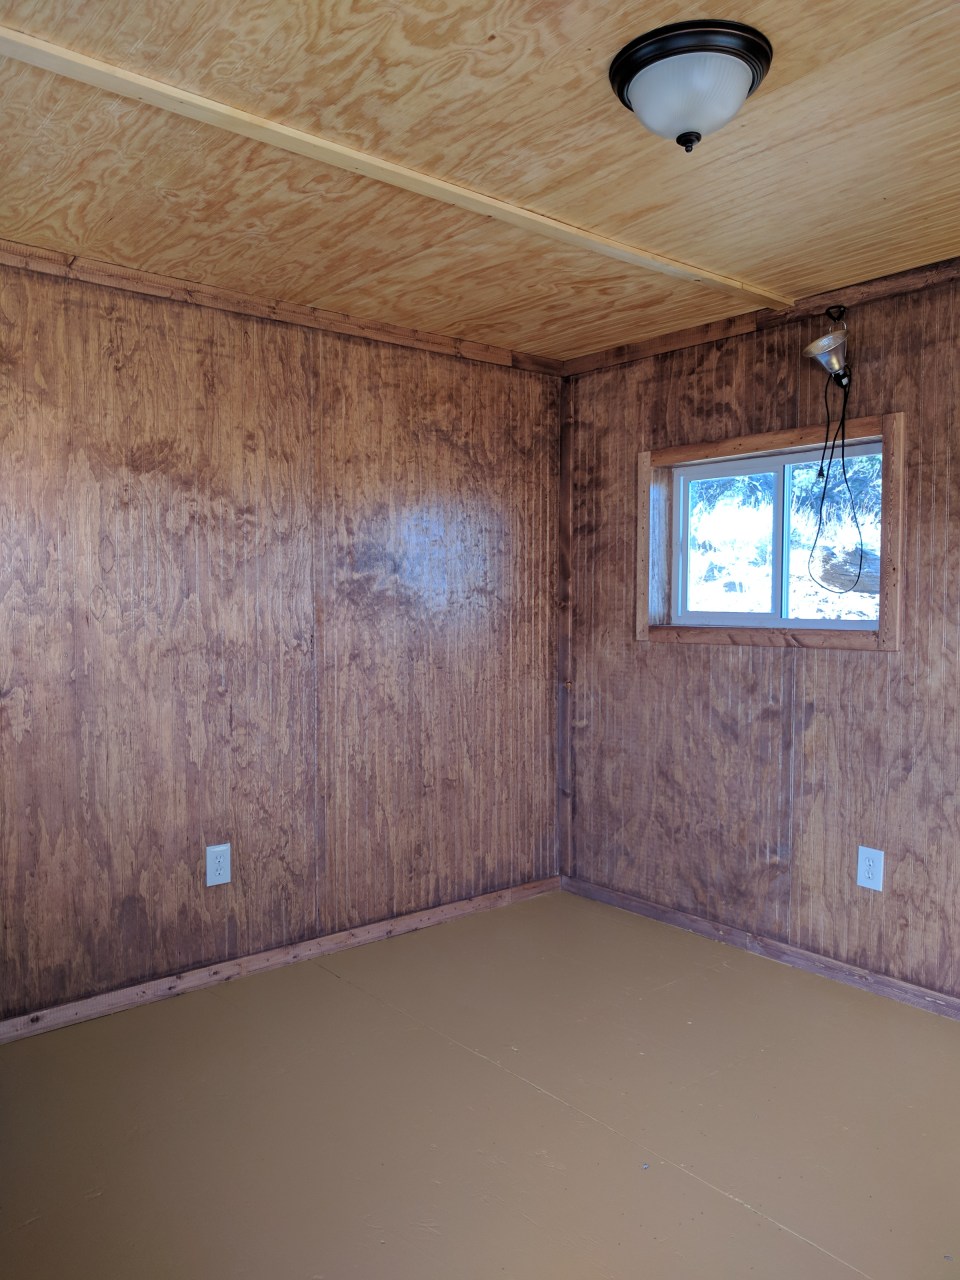
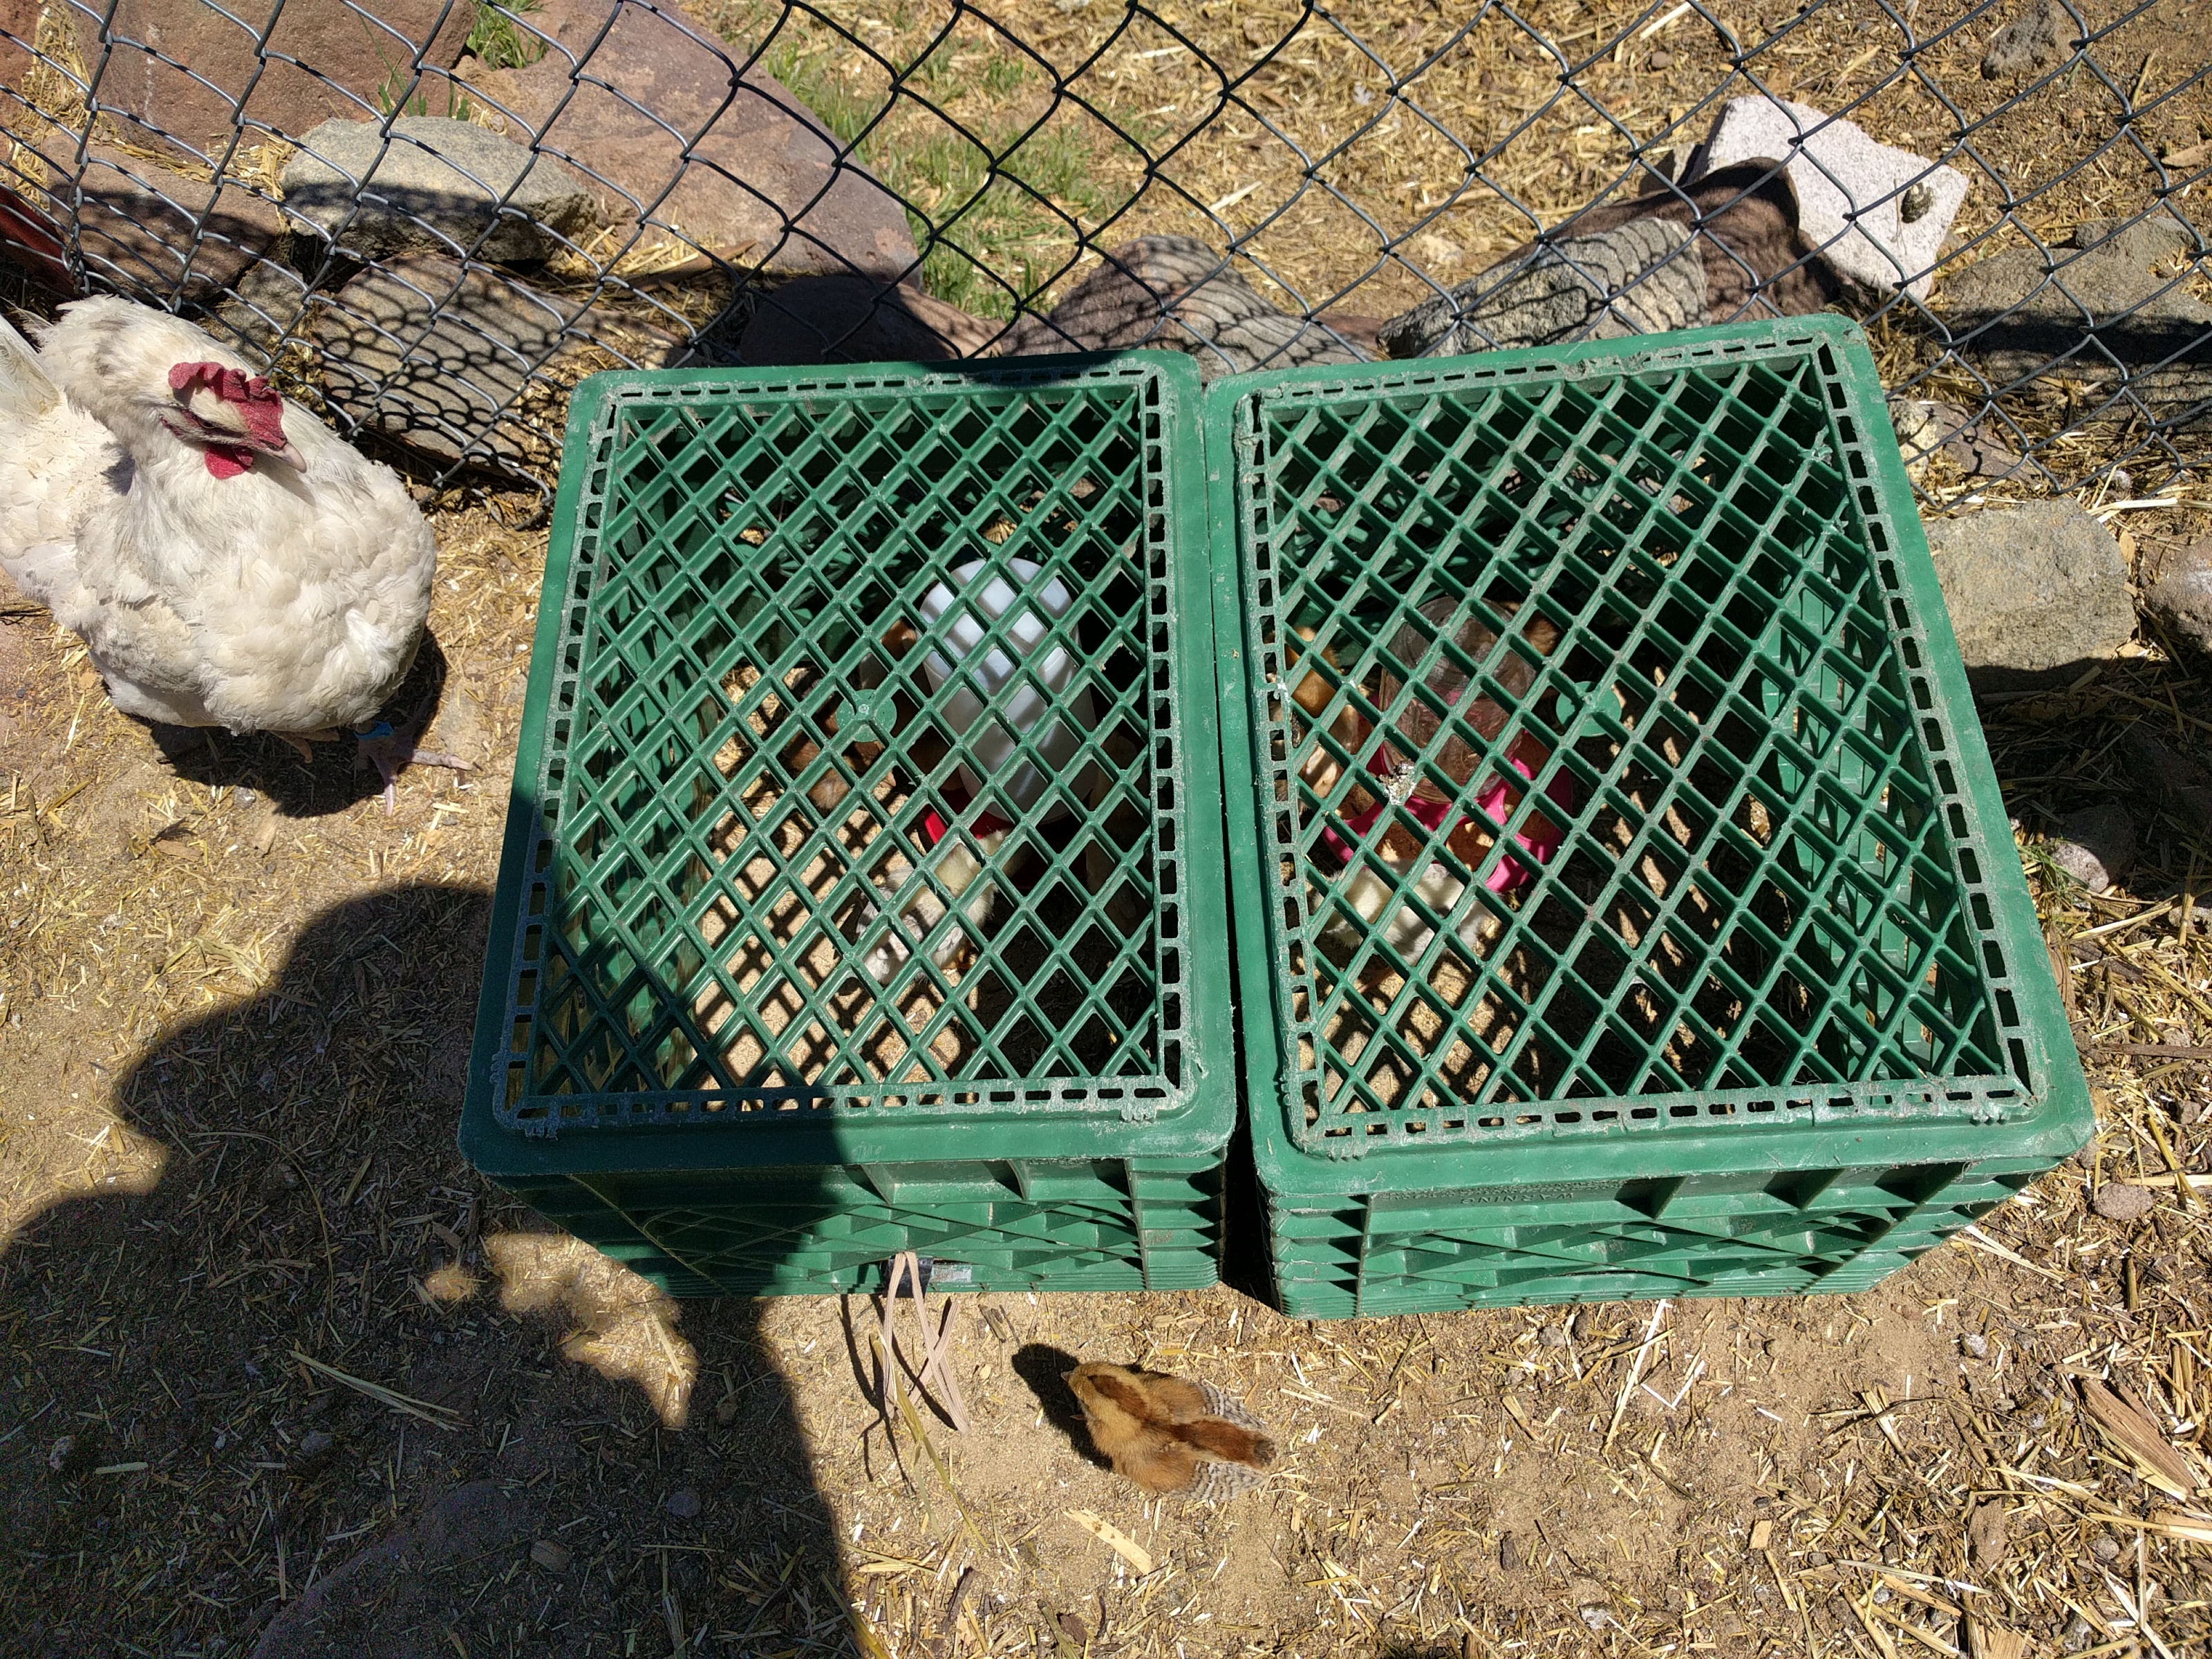
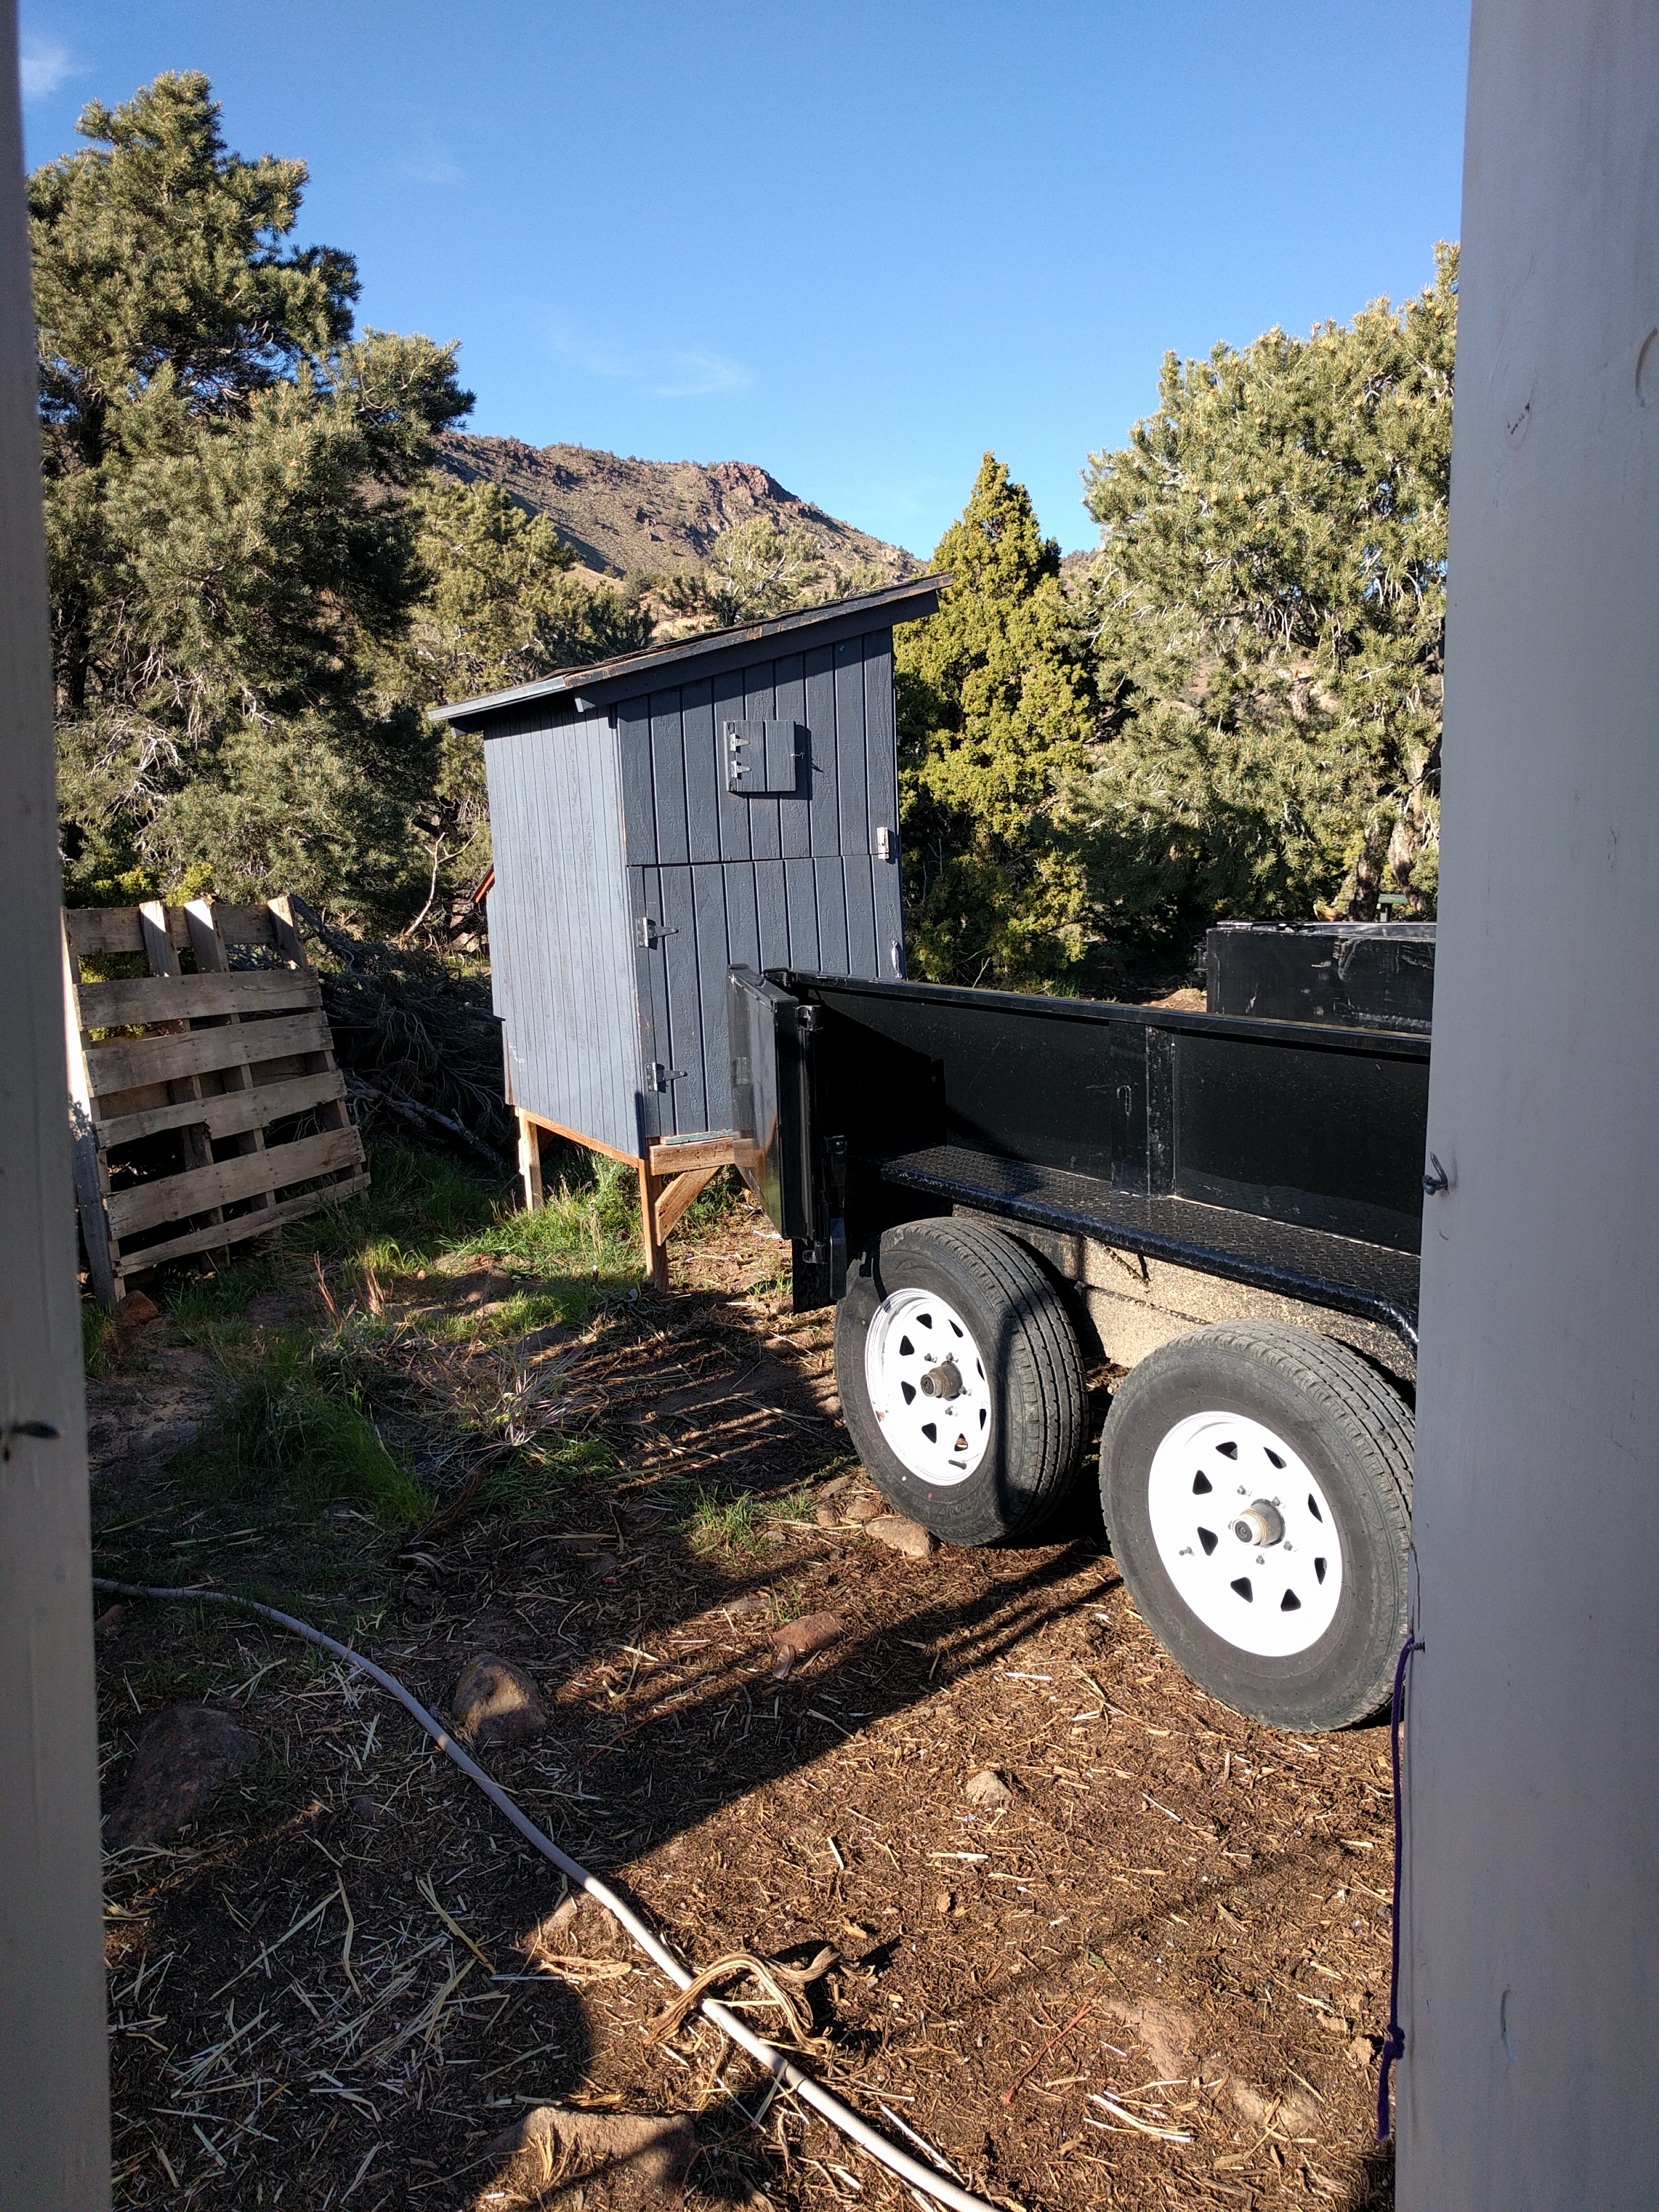
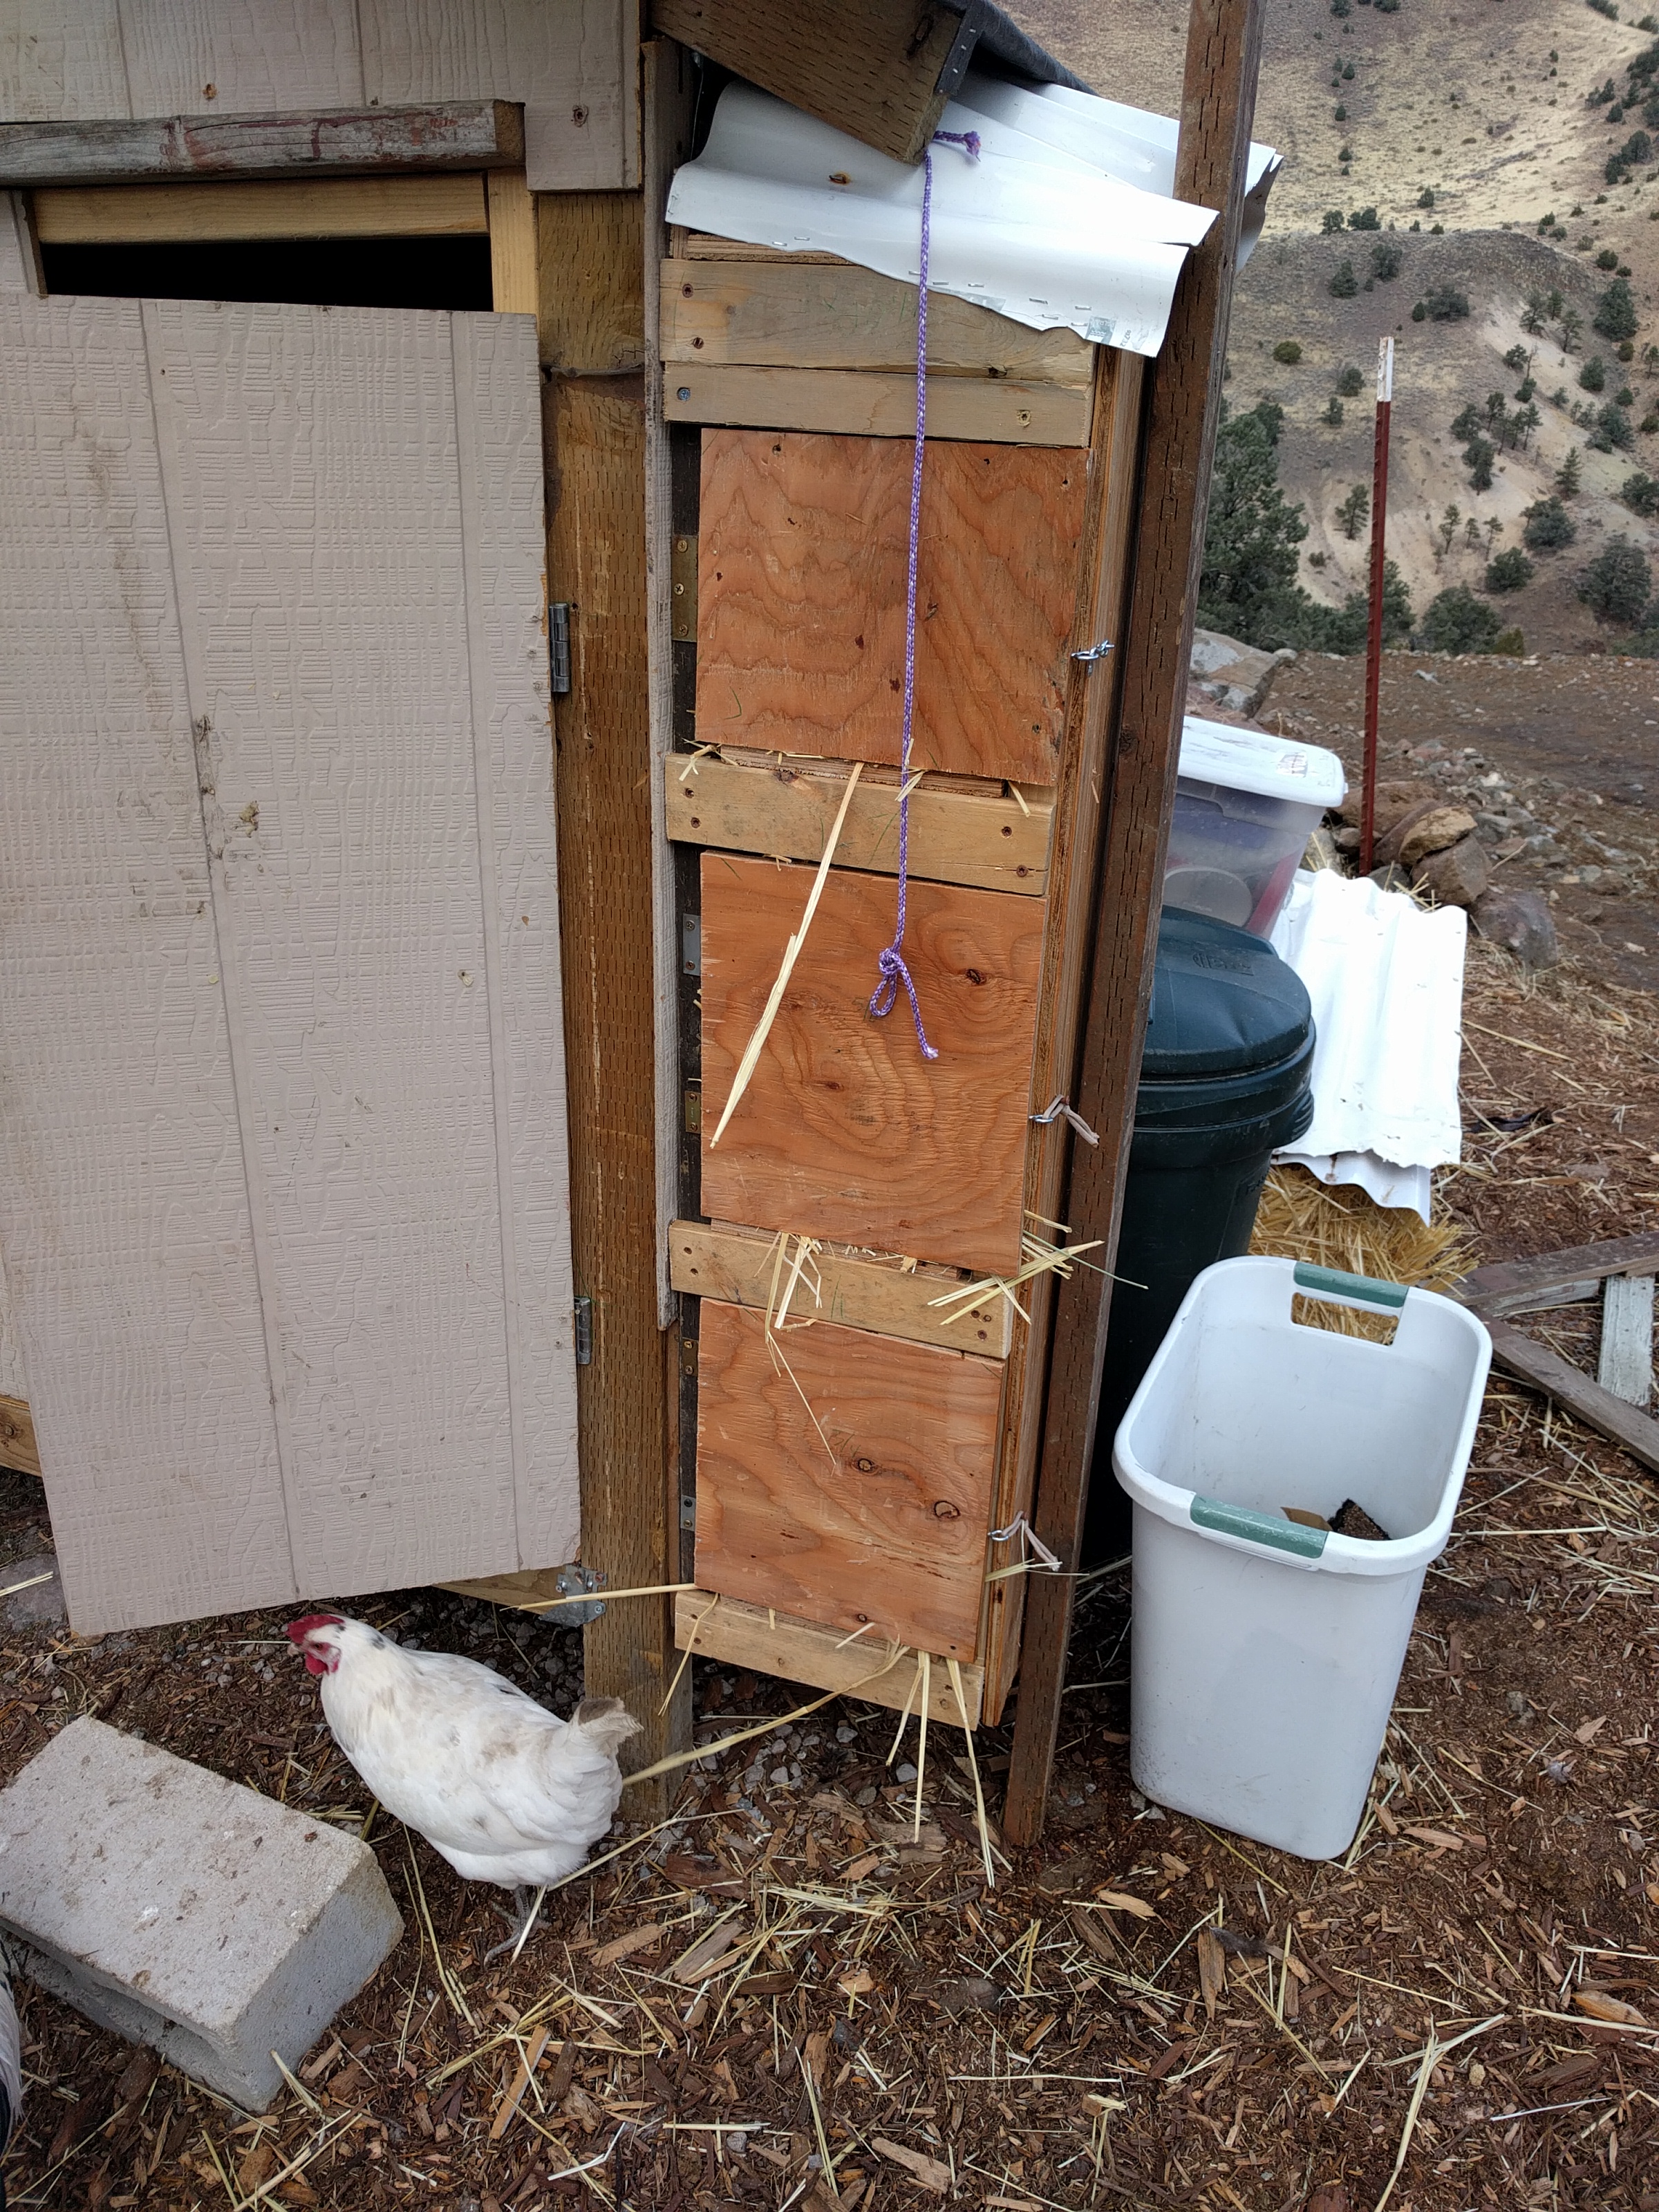
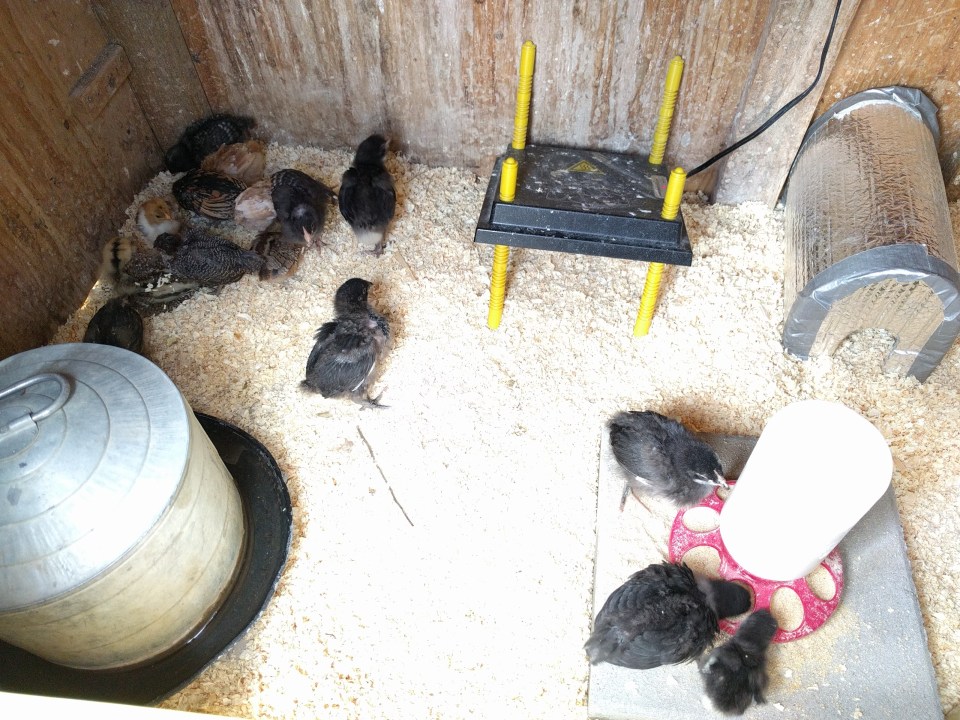
When the chicks were about 3 weeks old, we got a new (to us) little coop and decided to put the chicks out there. The warming plate went with them, of course.

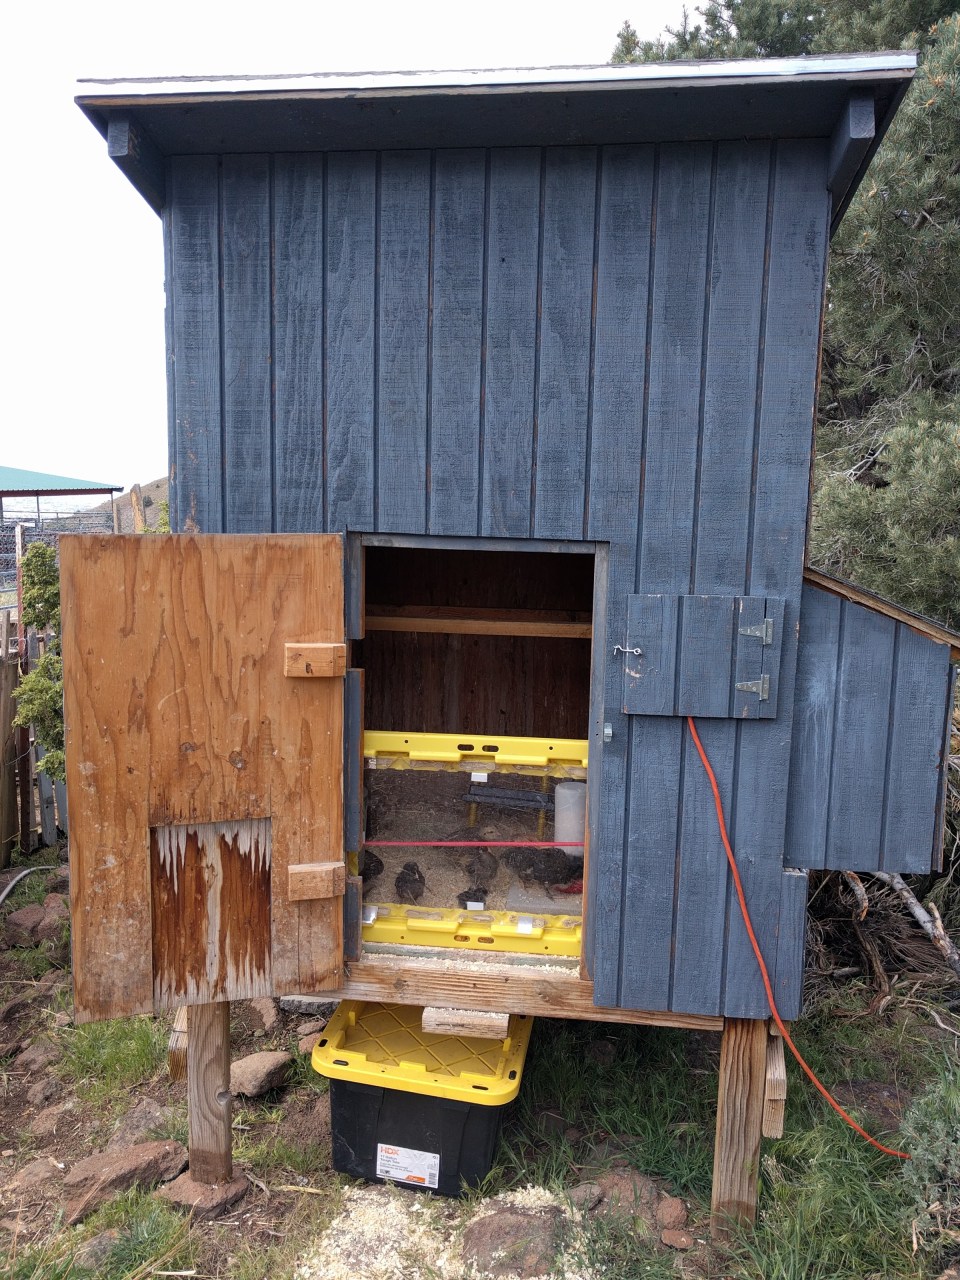
See the orange extension cord going through the closed window? That’s for the warming plate​ inside.

(Edited to add this photo since I finally found it.)


When they were between 4 and 5 weeks old, I noticed that they were no longer sleeping under the plate at right, rather preferring to cuddle up in a corner. After several nights of that, and with overnight lows expected to hold steady for a while, I turned off the warming plate. They haven’t needed it since. Even our smallest chick, our bantam frizzle, who is still so very tiny, would snuggle her way into the middle of the pile to stay warm. I thought for sure she’d be crushed. But she’s a tough little thing. (As a side note, at 4 weeks was also about the time our mamma hen stopped mothering the chicks in the other flock. Seems 4-5 weeks is the magic age for chicks to be mature enough to “be on their own”.)

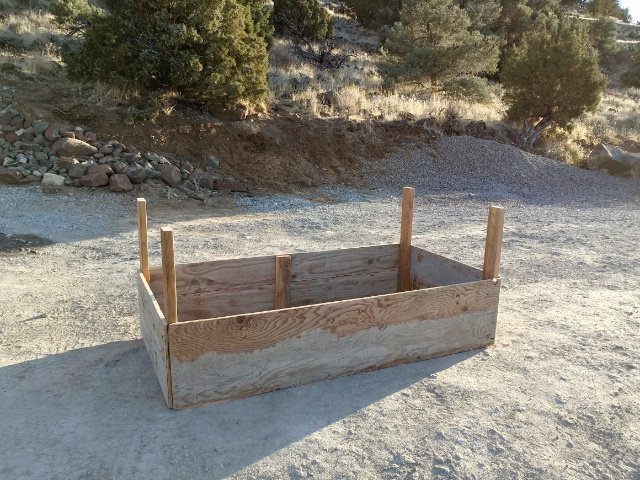
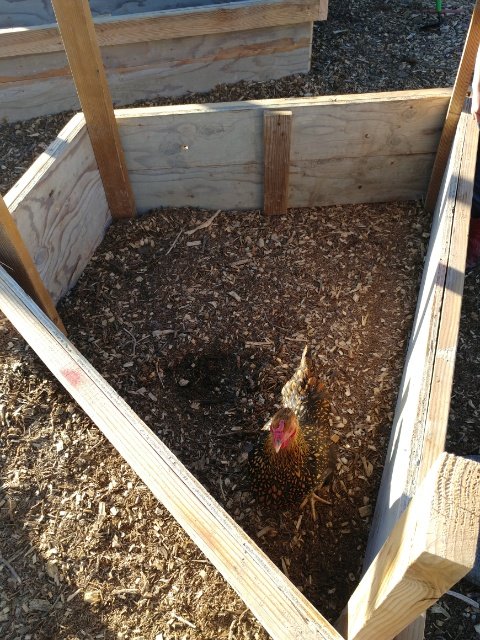
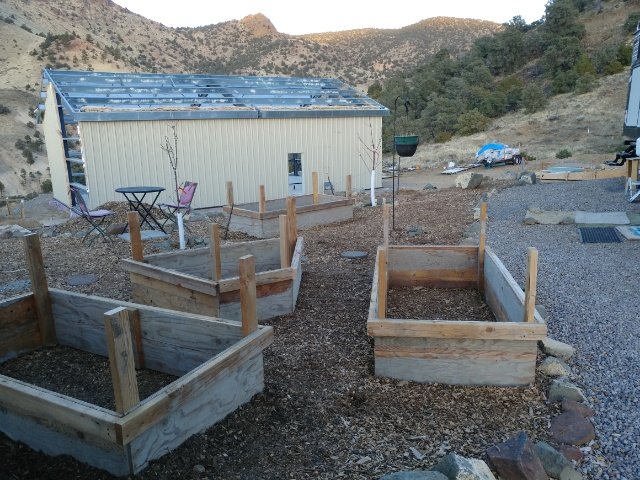
The chicks are now between 6 and 7 weeks old (except for our newest ones who are 5ish weeks). They recently got a small run to roam around in outside.

New small run on the Brooder Coop

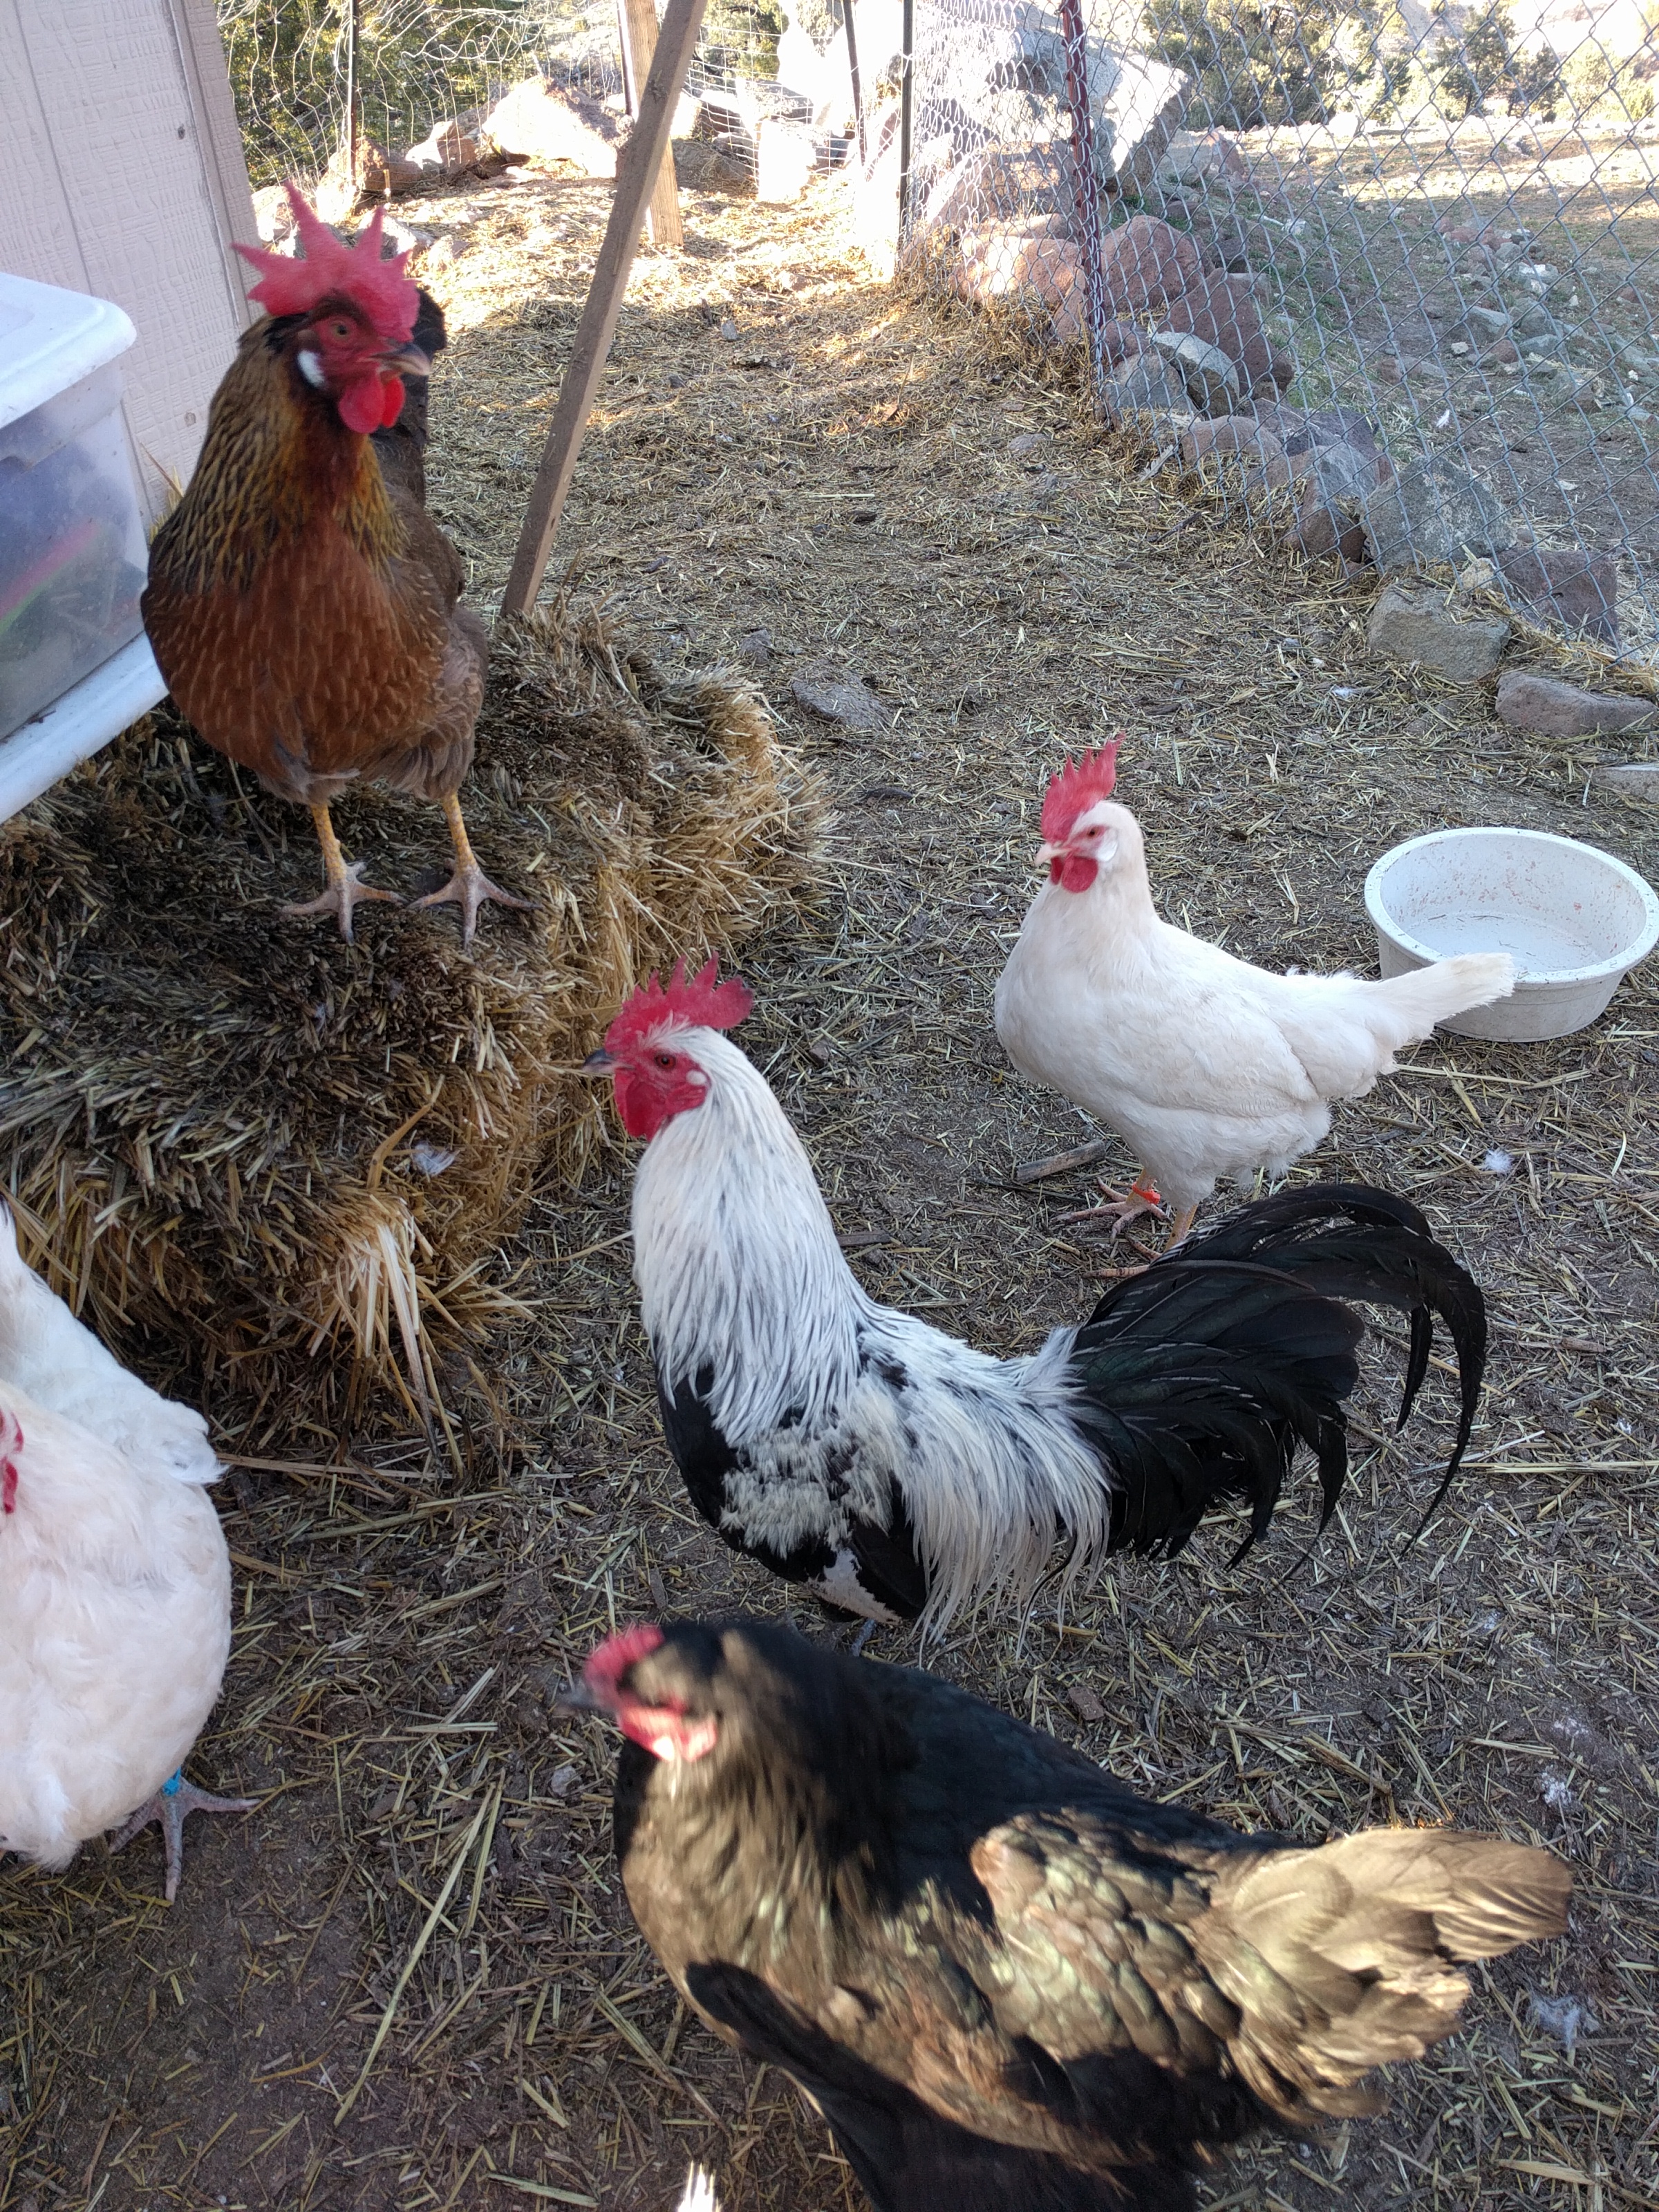
Soon we’ll start letting them free range in the afternoons with all the other hens and chicks (and Cogburn the Rooster). And this week, the bantams are going to their new home at my parents’ house (that’s been the plan all along), so there will be more room for everyone as they continue to grow. 

So there you have it. How we raised chicks in a brooder while living in a camping trailer off-grid. 

And now the question begs to be asked. Which way do I prefer – letting a mamma hen raise the chicks or raising them in a brooder? Honestly, I can’t decide. There are pros and cons to both systems, especially the way we have things set up here. Let me think on it and get back to you, k? 😉

Chicken news – in pictures

I wanted to share with you all the excitement that’s been going on here on the homestead regarding our chickens. Our flock(s) have multiplied significantly recently ( we are apparently the victims of #chickenmath 😃). So here’s a bunch of pictures of all things chickens.

1st of all, here’s how we keep food and water reserved for the chicks in with the rest of the flock (otherwise the adults eat it all and the chicks don’t get any). The handle holes in the crates are just big enough for the chicks, but keep the adults out.

Our new flock of Rhode Island Reds that we inherited (and one Barred Rock). They are all pretty old, but we’re still getting about a dozen eggs a day out of 20 hens. We’ll keep them for the summer.

Our new rooster, “Cogburn”. He’s a real sweetheart.

Yes, as in Rooster Cogburn 😃

We re-homed our mean rooster, Mr Darcy, back to his original owner.


We impulsively brought home 5 Asian Black chicks…


…and 7 miscellaneous bantams. And, yes, most of the bantams will not be kept. I have no use for “ornamental” breeds


Except for possibly this one. She’s soooo adorable! She might get to stay.

And this one, the smallest of the lot, who’s​ feathers are just starting to curl up. It’s a Frizzle! Even though I have a suspicion it’s a boy, I still wanna keep him!

We are letting the Asian chicks free-range during the day since we don’t really have another place set up for them yet. They are doing great and starting to get braver. Before they start ranging too far, we will put them in the new coop we were given.

Speaking of the new coop, here it is, just getting off the trailer. We have the most amazing friends!

We’ve started bringing the brooder chicks out to get some sun. This means that we don’t have to run their warming plate all day and our batteries have a better chance of charging during the day.

Here’s the coop and run we made out of pallets

The cute sign my mom my made for our coop.

That’s it for now. Tons going on. Life is full.

Fostering chicks

So. We live in an off-grid tiny home (ie a 280 square foot camping trailer) and we’re busy building a house. Just the situation and time to bring home 17 baby chicks from the feed store, right?

No? You don’t think so?

I think you’re probably right. But we brought them home anyway. 

You see, we had a plan!

We had two hens go broody, and while we eventually decided that we didn’t want them to hatch any of our own eggs (we don’t want our rooster procreating), the idea of baby chicks had taken hold.

So, we put one of the hens in her own penthouse suite (ie, and old dog crate), and let the other sit in one of the egg laying nests in the main coop.

Broody hen in her kennel

Both hens were sitting on a few golf balls. These make excellent, cheap imitation eggs. 

Our plan was to let them sit on their “eggs” for a few weeks, then buy chicks from the feed store and do a little switcheroo and the hen will think her “eggs” hatched.

Or so the theory goes. 

And I’m here to tell you that it works! 

Kinda.

Here’s our story.

On Wednesday, April 19 we bought 9 chicks (4 Gold Sexlinks, 4 Ameracaunas, and 1 Golden Laced Wyandotte). We gave the chicks to our broody Austra White, “Bluebell” (so named because she has a blue band on her leg) at about 4pm. 

Bluebell and a couple of her new chicks

She was a bit confused at first, and the chicks didn’t know what she was, but within about 10 minutes, all the babies were snuggled up under their new mamma and she was happily clucking away to them.
The next morning, they were all out in the enclosure I set up inside the coop so that they had a bit of space to move around, but would be separated from the rest of the flock. They hung out in this space for a couple days. I figured by using crates, the other hens would be able to get used to the chicks so that by the time I started letting them out into the larger area and even out into the run, there shouldn’t be any problems.

Inside their enclosure inside the coop.

At this point, everything was going so well. I was exstatic that it was working out just as I’d read about. Bluebell was a good mamma. She kept the babies warm when needed, and was even careful how she stepped around them.

Good mamma, keeping her babies warm!

I was excited for Phase 2: more chicks to give to “Roadie”, our other broody hen.
On Friday, April 21, we bought another 8 chicks (4 Welsummers, 2 Barred Rocks, and 2 Delawares.)

We attempted to repeat our success.

And that’s where everything went to pot.

Roadie rejected the chicks! 😞 She kept pecking them away. More on that later.

So now we had 17 chicks and only one mamma hen. I have heard stories of a hen hatching out and caring for a large brood, so I figured we’d try giving the other chicks to Bluebell and hope she could raise them. At least for the night until we got a brooder of some sort set up for some of them.

It worked. Kinda. 

On Saturday morning, I found a chick dead in the nest box. It had been crushed. 😢 Seems 17 was just too many. Go figure.

And a weird thing that morning is that Bluebell was pecking at two of the new chicks. Just the two Barred Rocks. None of the others. So we rescued those two and set up a brooder box for them. And we figured that since we had to do it for two of them, we’d pick out several others and lighten Bluebell’s load. 

So, besides the two Barred Rocks, we grabbed a Welsummer, a Sexlink, the Wyandotte, and one of the Ameracaunas. The Wyandotte and that particular Ameracauna are special to Flower Girl and Princess Girl. 

That left 10 chicks with Bluebell. Five of them are from the older group, and 5 are from the younger group. Two days age difference doesn’t make hardly any difference at all.

And she has been a great mamma. They are just over a week old now and have started roaming outside and even free-ranging with the flock. 

Mamma in the chicken run, babies small enough to free range through the fence. (But they never get too far from mamma!)

The other hens and the rooster leave the chicks alone, even Roadie who is back in with the flock. I have seen Bluebell run off the other hens if she doesn’t want them around, and she gets antsy if the chicks wander too far away from her, especially if they are on the other side of the fence from her!

It is great to have all those little chickies running around! 

I feel kinda bad for the ones in the brood box in our mudroom. They don’t get to run and scratch and play outside like Bluebell’s brood. Maybe I’ll have Flower Girl take them outside tomorrow and set up a little space where they can get some of the same experience. 😃

Chicks in the brooder box

So, remember when I mentioned that Roadie was pecking at the chicks and Bluebell pecked at only certain ones? I have a theory why that happened.

In Roadie’s kennel crate, I had noticed that mice were getting in to eat her food. Annoying, but I didn’t think to much of it till she started pecking at the chicks. I betcha that she didn’t know the difference between her babies and the pesky mice that would come to eat her out of house and home. And the Barred Rock chicks are black, so maybe Bluebell also thought they were mice since I see evidence of them in the coop from time to time. I dunno. I could be crazy. Roadie could just be a bad mom. And Bluebell could just not like the color black. Either way, I think before I try the kennel again for a broody hen, I’ll have to find a way to solve the mouse problem.

So that is our success story, and our failure. I learned a lot and hope you did, too. 

I’ll write up another post about how we have the brooder set up, and what we did until we got a heat source that would work on our off-grid solar system.

The BEST backyard chicken breeds?

I realized the other day that in our 4+ years of raising chickens, I have never actually researched and chosen specific breeds of chickens for our flock. Mostly this is because we have almost always been given free chickens over the years, and when they are free, you don’t really get to choose. 

I have only bought chicks once, and I basically just got whatever the feed store had that particular day. Back then, I had no idea about chicken breed temperments or egg laying capabilities or anything. The chicks were cute balls of fluff and I didn’t care what they were.

But things are quite a bit different now. I’ve learned a lot more, and we are finally ready to branch out into selling eggs and possibly even breeding our own chickens and eventually raising them for meat (once we’re no longer so focused on building a house, of course). And so even though we have more chickens than we have ever had before (17), we decided it was time to get more! (In case you’ve never been told, chickens are addictive and are a “gateway livestock” animal, or so says this YouTube video I saw years ago. She’s right! 😊)

Of course, this decision was helped by the fact that two of our hens are broody at the moment. We don’t want them to hatch any of our eggs because we don’t want our Silver Phoenix rooster’s genetics. So they are sitting on golf balls. When the time is right, I will get some day-old chicks from the local feed store(s) and that night will switch out the golf balls with chicks and the hens will think the “eggs” hatched and will raise the chicks as her own. 

So the question becomes, “Which breeds should I get?”

I’ve been doing a lot of research and here’s what I’ve come up with.

First of all, when deciding which breeds you want, you need to know what it is you want out of the hens.

For us, it’s primarily eggs. Therefore, any breed that lays less than 200 eggs a year on average are not even being considered.

Also, we like dual purpose breeds. While we don’t have a plan to raise the birds for meat yet we like knowing that our birds will have enough meat on them to make a decent meal if it comes to that. We’re trying to make it our practice here on the homestead that everything serves more than one purpose if possible.

We also like the idea of the heritage breeds, especially the older, established ones. That connection to history is cool. And also, if it’s a true breed and not a hybrid, then when we want to start breeding our own, we can.

They have to be cold hardy. This winter was fairly mild in temps but we can dip down to negative numbers (Fahrenheit) for a few weeks at a time, and I want to make sure our girls can weather the weather just fine. We have a bunch of Leghorns and Leghorn crosses right now, and their large combs did not like even the mild winter we had.

And last but certainly not least, I have to like the breed. There’s gotta be something extra about them to make me consider them. Thus why Rhode Island Reds did not make my list. When I read all over the place that they are an extremely popular bird and “everyone” has them, it immediately makes me not want them. Besides, I think they are kinda boring looking. 🙂

So here’s my list of chickens breeds that I think will be the best ones for us.

Ameraucana hen (image source)

Ameraucana – I have heard varying reports on the number of eggs they lay, but most websites say it is over 200. They are cold hardy, not prone to broodiness, are interesting to look at, and of course, they lay the coolest eggs ever! We have one hen now who has some Ameraucana or Araucana blood in her and I love her blue-green eggs! So while they may not be the most prolific layers, the Ameraucana made it to my list because they are just so darn cool!

Barred Rock hen (image source)

Barred Rock – the Plymouth Barred Rock is an American dual purpose breed that is cold hardy and lays a ton of eggs (up to 300 in ideal conditions!). It is also a beautiful bird. ‘Nuff said.

Speckled Sussex hen

Speckled Sussex – see Barred Rock description (Only they are from England) 😁

Delaware hen (image source)

Delaware – they are good layers (200-250), an American dual purpose breed, cold hardy, and beautiful.

Welsummer hen (image source)

Welsummer – again, a breed I want specifically for the egg color as they lay dark brown eggs. Not quite as dark as the Copper Marans lays, but the Welsummer is cold hardy, where the Marans are not. And the Welsummer is still a decent layer at 200+ eggs per year. They also have the added benefits of being a dual purpose breed that rarely goes broody.

Australorp hens (image source)

Australorp – these “Australian Orpington” chickens are almost last on my list because there’s not a whole lot to recommend them to me other than the fact that they meet nearly all the requirements. They lay 250+ eggs a year, are cold hardy, and a dual purpose heritage breed. But there’s nothing there that makes them “pop” for me. But if that’s all the store had, I’d take ’em! (Heck, if all I could find were Rhodes Island Reds, I’d take them, too, I guess. 😁)

Sexlink hens (image source)

Sexlink – so, if you’re a long time follower of ours, you might remember that in the fall of 2014, just a few months into our Portland Interlude, we were given  6 chicks. Three ended up being roosters and went bye-bye (some with larger consequenses than others). One of the remaining hens was killed by a neighborhood cat (we think). The other two matured into egg laying machines! Those two hens were the offspring of one of two roosters and any number of hens in a mixed flock. But the savy farmer who wanted more egg laying machines would try to figure out which rooster and hen combo produced these two hens. And then reproduce it. And hey, if you could tell at hatching which chicks were boys and which were girls, all the better, right? That right there is what a Sexlink chicken is. Roosters and hens of different breeds are selectively bred together to get an egg laying machine of a hen. And the cool thing about it is that the chicks are colored in such a way that there is a 100% accuracy rate in telling the boys and the girls apart. And that’s what makes the Sexlink hybrids at least somewhat appealing to me. You know  youre getting hens. No surprises. (Most hatcheries have a 90% accuracy rate at sexing the non-sexlink chicks correctly) But, they are not a heritage breed, meaning if you hatch one of their eggs, the chick will not necessarily have any of the good characteristics you are looking for. But the high volume of eggs, and the fact that you know what gender you’re getting means that I won’t discount them outright.

So that’s our plans. We’re looking to get about a dozen chicks for ourselves and about 4 for my parents. I’ll let you know which breeds we actually end up with when we get them.

Do you have chickens? What breeds do you have? Which are your favorites?

Maridy

Eggs!!!

Soooo, we recently inherited a flock of chickens. And even though at least 5 or 6 of the hens are of laying age, with the stress of the move, the short daylight hours, the fact that they free-range right now, and the fact that we didn’t really have any nest boxes built for them meant that we had yet to see an egg.

Until today!

img_20161208_132122

Two eggs!

We recently built the nest boxes and stuffed them with straw.

img_20161208_132037

The nest box is a triple-decker that hangs on the outside of the coop. Pajii was the one to suggest the high rise to save some space and still be able to access the eggs without having to enter the eventual run or the main coop. That man sure has his genius moments. 🙂

img_20161208_132111

Each box has an opening accessed from inside the coop for the chickens, and a door for the humans to look for eggs.

So I think just adding the boxes and the straw helped the mature hens to get the right idea, but I also think our other idea helped.

We put a couple of golf balls in each nest!

img_20161208_132114

Golf balls to encourage laying.

I learned in Justin Rhodes’ Permaculture Chickens e-course that to encourage a hen to go broody, you can leave a couple ceramic or wooden eggs, or better yet, golf balls, in the nest. Golf balls are cheap and easily obtained compared to ceramic or wooden eggs. Especially since we already had some! I figure if it helps them go broody, then it should encourage them to start laying in the nests.

We finished the nest boxes and put the golf balls in two days ago. Yesterday I saw one of the mature hens checking out the new accommodations. And today, there were two eggs!

I’ll take them!

How about you? Do you have chickens? How many eggs are you getting right now?