Tag Archives: Homestead Kids

Garden beds

In February, we had a run of really nice weather and it got us itching for spring. Pajii in particular is really missing being able to garden. His garden up in Oregon, though small, was prolific and beautiful.

Pajii’s garden in Oregon – 2014

So, since we couldn’t work on the house (still waiting on our contractor to finish the walls and roof), and we had such nice weather, I decided to knock together some raised garden beds for Pajii to work in come spring.

I decided to use our wood left overs from the concrete forms for the house foundation.

This is only some of the wood we reclaimed from our forms for the foundation.

I measured and cut and organized and got all the pieces sized and ready to assemble.

A lot of the 3/4″ scrap plywood was 8 or 16 inches wide. This made it easy to figure out how tall I wanted the beds to be.

I started by attaching my side panels to the corner 2×4 posts which I cut to be twice the height of the panel. Since I wanted to use as much of the smaller wood scraps as possible and leave larger pieces for future projects, I had to make a couple 16″ panels out of two 8″ panels as you can see in the following pictures.

Attaching a panel to the corner post

I used 1⅝” deck screws to attach the 3/4” plywood to the 2×4 posts.

Joining two 8″ panels together to make a 16″ panel.

One side ready for assembly

Once I had all four sides ready for assembly, I started screwing them together.

Clamps are your friend when working solo.

One box almost finished.

This box is almost finished. Just needs some strengthening 2×4’s around the top edge.

One of the boxes we made a trapezoid (an isosceles trapezoid to be precise 😉) to work in with the shape of the garden a bit better. You can see in the pic below where Princess Girl is helping me put on the strengthening rim boards around the top of the box. I used 3″ deck screws too attach these boards to the corner posts.

Finally got some human help. 😁

We also attached the plywood to the rim boards with 1⅝” deck screws.

Princess Girl gets some more screw gun practice.

Pajii and the Princess with a finished box.

Time to move.

Once we got the boxes put into place, Flower Girl’s chicken, Leilani, had to come check them out.

All 4 boxes in position.

We made 4 boxes total. Three of them are 3ft by 6ft and the fourth one is a trapezoid that is 5ft x 3ft x 2ft, if that makes sense. All of the boxes are 16 inches tall with 32 inch corner posts. The corner posts are taller in order to easily attach clear plastic to make a cold frame in early spring, or more likely, netting to keep the squirrels and other pests out.

I really like how these boxes turned out. I love that everything used to make them, including the screws, is reclaimed materials that were used to make the foundation of our house.

We have not filled them with soil yet since winter returned just a couple of days after we finished them. Soon, though, we’ll go get some soil and not too long after that, Pajii will be able to keep busy growing us some fresh veggies. I can’t wait!

Homestead Update: Happy New Year

Happy New Year!

I know it’s been a while since I’ve updated. Sorry about that. I kept hoping for the “big reveal” on our house, but, well, things keep happening to keep it from being done. And by done I mean dried in (meaning the siding and roof is on.)

So I guess for now, here’s our “big reveal”. We have the frame of a house!

We hired a contractor to put the structure up for us. He started the week after Thanksgiving and did pretty well getting to this point. But then his wife had a stroke, he had some equipment trouble, we’ve had some weather related delays, and the holidays rolled around, so there the frame sits.

One of those weather delays was a bad windstorm. It blew about 30 of our siding panels and some of our rolls of insulation off the house pad into the ravine. And then it promptly snowed. We were able to get them all stacked together with rocks on them so they don’t blow any more, but they are still down there. Hubs and I have been sick with bronchitis since before Christmas and haven’t been able to do much.

Lately though, I’ve been feeling a bit better and have been able to do a bit of work around the place. I cleaned out the chickens nest boxes and today I’m hoping to get our flocks rearranged. We have two roosters (technically I think they are both still cockerels) in one small flock and I want to get then separated before the younger, bigger one starts challenging the older, smaller one.

Besides, I want all the hens to be in with the correct rooster for when we start our breeding program. Nigel (pictured below with “Lizzie” two months ago) is our man man. He will be our breeding rooster, but right now, he’s the non dominant male in a flock of 12.

I am planning on moving Fritz (our frizzle Cochin bantam rooster) and a couple of his girls up to the upper coop and bringing a few of those girls down for Nigel. And I want to do that now while their egg laying is already disrupted by the winter.

Although, they have started picking up a bit!

We were only getting 4-6 eggs a day out of 30 hens for about 2 months. Our older flock went through their first molt and thus stopped laying. And the younger flock just hit maturity when the light faded for the winter (hens need approximately 14 or more hours of daylight to lay optimally.)

But we are past the solstice so the days are only getting longer now, the older flock is past their molt, and the younger flock is moving into their prime laying time (they lay the most eggs their first year of laying.) So now we are getting roughly 10 eggs a day. And it’s only gonna get better from here.

Lately we have been having some beautiful weather. While the rest of the country freezes, we’ve been wearing t-shirts and having picnics.

And doing crafts outdoors.

And going for walks in the hills above our house.

The weather is supposed to turn chilly and rainy, possibly with snow, this weekend.

And I heard from our contractor again today, and there’s been more unavoidable delays. So sometime in the future, hopefully sooner rather than later, we will have a roof and sides put on our house. But for now, it’s still pretty cool to walk out our trailer door and see that frame rising toward the sky.

And once it is “dried in”, we get to go to town finishing off the interior. That’s going to be a blast! And honestly that’s really the only thing on our resolution list for this year. Get. The. House. Finished!

For now, I’ll leave you with one more picture of our frame until we have more to report.

I’m Back in Action! (House update)

Oy, I haven’t been that sick in a long time. And honestly, I still have a lingering cough.

But the energy – oh, the blessed energy.

I have it back!

It feels good to be able to work for more than a couple minutes and not be exhausted.

So, while not much has gotten done on the house since the slab was poured, we have been doing smaller projects here and there and ramping up for the next big push.

We finally got our shower system built in our well shed (a whole new post about that will be coming soon – I hope).

We started carting all of our building materials from where they have been sitting for over a year to down on the housepad.

We didn’t finish with that yet, but the contactor we hired to erect the structure said that he can do the rest with his fork lift. That sounds good to us!

We got all the insulation which gets put up at the same time as the metal frame. This is only R-13, but we will add more when we build the wood frame walls inside the metal shell.

We carted all the rolls of insulation up our drive and to our cargo container. Hopefully in just about 2 weeks, we’ll have to cart it all down the the house pad. We don’t mind having to move it all twice if it means it’s going on the house next!

Of course, we had some Halloween fun. My costume took so much time to put together. Whatcha think? 😉

And we had another birthday party, this one for Princess Girl who turned 12 (how did that happen?!?) She totally made out in the money/gift card department. Which is good considering she needed clothes in a bad way.

We totally disassembled all the forms and cleaned up the pad in preparation for doing some more back fill.

I was completely dreading unscrewing all those forms. Every screw head was filled with concrete and had to be cleaned out before we could use the driver to back it out. After just one section my back hurt so badly from bending over that I could barely walk. Hubs got frustrated enough he wanted to just cut all the pieces apart with a circular saw and call it good. But we are going to need to use this wood one more time when we build the forms for our garage slab, so we needed to salvage as much as possible,

That’s where a little bit of preparation came in. As the old saying goes, “Work smarter, not harder.”

By putting the forms up on a table, I didn’t need to bend over nearly as much, thus saving my back.

And by using a little tool like a straw, the clean out of the screw heads went much smoother since I could really blow all the dust out once it got loosened.

Once we got the pad cleaned up, we needed to prep the slab itself to bring in more fill dirt to raise the ground level to slab height. In order to do that, we needed to finish wrapping the footers and slab edge in foam insulation. We had done the bottom 16 inches and then backfilled that months ago. So we had the final 16″ to do. Convenient since the 4’x8′ sheets of insulation have snap lines at 16″ sections (thus giving 3 sections that are 16″ x 8′ per sheet). Except that I forgot that each piece needed to be 14.5 inches because of a recessed lip on the edge of the concrete. which means we needed to cut the foam sheets rather than snap them on the pre-scored lines.

Oh, well, at least it is super easy to cut. I actually set the depth of the saw to not go all the way through the foam. That way, I could set the sheet of foam on the slab, make my cut line, then snap the last little bit. This was really good since the winds were blowing about 30mph that day. You can imagine what happens to lightweight foam in 30mph winds! Any time we set a piece down, it had to have something heavy on it to keep it from blowing clear away.

Once we got the foam on the sides of the slab, we could start having dirt trucked in.

Since we no longer have a backhoe or anything, we are doing all the spreading by hand. It takes a lot longer, obviously, but it’s free.

Hubs and I spent most of Saturday getting our water supply line hooked up so we can bury the connection. We also made a water run to my moms for fresh water (still don’t have a treatment system for our well water put together yet).

We are feeling very blessed at the mild weather we’ve had so far this Fall. We are hoping and praying it holds out for just a couple more weeks till we can get the structure dried in.

In the mean time, the girls have been having fun playing on the slab.

House Update: cured slab

I had lots of plans for this week while the slab cured. Moving our shower into the well shed. Cleaning out the chicken coops. Rearranging flocks and coops. Stripping the forms off the slab. Etc, etc, etc.

But my body had other plans. I mentioned in passing in the slab pour post that I got sick the day after the slab was poured. Sad to say that I’ve basically lived on the couch ever since.

(An actual representation of how my week has gone -when I’m not hacking up a lung.)

Here it’s been an entire week and the only things I’ve done are things that I can do with little effort. Except for Flower Girl’s birthday party. Sick or not, my baby turned 5, so, you know.

But, Pajii and Princess Girl have been life savers.

Princess Girl helped us begin the dismantling process on the forms.

When the danger of freezing nights was over, she and Pajii got out on the slab and folded up all the concrete blankets.

When we had a windstorm that nearly blew away all our plastic off the slab, they got out there and fixed it.

And today, Pajii worked on stripping the rest of the forms off the sides of the cured slab.

I’m so thankful to them both for doing the work that needs to be done while I can’t do it.

Hopefully I’ll kick this thing soon and we’ll be off and running again. Hopefully while the weather is still nice.

For now, I sleep.

House update: concrete slab pour

The post you’ve all been waiting for!

I know, I know, it’s been nearly a week since I said we’d get the slab poured, and here I am just now writing about it.

But really, it’s only been 3 days since it was poured. Yep, that’s right, it was done this past Monday, not last Friday.

Yeah, the overnight lows were forecasted to be down around freezing for Friday and Saturday night. Frozen concrete is not a good thing. And while there are steps you can take to make sure the slab does not freeze, waiting an extra couple of days for the temps to warm up is an easy fix.

On top of that, none of the concrete companies in town could do a Friday pour before noon. Doing a slab this size takes about 8 hours. It gets dark here around 7pm right now. I think you can see the problem there.

So, we decided that it was best to just wait till Monday.

It was chilly that morning before the sun hit the pad.

But the crew was there and the cement showed up right on time.

The interior footers were poured first.

Then they started on the slab.

Flower Girl didn’t want to miss a moment, even when she was so cold. But the sun came up and we all warmed up.

There wasn’t much for us to do other than watch.

But watch, we did!

And then spent a few minutes stabbing in the bolts for the walls.

Pajii gave it a go.

Princess Girl looked over the plans to make sure we were doing it right.

I had a moment of panic when I did some measuring and thought we were an entire inch and a half off. Till I realized I was measuring to the wrong side of the form boards. Whew!

Lots and lots of bolts.

The concrete crew we hired did an efficient job.

Looks like he is standing on the edge of a huge drop off. In reality, there’s enough space on the other side of the house for a cement truck to pull up there.

More finishing.

The last thing to do was cut the relief cuts to hopefully control some of the cracking. Our concrete contractor uses a big machine to do the cuts rather than a skill saw by hand.

Here it is with the concrete blankets on. My brother and my dad were each able to loan us enough blankets to cover half the pad. We decided that since we got them for free, it couldn’t hurt to use them. Better safe than sorry.

On Wednesday we started taking down the forms. We can’t take off all of then yet because that’s what the plastic is stapled to.

Since we are going to stain the slab and use it as our finished floor, the concrete guy didn’t want to put on a chemical seal/cure on it. So instead, we wetted everything down then covered it in 6mil black plastic to keep the water from evaporating. This will allow the slab to slowly cure over the course of a week or so without adding something to the top that will make the stain not work.

Pajii and Princess Girl took off all the blankets today. I stayed inside out of the pounding wind because I came down with a cold on Tuesday (great timing, right).

Instead of working on the house, I’ve been resting and recuperating and making chicken stock out of the carcasses of the chickens we processed over the weekend.

One of these pots of stock got canned into jars. The other became soup for dinner tonight. Hopefully it will help me feel better. This not being able to breath thing is getting old real quick.

The next stage of building the house is getting the metal frame up, but that may take a while. In the meantime, we need to finish up our septic system and fresh water cistern and get started on the garage. Still got a lot to do. But it’s moving forward. Slowly but surely.

Culling old chickens

So, I know you’re anxious to know about the slab, but that’s for another post. Sorry, you’ll have to wait another day or two.

For now, I want to share with you a task that we had to take care of that had nothing to do with the house build.

You may remember that back in April, we acquired a flock of about 20 old hens from some friends of ours. We were told they were roughly 5 years old. We did not expect many eggs out of them, but for several months during the summer we got about 10-12 eggs out of them every day so we were happy. Then the end of summer came and between the diminished daylight and the molting and the fact that they were old and that they kept eating their eggs, we didn’t get very many eggs out of them. For the last month or two, we’ve only gotten an egg or so a week. Very frustrating. So, we decided it was time for them to go.

Warning: this is a Homesteading blog about homesteaderly things and one of the things we do on this homestead is produce our own meat. The following pictures may not be suitable for all viewers. While I will not be posting “how-to” pics, or ones that are too bloody, some people may not like seeing dead chickens. I respect your decision to click away if you’d rather not see anything objectionable.

For those of you who are ok with that sort of thing, read on.

As I said above, this is not a how-to type post. There are plenty of those out there, and I especially found the one by The Prairie Homestead and the video by Joel Salatin she linked to at the end of her post to be useful.

This is more of a “this is how we spent our day” post. Actually, how we spent a day and a half, even into this evening as the canner is busily boiling away as I type this.

.

Hubs was the main chicken dispatcher.

He was also the main feather plucker.

My brother and sis-in-law joined is to help with the task.

Sis-in-law ended up doing most of the cleaning.

Flower Girl was rather eager to help with the whole process.

She thought that the tiny egg yolks we found inside some of the hens were really cool.

One of the hens was obviously still producing some eggs as we found different size yolks.

Nearly 12 year old Princess Girl was not nearly as interested in getting her hands dirty as her little sister, but she did process one chicken completely from catching it in the run to putting the cut-up meat into the jars.

I’m so proud of her. And when she wasn’t helping with the actual processing, she was a great gopher, as we all had dirty hands, she’d be the one to run and get stuff for us.

She also took a lot of these pictures since my hands were perpetually covered in ick or water.

This chicken wing looks like an octopus tentacle!

Since these chickens we’re so old, we knew that their meat would be pretty darn tough.

By canning the meat, it is pressure cooked as it is canned. This high pressure cooking/canning for over an hour makes the meat nice and tender.

And yes, I’m canning after dark.

These are great for use in soups or as chicken salad, etc. And I’m so excited that we were able to put these chickens to good use since they had become useless in the egg production category. It feels great to be able to produce some of our own food again. I’ve missed that since we moved back to Nevada and spent so much of our time building the homestead living systems.

We’ll, that’s it for the day. I’ll update in a day or two about our slab, I promise.

House update: getting ready for concrete

We are scheduled for our slab pour in just two days! (“Lord willing and the creek don’t rise.”)

Its been a lot of hard work getting to this point where we are ready to pour (and there’s still some work to be done tomorrow.)

When I last updated, we had just started cutting the trenches for the plumbing and footers.

This looks like a complete disaster, but there really is some order to it.

This is the same area later that same day.

We put a call for help out on Facebook and a bunch of our extended family showed up to help with the shoveling.

Even Flower Girl was a huge help!

My brother manning the sifting station.

My sis-in-law lugging some buckets of dirt out of the forms.

We were able to dig nice and neat trenches for the interior footers.

Once we got the trenches all dug and cleaned out, it was time to start on the drain piping.

ABS fittings

Our first completed branch line dry-fitted.

Once we had all the pipes laid out where and how they needed to go, we had a few days wait for our retired contractor friend to stop by and let us know how we did. He made a few suggestions which we followed.

While we waited for him, we made a good start on our septic system.

When we got the go ahead from our friend, we started gluing all the drain pipes and fittings together.

And bedding all the pipes in sand.

The girls had fun talking to each other through the pipes.

Then we had to test the system. This involved capping off all the pipes except this really tall one, then filling the whole system with water.

We only had the backhoe for a limited amount of time, so we got as much done with it as we could. Such as getting the water line put in across the driveway.

This line will eventually connect to an underground cistern which we will fill from our well pump.

I let Princess Girl try her hand at moving the backhoe around (with me right next to her, of course.)

We passed our under-slab plumbing inspection, and it was time to start backfilling. Again.

This time we needed to use sand to completely cover the pipes.

A good friend came by to lend a hand.

Flower Girl love playing in the sand.

She also found a way to go sledding in September. 😄

Once we had the sand over the pipes, we switched to using type 2 base and we were back to filling and compacting.

Once the pad was fully backfilled, there was just once last project to do with the backhoe before we had to turn it back in to the rental company. We needed to cut our footers for our garage and the trench across the drive to run electrical lines.

Then it was time for rebar!

Over the next several days we worked to get all the rebar finished in time for our inspection. We hit a couple delays, but managed to git ‘er done.

And that brings us up to our current situation. We had our inspection on Monday and passed with flying colors. Our concrete contractor was booked up till Friday, so that’s when we’re scheduled. We still have a couple odds and ends to take care of before we pour on Friday, so we’ll be taking care of those tomorrow.

So, Lord willing, we’ll have a finished slab by Friday evening! And let me tell you, it’s none too soon. The temps are dropping and freezing weather is just around the corner.

We’ve worked hard, but it’s exciting to see the progress. Hopefully when I update next the slab will be done!

Even more weather related delays

So, it rained a couple days ago, causing us to button down the hatches and close up shop early. We ended up spending a rare evening together just hanging out. It was great.

But the next day we decided to hit it hard and get some actual work done.

In the morning Flower Girl and I worked on marking out our under-slab plumbing.

First I made a copy of our plans so that I could mark on them.

Then we started transferring the measurements to the ground with paint.

This four year old’s got some skills!

After a trip to take Pajii to a doctor appointment, we were back at it.

It was nice that for this phase, the measurements don’t have to be exact. That will come next as we are laying the pipe.

For now, we will cut our plumbing trenches with the backhoe since that’s what we have. We are not going to rent something else when we already have something that will work. So our trenches will be wider than absolutely necessary. But then again, they are gonna be pretty deep, so we need room to maneuver around in them with the pipes, so maybe it will be fine. All that to say that we don’t have to be very precise with our measurements at this stage because the trenches will be wide enough for some adjustment of the placement of the pipes. Whew!

Just two tools needed for this job. Nice to not have to lug around a bunch of heavy tools.

Consult the Book of the House. Chapter 2 verse 3, “Thou shalt mark thy plumbing upon the subfill with the paint color of thy choosing providing thou doth chooseth a color which doth show brightly upon the ground.”

We got the lines all drawn. Red for plumbing and orange for interior footers.

We excitedly started destroying some of our hard work that we put into compacting all that dirt. And then this happened:

Yes, that’s rain and hail, and Princess Girl and I were stuck inside the backhoe. Thankfully it is an enclosed one so we had good protection and didn’t have to try to make a mad dash through this:

So, again, we were stopped from working by the weather.

This morning, I went out to start back up again and found this:

That’s one big soupy mess, right in the middle of our house. So I decided to let it dry out some and work on one of our other projects that need to get done while we have the backhoe.

So I cleaned out the drainage next to a potion of our driveway. It’s kinda hard to see, but there wasn’t a real ditch here before I started. The water would run down the side and the middle of the road and eventually spread across the drive near the highway, leaving all the mud as a parting gift as it found an edge on the other side and headed on down the canyon.

Flower Girl helped move rocks for a time, then started pretending she was a prairie dog. I just love her imagination.

By 2:30, we were done with the drainage for the day (still need to put in a culvert pipe). The girls and their grandfather were preparing to head off to gymnastics class, and I headed in town to run an errand and hoped that the sun would continue to dry out the pad.

When I got back and Hubby was home from work, we still had several hours of light left, so we decided to try working on the pad despite the remaining puddles of water.

I was amazed at how hard it was to dig by hand through the compacted dirt. Guess we did a good job compacting it.

Hubby worked on digging down to where our sewer pipe will exit the building (pictured above), while I worked on unearthing the rebar that will join into the footer for the interior load bearing wall.

I am well please at how well this backfill is staying neat and tidy as we dig. That’s exactly what we were hoping for. Now, if the rain will just stay away long enough for us to get the slab poured, that would be amazing!

You know what else is amazing? One of Pajii’s kittens, Lilly.

She’s so cuddly. And just look at that face! Almost makes me want another cat. Almost. But not quite. Maybe when we have a barn and they can be barn cats. Maybe we’ll get some kittens then. For now, I enjoy playing with Lilly and Midnight whenever I’m in Pajii’s trailer.

So anyway, that’s our last few days. The rain has put a damper on our progress a bit, but it also means we get some of these other important projects done as well.

And that’s how life goes. God’s got a plan for everything. We just have to trust that he knows what he’s doing.

The end is coming

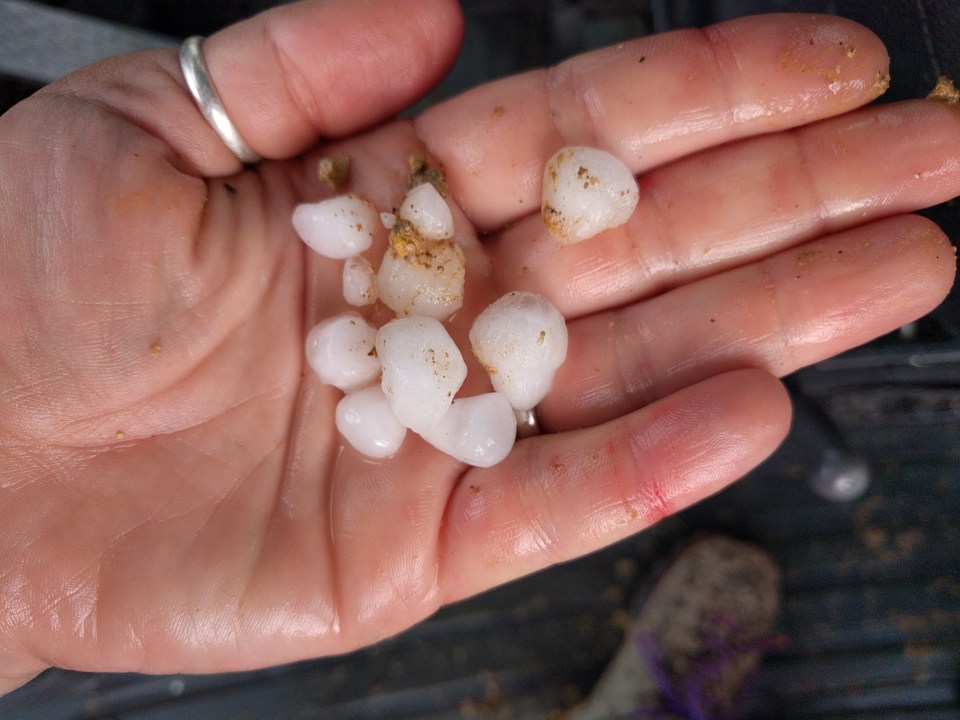
It rained yesterday. I mean, a good ol’ gully washer! Rain coming down in sheets. Hail. Overflowing rain barrels (which we coincidentally had just filled up with well water because we use them to water our animals and they were getting low and who knew it was going to pour?) It was glorious.

And this morning I am reminded that the end is near.

The end of summer.

Because of the rain yesterday, the air is cooler than usual this morning, and fresh. The cheatgrass all around me is doing its usual end of summer imitation of fall colors. And September is right around the corner.

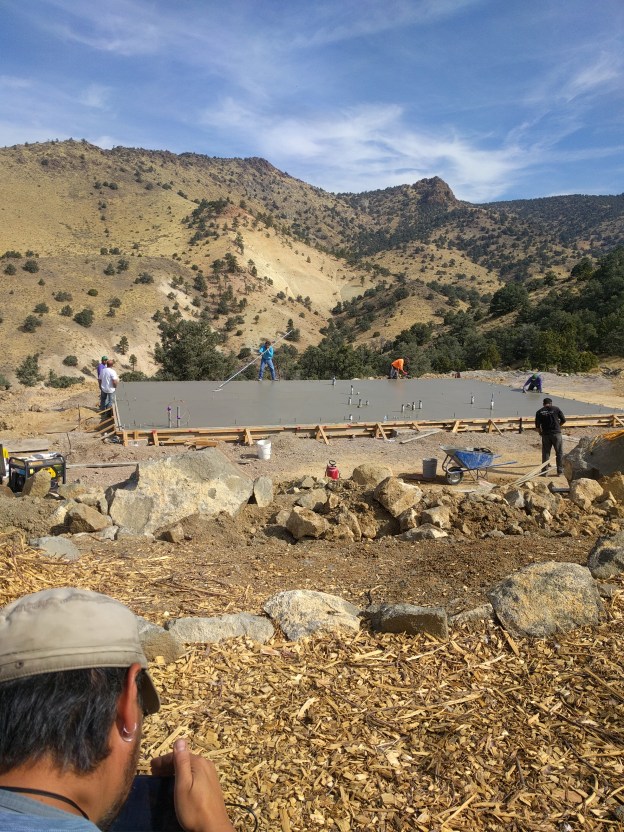
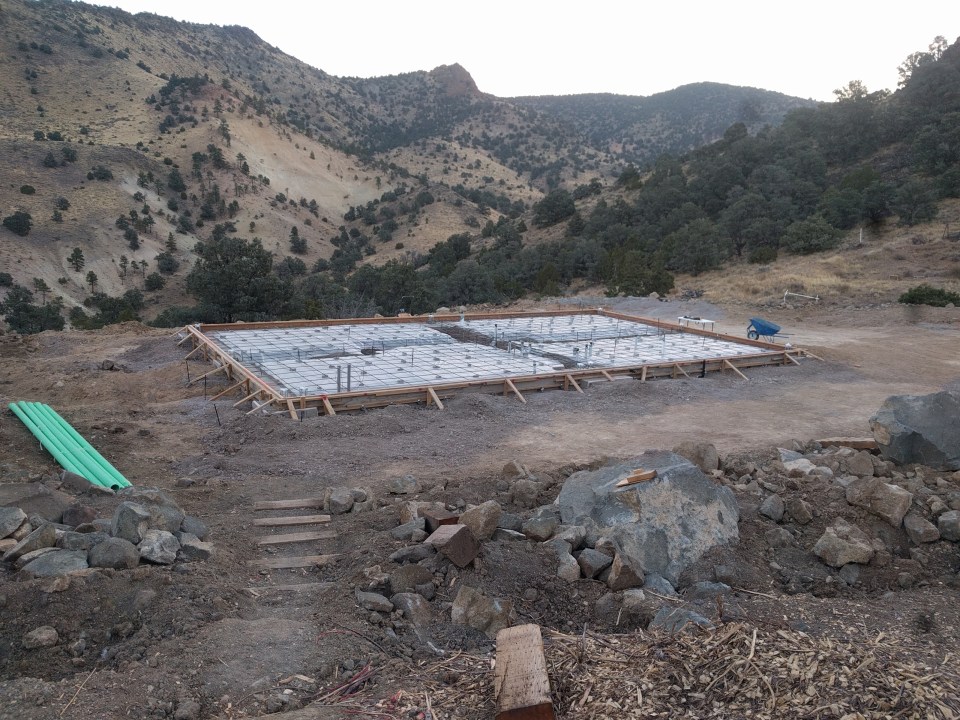
Normally I love Autumn. It’s my favorite season. However this year, we’re feeling the heat (haha) to get our house dried in before the cold weather hits.

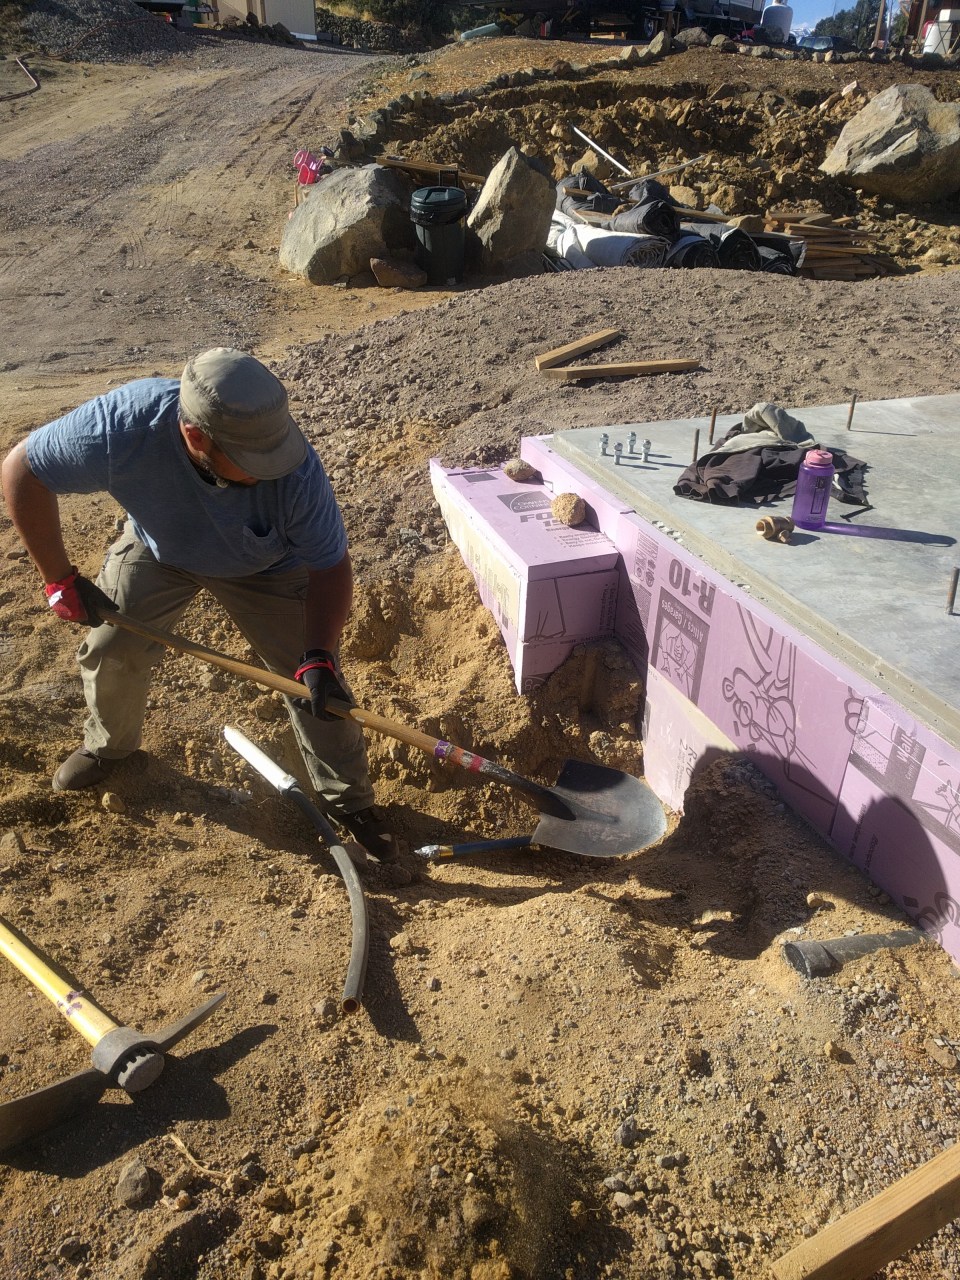
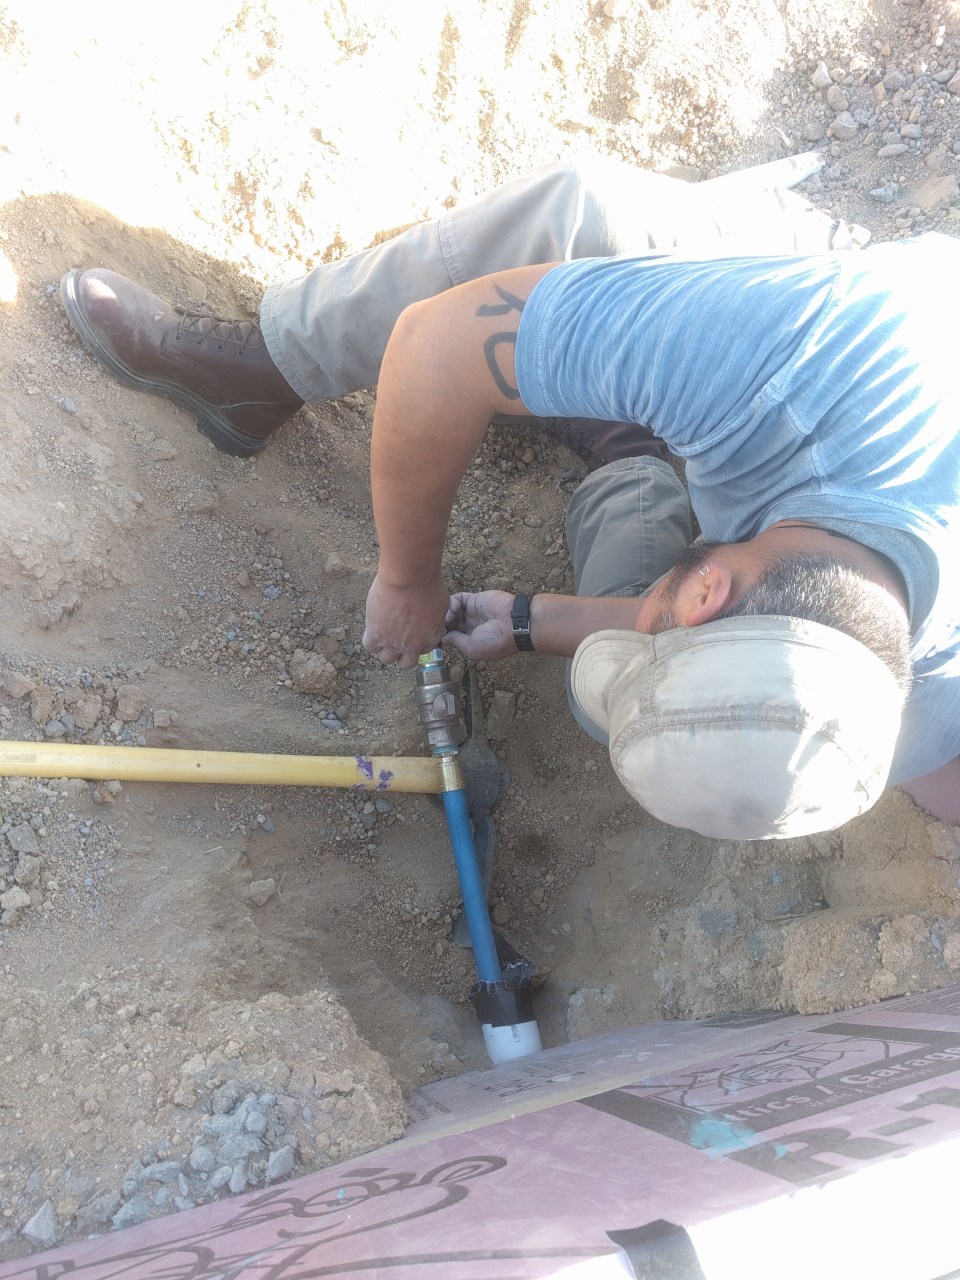
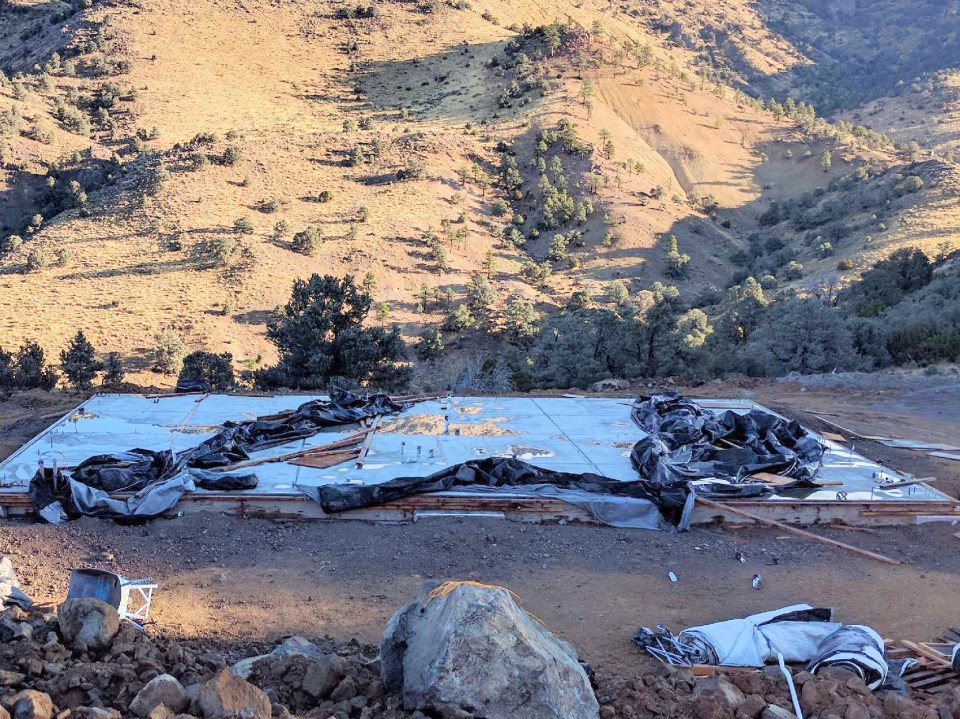
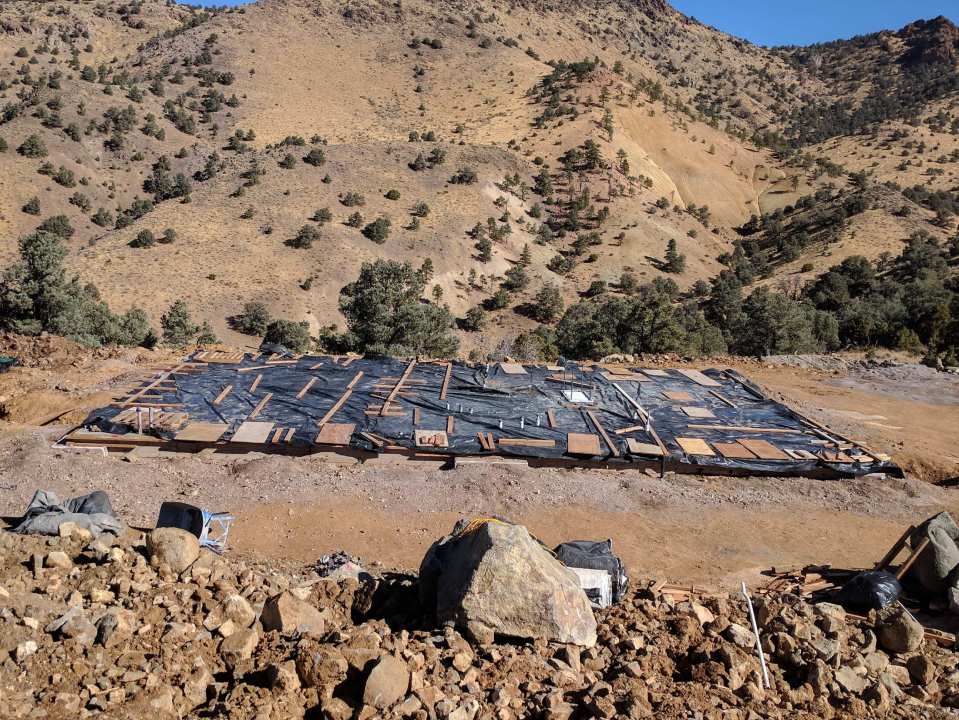
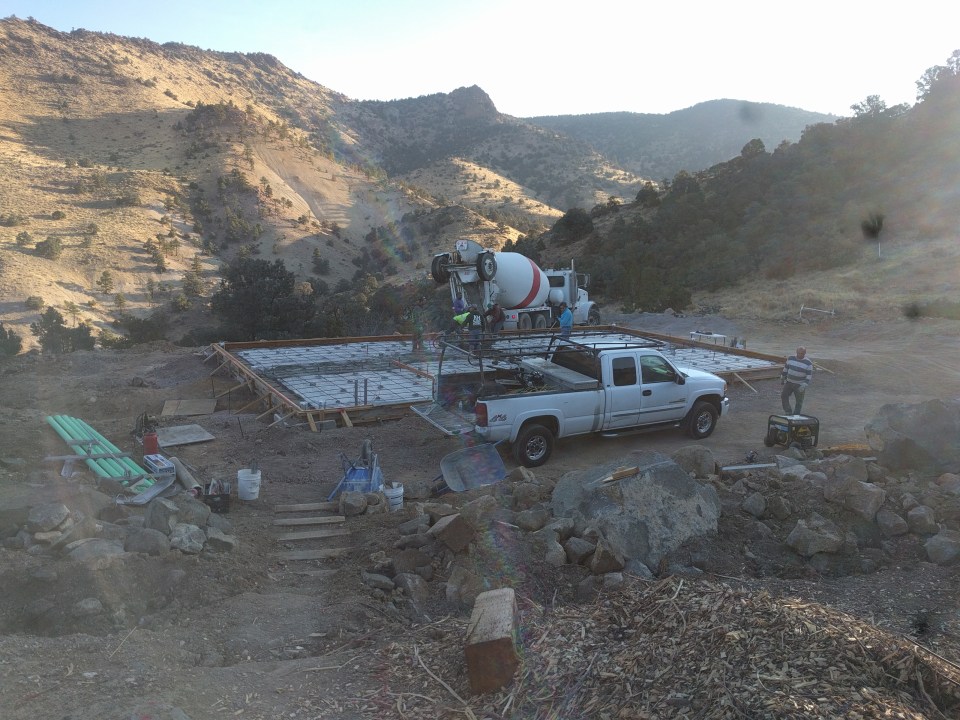
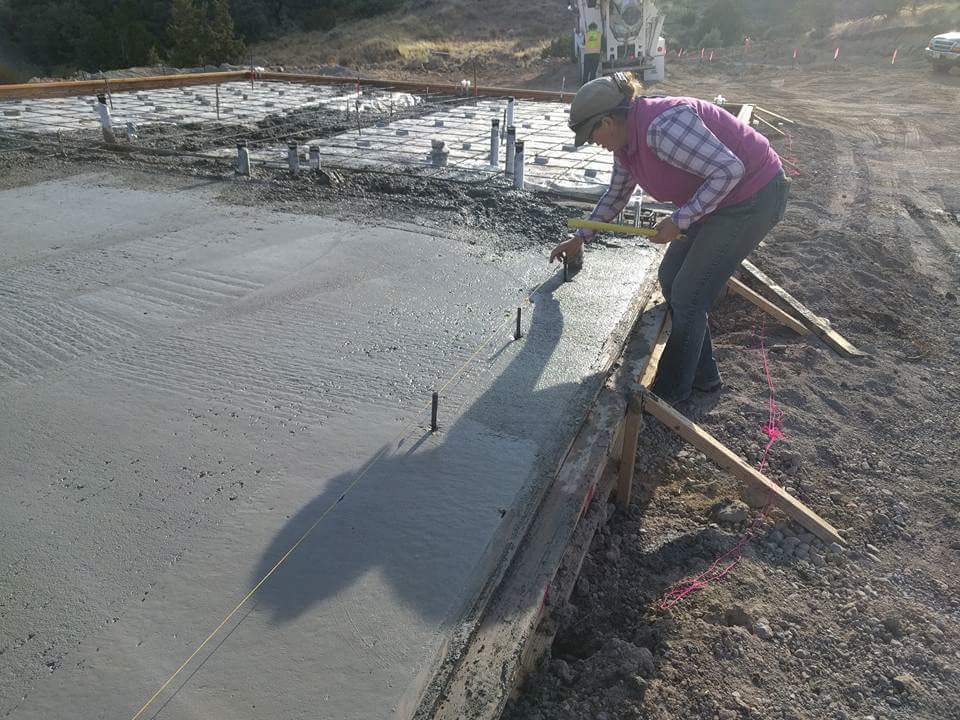
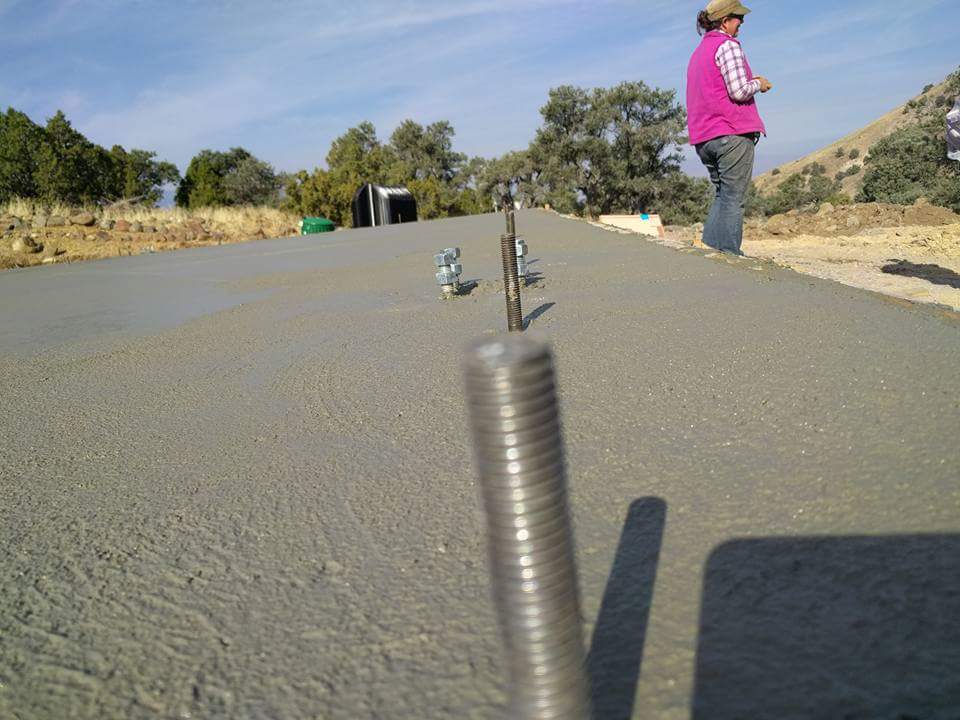
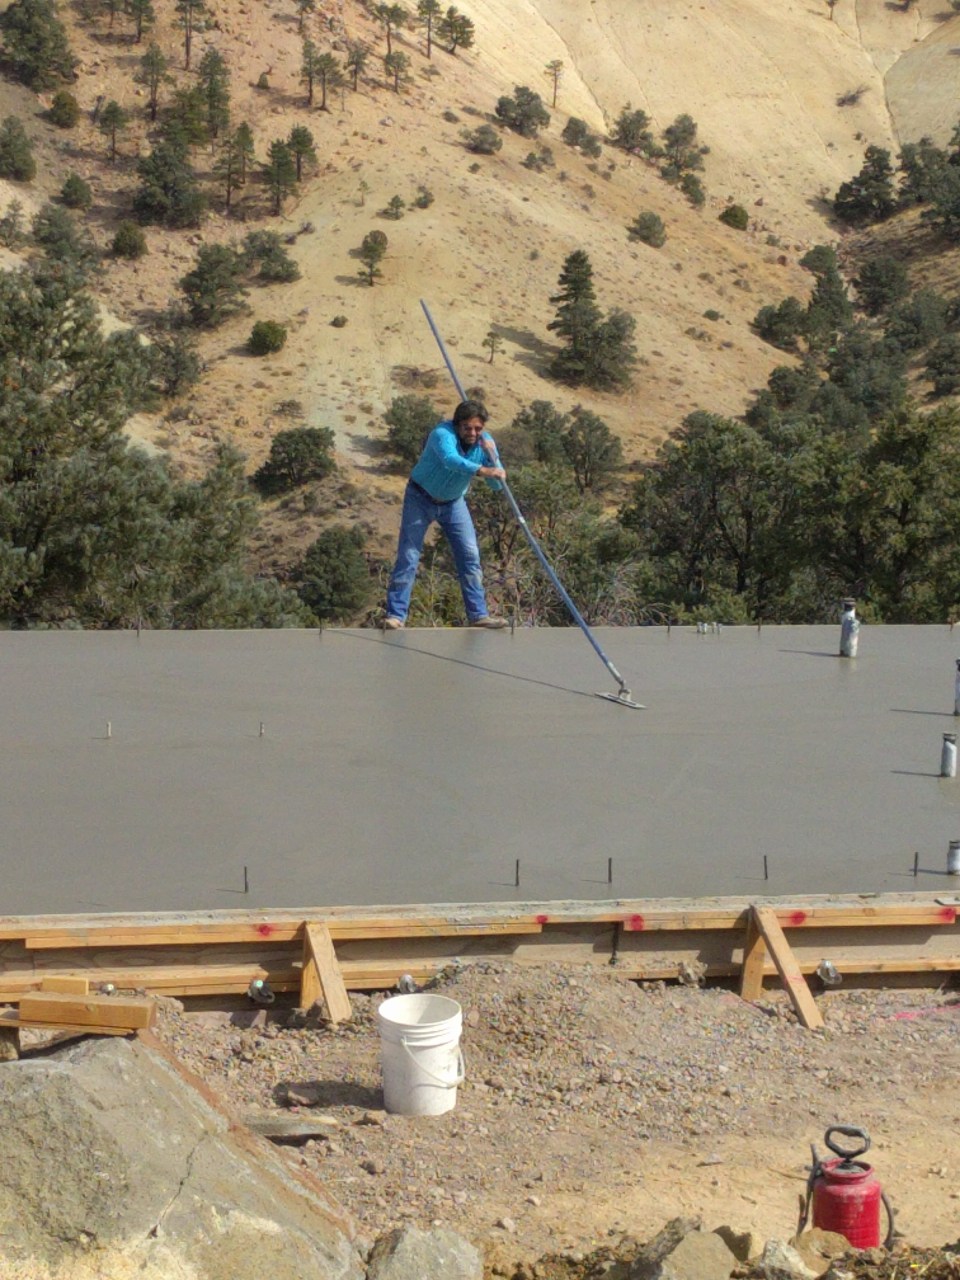
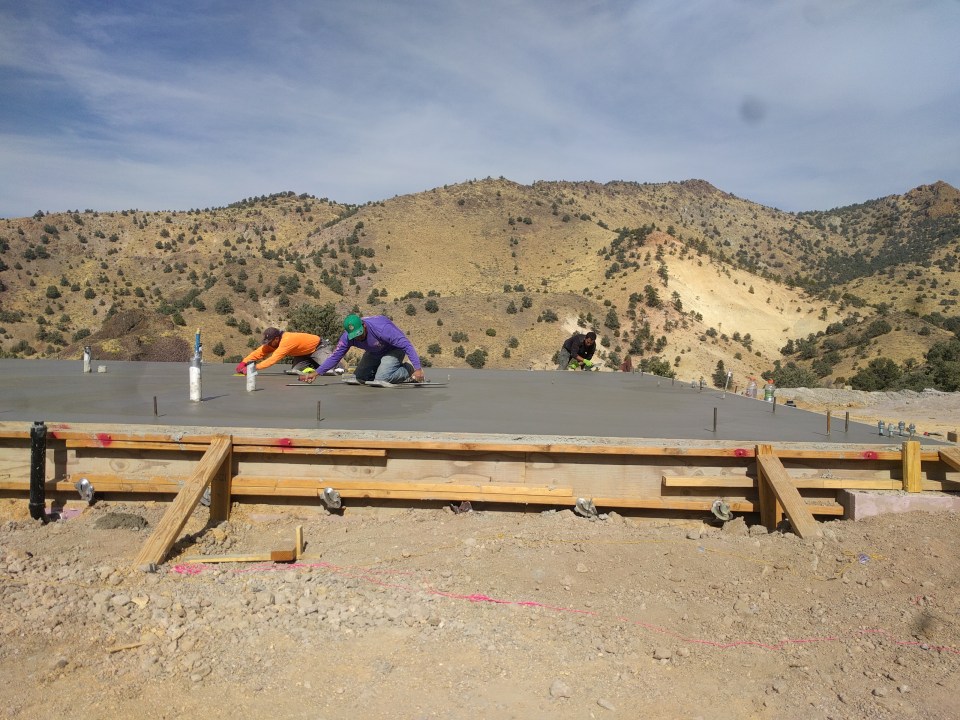
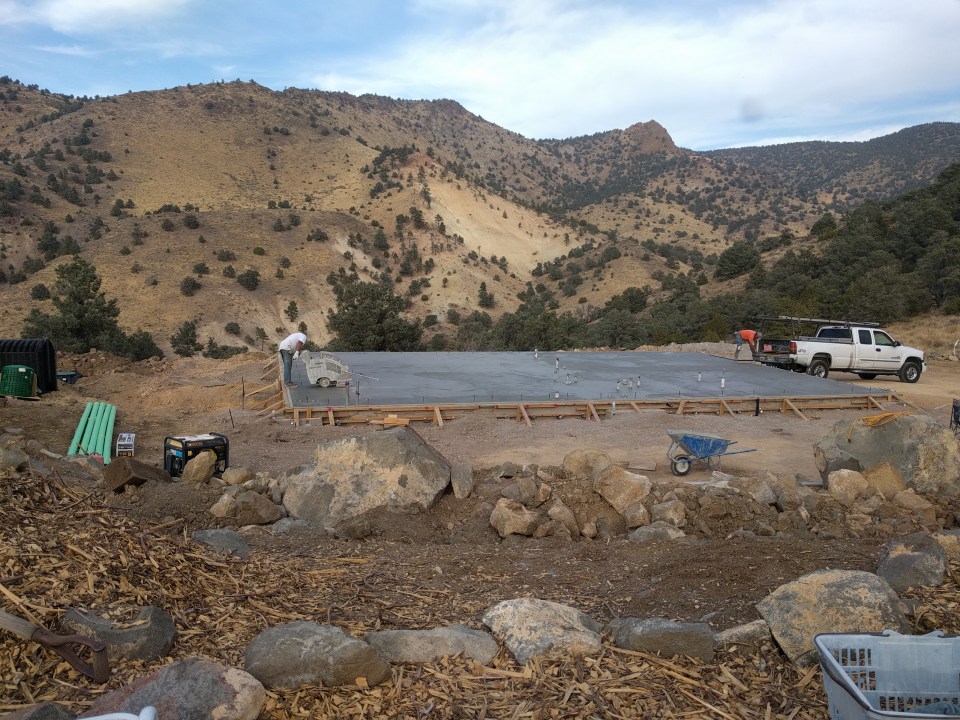
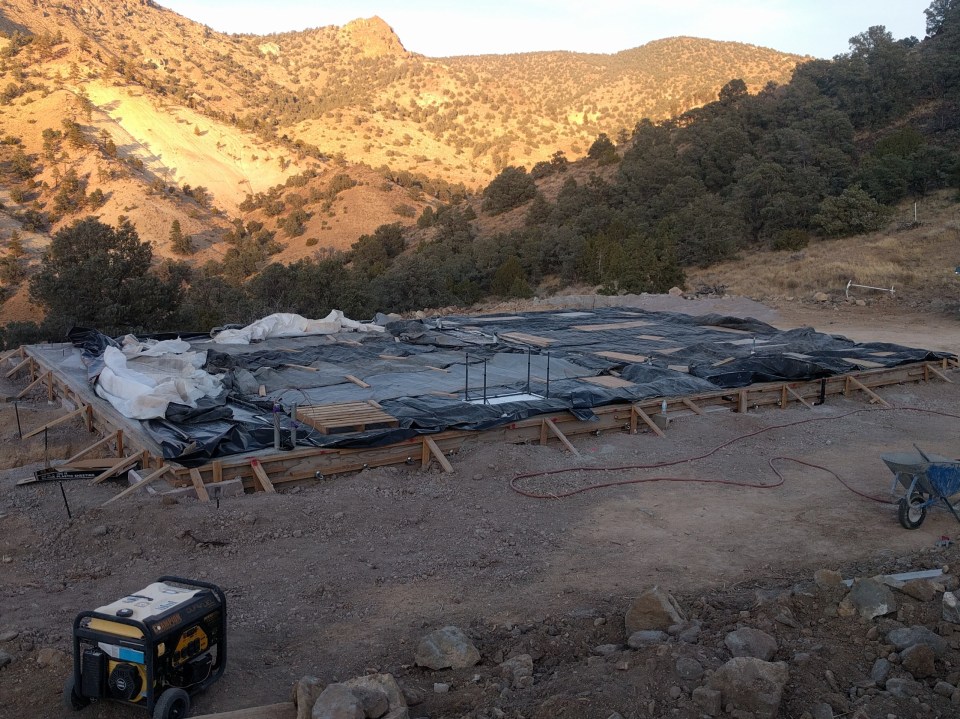
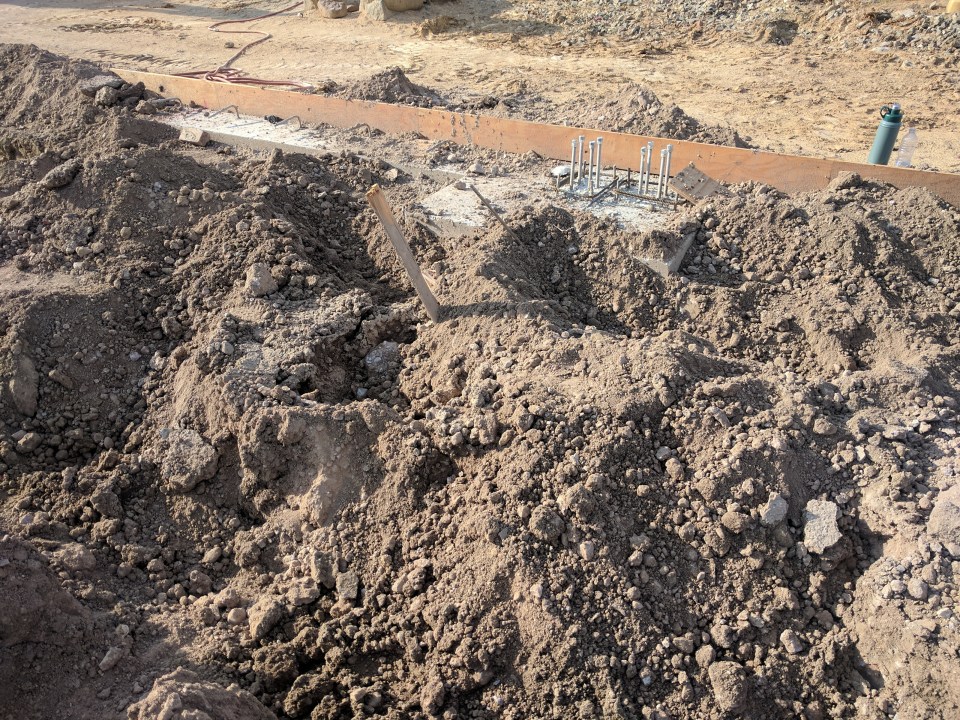
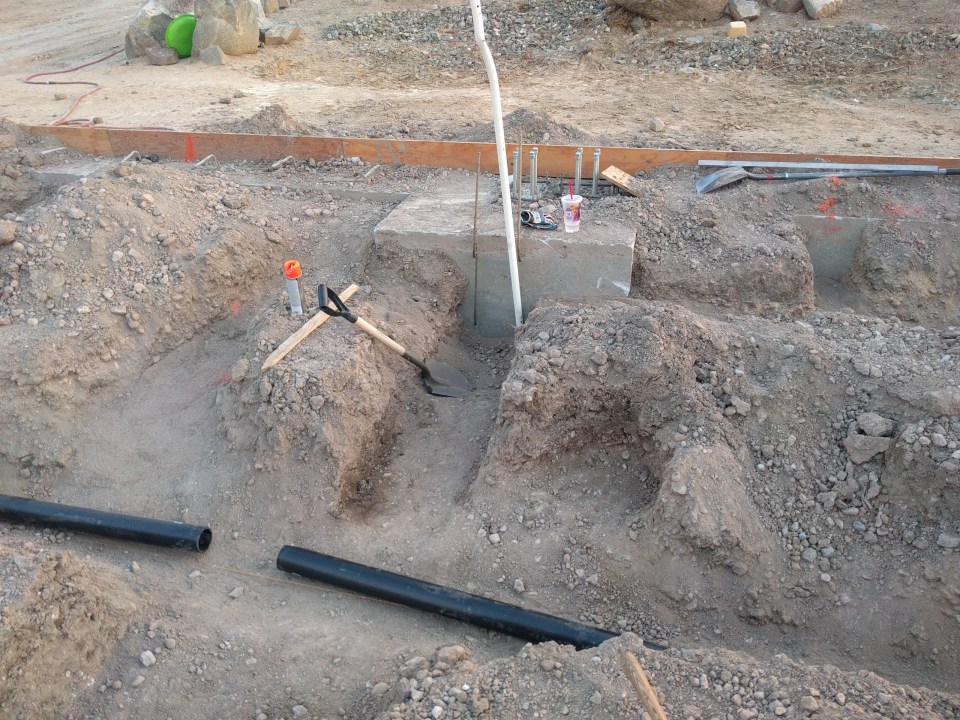
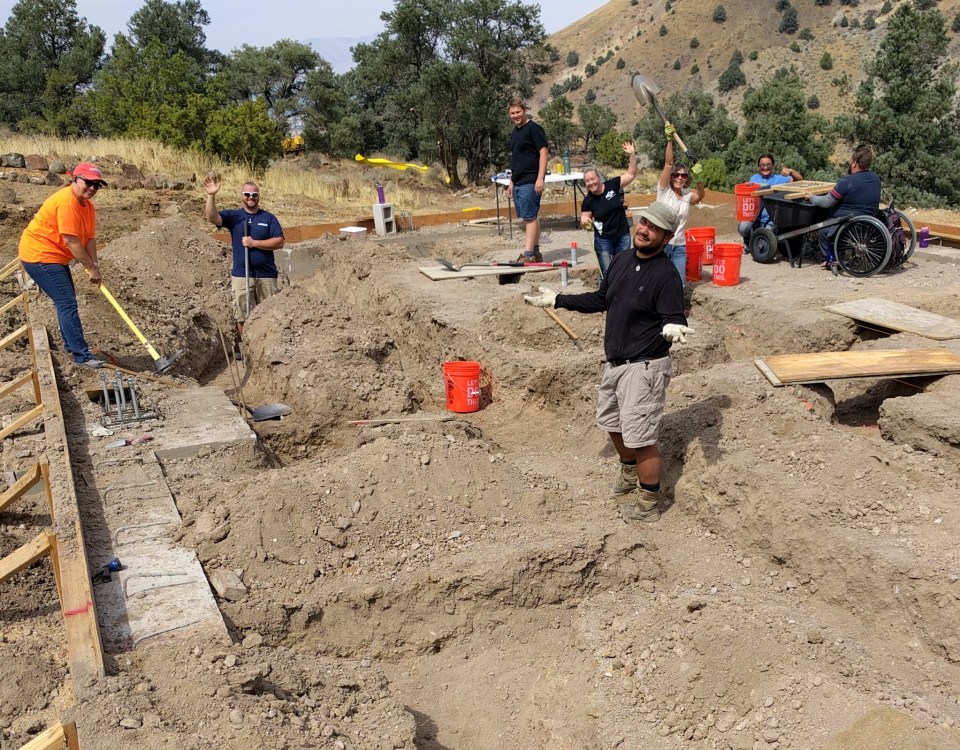
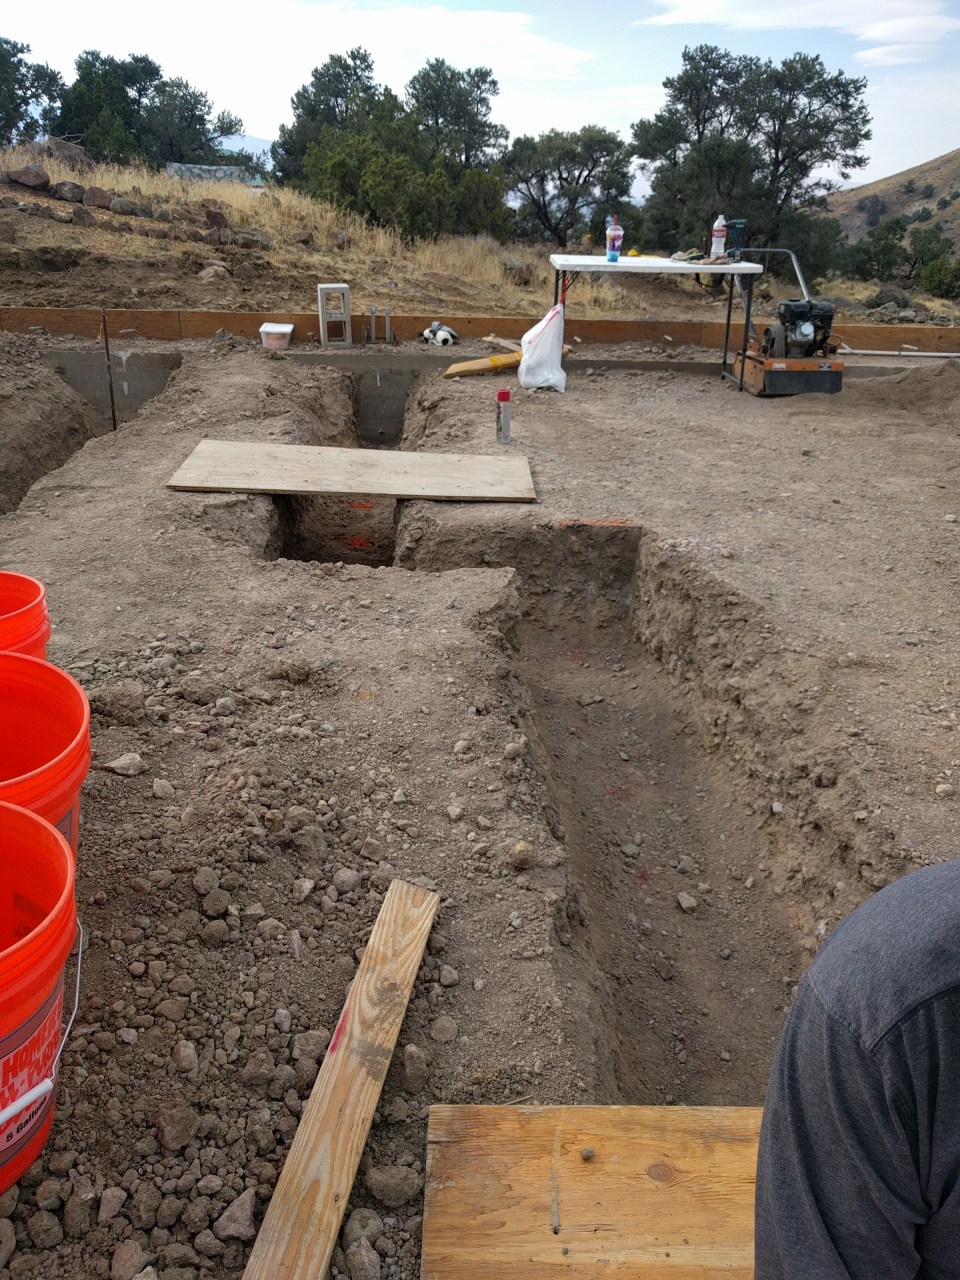
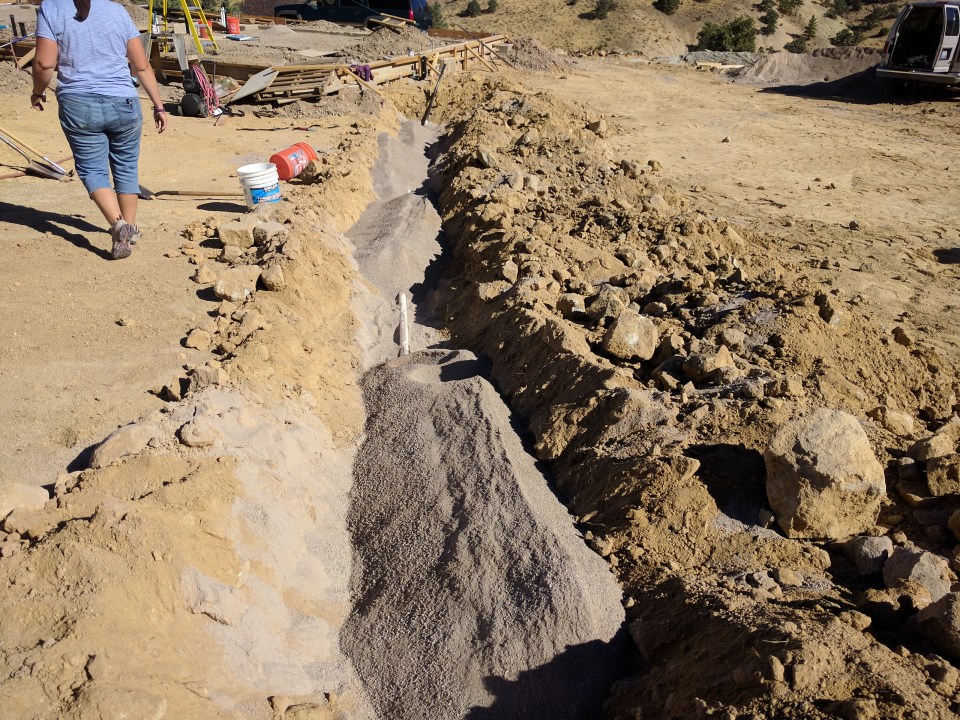
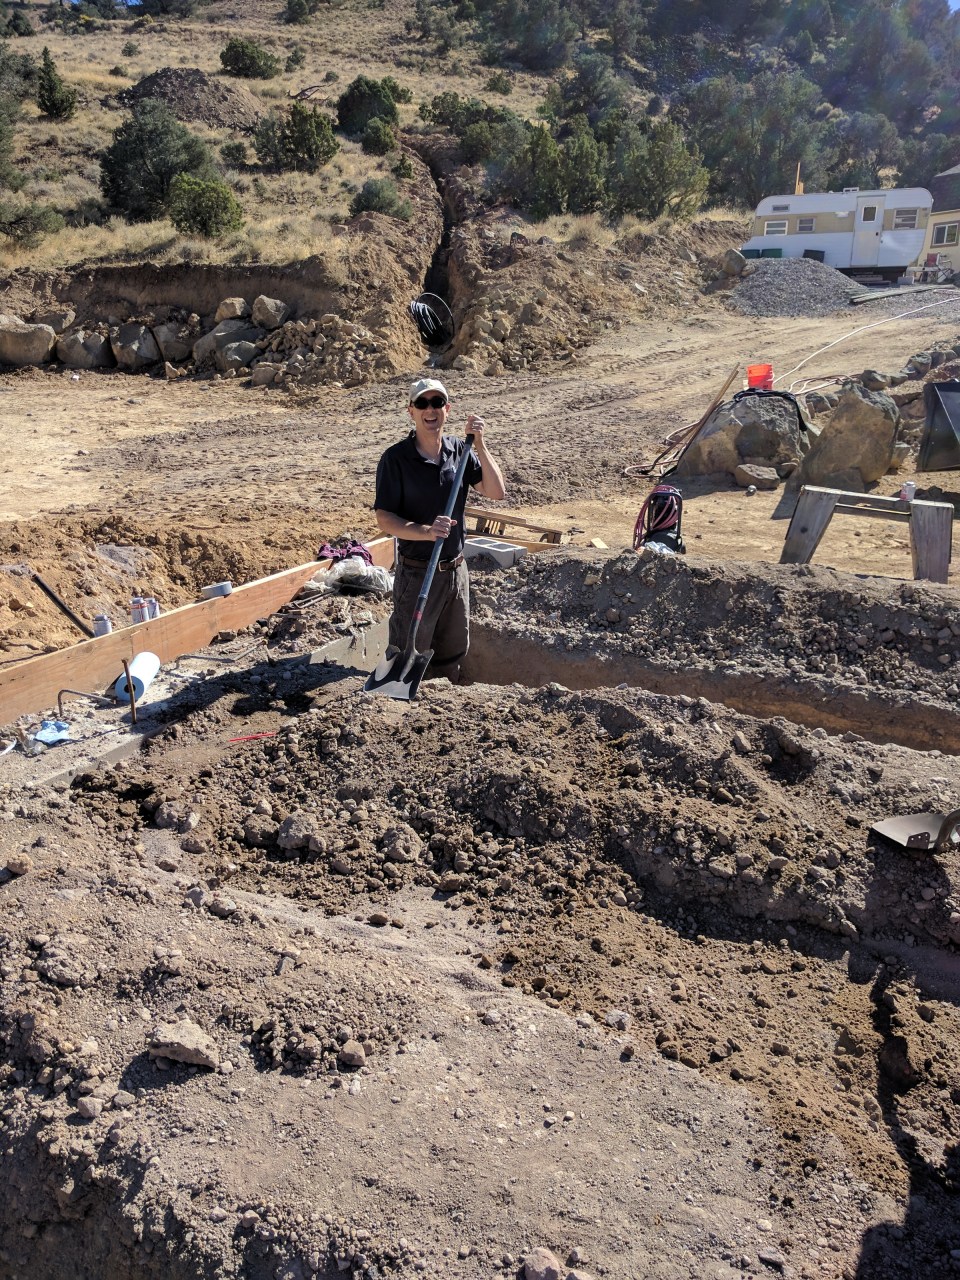
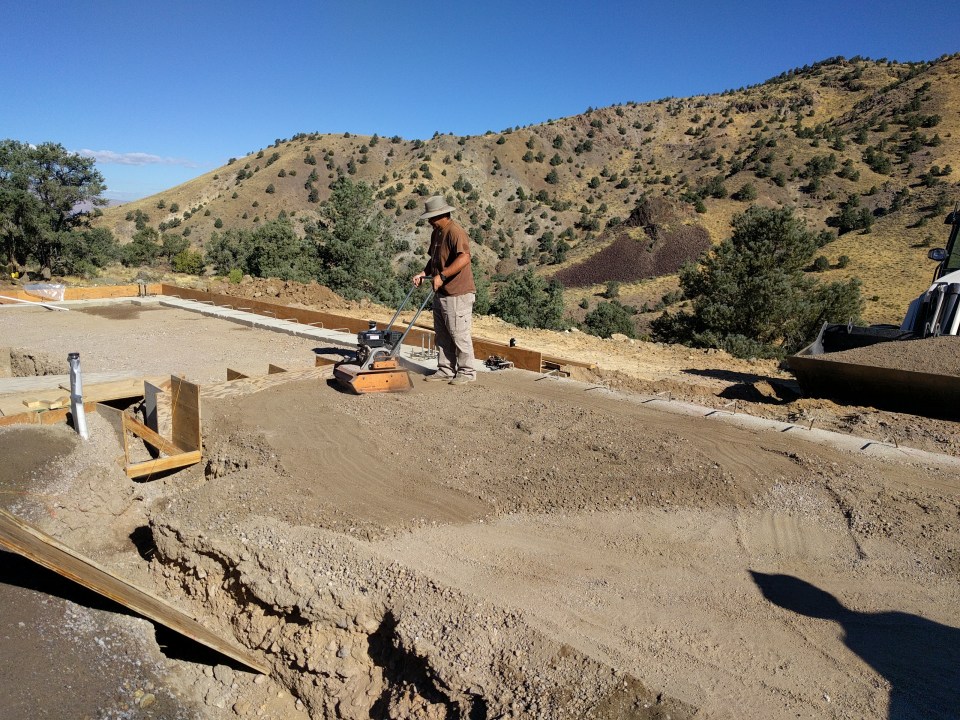
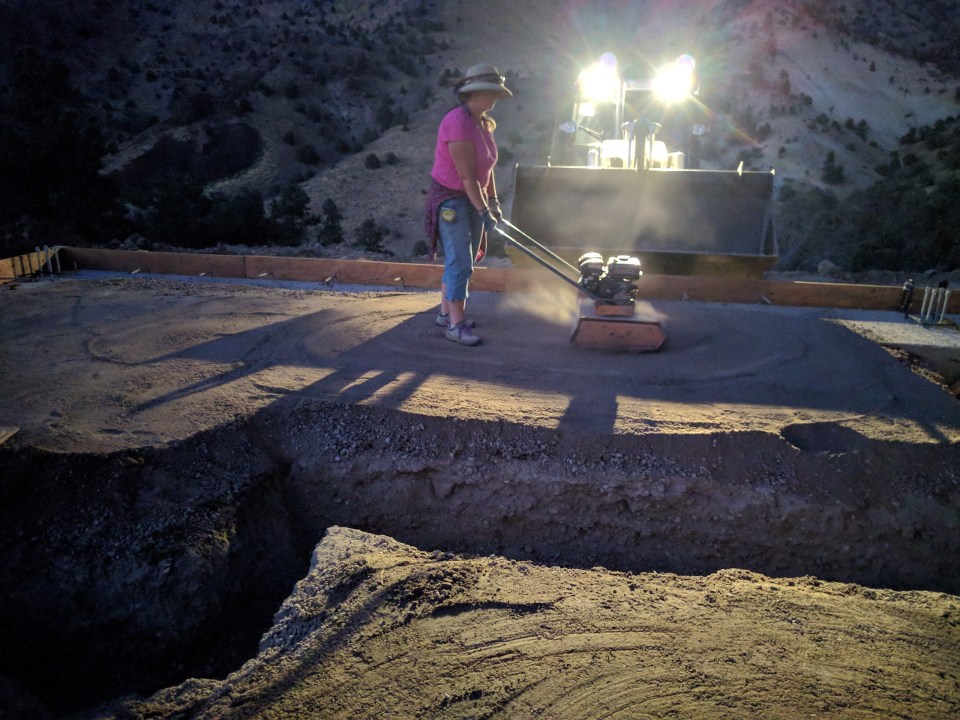
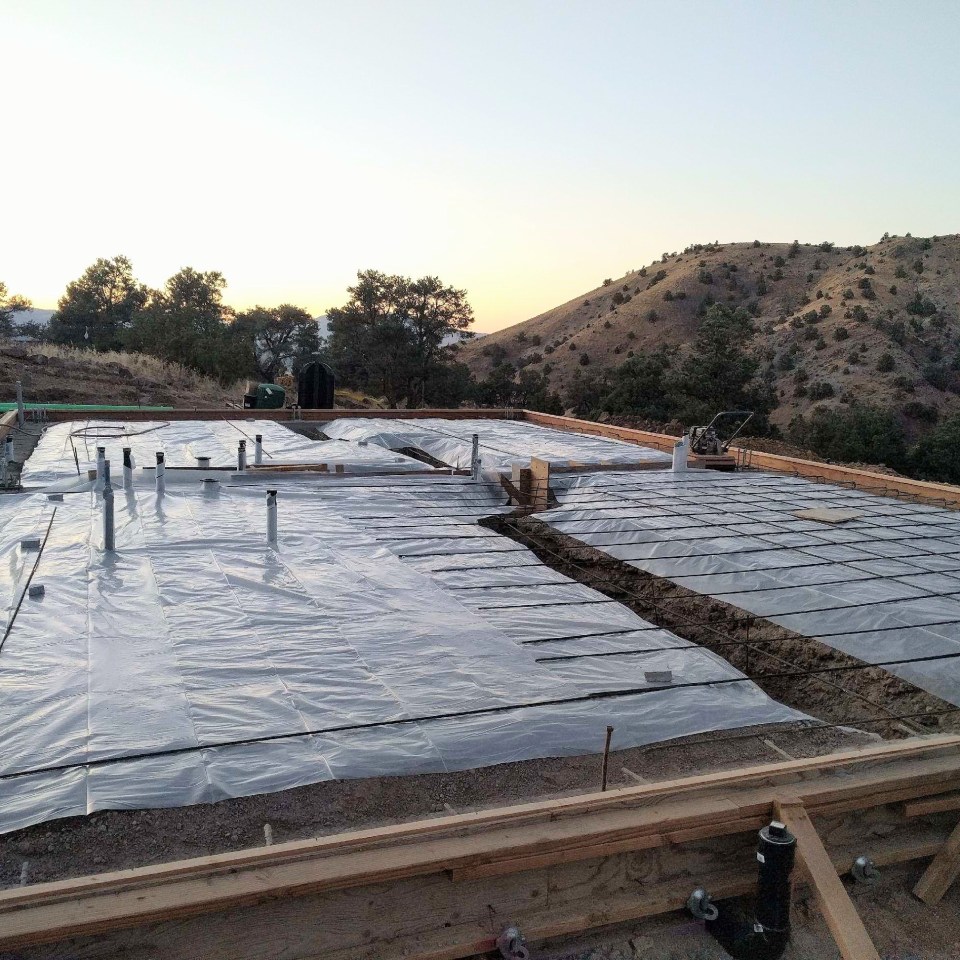
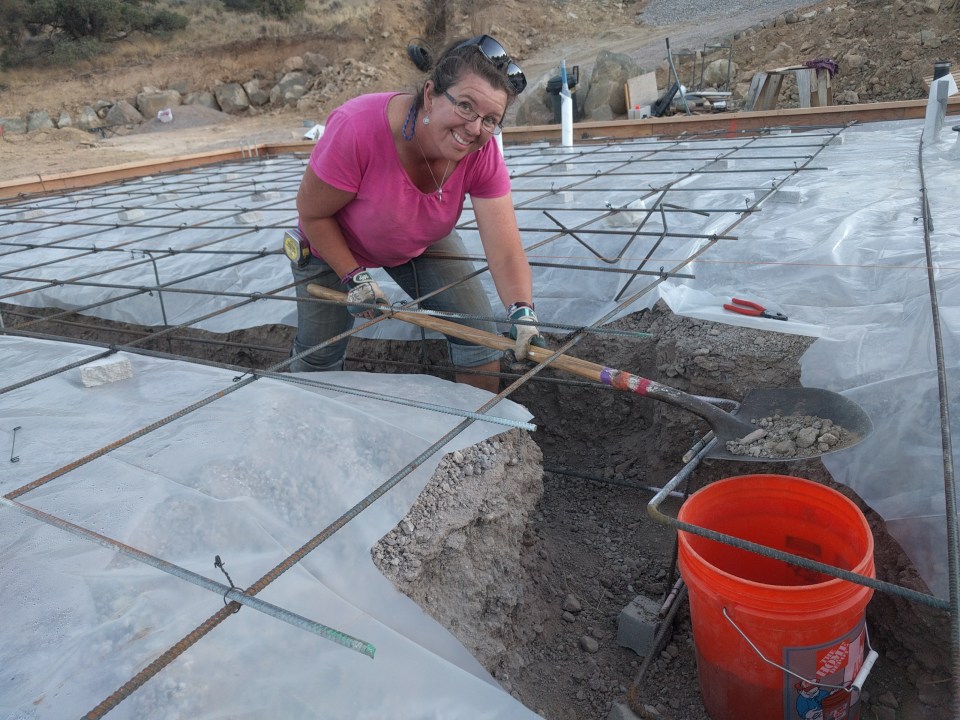
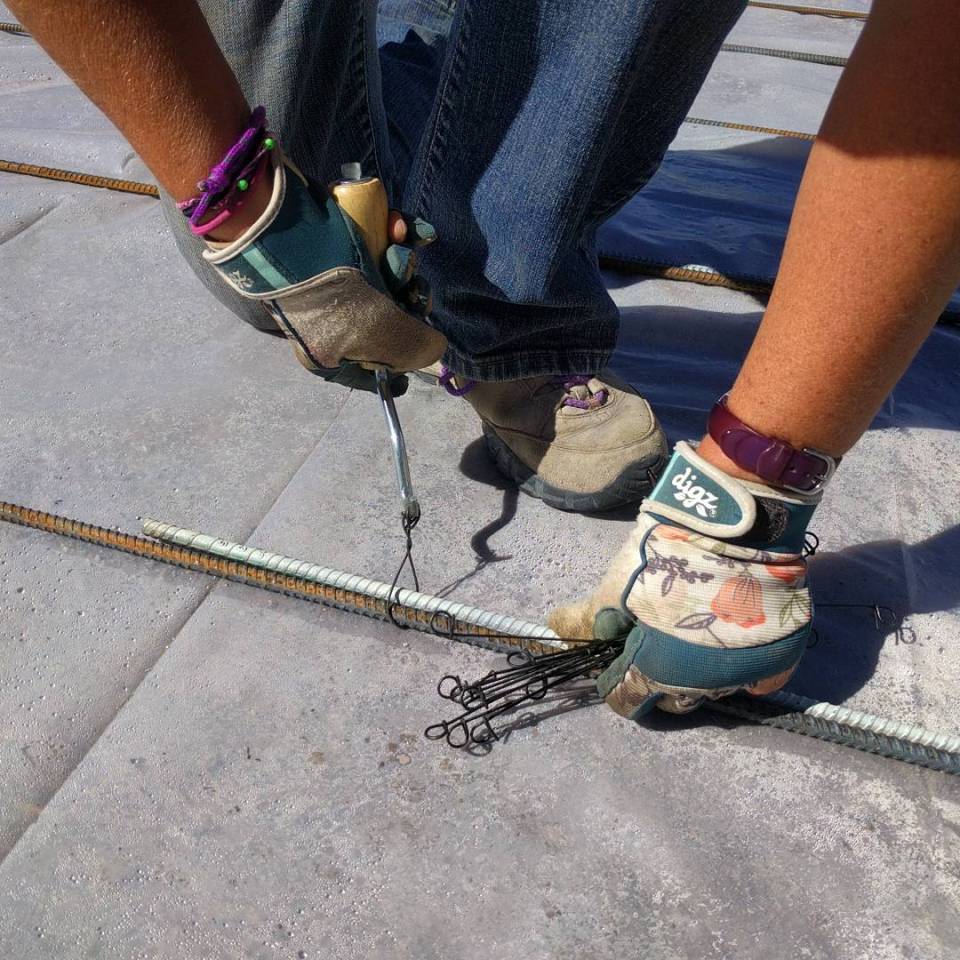
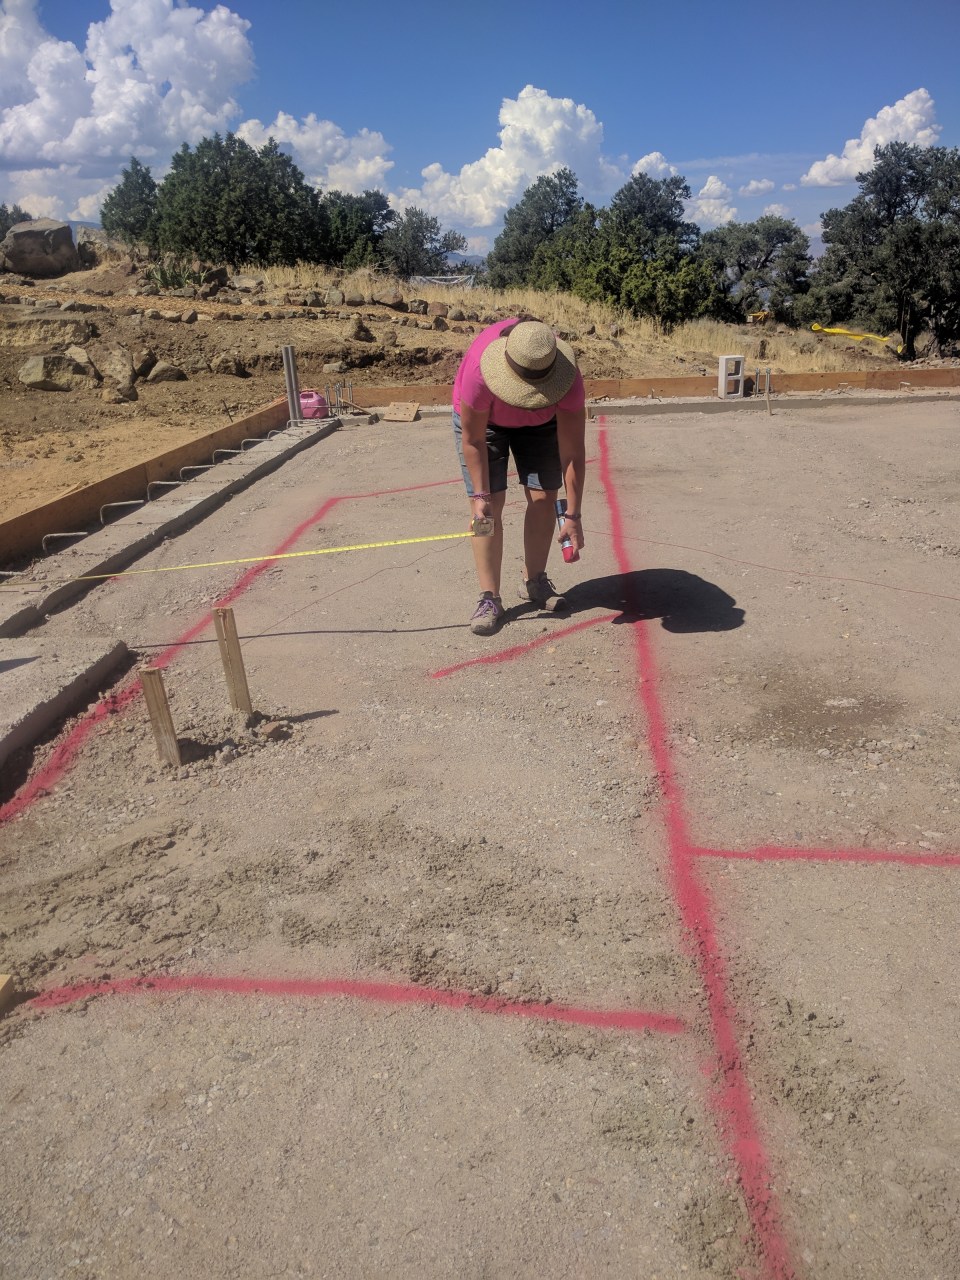
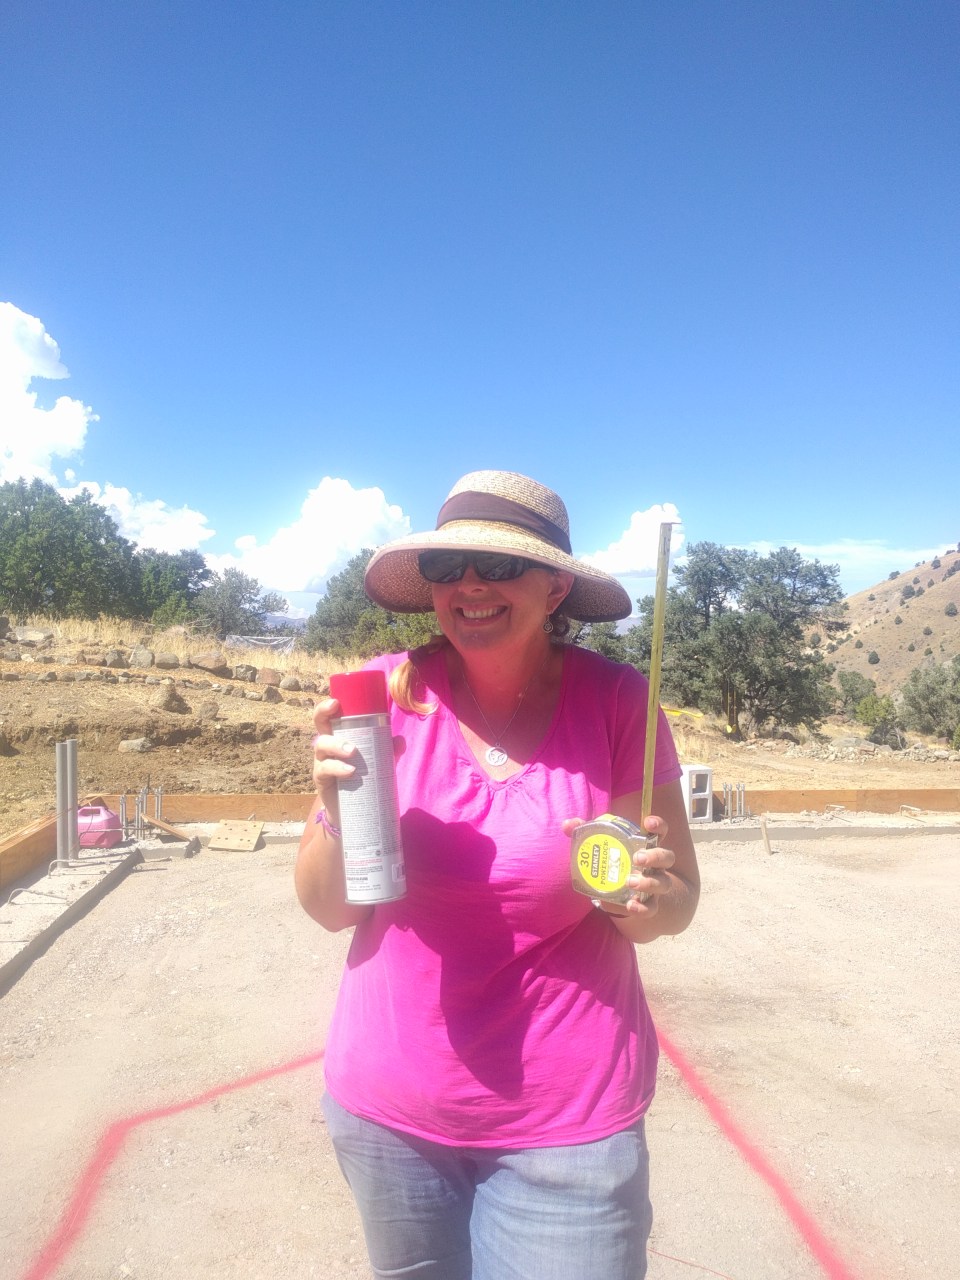
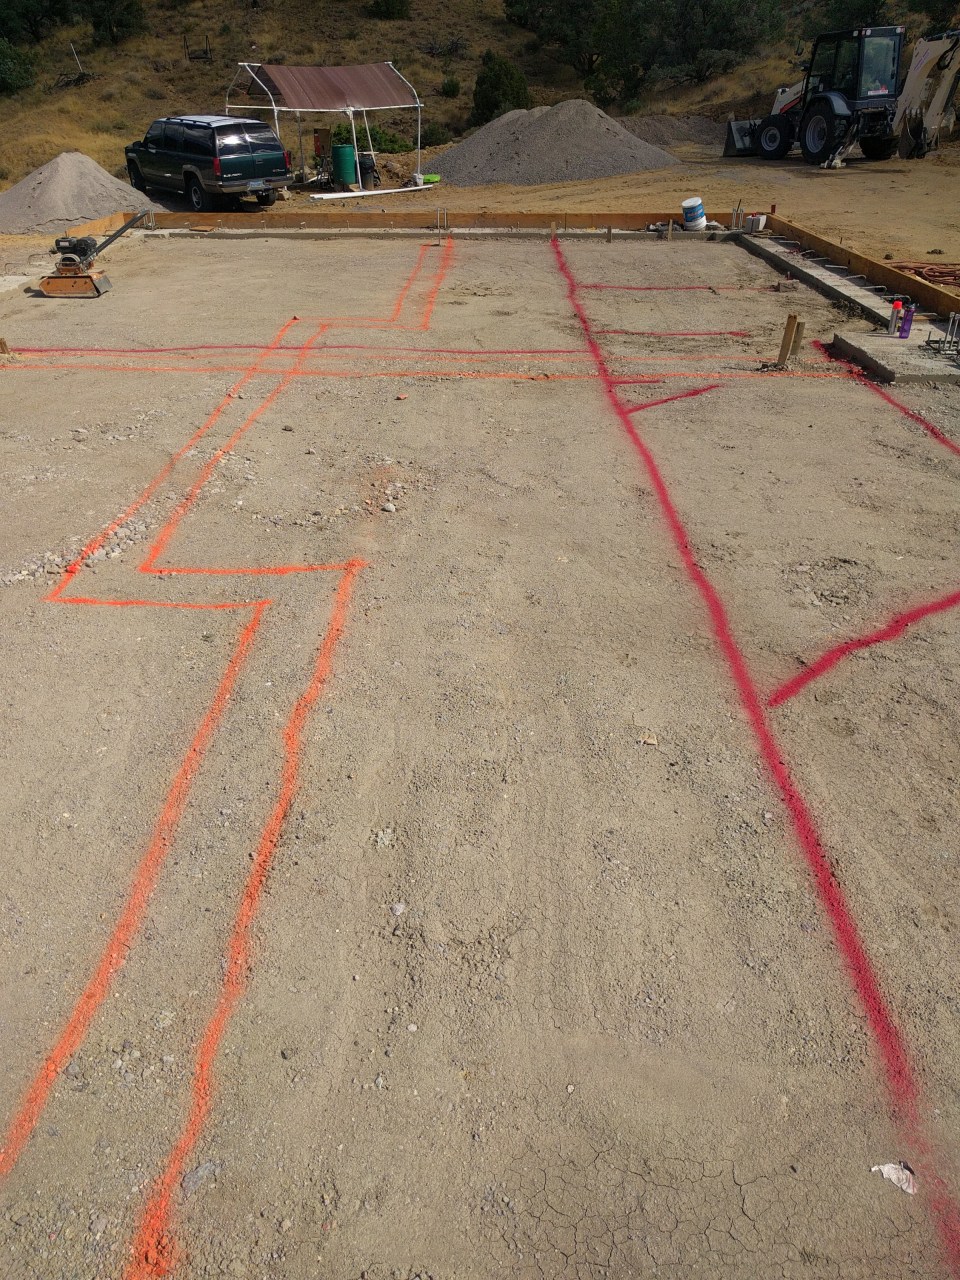
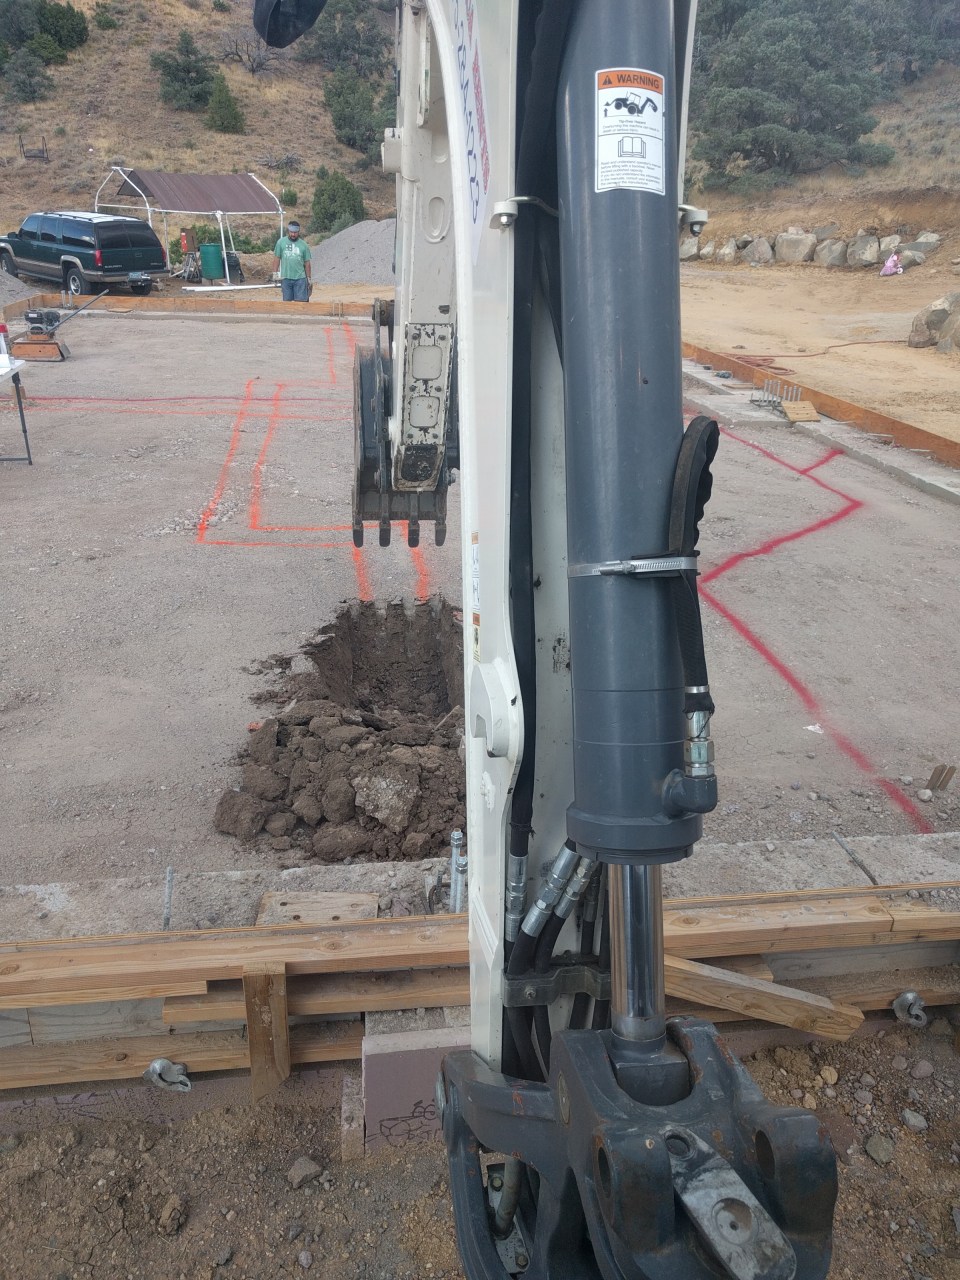
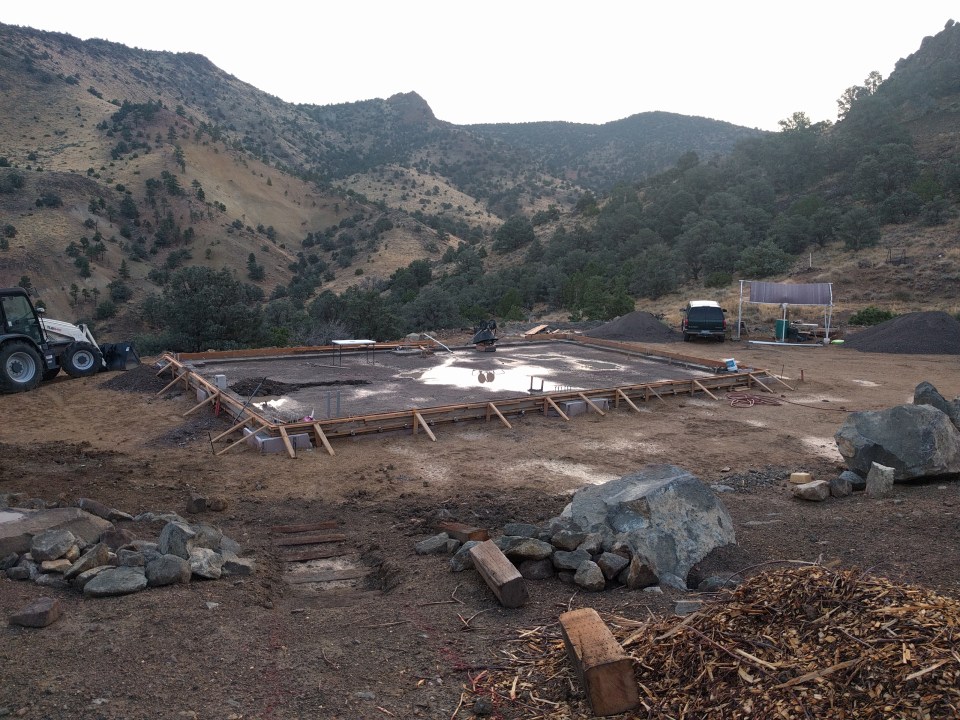
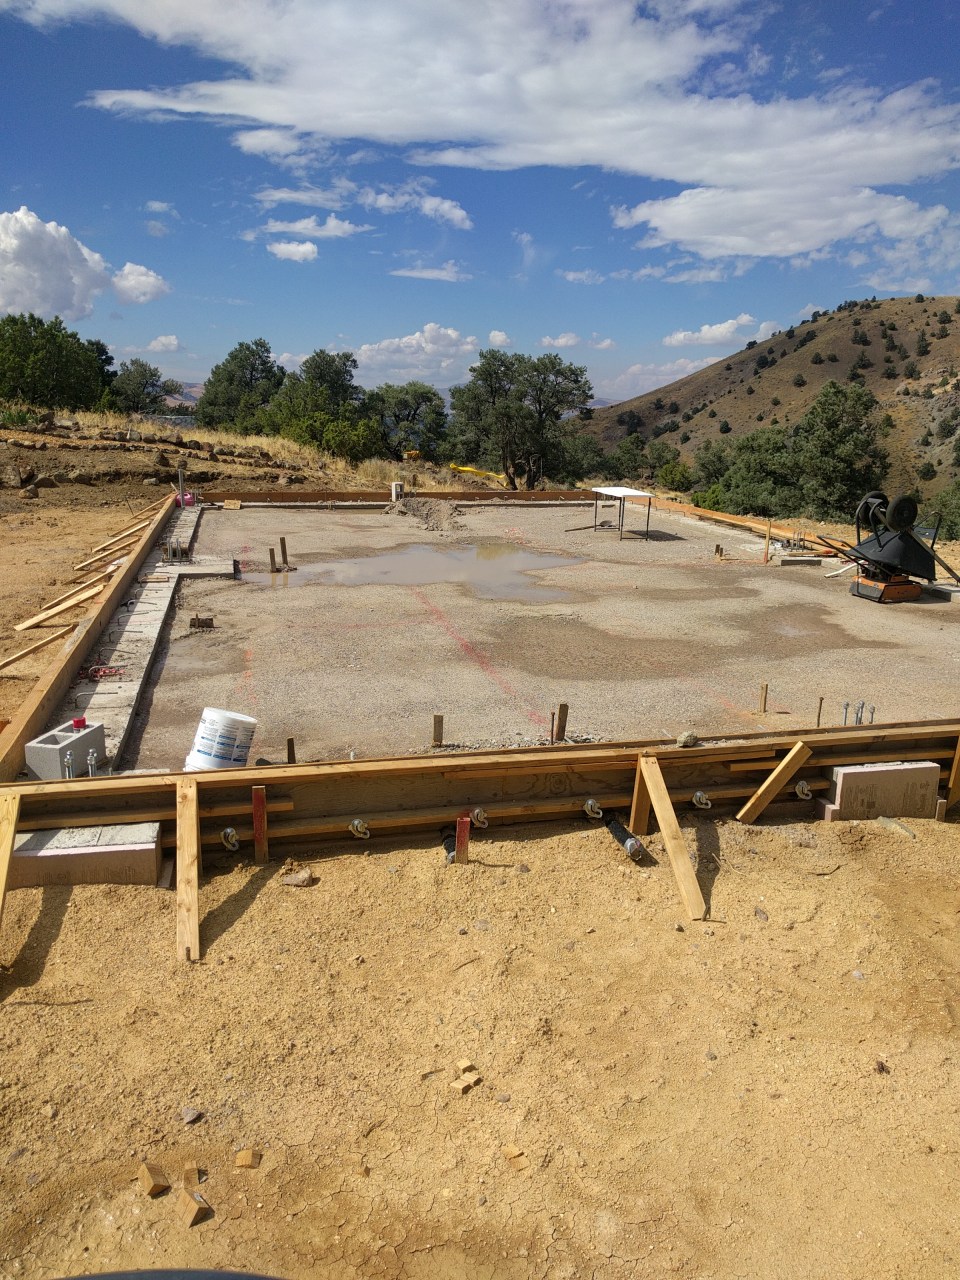
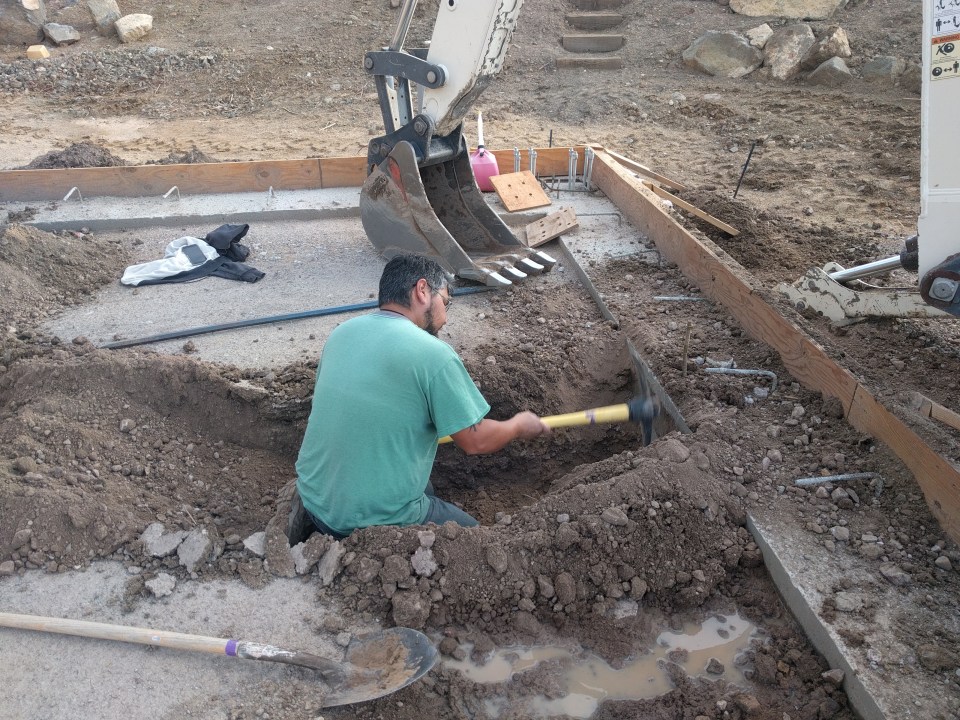
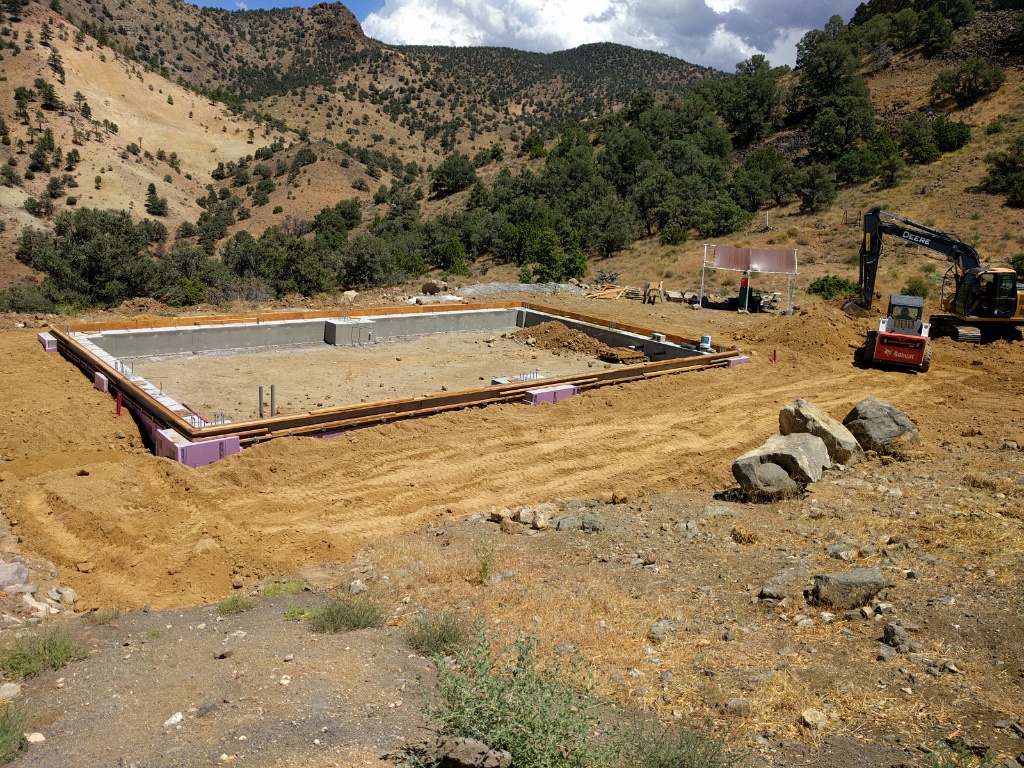
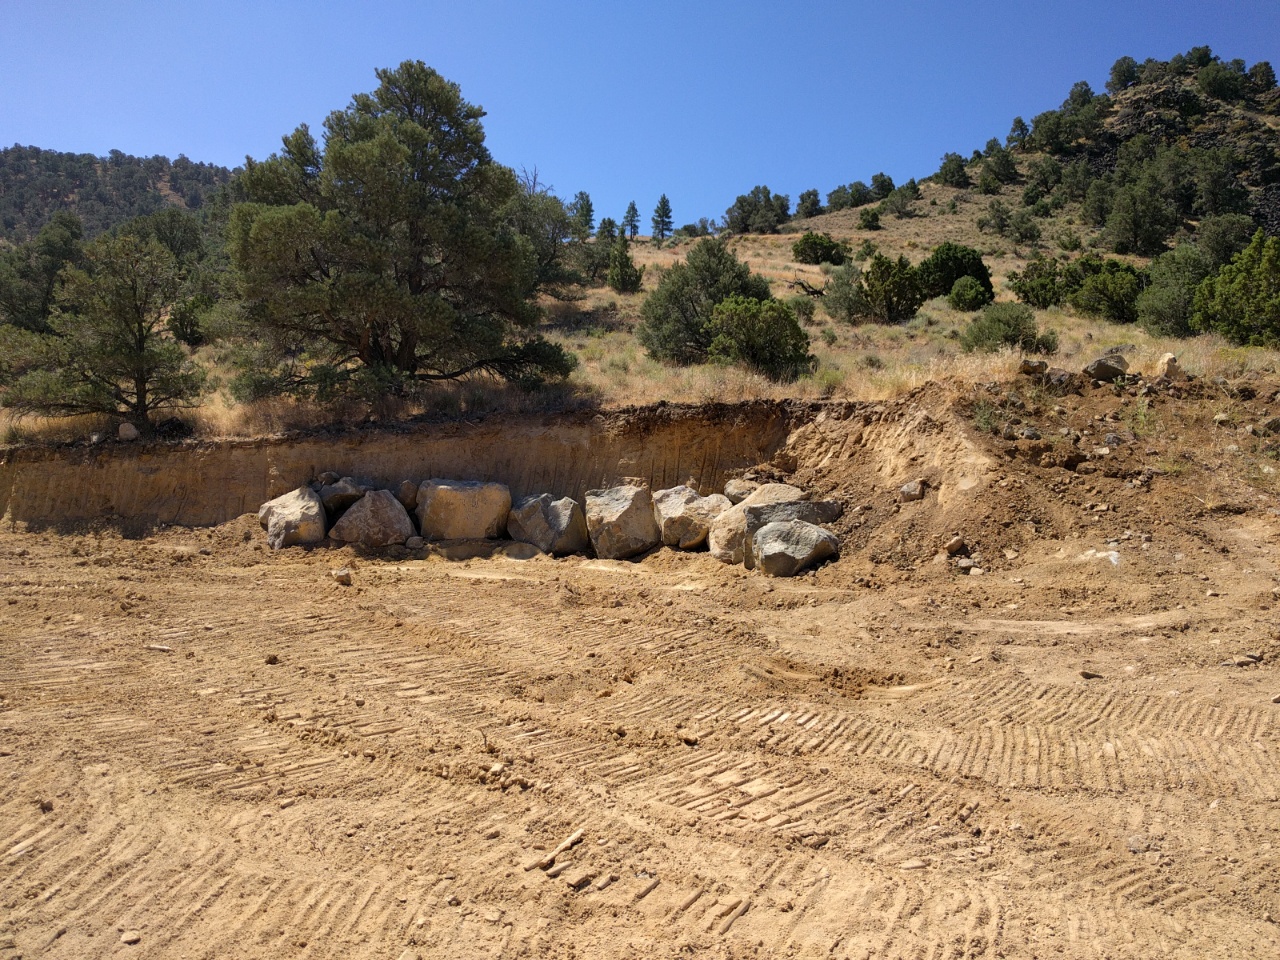
But things keep delaying us. Last week it was that we couldn’t find any delivery drivers to bring in backfill for us. This week, we got the dirt to put into the inside of the footers, only to be stopped by the weather (can’t do anything on the house pad when there’s 3 inches of mud).

So we take it as a sign that we need to work on other things.

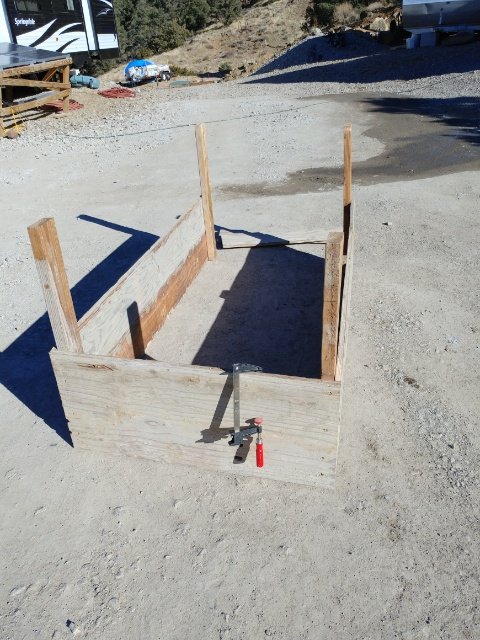
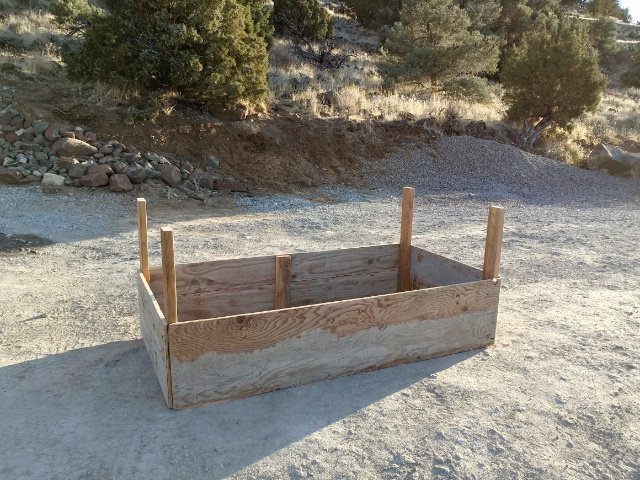
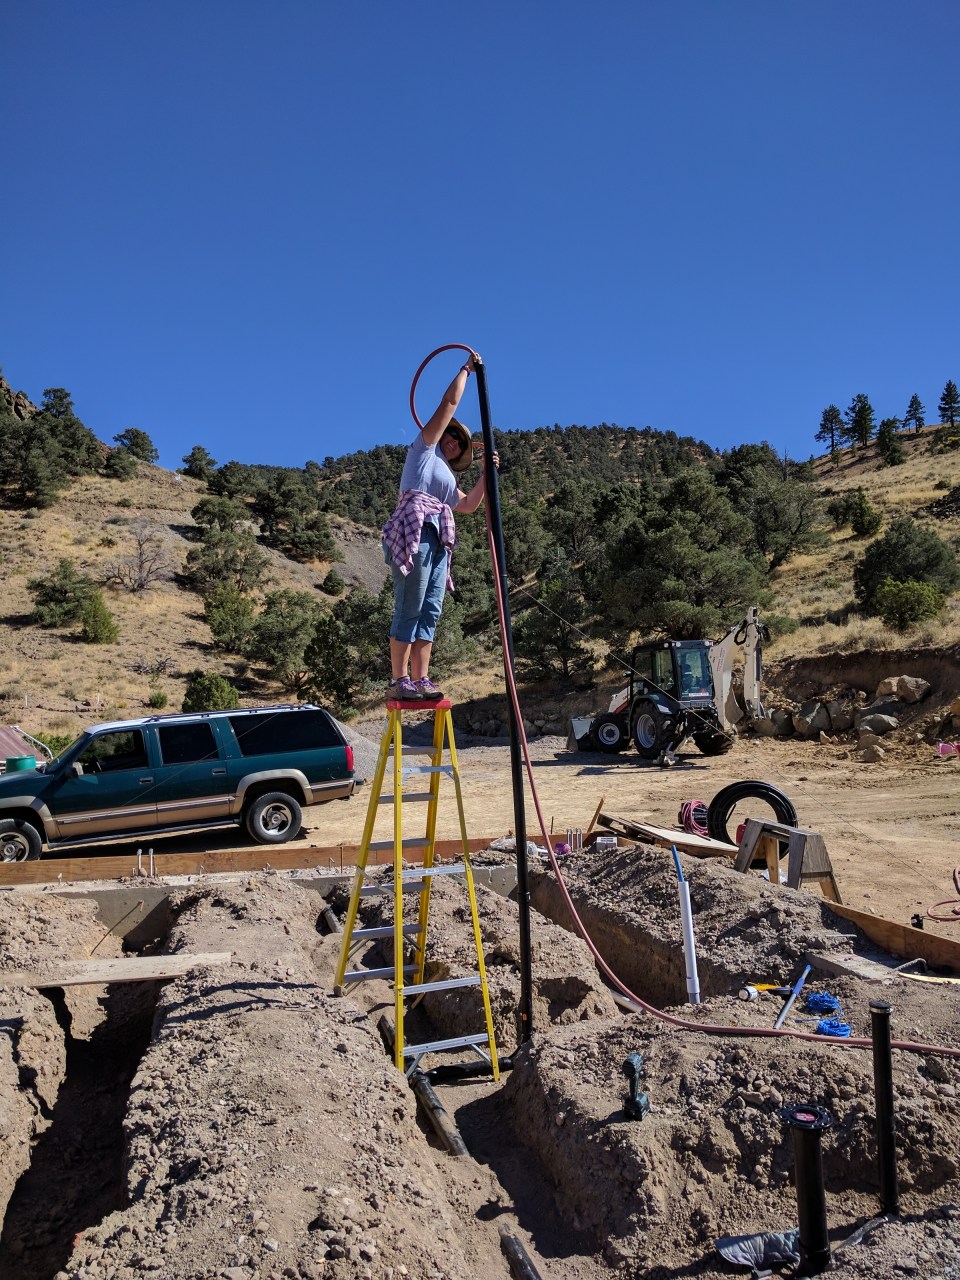
Hubs and I have been working fairly steadily getting our well shed finished off this past week.

Pajii graciously plunked down the money to get a shed for us so that we can put a water system in there so we can have water on site for the winter.

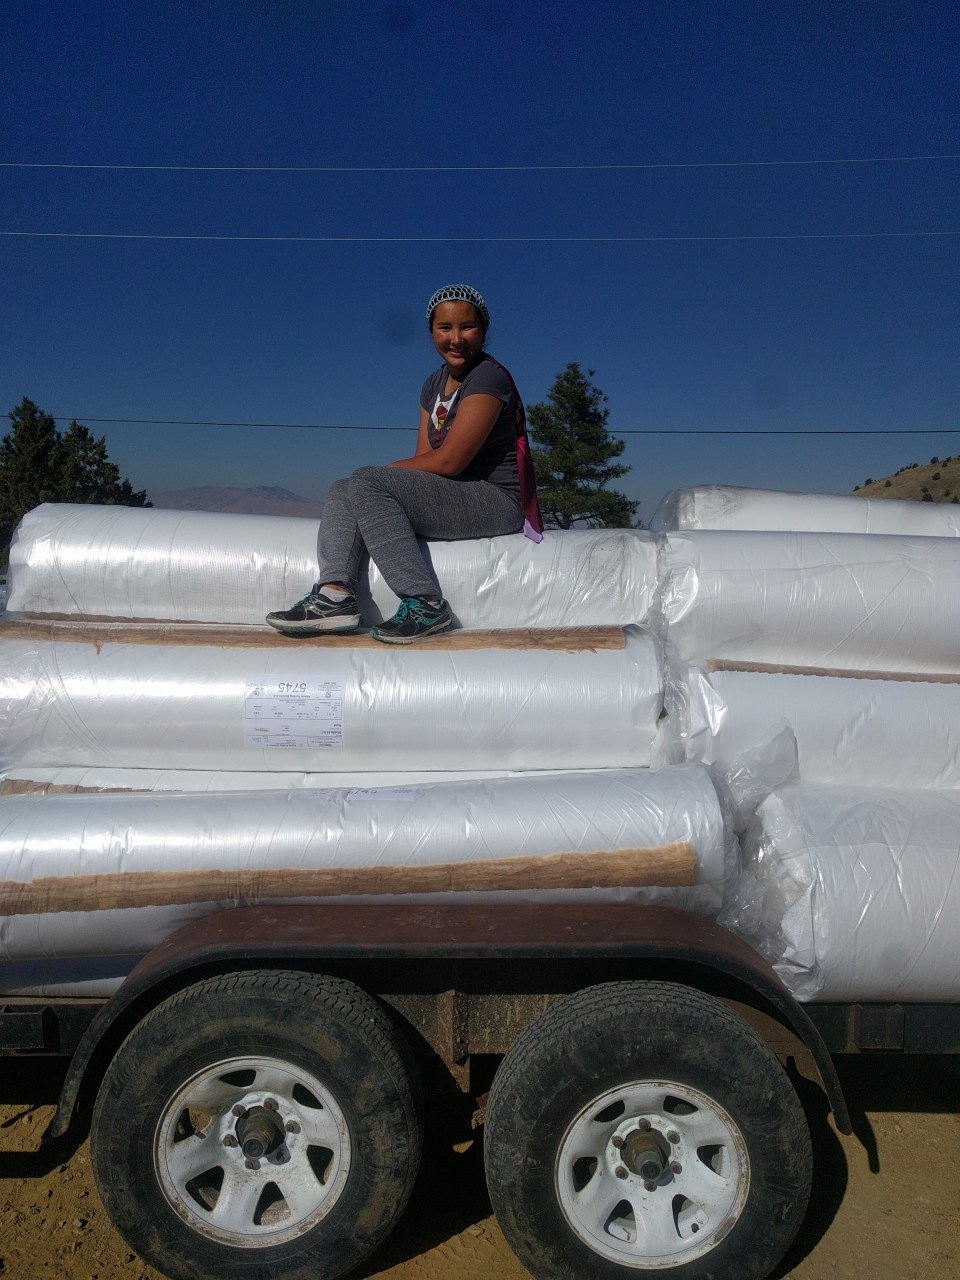
We had it made with 2×6 walls so we could put thicker insulation in it (R-19). We also had them beef up the floor since we are going to put heavy totes of water in there.

Then Hubs and I added windows (we could put them in for cheaper than having the shed company put them in), a loft, wiring, insulation, and we are working on the wall panels and trim now.

It might seem like a departure from our true goal of building our house, but we see it as necessary for several reasons.

The first is that it’s become glaringly obvious that we’re going to be spending another winter in the trailers. Last winter, the water situation was rough. We only had as much water on hand as could be stored in jugs inside the trailers. Anything that was stored outside in barrels or totes was almost always a solid block of ice. By insulating the shed and putting a heating source in there, we can store totes of water in there and keep them from freezing. It also gives us a chance to go ahead and get our water filtration system up and running so we can actually drink our well water. The shed will also give us a place to put a washing machine on the homestead which we haven’t had since last summer (been hauling laundry to the laundromat).

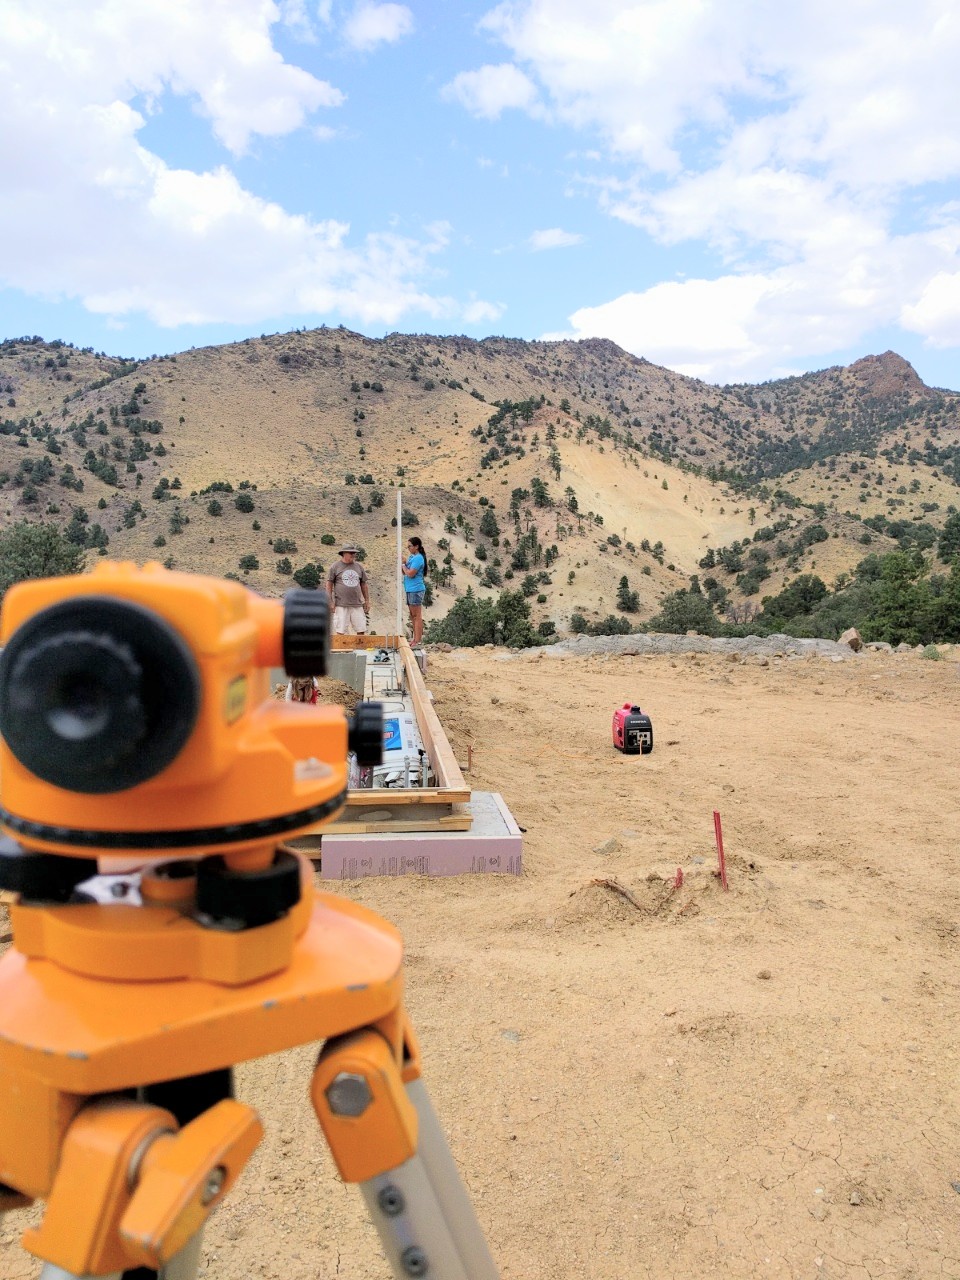
The second reason why we are pushing to get the well shed finished is because, well, we can’t do anything on the house right now anyway.

And thirdly, it’s giving us, especially my hubby who’s never built a house before, some crucial experience that will be extremely useful when we do finally get around to building the house.

So we work on the shed. And the “end” is in site. I’d say by the end of this week we should be pretty much finished.

And then, Lord willing, we start back up on the house again.

For now, here’s pics of our progress with finishing out the shed.

Putting up the 2×6 boards as floor joists for the loft.

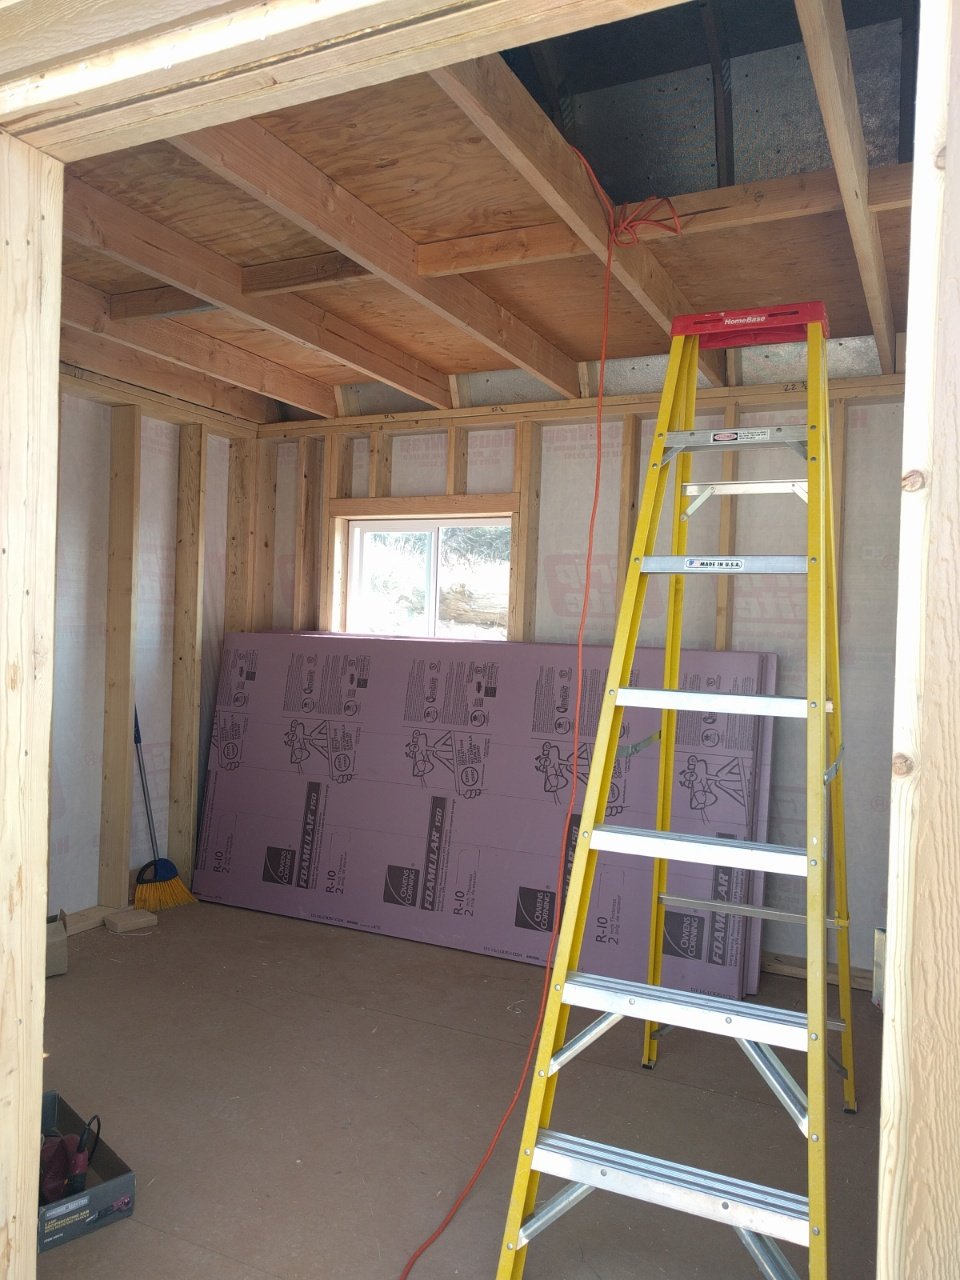
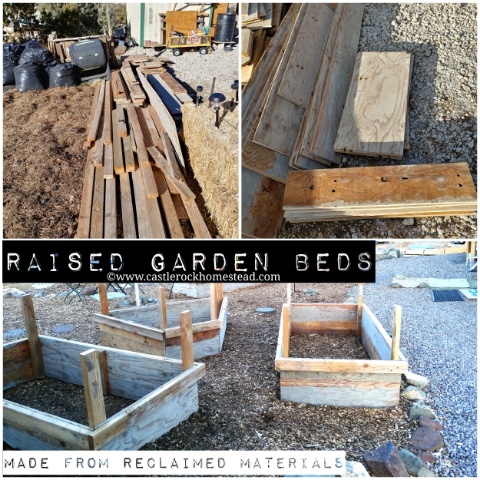
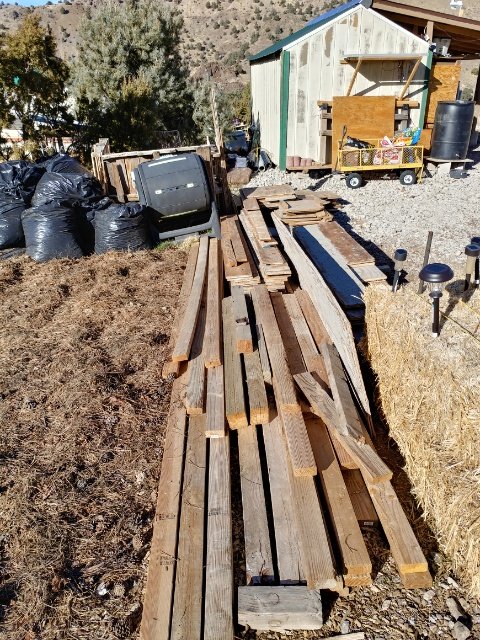
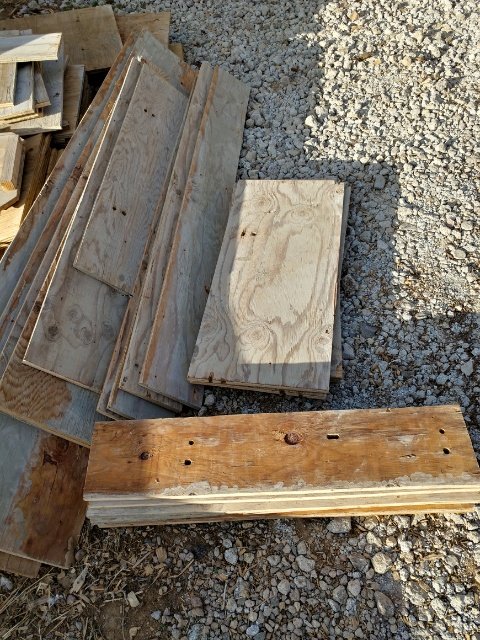
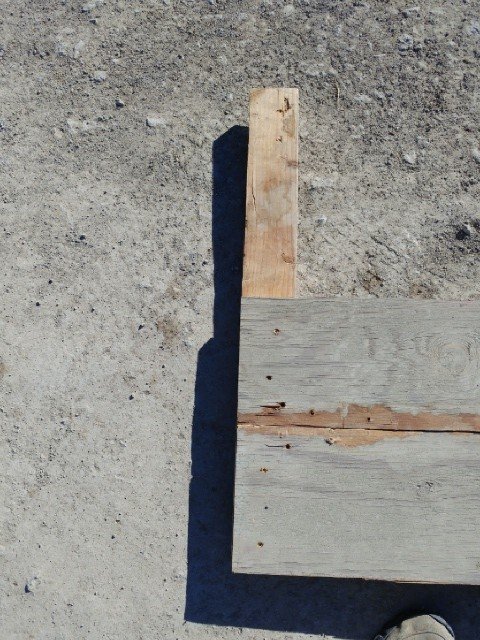
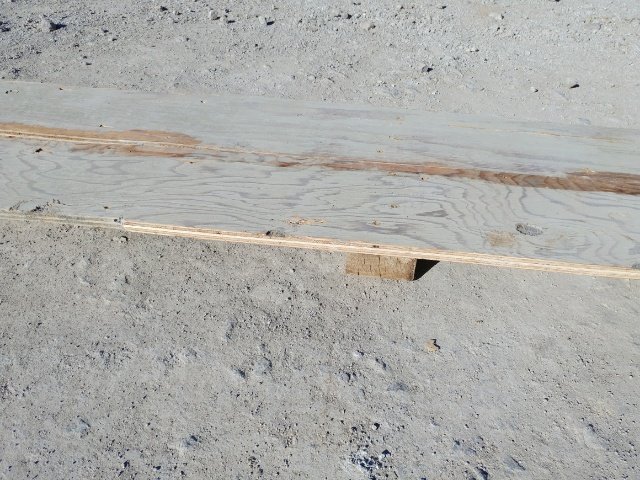
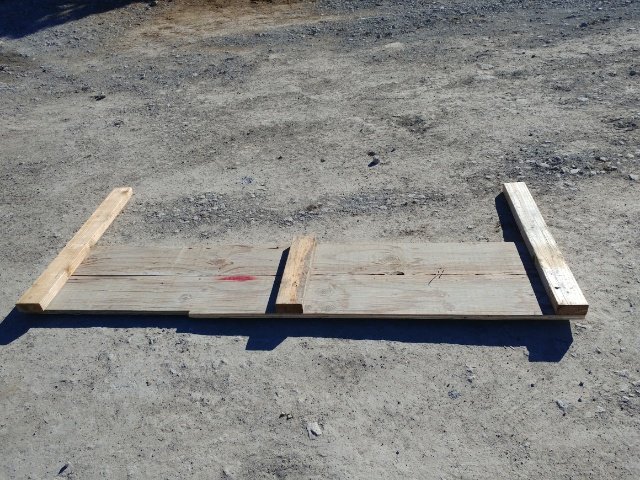
We sheeted the floor of the loft with some of the 3/4″ plywood we had left over from building our house footings forms.

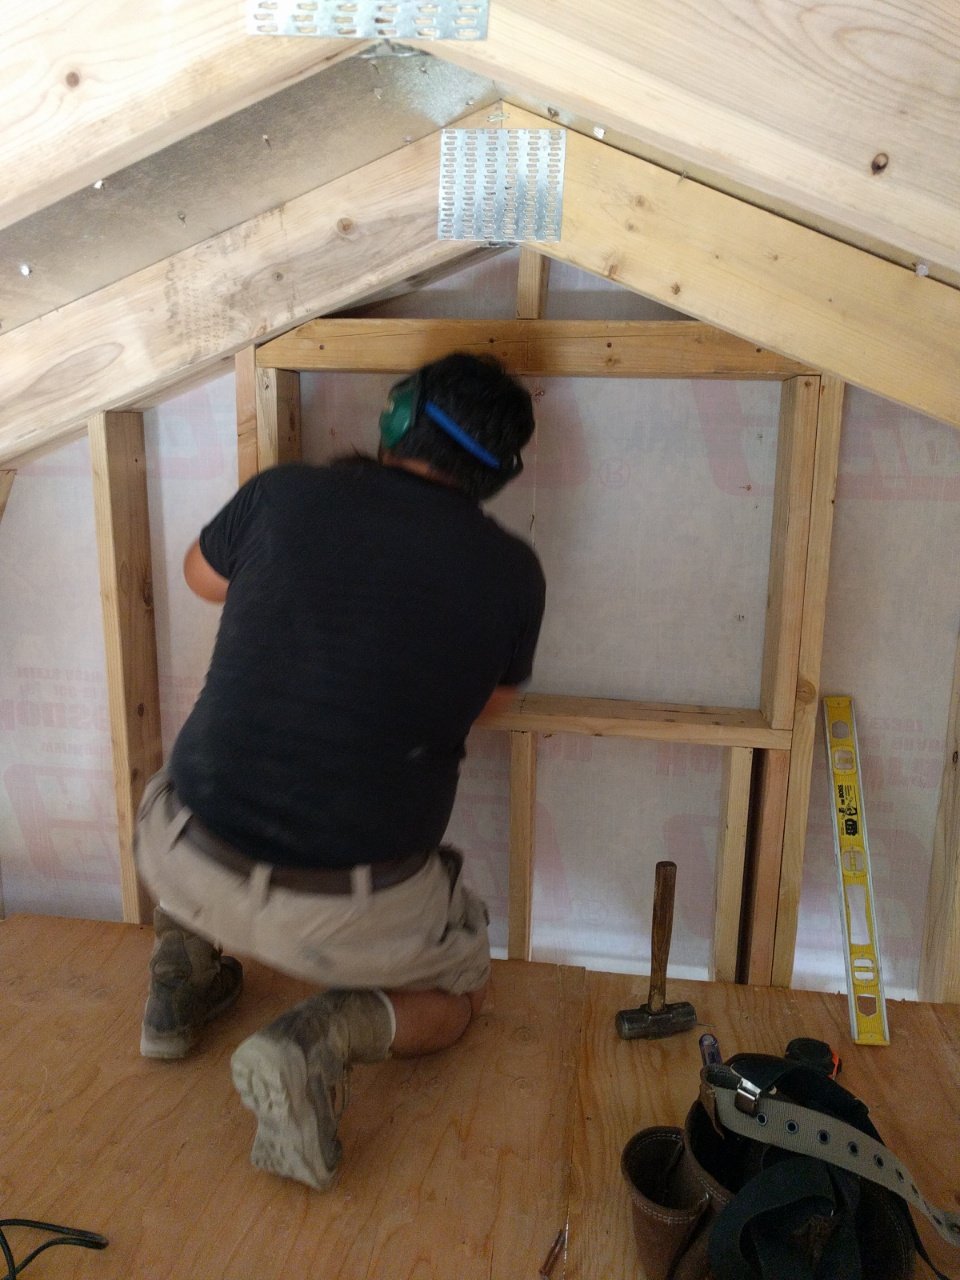
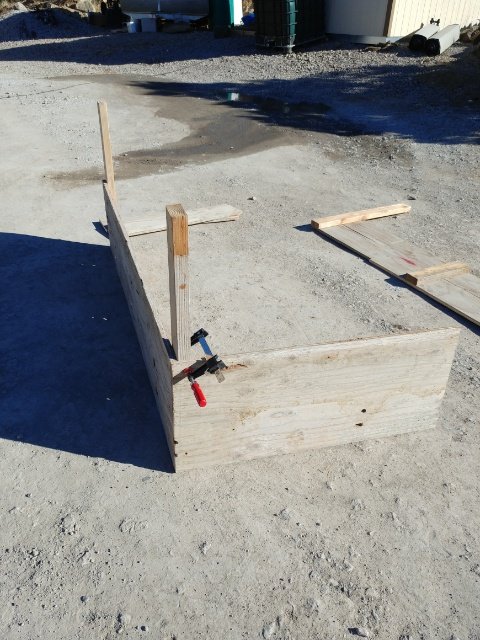
We framed out three new windows (two upstairs in the loft and one downstairs).

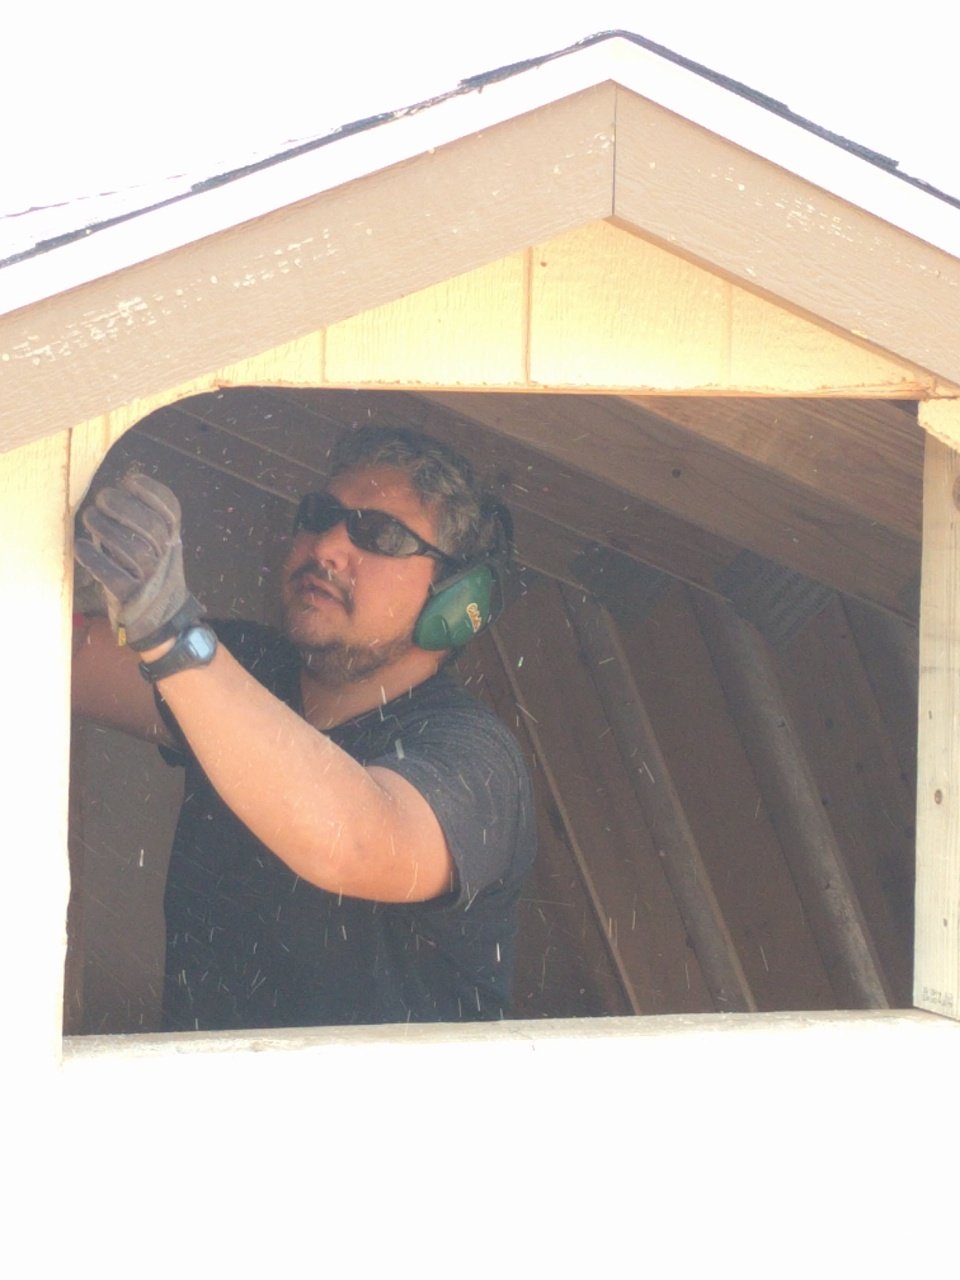
Hubs cutting out the hole for the south facing window in the loft.

Hanging out the tiny window like that makes it look like a child’s play house.

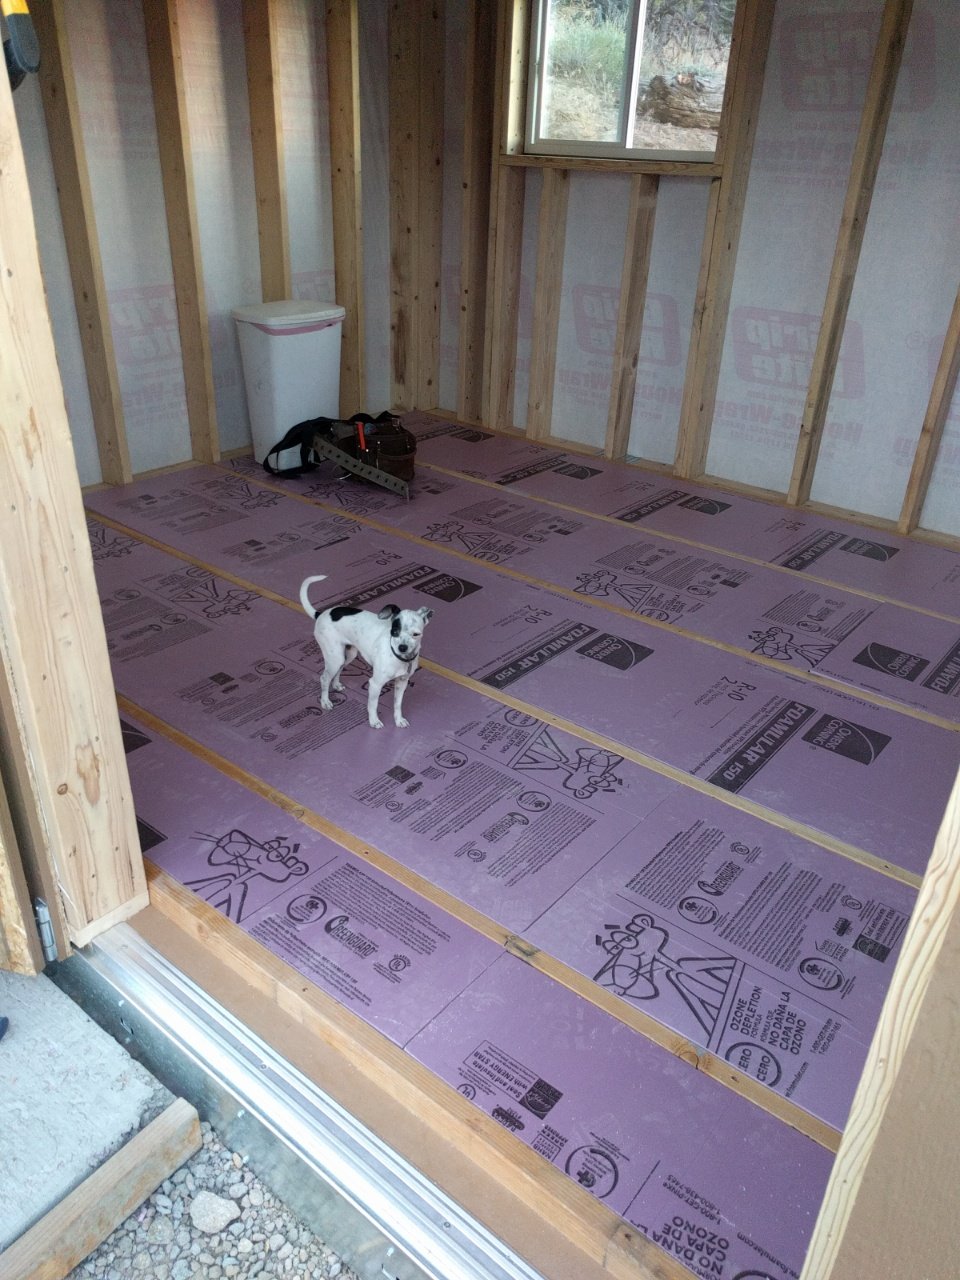
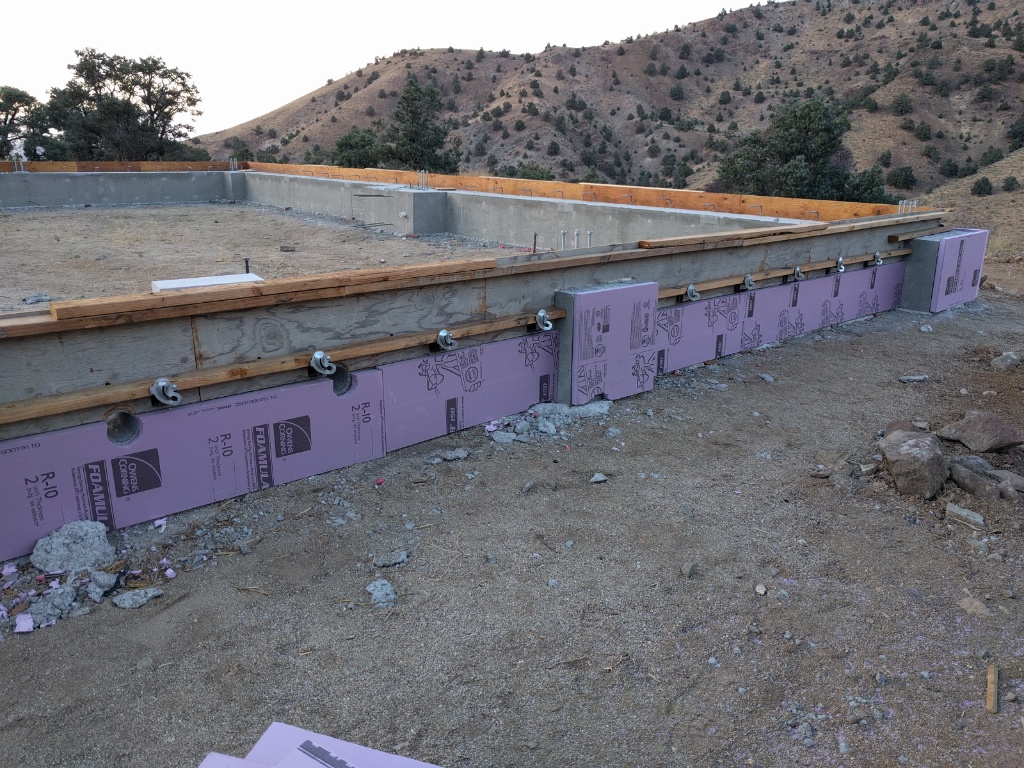
Once we had the floor in for the loft and the two windows put in up there for ventilation, we worked on insulating the downstairs floor. This 2″ thick rigid foam is the same stuff we put around the outside of our house footers. With the two sheets of 3/4″ plywood (one under and one over) it adds up to about R-12 on the floors. Not a lot of insulation, but it is better than having an uninsulated floor for sure.

Got the flooring down.

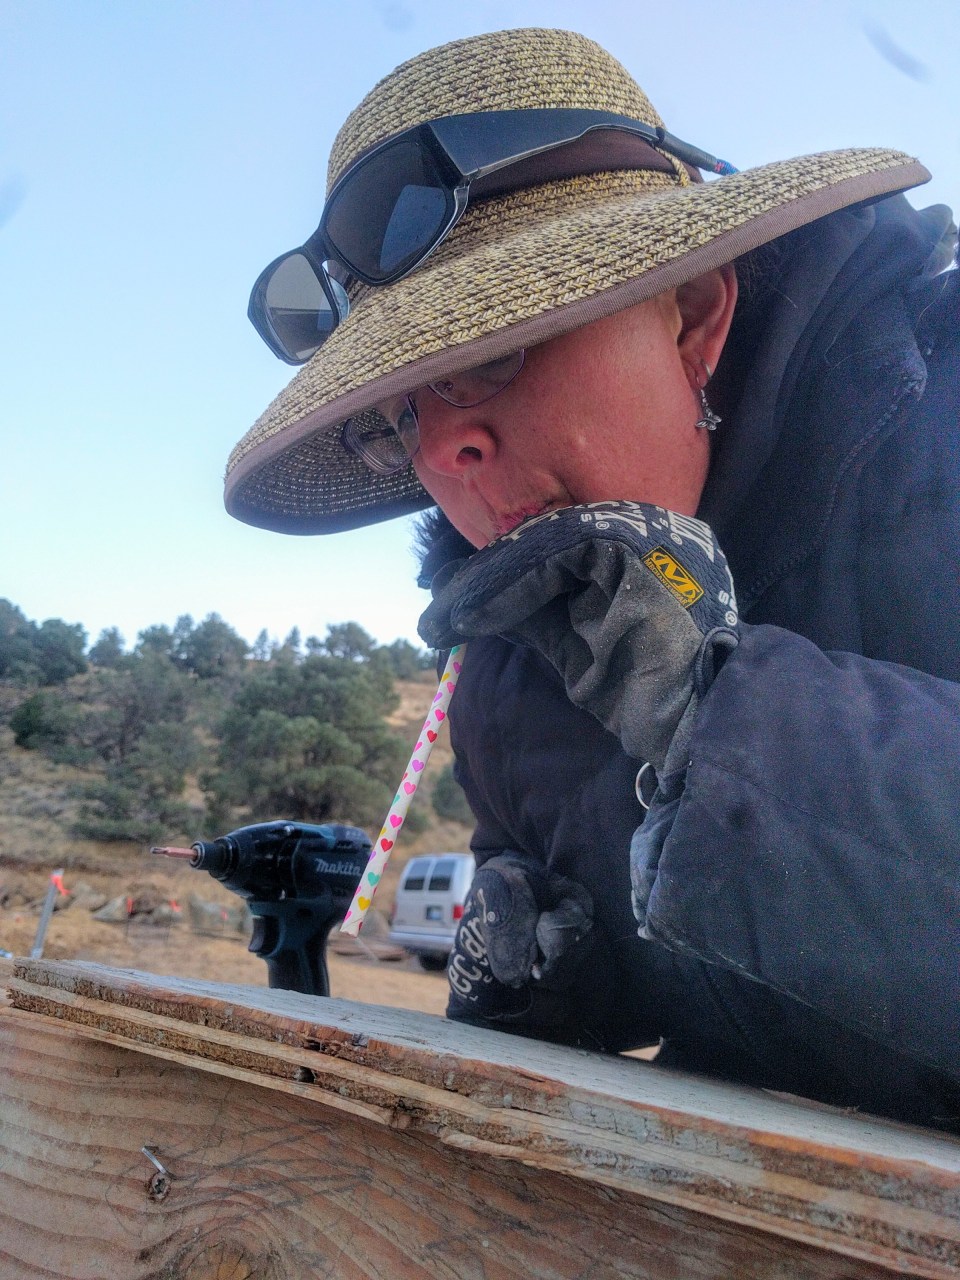
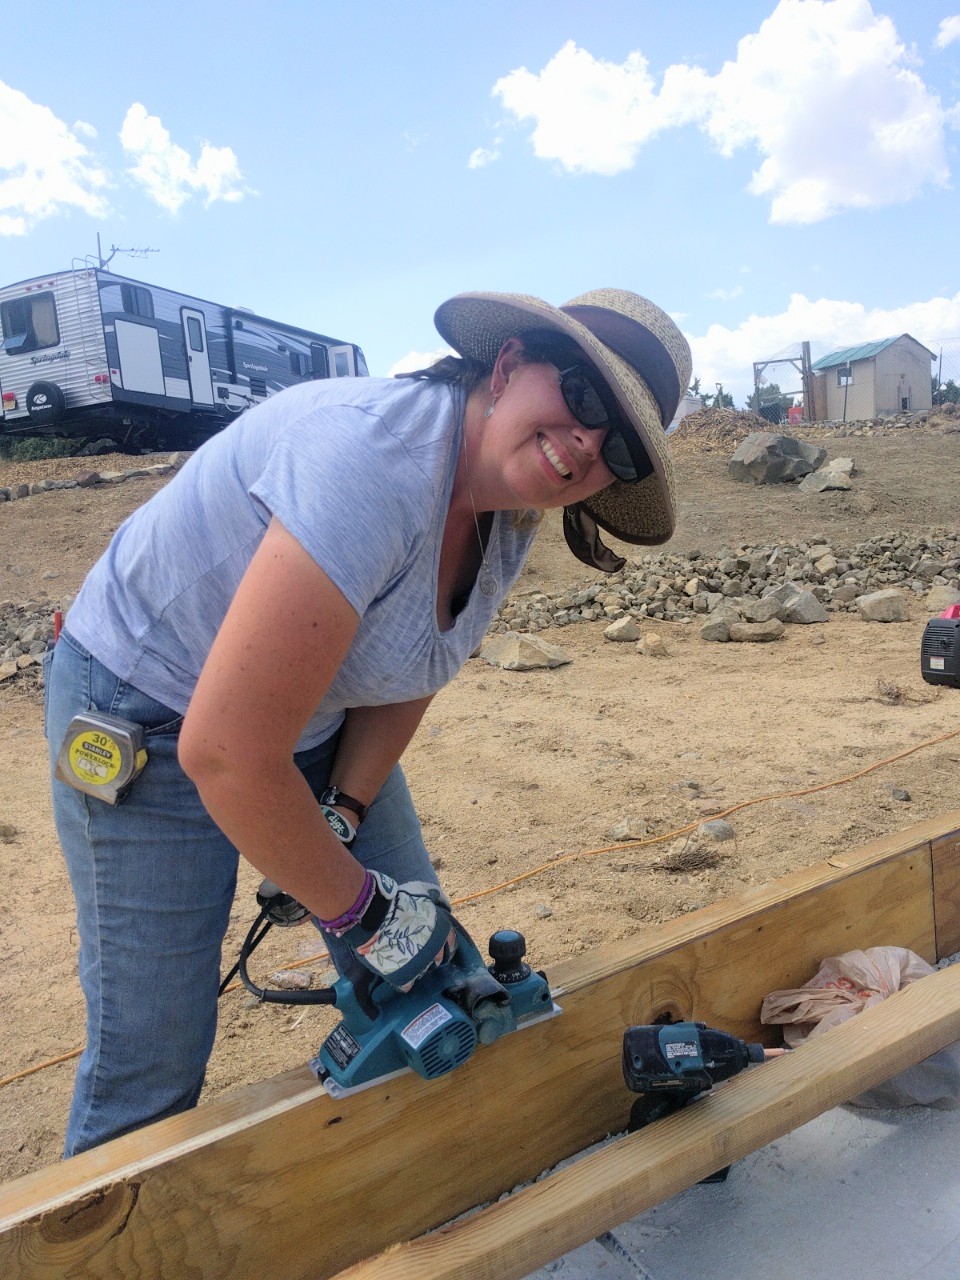
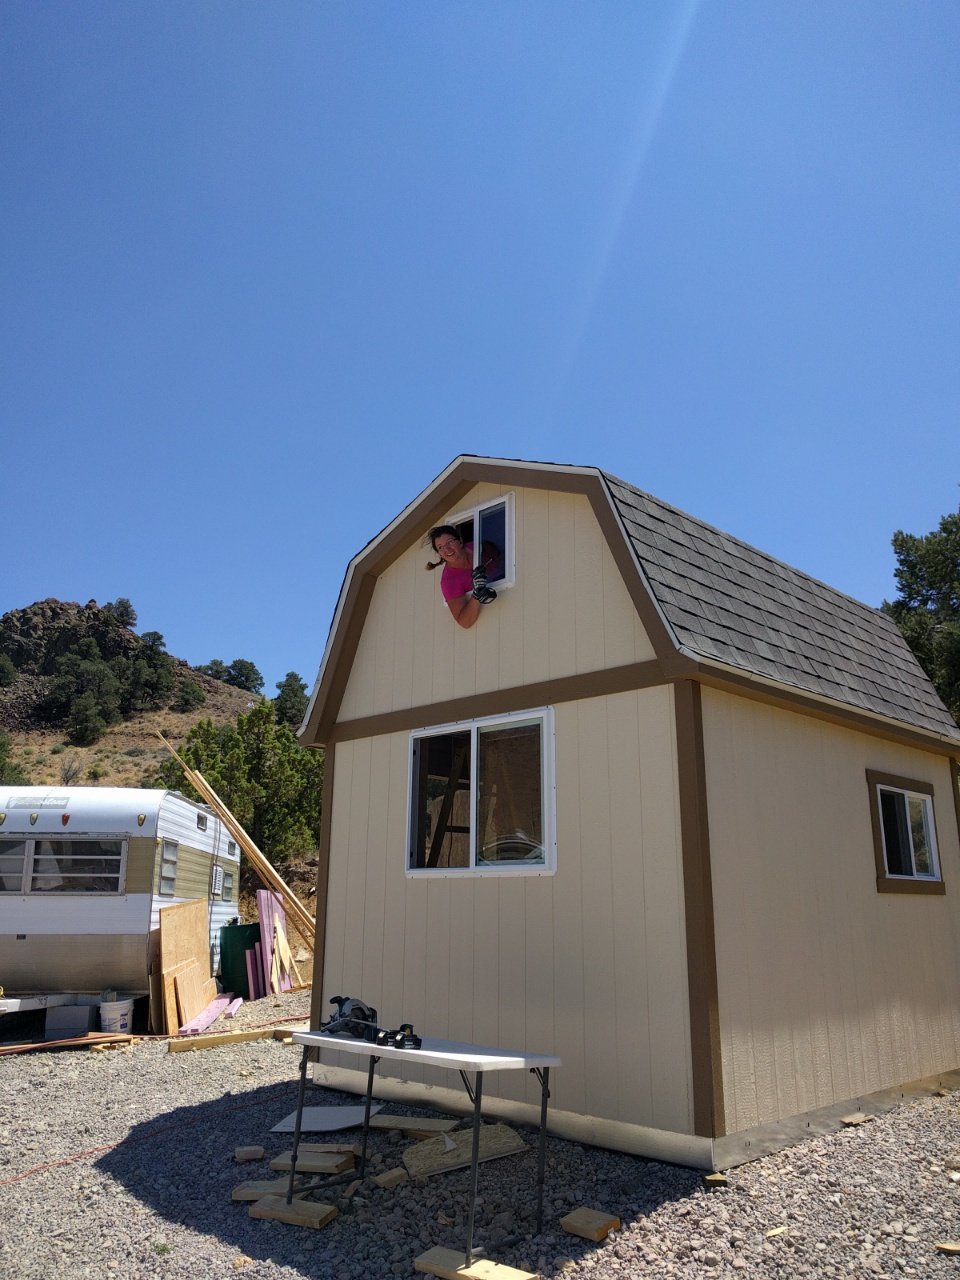
What could go wrong? And yes, that’s me. Working on trimming the windows.

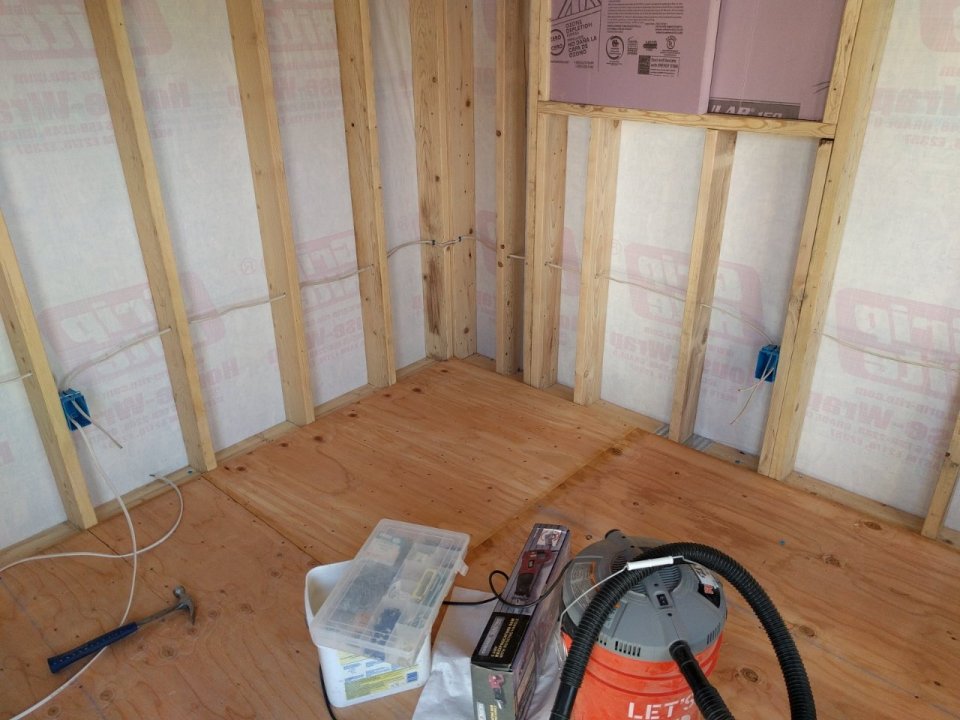
Wiring. We’ll have one light on the ceiling of the downstairs, a GFCI outlet on each wall, and two outlets upstairs, one of which will be controlled by a light switch.

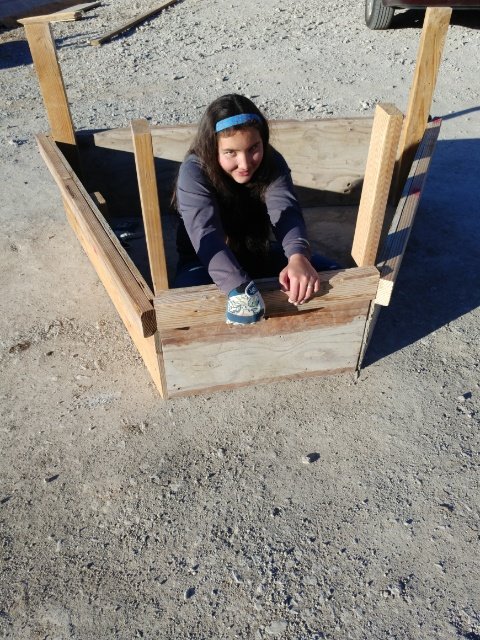
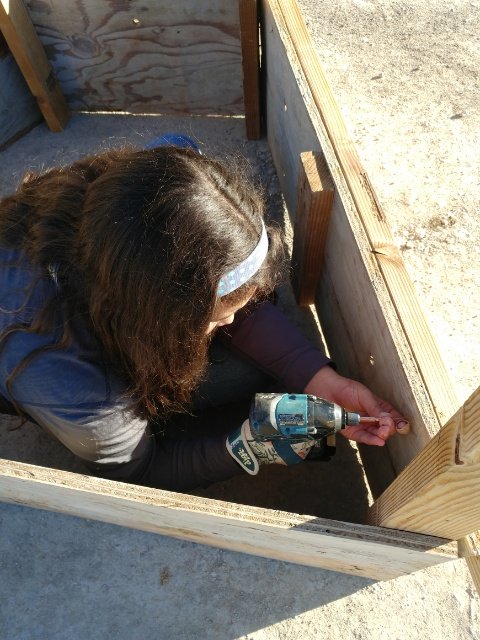
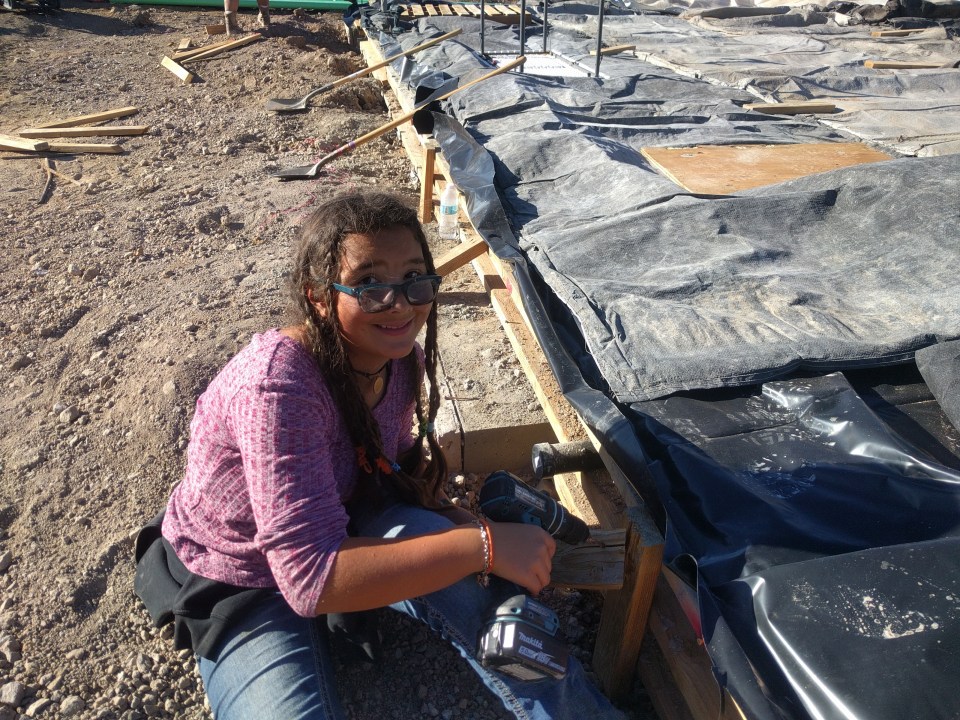
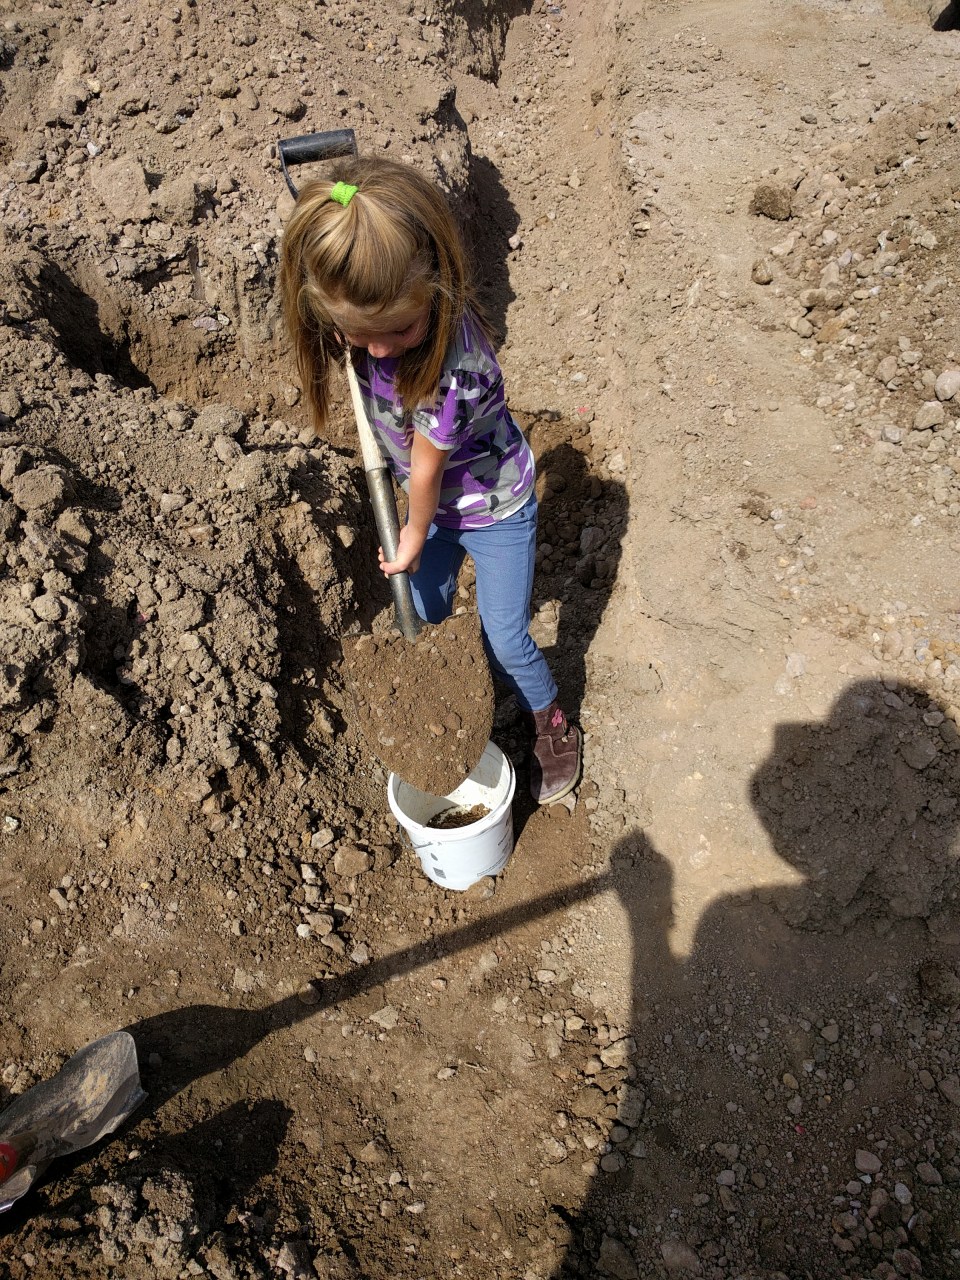
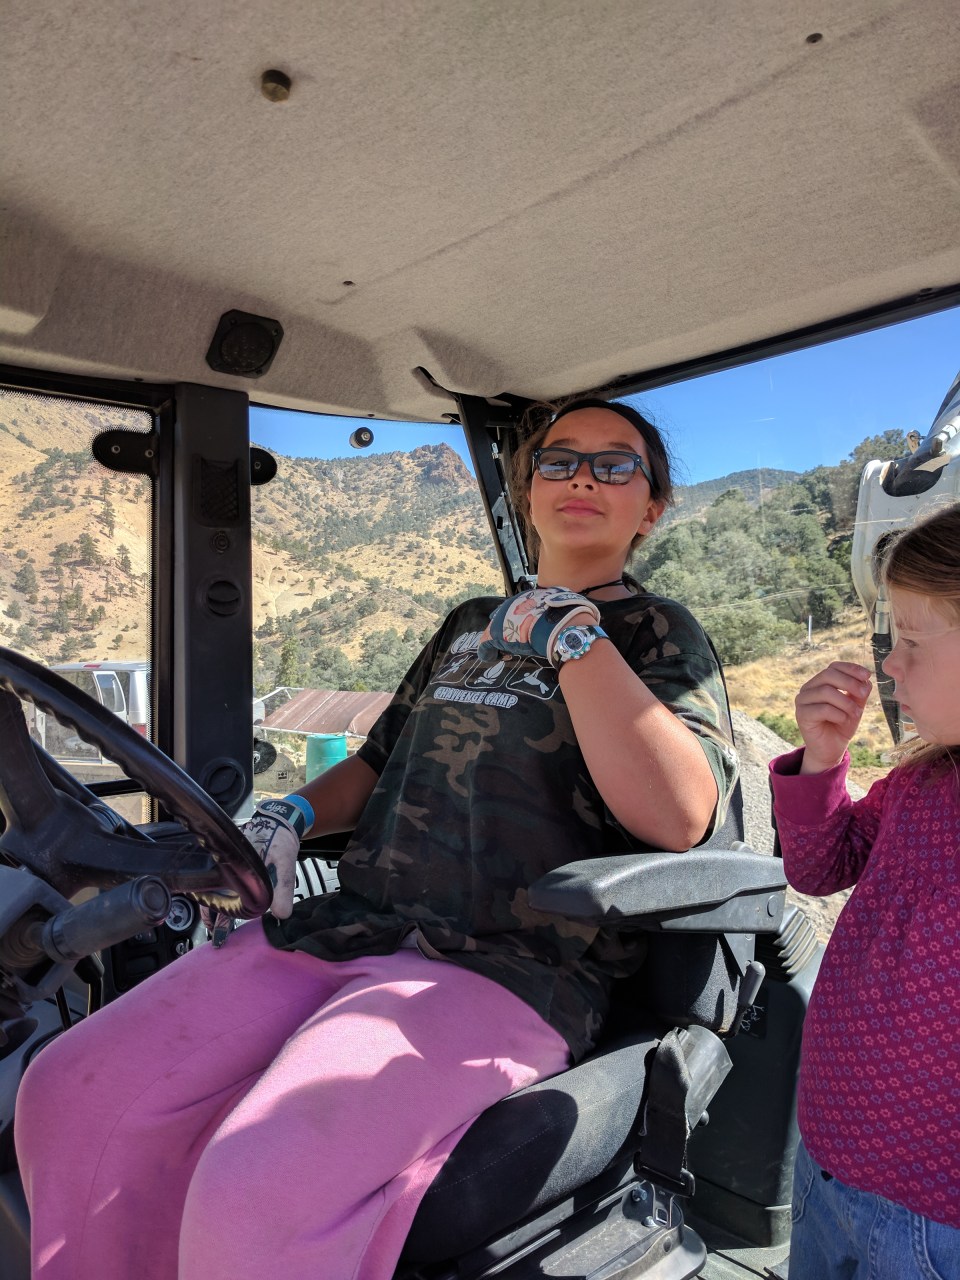
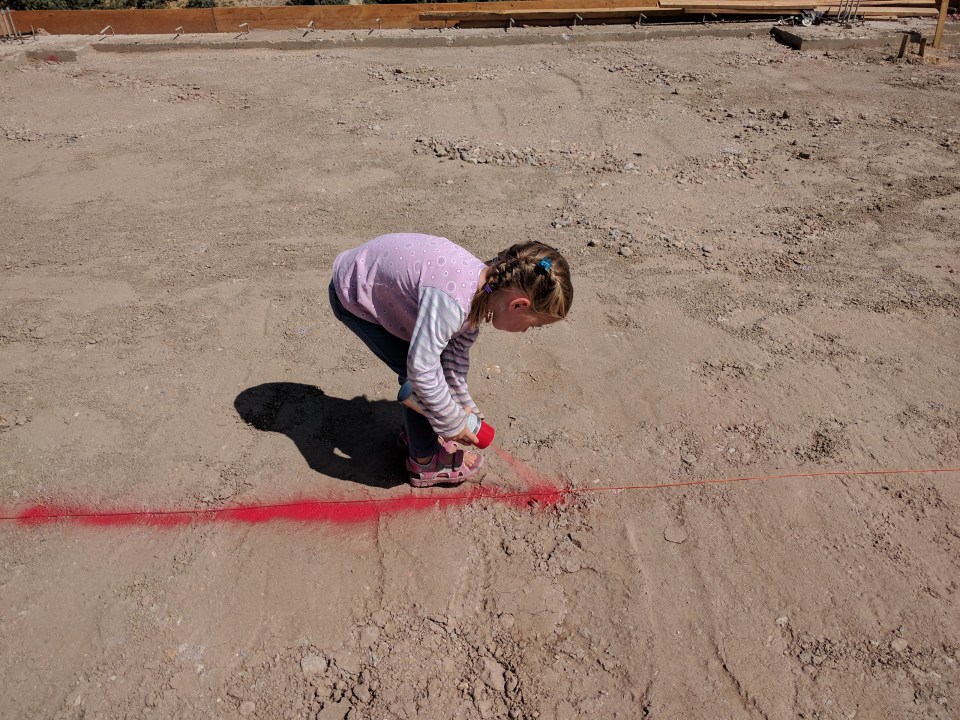
Flower Girl actually was a big help running the wiring through the holes in the loft.

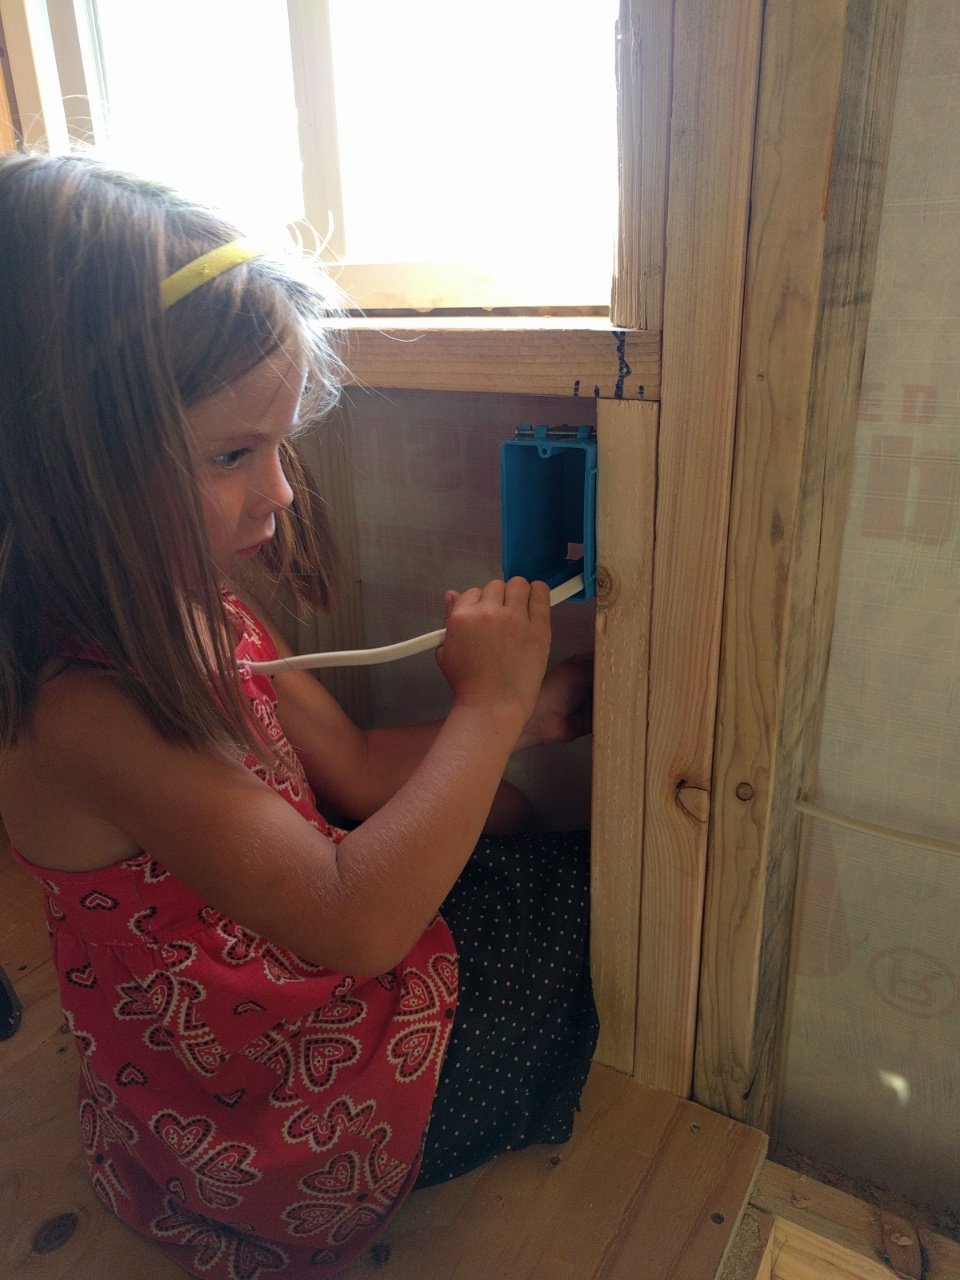
She’s getting old enough that she’s becoming an actual help at times.

Insulation time! We wanted to get the loft insulated first so that it would cut down on the heat transfer to the whole shed. What a difference!

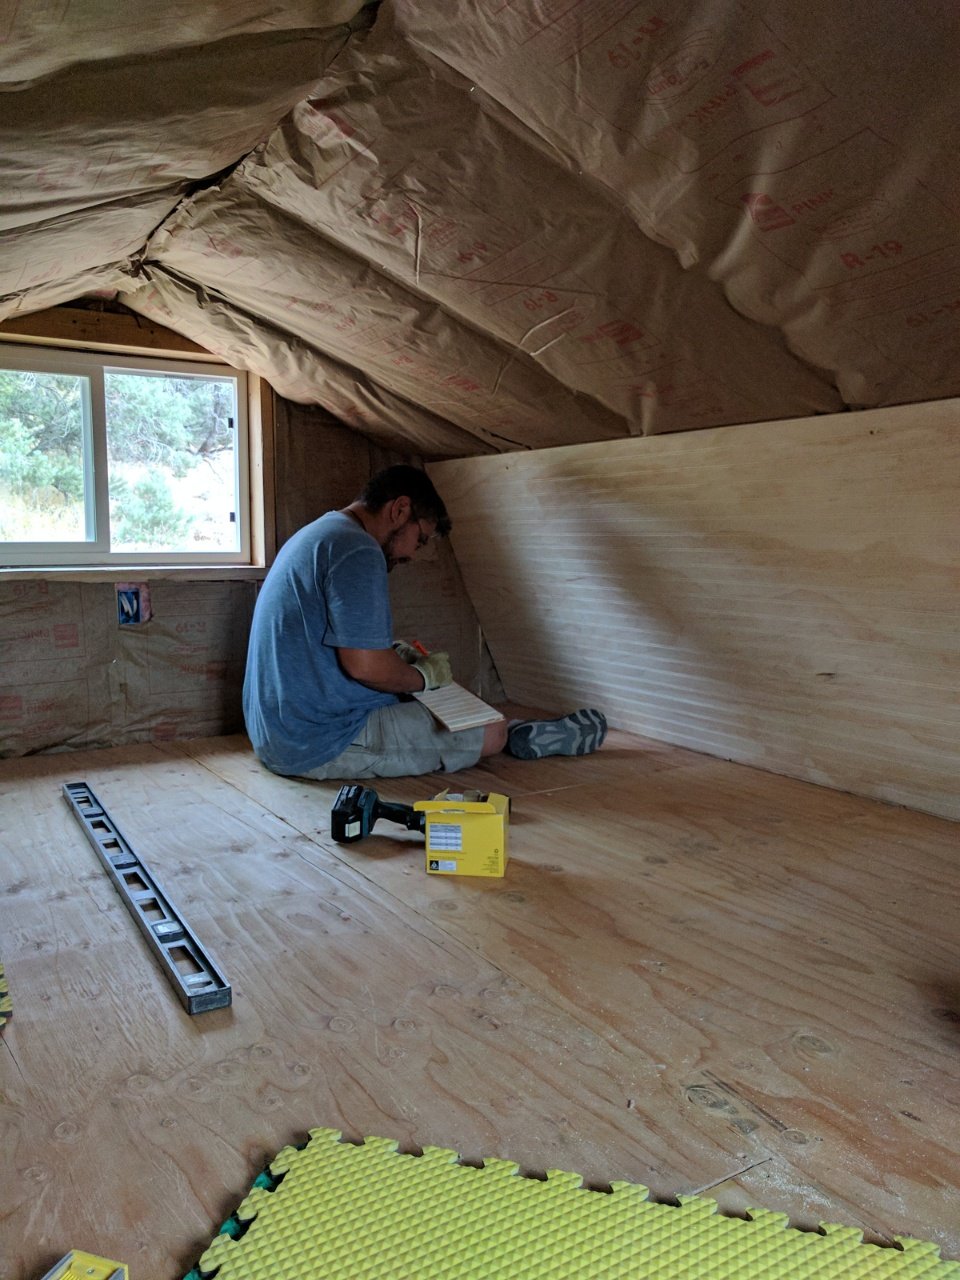
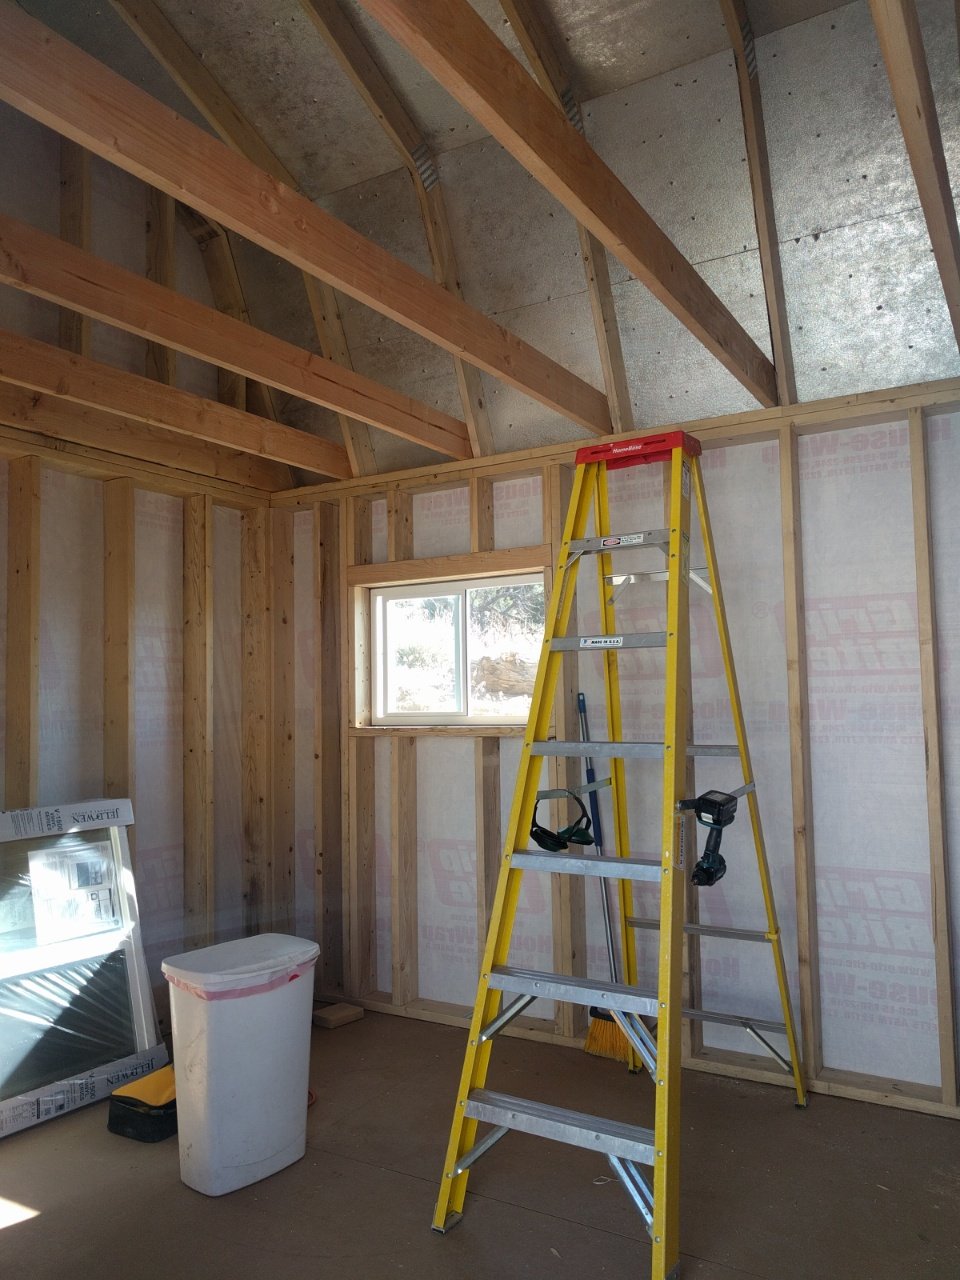
Insulation is all done, time to start putting up paneling. We decided to go with natural wood bead board for a couple reasons. First of all, we like the look. Second of all, when you factor in things like tape and texture and paint, the bead board was not much more expensive than sheetrock, especially for a small project like this. Thirdly, we like the look.

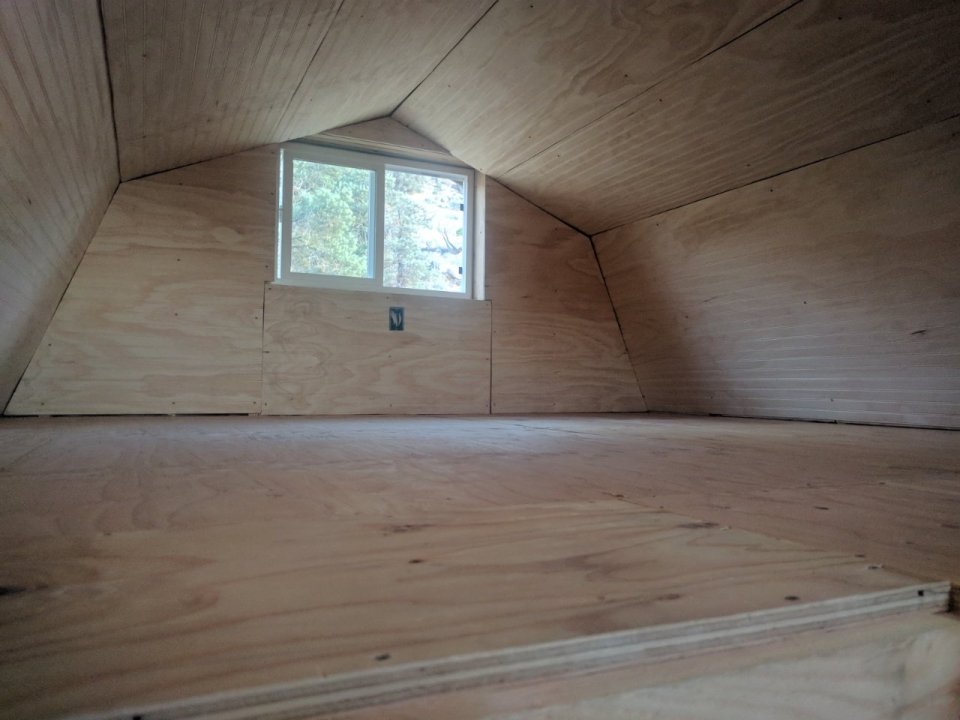
Paneling all installed in the loft. Just gotta put in trim to hide the seams. In retrospect, we could/should have done things a bit different to have fewer seams, but we learned a ton and will do better in the downstairs.

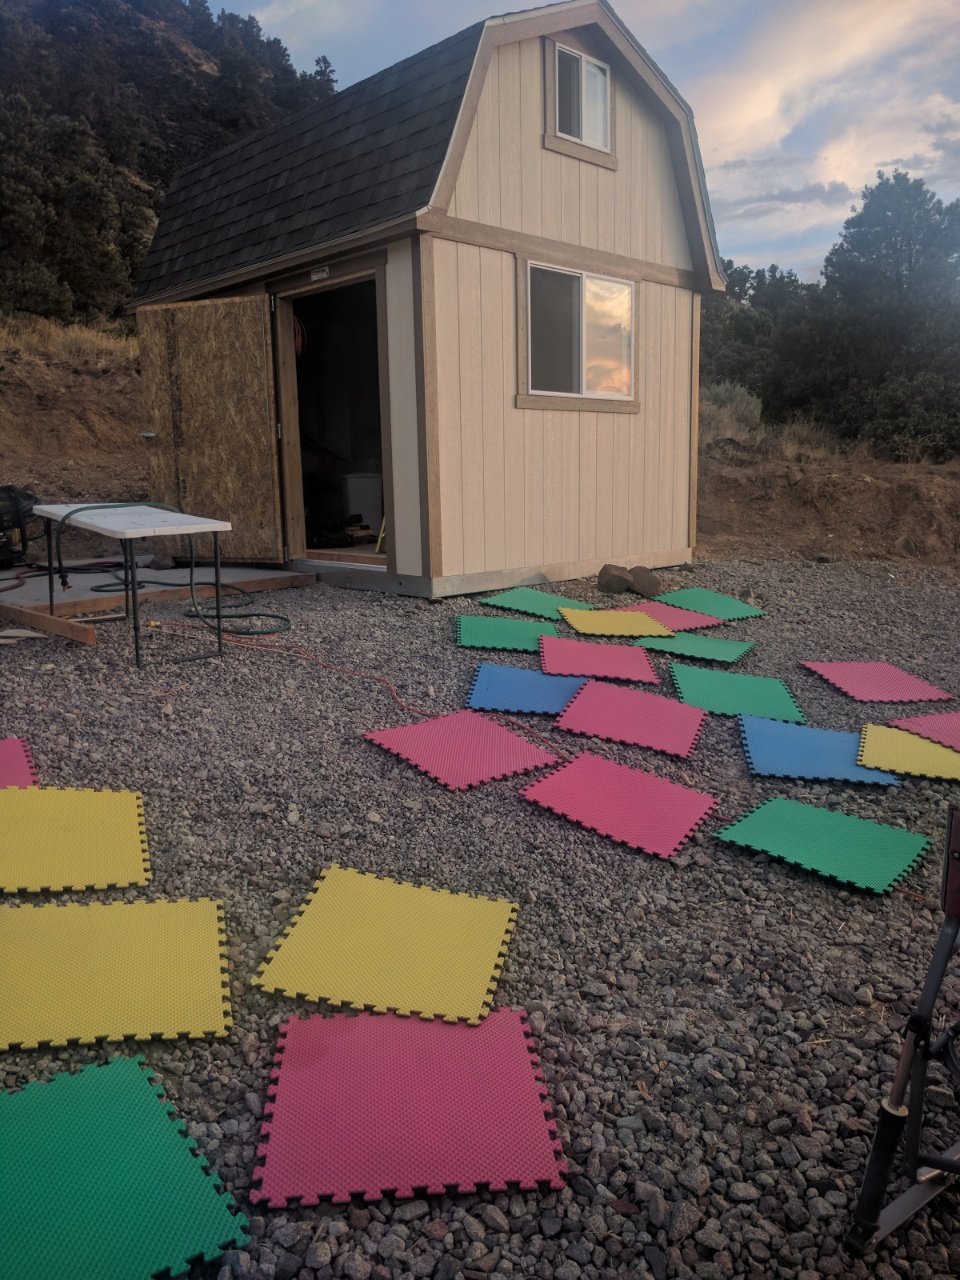
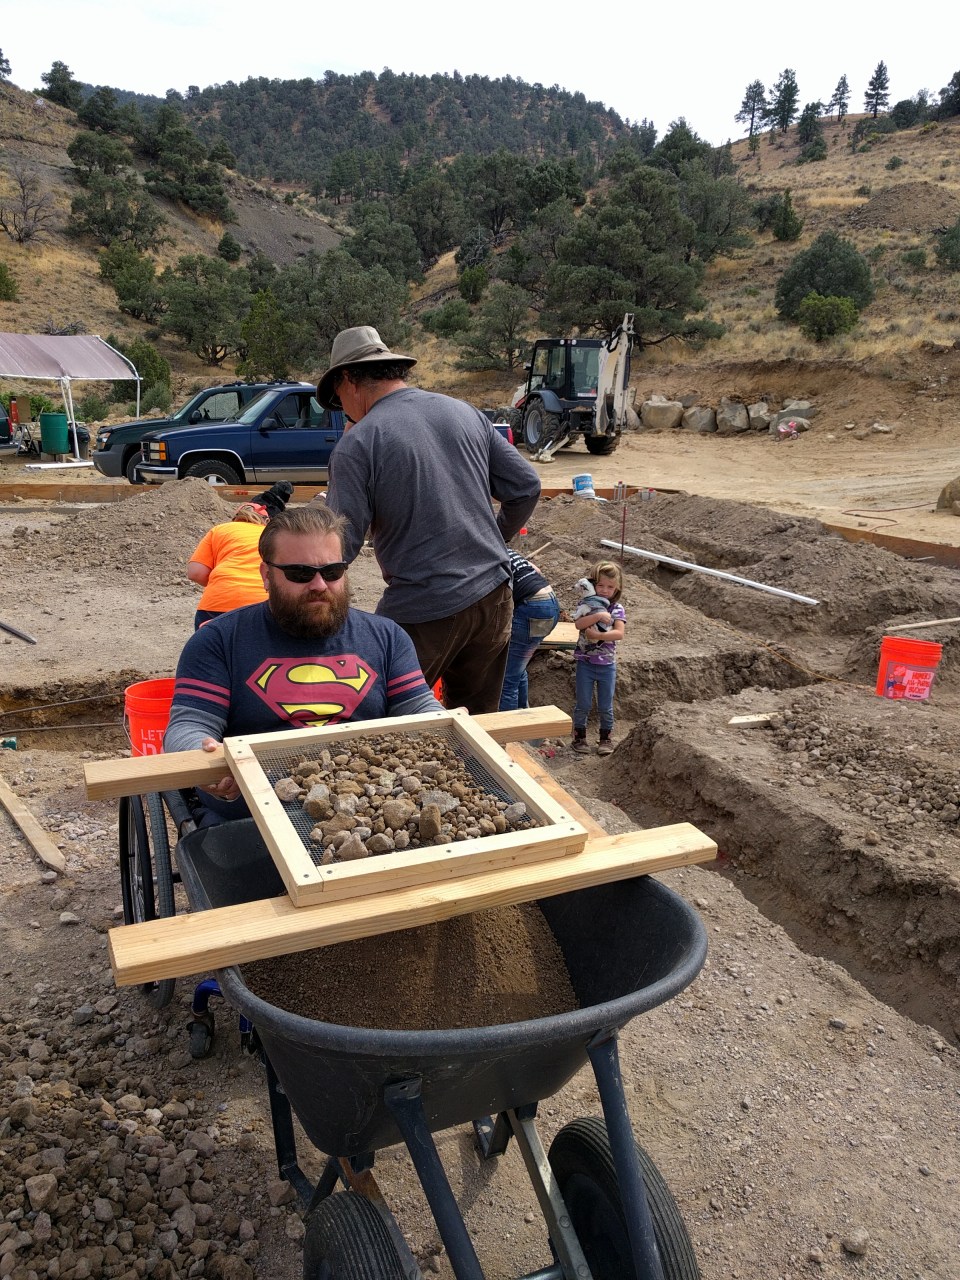
Besides, the girls don’t know it yet, but the loft is going to become their playroom (and a play room doesn’t need to have perfect paneling). That’s what these colorful foam flooring pieces that we got from a friend which are drying out after being washed off are for. (Was that a confusing sentence or what! Too tired to fix it, though.) Those will be the flooring for the loft to cushion it for the girls. At the moment, they think it’s going to be a storage room. But as I said, it’s become obvious that we are going to spend another winter in the trailers. It will be nice to have a space that the girls can go play where we’re not all right on top of each other. And we can see Princess Girl using it a lot this school year as a quite place to go to do her school work. She is easily distracted and when we live in such a tiny space, it’s hard to find somewhere to concentrate.

Insulating the ceiling of the downstairs. Since we are going to have our water system in there, we want it as insulated as possible so it’s easy to heat so nothing freezes.

Downstairs insulation finished and starting on the paneling.

And that’s as far as we’ve gotten. I’ll post more as we progress.

House update: exterior backfill and slab footer leveling

We got the outside of the footers backfilled. Which also means we got our garage pad excavated since that’s where the dirt for the backfill came from.

Before we backfilled, however, we had to put rigid insulation around the footers. This helps to insulate the pad so that the house is easier to heat. We chose to go with extruded polystyrene (xps) since it seemed more durable to us. Also, our plans say it has to be at least R-7 and this 2 inch xps foam is R-10 and was easier to find at our local big box hardware store than the right kind of expanded polystyrene (eps). 

We also spent a couple days ripping our form bords down to the right height and reattaching them so that they become the forms for the finished slab. I like that we were able to reuse materials. In addition to the wood, we had put all the forms together with screws, which means we were able to save those when we took the footer forms apart and use them again. Once the slab is poured, these forms will come down and one more row of insulation will go down, then we’ll backfill the rest of the way. And I am sure all this wood will find it’s use on the homestead.

We rented an excavator that Pops operated for us. He’s a wizard in that thing! But then, that’s what he did for a living for 30+ years.

Excavating the garage pad (and getting us fill dirt)

The Hubs and I took turns operating the little bobcat we also rented. Would have been nice to have something a bit bigger, but that’s all that was available on short notice. We used that to move the dirt around the house.

Almost done with the exterior backfill

And since we had the machine there, we decided to finally move the huge boulders into their permanent positions. 

These gigantic boulders came out of the hillside when we excavated for our well. We knew they would come in handy for landscaping and retaining. So that’s exactly how we used them.

Play boulders


The new garage pad with big boulders as a retaining wall

Just a couple days after finishing the backfill, we took off on a big family vacation that has been in the works for two years. 

The Castle Rock Family at Mt Rushmore

We got back from vacation this past weekend, and now it’s back to work!

First thing our hired hand and I did this morning in was some rebar work that needed to be finished. It was one of those jobs that would have been easy to forget.

Then we worked on leveling up the forms. They were pretty close to level, but needed a bit of adjusting here and there.

The first thing we did was go around with a transit level and measuring rod and see where the forms were high or low. Princess Girl and Pajii helped out today as well.

A transit level is basically a swiveling scope mounted on a tri-pod. You make sure it is perfectly level by using the adjusters, then site through it to a measuring rod or tape measure.

The site through the transit

Once we figured out the measurement that was most common, we called that measurement “grade” and brought everything else up or down to meet it. 

Sometimes we had to detach the form from the supports and pry the form up a bit and re-attach. But for the most part, we had to get some spots down a bit. Because there was not enough wiggle room in the system to push the boards down, I came up with the idea to plane down the high spots. We would find two “grade” spots not too far from each other, put a chalk line on it, then use the electric planer to take off the excess down to the mark.

Princess girl was in charge of the camera for a bit – obviously!

It worked great!

Planing down the high spots


That’s all we did today. Tomorrow I am going to order some fill dirt and we’ll start backfilling the interior on Friday (gotta work my summer job on Thursday). Tomorrow we also have some more bracing to do on the forms now that they are level. Don’t want those suckers to move a millimeter!

Then, over the weekend, we start trenching for interior footers and plumbing! This progress is so exciting!