Tag Archives: Reuse

Rain, rain, go away

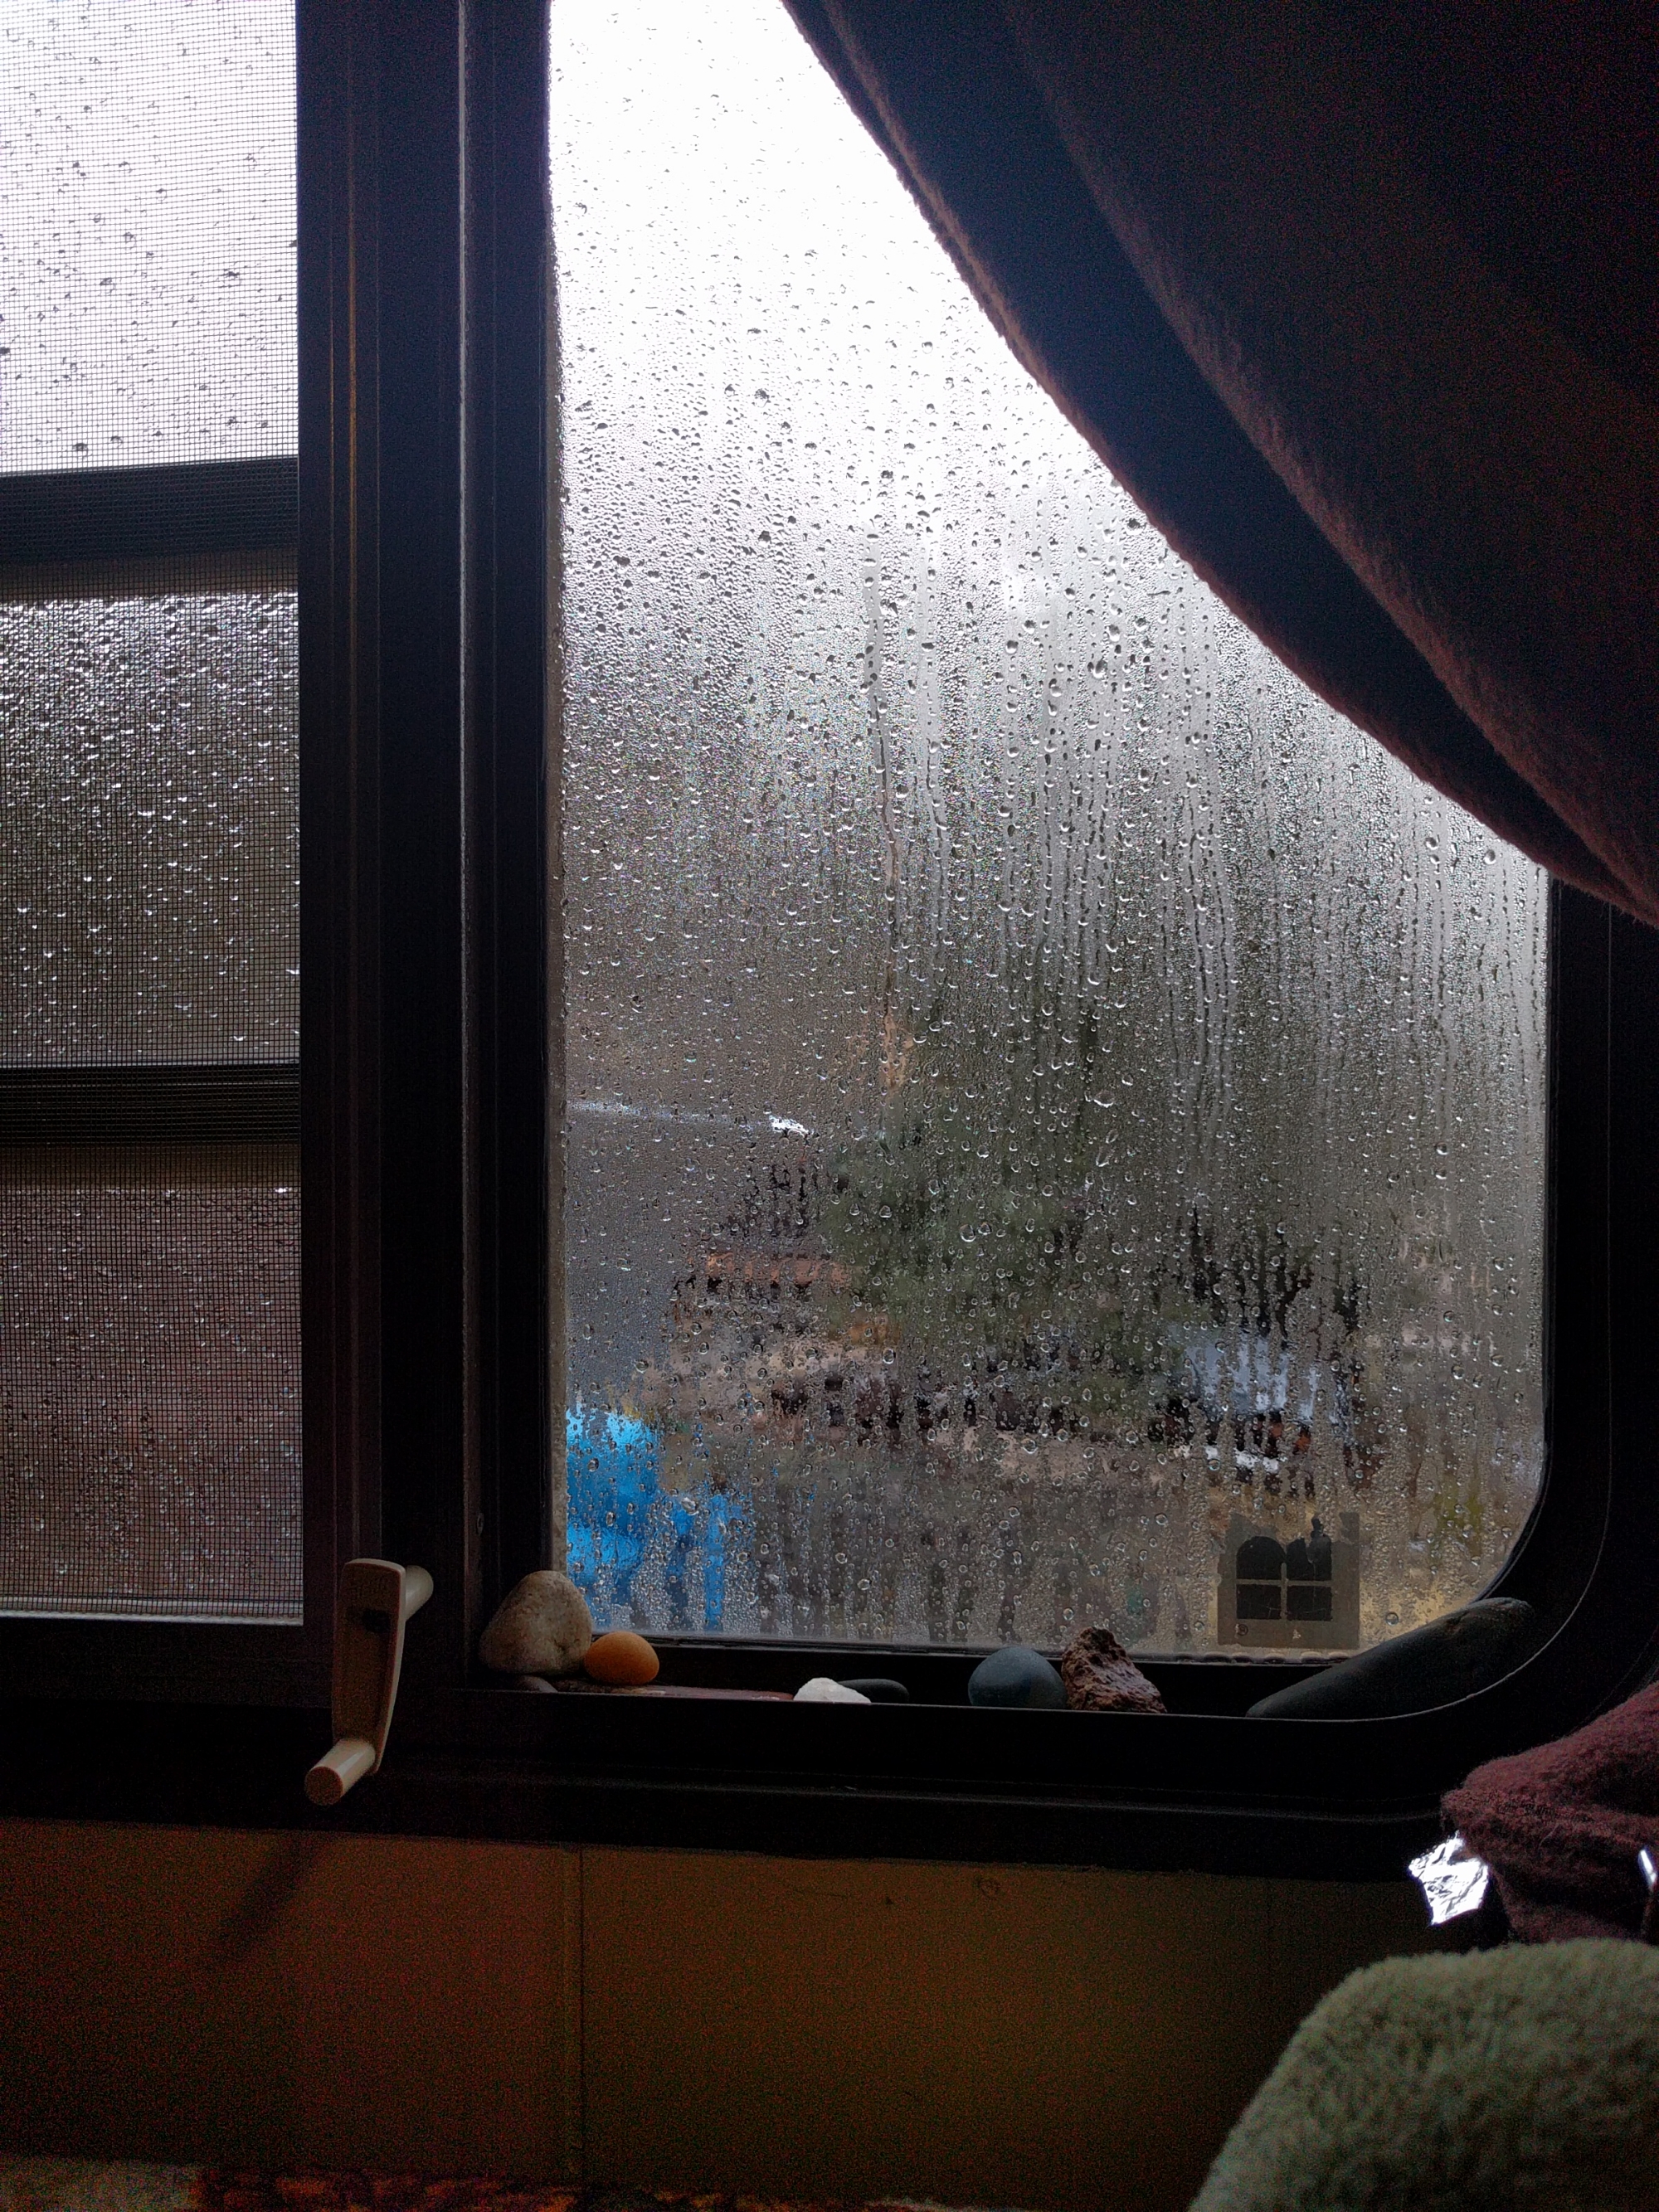
February 7 – Rainy day

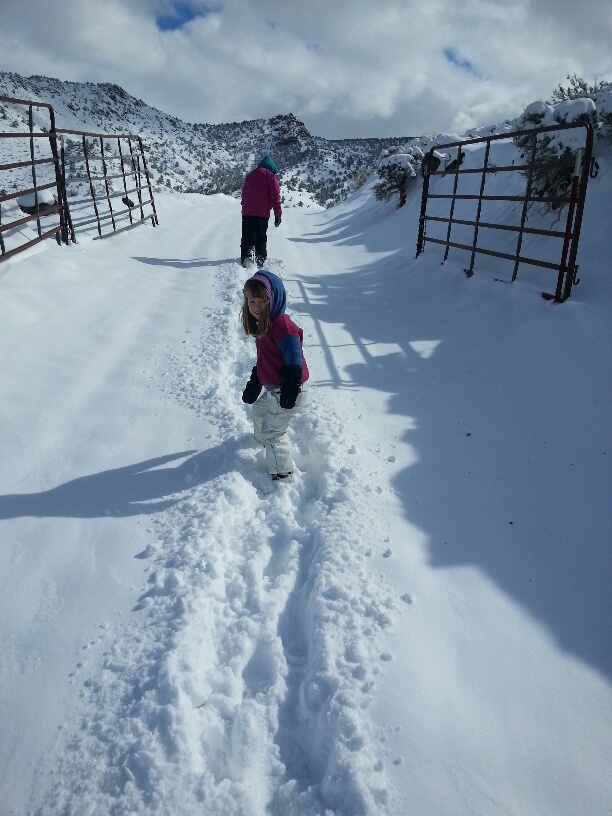
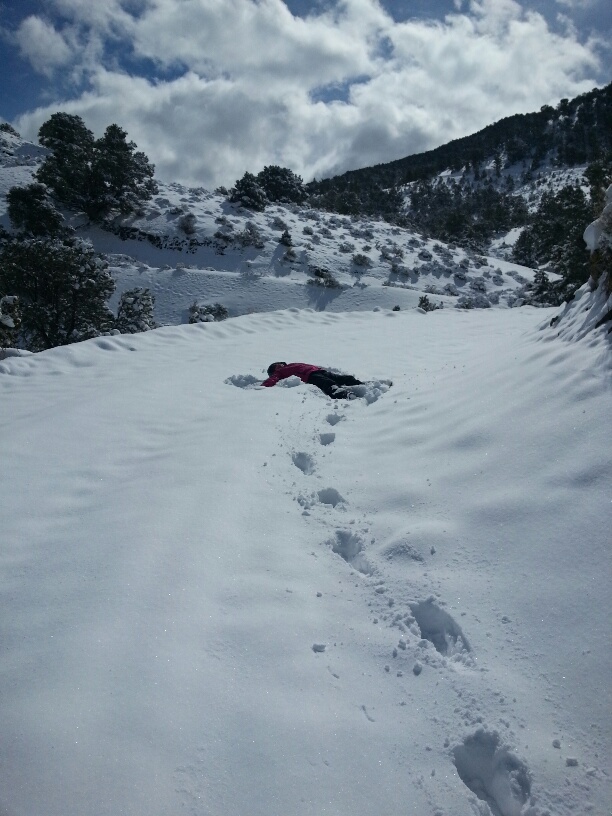
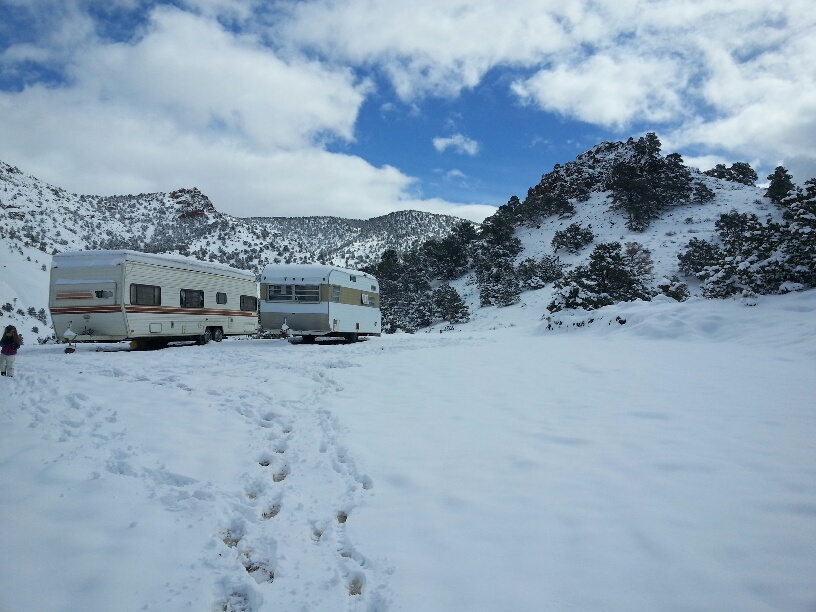
What a winter this has been so far! We had a small snow storm just before Christmas and knew that we NEEDED to get our mudroom built. The day after Christmas, we started building it. We got the roof on just before the next bigger snow on January 4th. And we’ve had back-to-back snow and rain systems since then. In fact, as I sit here typing this, it is pouring outside. We’re supposed to get about 15% of our  yearly rainfall in this one storm. And we’ve already gotten over half in the last month alone. The bigger mountains around us have the most snow anyone living there has ever seen. What a blessing that mudroom has been.

January 5 – got the roof on just in time for the next snowstorm

Since the push to get the roof on, we’ve slowly been finishing up as we have time and inclination.

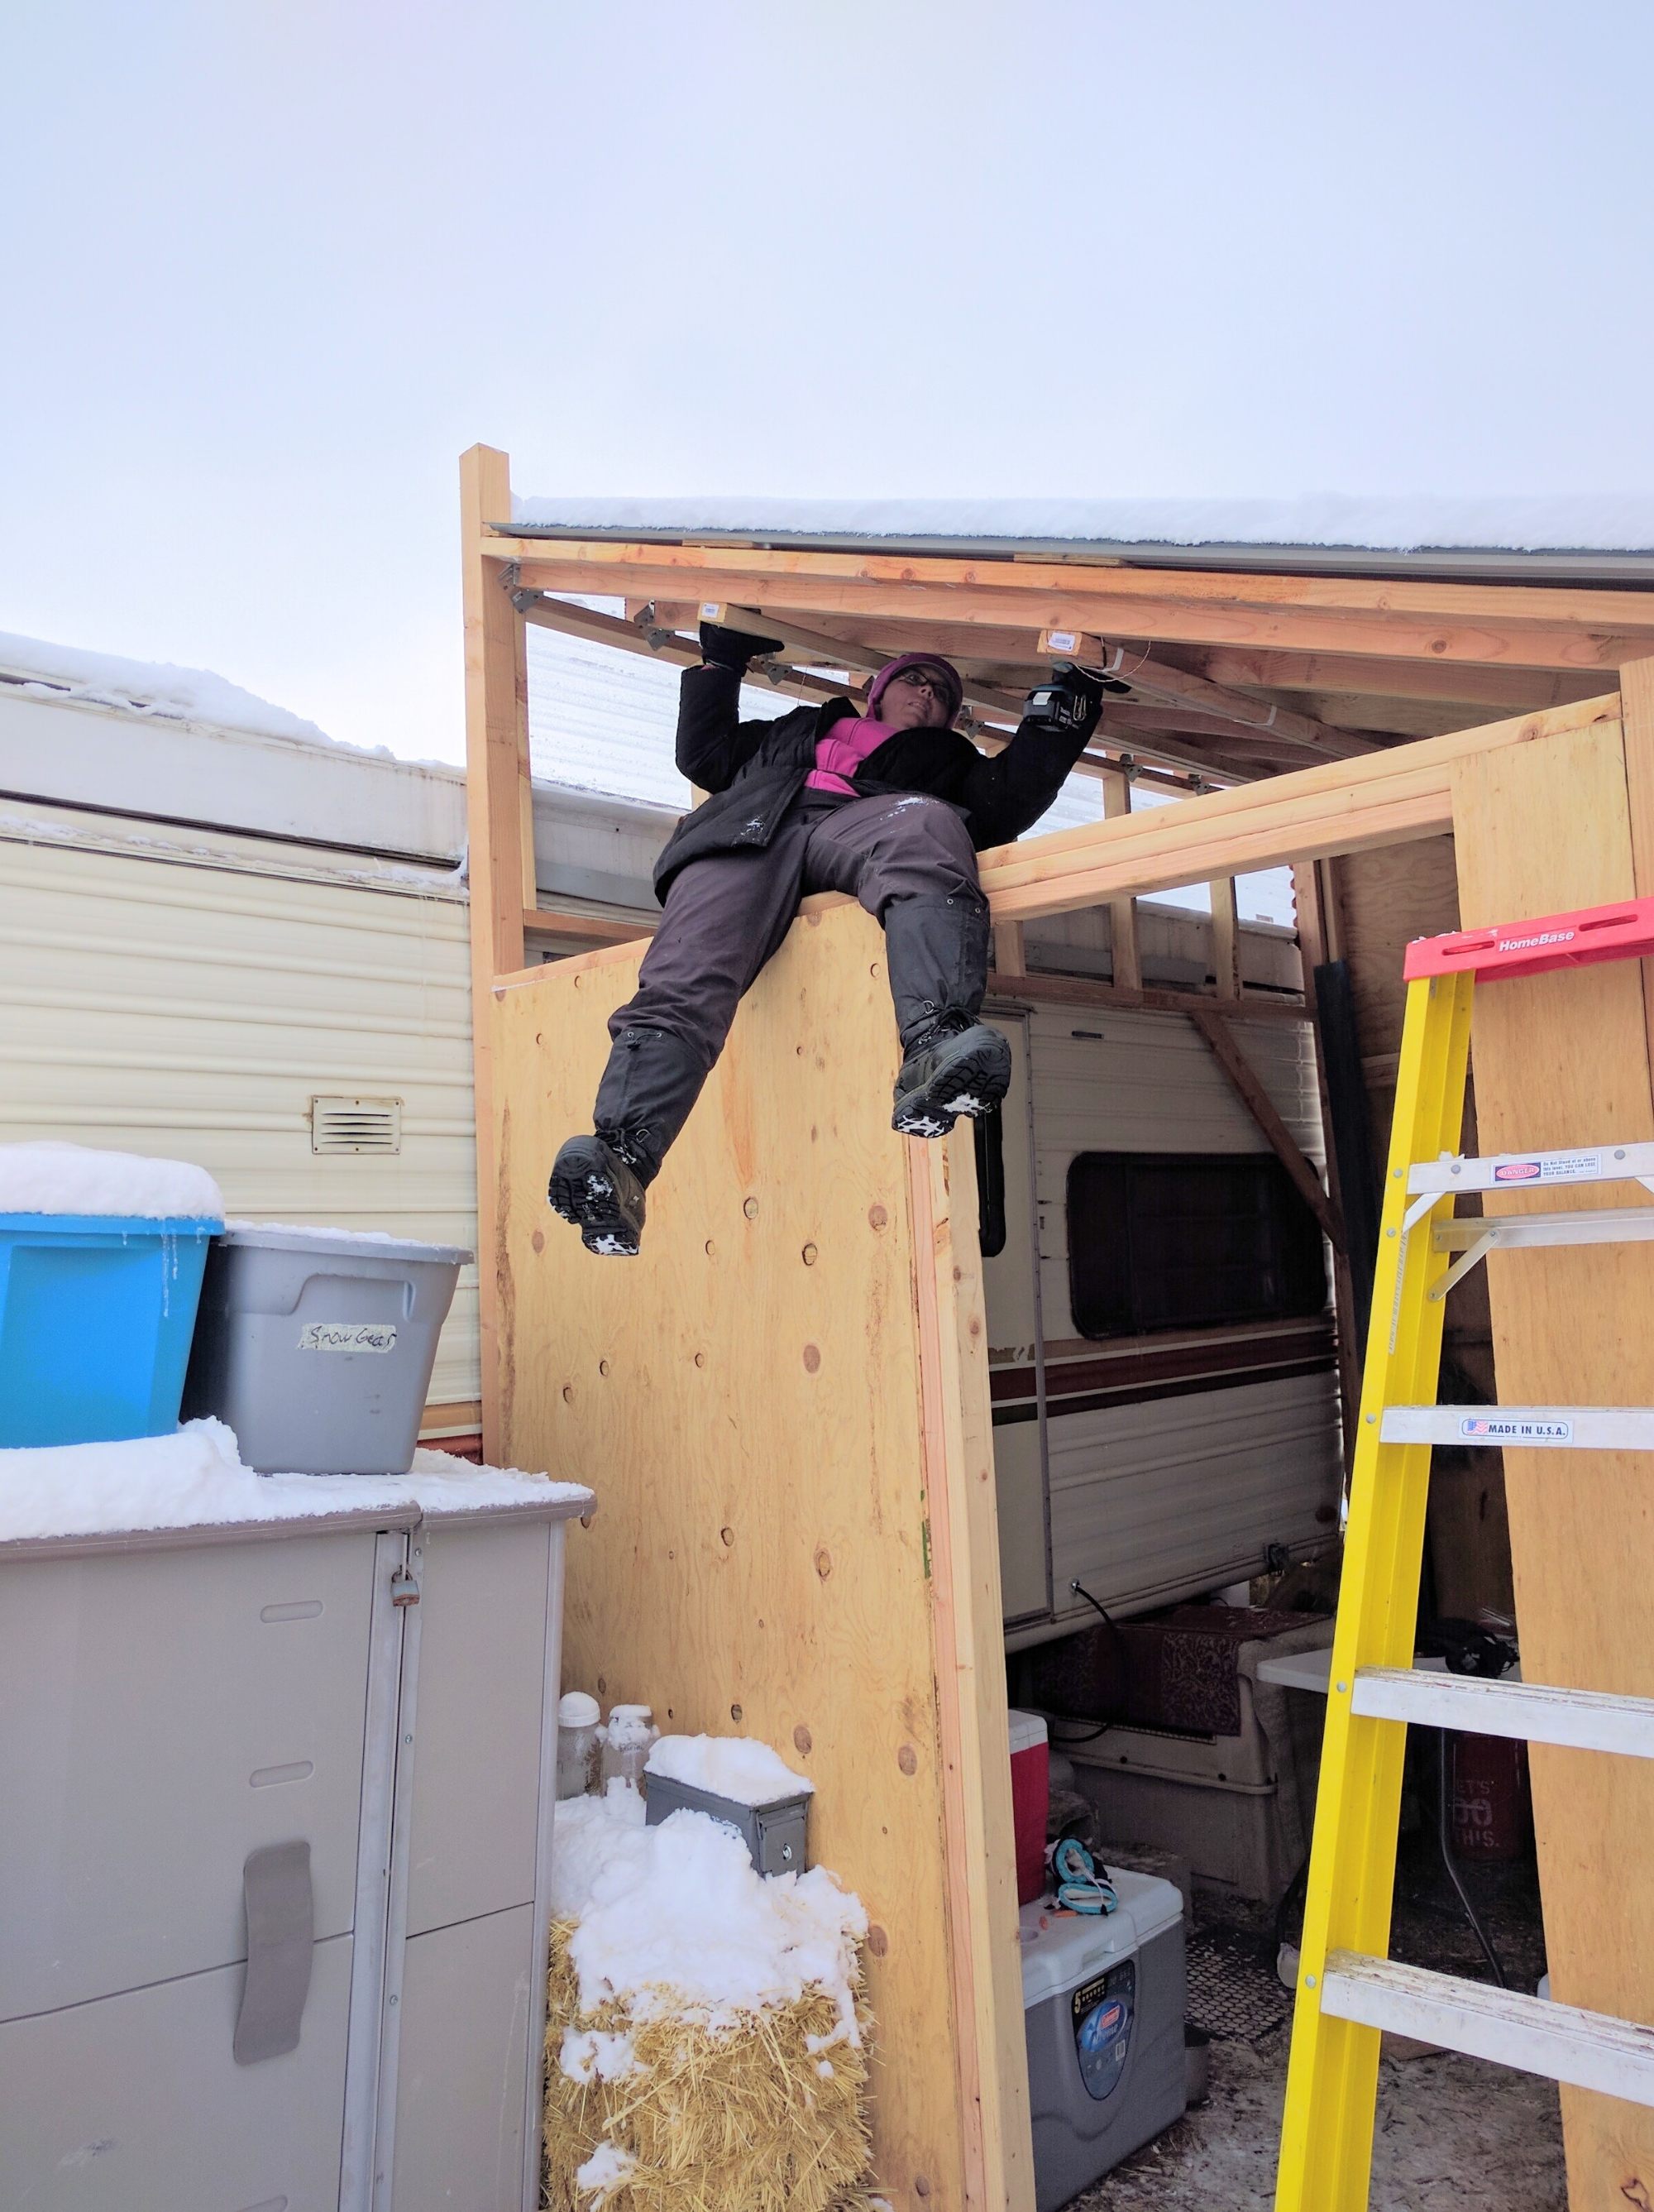
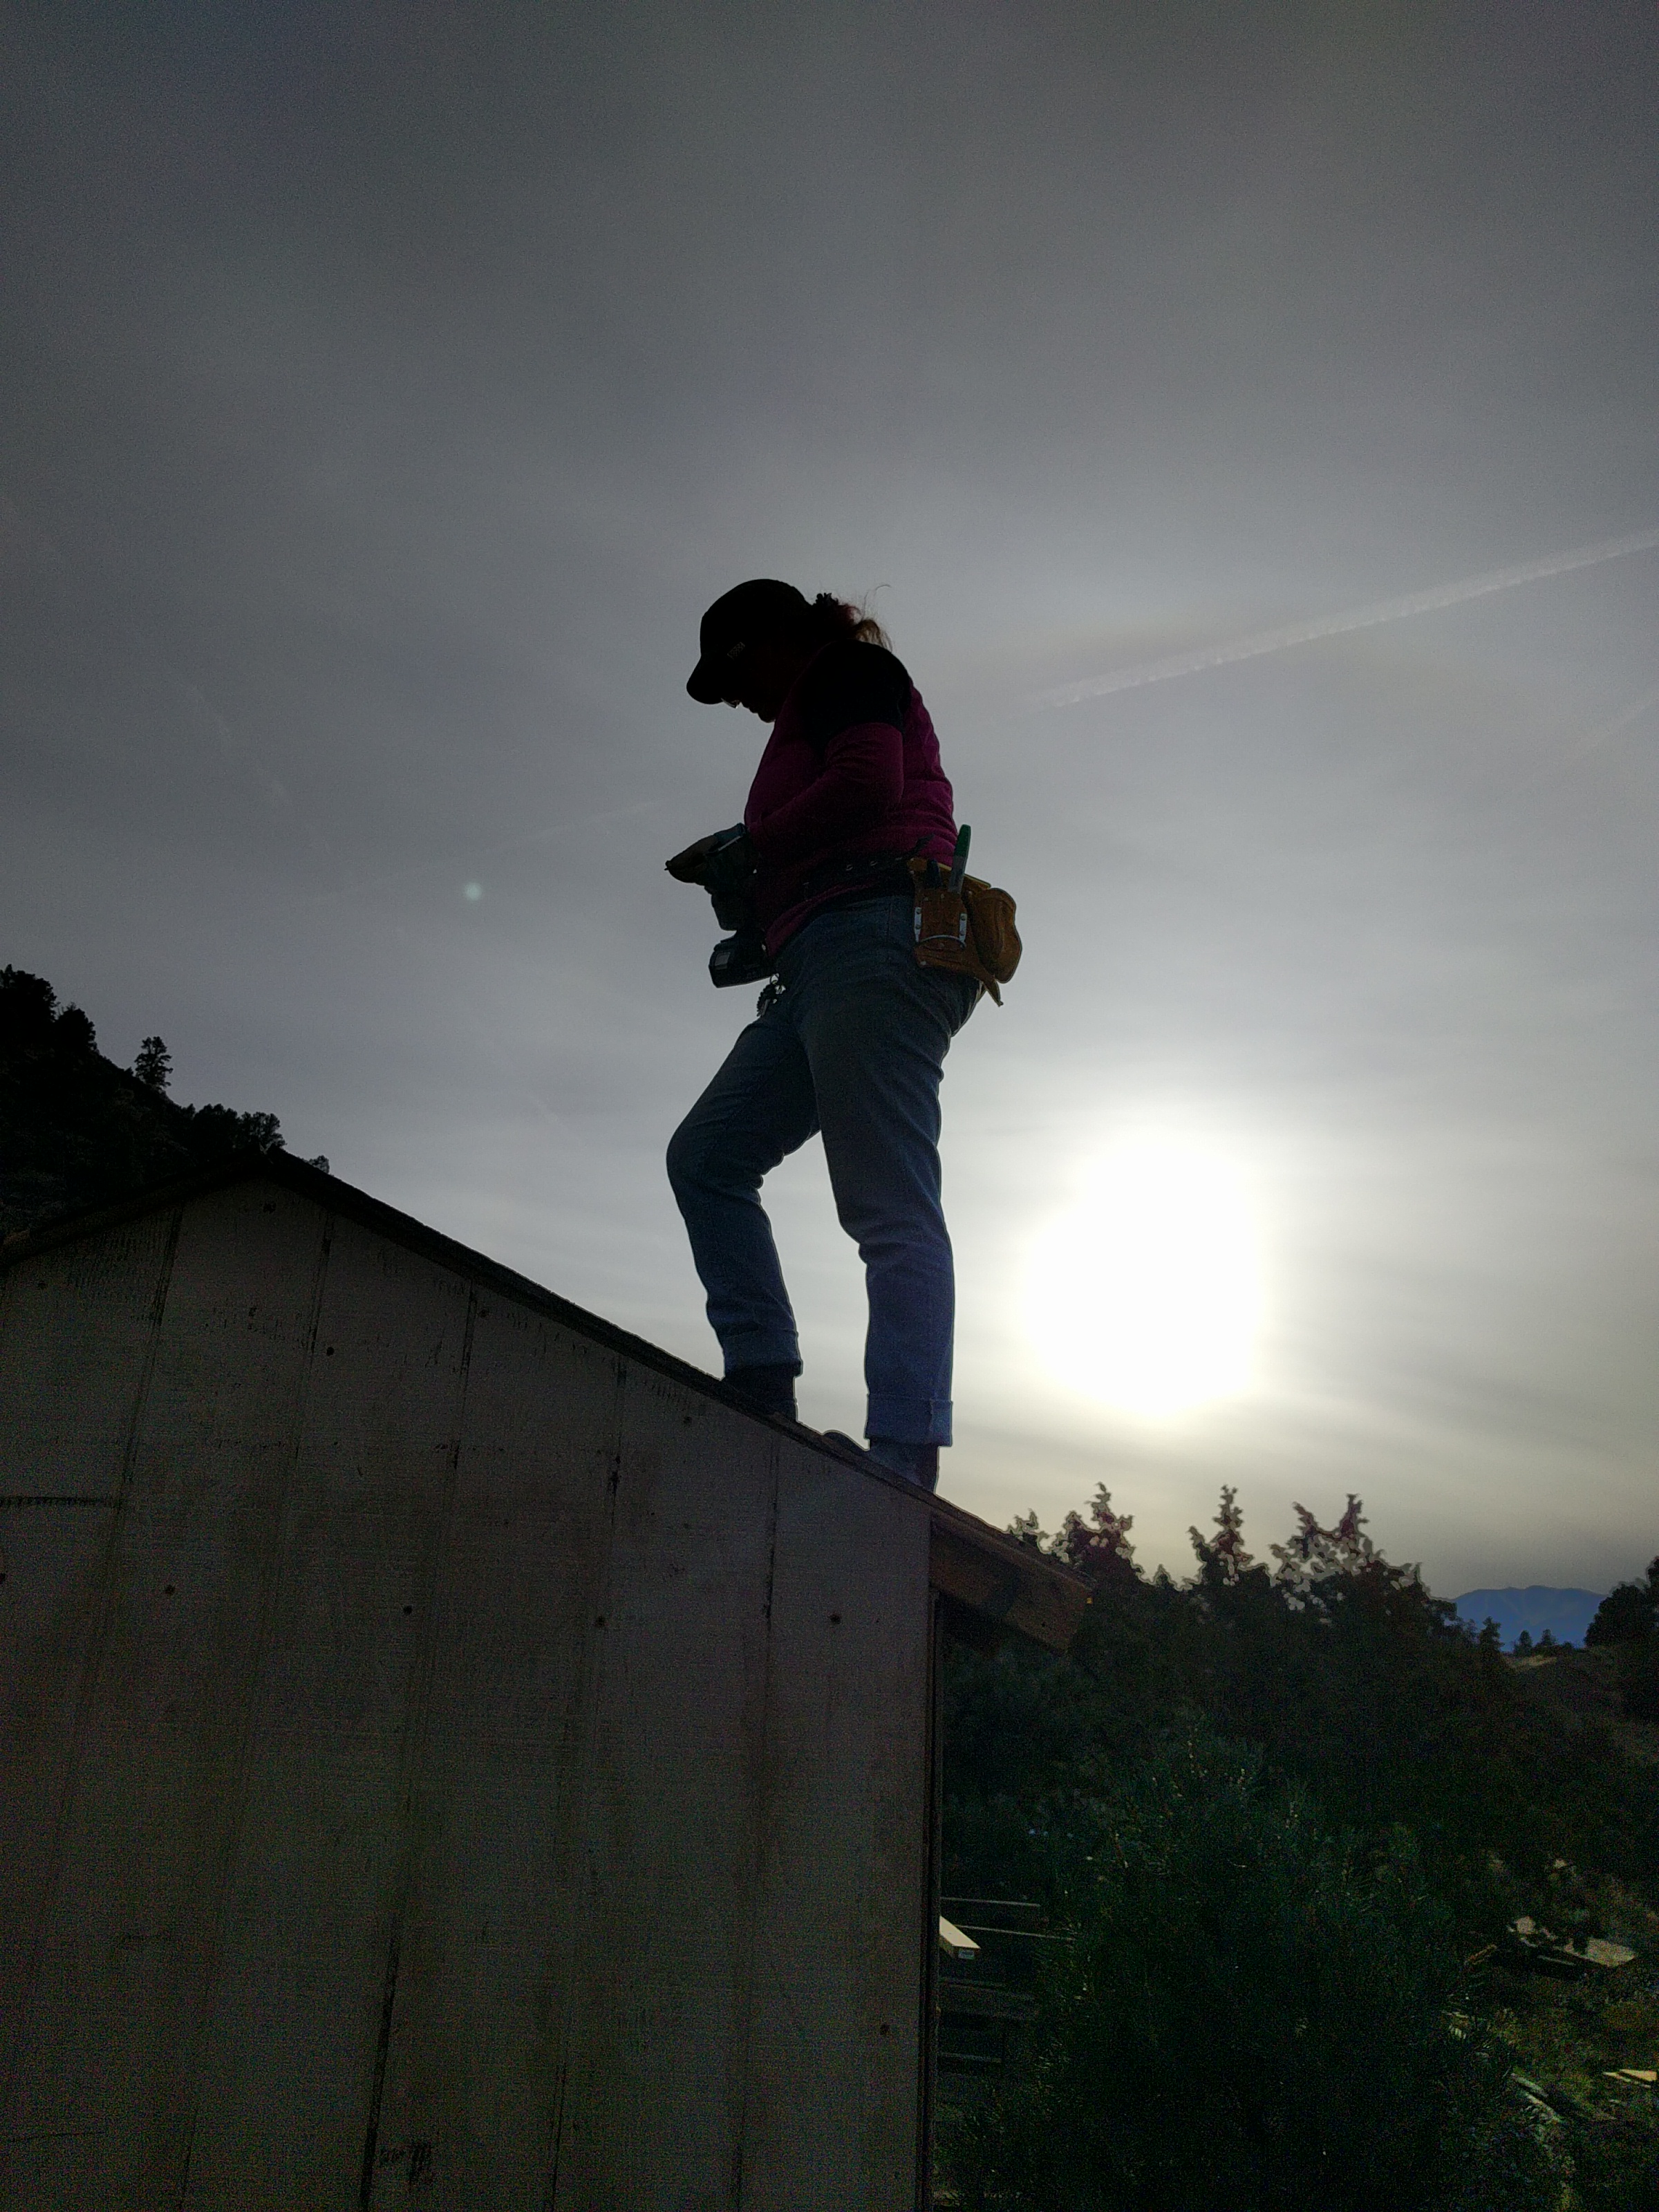
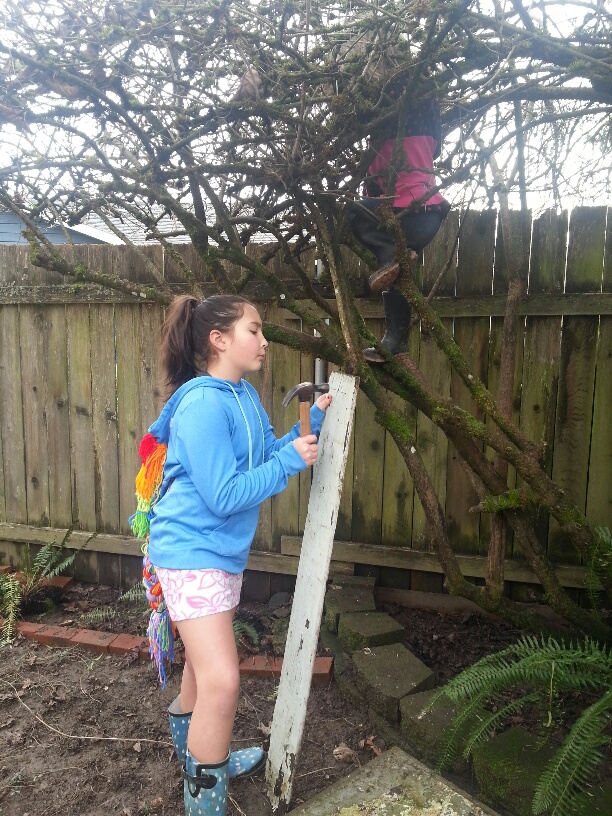
January 6 – enclosing the last bit of wall section. I always was a monkey.

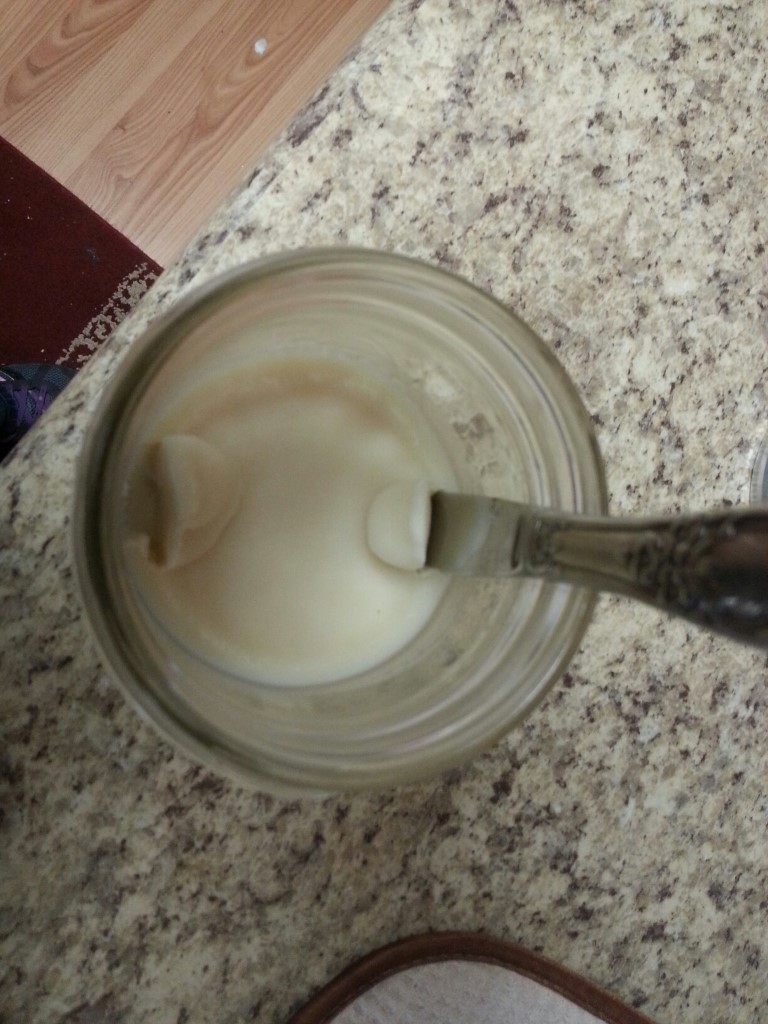
January 6 – the fun-ness of construction in the winter – scraping ice off your materials

January 9 – the snow is gone, the rains have come. Time to add the gutter and rain barrels.

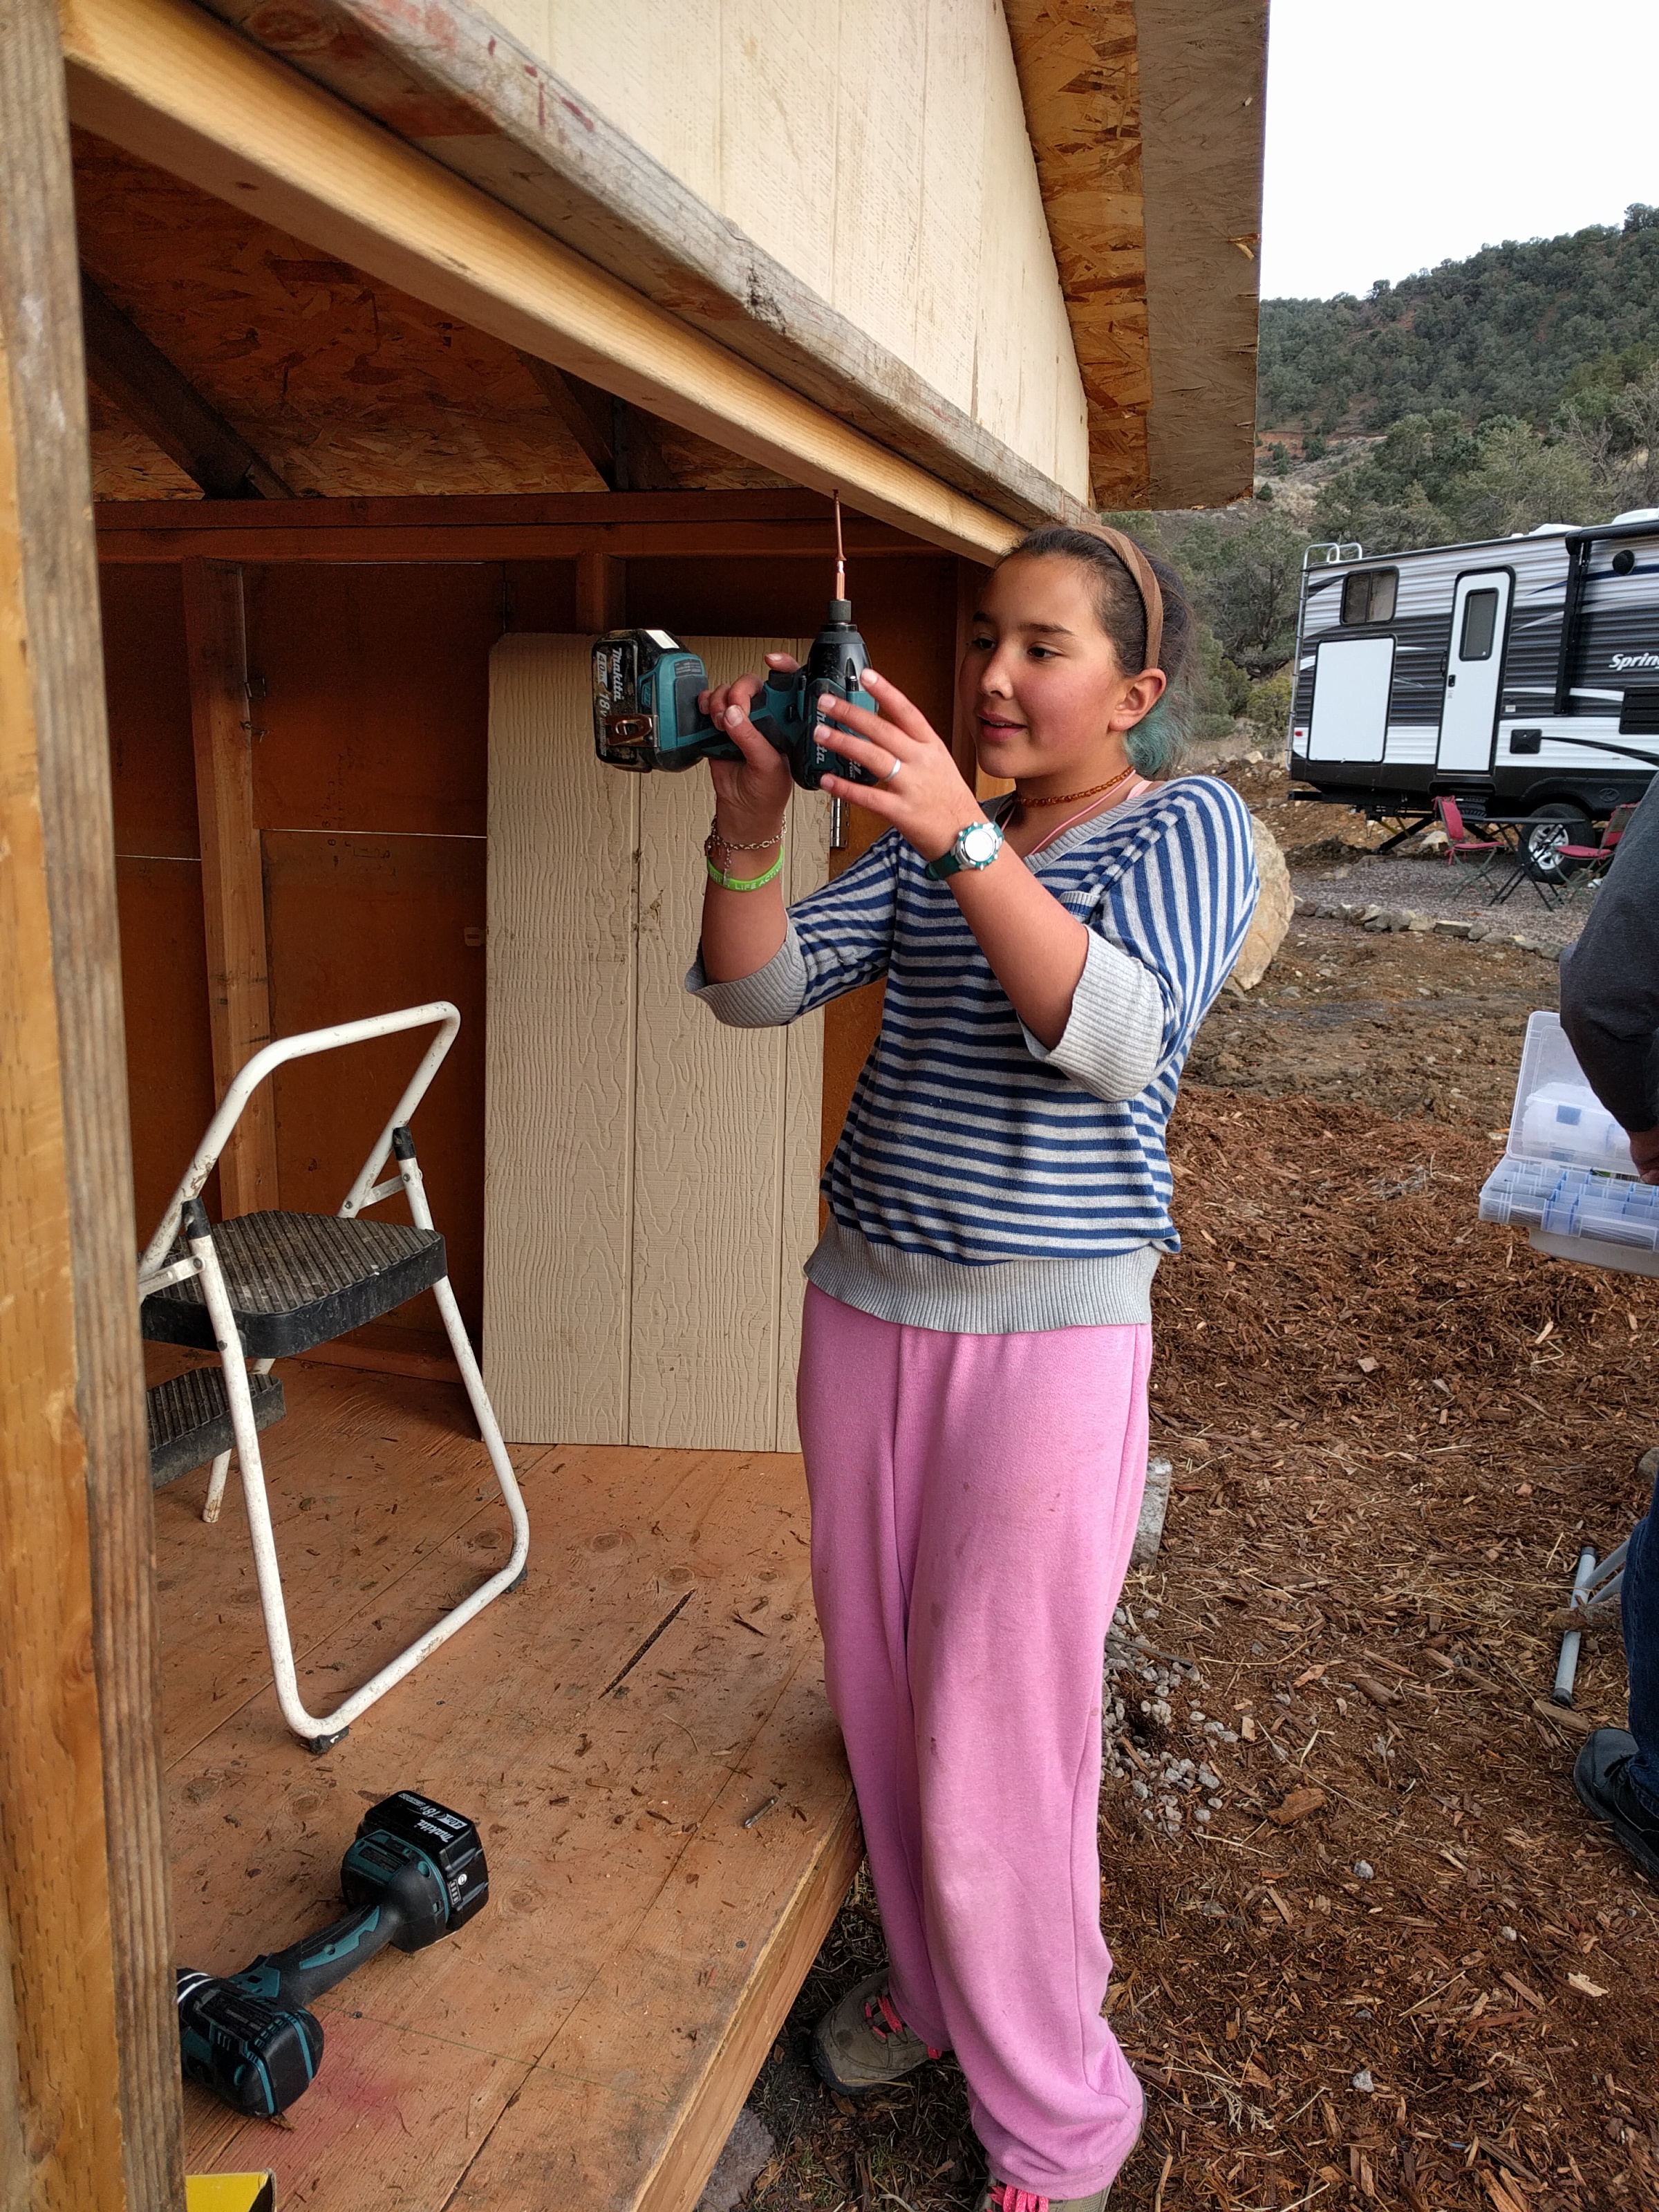
January 13 – oh look, more snow. And the beginnings of a door for the mudroom.

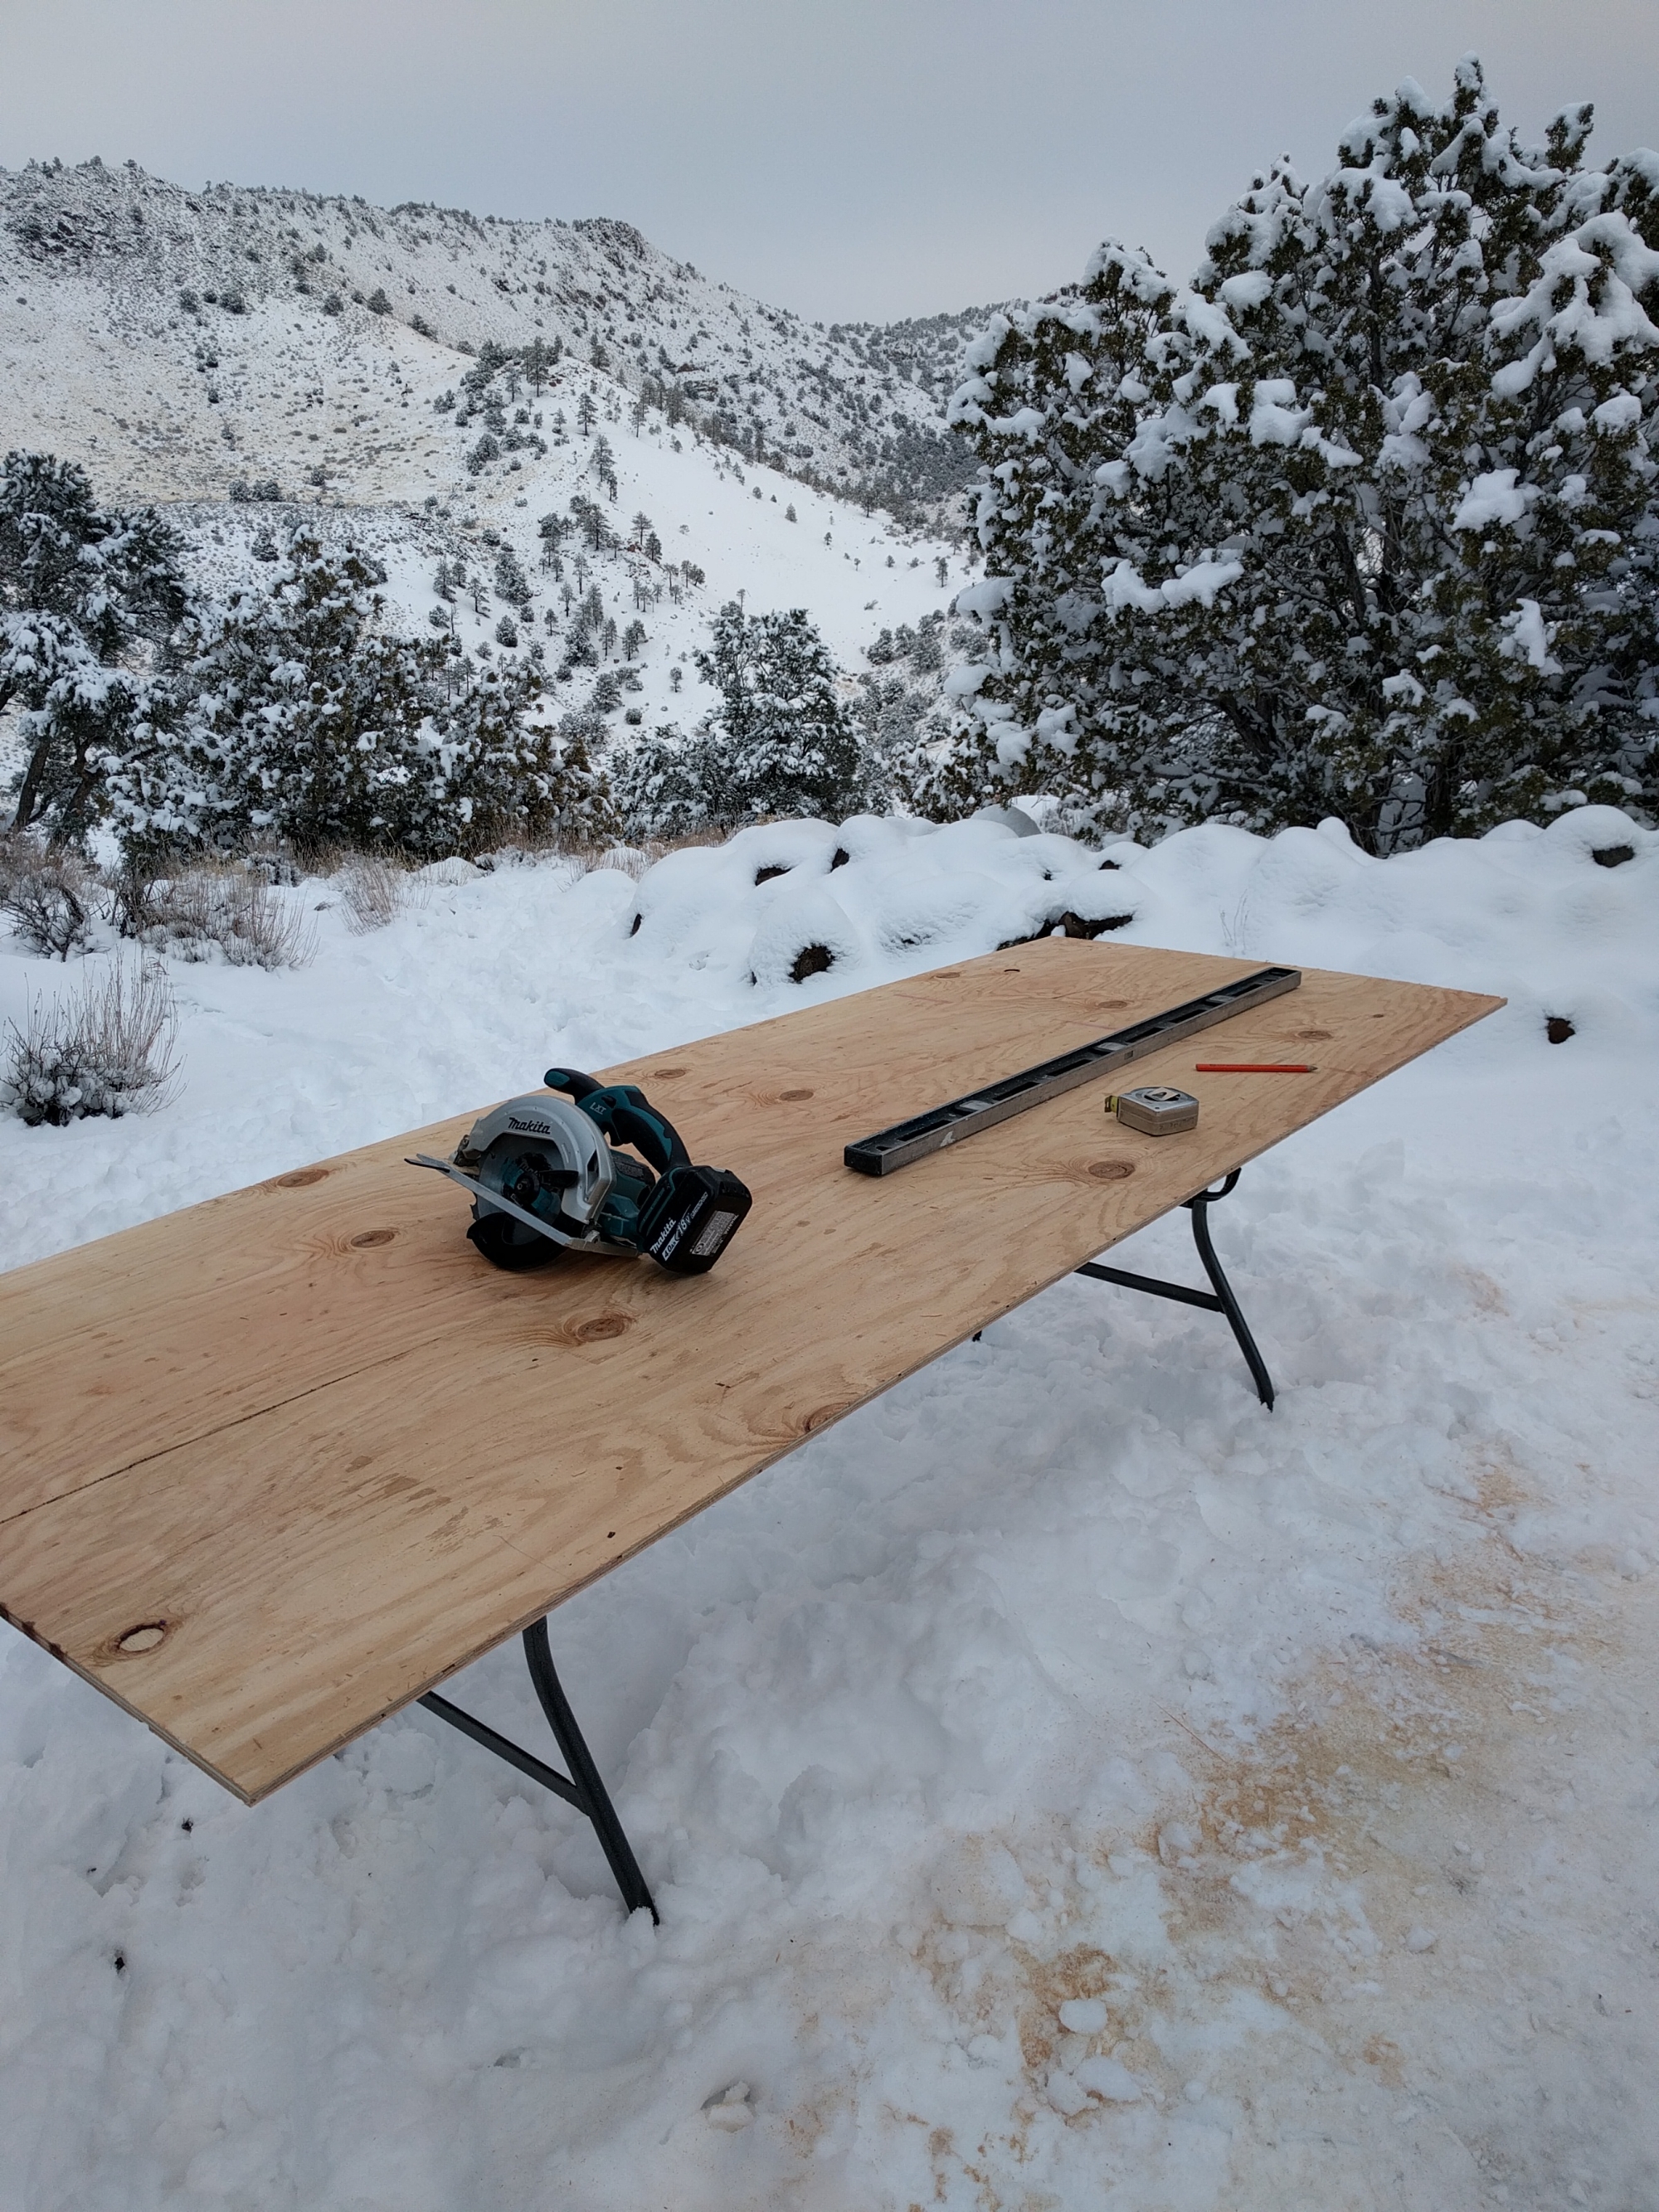
January 17 – still snowy – working on a floor for the mudroom

January 17 – mudroom floor before. At least when I was doing this project, the ground was mostly frozen, not the gushy quagmire it had been.

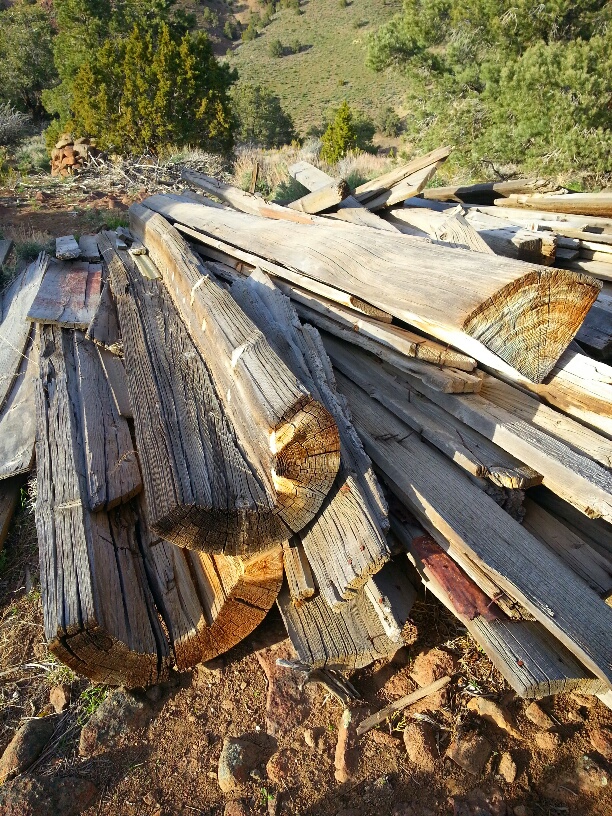
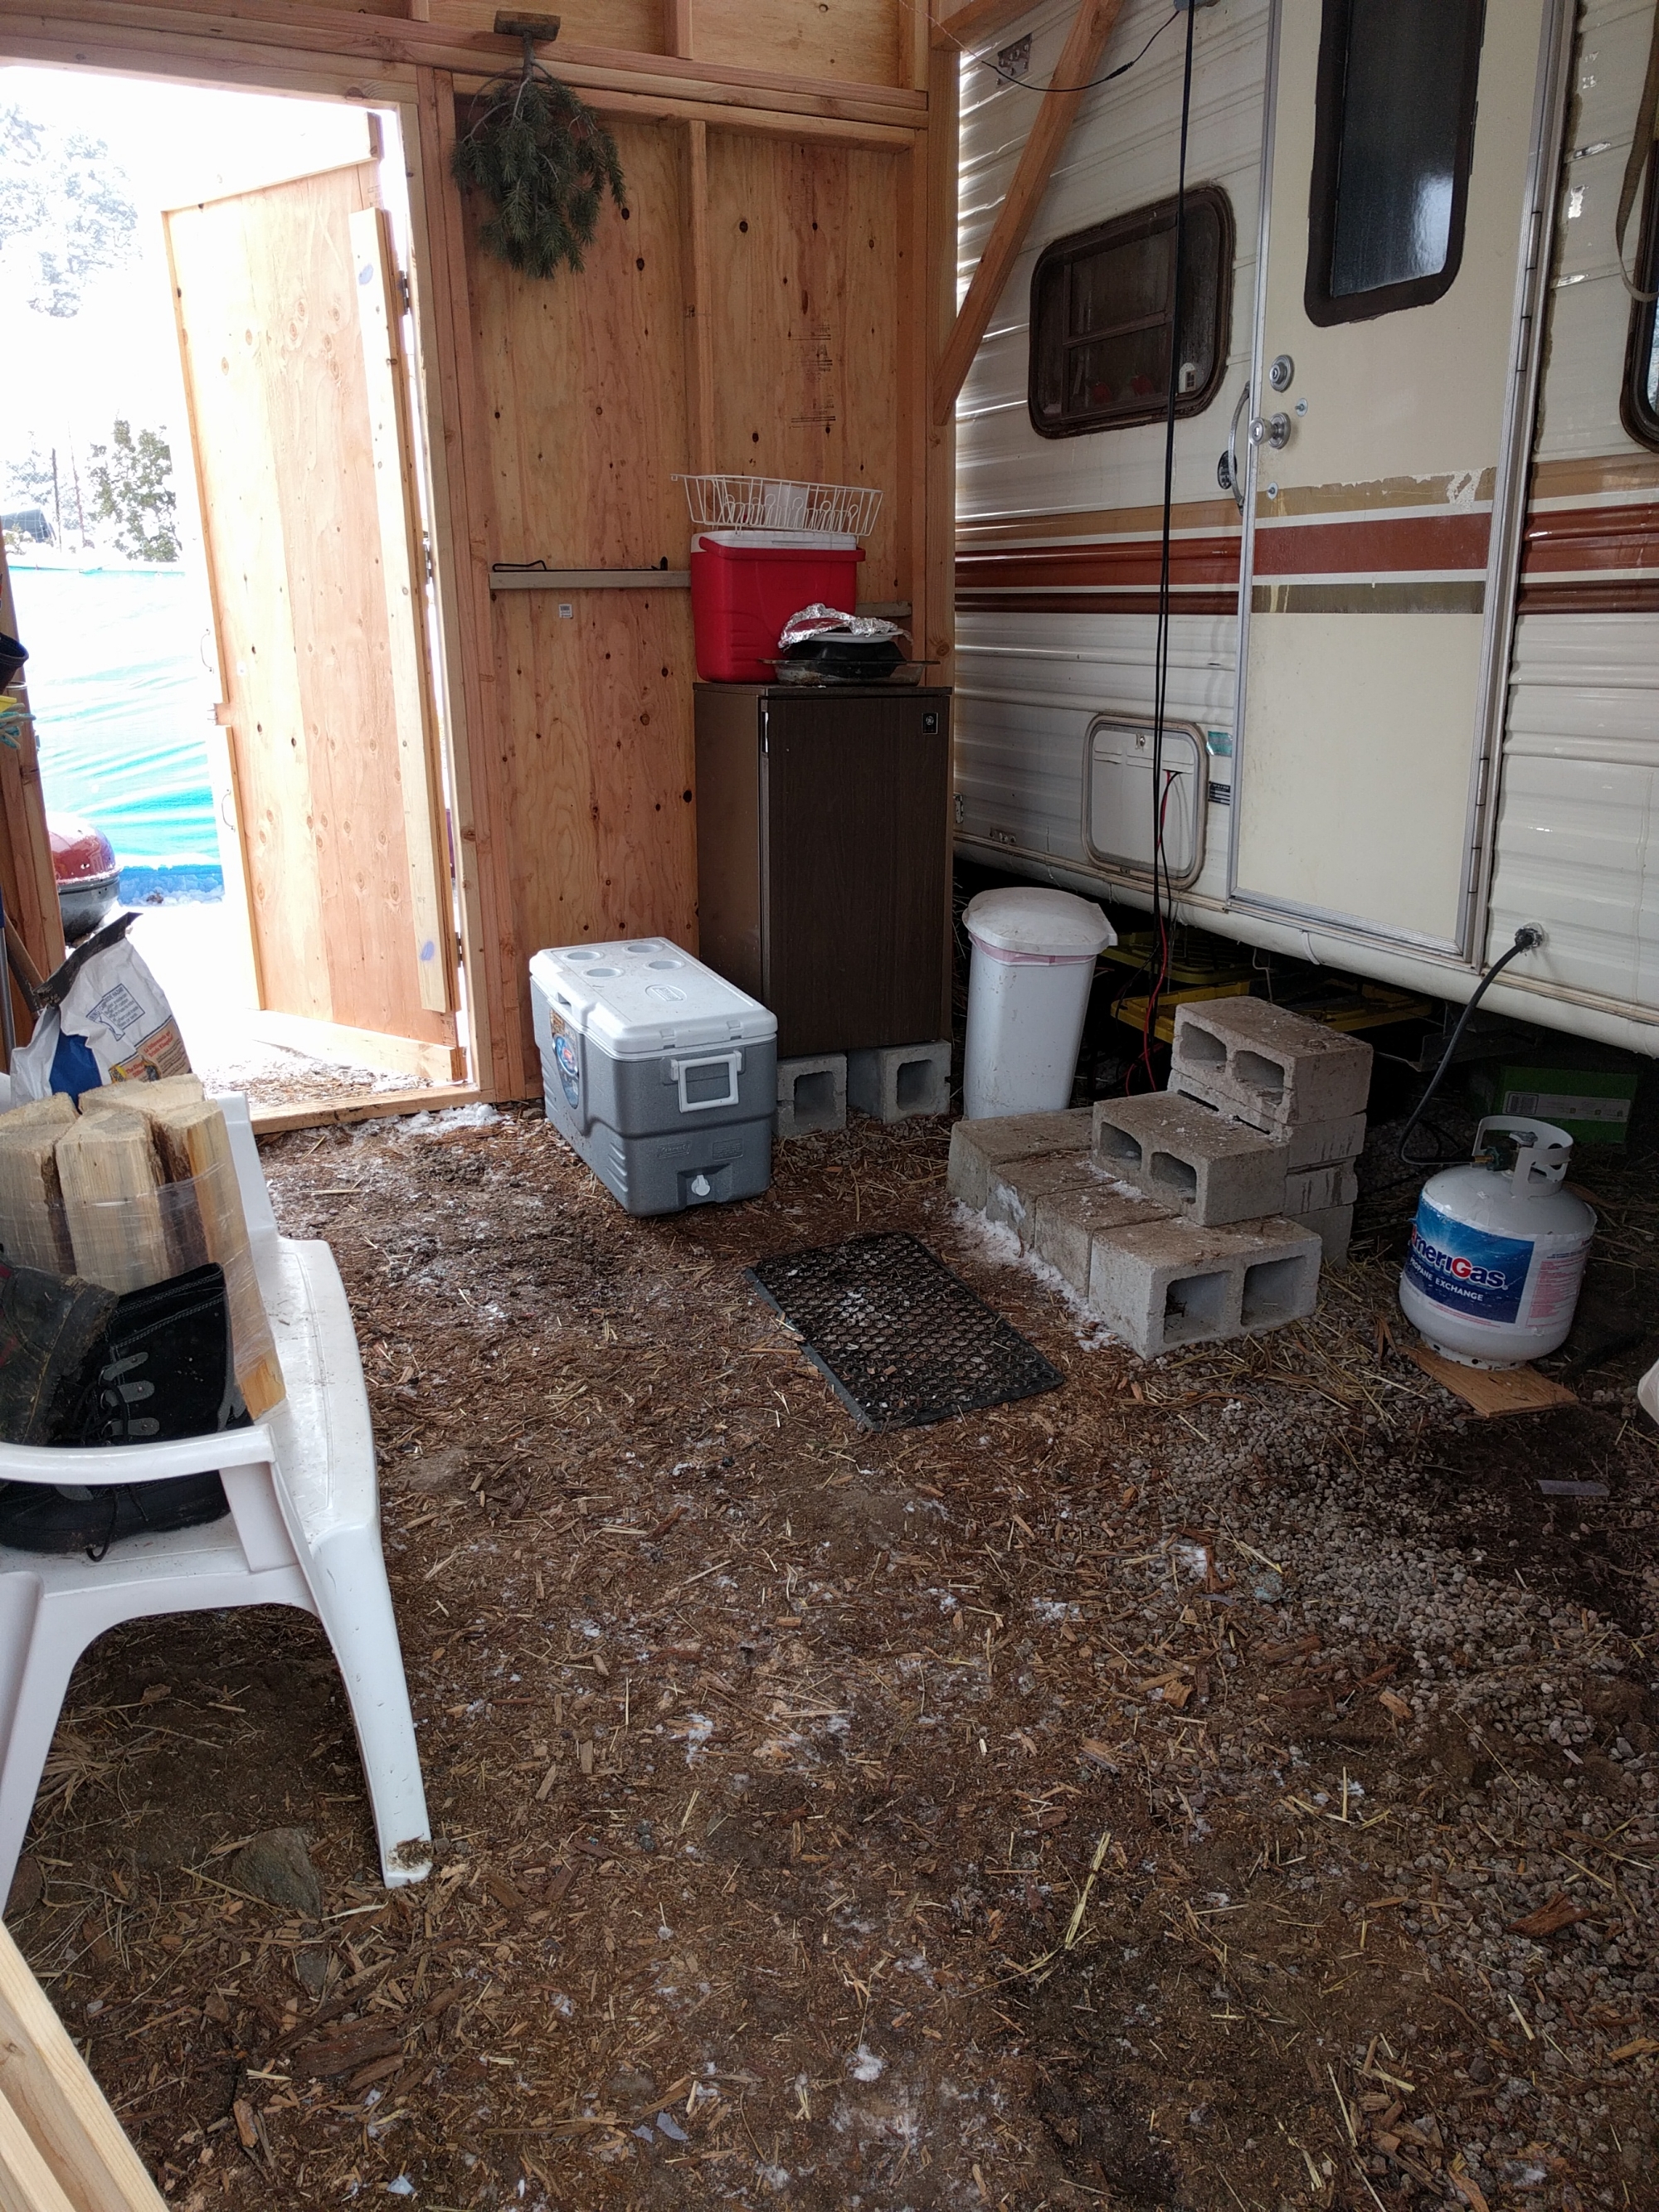
January 17 – mudroom floor after. We used heavy duty shipping pallets we found on Craiglist.

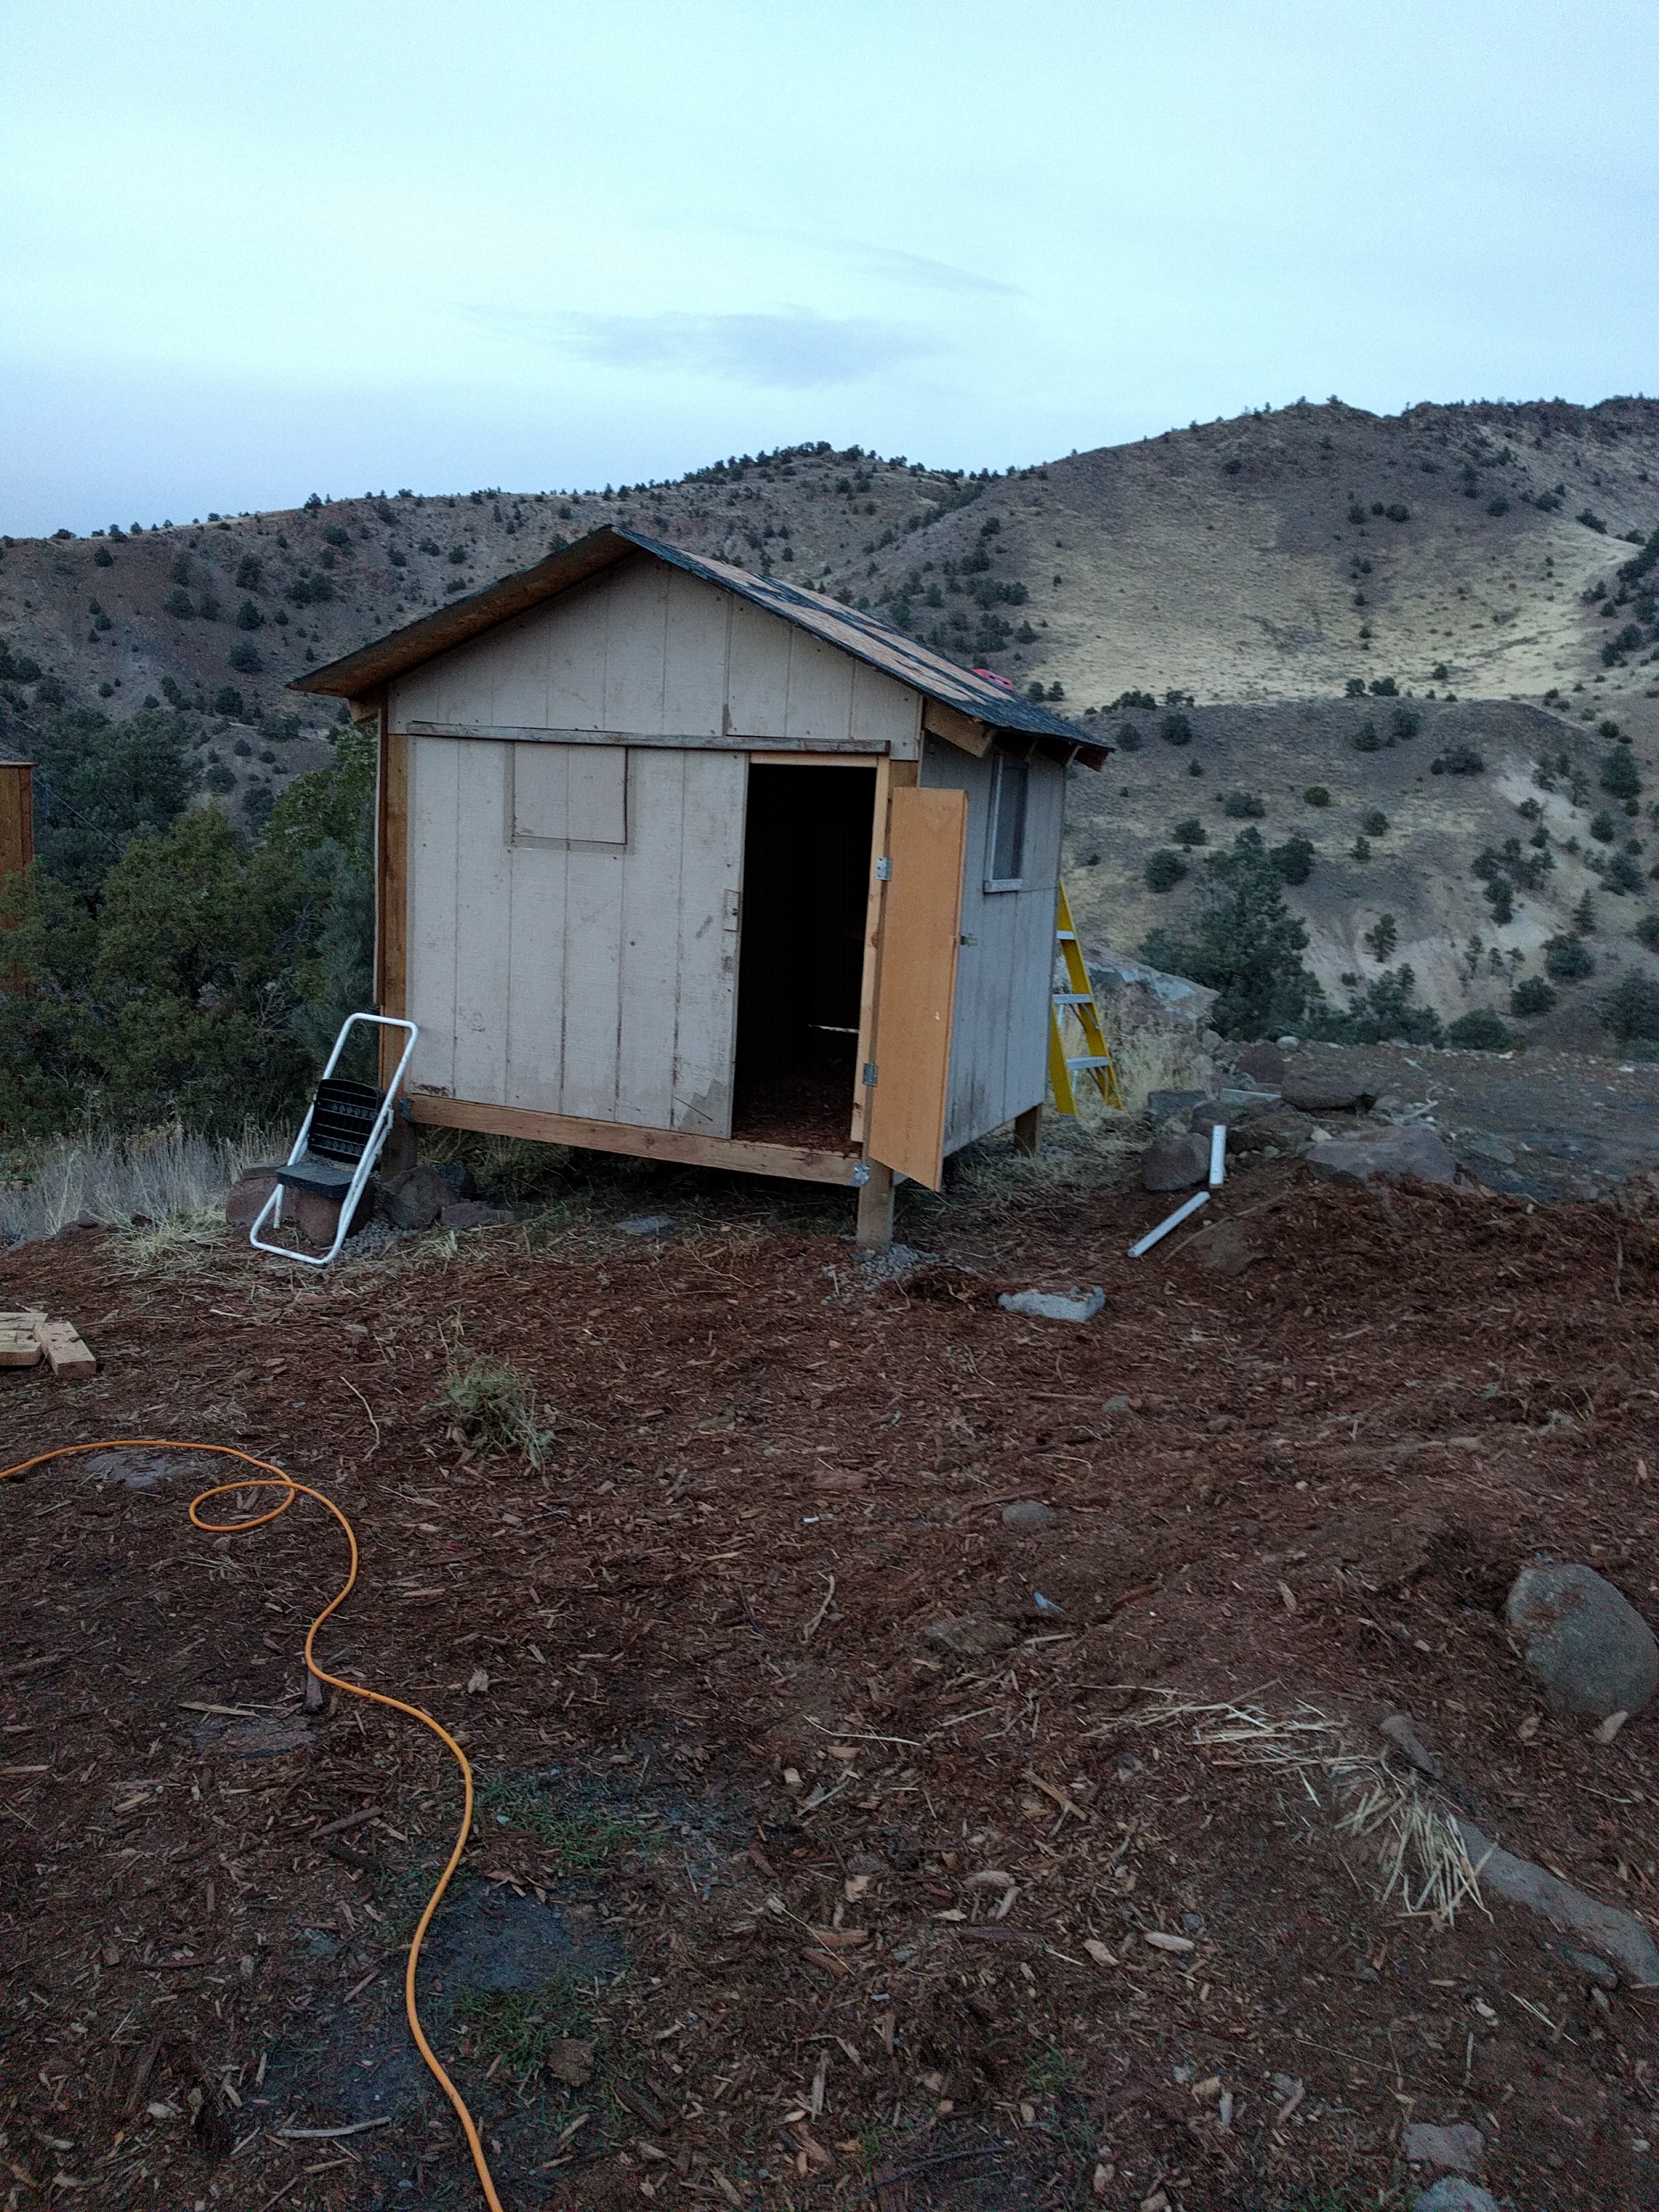
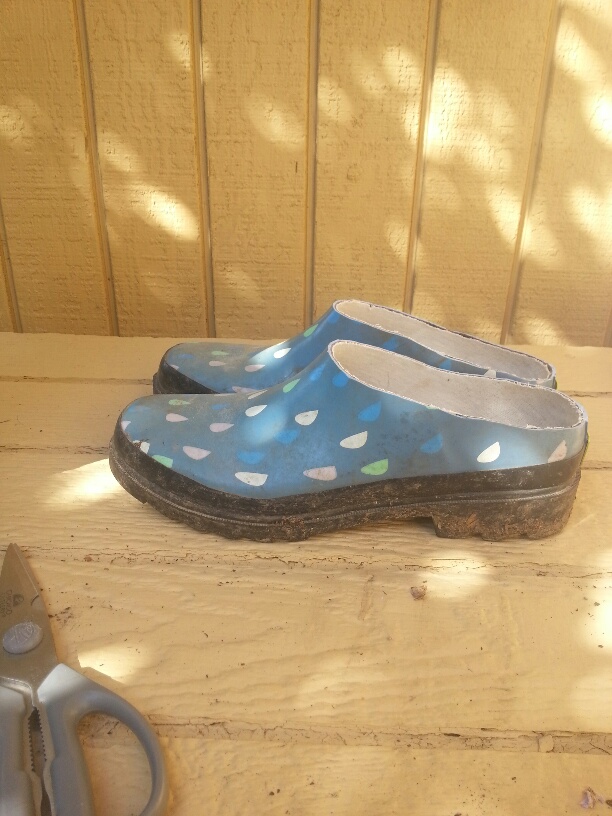
Once the floor was in, the mudroom was just about completed. It took us three weeks to build something that should have only taken one. But that’s construction in the winter for ya. The Hubby is toying around with a small wood stove to put in there so that on days like today (rain, rain, rain), we have a place to dry things out if need be. But even without a woodstove in there, it’s so very nice to have a place to kick off your wet and/or muddy shoes before coming in the trailer. It also keeps our fridge protected from the elements.

January 23 – speaking of the elements…more snow! There are three more solar panels under there somewhere.

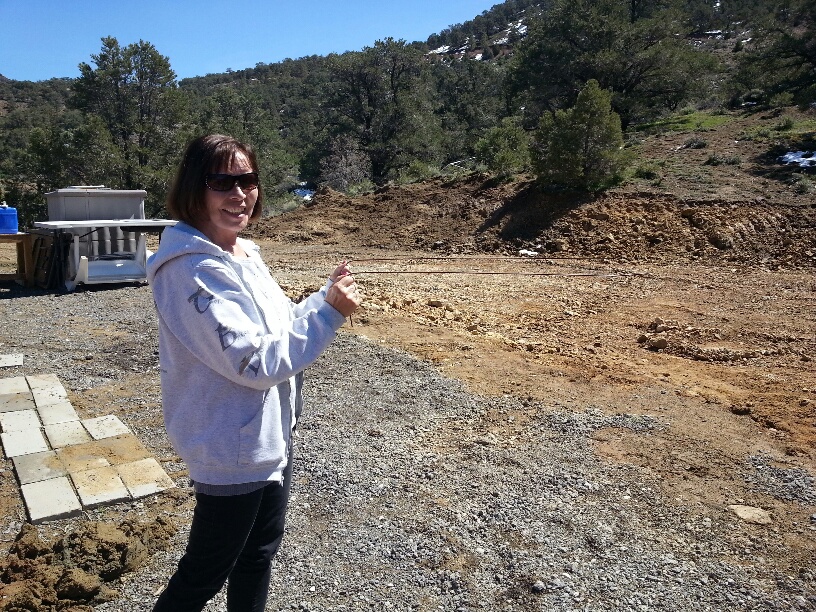
We had a few days of warmer and drier weather over the past week and were able to get a few other projects done.

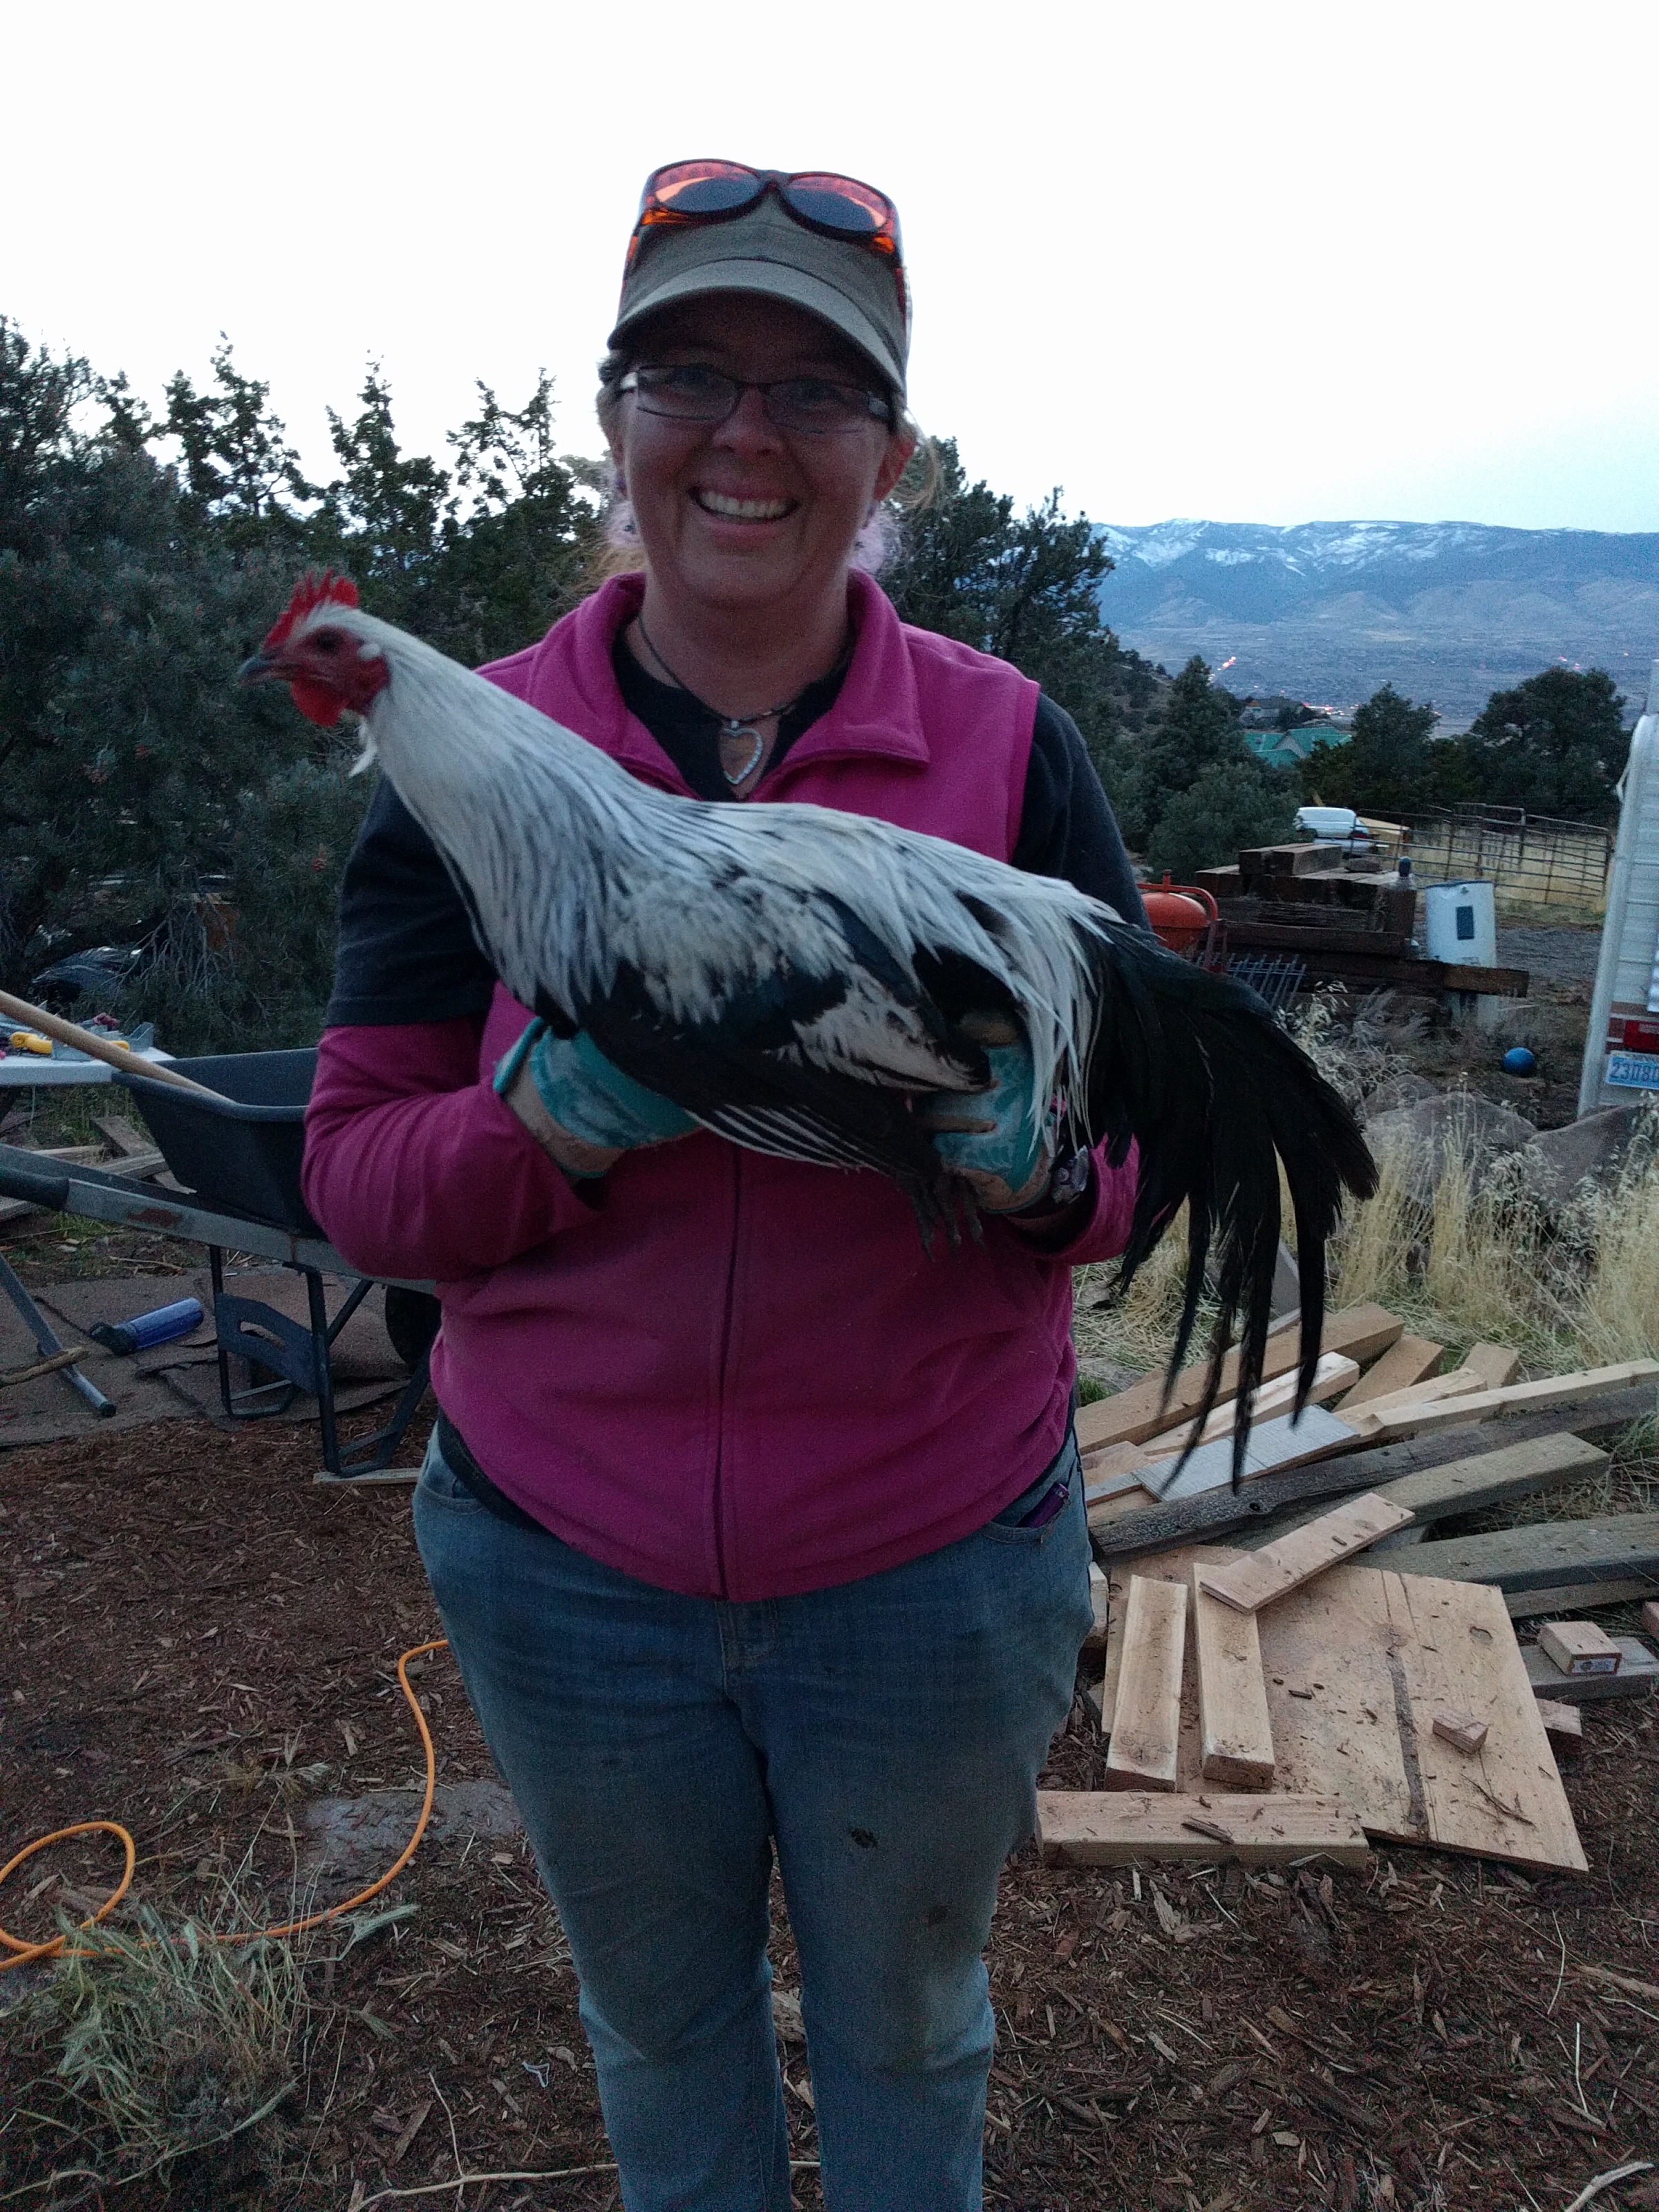
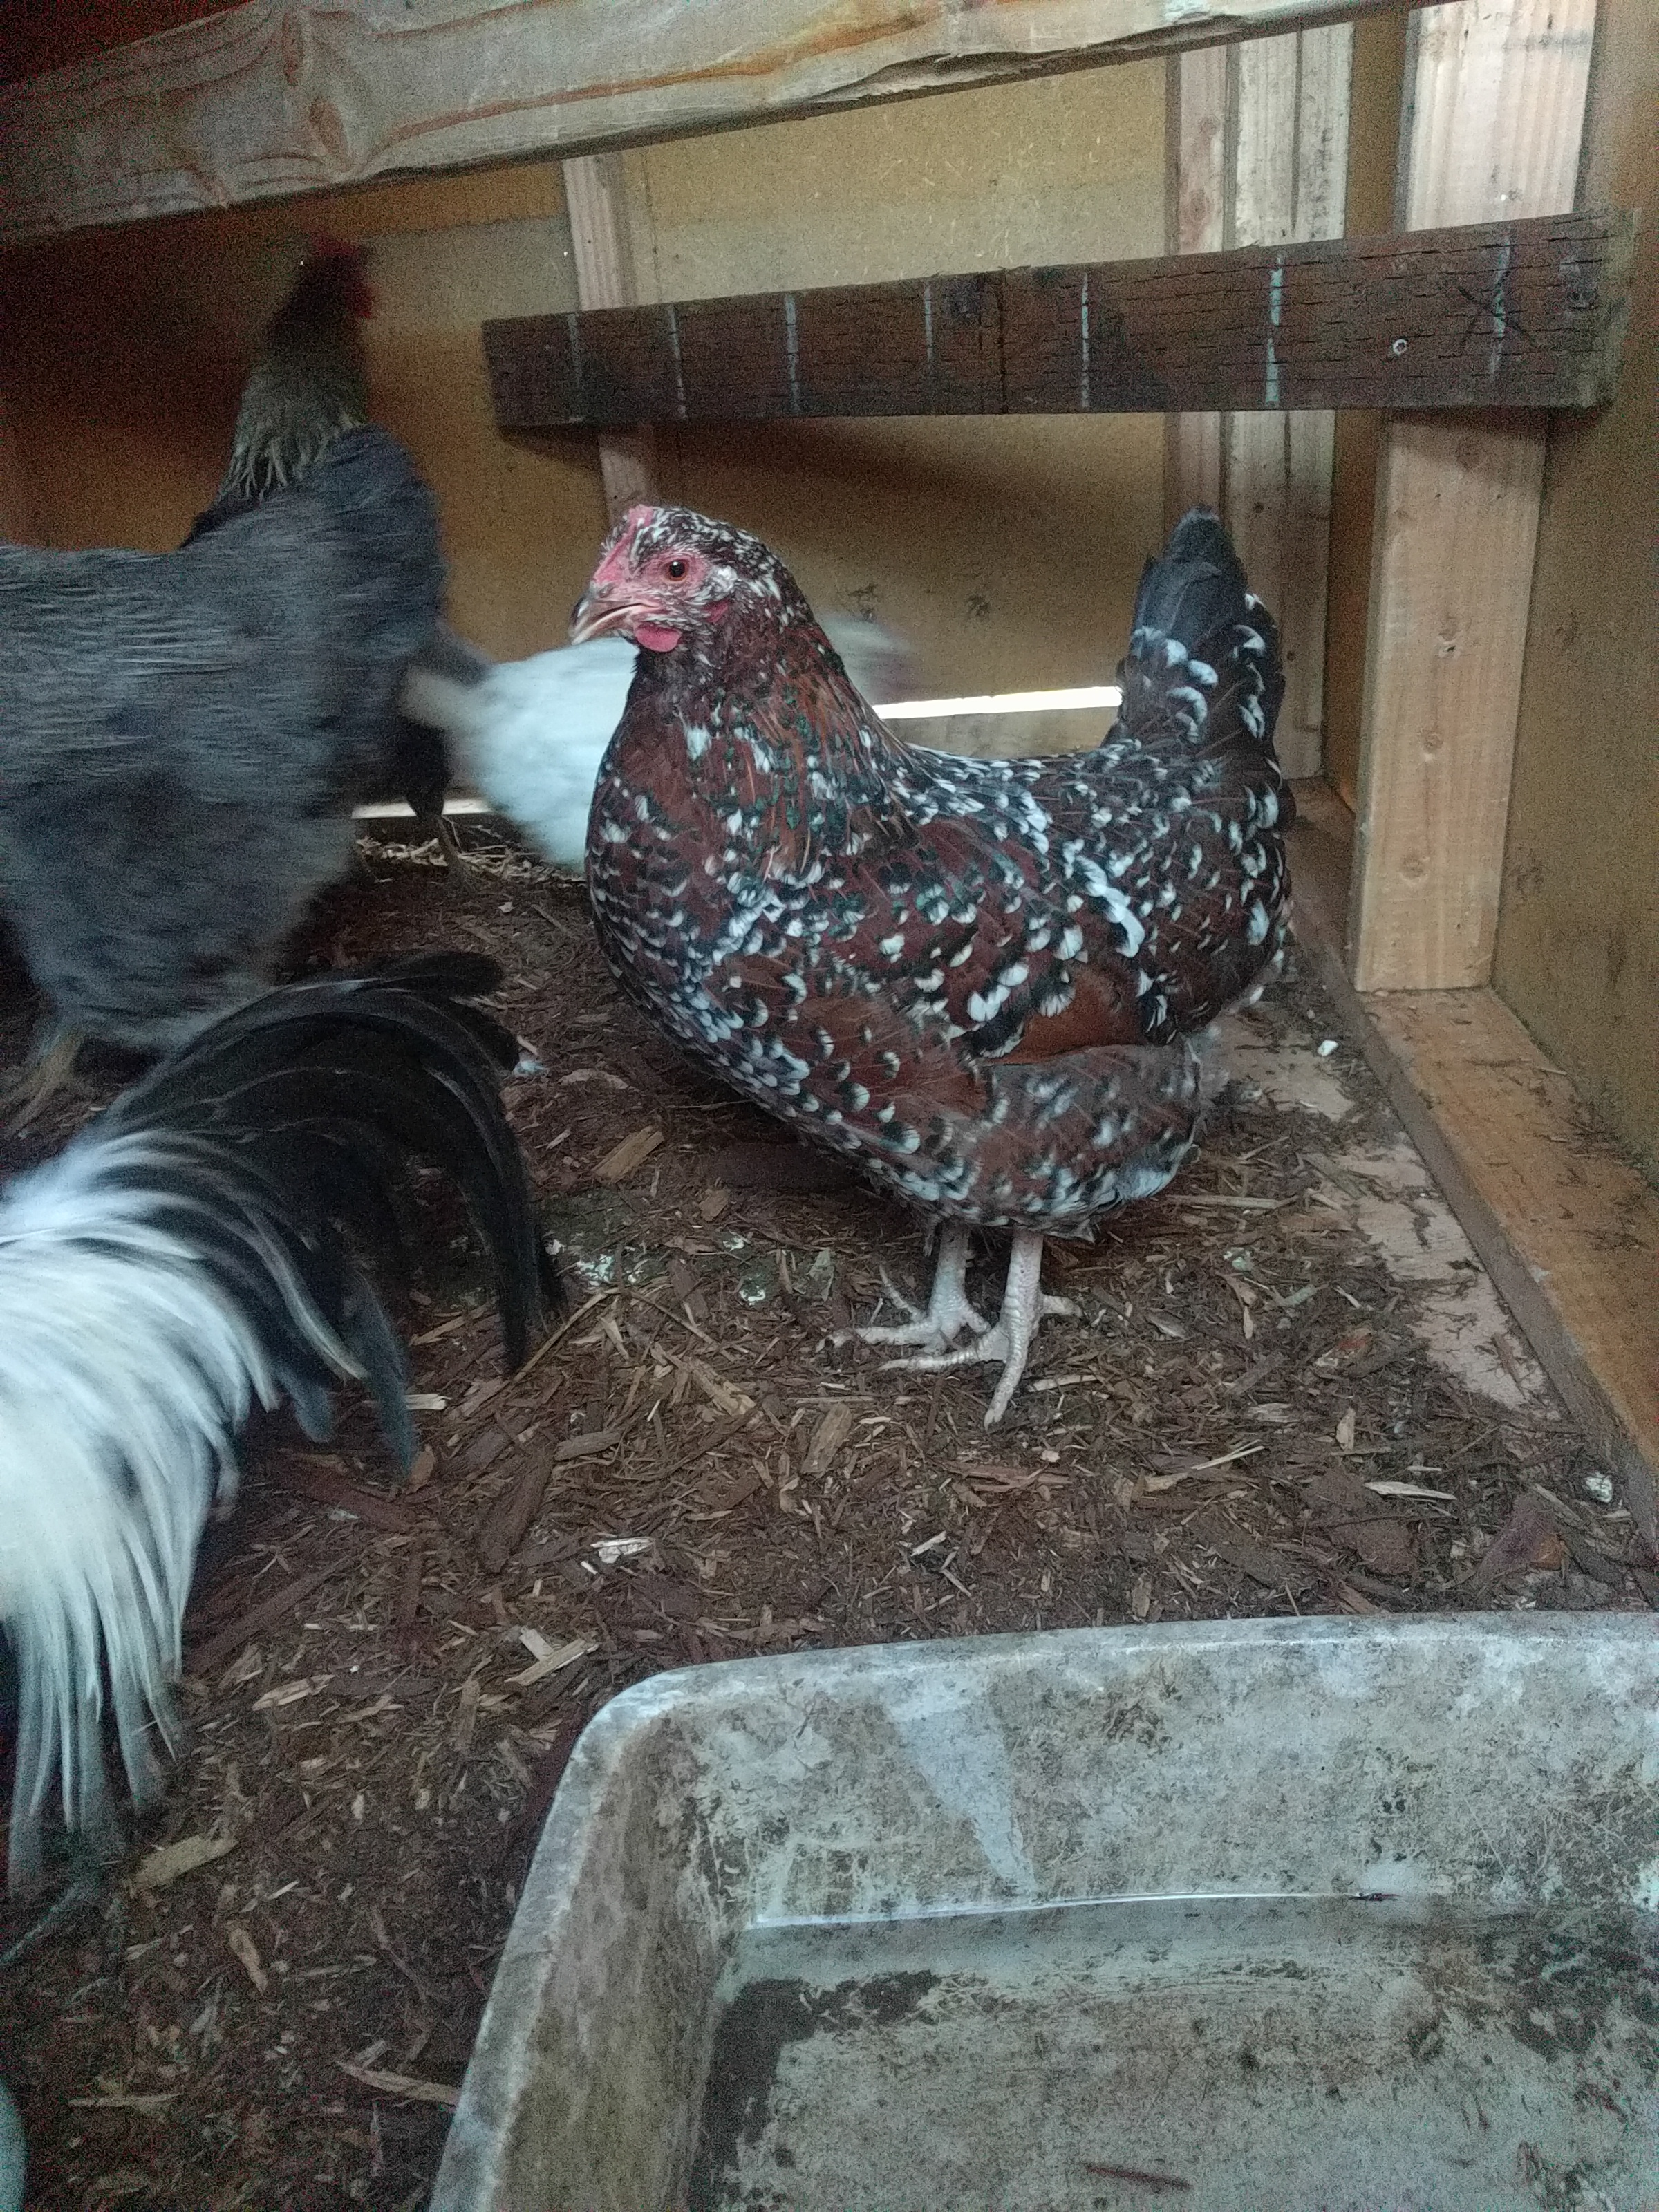
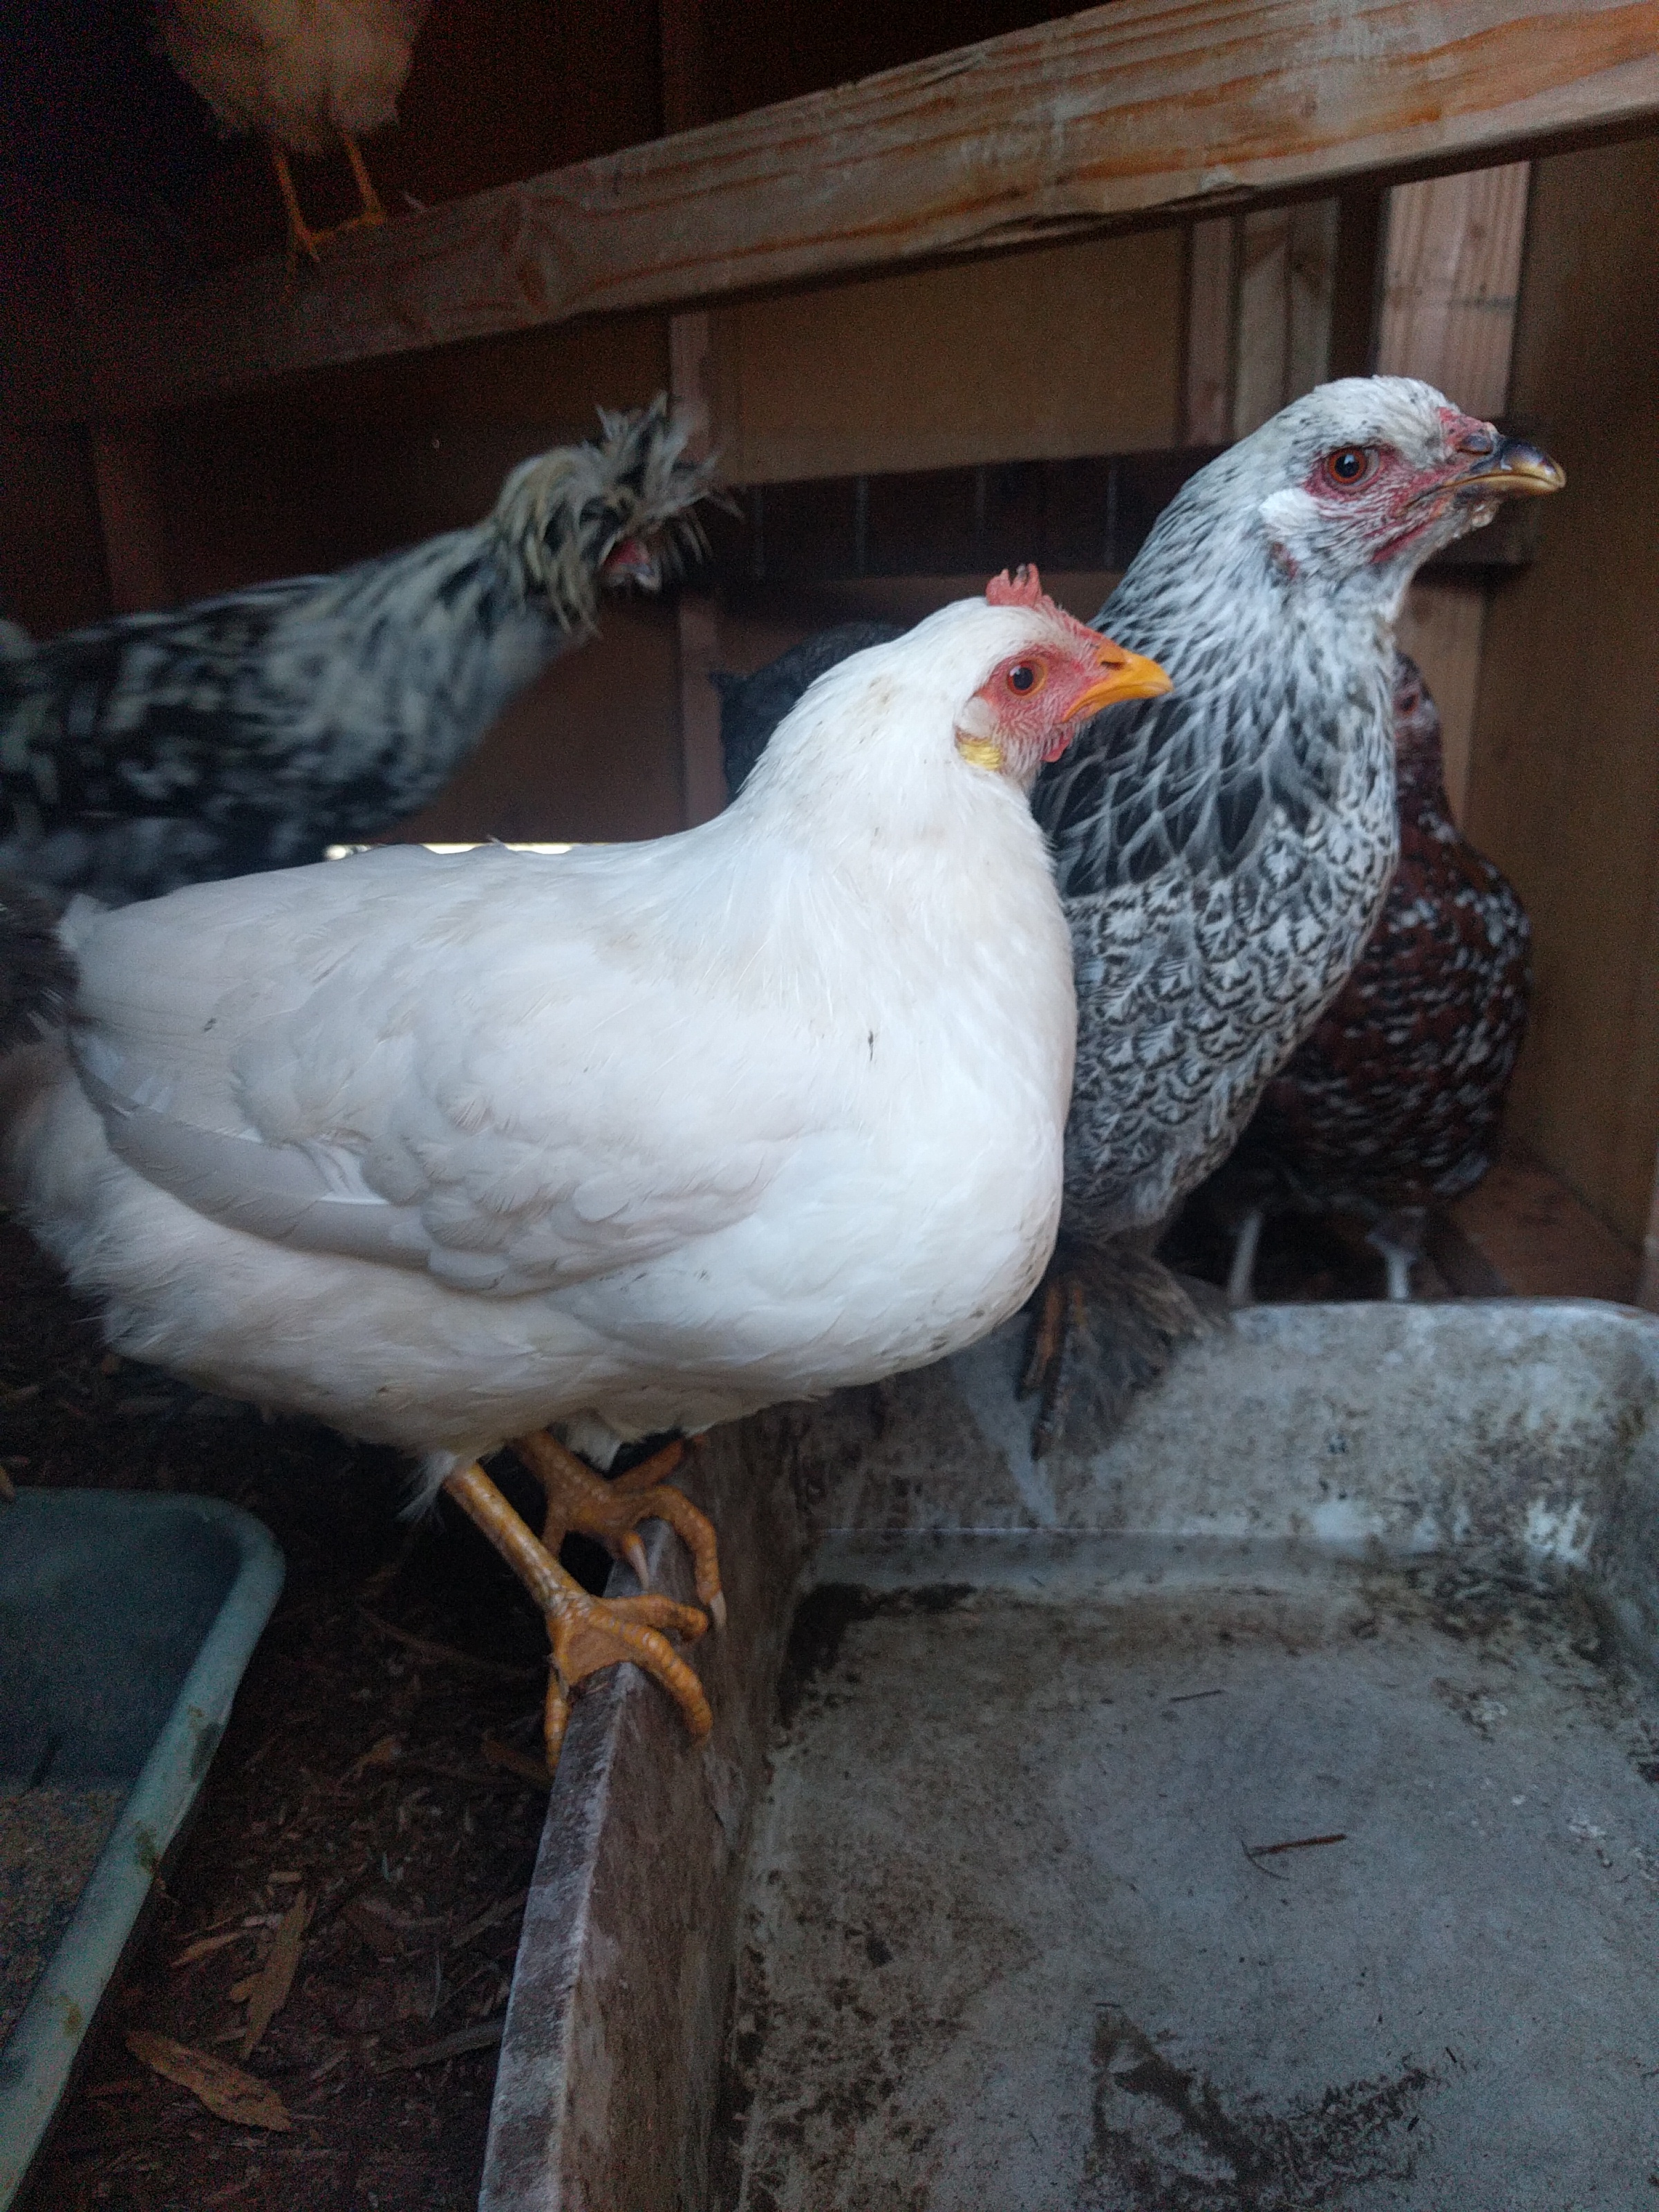
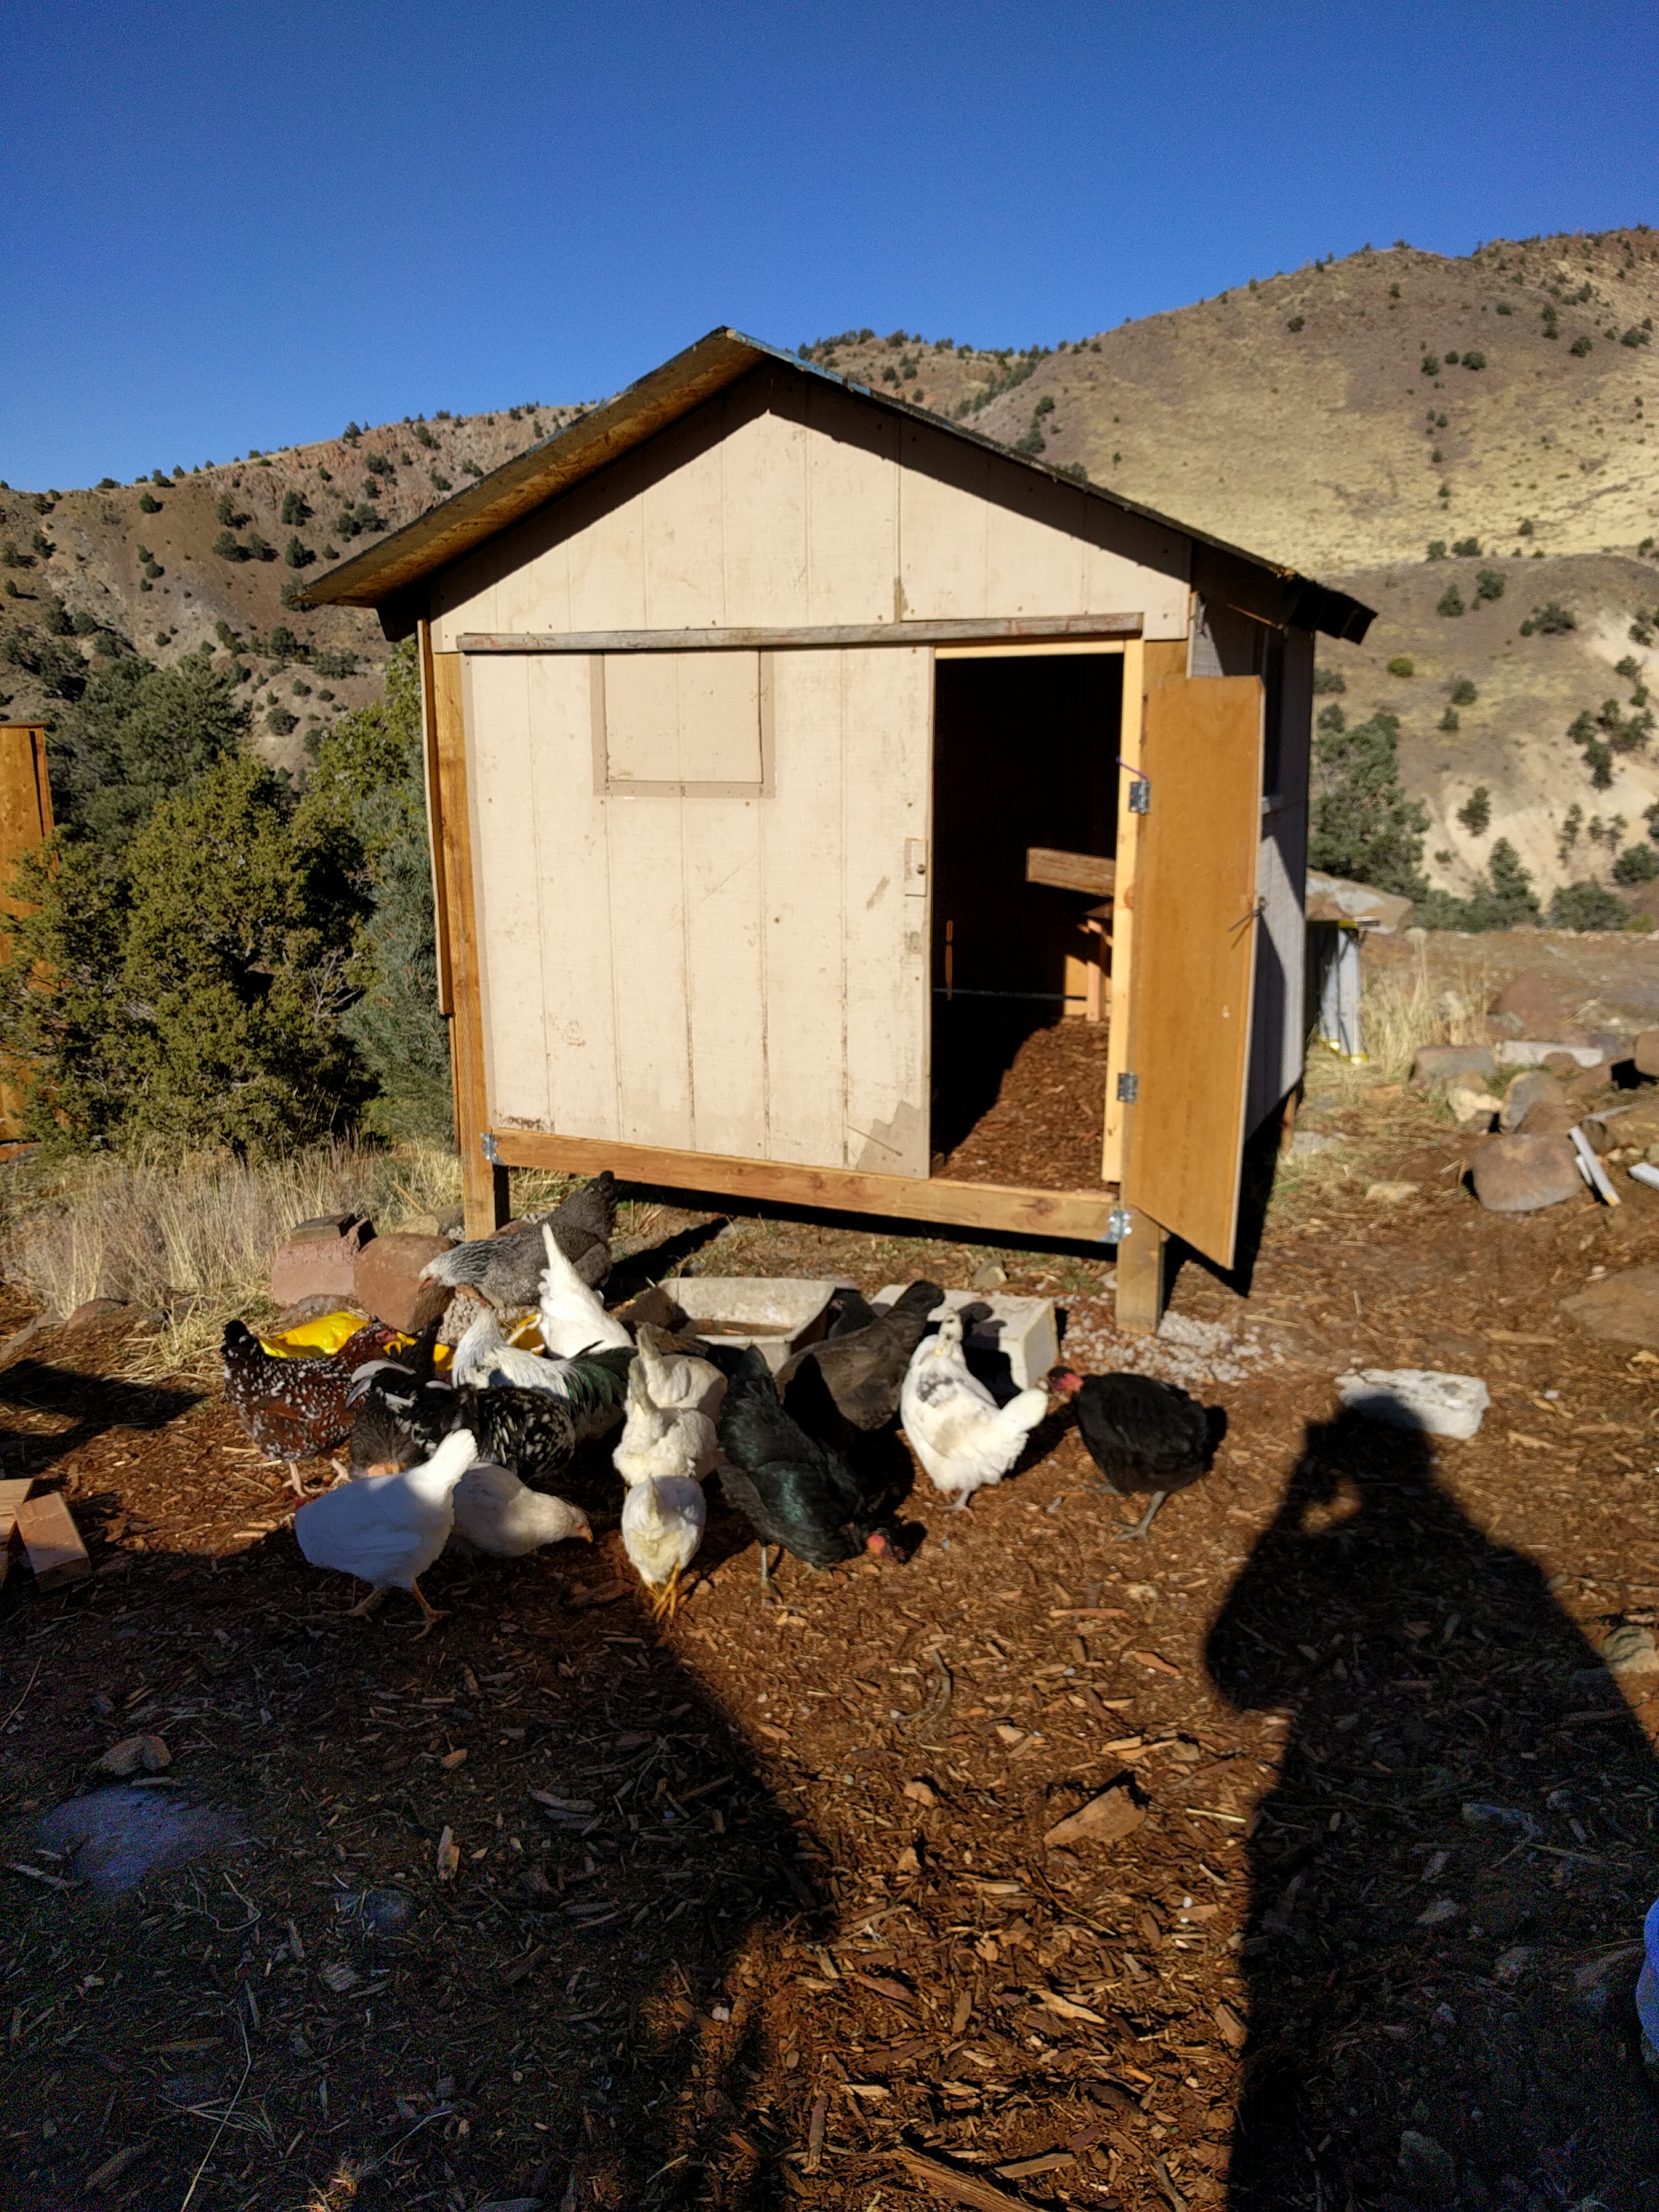
January 30 – sunshine! A beautiful day to clean out the chicken coop.

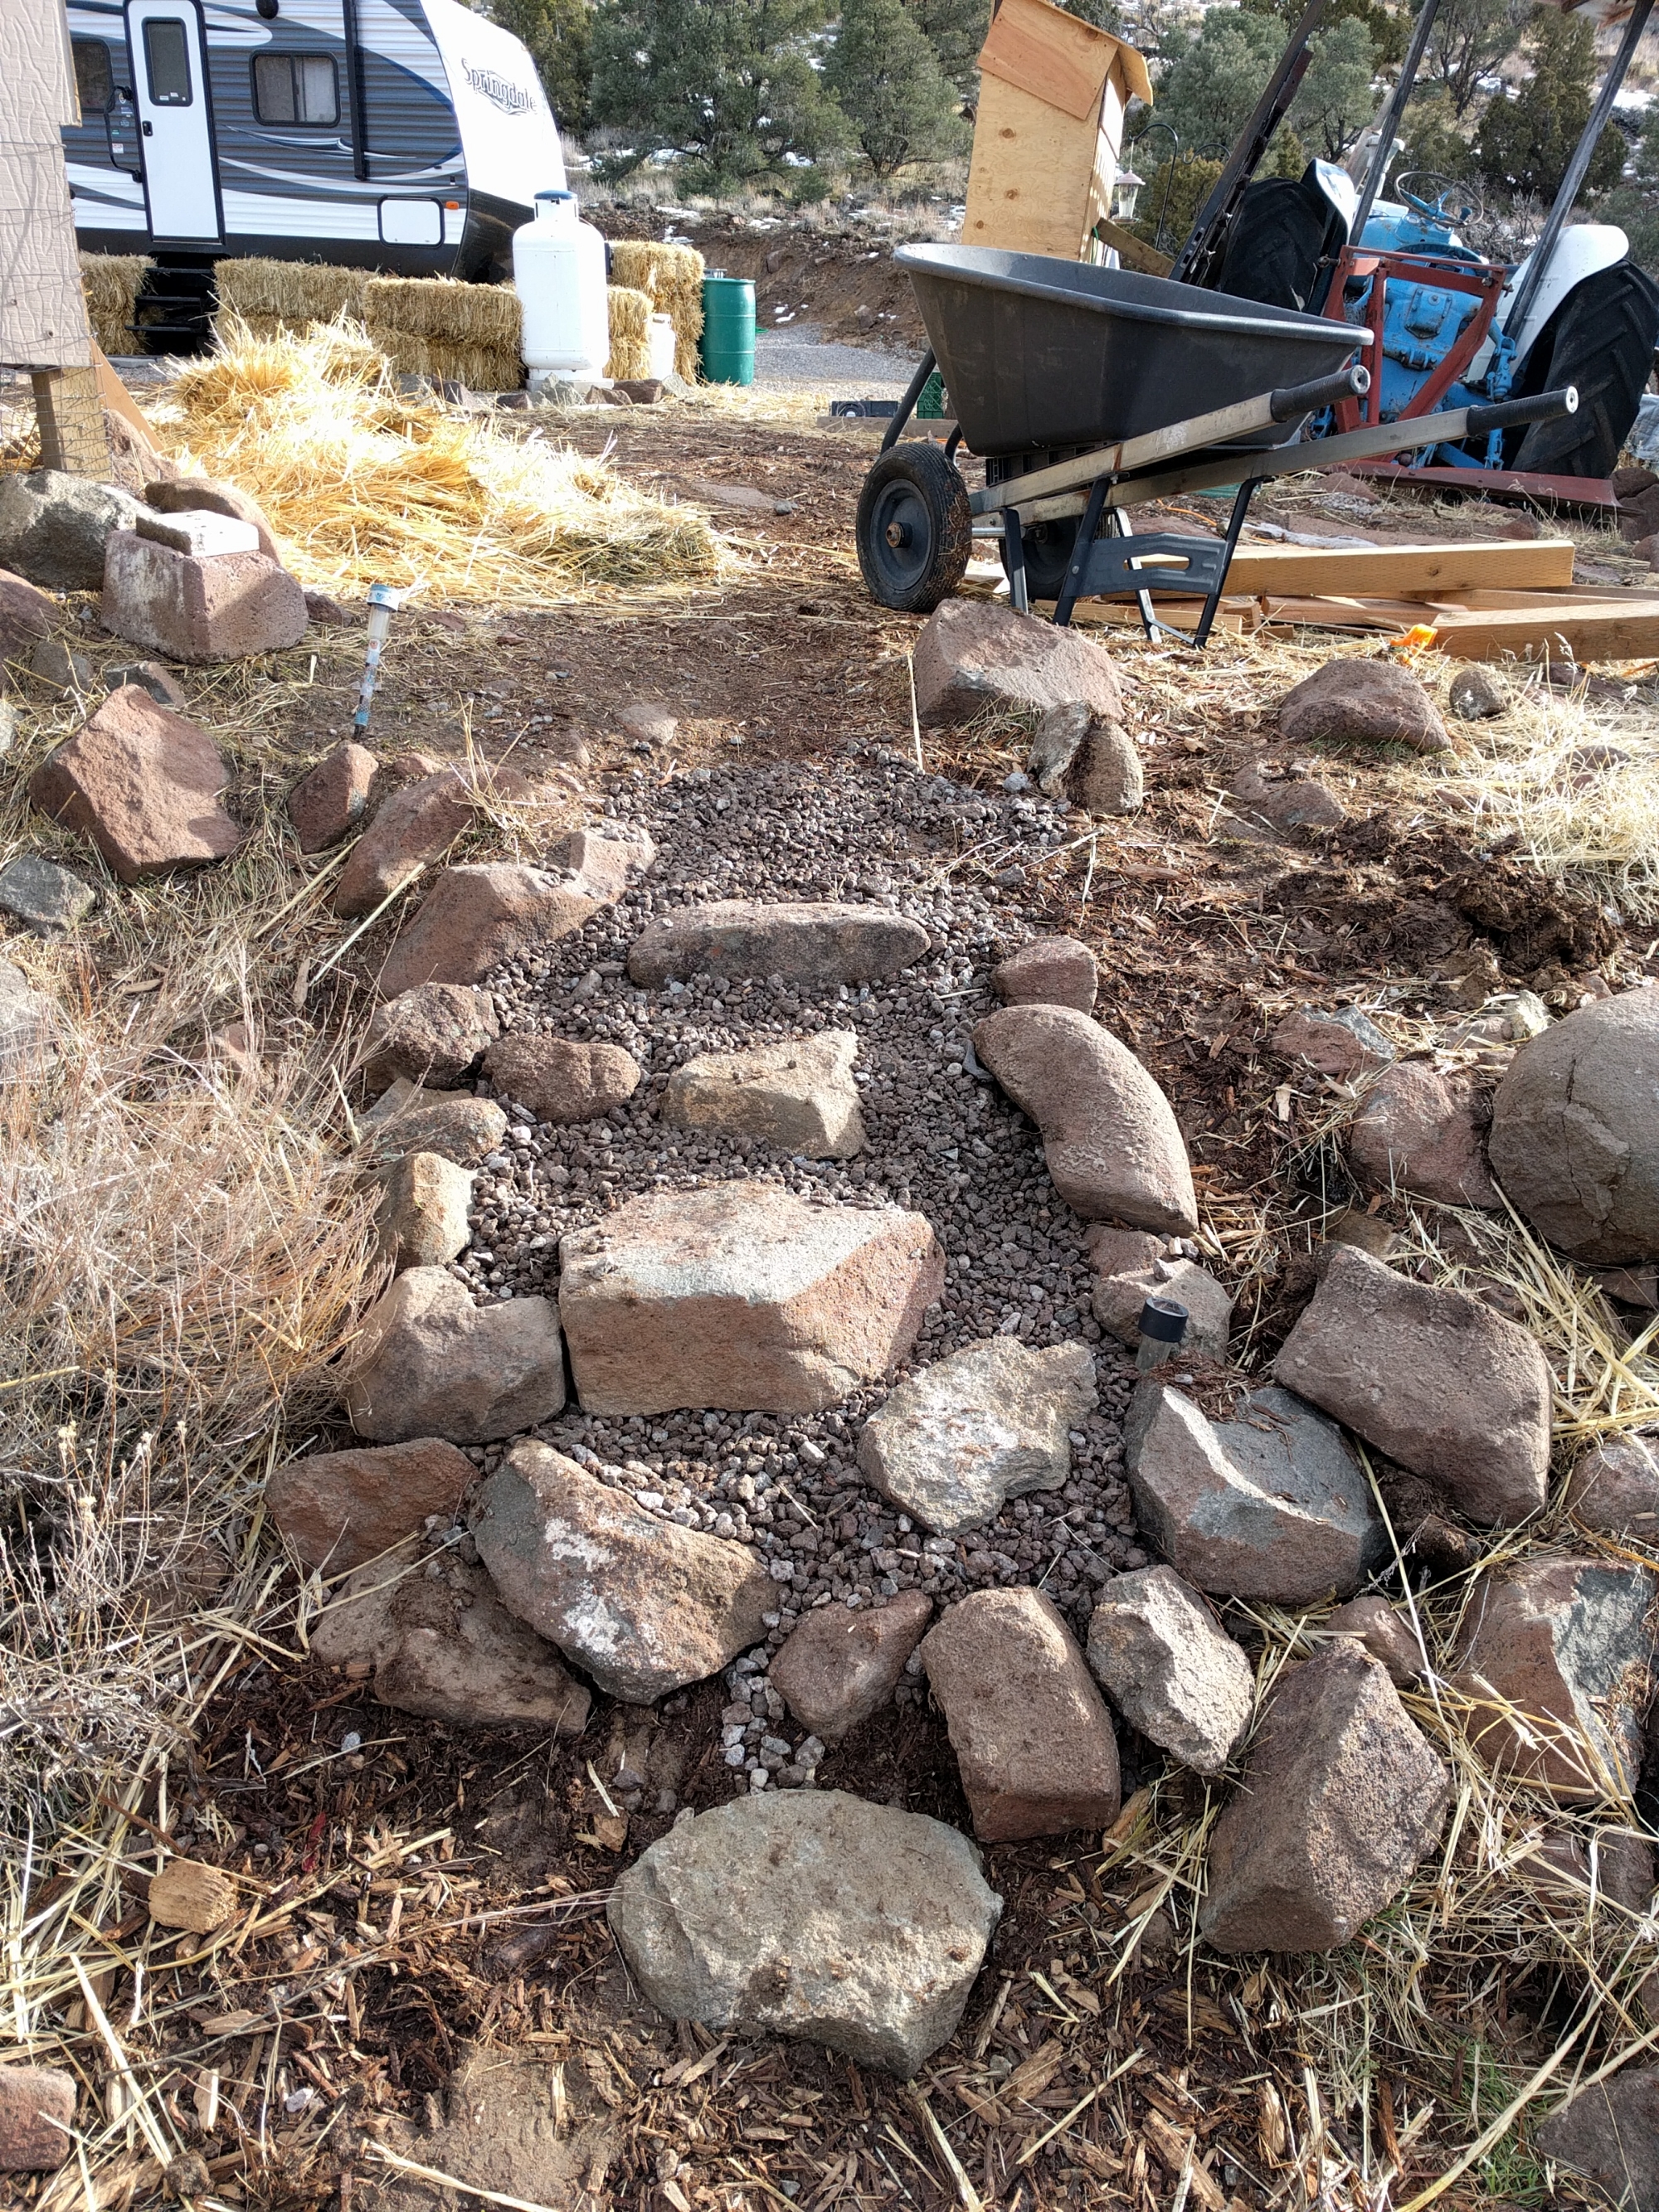
February 4 – more sunshine (but very windy) – finally built some steps into the hillside between Pajii’s trailer and ours. That will come in handy the next time it’s covered in snow. Slipping and sliding is fun when sledding, not so much when carrying dinner to your father-in-law’s house.

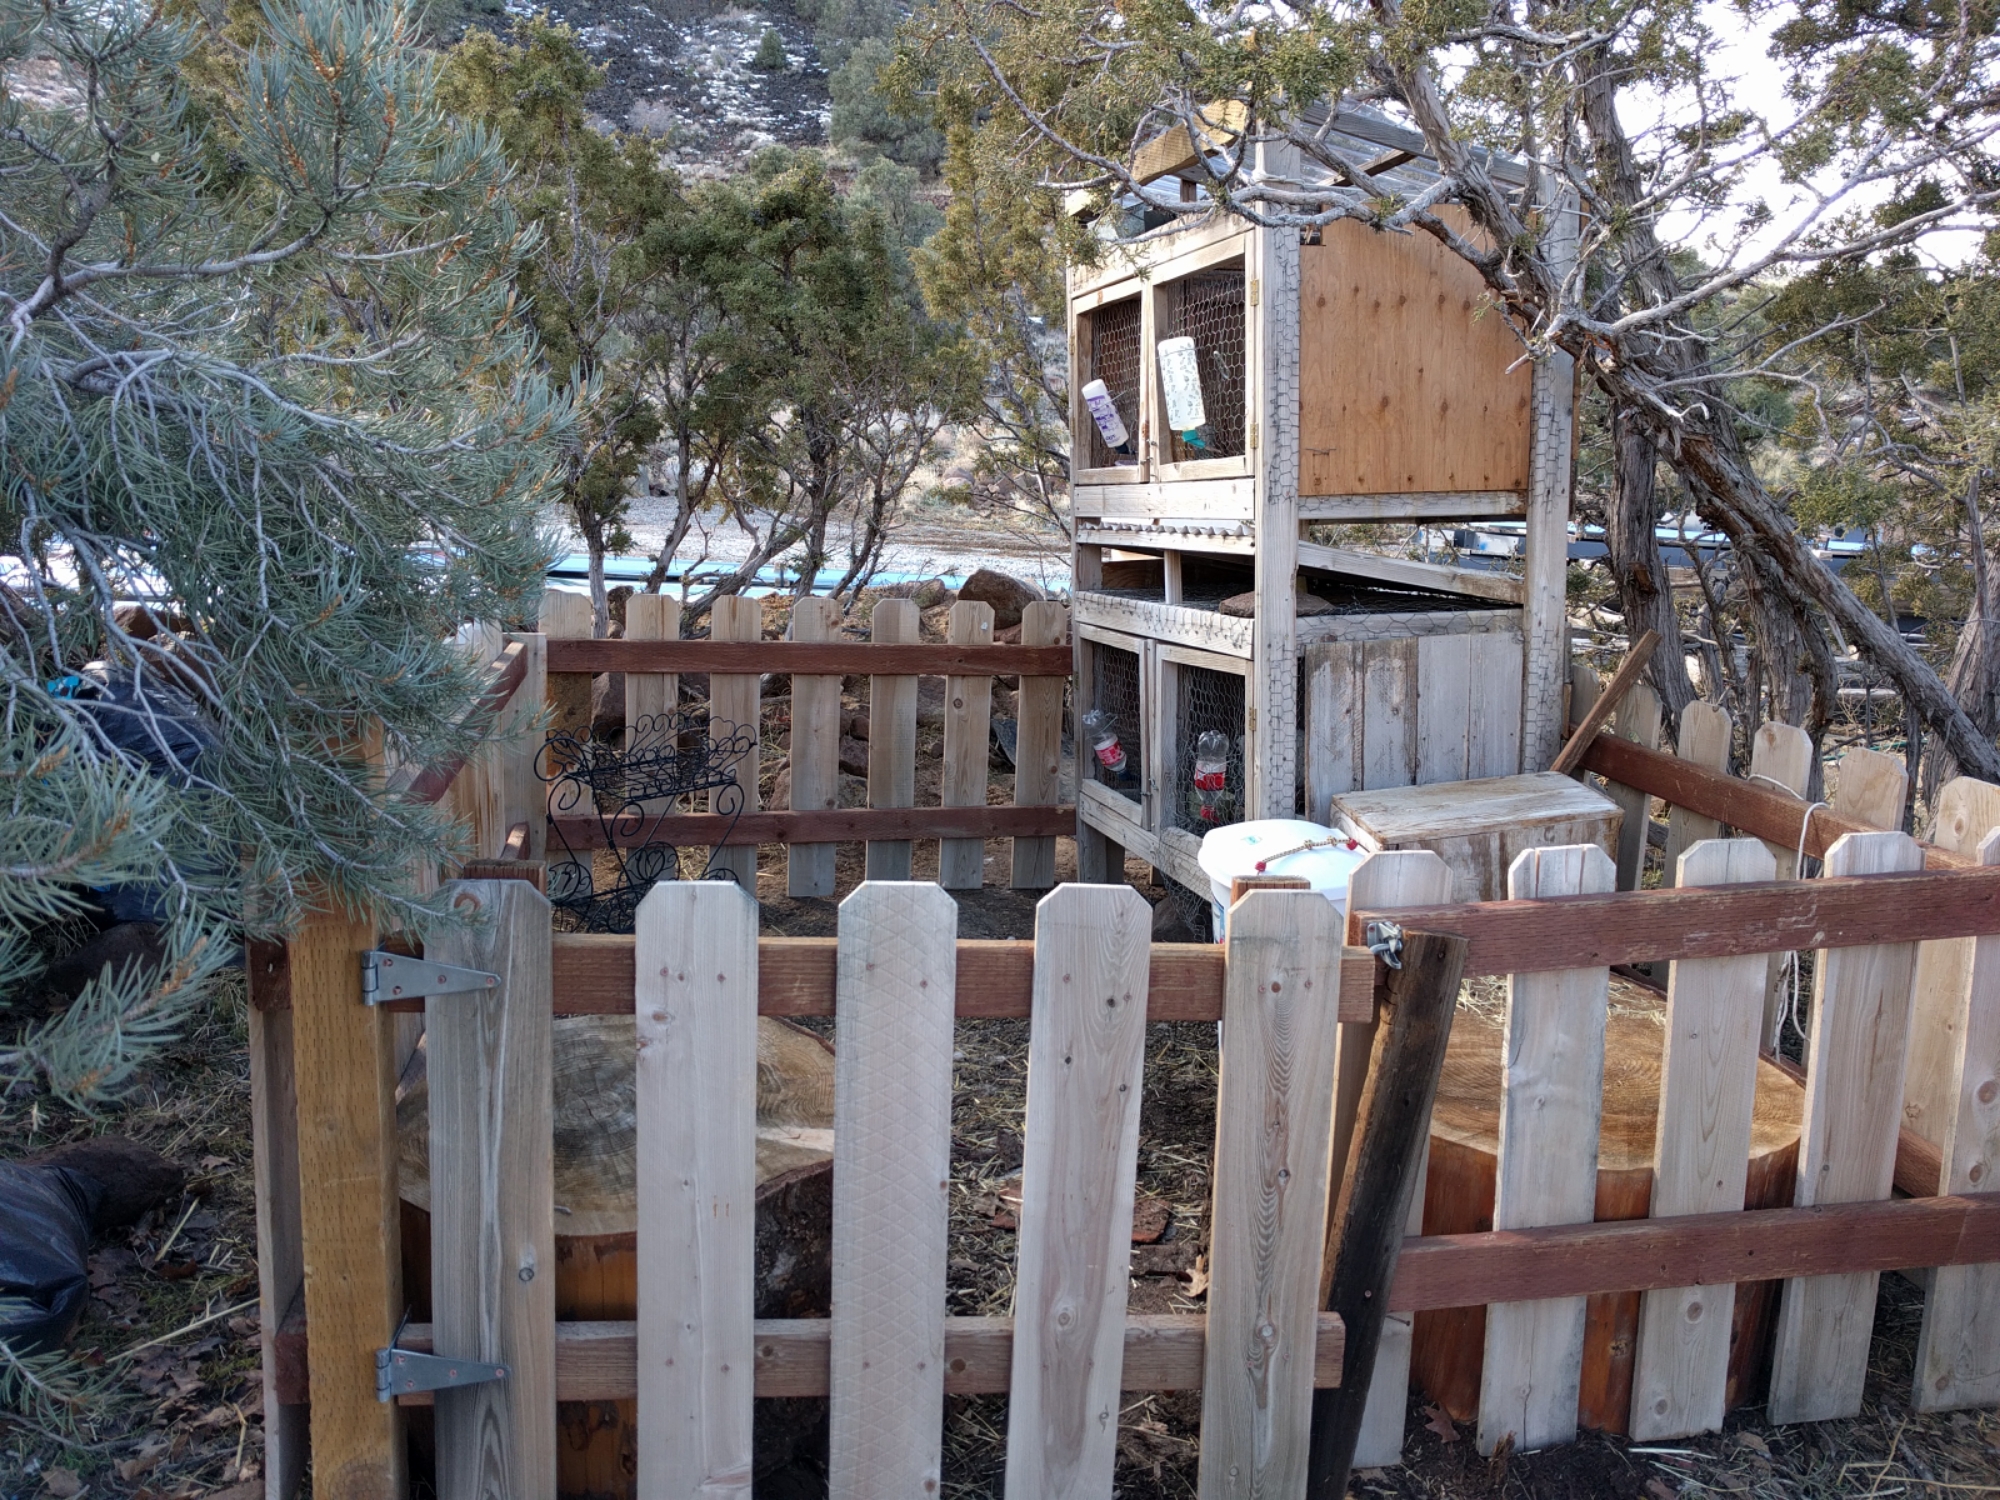
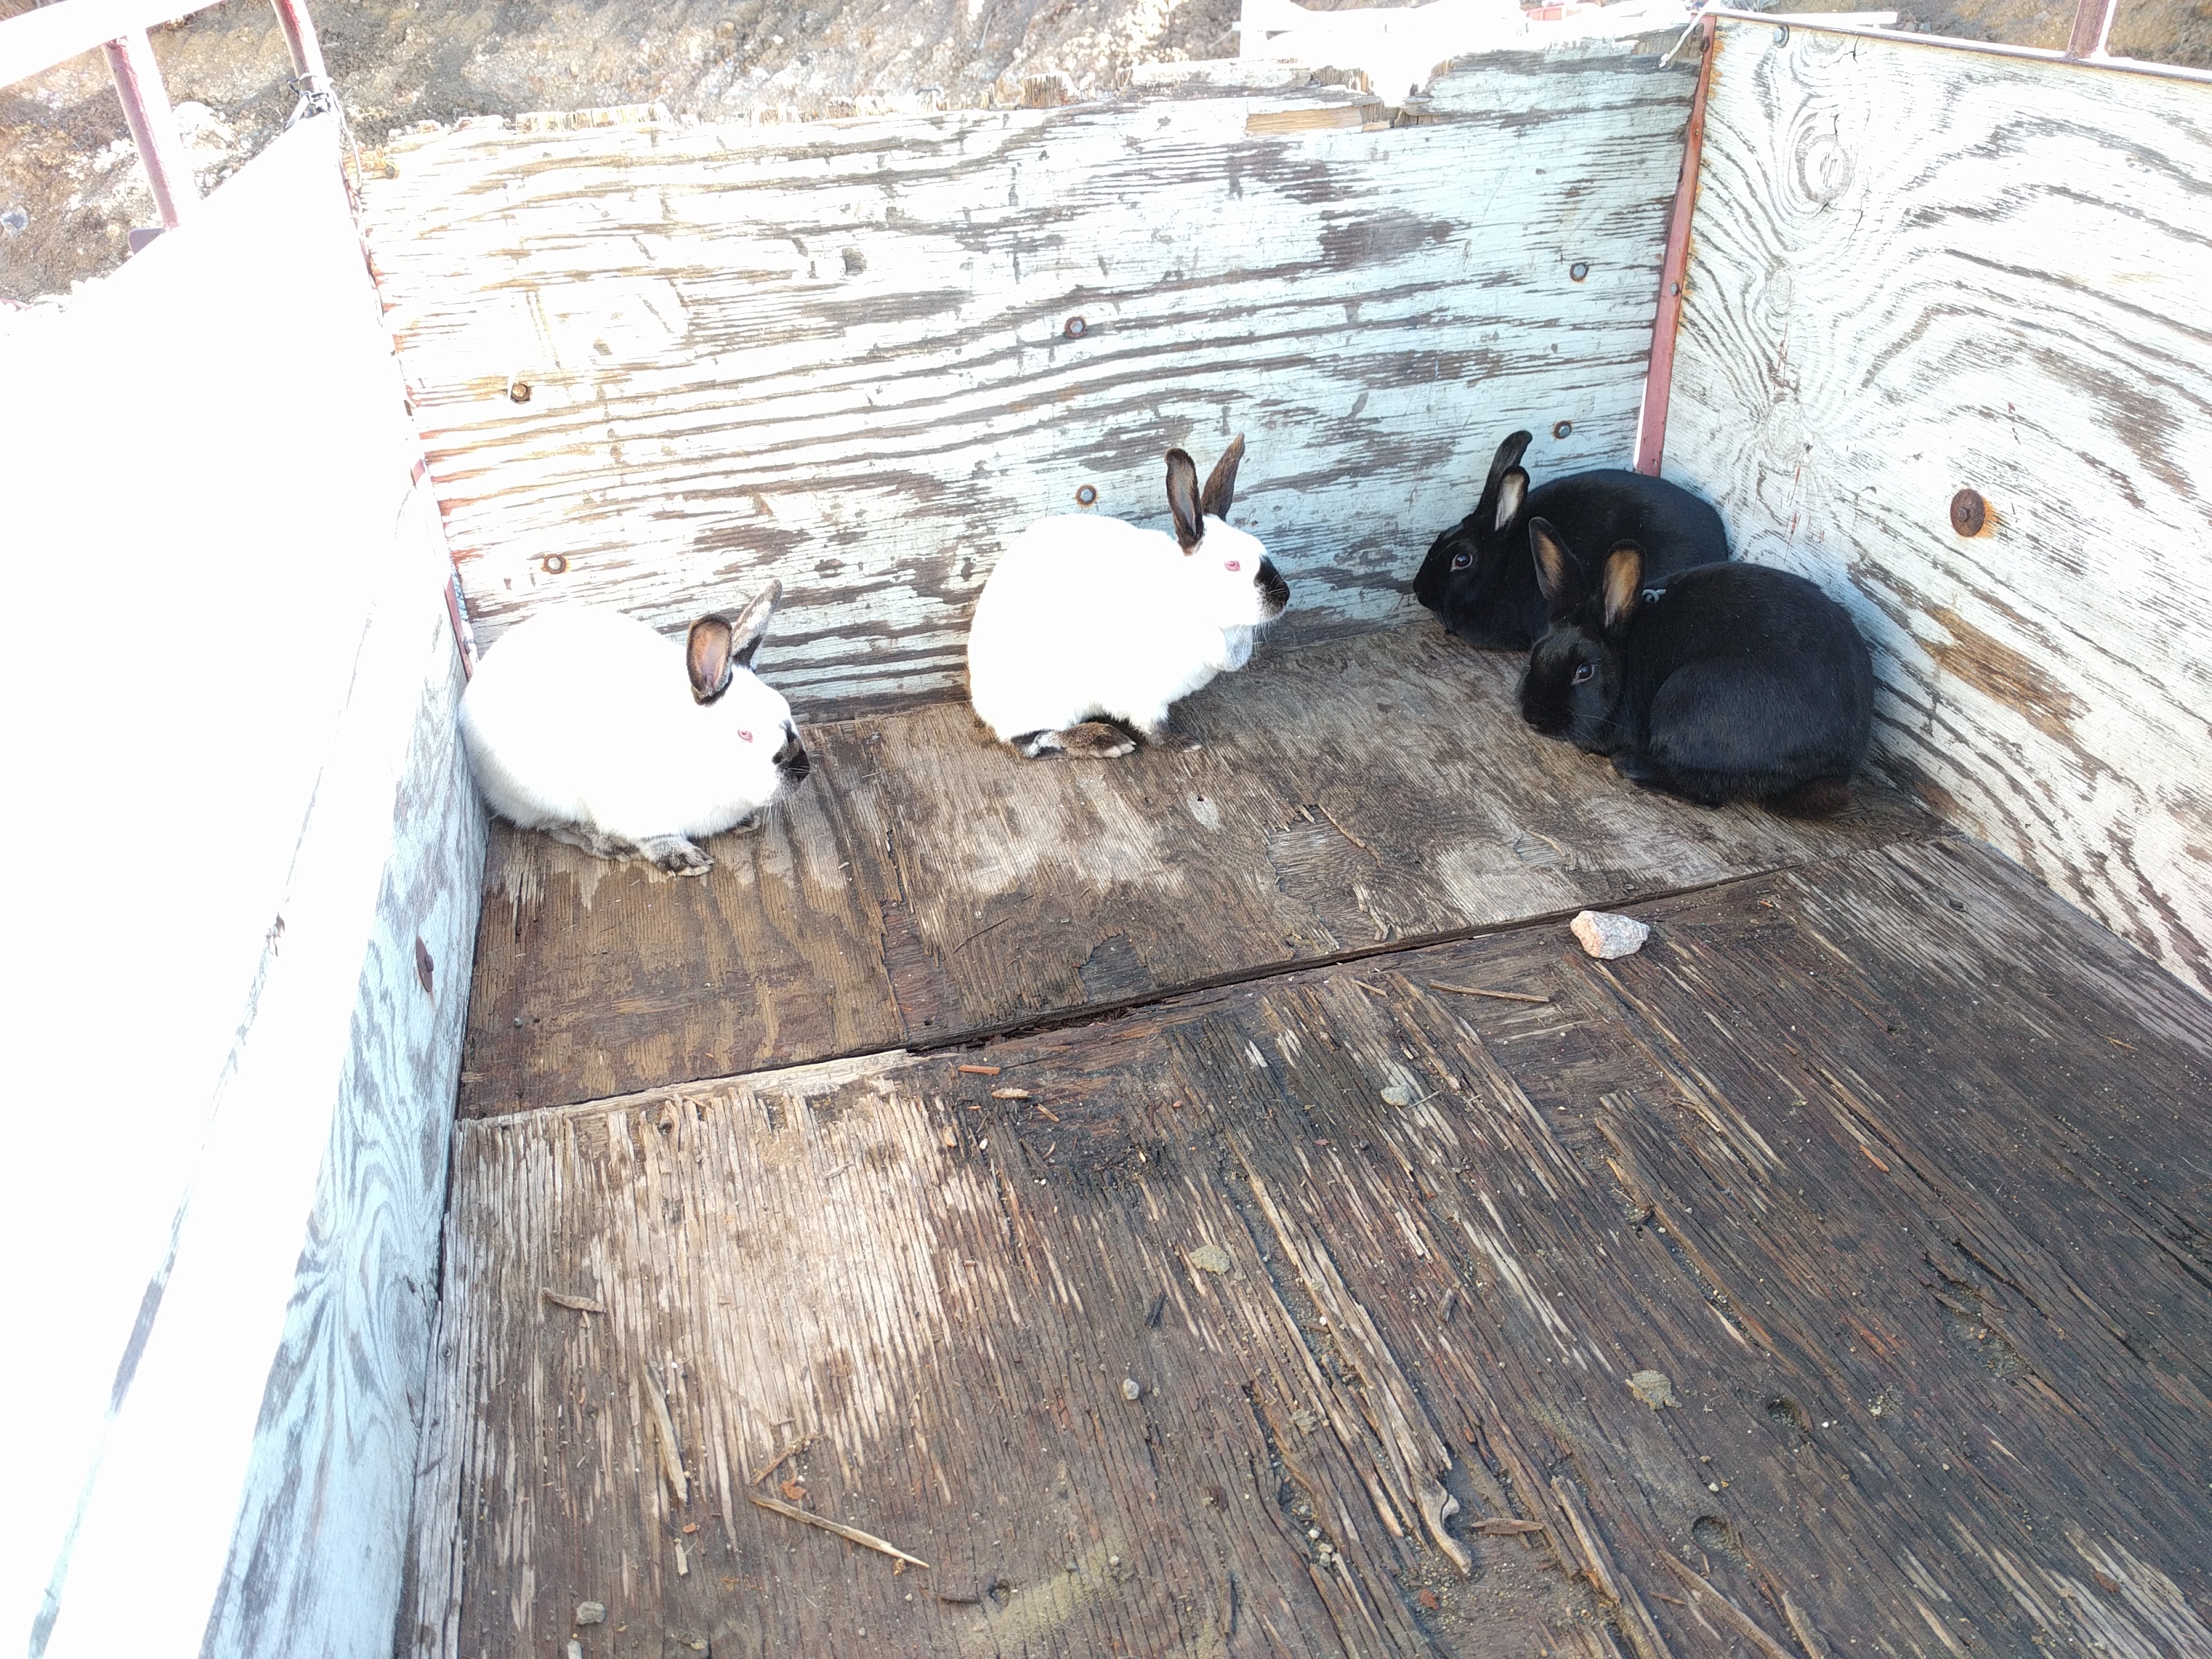
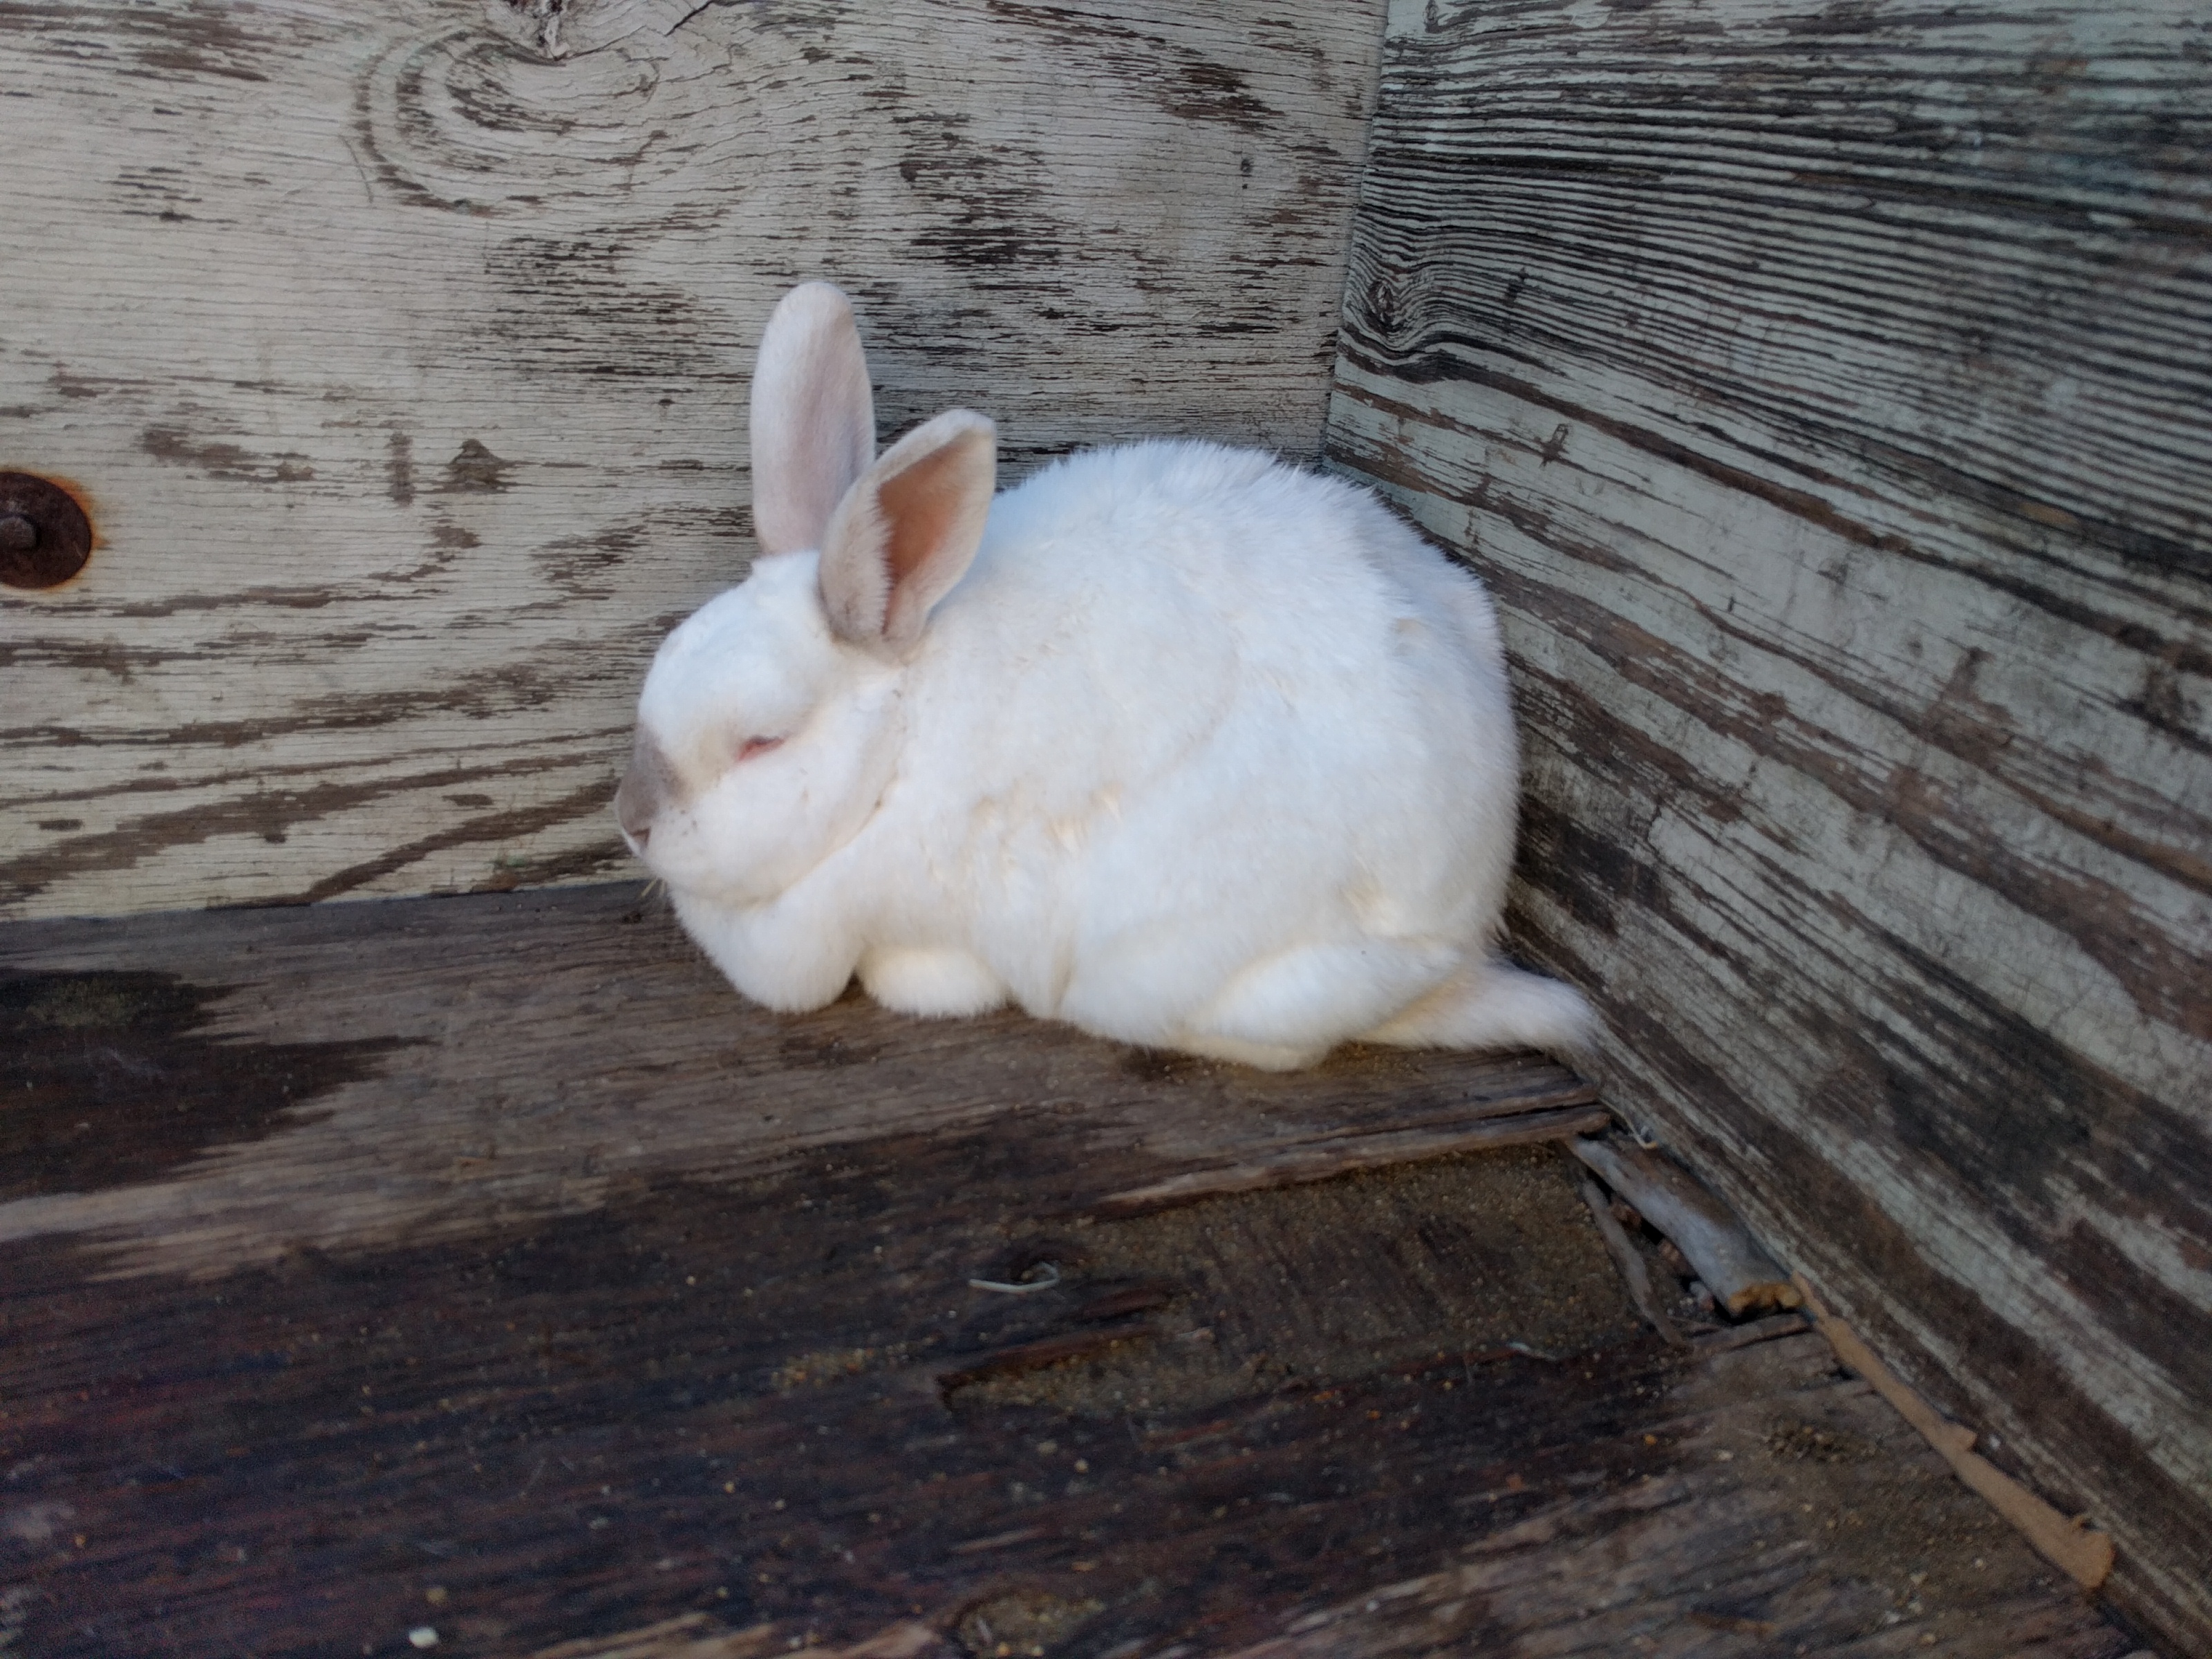
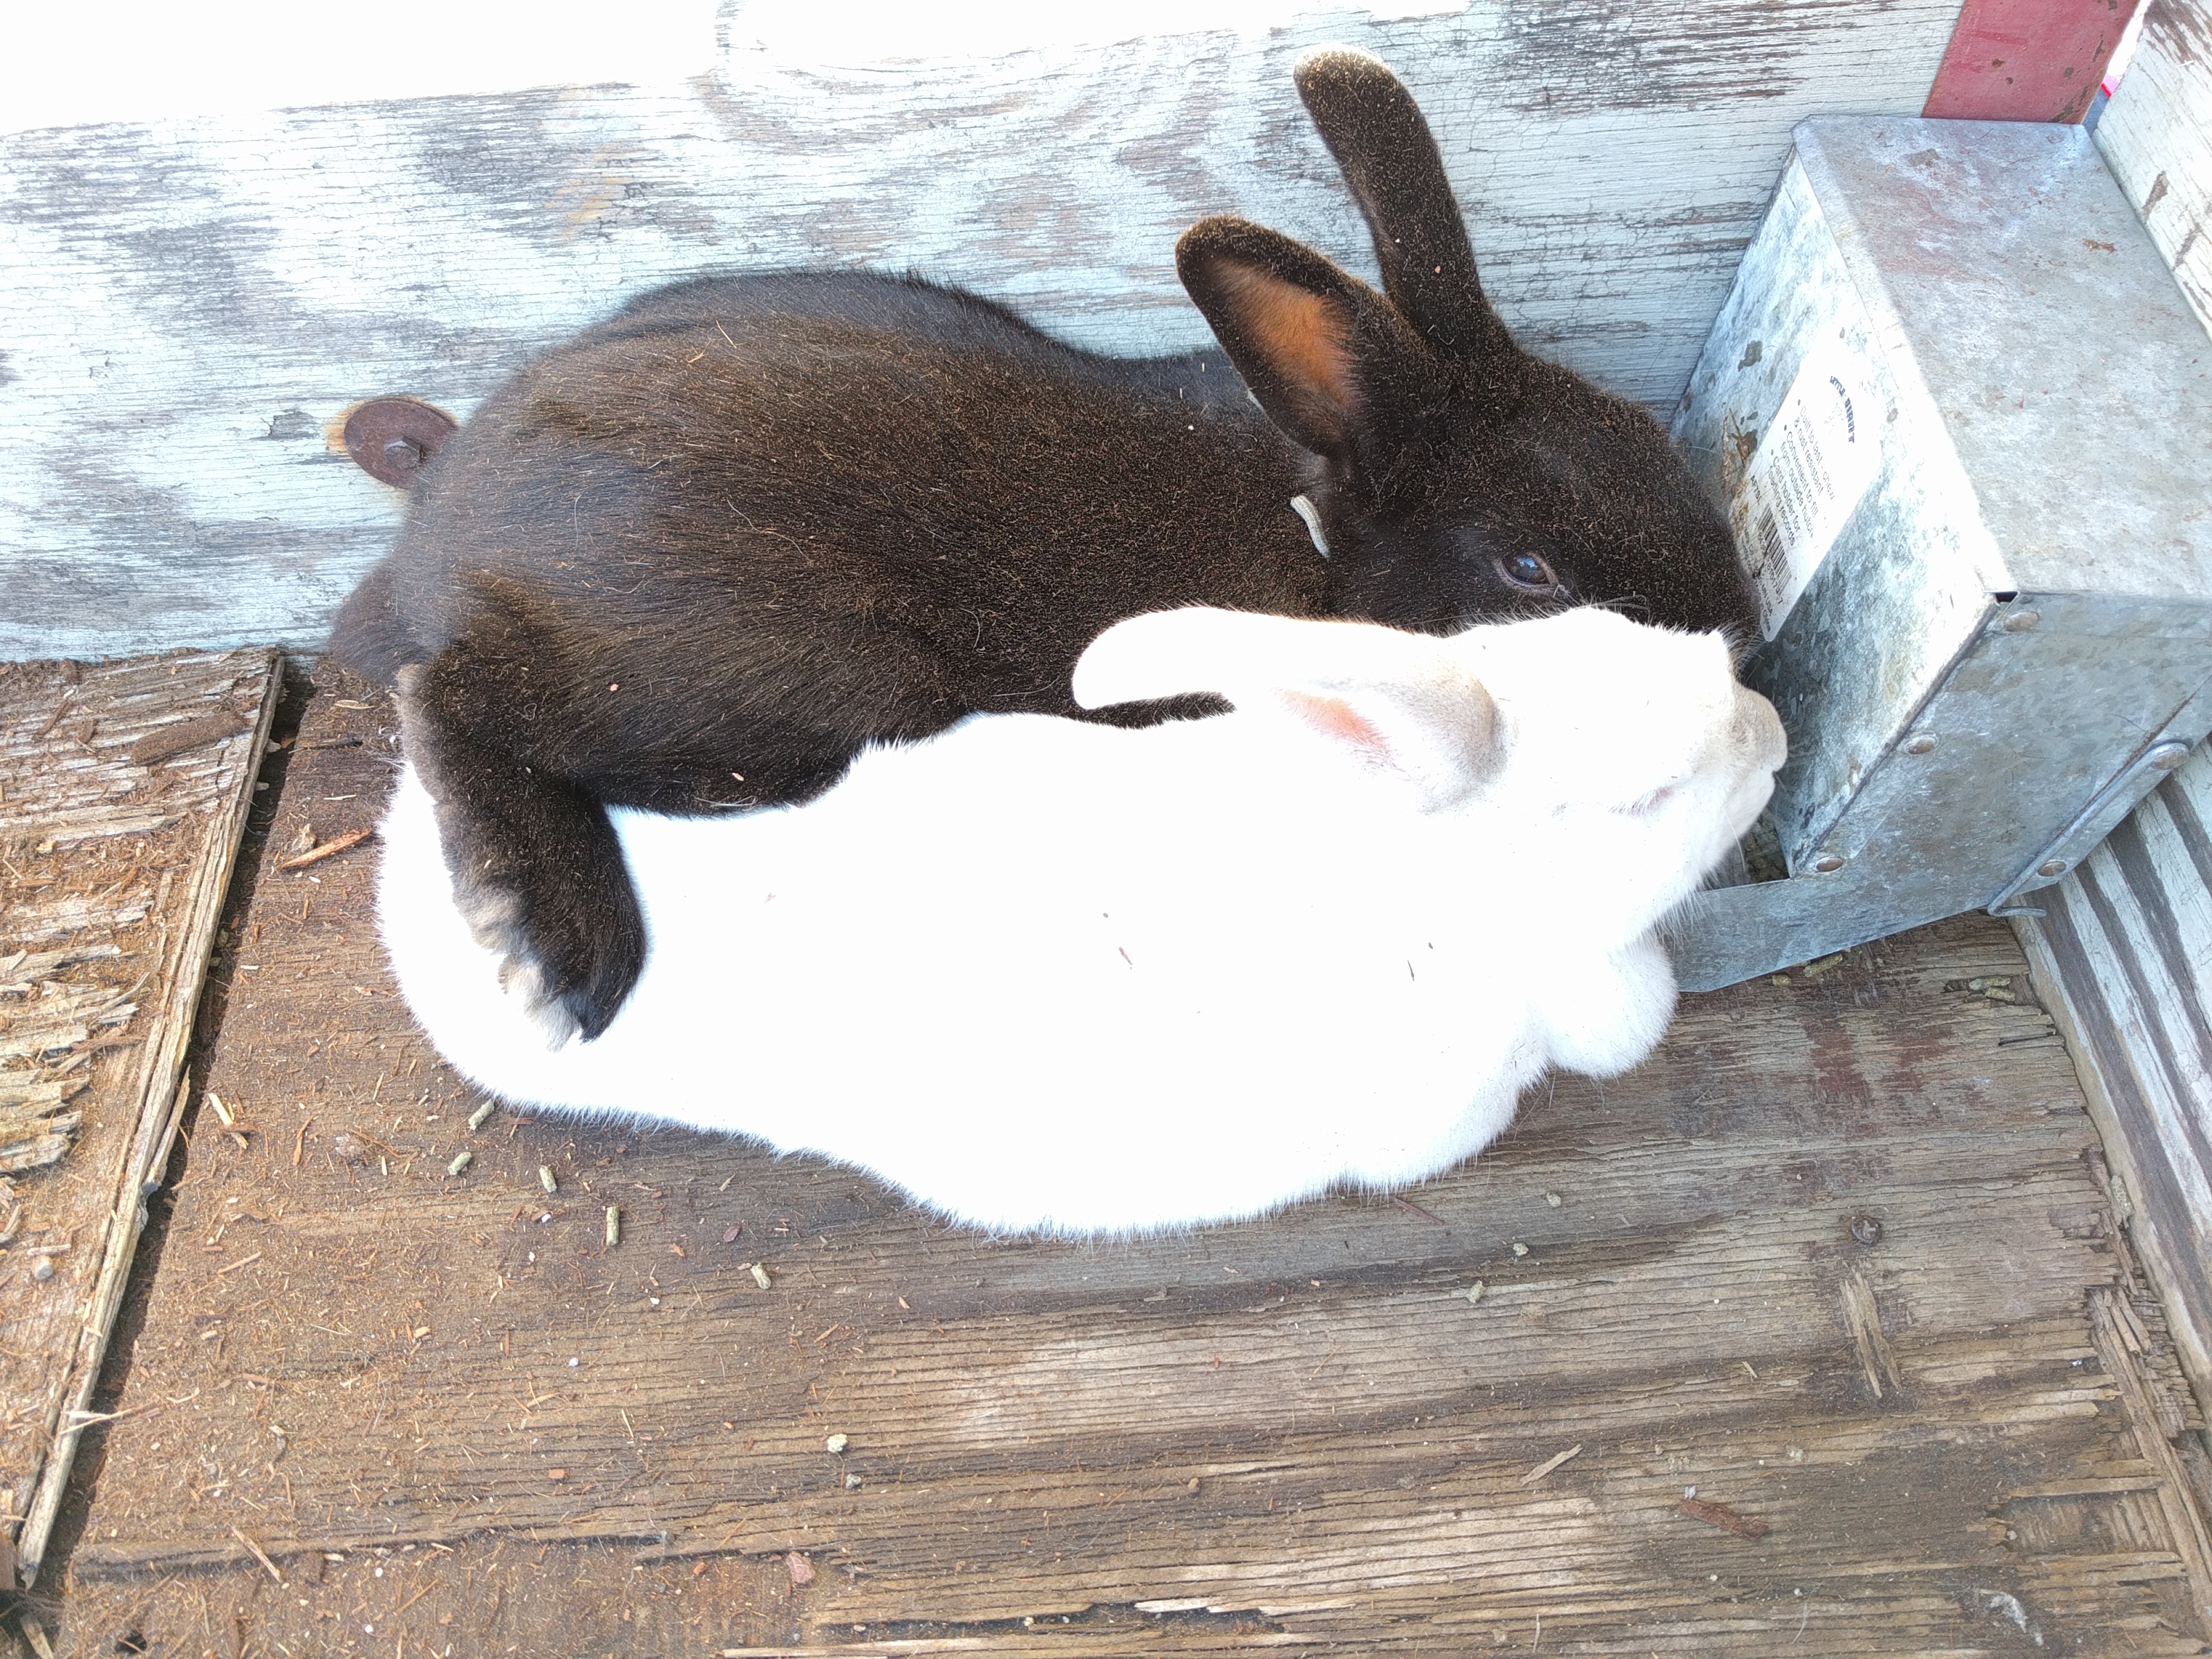
February 6 – despite the bone chilling wind (45mph), Princess Girl and I put up a fence around the rabbit hutch to keep the neighbor dogs out. Just glad it wasn’t raining like today.

So, at the rate this winter is going, it’s looking like things won’t dry out till March or possibly April. Hopefully no longer than that. In the meantime, we are planning and dreaming and looking forward to the day we can start construction on our house. 

And on days like today, when my plans for the day were ruined because of the rain, I see it as time to relax, and catch up on other projects that get put off too often. You know, like dishes. 😉

I hope you enjoy your day, no matter what the weather is where you are.

A time for everything

A friend of ours was looking to re-home his chickens and rabbits.

So, who did he call to see if we wanted to take them? Why, us, of course! And it just so happened that THIS week is the week we needed to take them.

Despite the fact that we did not have a chicken coop. At. All.

And our rabbit hutch is in disrepair.

But did we let that deter us? Not a chance!

If you follow us on Facebook, you’ve probably seen the progress we made on a chicken coop.

First we gathered materials.

img_20161121_101448

We’re pretty excited that so far, we have not had to buy a single thing to put together our chicken coop. Most of the wood is reclaimed wood from a friend’s old play house and some shelves we demolished which we found on freecycle. A few 2×4’s are “new”, as in, never been used, but we’ve had them hanging around for a while. We’ll eventually need to put a bit of money into it for roofing and paint, but it won’t cost us very much. We feel so blessed.

Over the course of a few days, I worked to get a coop up enough that the chickens would at least have a place to sleep.

img_20161121_104357

My “office” for a few days. How blessed am I?!

img_20161121_120114_1

Making sure things are level and plumb.

img_20161121_121935

Putting on the floor.

img_20161121_123649

My co-workers for the day. Lot of help they are!

img_20161122_070514

Getting closer. This is what the coop looked like when we brought the chickens home on Tuesday at 2pm.

img_20161122_151235

Nailing on the roof.

img_20161122_155058

It took everyone to work to finish the coop before sundown.

img_20161122_164824

It’s not finished, but it will work for a few days to get us through till we have time to work some more on it.

img_20161122_165308

Time to bring in the chickens.

img_20161122_165609

Flower girl wanted to help, of course.

img_20161123_070849

Happy in their new home.

img_20161123_071046

Happy in their new home.

img_20161123_134402

They’ll free-range till we can get a run built for them.

img_20161123_135637

And the rabbits are living in a little box trailer we have till we can get their hutch repaired.

img_20161123_135705

This is April. She actually belonged to us several years ago till we gave her to our friend, who gave her back to us. She is the most docile of the group. The other 4 are her offspring, several generations removed. She is no longer a breeder since she’s so old, but she’s so sweet we’re not sure if we want to cull her or not.

img_20161123_140726

Sharing their meal.

And that’s our new adventure. I’ve had fun over the last couple of days trying to figure out what breeds of chickens we have. Eventually we want to get into breeding them, and doing so selectively. But for now, it’s enough that we have chickens again.

And the rabbits. Yes. That is three females and two males all running around in a box trailer together. Yes, that means babies in about a month. But the deed was done before we got home. They had all gotten out of their cages and were running around in the trailer with the chickens. Figured that since the deed was already done, it wouldn’t hurt for them to live in colony until we can get their hutch repaired. That’s our project for this weekend. And in just a month, we’re gonna have babies. Lots of cute, cuddly, fluffy baby bunnies. Just in time for Christmas.

Hope you all had a great Thanksgiving!

Spring weather on the Homestead

We traveled to Nevada at the end of March and while we spent most of the time at my mom’s house, we did get to spend some time up on the homestead.

20160329_100932_resized

20160329_101746_resized

This is the main reason that we decided not to stay in the trailer while we were there. It snowed on us!

20160329_101935_resized

But the girls and I went up to check on the homestead anyway. And had a bit of fun while we were at it.

20160329_110319_resized

And three days later, nearly all the snow is gone. We decided to try “witching” for water in other places around the house pad to accommodate the change in location of the septic system.

20160401_124322_resized

This is “Ahma” (my mom) using the copper rods. It’s amazing how they really do react when near water.

20160401_124856_resized

Flower Girl loves trying new things and having “pickmicks”

20160401_130858_resized

Yeah, three days ago and now it’s warm enough to play in the water. That’s spring in Nevada for you!

20160401_155531_resized

Our little “lion” in her cage.

20160403_171816_resized


And look what we found while rummaging around in our log piles (placed there back when my parents owned this property and tore down an old barn).

Logs!

20160403_180400_resized

Y’all remember my post about the logs right?

20160403_180555_resized

And here I have some sitting right there on the property just waiting for me!

Oh, the possibilities!

Re-purposed garden boots/clogs

So, when we were in Nevada a couple weeks ago, we spent some nights in the trailer, and it became very evident that I needed to find myself some slip-on shoes of some sort. Putting on real shoes in the middle of the night to visit the outhouse is not fun.

They needed to be waterproof for the rain and mud we occasionally get there. But also because waterproof also means dirt proof, which is more my concern seeing as how our homestead is in Nevada, afterall. I hate tromping out to the outhouse and having to empty the sand and pebbles out of my shoes before coming back in the trailer.

So I started searching in various stores as I was in them. Not a concerted effort, mind you, just seeing what they had since I was there.

And then my wonderful hubby reminded me I had some old rain boots which could work. You see, the rain boots had developed a hole in the sole of one which, when worn in heavy water, leaked. General mud and dirt and dampness, however, stayed out. So they still worked just fine as muck boots, so long as I wasn’t standing in actual water.

But seeing as how I won’t be needing muck boots in the near future, and I DO need some slip on shoes, I made the change.

20160502_095630_resizedBefore

20160502_095639_resizedAfter

It was very simple. I just took a sturdy pair of kitchen sheers and cut the tops off.

20160502_095717_resizedBefore

20160502_095750_resizedAfter

Now I have a pair of clogs that I can slip on and off easily for use while living in our trailer. I didn’t have to spend any money, and I am re-purposing something which was “broken”.

20160502_095602_resized

Recycling/re-purposing/re-using for the win!

Taking Home a Piece of the Northwest

A tree blew down out at the camp our Church uses. The iconic tree stood right next to the lodge and cabins. Thank goodness no one was hurt! When Hubby was out at camp a few weekends ago, he learned that they are having a hard time getting rid of the pieces of the tree. Where do you put a 100′ tree?

So, we decided to bring home part of it.

The girls and I drove out to camp today and after some back breaking work and a bunch of help from one of the camp workers, we got two large “rounds” loaded into our trailer.

“The Big Tree” as it was known around camp looks so sad lying on the field. 😦20160322_145414_resized

20160322_145520_resized

A field of stumps.

20160322_145529_resizedThe stump at the bottom of the picture is the one we chose.

Rollin’, rollin’, rollin’, get them stumpies rollin’! 20160322_150718_resized

Trying to figure out how to get it into the trailer.20160322_152327_resized

Success!20160322_153602_resized

The second stump is about half the size of this big one.

So, what are we planning to do with these guys?

Well, Hubby wants to make a table like this one:

Only tall enough to actually sit around it.

I thought it would be cool to make some chairs like the following:

Or maybe a planter:

Or bench supports:

Or maybe just to play on:

If we could have, I would have brought some of the large logs home. But they are way too big and heavy. If I had a log, I’d do something like the following:

If nothing else, I think we might just have to carve our initials. 🙂Initials

Source

Can we get logs and stumps in Nevada? Sure we can. But whatever we make out of these stumps is going to have quite a lot of emotional significance behind them. We are bringing a piece of Camp, a piece of the Pacific Northwest, back to Nevada with us.

And that makes the aching back all worth it!

Daily Life #14 – Candles

February 8th

I made candles!

Yes, I have made candles in the past. The waaaaaaay past. Like, I was a kid and it was a school project.

And as I mentioned last week, I wanted to try making candles from scratch, including the wicks. So today’s project was to finish the wicks, and get the candles made so that I can do the burn test tomorrow.

Over the last week or two, I’ve been soaking and drying string in several different solutions. Today I dipped them in wax, let them dry, cut them to size, made little feet for them out of aluminum foil (worked with mixed results), put them in labeled jars, and poured in the hot wax.

image

Waxing the wicks

image

Homemade wick with homemade stand

A couple of these little feet fell off the string when they came in contact with the hot wax being poured into the jar. I have and idea of how to fix it next time.

image

Homemade candles - I used the aluminum foil to hold the wicks in the middle of the candle.

It’s a good thing to put down some sort of protection on the counter, because candle making is messy!

I’m excited to see how they do tomorrow. When I get the results of the burn tests I will post a full report.

As for today, we enjoyed some rare sunshine and warm weather. So nice to get outside and soak up some vitamin D.

image

Maridy

“I lift up my eyes to the hills, where does my help come from? My help comes from the Lord, the maker of heaven and earth.” Psalm 121

Daily life #5 – Free Stuff and Crystals

I got to sleep in this morning! It was heavenly! And needed after several nights in a row of poor sleep due to not feeling well.

By the time I ate breakfast and finished my journal entry (which I started yesterday morning), showered and dressed, etc, it was time to take Scooter to the vet and do a bit of shopping. Later in the afternoon, I met a lady and took a floor mat she no longer wanted off her hands.

image

Don't you just love my thrift store desk chair?

I love Freecycle! That or the free section on craigslist. I know there are even more free trading/swapping site out there. Have you ever used any? I highly recommend it. Not only is it a great way to find items you might need without having to buy new, but it’s a great way to get rid of items you know have a use, you just no longer want them. We’ve gotten quite a bit of good quality wood which we’ve used for several projects around the house.

And today I got a floor mat. I seriously would have bought one had I run across it on a store. And here I got it for free! (Well, I guess I had to spend a bit of money in gas to get it, but she lives near me, so it was minimal.)

This afternoon, I also checked on my wicks which had been soaking for 24 hours as the instructions said.

And I found this:

image

The solution had crystallized! Weird, but cool. Not sure what happened. But I saw other instructions which said to soak for only 20 minutes. So I soaked another section of string for about an hour and it is drying right now. I left the crystal solution in there to see what it does if I leave it longer.

I plan to also try a few other options I have heard about and see what all makes a difference.

After dinner, I sat down with my garden journal and started planning my 2016 garden. As I said in my New Year post, I’m not going to be as ambitious this year, but I still want it to be organized. Basically. I was looking for what can be planted in a small space that either yields a lot on one plant (ie, a tomato plant), or is small enough that you can plant a lot in a small place (like lettuce). And of course it needs to be something we actually eat. And something I don’t have to tend to a lot.

When I have the finalized plan I will share it with you.

Maridy

“I lift up my eyes to the hills, where does my help come from? My help comes from the Lord, the maker of heaven and earth.” Psalm 121

Daily Life #4 – DIY Mason Jar Spout And Carpet Deodorizer Recipe

So I’ve seen this tip on Pinterest several times and today the planets aligned and I was able to make one for myself.

20160129_125920_resized

And by planets aligning, I simply mean that I happened to have the need for one right when I had a nearly empty salt container.

I finally got around to vacuuming today and wanted to use my homemade carpet deodorizer (recipe below). But I tend to accidentally shake half the powder on the carpet when I try to shake it out without some sort of top on the jar. I thought about punching holes in a jar lid, but then I remembered this tip.

All I did was use a sharp knife to cut the top off the salt container, then put it on the jar in place in the lid. It worked remarkably well! It is the perfect size for a wide mouth jar. In order to use a regular mouth jar, just trace around a regular size lid and cut it down accordingly.

20160129_125741_resized

So, the carpet deodorizer recipe. That also is super easy.
-Fill a quart size mason jar about 3/4 full with Washing Soda (not baking soda)
-Add 10-20 drops of your favorite essential oils (we like orange and clove or lavender and eucalyptus), put the lid on, and shake the jar to distribute the oils.
-Shake the deodorizer on your carpet 15-30 minutes prior to vacuuming (test on obscure area 1st).
-Vacuum as normal.

Notes:

-Do not use baking soda, it is too powdery and tends to leave a white residue, thus why the recipe calls for washing soda. It still absorbs the odors of stinky carpets but is more granular. It can be found in the laundry isle of most grocery stores.

-You can fill your mason jar full, but then you’d want to dump the soda into a bowl, add the oils, mix, and return to the jar. Otherwise the jar will be too full to shake to distribute the oils. I prefer to just do it as stated above so I don’t have another dish to wash.

-I find that I use about 1/4 of the jar (roughly 1 cup of the mixture) per application. Depending on the size of your house you may have to use more or less. This is where the salt container spout comes in handy as I found that without it, too much sprinkles out and I invariably ended up using over half my mix for one round!

-I use this powder every other or every third time I vacuum, depending on how stinky the pets and kids have been. 🙂

I really like that this carpet deodorizer is all natural. No weird chemicals to worry about around my family.

So aside from vacuuming my house (finally!), and in between the daily tasks of taking care of the family, I started researching how to make candles from scratch. An article I read recently got my gears turning and Hubs and I got to talking about all those skills which we have a theoretical knowledge of, but have never actually tried. Like candle making. Did you know that you are supposed to treat wicks with something like boric acid in order to make them burn properly? I had no idea, and my minimalist side is wondering if it really  makes a difference. So my plan is to try a couple different types of wicks and see what the results are.

So in a couple days hopefully I’ll have a post all about making candles. 🙂

Princess Girl and I also got around to mounting the puzzle we finished a couple weeks ago.

20160129_135640_resized

I cut a piece of cardboard the same size as the puzzle, we covered it in Elmers glue, then slid the puzzle onto it and slathered a bit more glue on the top. Then, when it had dried a bit, we covered it in plastic and put a box on top to keep it from bowing. Princess Girl is going to hang it in her room when it is finished.

And that’s how this homesteader spent her day.

Maridy

“I lift up my eyes to the hills, where does my help come from? My help comes from the Lord, the maker of heaven and earth.” Psalm 121

Daily Life #2 – Chicken Run Repairs

Earlier today I posted a picture on our Facebook page about doing something very homesteaderly today. I think I was inspired by yesterday’s post!

I finally went out and bought the supplies I needed to fix the chicken run roof.

image

Yup, some clear corrugated roofing.

When we built the chicken run last year, we put up a cheap tarp to keep an area of the run dry (because it rains here ya know. A lot!). As you can imagine, after a year out in the elements, that tarp was rather worthless.

image

So, I prepared my tools, strapped on my belt, and got to work.

image

First I cut down the ratty old tarp.

image

Then I measured, marked, and cut the plastic roofing.

image

image

While I was working on that, Princess girl was being a great help by removing the nails from some boards I took out down from the chicken run.

20160127_115223_resized

And yes, that is Flower Girl up in that tree. She has just discovered that she can climb it with no help.

20160127_115145_resized

Look at that face!

20160127_115205_resized

Meanwhile, back in the chicken run… I then screwed the cut panels in place, making sure to overlap the edges so that the rain won’t drip through. And, voila! new roof on the chicken run!

image

This post is proof that you don’t need a bunch of fancy equipment to get work done around the homestead. My toolbelt is not a fancy or totally expensive one, but it gets the job done, and I’ve had it for years and not even absolutely necessary. The drill I used to screw the panels up is a simple little cordless thing, that we again have had for years. And if I didn’t have it, I could have used a hammer and nails. The only specialty tool I used was the tin snips, but again, I could have just used a sharp knife. I didn’t even have a ladder(because it was too big for the job and I didn’t want to drag it into the muddy, mucky chicken run)! I used a combination of a step stool and a sturdy plastic chair we had in the back yard.

With a little ingenuity and the willingness to get dirty, you can accomplish a lot.

And speaking of getting dirty, I decided that since I was already icky from working in there and because it needed to be done, I would clean out the coop and spruce things up.

image

It looks so nice and bright with the clear panels. I’m looking forward to having dry space in the run again.

We already have to take measures to keep their food dry.

image

We put their food in a tray to keep it off the soggy ground.

And give them sand to “bathe” in.

image

I keep their water out in the open rather than under the cover. This serves two purposes. When I fill it and if they spill it, it doesn’t get the protected area all wet. Also, since it is exposed to the rain, God often fills it up for me. 🙂 By elevating it on a cinder block, the girls don’t fowl it nearly as often (pun intended). 😉

image

Hubby and I are rather proud of our chicken run and coop. We hardly spent any money to put it together. And I realized that I’ve never really shown it off. The coop itself is a cabinet we bought at the Habitat for Humanity Re-store for $2.50. Yup, two dollars and fifty cents!

image

As you can see from the above picture, I cut a hole in the bottom of one of the doors for the chickens to enter. Inside there are a series of levels and ladders and roosts for the hens to sleep.

image

There is also a cut out at the middle level where they access the nest box, which is the brown box attached to the side.

We keep the food in a kitchen trash can with a lid. It is the perfect size for a 50lb bag of feed. We also keep a bale of straw wrapped in a tarp under the eve of the house.

image

Other than the straw, cabinet, and nails and screws (and now the clear roofing panels) we didn’t spend anything to build our run and coop. It is nearly all recycled materials. Even one of the doors is an old screen door.

image

So, now the coop and run are clean and dry once more.

Do you think the hens care?

Nope.

They are over in the compost corner.

image

You do what you can with what you have. You start where you are. And nearly everyone, if they’ve got any land at all and it’s legal where they live, could find enough space in their life for a few chickens.

Maridy

“I lift up my eyes to the hills, where does my help come from? My help comes from the Lord, the maker of heaven and earth.” Psalm 121

Bacon Lard

I’m nearly out of bacon lard and need to make some more, so I figured it was a opportune time to write a tutorial on just how I do that.

Just a word about using lard: if you are vegetarian or subscribe to the low-fat-everything-is-healthy-for-you way of eating, then this is not a post for you. If you’d like to learn more about the philosophy I believe when it comes to using saturated fats for our family’s diet, read this article, it sums up my beliefs quite well.

Now, I’ll be the first to say that the lard which comes from processed bacon is not the healthiest fat on the planet. But I use it because 1.) saturated fats are not the evil fats they have been made out to be, and 2.) (most importantly) it’s free! As with almost everything in this world, moderation is key. I suppose it would be more healthy if we used healthier bacon (yes, there is such a thing.) But we haven’t made that switch yet. One of these days…

So, what is bacon lard anyway, and how do you make it?

I’m so glad you asked. ‘Cause I’m gonna tell you. 🙂

Whenever you make bacon, there’s all that grease left over, right? I know some people dump that grease into a grease pot and leave it on the counter and use it just like that. But, my modern food handling mind just can’t get past that. And I know people who simply pour their bacon grease in a container and keep it in the fridge and use it as needed. I don’t like that either because then you have all those little burned bits of bacon fond mixed in with the grease and an overpowering bacon flavor. I know, I know, there are those of you asking, “What’s wrong with that???”(My Hubby is included in your ranks, for sure!) But depending on what I’m using it for, I don’t want it to taste so much like bacon. And those little burned bits just make the grease look “dirty”. Turning your bacon grease into bacon “lard” makes it nice and clean and less bacony in flavor. It is a long, but very simple process. Most of the time you’re not doing anything but waiting for the grease to harden.

Ok, you you’ve just made your bacon and you want to clean the pan. What do you do with the grease? Well, you simply pour it into a container and put it in the fridge.

But wait! Didn’t I just say I don’t like doing that? No, I said I don’t like using that grease as-is. I do something extra with the grease to make it more like lard.

First of all, I like to strain my grease through a paper towel as I put it in the jar.

20151007_105634_resized

This step is not totally necessary, but makes the cleaning process go faster.

Cleaning process? You “clean” your lard?

Yep. Yep I do.

20151007_105726_resized

Anyway, once your container is full (or nearly so – this make take a while depending on how often you eat bacon), simply melt your grease…

20151113_105316_resized

Yes, that’s bacon grease – with all the dirty bits still inside.

…I use the microwave.

Then you add the grease and about the same amount of water into a pot and put it on the stove to boil.

20151113_110332_resized

Once it just starts to boil, turn it off and set it aside. You can put in some cold water to help it cool off faster. As I’m sure you know, oil and water do not mix. The lard (oil) will float to the top of the water, and the impurities which were in the grease (the dirty bits) will sink or be washed out by the water.

The next step is where the length comes in. You have to let this oil and water concoction cool enough that the fat will solidify. If the temps are cold enough outside, I often secure the lid on the pot, and put it outside in the cold. This makes the process go faster. However, if the temps outside are too high, I let it cool to room temperature, then stick it in the fridge, usually overnight.

Once the fat has solidified, scoop it out with a slotted spoon and put it into a bowl.

20151113_214701_resized

scoopable-solid again

20151113_214751_resized

Look how dirty the water is

Once you get all the chunks of fat out (I use a small mesh strainer to get all the little bits), you’ll be left with dirty water which you can pour down the drain.

I usually “wash” the grease a couple more times by following the above steps, until the water is clear underneath the solidified fat.

20151114_181548_resized

Clear water

But you could certainly skip the subsequent washings if you wanted. I find that by filtering the grease through a paper towel first, it takes fewer “washings” to get the lard as clean as I like it.

Once it’s as clean as you want it, you scoop the grease into a bowl with a slotted spoon or mesh strainer (try to let as much water drip from it as possible).

20151114_182121_resized

Clean lard

Melt the lard just until pourable and pour into mason jars*.

20151114_182937_resized

Notice the color change from the first time I microwaved it near the top of the post.

I suppose there’s probably some way to process this so that it is shelf stable. But I have never researched it. I just stick it in the fridge once it’s cooled off a bit (or freezer if I have extra).

Note: once it has solidified, you might find that there is some water in the bottom of the jar.

20151121_121609_resized

If this happens, slide a knife along the glass into the lard in two spots on opposite sides of each other. Then pour the water out one of the holes (the other hole is to allow air into the bottom cavity so the water flows easier.)

20151121_121643_resized

If you prefer, you can heat the grease again so it melts and fills the holes back in.

*I always use wide mouth pint jars because they are the perfect size for our favorite spatula to fit in to scoop out a bit of lard (not an affiliate link – we just really like the style. In fact, we happened to find some at the dollar store!).

So there you have it. Now that your bacon grease has become lard, you can use it in much the same way you do regular lard. I do find it still has a bit of a bacon flavor/odor, but it is only objectionable to use it in things that are naturally bland themselves. I have even made soap with it!

I always feel so frugal when I use my bacon lard. I mean, it is basically free since you’re gonna eat the bacon anyway, right? So now you have something useful to do with the left over grease.